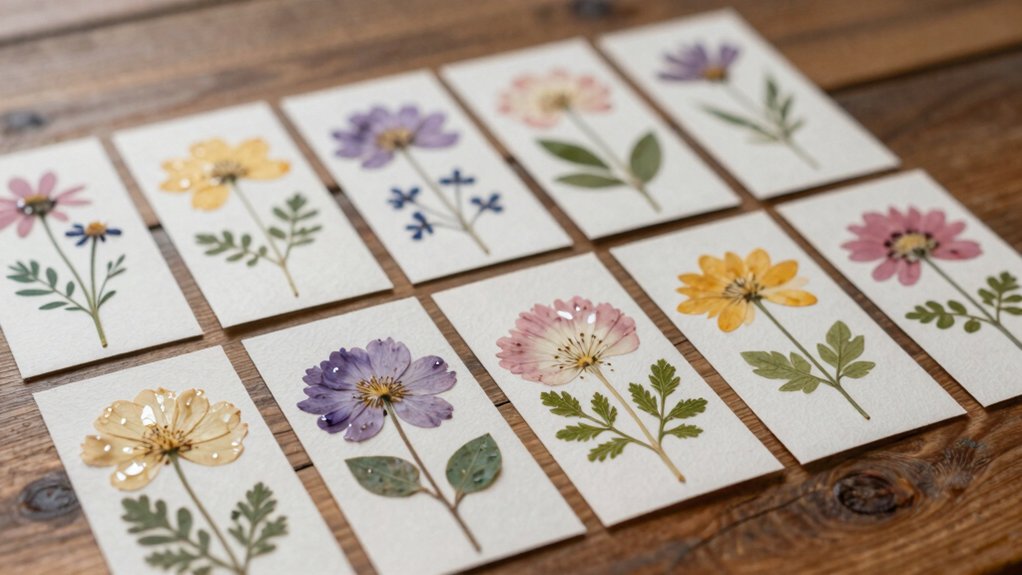

You can make 13 pressed flower bookmarks that feel like tiny gifts, and they’re easier than they look! Try lavender, wildflower, fern, transparent acrylic, or a vintage book page style with a little matte Mod Podge, dried blooms, and a tassel. Keep flowers flat, stems out, and layers tight for a slim finish. They’re cheap, beginner-friendly, and super pretty, especially the cottagecore and gold foil ideas near the end—yes, the sneaky good ones!
Key Takeaways
- Choose tiny, flat pressed flowers and fern fronds to keep bookmarks slim, neat, and gift-ready.
- Press blooms in heavy books or parchment for at least two days until fully dry and flat.
- Arrange a tight composition with stems removed, leaving a slim border for a crisp, bubble-free seal.
- Seal with matte Mod Podge or clear laminate, then trim cleanly for a durable pressed-flower finish.
- Add tassels, gold foil, or vintage paper backgrounds only after drying for a polished final touch.
Lavender Bookmark
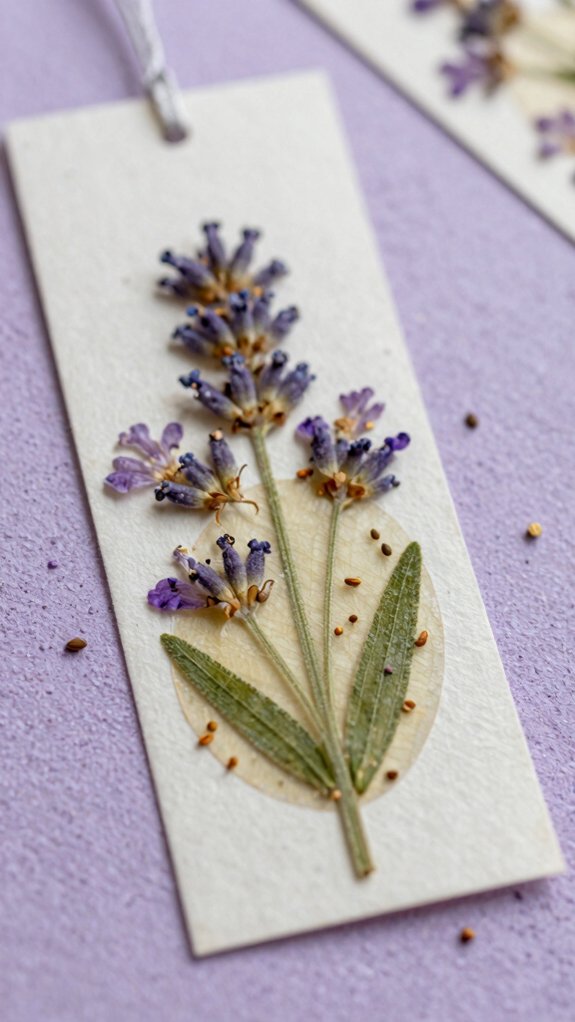
Lavender magic, coming right up! You can make a sweet lavender bookmark with easy preservation techniques and a few smart gift packaging tips.
Pick small, flat pressed sprigs or florets, so your bookmark won’t bulge or trap bubbles.
Arrange them in a tiny bouquet, leaving a slim border for a clean seal.
Seal the flowers between clear laminate sheets, matte sides in, so the petals stay put.
Want extra durability? Brush on matte Mod Podge, wait 15 minutes, then seal.
Add a tassel only after everything’s dry, or it’ll stick like a clingy snail.
Pretty, cheap, and beginner-friendly!
Wildflower Collection
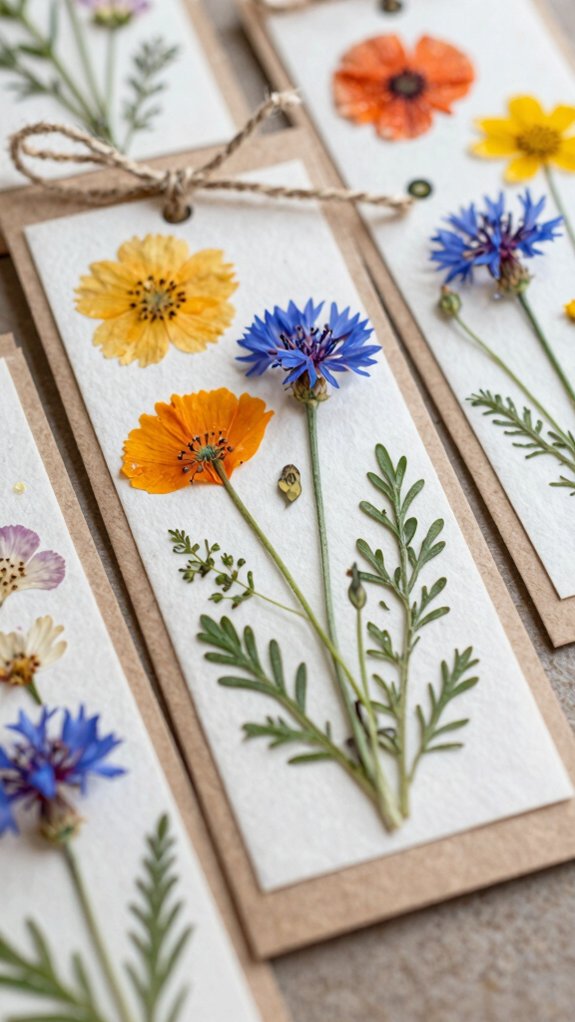
Wildflower hunting is half the fun, and if you pick the right blooms, your bookmark will look neat instead of squishy and lopsided! Choose tiny, flat flowers from your own yard or public spots, and follow safe collecting tips so everyone stays happy.
| Pick | Press | Result |
|---|---|---|
| Small blooms | Heavy books | Smooth shape |
| Single petals | Parchment sheets | Clean color |
| Spaced flowers | 2+ days | Even drying |
| Thick blooms | Petal mini bouquet | Slim bookmark |
For best pressing timing, wait longer if petals feel cool or soft. That patience pays off with brighter color and a tidy, gift-ready finish!
Fern Leaf Design
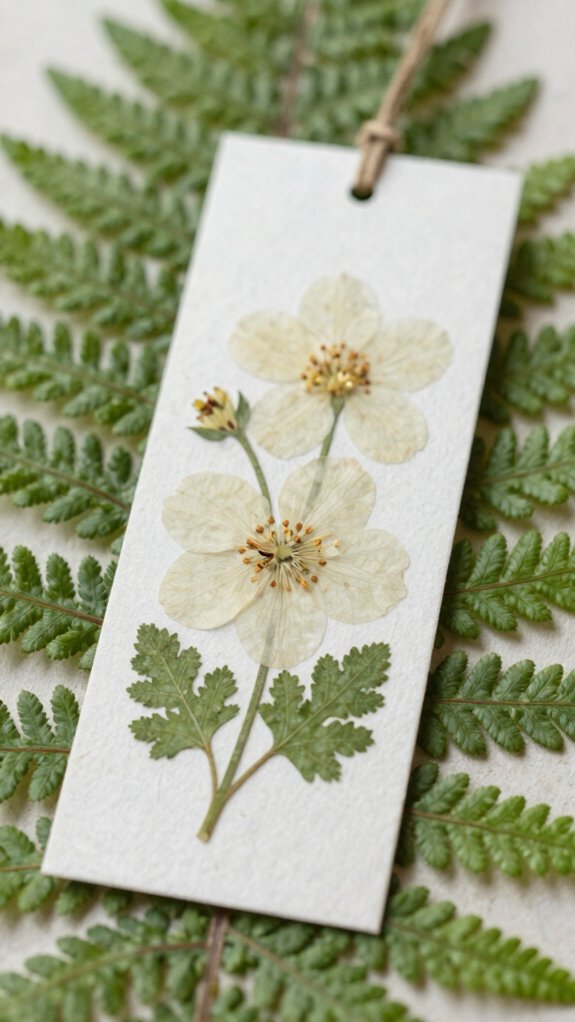
If you want your pressed flower bookmark to look sleek instead of squished, fern fronds are a fantastic place to start! You’ll love how these thin leaves flatten neatly, and they’re budget-friendly too.
For smart fern pressing tips, tuck the fronds in a heavy book for at least 2 days, then check for dryness.
Next, try simple leaf layout ideas by spacing the pieces a little from the edges on your laminate guide. That helps keep bubbles away, yay!
Seal it with the matte sides facing the ferns, run it through the laminator, and add vinyl only after it’s fully dry.
Your crew-worthy bookmark will look polished, not wobbly!
Transparent Botanical Style
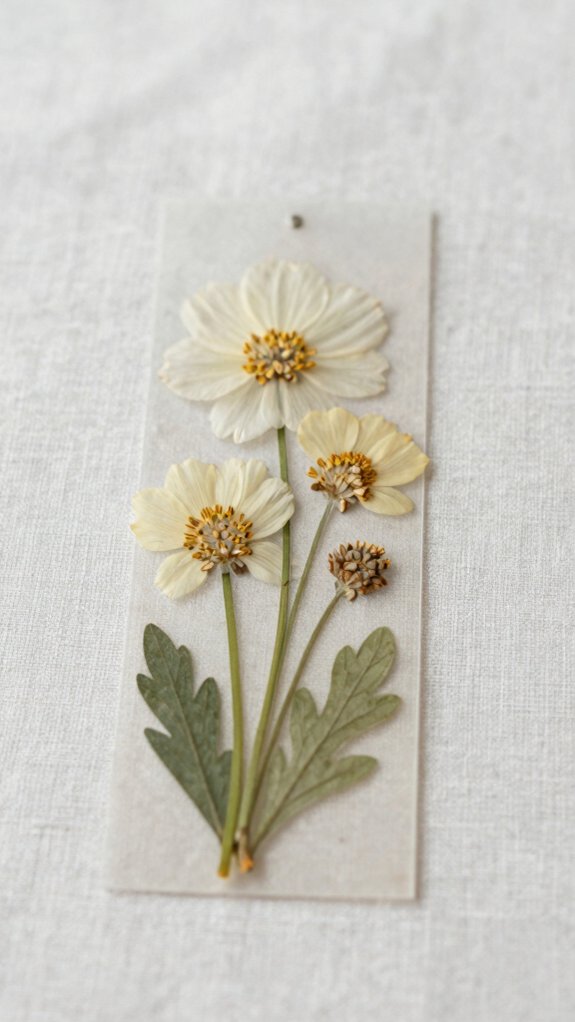
For a bookmark that looks like a tiny garden floating in glass, transparent botanical style is such a fun pick! You can use clear acrylic or laminating pouches, and both keep your flowers bright and pretty.
Start by peeling off the liners, then place small pressed petals inside the floral silhouette, leaving a little edge space for crisp clean edges. If you’re using acrylic, brush on thin Mod Podge, press the blooms, let them tack, then seal with a gentle top coat.
With laminate, layer, run it through, and trim. Add a tassel when dry—cute, right?
Vintage Book Page Background
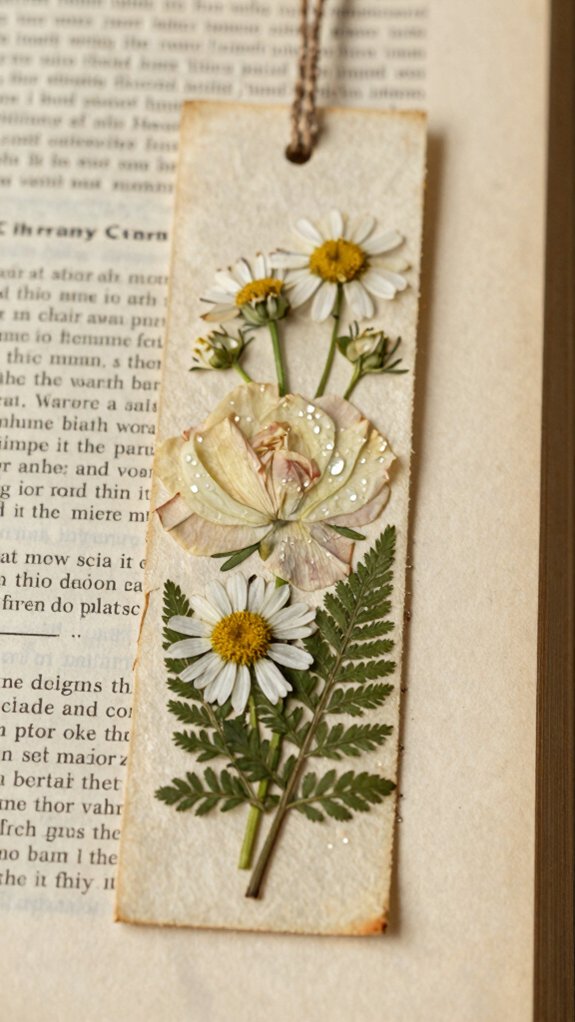
A vintage book page background gives your pressed flower bookmark such a cozy, old-library feel, like your blooms just wandered out of a storybook! You’ll fit right in with this classic look, and it’s easier than it sounds.
- Pick a flat, aged page with soft book page texture, then cut a bookmark-size panel.
- Match cream, brown, or sepia print so your petals stay bright, not crowded.
- Seal the background first, leaving a tiny border, so your vintage seal finish looks neat.
Then add flowers on top, and you’ve got a warm, collected-by-you treasure!
Gold Foil Floral Bookmark
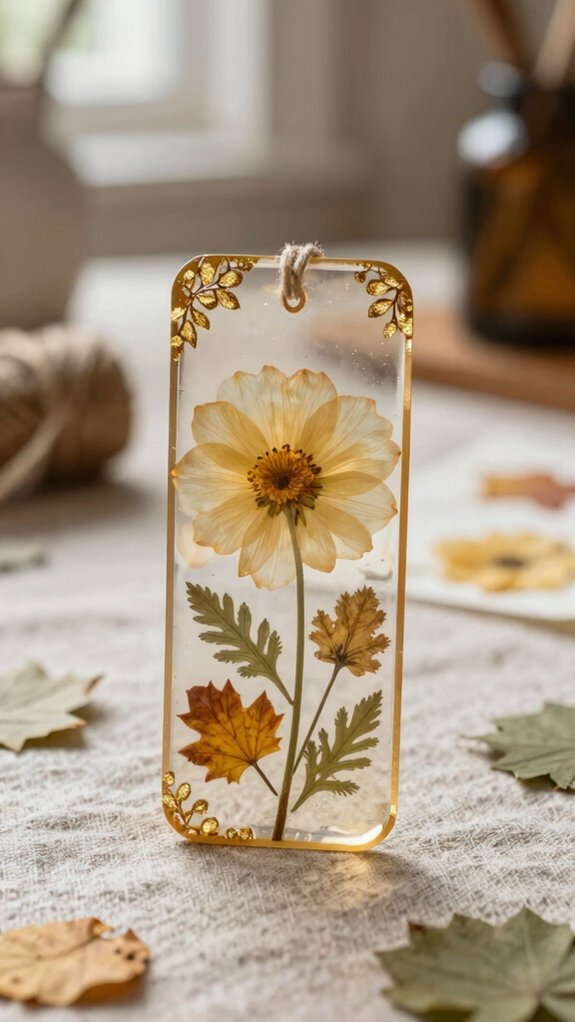
Shimmering gold foil can turn your pressed flower bookmark into a tiny showstopper, and honestly, it’s a lot easier than it sounds!
Start with a clear acrylic or laminated base, then peel off any protective liner so everything looks crisp.
Arrange small pressed petals in a neat cluster, leaving a little edge for bubble free sealing.
Brush on a thin coat of matte Mod Podge, or laminate first, then let it dry.
For foil stamping tips, add gold foil floral accents after the flowers are sealed, smooth them well, and finish with a second top coat.
Add a tassel last, and you’re gift-ready!
Personalized Name Design
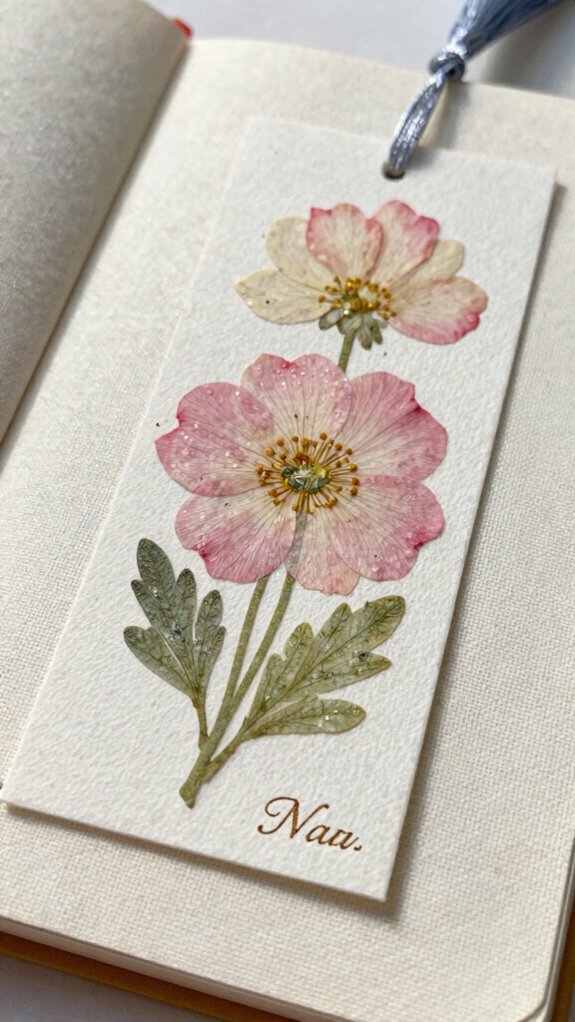
When you want your pressed flower bookmark to feel extra personal, start with a name shape that fits the vibe, like a heart swirl, a cloche, a mason jar, or a rounded rectangle. You’ll feel right at home making it!
- Print the matching template, then use layout tips to place tiny petals evenly inside the outline.
- Keep a few millimeters clear at the edge, and use tweezers so flowers don’t crowd the name.
- For extra protection, add vinyl lettering after laminating, then use preservation techniques and finish with a floss tassel. Nice and crisp!
Watercolor Flower Layer
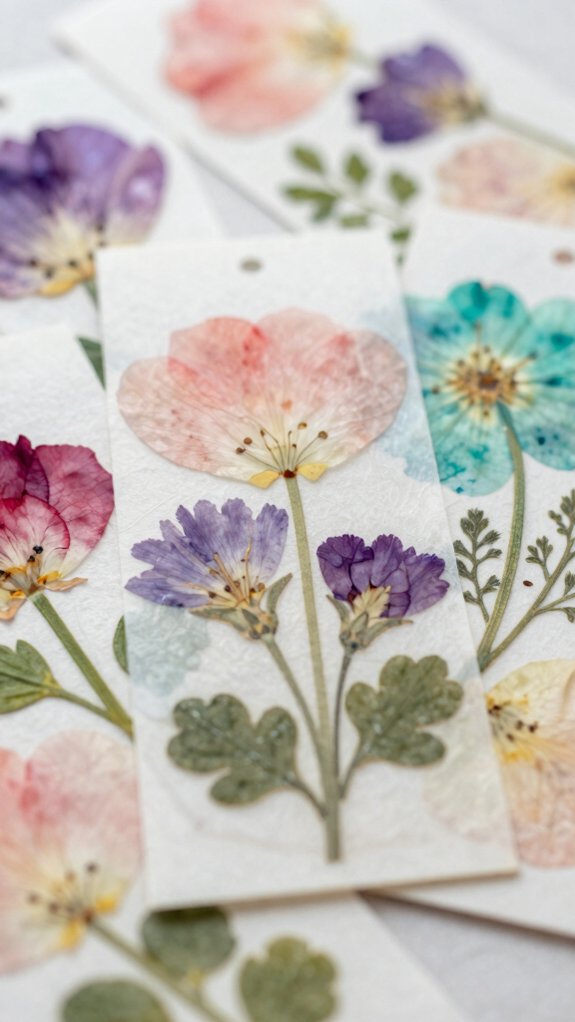
For a soft, dreamy look, you can build a watercolor flower layer by arranging your pressed petals on a clear bookmark area, then brushing a light wash of diluted watercolor around and behind them so the paper gets gentle color shifts without hiding the flower texture—pretty elegant, right?
Start with a little water, a soft brush, and a tiny palette, then add thin coats for layering transparency and keep a clean border.
Let it dry fully, because rushed paint can muddy your blooms.
That’s smart pressed bloom care!
Seal it with Mod Podge or laminate, and wow—your gift feels polished and personal.
Seasonal Bloom Collection
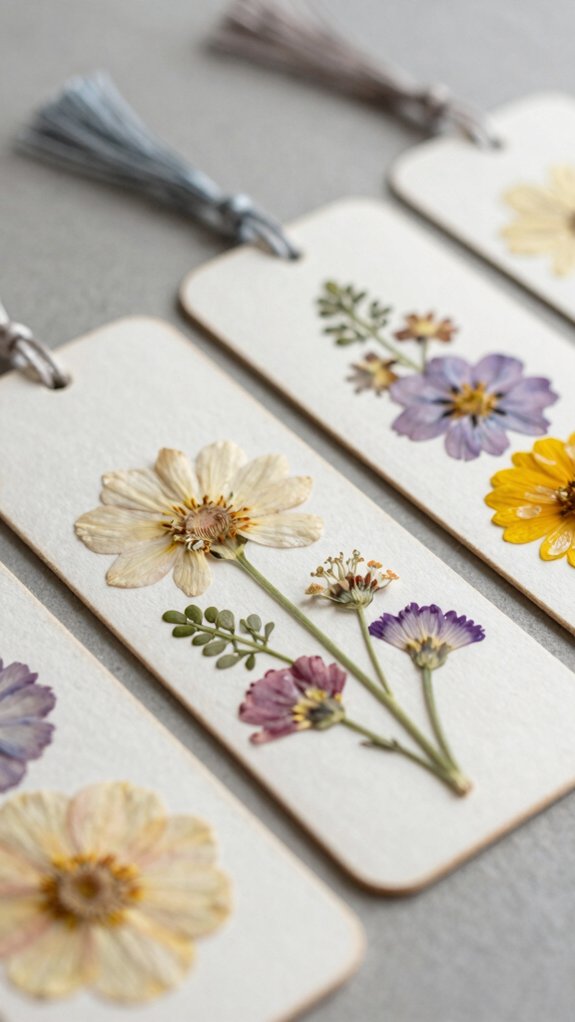
That soft watercolor background is lovely, and now you can make it feel even more personal by building your bookmark around flowers that match the season! You’ll fit right in with a crafty crew when you choose blooms from your own seasonal color palette.
- Pick small, flat petals for easy pressing.
- Press fresh stems in a heavy book for at least 2 days.
- Sort by size, then tuck them neatly into your template.
Use bloom prep tips like spacing petals and adding paper towels to keep them smooth. Sweet, simple, and budget-friendly—your bookmark’ll look like a tiny garden!
Ribbon Tassel Finish
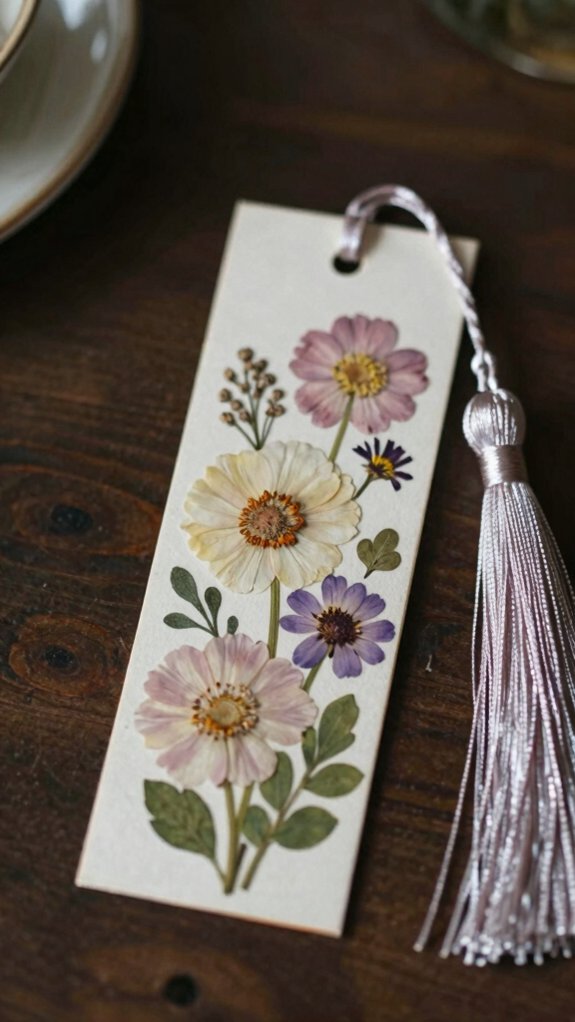
Now that your pressed-flower bookmark is totally dry, it’s time for the fun little finishing touch—a ribbon tassel that makes the whole piece feel extra polished!
Grab about 10 inches of twine, yarn, or ribbon, fold it in half, and thread the loop through the top hole for easy tassel placement.
If the hole feels snug, a firmer punch earlier helps the cord slide through cleanly.
Pull the loose ends through the loop, then tighten for secure finishing knotting.
Keep this step for last so nothing sticks, smears, or shifts.
Nice, right?
Your bookmark suddenly feels gift-ready and totally you!
Garden-Inspired Gift Set
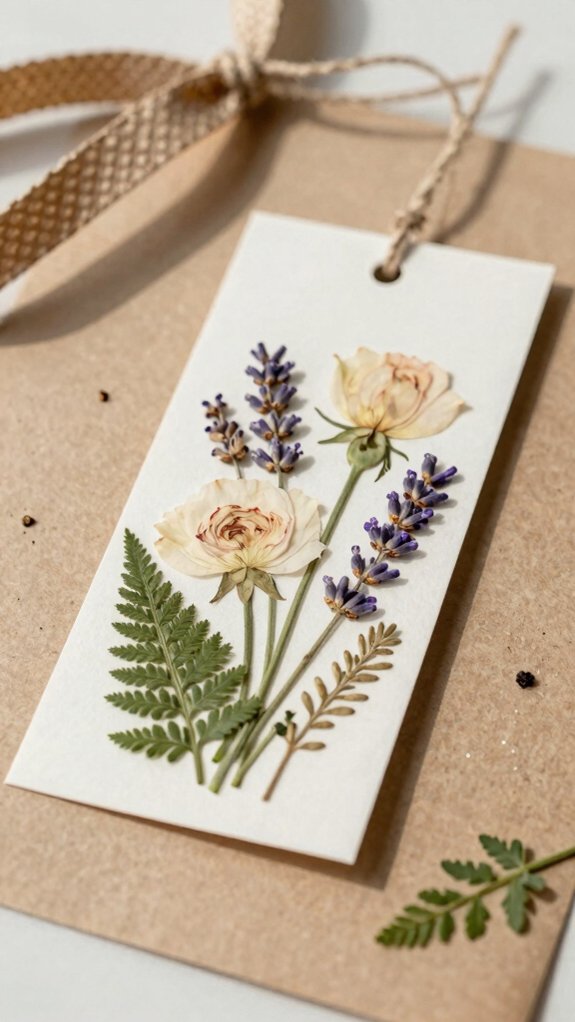
If you’ve got a little pile of pressed flowers left over, this is your chance to turn them into a whole Garden-Inspired Gift Set—and yes, it looks as sweet as it sounds!
- Pick small, flat blooms, then make matching sets in one color palette.
- Slip them into clear acrylic or laminating pouches, leaving a tiny edge for sealing.
- Add floss tassels and simple seasonal packaging for a gift-ready finish.
You can make 6–12 bookmarks from one batch, so it’s budget-friendly and super beginner-friendly.
Keep the tiny bouquet layout the same, and your friend group will think you planned it like a pro!
Cottagecore Botanical Theme
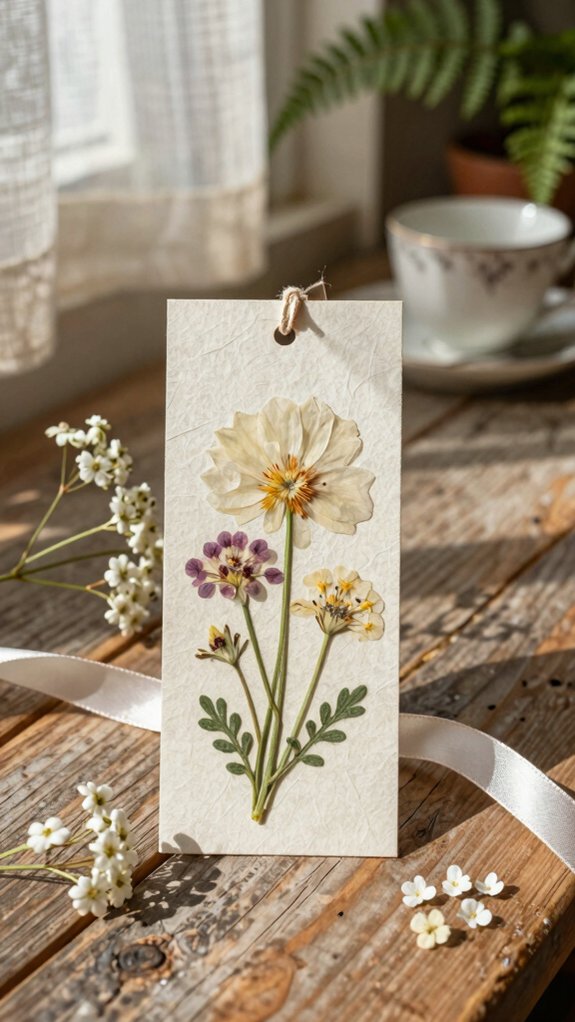
For a cottagecore botanical bookmark, you’ll want to lean into tiny blooms that feel like they wandered straight out of a storybook garden—think pansies, daisy petals, Queen Anne’s lace, or even delicate fern fronds!
Pick flat flowers, press them for at least 2 days, and let them dry fully so your bookmark won’t trap sneaky bubbles.
Arrange a little bouquet in a 2–2.5 by 6–7 inch window, leaving a clean border for easy sealing. Seal it in laminate for a glossy finish, then trim neatly.
Add twine or floss for a charming tassel, and you’ve got pressed flower texture with a sweet spring color palette!
Minimal Modern Bookmark
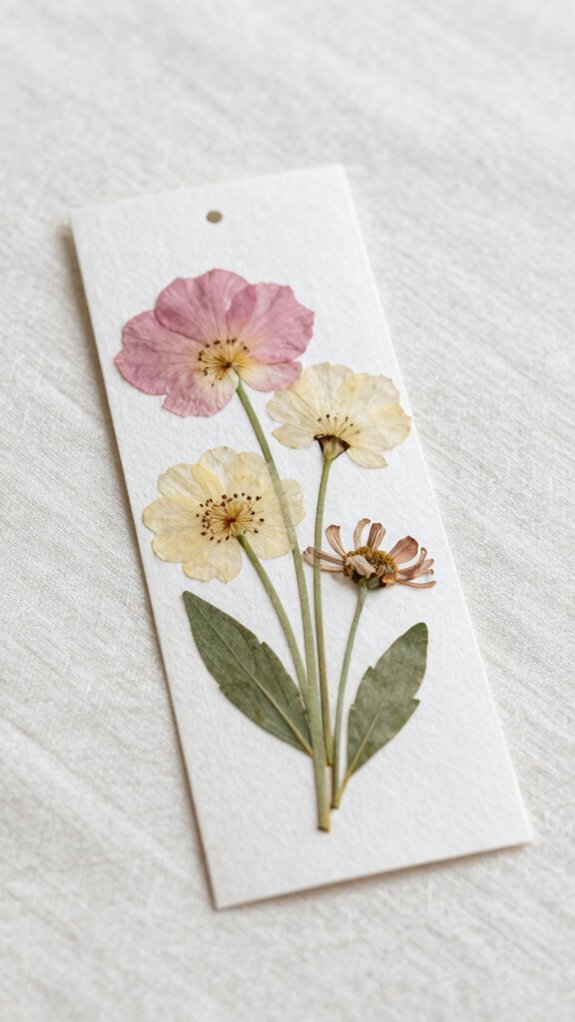
Sleek and simple can still feel magical! You’ll fit right in with this Minimal Modern Bookmark, and it’s easier than it looks. Start with a clear acrylic base, peel the liners, and plan a tiny flower or tight bouquet.
- Brush on matte Mod Podge, then press dried petals flat.
- Add light petal layering, keeping stems out so it stays slim.
- Let it dry, then seal the whole piece.
That matte finishing keeps it crisp, clean, and gift-ready. Wait for full dryness, then add a floss tassel for a polished wink. You’ll love how classy it feels!