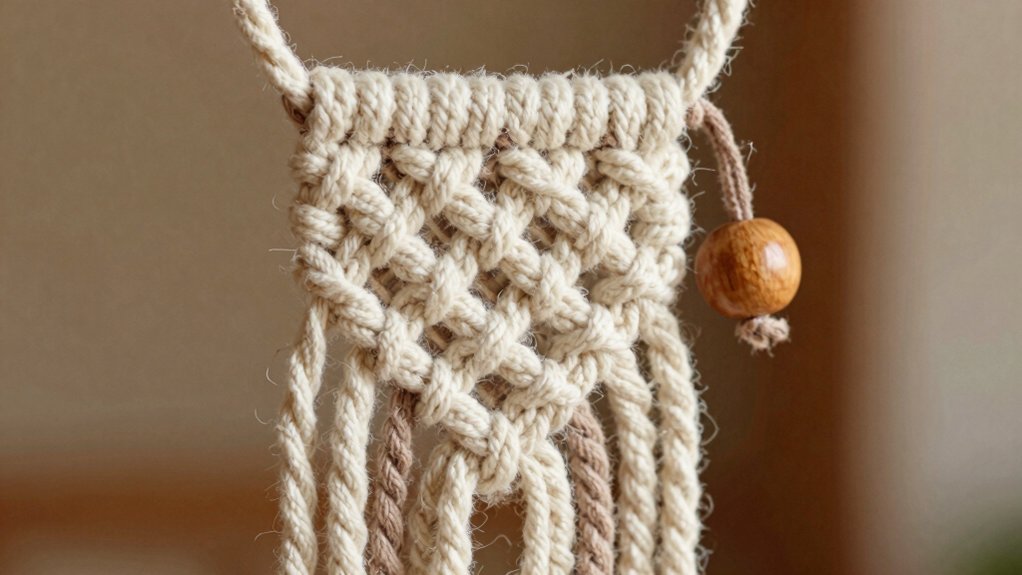

You can make an easy macramé keychain with 3mm cotton cord, a ring, and a few square knots—seriously, that’s it! Start with a lark’s head knot, practice on scrap cord, then try a simple spiral or add a bead for extra flair. Keep your tension even so it stays neat, and trim the ends into a tiny tassel for a polished finish. Cheap, beginner-friendly, and oddly satisfying—stick around, because the cutest twist comes next.
Key Takeaways
- Use 3mm cotton macramé cord or 2mm 3-strand rope for easy control and a clean finish.
- Start with the square knot, using four strands and even tension to keep the keychain flat and neat.
- Practice on scrap cord and a ring first to test knot spacing, cord length, and tension.
- Try a simple spiral pattern with a lark’s head knot for a stylish beginner-friendly keychain.
- Finish with beads, tassels, or a feather detail to add texture and make the keychain stand out.
Pick the Right Cord
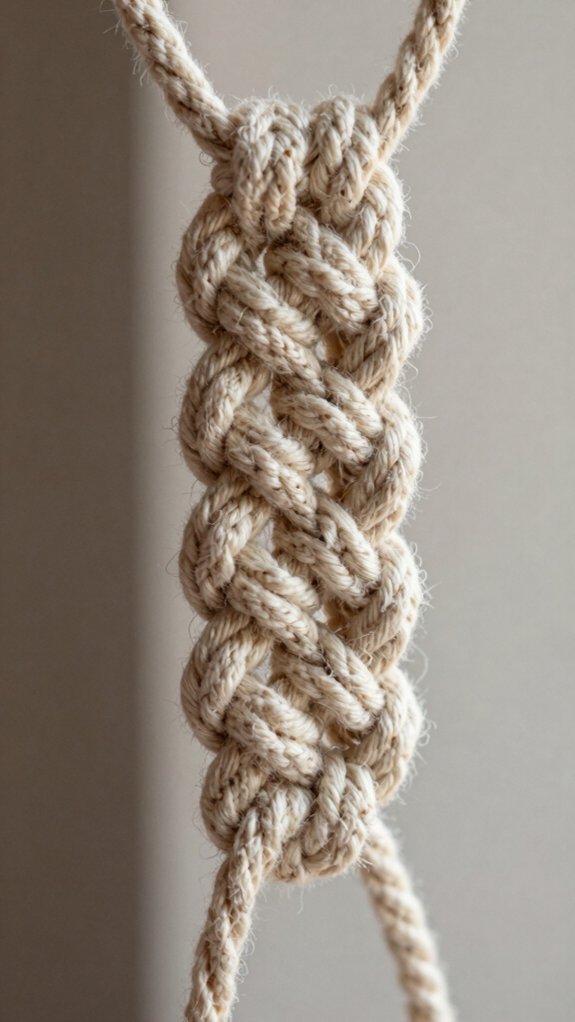
First, let’s talk cord, because the right one can make your keychain feel neat, sturdy, and way less fussy to work with! You’ll want cotton macramé cord around 3mm, or a 3-strand cotton rope near 2mm, since it gives you easy control and a clean finish.
If you want more shape, try twisted 3-ply 3mm cord, a fray resistant material that stays strong while you knot.
For chunkier styles, go with 5mm cord for bolder texture.
Use this cord thickness guidance, and cut extra length, because your project needs room to grow.
Learn the Square Knot
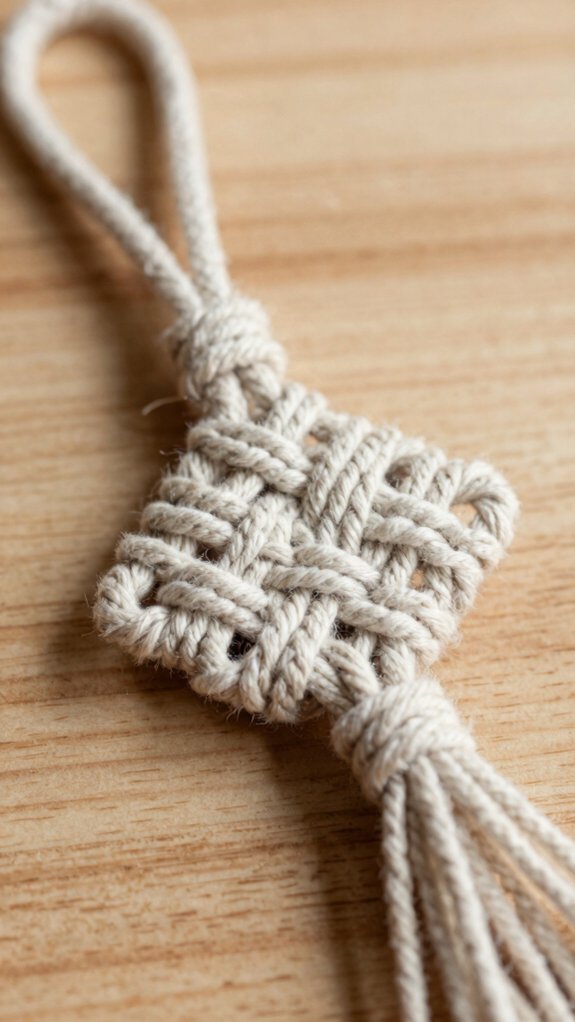
Now that your cord is ready, the square knot is the one that makes macramé feel like magic without being too fussy! You’ll use four strands: the two outer cords work, and the two middle cords stay put.
Start with the left cord over the center, then the right cord over that, and pull snug. That’s the first half, and Cord tension tips matter here—keep it even so your rows stay flat and neat.
For Mirror knot practice, flip the sequence the next time and watch the shape lock in.
A bead? Slide it onto the middle cords midway, then finish strong!
Practice Before Your First Design
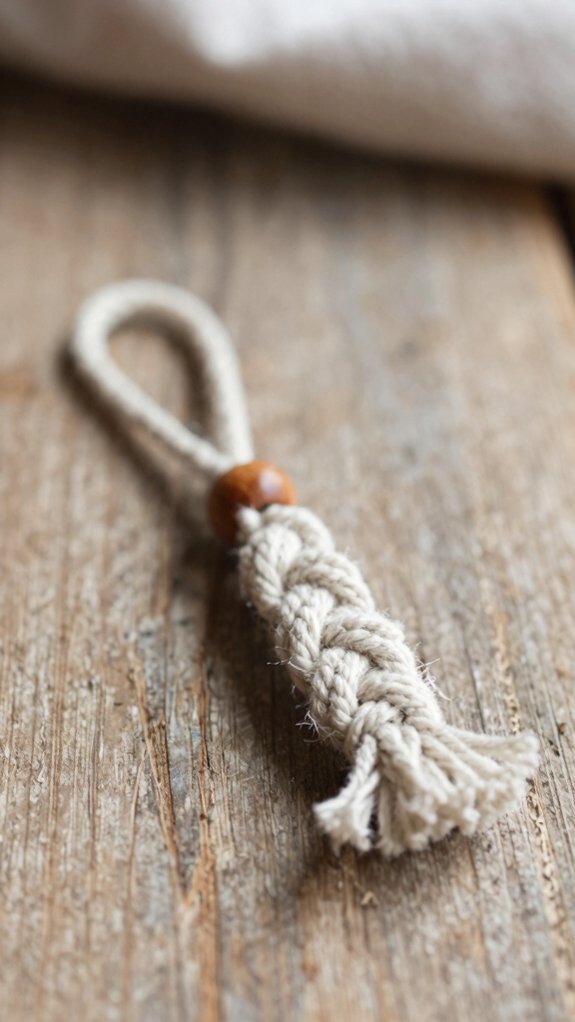
Before you jump into your full keychain design, give yourself a little practice round, because a few test knots can save you from a lot of “oops, that’s lopsided” moments later!
Use scrap cord and a ring, then practice the lark’s head knot and a few square knots until both sides match.
Next, check Beginners knot tension by making a tiny sample on a board with T-pins or tape, so your rows stay neat and friendly-looking.
Try test run spacing gauges, like a 1/2-inch gap, and confirm your cord length before you cut.
One quick sample now means way fewer surprises later—yay!
Try a Spiral Pattern
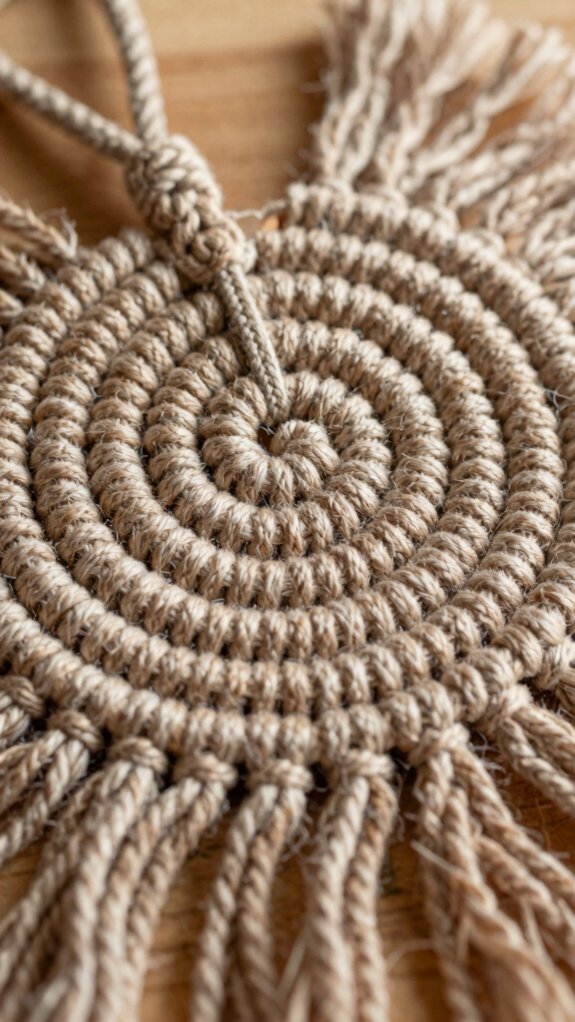
If you’re ready for a fun little twist, the spiral pattern is a great place to start, because it looks stylish but it’s actually super beginner-friendly!
You only need your ring and two cords, so the cost stays low and the vibe stays easy.
Attach the cords with a lark’s head knot, then cross the outer left cord over the middle cords into a “4” shape and bring the outer right cord through.
Keep the left cord on top as you repeat, and soon you’ll find your beginner rhythm.
For spiral practice, try simple spiral-only designs first, and let the twist do the talking!
Add Wooden Beads
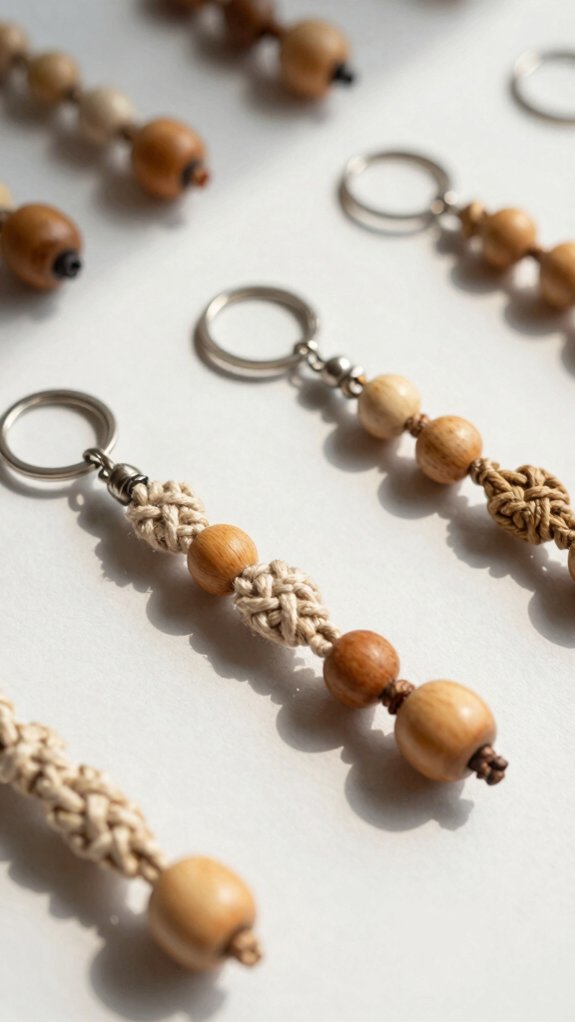
Wooden beads add an easy little pop of texture to your macramé keychain, and they’re a fun way to make a simple design feel extra polished. Choose beads with holes wide enough for your cord, then slide them onto the two middle cords between knot sections. Easy, right?
If you’re using a ring, tie on your cords with a lark’s head knot first, then tuck in the beads after a short row of knots so they stay centered. Secure square knotting keeps everything snug, and your colorful bead placement looks neat.
Add any extra beads after trimming the fringe for a tidy finish!
Create a Feather Shape
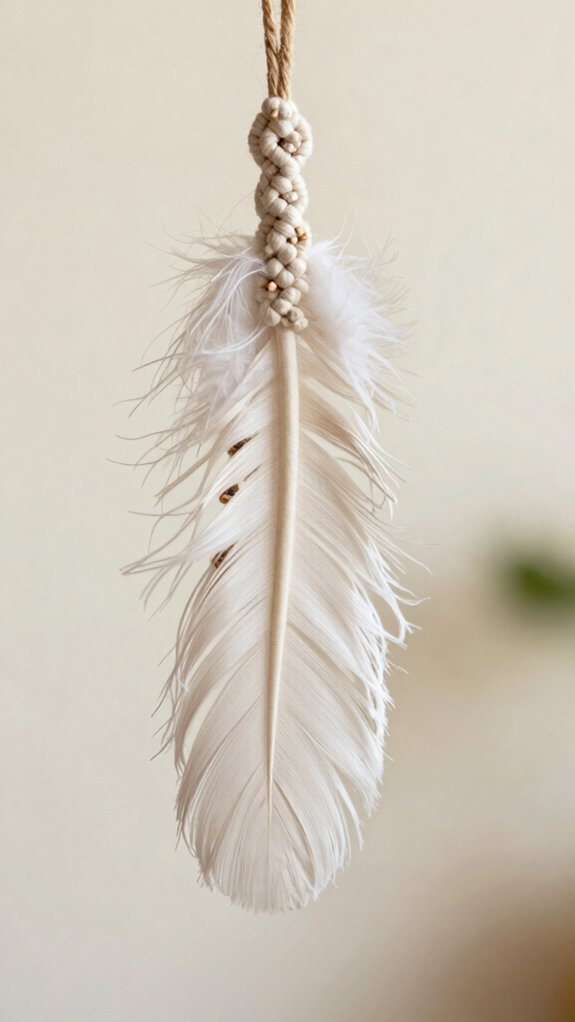
Ready to switch from cute bead details to a more natural look? Start with a cord about four times your finished length, then attach it to the keychain ring with a larks head knot. Secure it to a board with T-pins or tape, so your feather stays neat and friendly-looking.
Now build it with double half-hitch rows, moving from the center outward for Macramé feather symmetry.
Want it to feel extra sturdy? Try 3mm twisted 3-ply cotton.
At the base, add a wrapping knot, trim the fringe, then use Fringe combing techniques to fluff it out, and wow—your feather really comes alive!
Finish with a Tassel
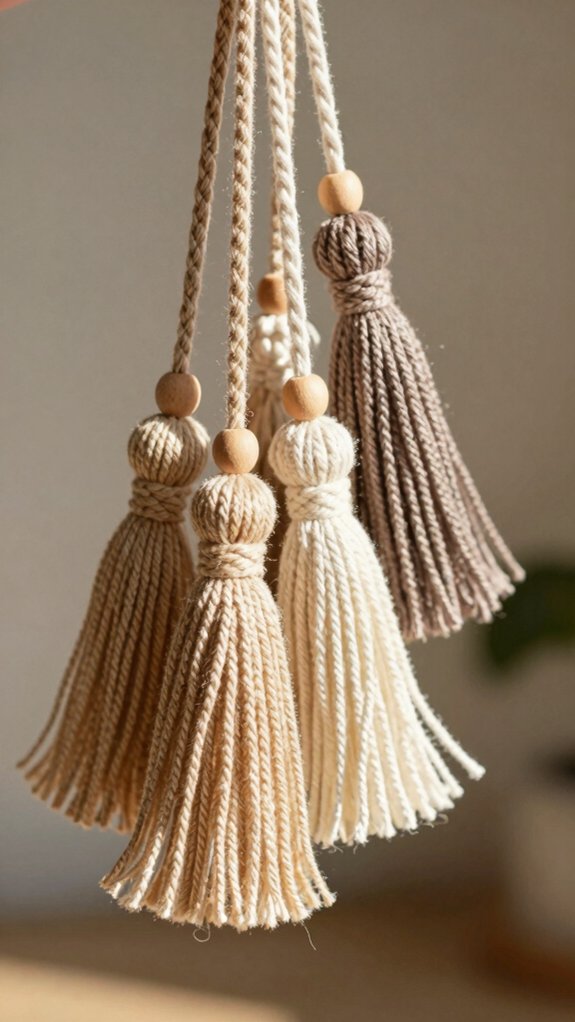
Once your final knot is snug, you can turn the loose ends into a cute tassel that feels neat, fluffy, and totally finished!
First, pull the cord ends under or through the last knot area to remove slack, and if you used a wrap, tuck them underneath for securing loose ends.
Then trim the strands, starting with the shortest one as your guide, so Tassel size consistency is easy to keep.
Brush everything with a fine-tooth comb, fan it out, and lightly snip any shy, uneven bits.
Tiny effort, big glow-up, and yep, your keychain’s ready to show off!
Mix Multiple Colors
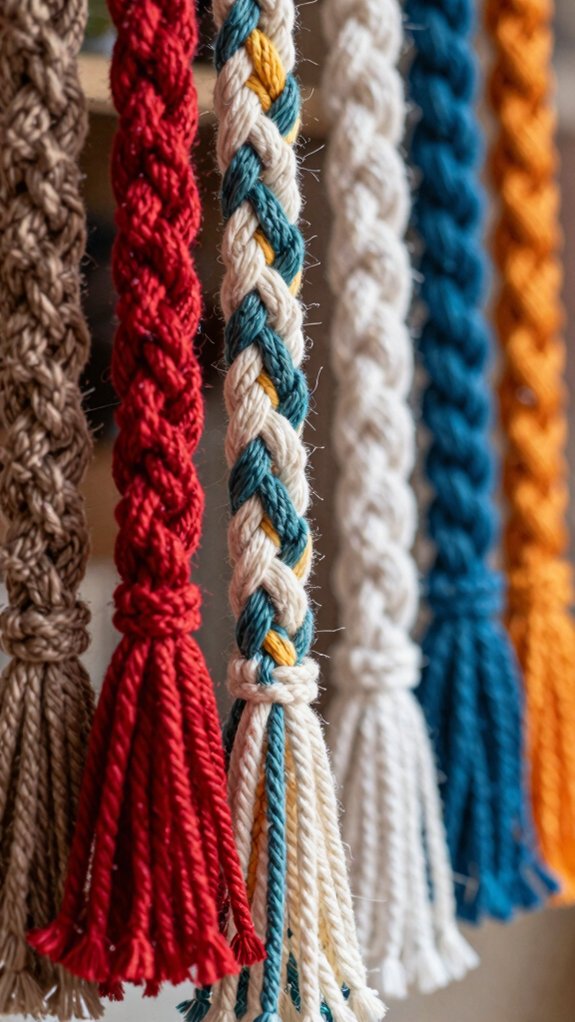
If you want your keychain to feel a little more playful, mix two or more cord colors so the knots pop instead of blending in like wallflowers at a dance. Try pastel pink with wine red, or natural cord with a muted accent—cute, right! Keep both cords about 2–3 mm thick, then cut each color to its own measured length for easy switching.
| Color | Place | Effect |
|---|---|---|
| Pink | Knot row | Soft charm |
| Red | Spiral | Bold line |
| Natural | Base | Calm look |
| Blue | Center | Bright spark |
| Bead | Middle | Tiny wow |
Use color blending tips for clean changes and contrast knot clarity. Finish by brushing fringes so everything feels neat and ready to share!
Personalize with Initial Charms
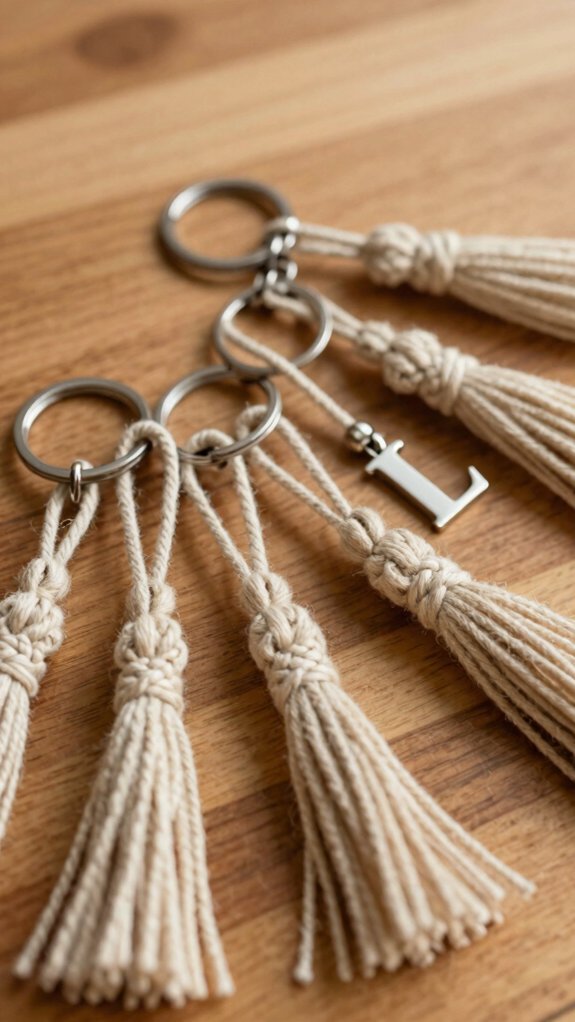
To give your keychain a little personality, add an initial charm and let it become the star of the show! You’ll need 3mm twisted cotton cord, your key ring, and a charm that feels like you.
Use the same lark’s head knot to attach it, then try charm placement by tying a few double half-hitch or spiral knots first.
Slide the charm onto the center cords before your next knot section, and keep knot tightening even so it sits neat.
If it’s heavy, add a bead for weight balancing.
Finish with a square knot, and let color coordination make the letter pop!
Wrap and Gift Your Finished Keychain
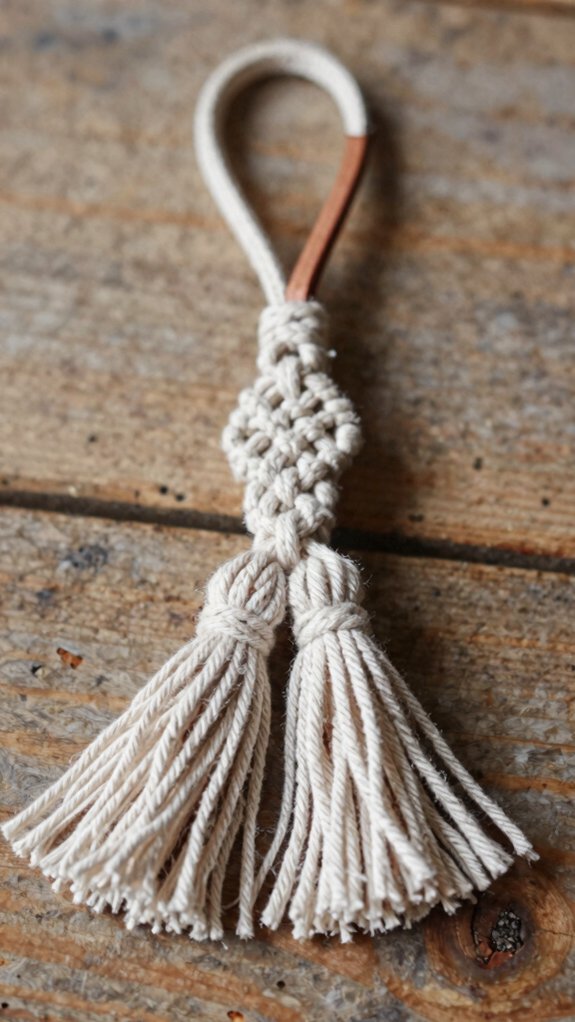
As you finish your last knots, give the keychain a quick check so it looks neat, sturdy, and gift-ready! Then wrap and gift it with confidence, because you’ve made something that feels personal and welcoming.
- Pull each cord snug under the last wrapping knot.
- Brush the fringe, then trim fringe evenness with the shortest cord as your guide.
- Re-tighten cords so the knot band sits flat.
- Confirm the clasp or ring connection.
- Add one bold bead or color change for Gift ready presentation.
Use twisted cotton string and tuck tails under the wrap, so your little handmade buddy lasts!