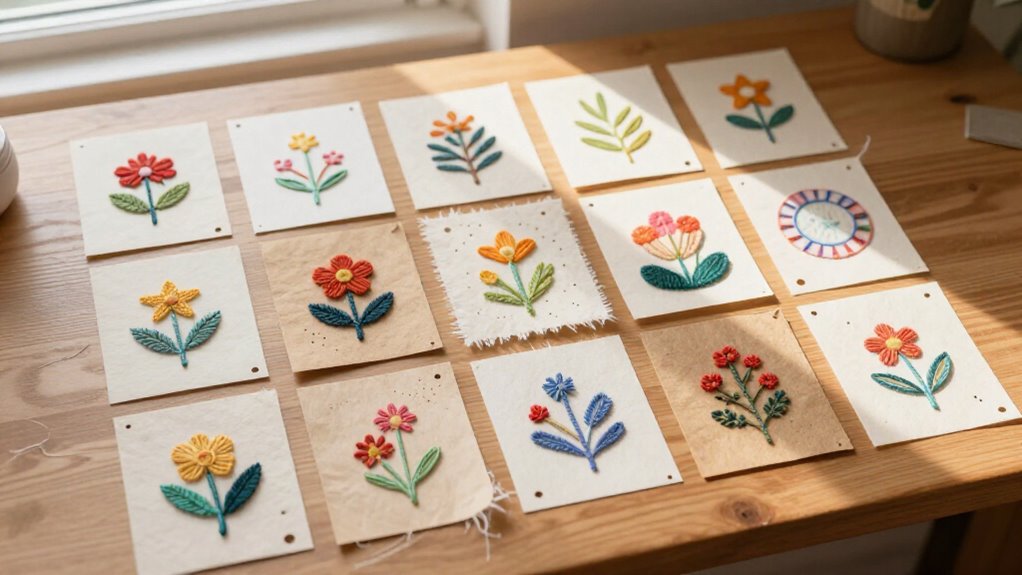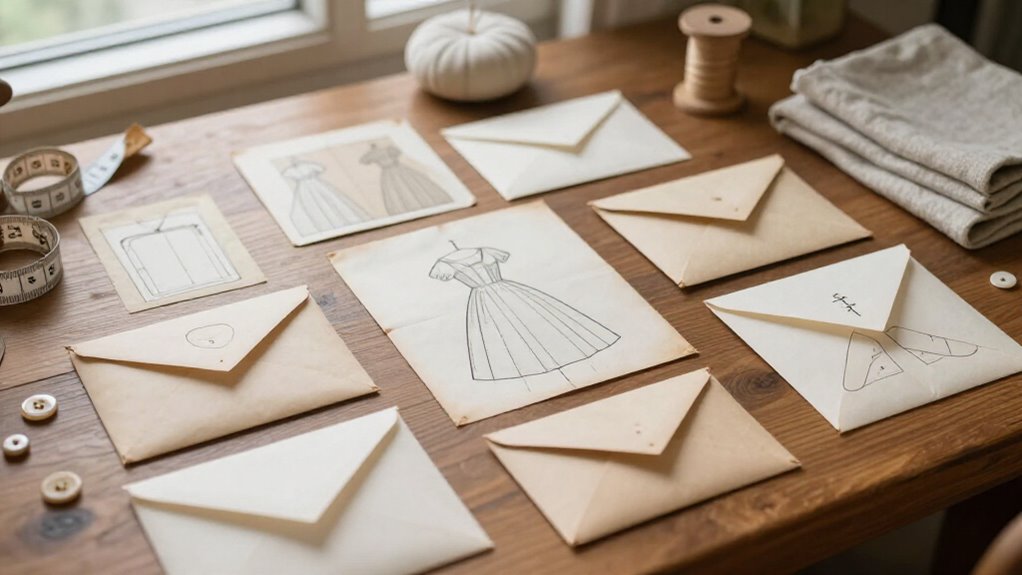
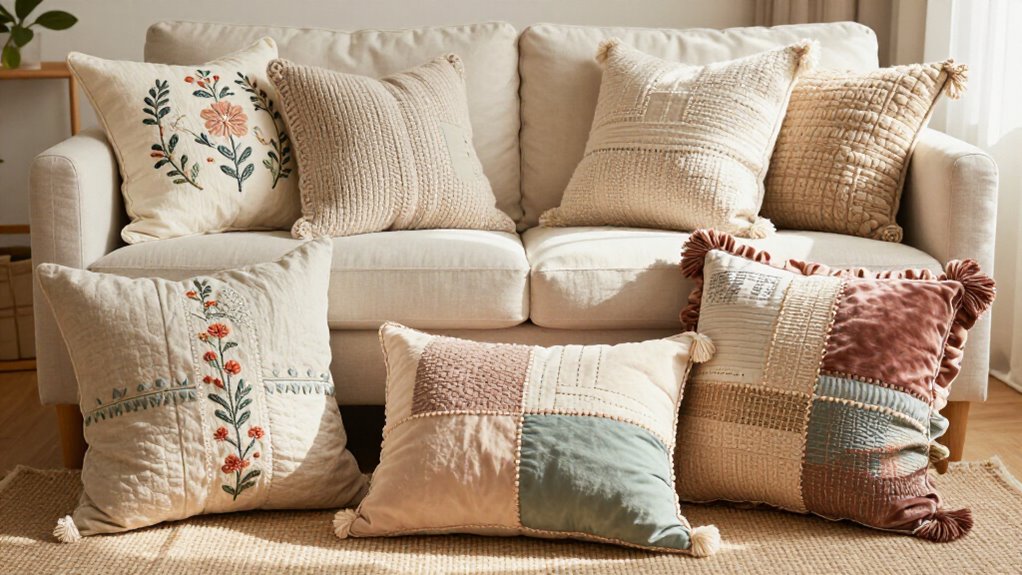

You can sew cozy pillows from scraps, linen, florals, denim, or thrifted quilt blocks—cheap, beginner-friendly, and wonderfully personal! Try patchwork squares, ruffled cottagecore edges, simple envelope backs, scallops, appliqué, hand stitching, seasonal covers, or a supportive lumbar pillow. Cut fabric slightly larger than your insert, use 1/2-inch seams, clip corners, and stuff or add a form. Add piping or pom-poms for polish—wait until you see the sweetest vintage-block idea ahead.
Key Takeaways
- Make a cozy patchwork pillow by joining fabric scraps with 1/4-inch seams, adding batting, and quilting simple straight-line grids.
- Turn a vintage quilt block into a keepsake cover by centering it on a coordinating backing and using a crisp 1/2-inch seam.
- Sew relaxed linen envelope pillows with overlapping hemmed back panels, creating an easy removable cover without a zipper.
- Personalize pillows with monograms, names, dates, or children’s artwork, stabilizing embroidery or appliqué to prevent puckering.
- Add character with ruffles, piping, scalloped edges, floral prints, or repurposed denim patchwork for a handmade decorative finish.
Quilted Patchwork Pillow
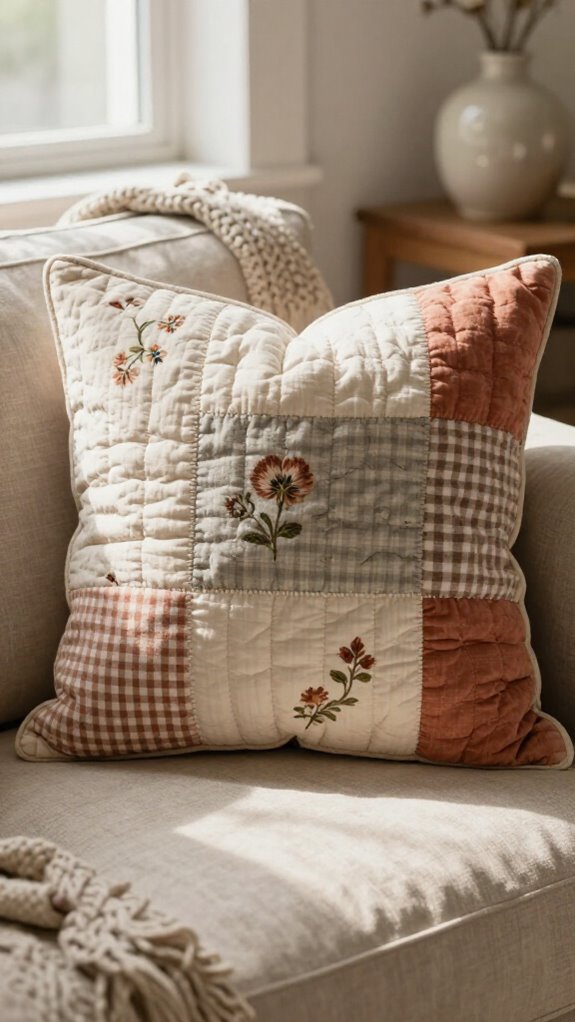
Turn small fabric scraps into a cozy quilted patchwork pillow that looks far more complicated than it is—great news for beginners!
Start with Color palette planning, then enjoy fabric texture mixing: cotton, linen, and soft flannel make your pillow feel like it belongs in everyone’s favorite room.
Cut blocks with matching 1/4-inch seams, press seams in alternating directions, and join them into a square.
Baste the patchwork with backing and optional batting, then quilt straight lines or a cheerful grid.
Keep spacing even for a firm, cozy finish.
Measure for your insert, sew on an envelope back, and stuff lightly.
If corners puff like tiny marshmallows, remove some filling!
Vintage Floral Pillow
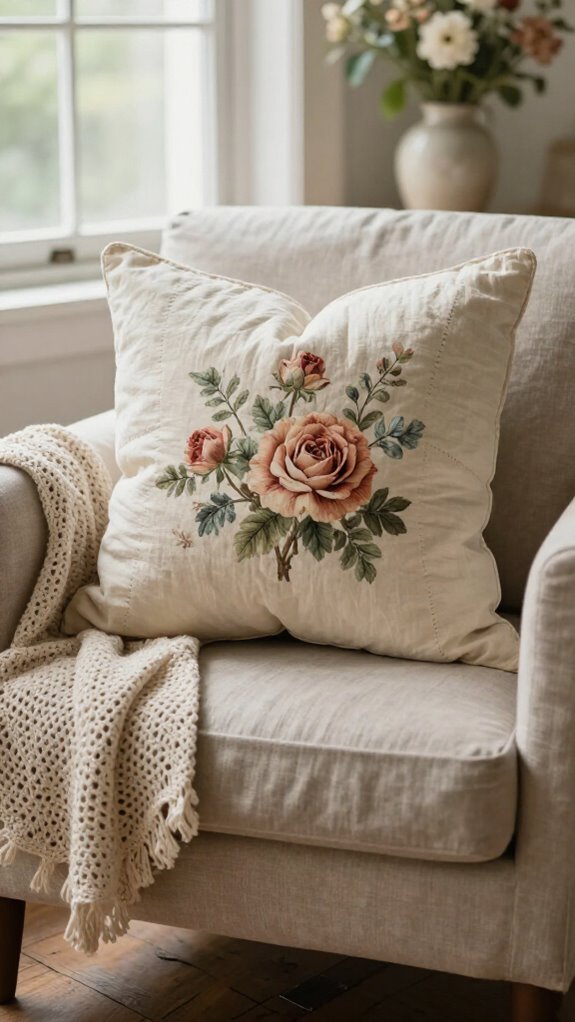
A vintage floral pillow brings instant cottage charm to a sofa, bed, or reading chair—and it’s much easier to sew than it looks!
- Choose cotton, chenille, or brocade, then cut two pieces to your insert size plus 1/2-inch seams. Cozy scraps work beautifully!
- Use Pattern placement tips: center blooms vertically and horizontally on the front, especially when matching cuts. Add solid piping, slightly darker than the print, for a polished edge.
- Sew crisp corners by pinching opposite sides, or round them with a glass. For the secret finishing touch, try invisible zipper tricks: place one in the side seam, about 3 inches above the back bottom. Your pillow will look wonderfully collected!
Cottagecore Ruffle Pillow
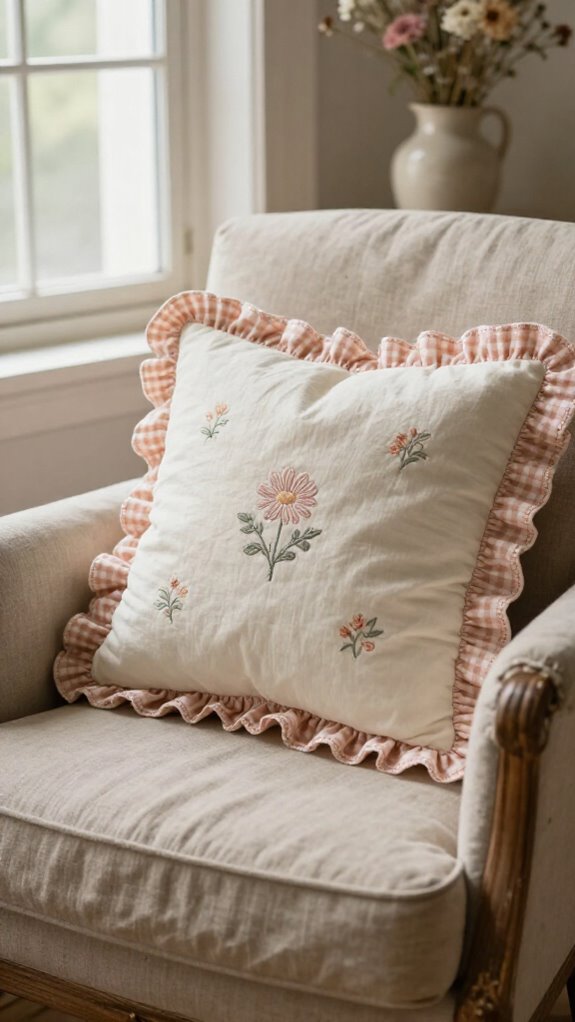
Choose a cheerful fabric pattern and cut two 19-inch squares for an 18-inch insert.
Pin and baste your Seasonal ruffle around the front’s edge, keeping gathers even at corners.
Sew panels right-sides-together with a 1/2-inch seam, leaving a turning gap.
Clip corners, turn, and use a chopstick to poke them crisp—tiny magic!
Stuff with Polyfil until plump yet tender, then fluff it smooth.
Add a small invisible zipper near the back bottom, and you’ve made a welcoming pillow your cozy corner will love.
Linen Envelope Pillow
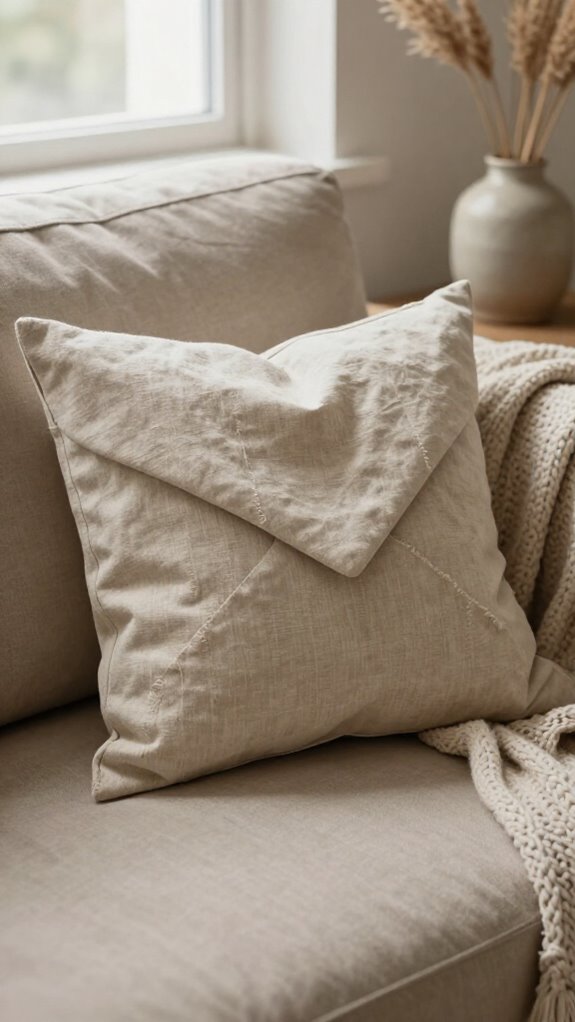
Linen envelope pillows bring that relaxed, sun-washed look to a sofa or bed, and the hidden overlap in back means you can skip the zipper—hooray! You’ll create an easy, welcoming cover for your favorite gathering spot.
- Cut linen squares at insert size plus 1/2-inch seam allowances; test with muslin if you’re unsure.
- Hem the back overlap, place right sides together, sew straight seams, then press.
- Use these Envelope construction tips: pivot neatly and clip corners before turning.
For linen corner finishing, turn carefully to avoid floppy “rabbit ears.” Center a print on the front, and your pillow will look polished, personal, and right at home with your crew!
Scalloped Edge Pillow
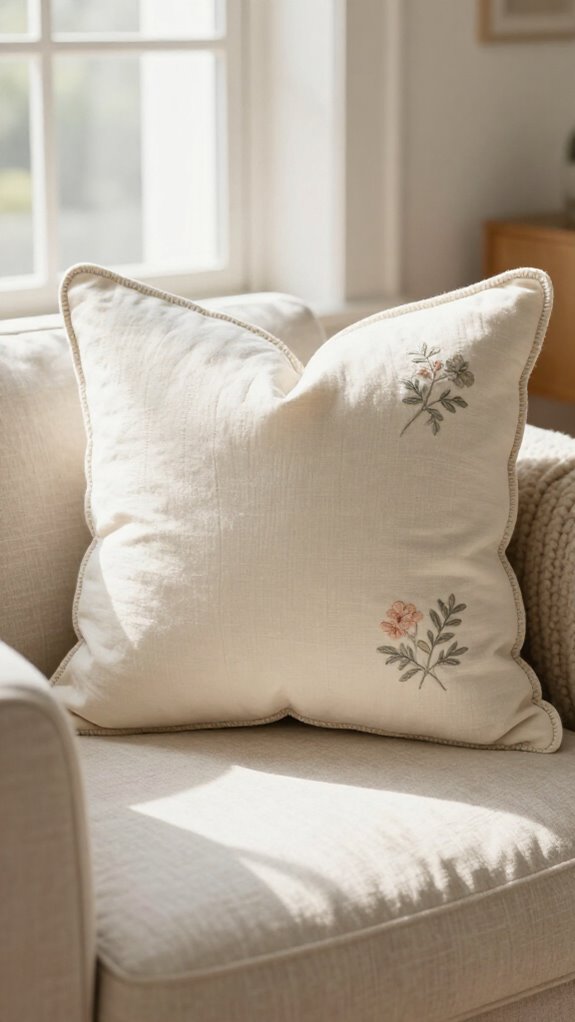
Bring a little vintage charm to your sofa or bed with a scalloped edge pillow—it’s a beginner-friendly project that looks far fancier than it is!
For fabric selection, choose cotton, linen blend, or upholstery fabric with enough body to keep those curves crisp. Trace scallops on a 1/2-inch seam-allowance pattern, then cut two matching pieces.
Mark the right sides, sew around the edges, and clip or notch curves often, especially at each little point. Turn, press, and add your pillow form—no wavy potato-chip edges here!
Finish with an envelope back or zipper. For polished scallop shaping, baste first, then topstitch close to the edge if you’d like a sweet decorative finish.
Embroidered Botanical Pillow
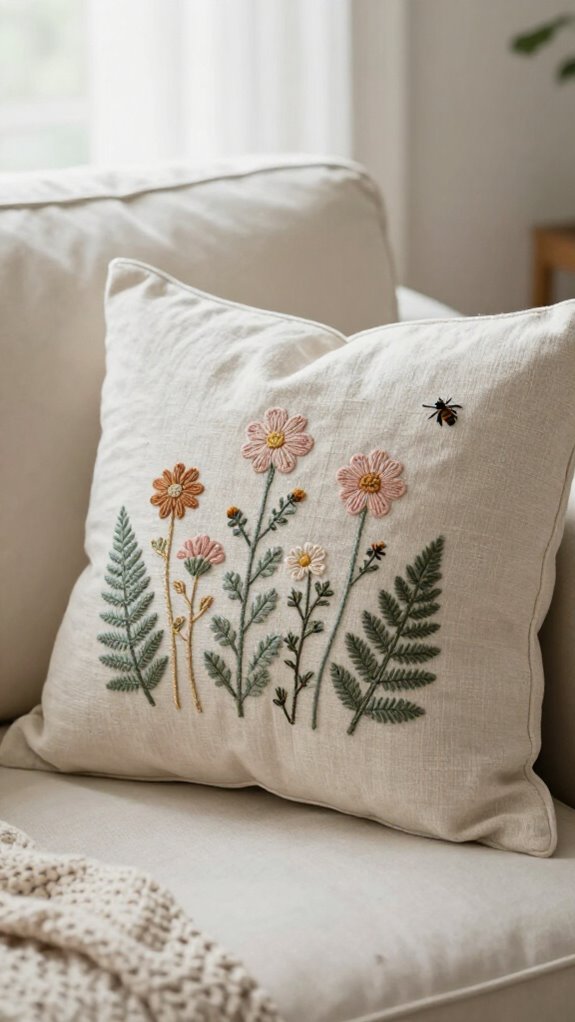
After those playful scallops, an embroidered botanical pillow adds a softer, garden-inspired touch to your space—no green thumb required!
- Start with fabric selection: sturdy cotton, linen, or canvas works beautifully. Use Color theory to pair leafy greens with flowers that echo your room.
- Mark the centered panel, then embroider one front square in a hoop. It keeps stitches smooth, not wavy—thank goodness!
- Assemble a zipper or envelope back separately, then sew right sides together with a 1/2-inch seam. Clip corners, turn, and press.
Finally, taco-fold a full pillow form inside. Your crisp blooms will look wonderfully polished, like they belong in your cozy shared nest!
Monogrammed Throw Pillow
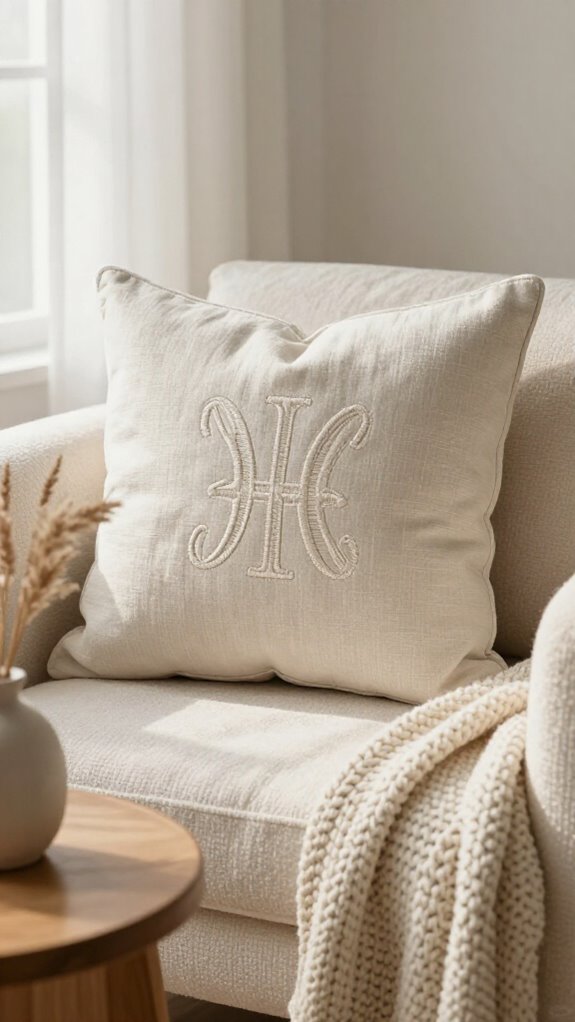
A monogrammed throw pillow gives even a simple sofa a custom, boutique-style upgrade—without boutique prices, hooray! Choose cotton, chenille, velvet, or brocade, then cut two panels with 1/2-inch seam allowances.
For Monogram placement tips, center your letter on the front panel before stitching. Use embroidered appliqué or machine embroidery so edges won’t fray, and add light backing—one of the best Fabric stability tricks—to prevent puckering.
Sew panels right sides together, leaving a zipper or envelope opening. Turn, press, and add the form.
Want a polished finishing touch? Add across-grain piping around the front. Your initial makes the room feel warmly yours.
Vintage Quilt Block Pillow
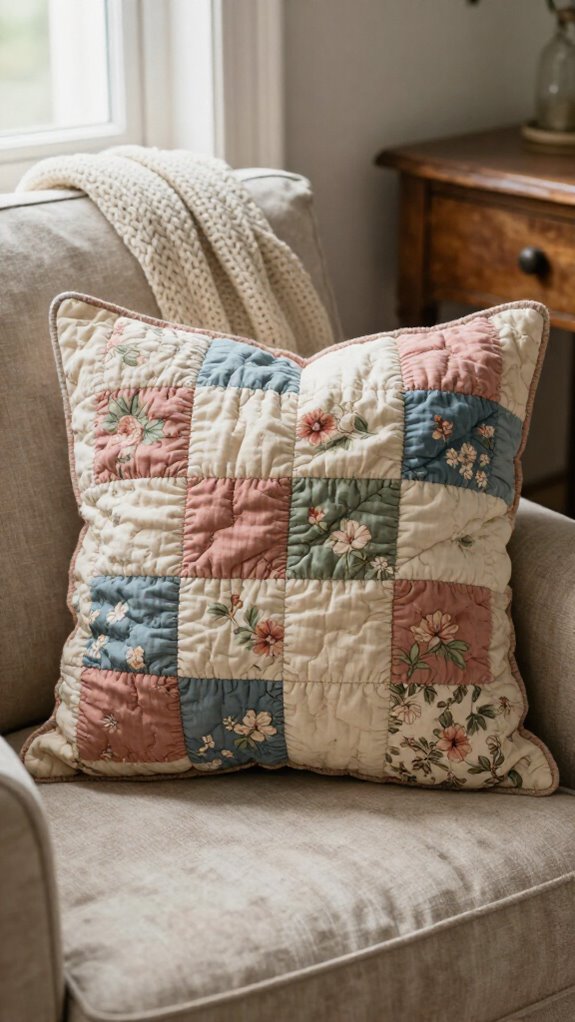
Turn a cherished vintage quilt block into a one-of-a-kind pillow cover, and you’ll give those tiny stitched pieces a fresh spot to shine—no antique shop price tag required!
1. For quilt block framing, cut squares one inch larger than your finished pillow; an 18-inch insert needs 19-inch pieces.
2. Center the block carefully, then sew right sides together with 1/2-inch seams, leaving a turning gap.
Choosing backing fabric is easy: use a solid or a coordinating print that welcomes the block into your room’s story.
3. Clip corners, turn with a chopstick, press, and stuff evenly. Test the fit first—your pillow should look crisp, not like it’s wearing tight jeans!
Pom-Pom Accent Pillow
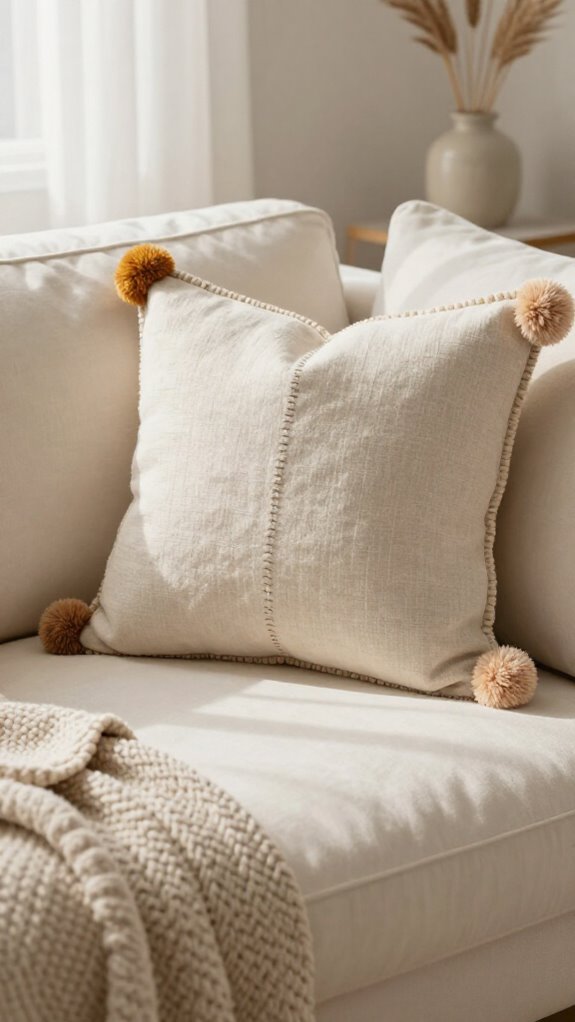
Pom-pom trim gives a simple pillow a playful, store-bought look without a elaborate sewing budget—yay!
Choose cotton or soft upholstery fabric, then cut two 19-inch squares for an 18-inch finish.
Plan your pom pom placement first, and stitch the Fabric trim to the front panel before assembly.
Pin right sides together, sew 1/2-inch seams, and leave a marked turning gap.
Clip corners, turn, shape them with a chopstick, and press.
For cushion finishing, add Polyfil or a form until it feels plump yet tender.
These stuffing tips help: if it’s too firm, remove a handful, fluff, and enjoy your cozy new club-worthy pillow!
Neutral Textured Pillow
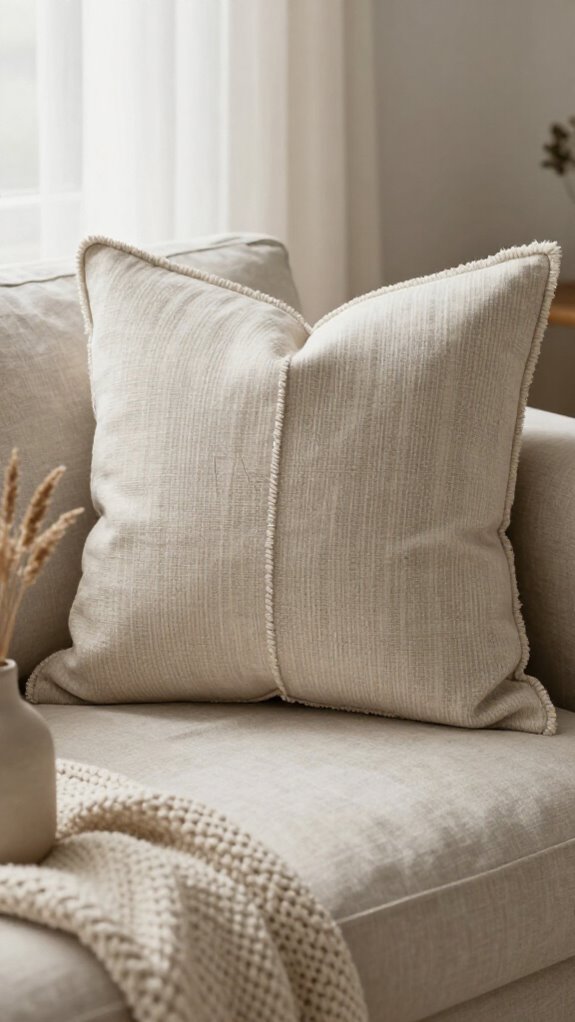
For a softer, more polished look after all those cheerful pom-poms, try a neutral textured pillow—simple, cozy, and surprisingly elegant!
- Choose chenille, velvet, or brocade, then cut two 19-inch squares for an 18-inch pillow. Texture blending makes your space feel warmly connected!
- Pin right sides together and sew a 1/2-inch seam, leaving a turning gap. Clip corners, turn with a chopstick, and press for tidy, square edges.
- Add Polyfil in small handfuls for gentle cushion shaping, not a stiff marshmallow! Ladder-stitch the gap, fluff it up, and enjoy a welcoming pillow that looks beautifully at home anywhere.
Denim Patchwork Pillow
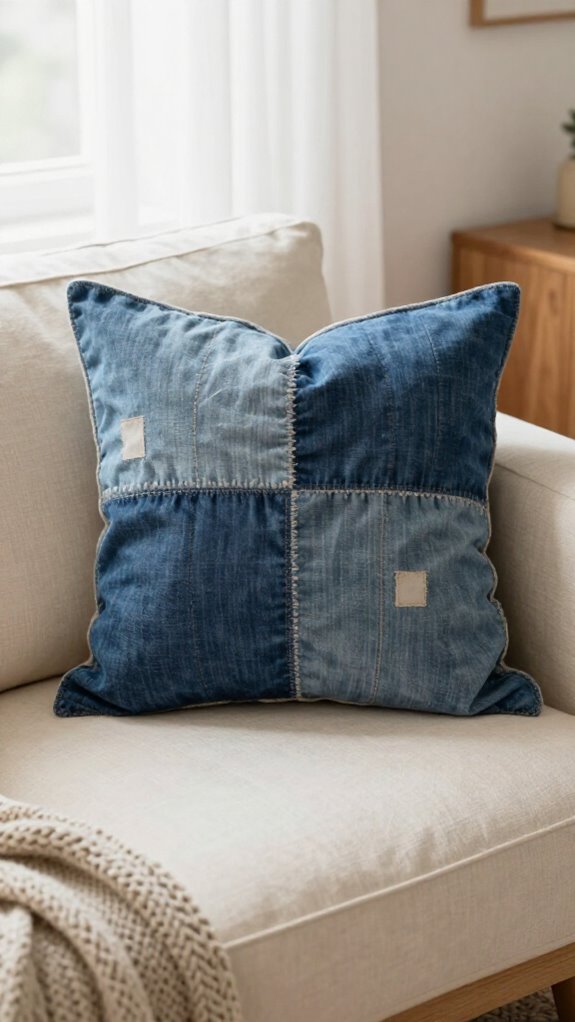
Denim patchwork gives old jeans a fresh job, and this sturdy, relaxed pillow is wonderfully beginner-friendly!
Start with fabric scrap planning, arranging leftover jeans for fun denim color mixing and a centered feature panel.
For an 18-inch insert, cut two 19-inch squares.
Sew patches first, press or stitch down seams so corners stay smooth—no lumpy surprises!
Place front and back right sides together, sew with a turning gap, then clip corners.
Turn with a chopstick and fill evenly with polyfill.
Finally, ladder-stitch the opening closed.
You’ll have a cozy, hardworking pillow that looks like it belongs right beside everyone’s favorite seat!
French Country Pillow
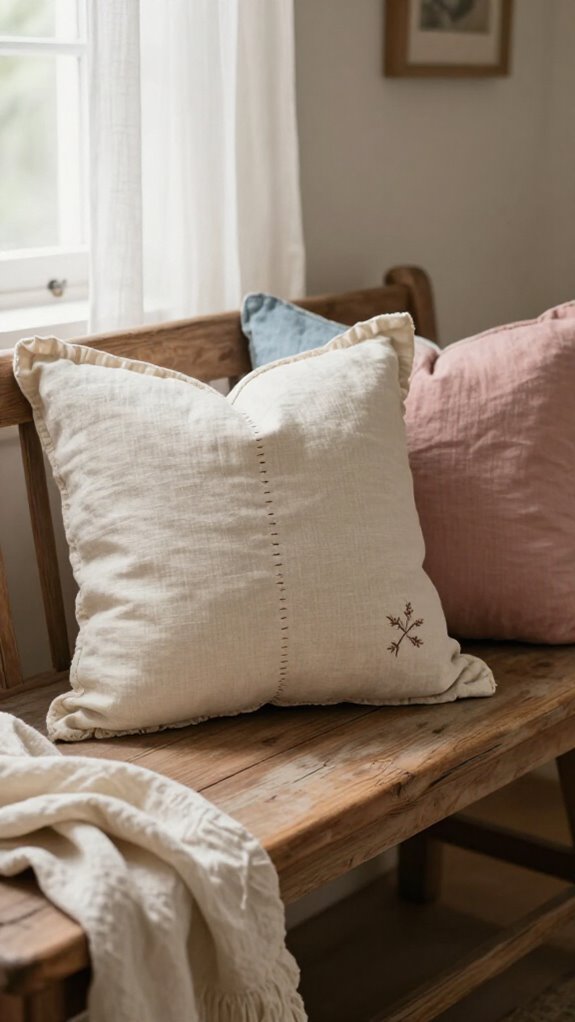
A French Country pillow brings instant cottage charm to a sofa or bed, and you can make one without special tools—hooray!
- Choose cotton prints, linen-look fabric, or small toile, then cut two matching panels with 1/2-inch seams.
- Add French Country piping for a tailored edge. Cut welting strips across the grain, trim allowances to 1/2 inch, and sew the panels right sides together. Clip corners, turn, and nudge points out with a chopstick.
- Want seasonal swaps? Make an envelope tuck closure instead of wrestling a zipper—your pillow front stays smooth! Use a carefully sized insert, taco-fold it inside, and enjoy a plump, welcoming finish.
Velvet Accent Pillow
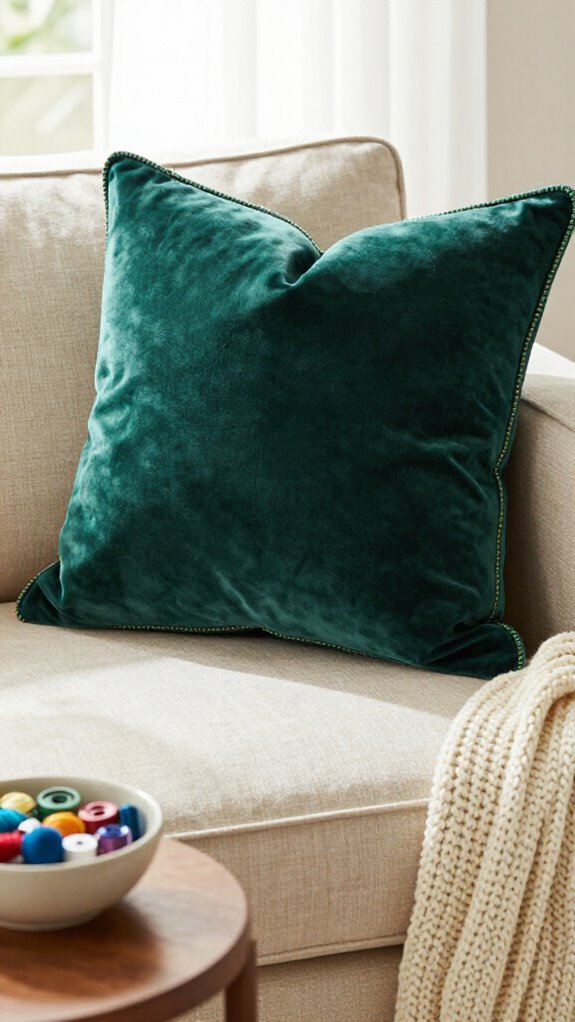
With its soft sheen and rich, touchable pile, a velvet accent pillow can make an ordinary chair or sofa look instantly more polished—stylish without the fancy-store price tag!
Discover Velvet color options that make your space feel like home, then cut two pieces with 1/2-inch seam allowances.
Sew right sides together, pivot at corners, and leave a 4–6-inch turning gap.
Clip corners, turn carefully, and press gently—velvet deserves kindness!
Fill it plump, not stuffed like a Thanksgiving turkey, then ladder-stitch closed.
For polished pillow finishing tips, topstitch 1/8 inch from the edge.
Want extra sparkle? Add straight-grain piping, trim its allowance to 1/2 inch, and baste first.
Striped Farmhouse Pillow
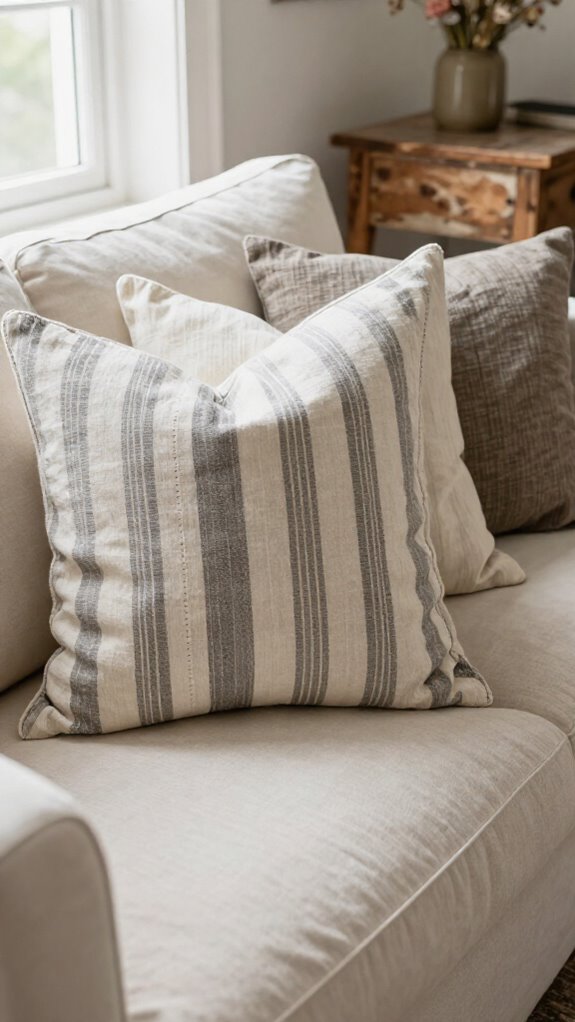
For a cozy, lived-in look, a striped farmhouse pillow is hard to beat—it brings crisp lines, soft texture, and porch-swing charm to a sofa or bed!
- Cut two 19-inch squares, even from a threadbare stripe, for your 18-inch insert.
- Sew right sides together with a 1/2-inch seam, marking the pillow turning gap with colored pins. Backstitch, clip corners, turn, and press those stripes flat!
- Fill slowly with Polyfil until plump but tender—no overstuffed marshmallow effect. Close with a ladder stitch, or machine-sew and add a 1/8-inch topstitch.
You’ll create a welcoming, sharp-edged cushion that looks right at home with your favorite people.
Personalized Family Pillow
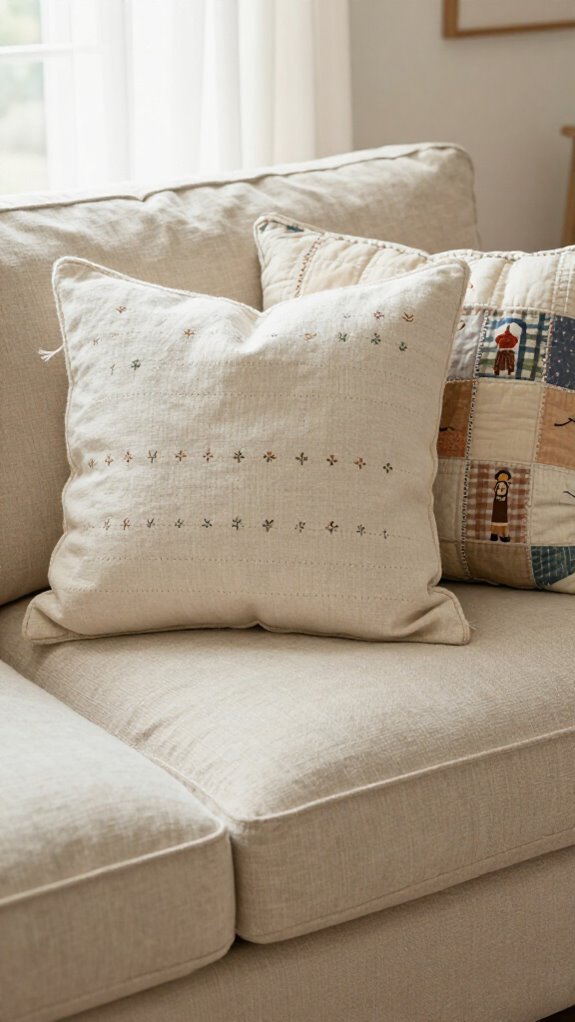
Turn a simple pillow into a tiny family keepsake, and you’ll add more than color to the couch—you’ll add names, dates, favorite sayings, or even a child’s doodle!
For Fabric selection tips, start with a cotton scrap that suits your room; save velvet or chenille for later adventures. Cut two 19-inch squares for an 18-inch insert—one of those helpful Insert sizing tricks that keeps it full, not floppy!
Center your design with a quick muslin test, then sew right sides together using a 1/2-inch seam. Pivot at corners, leave a 6-inch turning gap, press, and add a feather/down form.
Ladder-stitch it closed, or use a zipper—hello, washable memories!
Floral Appliqué Pillow
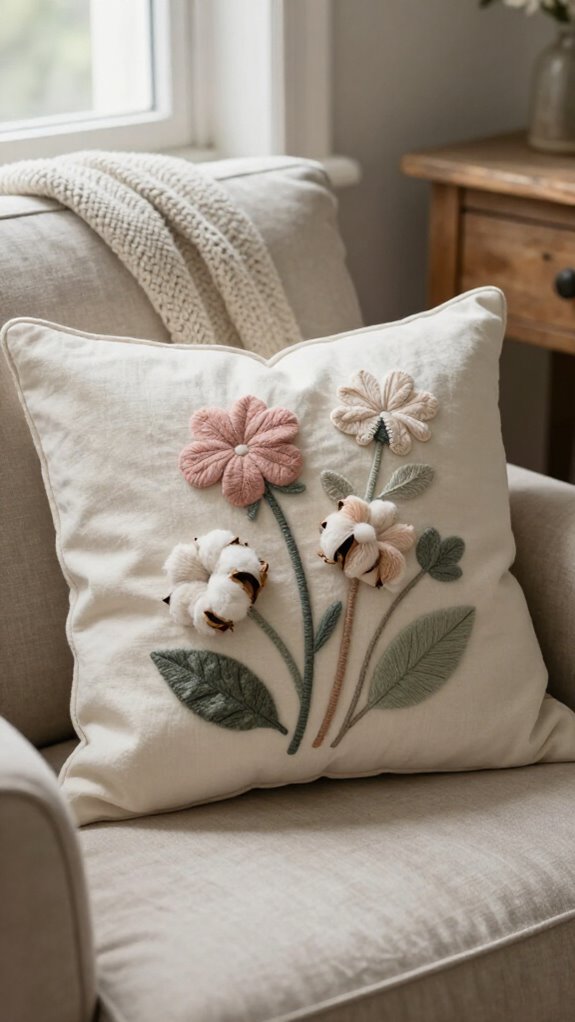
A floral appliqué pillow lets you layer bright petals, leafy scraps, and a little handmade charm onto an ordinary cushion—no skilled machine skills required!
- Choose base fabric, floral scraps, and thin interfacing. Cut flowers, then press them inside the 1/2-inch seam allowance.
- Secure each edge with close zigzag or satin colorfast stitching, creating a tidy, quilted texture that survives family movie nights and washing.
- Sew front and back right sides together, leaving a turning or zipper opening. Clip corners, turn, and add your form.
Your sofa gets a cheerful bloom, and your home feels more like your shared, welcoming nest!
Hand-Stitched Lumbar Pillow
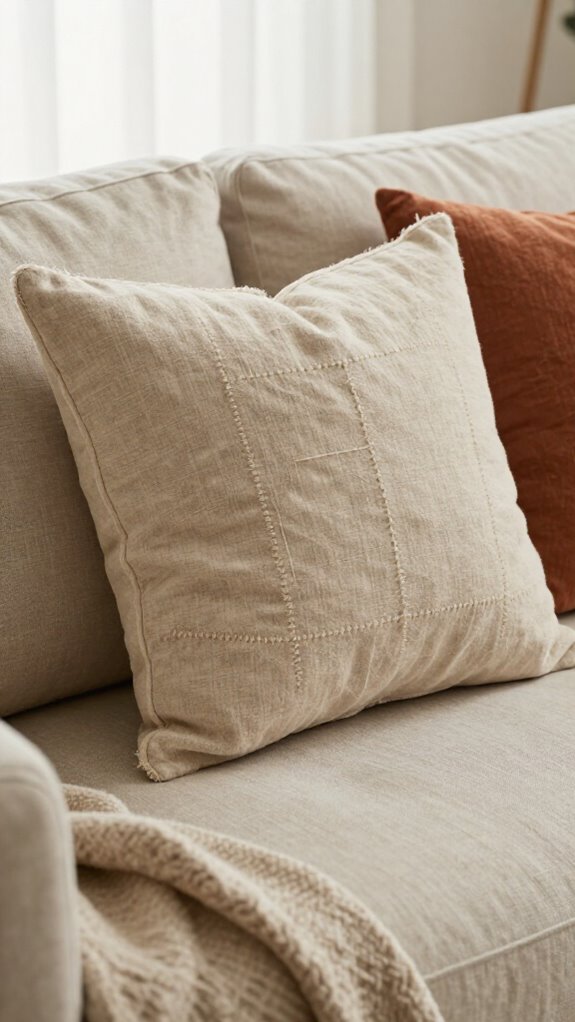
Hand-stitching a lumbar pillow gives your sofa an easy custom upgrade, and you don’t need elaborate tools or expert sewing skills—hooray! Cut two 15-by-19-inch rectangles, pin right sides together, and mark your gap.
| You need | Do this | Why it works |
|---|---|---|
| Fabric, pins | Sew three sides, 1/2 inch | Neat shape |
| Fiber fill, needle | Clip, turn, press, stuff | Cozy support |
Add Hand stitched details as you fill it firm yet tender, like a hug from your favorite corner. Finish the turning gap closure with a ladder stitch, fluff the corners, and enjoy a polished pillow that feels like it belongs.
Seasonal Fabric Pillow
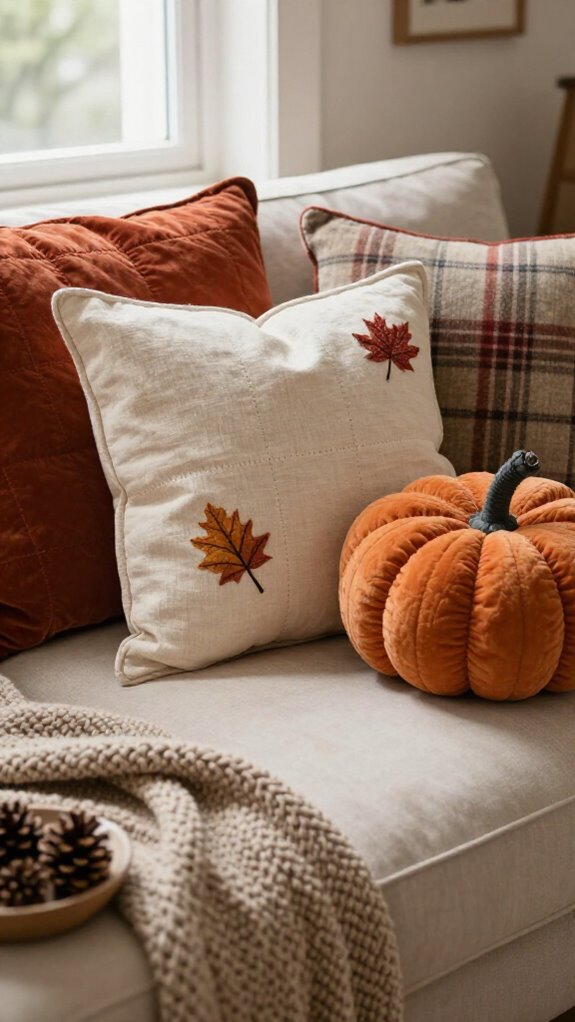
Seasonal fabric pillows let you refresh a room in minutes, no new sofa or shopping spree required—nice! You’ll create a welcoming look that feels right at home with your people.
- Pick fleece or minky for fall, or velvet and brocade for extra winter polish. Try color mixing for a cheerful, layered feel!
- Keep pillow sizing consistent: for an 18-inch insert, cut two 19-inch squares with 1/2-inch seam allowances. Center prints carefully, then cut paired panels.
- Add an invisible zipper three inches above the back bottom, or sew an envelope closure. For a crisp surprise, add piping cut across the grain and trim its allowance to 1/2 inch.
Cozy Reading Pillow
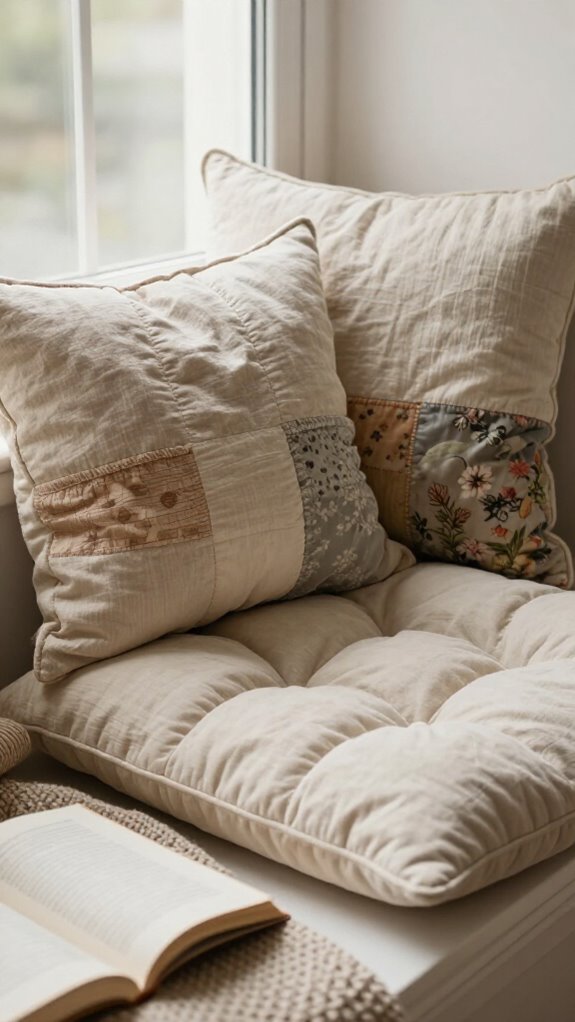
When your favorite book deserves a soft landing spot, a cozy reading pillow makes the whole corner feel warmer—no elaborate sewing skills required! Cut two 19-inch squares for an 18-inch insert, sew, turn, and fill evenly.
| Fabric | Mood | Detail |
|---|---|---|
| Fleece | Cloud-soft | Cozy |
| Minky | Plush | Snuggle |
| Chenille | Warm | Rich |
| Velvet | Glowing | Elegant |
Use this stuffing firmness guide: plump yet tender supports your shoulders without becoming a stubborn brick! For reading posture tips, lean against it with your lower back supported.
Center prints carefully when making a pair. Add front-edge piping cut across the grain, then finish with an envelope back or zipper—your little reading nook will feel like everyone’s welcome!