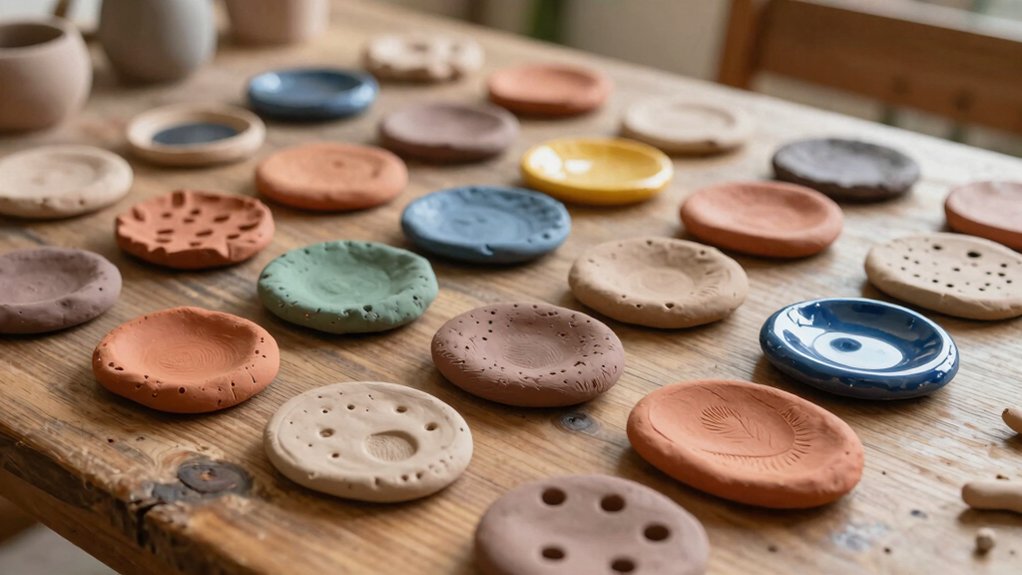

You can make 16 air-dry clay crafts at home, from trinket dishes and mini plant pots to name tags, wall flowers, mushroom decor, coasters, garlands, and tiny house sculptures. Use a rolling pin, straw, sponge, and plastic wrap, then let each piece dry at room temp before painting. They’re cheap, beginner-friendly, and fun, with cute results for gifts or shelves. Stick around, because the best little upgrades show up near the end!
Key Takeaways
- Air dry clay crafts work for beginners and advanced makers, from simple trinket dishes to detailed mini house sculptures.
- Easy starter projects include coasters, magnets, jewelry holders, and small plant pots shaped by hand or with basic tools.
- Intermediate ideas include labels, wall flowers, candle holders, ornaments, and garlands with stamped, cut, or pressed textures.
- Finishing steps matter: smooth seams, dry pieces fully, then paint, add magnet backs, or seal for extra strength.
- Seasonal and giftable options make air dry clay versatile for year-round decor, personalized presents, and tabletop accents.
Modern Trinket Dishes
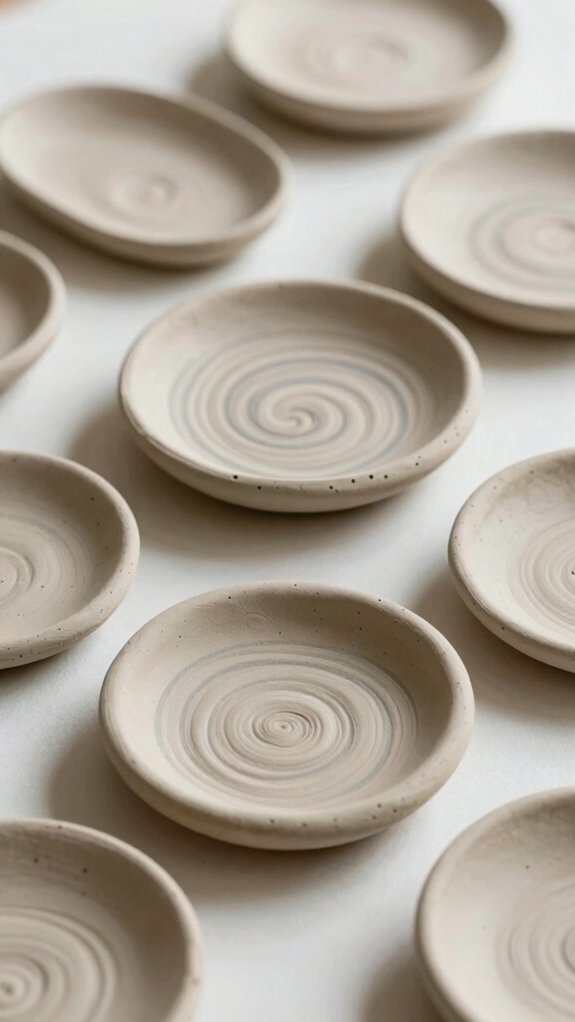
A simple trinket dish can feel surprisingly chic! You can shape air-dry clay into a round, oval, or geometric tray, smooth it with a damp sponge, and let it harden at room temperature.
Work on a silicone mat, because clay gets sticky fast, and cover leftovers with plastic wrap.
Then have fun with color block painting: use white or gray, add one bright accent, and let it dry fully.
For extra polish, try rim detailing, then apply surface sealing or a clear topcoat.
You’ll end up with a cute spot for rings, coins, or paper clips, and it won’t cost much!
Minimal Plant Pots
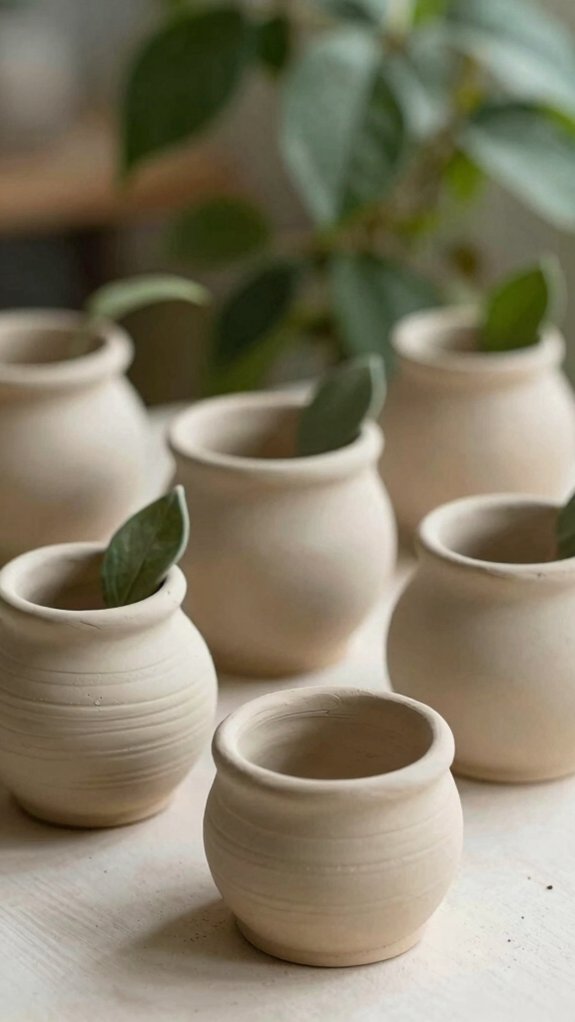
Tiny plant pots made from air-dry clay are one of those projects that look stylish but stay wonderfully beginner-friendly! You shape a small cylinder, smooth the rim, and let it harden at room temperature—no oven, no drama.
- Use a sponge and a little water for clay texture techniques, keeping the walls even.
- Follow drying time tips so the pot firms up slowly and cracks less.
- Paint it after it’s fully dry, or slip a plastic nursery pot inside for safe, cute decor.
If you want airflow, add holes later, then seal for extra protection.
Personalized Name Tags
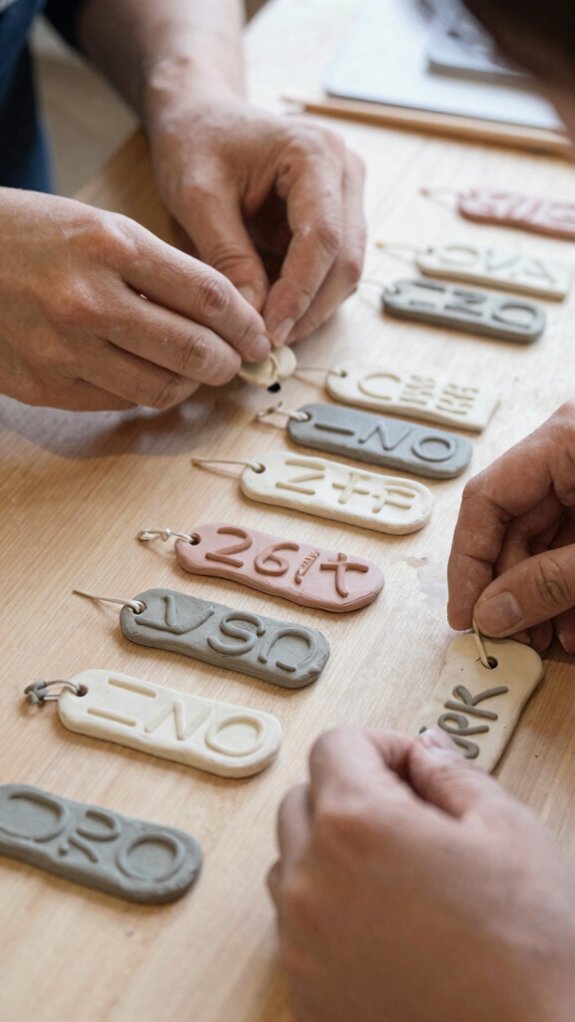
If you loved making those minimal plant pots, you’ll probably have just as much fun with personalized air-dry clay name tags!
Roll clay into a slab, stamp or cut out letters, then smooth the edges for a neat finish.
If cracks show up, pat them with a lightly damp finger or sponge, because clay gets sticky and dries fast.
Poke a small hole with a straw before drying, then let it cure 24–72 hours.
After that, paint it, seal it, and thread ribbon through.
They’re great for gift wrapping, personalized labels, party favors, and classroom organization—tiny tags, big belonging!
Decorative Wall Flowers
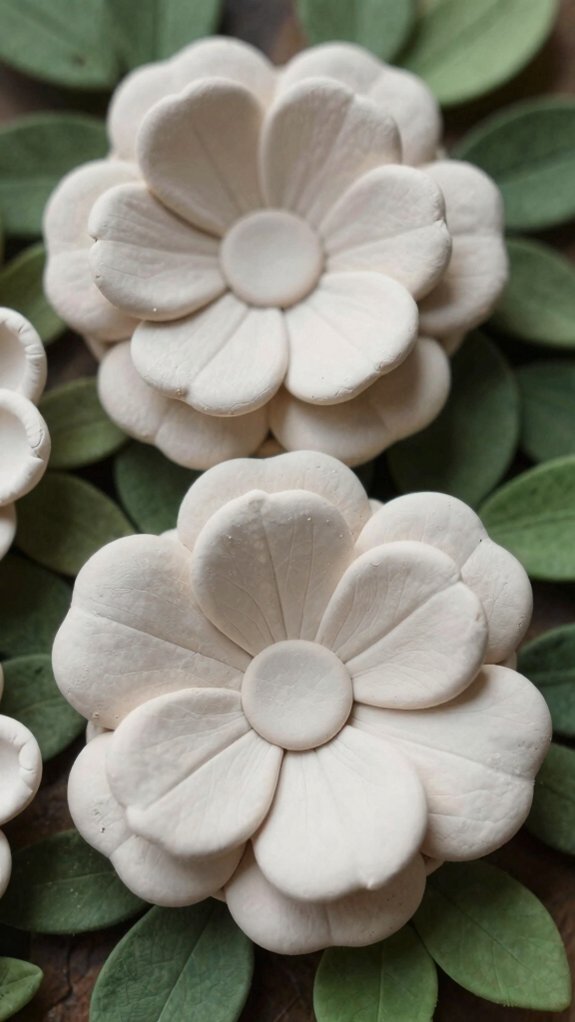
Flower might, but make it wall art! You can shape decorative wall flowers by hand with air dry clay, so they’re friendly for beginners and kind to your budget. Roll thin sheets, cut petals, and let them dry flat so your wall mounted display stays neat.
- Press real flowers or textured fabric into the clay for leaf-and-petal detail.
- Try Colorful clay marbling for a playful, one-of-a-kind finish.
- Add a small hook or backing strip before drying, then paint and seal it.
Acrylics bring the bloom to life, and your cozy space gets instant cheer—nice, right?
Mushroom Shelf Decor
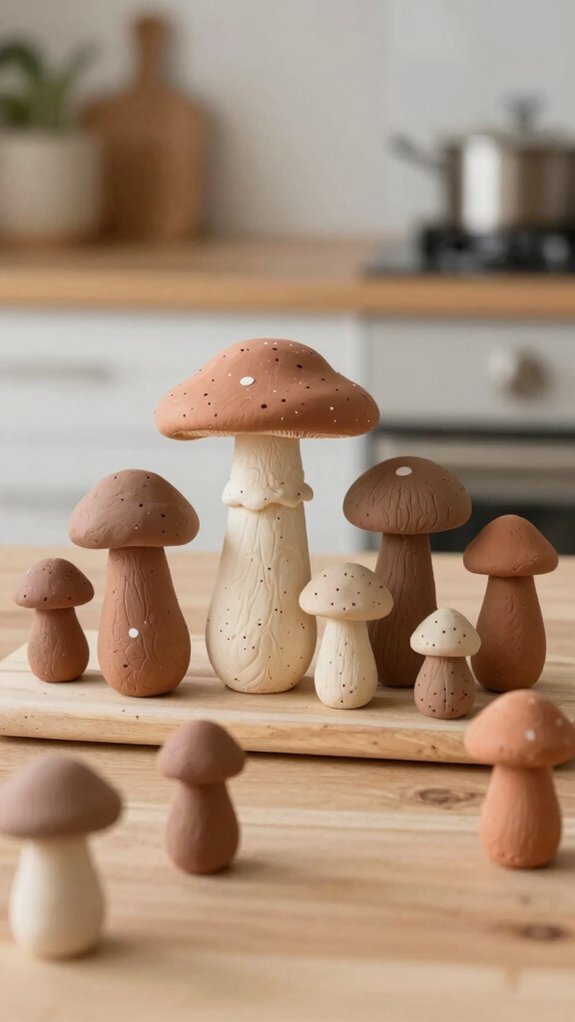
Mushroom magic is heading to your shelf, and it’s easier than it looks! You can shape smooth stems and tiny caps from air-dry clay, then blend the seam with a damp sponge so your little forest feels polished.
Keep the clay lightly misted while you work, because nobody wants a cracked cap before the party starts.
Add dot details, toothpick texture, and colorful cap techniques for a playful finish.
After drying, paint with acrylics, from cozy browns to red-and-white spots.
For easy beginner layouts, group 3–5 mushrooms in matching shades, or mix a whimsical set.
They’ll look styled, stable, and delightfully magical!
Botanical Coasters
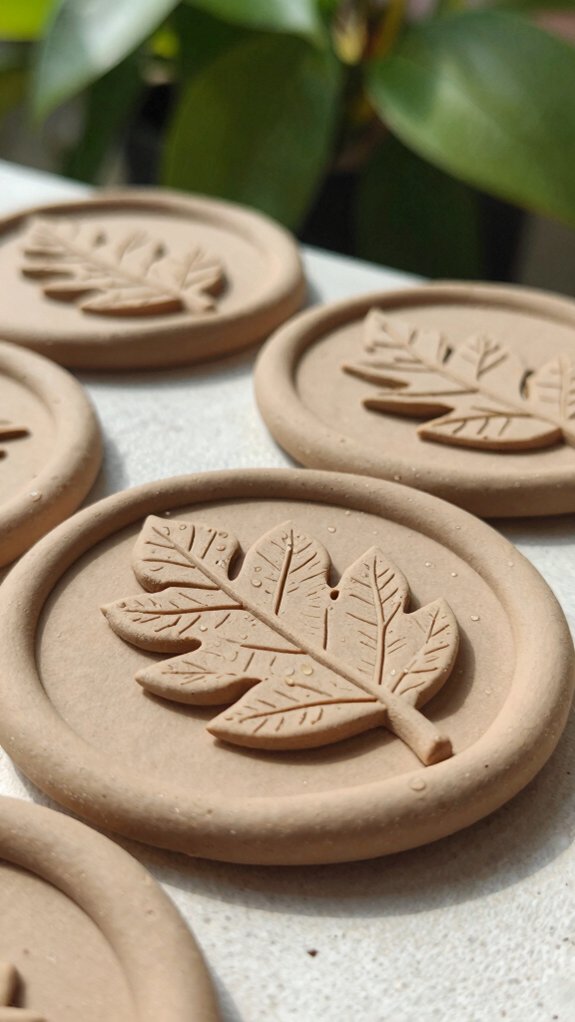
With a little rolling and pressing, you can turn air-dry clay into botanical coasters that look way fancier than they are! Grab clay, a cookie cutter, water, and a sponge, then roll a thin sheet and cut circles. Press real leaves or flowers in gently for crisp veins, and try these leaf pattern tricks to make each one feel special.
- Smooth the edges for a neat finish.
- Add a tiny coil rim for extra charm.
- Paint after 24–48 hours, then follow sealant tips with clear varnish.
You’ll get cute, sturdy coasters that feel handmade and welcoming!
Handmade Jewelry Holders
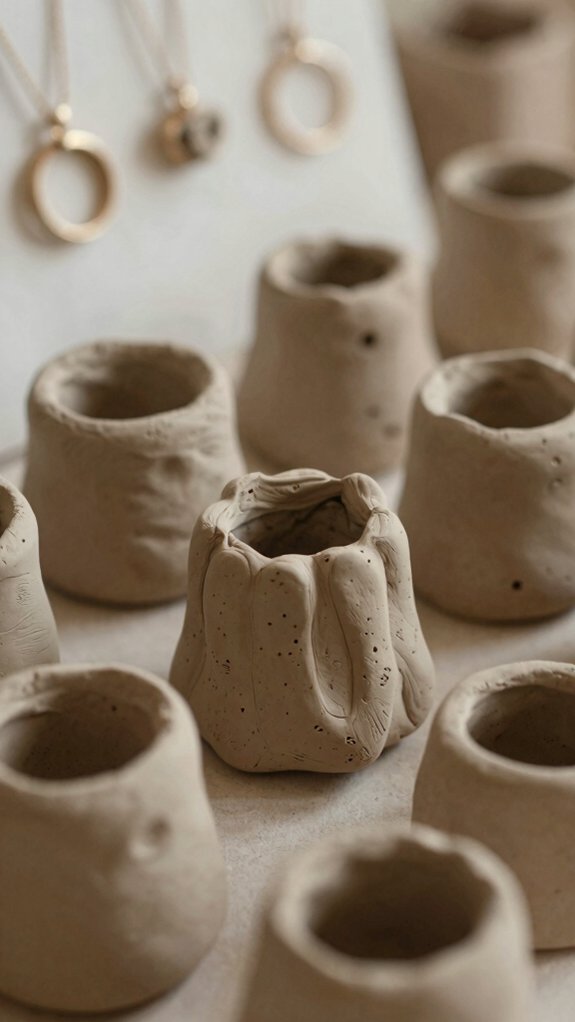
If you want a cute spot for rings, studs, and tiny necklaces, air-dry clay makes it easy to create handmade jewelry holders that look boutique-level without the boutique price! Shape a simple tray, ring stand, or earring organizer, then let it cure at room temperature.
For jewelry organization, keep it for dry items only, and seal it if you want extra durability. Try customization tips like pressed textures, small compartments, or painted accents after it’s fully dry.
Use a damp sponge for smooth edges, and keep toothpicks or a craft knife nearby for quick fixes.
Tiny Animal Figurines
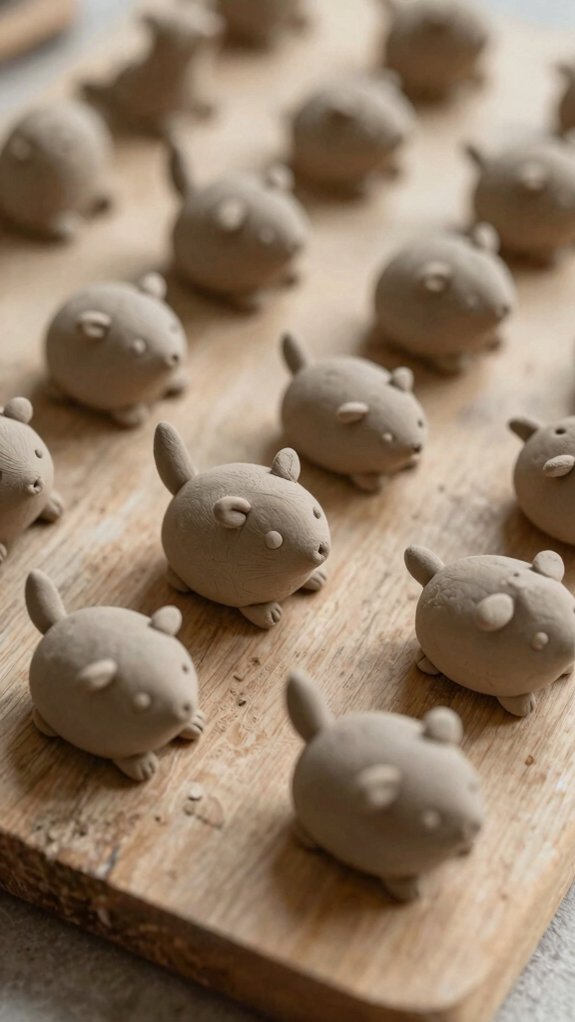
Tiny animal figurines are one of the cutest ways to play with air-dry clay, and you don’t need decorative tools to make them look sweet and detailed!
Choose workable clay, like white Das or Crayola, so you can shape legs, ears, and tails without rushing.
Use Colorful Clay Techniques for bold pets, or keep it natural and cozy.
- Smooth tiny cracks with damp fingers.
- Use Miniature Tool Tips like toothpicks for eyes and fur.
- Dry them on a silicone mat, then paint after they harden.
If you pause, cover them lightly.
Finish with sealant for a lasting little crowd!
Clay Magnets
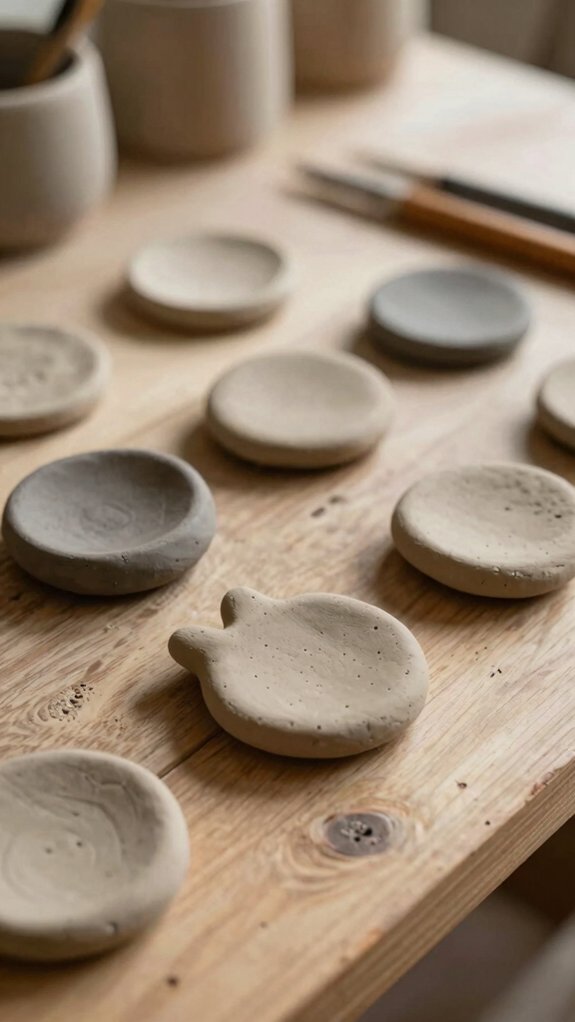
After making sweet little clay animals, you can put that same beginner-friendly clay to work on your fridge! These Beginner friendly projects turn into cheerful fridge décor ideas fast.
| Step | What you do | Result |
|---|---|---|
| Shape | Make flat charms | Easy drying |
| Dry | Wait 24–72 hours | Firm piece |
| Finish | Paint, then glue magnet | Cute fridge art |
Keep pieces thin, with smooth edges, so they won’t crack. Press stamps or tiny textures in for extra charm, then add a clear sealer if you want less dusting. You’ll feel proud every time you grab milk—yay!
Candle Holders
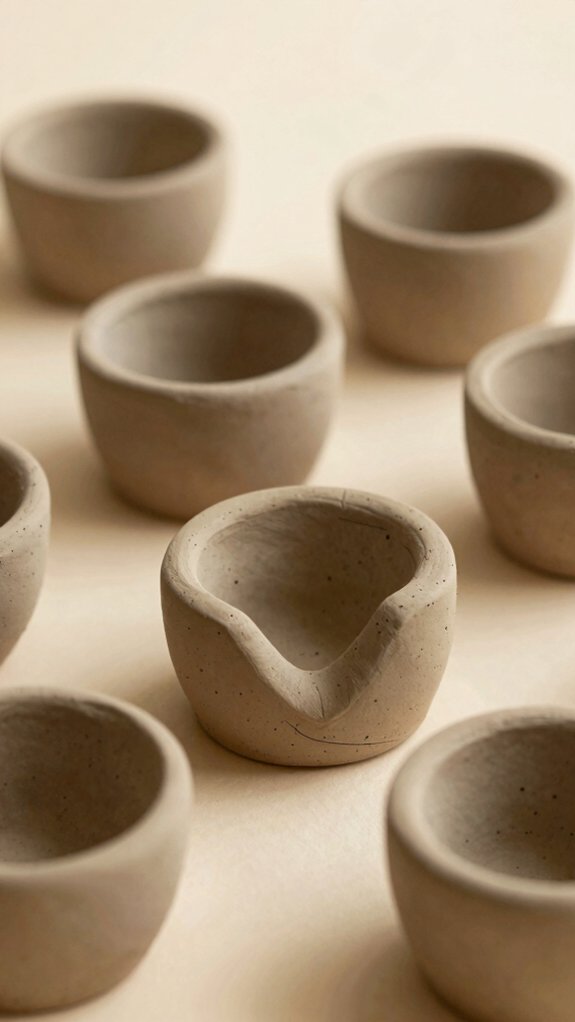
Candle holders made with air dry clay are such a fun little project, because you can shape them into slabs, little cups, or even press in cute motifs, then let them harden at room temperature before you decorate them.
Grab clay, a candle, and simple tools. Press, smooth, and let it dry fully. Then sand lightly for a nicer finish, and paint with acrylics or water-based colors.
- Follow clay safety tips, and keep the fit centered.
- Try paint sealing options if you want extra protection.
- Add seasonal colors or textures for instant charm!
You’ll get a low-cost, beginner-friendly piece that feels totally yours.
Hanging Ornaments
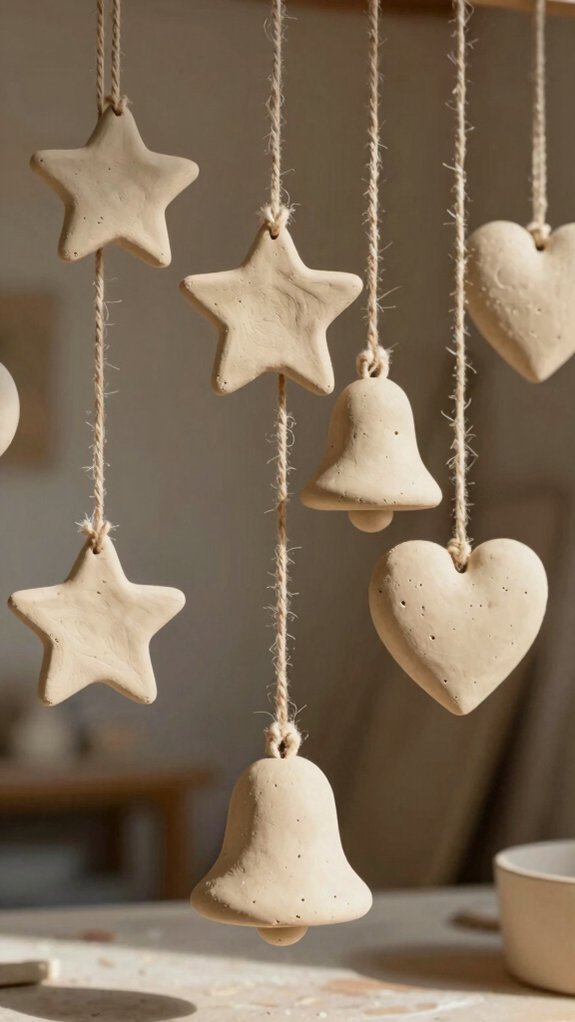
When you want a fast, cheerful project that looks way fancier than it is, hanging air-dry clay ornaments are a perfect pick!
You can cut thin shapes with cookie cutters, smooth the edges with a damp sponge, and let them dry flat for 24–48 hours.
For hole placement, poke a small hole near the top before the clay fully sets, or add a wire loop while it’s soft.
Paint with acrylics, then try Glazing tips, indoor display only, since clay isn’t water-resistant.
Follow the Drying timelines, and you’ll get sturdy, cute ornaments that feel totally made-for-you!
Decorative Picture Frames
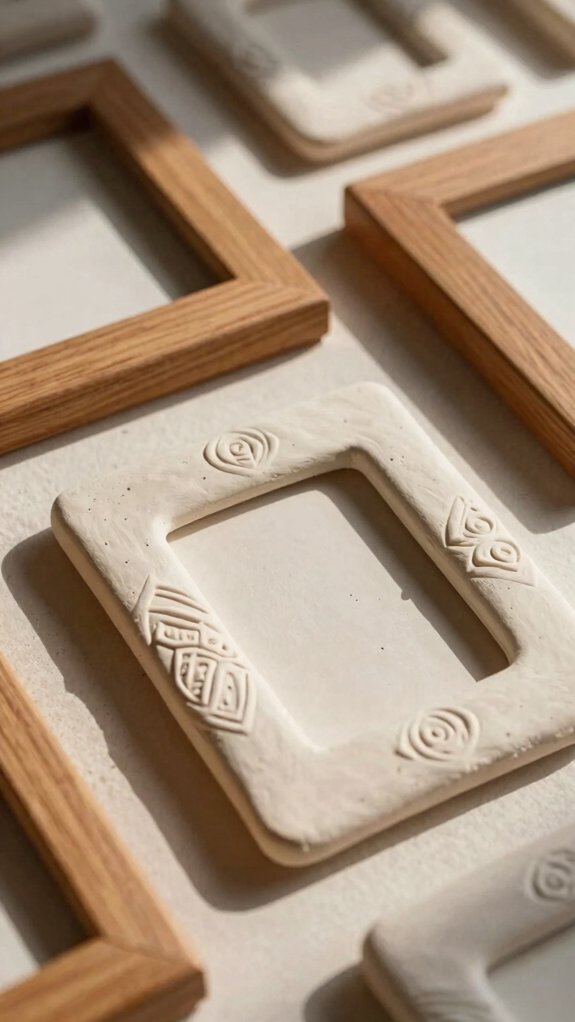
A plain photo frame can turn into a tiny work of art with air-dry clay, and honestly, it’s easier than it looks! Roll the clay into an even slab, wrap it around your photo backing, and press in scallops, dots, or texture before it dries. Use acrylics after drying, then try these quick Clay sealing tips so your paint stays bright and neat.
- Add a small loop or stand for easy frame display.
- Use personalized photo props for a fun family touch.
- Finish with durable topcoats for extra protection.
Let it cure fully at room temperature, and you’ve got a sweet handmade frame!
Clay Garland Pieces
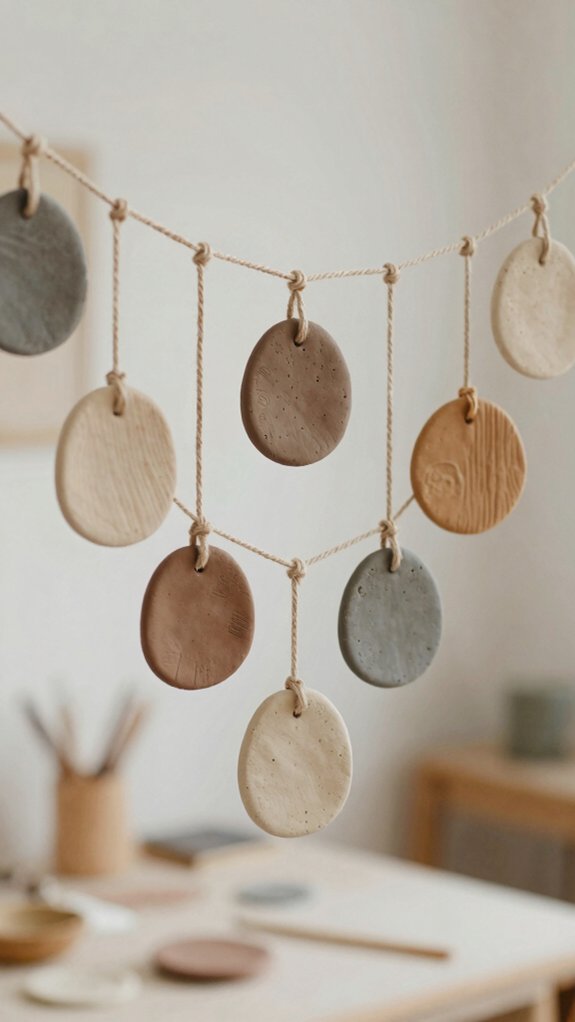
If you loved turning a plain frame into something special, clay garland pieces are the next fun little project—only this time, you’re making a string of tiny shapes that looks amazing hanging across a wall, shelf, or party table!
You’ll need air dry clay, a straw, string, and paint. Cut matching hearts, stars, or other shapes, and keep them about 1/4–1/2 inch thick for smart clay drying tips, because even thickness helps them dry evenly.
Punch a hole near the top, let them dry flat, then paint all at once. These garland finishing methods make threading easy, and a clear coat adds extra strength.
Mini House Sculptures
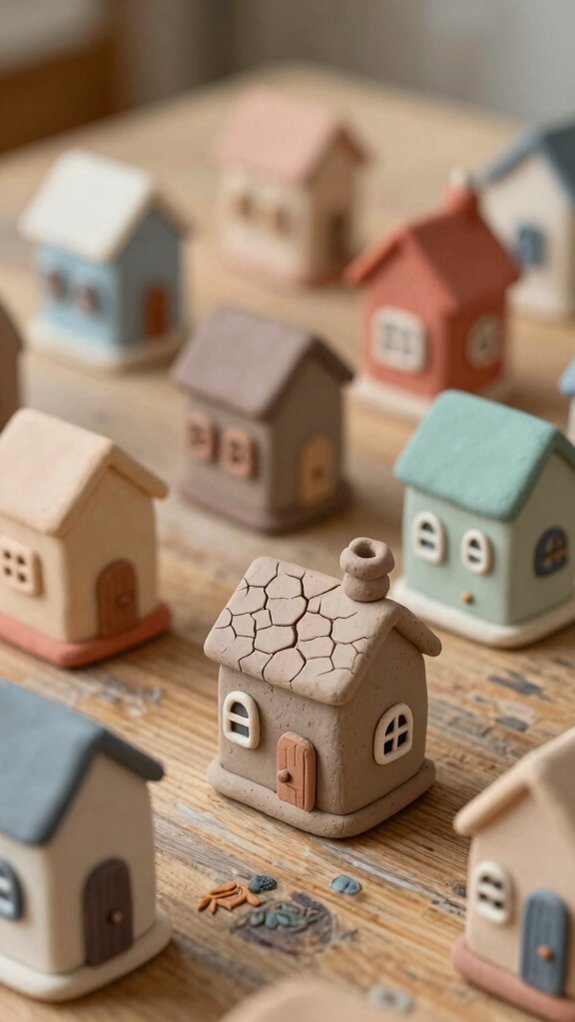
Mini house sculptures are such a charming little upgrade from flat clay projects, and you can shape them freehand or with simple tools like toothpicks and craft knives to add tiny windows, doors, and roof tiles.
Use a rolling pin or small bottle for wall panels, then score seams and smooth them with a dab of water so everything bonds strong.
- Keep clay covered with plastic wrap between steps.
- Add textured facade patterns for cozy detail.
- Paint cured pieces with acrylics; indoor miniature lighting makes them glow!
After curing, toss on a tiny chimney or door knob, and you’ve got a sweet display piece without an oven.
Seasonal Decorations
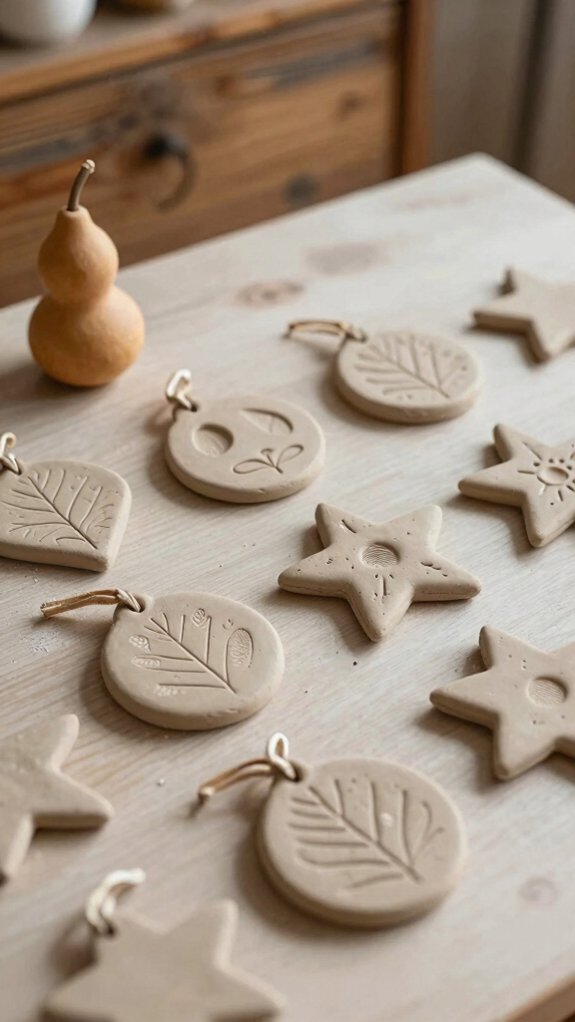
When the seasons start changing, your air-dry clay can totally join the party!
For spring, shape mini planters or hanging wall planters, smooth them with a sponge, then add color themed clay painting in fresh greens and pinks. They’re cheap, easy, and look cute on a porch or table.
For summer, try pressed flower ornament prep: press blooms into clay, let it dry fully, then paint the surface.
In fall, make coasters or tiny dish ornaments with acrylics, and for winter, build candle holders or little houses with bright patterns.
Dry everything at room temperature, then seal if you want extra staying strength.
Handmade Gift Ideas
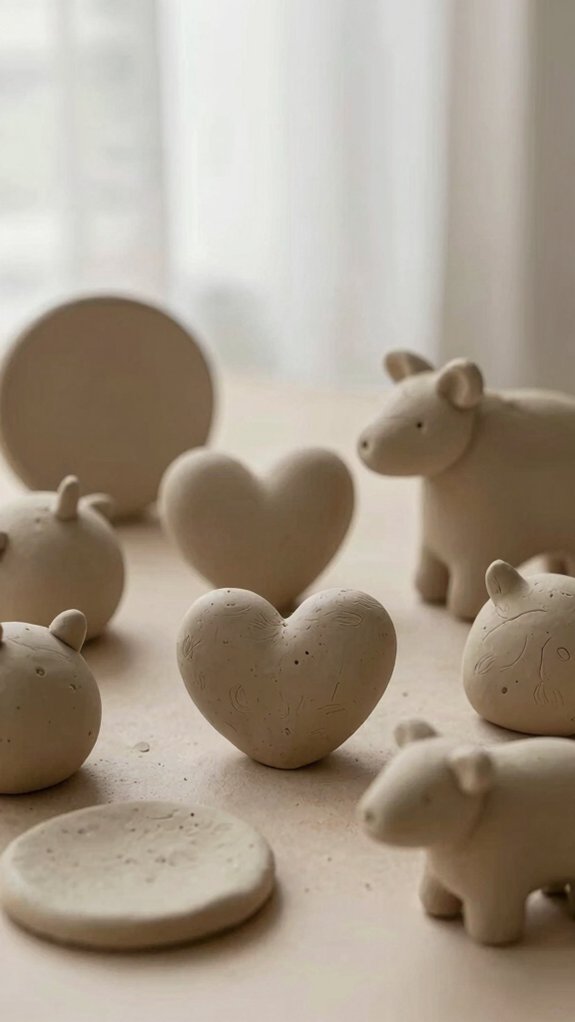
Handmade gifts are where air-dry clay really shines, because you can shape something sweet, let it harden right at room temperature, and have a ready-to-wrap present without firing up an oven or high-end tools.
For beginner finishing, try painted coasters, trinket bowls, or ring holders, then add acrylic color.
- Tiny vase magnet: clay, magnet, paint; shape, dry, glue, gift!
- Wavy bowl: clay, water, sealant; form, dry, paint, enjoy.
- House ornament: clay, cutter, ribbon; personalize, dry, hang, smile.
For sealed longevity, finish with choosing safe glazes after full drying.
Cute, affordable, and very “I made this for you!”