
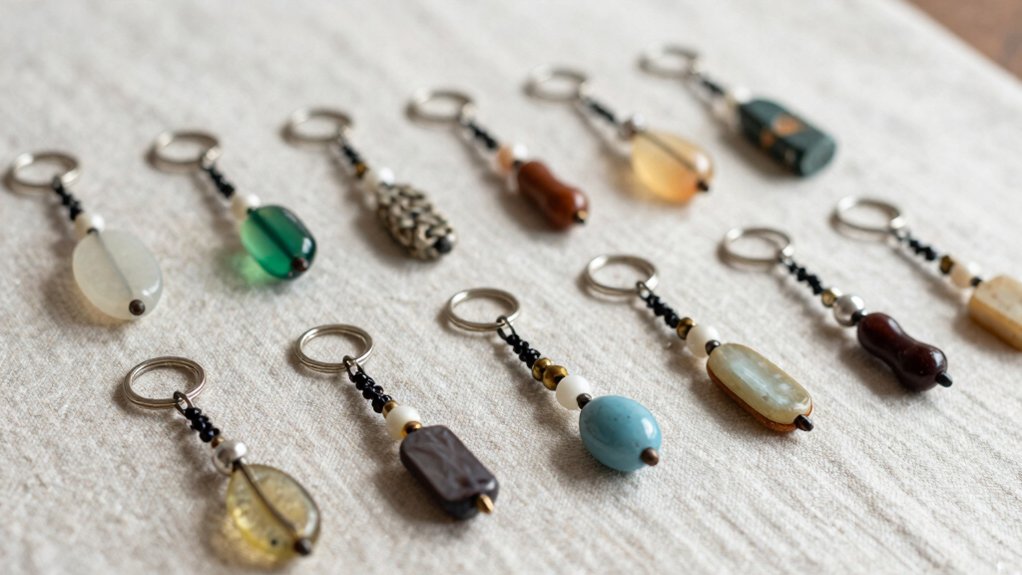

You can make thoughtful handmade gifts with beads, cord, and a key ring—easy, cheap, and cute! Try a daisy chain, a personalized name design, fruity charms, a smiley face, butterfly wings, animal shapes, pearl-and-gold accents, or a smooth rainbow gradient. Just plan the bead order, string it on the two-strand method, knot it tight, and trim the cord. The layered bag charm keychain is the show-off piece, and there’s more fun ideas waiting just ahead.
Key Takeaways
- Daisy chain keychains are beginner-friendly, using simple loop-and-pull construction with tight knotting for a durable handmade gift.
- Name keychains feel personal by planning letter-by-letter bead placement and securing beads on both strands.
- Fruit and smiley charms add playful color-coded patterns, making cheerful gifts for friends or kids.
- Themed designs like butterflies, clovers, hearts, and ocean motifs fit neatly on the kit’s beading space.
- Gradient and layered bag charms create polished, gift-ready keychains with centered stringing and a tidy finished knot.
Daisy Chain Keychain
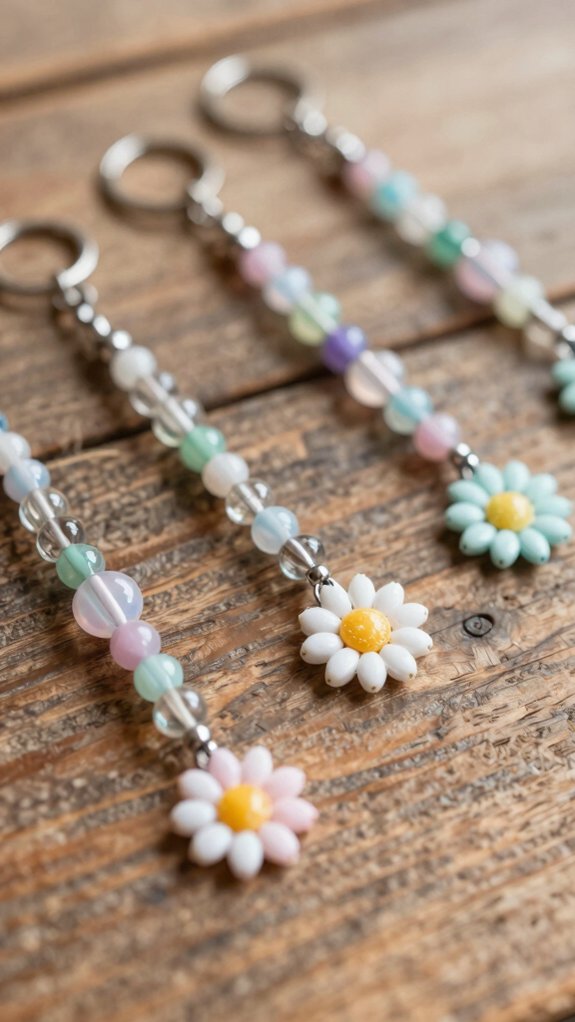
A daisy chain keychain is a sweet little project that looks lovely but is actually super beginner-friendly, and yes, you can make it without feeling like you need a craft degree!
You loop cord through the key ring, pull the ends through the loop, then string beads on both strands for that cute two-sided look.
For Beginner friendly daisy spacing tips, lay your beads out first so the pattern fits the 7.8 cm rod length.
Then use durable knotting techniques, like a tight surgeon’s knot or double knot, close to the last daisy.
Give it a gentle tug, trim the cord, and boom—gift-ready!
Personalized Name Design
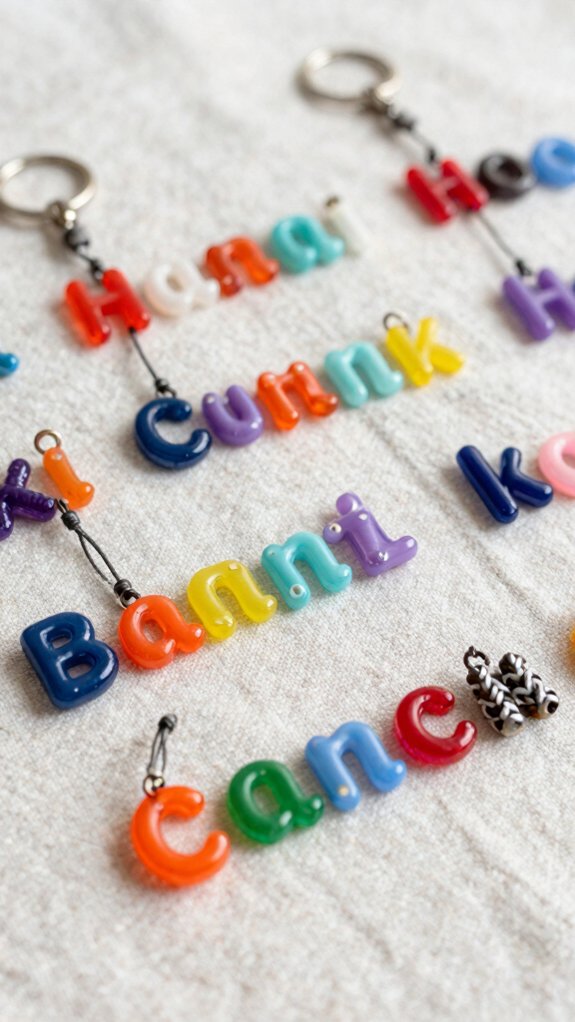
If you loved the daisy chain look, you’re going to have fun making it personal with a name design! Start with bead pattern planning on the cords, mapping each letter first so your name lands in order, nice and neat. Use the kit’s metal keychain blank, which gives you a tidy beading space, then string beads onto both strands so the letters stay secure.
Try a simple style with fewer beads per character, like round and geometric beads mixed together, for a fast, beginner-friendly win. Trim, adjust, then tie knotting for durability close to the last bead.
Give it a tug test, and voilà—gift-ready!
Fruit-Inspired Charms
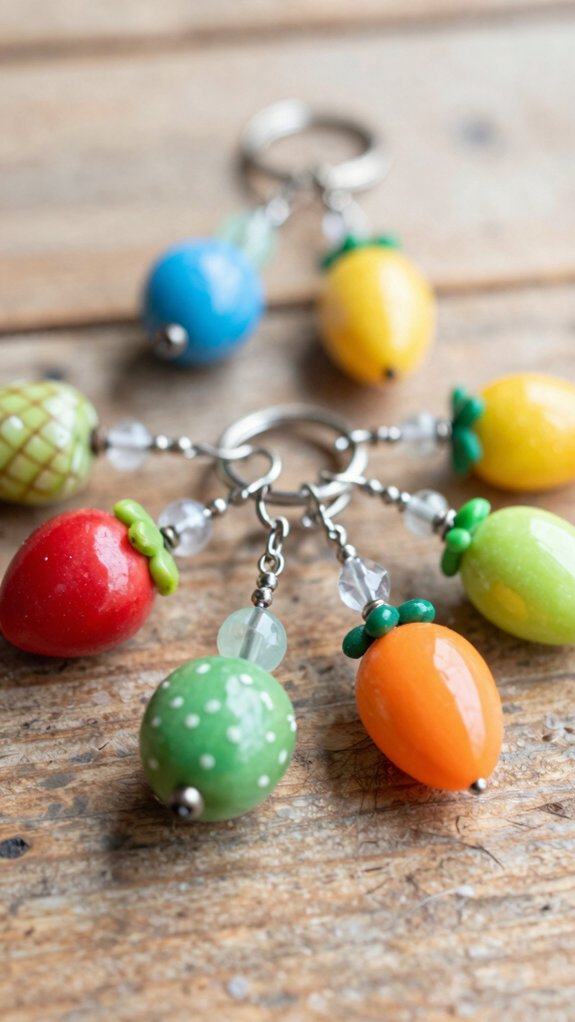
Fruit charms are such a cute way to turn a plain keychain into something that feels fresh, playful, and totally giftable! You can join the bead club fast with Fruit bead colorways that echo berries, melons, and tiny slices.
| Charm | Look |
|---|---|
| Berry | Red rounds |
| Slice | Green edge |
| Citrus | Orange glow |
| Mix | Fun contrast |
| Finish | Gift-ready shine |
Use the 7.8 cm beading space, keep patterns snug, then knot tightly near the last bead. Dye unfinished beads for bold color, or use fabric dye for wood grain charm. Add citrus segment patterns, clip on a lobster clasp, and voilà, you’ve made a cute little keeper!
Smiley Face Pattern
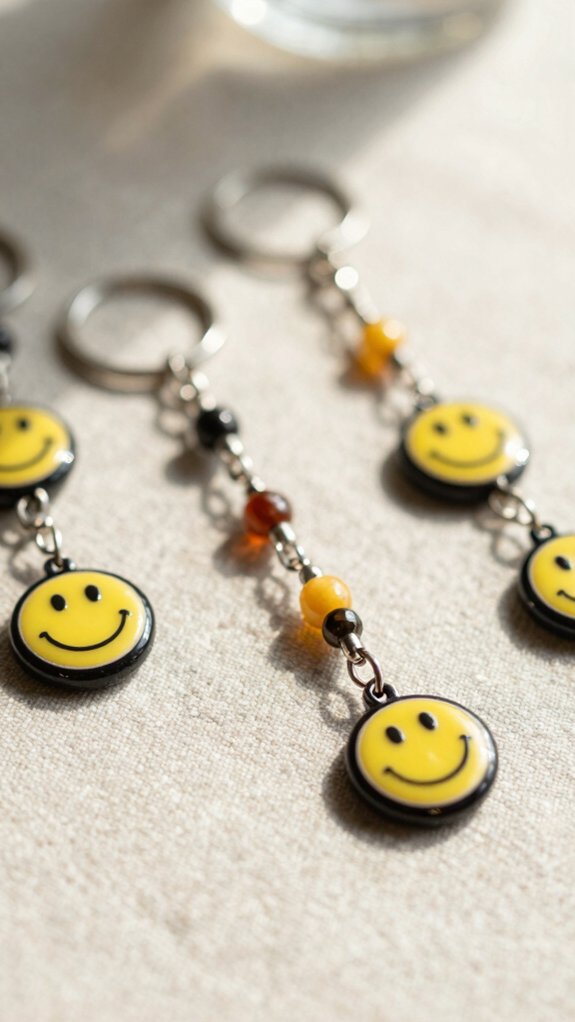
After those playful fruit charms, you can keep the fun going with a smiley face pattern that looks cheerful right away!
You’ll use a simple front-facing layout in the 7.8 cm bead space, and that keeps the project friendly for beginners.
- Thread two cords onto the ring for a balanced look.
- Add beads on both strands together so the eyes and smile stay lined up.
- Try Color choice tips: dark eyes, bright smile, then finish with symmetrical knot techniques.
When you’re done, knot close to the last bead, roll it tight, and trim the extra cord.
Swap colors later, and you’ve got a fresh little buddy!
Butterfly Bead Keychain
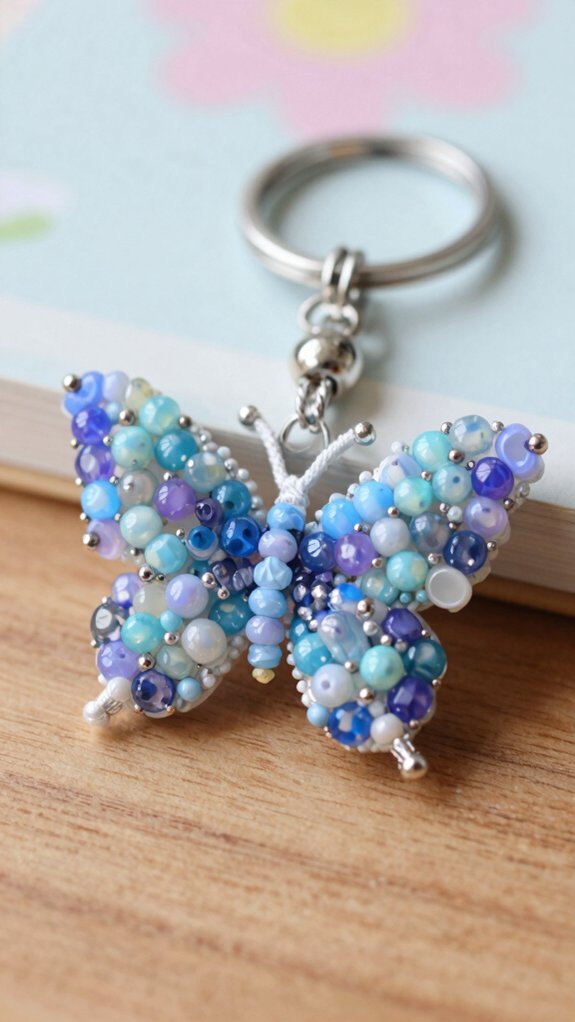
With a butterfly bead keychain, you can keep the fun going while making something sweet and simple! Start by planning your butterfly shape on the 3-inch beading space, because that little runway fills fast.
You’ll love the easy flow: pick rust-proof metal blanks, then try color bead placement with a few small geometric beads for the wings.
String the beads in a two-strand style so they sit even, then use quick knot securing techniques, roll the knot toward the beads, and trim the extra cord.
Give it a tug-test, and you’ve got a cute gift for Valentine’s Day, spring favors, or classroom rewards!
Ocean-Themed Charm
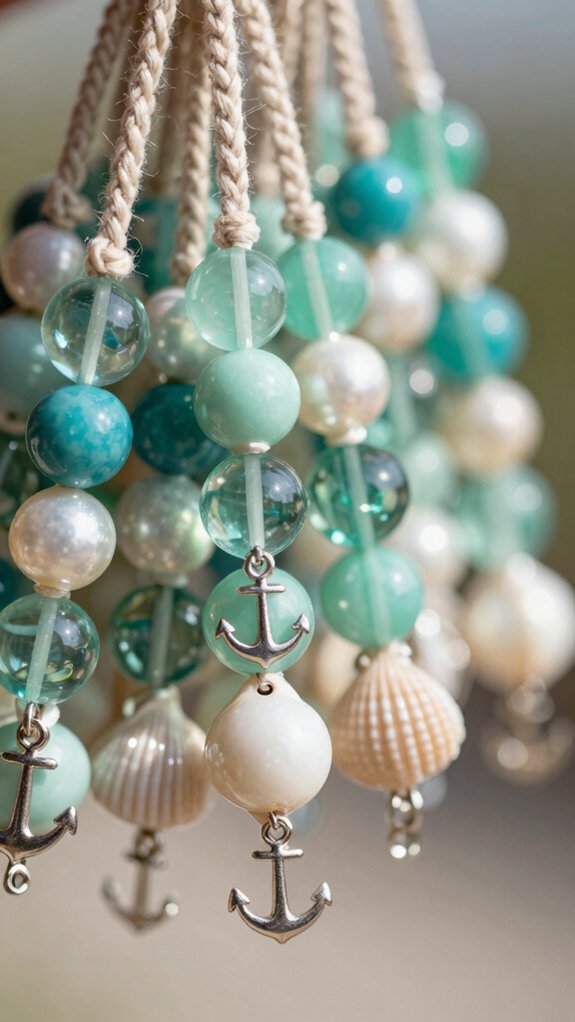
Ready for a splashy idea? You can build an ocean-themed charm keychain that feels like a tiny getaway in your pocket.
Thread blues, teals, and white foam beads onto the 7.8 cm beading rod space, then use the 15.8 cm metal keychain blank so your design fits snugly and the bottom ball still locks it all in.
- Add small fish or seashell charms for a playful finish.
- Paint unfinished beads with acrylic craft paint for a sea glass texture, or dye them for a wood-grain look.
- Try ocean wave pattern ideas, then knot tightly and tug-test.
Lucky Four-Leaf Clover
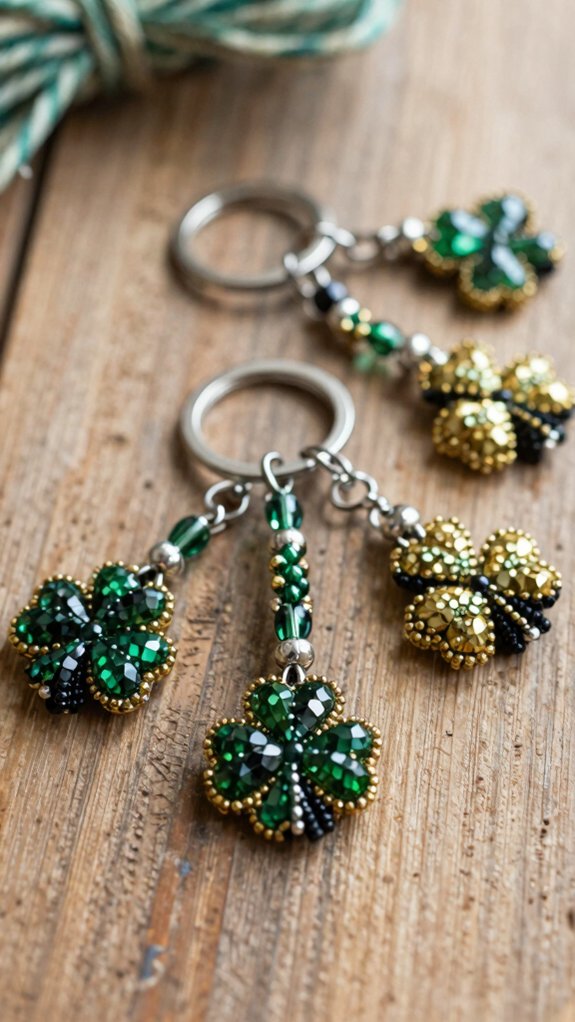
For a little boost of good luck, try a four-leaf clover keychain that looks cute without being fussy!
You can fit a simple clover pattern in the beading space on a metal blank, and it’s beginner-friendly, too.
Use green wood beads, or play with clover color variations by dyeing or painting them first for a brighter lucky look.
String everything with the two-cord method so your clover stays centered, then finish with knot security tips: tie close to the last bead, trim the cord, and do a quick tug test.
Nice, right?
Heart Bead Cluster
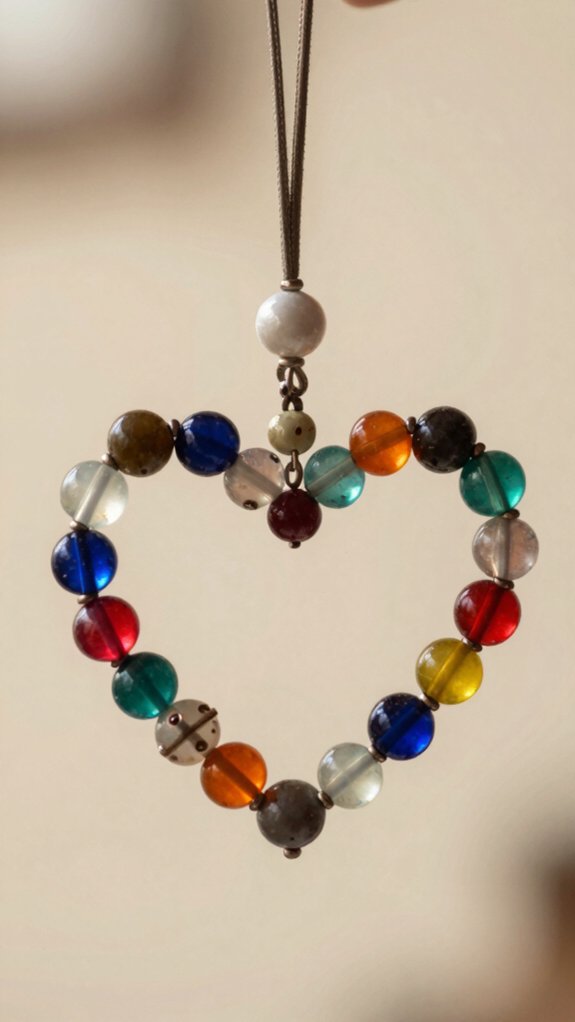
If the four-leaf clover had you thinking about tiny good-luck charms, a heart bead cluster is a sweet next idea, and it’s just as beginner-friendly!
You’ll use the kit’s short beading space, so your design stays neat, not squished.
Try:
- reds and pinks for easy Material color matching tips
- two-strand threading for bead spacing for symmetry
- 1–2 focal beads for extra sparkle
Place the heart low on the blank, then knot close to the last bead and trim the cord.
That keeps everything snug and cheerful.
Make a few, and you’ve got a cute gift set that feels like your crew!
Alphabet Letter Mix
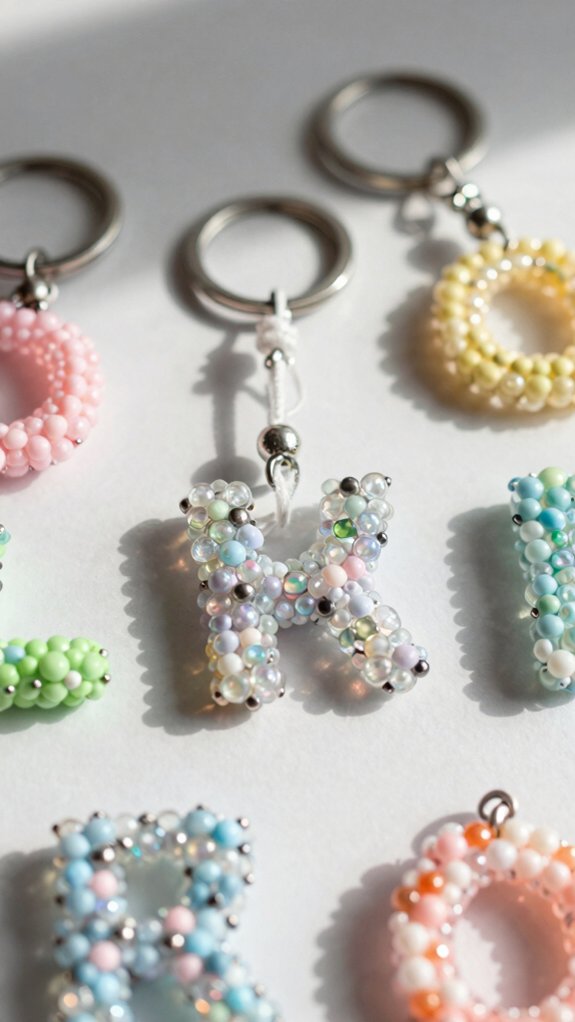
An alphabet letter mix turns a plain keychain into a tiny message with a big personality! You can spell names, initials, or a sweet note, and it feels like you’re in the club. Plan first, then string both strands together for symmetry.
| Step | What you do | Result |
|---|---|---|
| 1 | Lay out letters | Clear pattern |
| 2 | Add fillers | Balanced look |
| 3 | Bead carefully | Neat line |
| 4 | Knot tight | Secure finish |
| 5 | Trim cord | Clean edge |
Use alphabet bead spacing techniques and durable knotting for keychains. Keep it short on metal blanks, then make matching sets—easy, cheap, and gift-ready!
Pastel Candy Colors
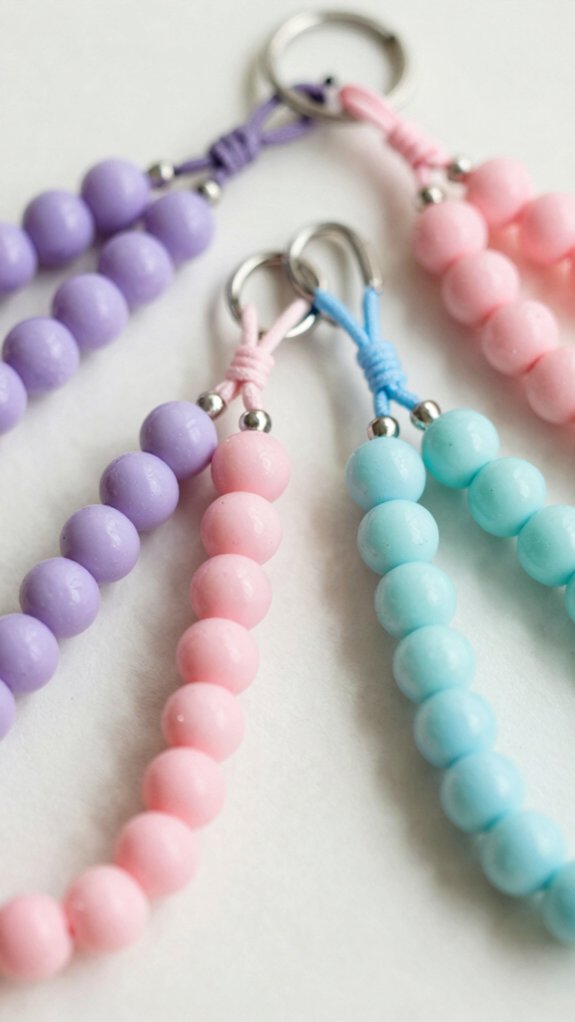
Soft pink, mint, and light yellow can make your keychain look like candy in the best way—sweet, cheerful, and totally gift-ready! You’ll fit a short pattern into the kit’s 7.8 cm beading space, so it stays neat and cute.
- Lay out your pastel beads first for Texture and color harmony.
- String both strands at once to keep the design balanced.
- Finish with easy gift ready finishing techniques: knot tight, roll, trim.
That’s it—simple, low-cost, and beginner-friendly. The rust-proof metal blank helps your soft colors stay fresh through daily use, so your handmade gift keeps smiling right along with you.
Animal Bead Characters
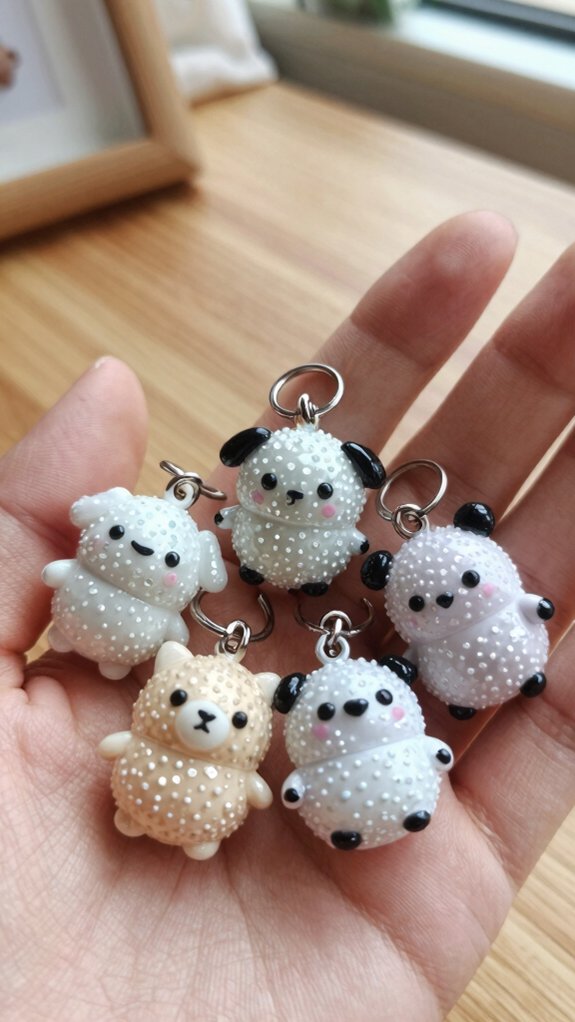
Animal bead characters are where your keychain starts looking like a tiny storybook cast, and honestly, they’re just plain fun! You start with Mini Pattern Planning, choose paws, faces, or tails, then string beads onto both cords of a rust-proof blank.
| Animal | Color cue | Cute detail |
|---|---|---|
| Cat | gray | tiny eyes |
| Frog | green | bright snout |
| Bear | brown | rounded ears |
That 7.8 cm space keeps your design neat, and the secure bottom ball helps stop slipping. These Classroom Reward Crafts feel personal, cost little, and make amazing gifts. Add a focal bead, tug gently, trim the cord, and you’re done!
Pearl and Gold Accent Style
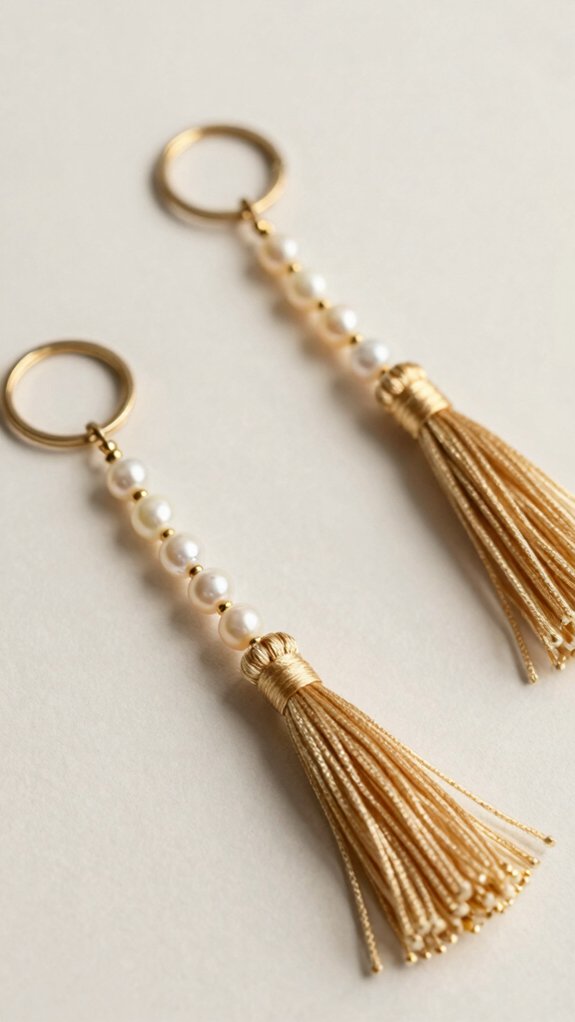
After those playful animal bead characters, you can switch gears into something a little more polished and oh-so-pretty: a pearl and gold accent style! You’ll feel right at home making this elegant little keychain, and it’s easier than it looks.
- Mix pearl-like beads with tiny gold beads.
- Use your keychain’s 7.8 cm space, so the strand stays snug.
- Try three pearls, then one gold focal bead, and knot near the end.
Paint non-pearl beads first for a smooth finish, then add durable strand finishing.
Colorful charm variations keep every gift personal, whether you’re making favors, holiday treats, or reward prizes.
Rainbow Gradient Design
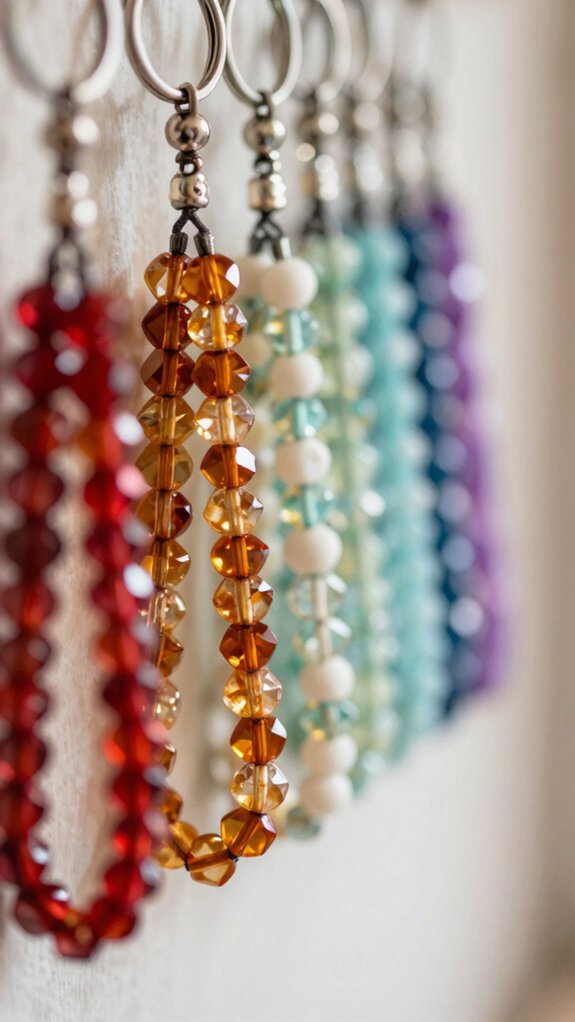
When you want your keychain to look like a tiny piece of springy magic, a rainbow gradient is such a fun next step! Pick 6–7 bead colors, red to purple, and lay them out first so your color spacing feels smooth and friendly.
Use the 7.8 cm beading-rod space on the 15.8 cm blank to plan a gradient that fits neatly between the ends.
String beads with the two-strand method, one bead per cord, and keep the center even.
Finish with knot security close to the last bead, trim the cord, and seat the bottom connector.
Now you’ve got a bright little gift that feels like your crew!
Layered Bag Charm Keychain
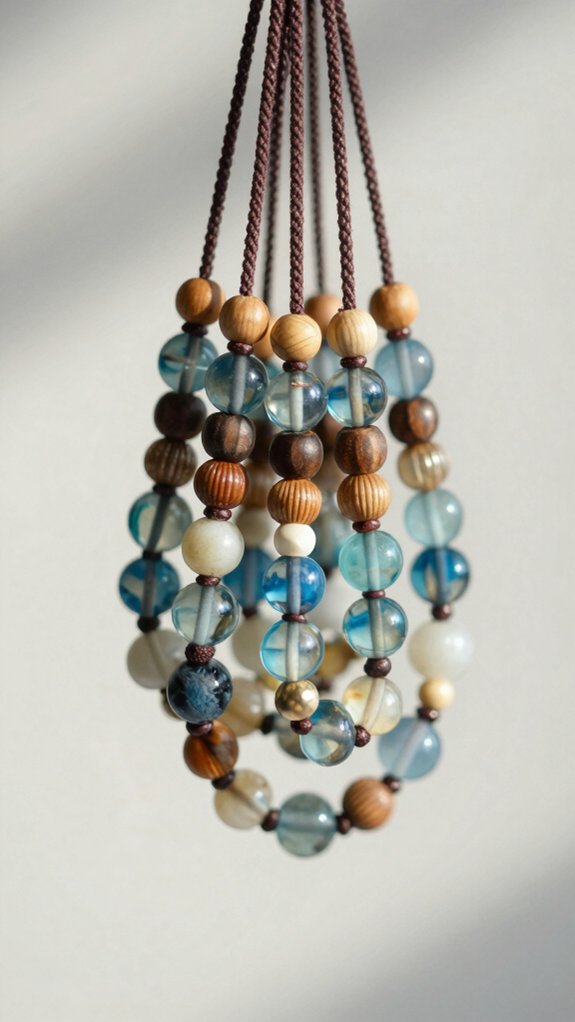
If you loved that rainbow gradient look, a layered bag charm keychain is the next little show-off project, and it feels extra cute hanging off a tote or backpack!
You’ll keep the keychain about 6.2 in long, with 3 in of beading space, so it stays neat.
- Thread a blank kit through the ring and cinch tight.
- Plan a top-to-bottom bead pattern with bands, then add focal beads.
- Knot close, trim, and tug test.
That Bag charm layering trick gives you a stacked look, and color coordinated finishing makes it feel gift-ready for Christmas or Valentine’s Day!


