
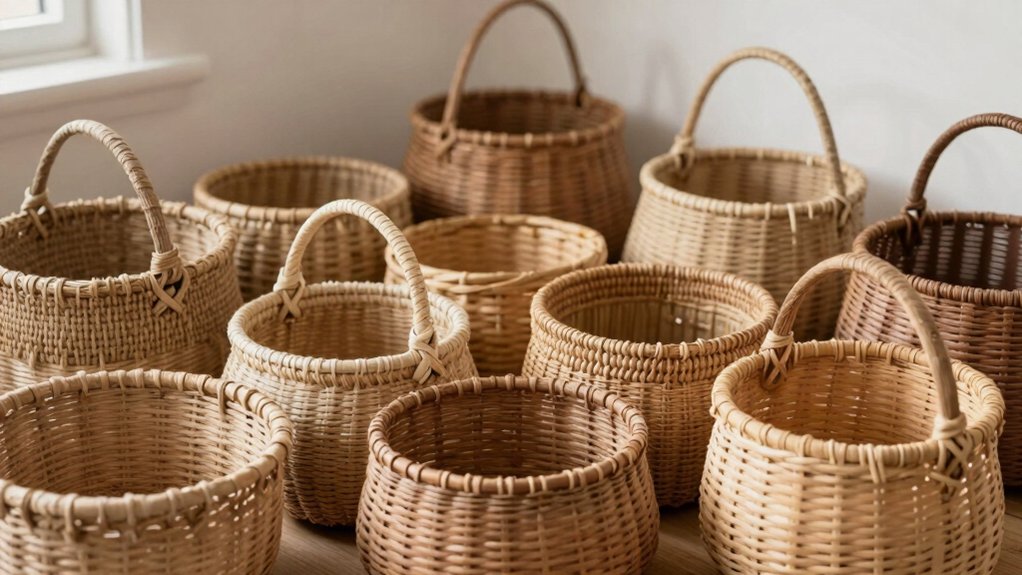

You can make beautiful baskets yourself with rope, fabric, paper, cardboard, crochet, twine, denim, felt, and even clothespins—wow! Start with a simple base, then coil, weave, glue, or stitch until it holds shape, and add handles, liners, or trim for polish. Try a fabric rope basket for blankets, a paper rope or woven cardboard basket for budget storage, then save the mini gift, Easter, and clothespin ideas for a fun surprise that gets even better next.
Key Takeaways
- Fabric rope baskets are durable, customizable, and great for blankets, toys, or shelves.
- Paper rope and woven cardboard baskets offer a low-cost, beginner-friendly handmade option.
- Crochet, macramé, and felt baskets add texture and work well for organizers or hanging planters.
- Upcycled denim and twine baskets create sturdy, rustic storage with a handmade look.
- Mini gift, clothespin, and Easter baskets make charming decorative containers for presents and seasonal displays.
Rope Storage Basket
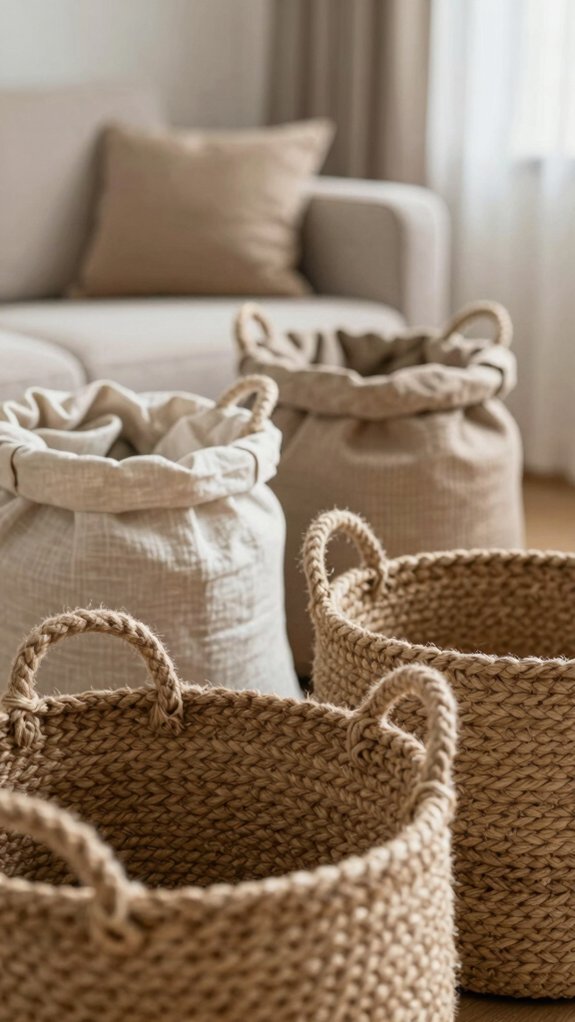
If you’ve got a pile of old fabric scraps and a little patience, you can turn them into a cute rope storage basket that looks way fancier than it sounds!
Twist or braid upcycled fabric scraps into rope, then loop and coil it into a basket shape, securing each round with hot glue or another strong fastener.
Start with a wider base for blankets, or keep it snug for shelves.
Need extra toughness? Slip in wire between layers for straighter sides.
Add DIY rope handles, and you’ve got a light, handy basket for remotes, scarves, or toys—easy, cozy, and totally yours!
Fabric Rope Basket
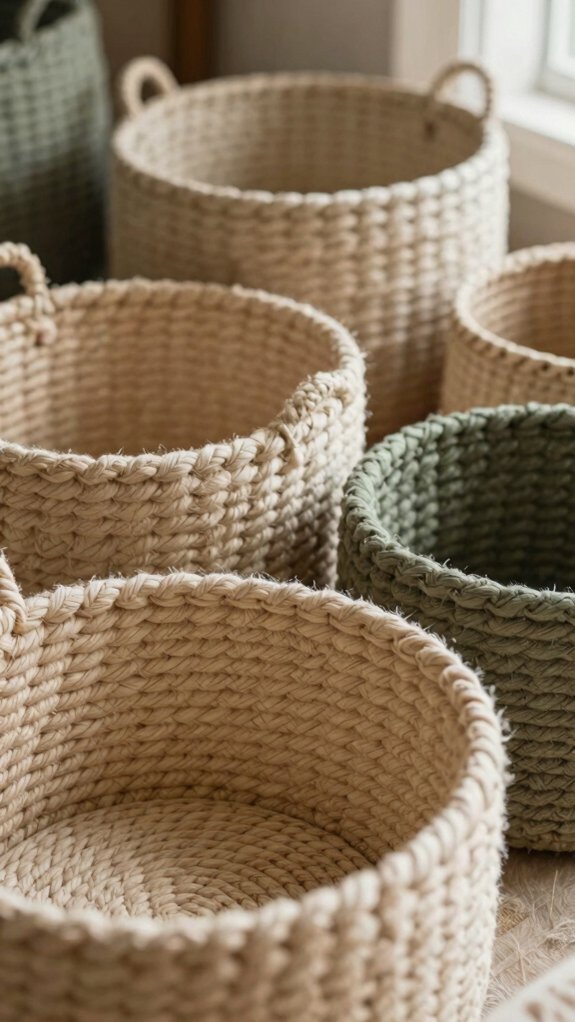
Twisting a few fabric scraps into something surprisingly sturdy? You’ll feel right at home making a fabric rope basket!
Snip strips with safety cutting tips, then twist or braid them into cords.
- Pick similar-weight fabrics for even walls.
- Coil the rope into a round base.
- Stitch each row as you build.
- Add glue or finishing seam securing for grip.
Keep curling the rope upward, and your basket starts looking polished fast!
It’s cheap, beginner-friendly, and great for plant holders or a catch-all.
The thick, handmade texture feels cozy, useful, and just a little magical—like your scraps finally found their crew.
Paper Rope Basket
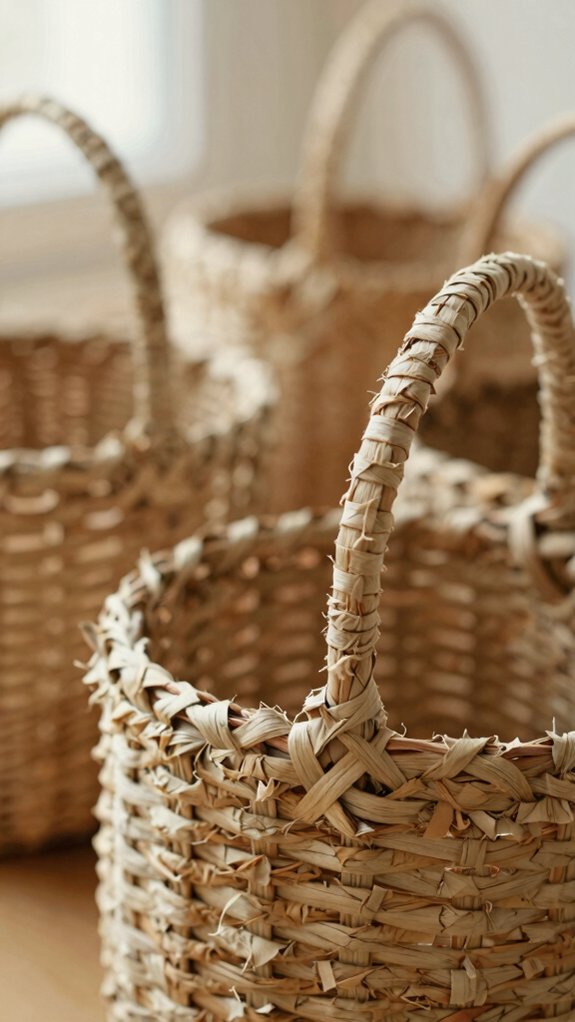
Paper can work the same little magic as fabric, and a paper rope basket proves it beautifully! You twist or roll paper strips into rope, then loop them into a round basket shape with beginner friendly techniques. As you build, glue each coil so it stays sturdy and won’t unwind—no basket drama here!
This budget friendly paper craft asks for only paper, glue, and a little patience.
You can dye the rope first or decorate it later, so it fits your style without special supplies. Add a light sealant when you’re done, and you’ve got a lightweight organizer that looks charming and holds up well!
Woven Cardboard Basket
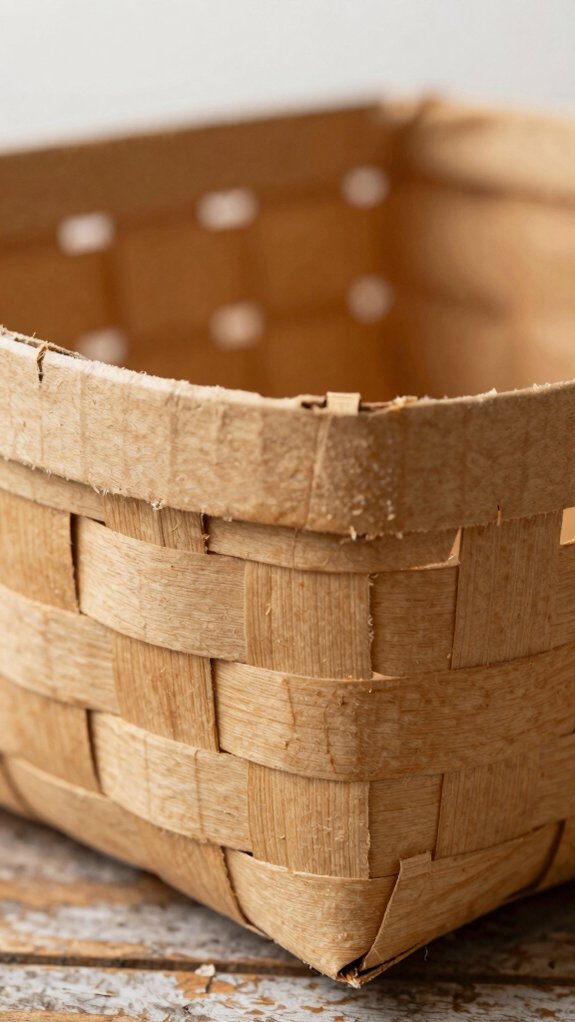
While you can keep a woven cardboard basket simple, it still looks surprisingly polished once you get the hang of it! This beginner friendly cardboard basket feels like a win, and you’ll fit right in making one.
- Cut cardboard strips, then weave them over-and-under a base.
- Use a ruler so each strip stays even and your sides look tidy.
- Fold small tabs at the corners to keep everything snug.
- Add more strips, trim the top, then line inside with tissue paper or cellophane.
Soon, you’ll have a sturdy basket for small items, and it won’t cost much either!
Crochet Basket
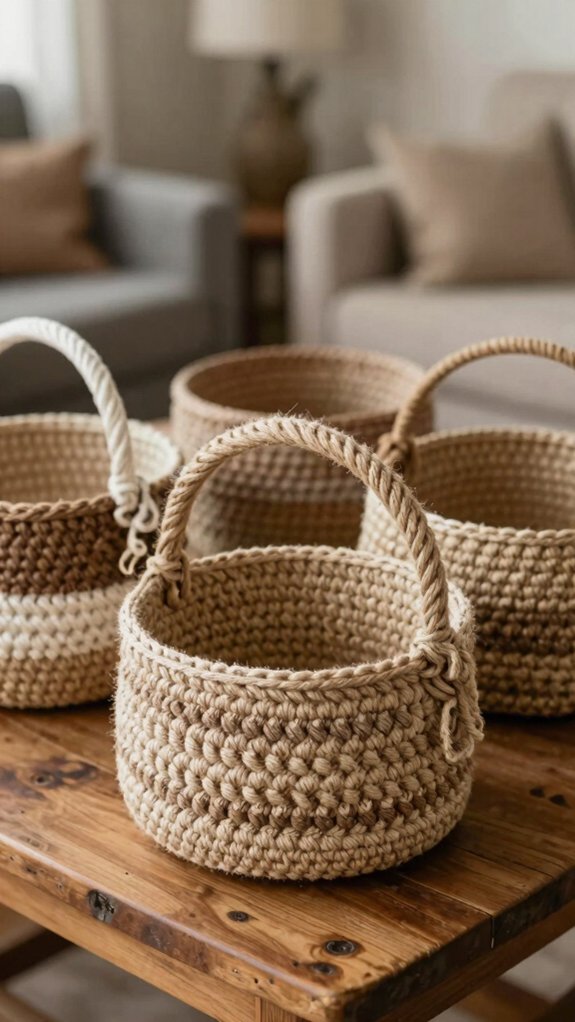
If you’ve ever wanted a basket that looks store-bought without the scary price tag, a crochet rope basket is a fun place to start!
You’ll use thick rope or chunky cord, so your stitches grip well and the shape stays sturdy.
Follow a simple tutorial, begin with tight rounds, then build the walls as you go.
Don’t worry—you don’t need basket-making skills, just basic stitches and a little patience.
For crochet basket sizing, check your base often.
Want a fresh look? Try color change techniques midway.
Finish by tightening the top edge, and you’ll have a polished organizer for remotes or craft supplies!
Macramé Hanging Basket
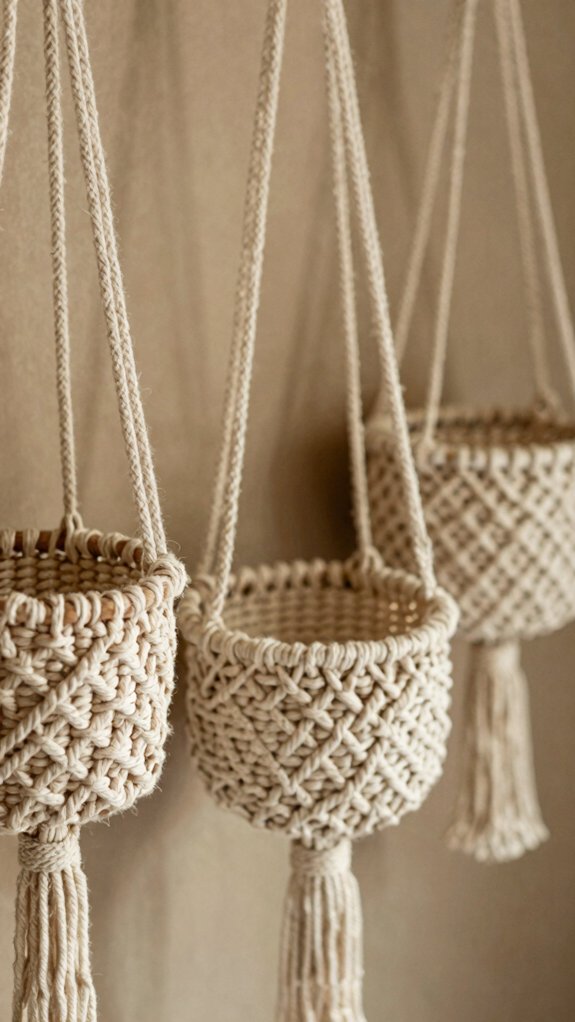
Macramé brings a whole new vibe to basket making, and yes, you can absolutely make one yourself without needing wizard-level knot skills!
You’ll feel right at home with this cozy project.
- Grab cotton or jute cord and a ring, dowel, or frame.
- Tie square knots and half-hitches for a sturdy shape.
- Check ceiling mounting height before tightening, so your pot fits just right.
- Use pattern spacing to keep the base snug, then add a liner for easy watering.
Trim the ends cleanly, maybe comb them a bit, and your hanging basket will look polished, playful, and totally yours!
Felt Storage Basket
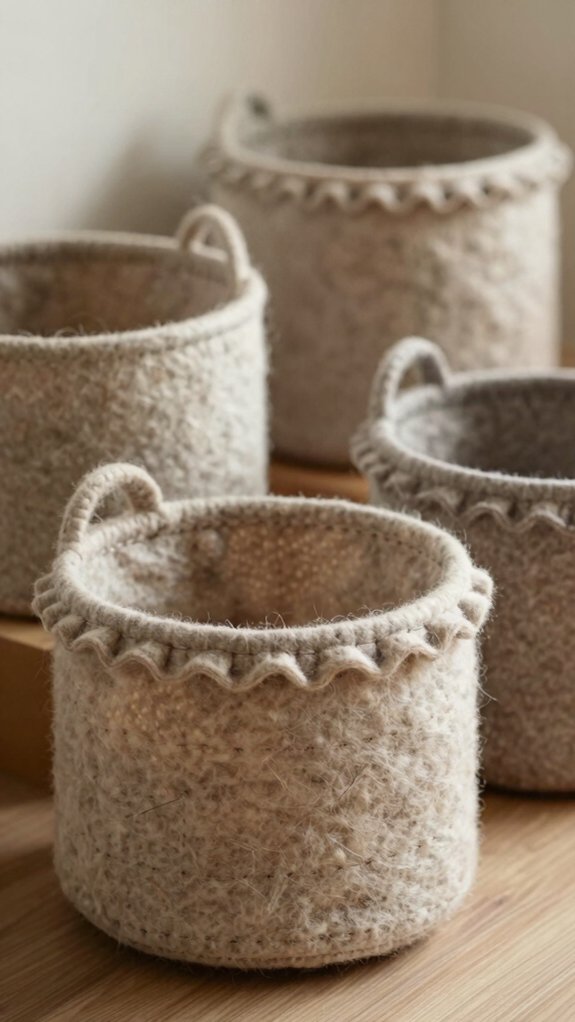
A felt storage basket is a super simple way to corral all those little “where did this go?” items, and it looks charming while doing it!
You cut felt for the base and sides, then assemble it so the basket stays sturdy for everyday use. It’s one of those house organization tips that makes you feel instantly more put together.
Want extra charm? Try felt peony ideas by adding layered petals, or grab pre-made fabric peonies for a faster finish. If you use a Cricut, you’ll get neat flower shapes in no time. In about 15 minutes, you’ve got soft, stylish storage that feels cozy and inviting!
Denim Basket from Old Jeans
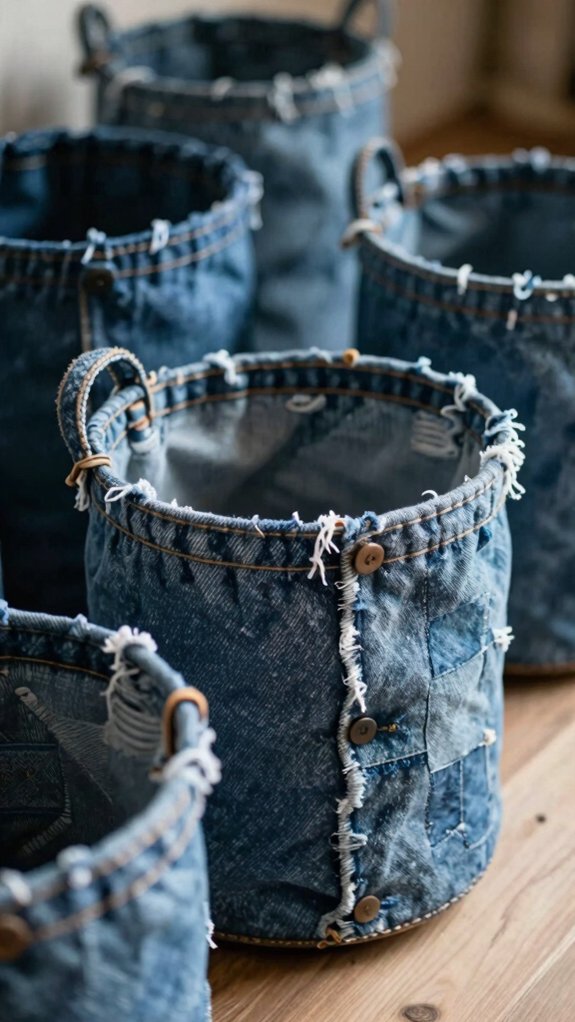
Once you’ve got a few old jeans begging for a second life, you can turn them into a denim basket that’s both sturdy and seriously cute! You’ll feel right at home making this upcycled home decor piece, and it’s easier than it looks.
- Cut jeans into even strips.
- Weave them through a wire basket.
- Start tight at the bottom.
- Alternate washes for texture.
Keep wrapping upward in neat rows, so the sides stay strong and the look stays smooth. Trim any fringe at the rim, then tuck in loose ends.
The result? Cozy rustic storage styling with cool, collected vibes, and a basket you’ll actually use!
Rustic Twine Basket
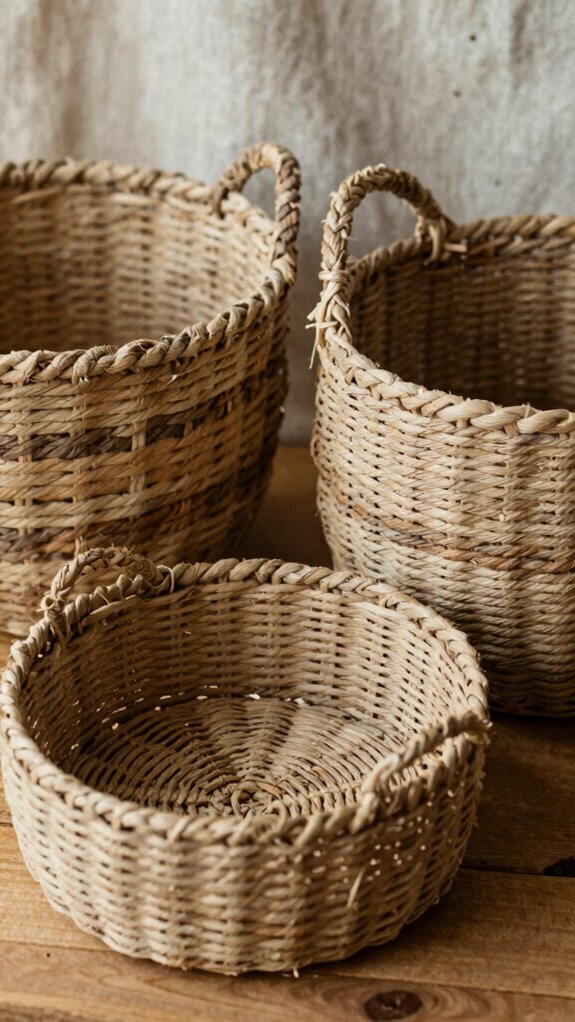
If you’re still in that crafty, upcycled mood after making a denim basket, you’ll love this rustic twine version—it’s budget-friendly, beginner-friendly, and it looks way fancier than the effort it takes!
Grab thick twine, a sturdy bowl or cylinder, and hot glue, then start wrapping.
Build your basket slowly, stacking neat rows and keeping the tension even so the sides stay straight, not floppy.
Add a twine basket lining feel by keeping coils tight, then reinforce the rim and base with a double layer.
A few glue knots help too!
Let it cure, pop it off, and finish with simple rustic basket finishing.
It’s perfect for throws or yarn—hello, cozy vibes!
Mini Gift Basket
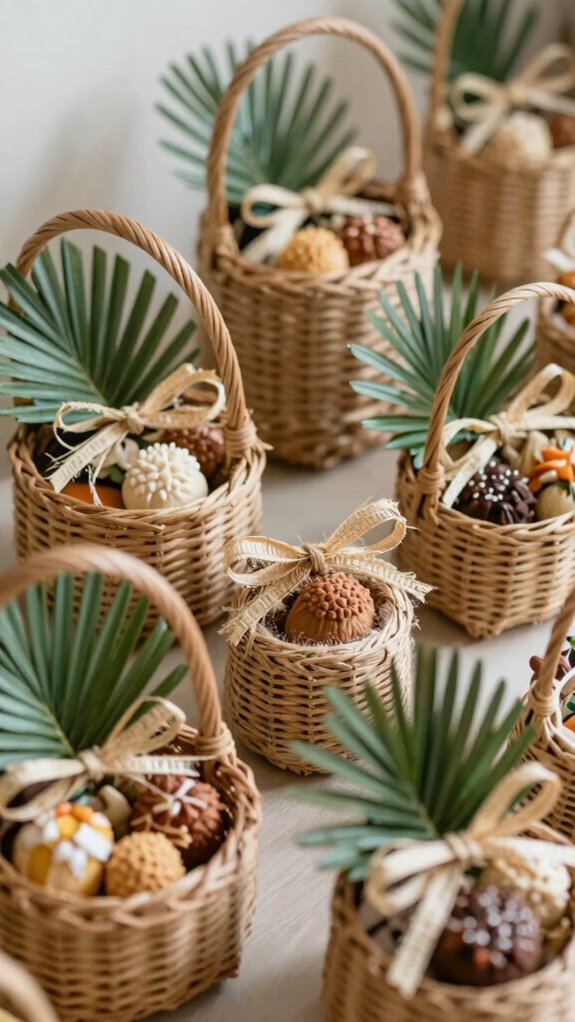
Tiny gifts can make a huge splash, and a mini gift basket is one of the easiest ways to pull that off! You can build a sweet surprise with budget friendly themes and minimalist styling ideas. Try this:
- pick coffee, spa, or cheese treats
- add one useful item and one personal touch
- use a chic tote or crate that fits snugly
- tuck in shredded paper, then wrap with cellophane
For quick assembly shortcuts, stack taller items in back and short ones up front. Finish with personalized note tips, a bow, and an anchor cookie centerpiece, and wow—gift-ready!
Wooden Clothespin Basket
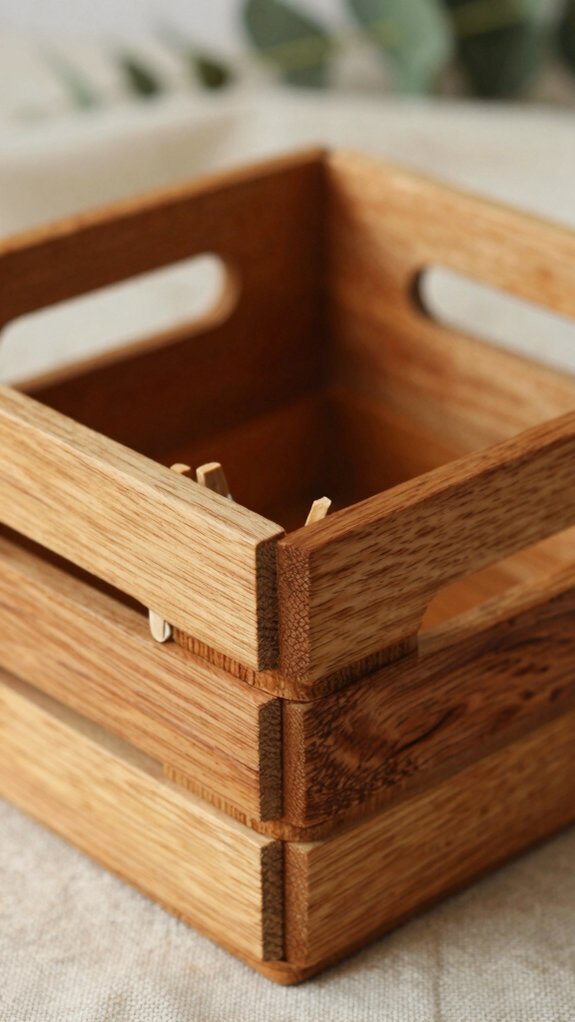
With a few wooden clothespins and a sturdy basket base, you can turn plain storage into a rustic little showpiece—yep, it’s easier than it sounds!
Grab clothespins, hot glue, and a wooden or wire frame, then attach them in neat rows as you rotate the basket for even spacing.
Fill tiny gaps and reinforce the spots that get the most pull, so your piece stays sturdy and sweet.
After the glue cures, you’ve got repurposed kitchen organization or rustic craft storage that feels right at home.
Toss in odds and ends, and enjoy that cozy farmhouse vibe every day!
Decorative Easter Basket
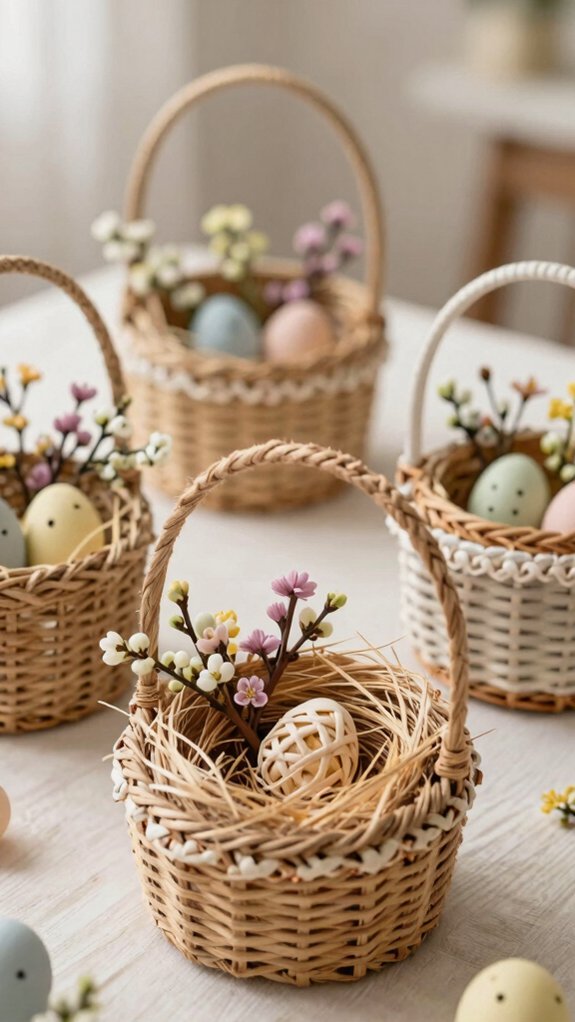
For a Decorative Easter Basket that feels thoughtful and not tossed together at the last minute, start with a gift container you’d actually want to keep, like a wooden crate or a reusable tote bag.
That reusable gift container sets the tone right away, and your Easter basket styling will look like you belong at the fun table!
- Add cookies, candy, and one useful little surprise.
- Put taller items in back, smaller treats up front.
- Fill gaps with shredded paper or tissue paper.
- Wrap it in clear cellophane, then tie a ribbon.
Want a sweet twist? Make a pom-pom basket with chenille yarn.


