
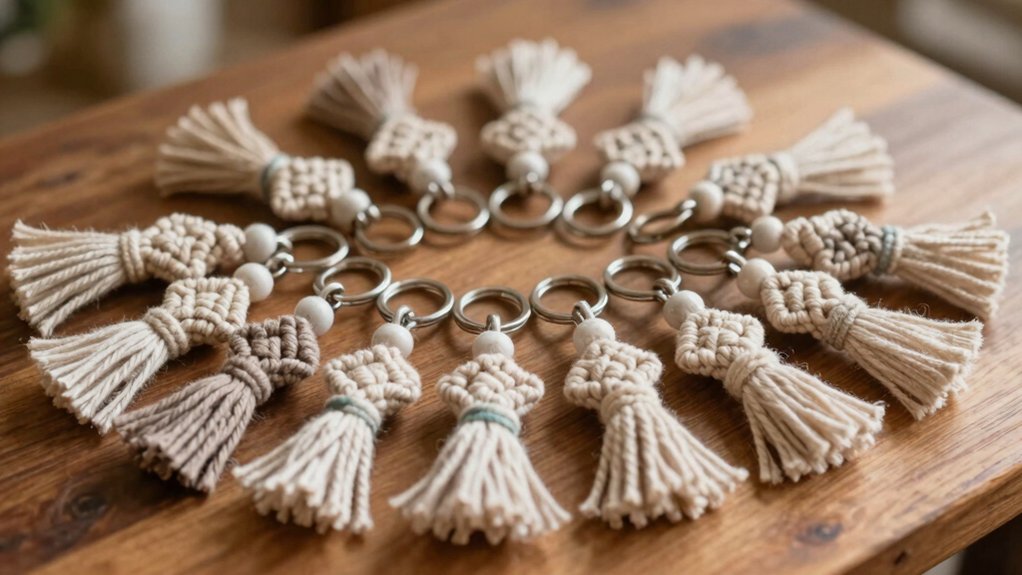

You can make 13 macramé keychains with just cotton cord, a ring, and a few easy knots—think classic spirals, feather charms, tassels, leafy ridges, sweet hearts, wristlets, and rainbow pops. Start with larks head knots, keep your rows neat, and finish with a wrapping knot or trim for a clean look. Want extra wow? Try a braided or personalized initial piece last, because that’s where the real “wait, you made that?!” magic starts hiding.
Key Takeaways
- Beginner-friendly spiral knots and larks head attachments make classic macramé keychains easy to start and neatly structured.
- Feather, tassel, and fringe designs add boho texture, with wrapping knots and trimming for a clean finish.
- Leaf, heart, and diamond motifs use double half-hitches and square knots to create crisp, patterned charm.
- Rainbow and daisy accents bring extra pop through color contrast, tight spacing, and playful finishing details.
- Wrapped rings, wristlets, braids, and personalized initials offer customizable keychains that look clean, centered, and proudly yours.
Classic Spiral Knot
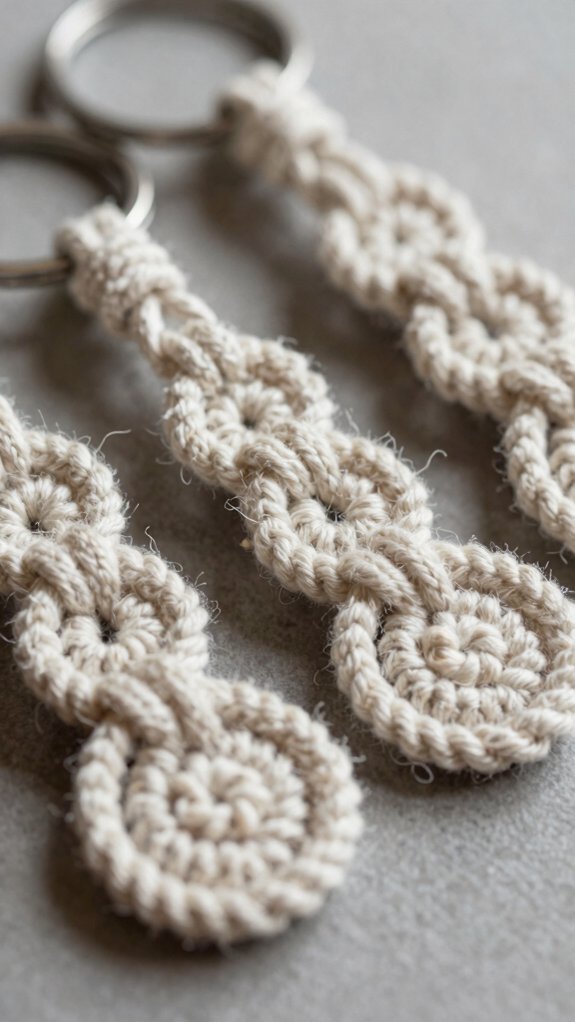
Right off the keyring, the Classic Spiral Knot is one of those beginner-friendly macramé moves that looks fancier than it really is—yay for instant craft bragging rights!
You’ll attach your cords to the keyring with a larks head knot, then choose a Colorful cord selection that makes your keychain pop.
Next, knot in one direction, pull each knot snug, and use beginner friendly tension tips: keep every loop even, not yanked tight.
Your cords will twist into a rope-like center fast, and the pattern stays neat.
Finish with a wrapping knot, lock it down, and you’ve got a cute, low-cost keychain you can repeat anytime!
Feather-Inspired Design
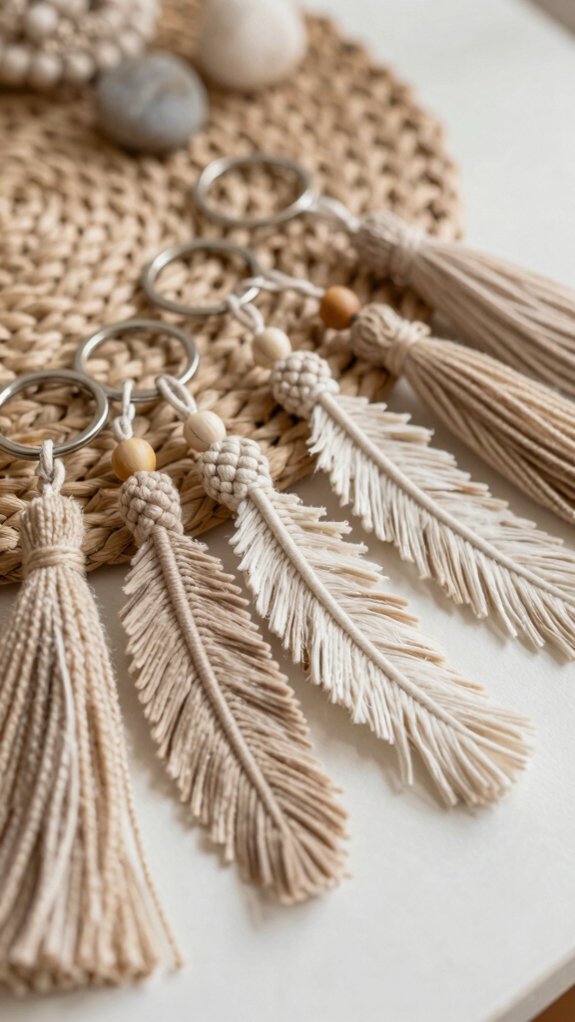
Ever wondered how a tiny feather can turn into the cutest keychain ever? You can make one with Colorful cord choices and beginner friendly knot shortcuts, and it feels like you’re in the club right away!
- Clip single-strand cotton cord, 4–5 mm works best.
- Tie larks head knots to your lobster clasp.
- Build repeating square knots and spiral-like sections.
- Finish with a wrapping knot, then trim and comb the fringe.
Keep knots tight for skinny barbs, loose for fuller ones. It’s cheap, easy, and wow, your feather looks elegant without the fuss!
Boho Tassel Style
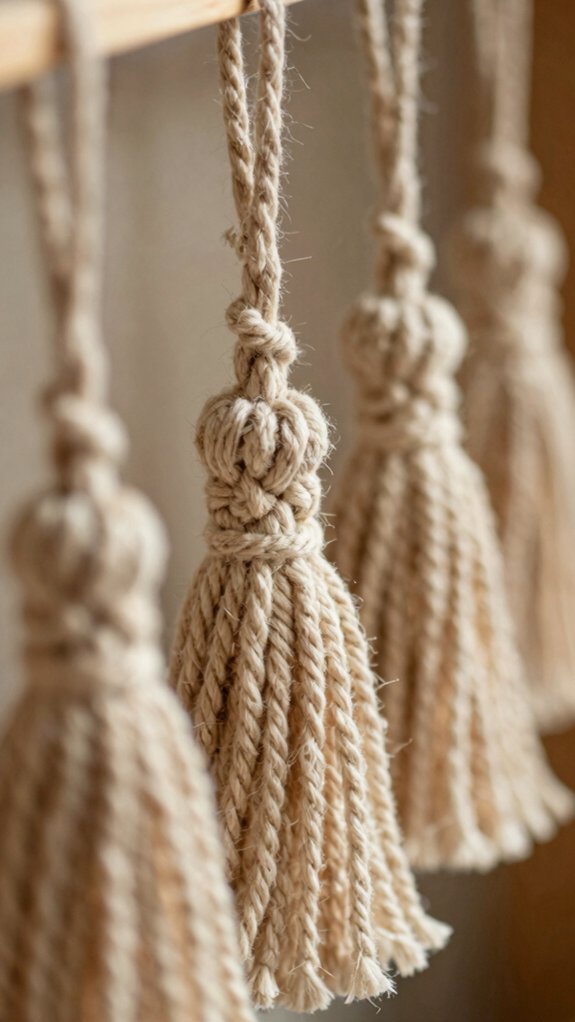
If the feather keychain made you want to keep playing with cord, a boho tassel keychain is your next happy little project!
Start with a lobster clasp, tie on scraps with a larks head knot, then work down to the tassel spot.
Use a short extra cord to wrap and gather the fringe so it stays put, neat, and smugly stylish.
Trim it even, then brush it fluffy with a fine-tooth comb.
Want more flair? Try cord dye techniques or tassel length variations, and wrap the top with yarn for a bright, friend-group-worthy finish.
Leaf Pattern
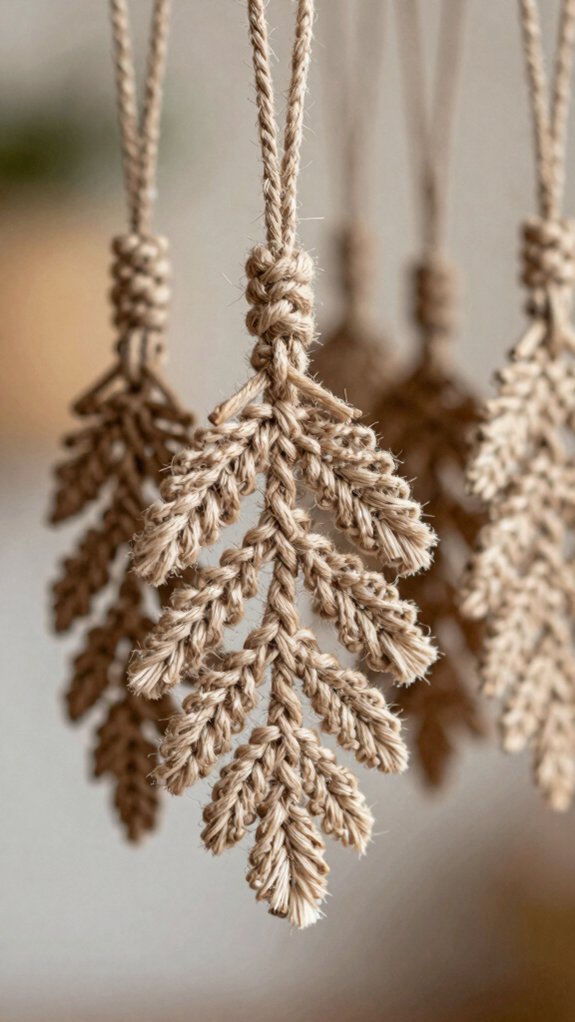
A leaf pattern macramé keychain feels like tiny cord gardening, and it’s way easier than it sounds! You’ll fit right in once you start.
- Pick 3 mm or 5 mm cotton cord, and do a little cord color planning.
- Set your cords in rows, then knot horizontal and diagonal double half-hitches.
- Alternate left and right so the ridges look like overlapping leaves.
- Trim, comb, and use edge finishing techniques last.
Keep each knot tight and even, and repeat the simple horizontal → diagonal → horizontal flow. You’ll get a crisp, leafy charm that looks handmade, happy, and cool!
Heart Knot Keychain
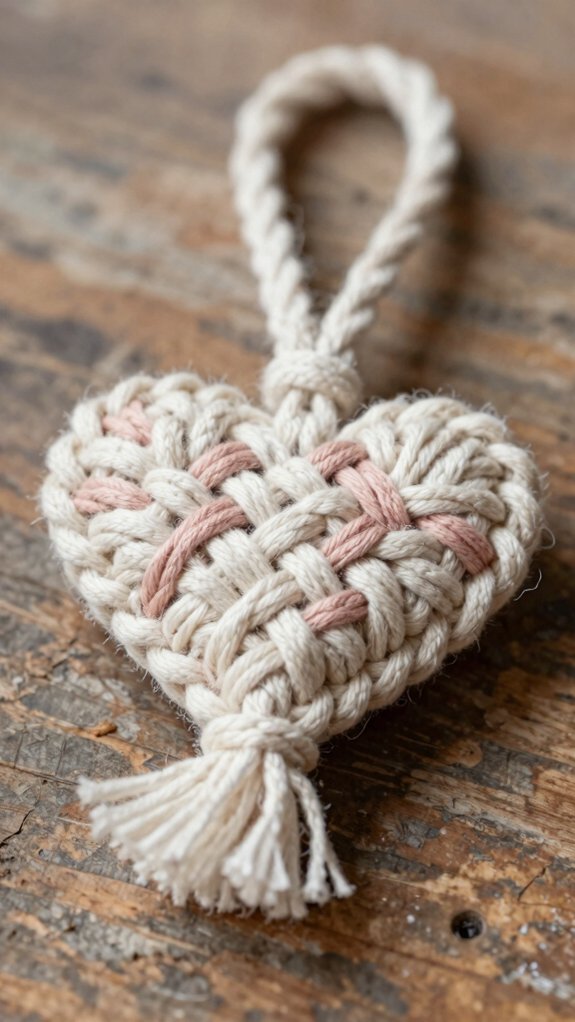
Heart knot keychains are such a sweet follow-up to a leafy design, and they’re a fun way to turn a few cords into something charming fast! Start with a larks head knot on your ring, then split your strands into neat, matching sides. Try a colorful cord selection for extra cheer.
| Step | Feeling |
|---|---|
| Set symmetry | Calm |
| Knot tight rows | Proud |
| Cinch the center | Joy |
| Trim the ends | Wow |
Use reverse larks head knot, double half hitch knot, and a wrapping knot for the rounded top. With knot sizing for beginners, you’ll keep it small, giftable, and purse-ready. Honestly, it’s adorable!
Diamond Knot Design
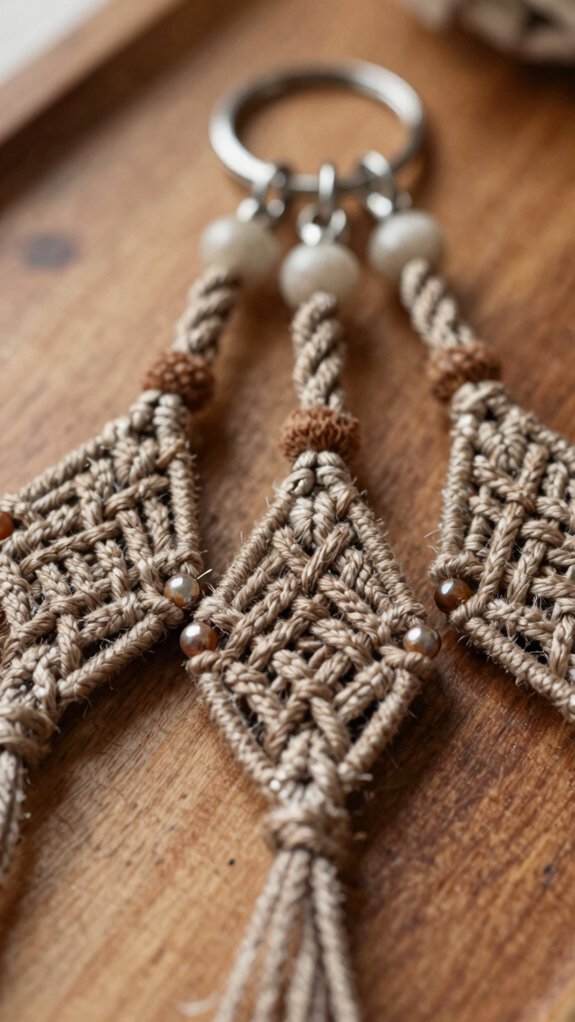
With a few steady knots, you can build a diamond knot design that looks way more elaborate than it feels, and it’s a great beginner project too! Grab cord material options you like, then pick bold color contrast for a cheerful vibe.
- Attach cords with lark’s head knots.
- Shape each diamond with double half-hitch rows.
- Add a couple square knots to lock the edges.
- Finish with a gathering knot so nothing slips.
Work row by row, keeping tension even so your diamonds stay flat and neat. Follow the pattern closely, and you’ll fit right in with the crafty crowd—easy, fun, and surprisingly polished!
Mini Rainbow Charm
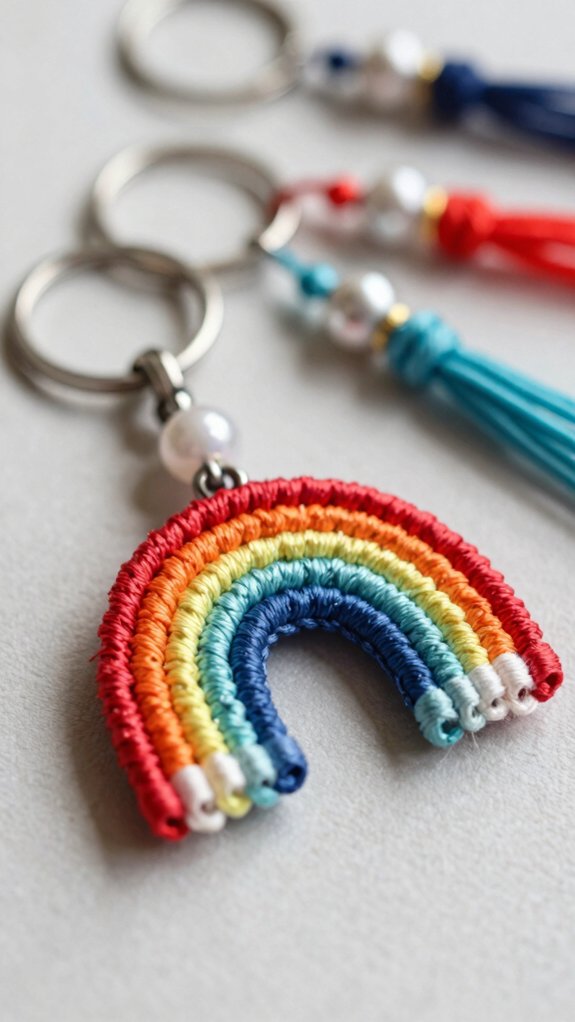
Clip the strands onto a lobster clasp or keyring with lark’s head knots, then separate the colors so you can alternate them neatly as you work.
Use a single 5 mm cotton cord and short rainbow lengths, so your charm stays tiny and cute, not a giant parade float!
Build with square knots for crisp stripes, or try a spiral knot for a soft curve.
Keep knot tightening tips in mind: pull each knot firm, but not stiff, and check Color band spacing often so every hue ends on the same row.
Finish with a wrapping knot, trim, fluff, and enjoy your mini rainbow glow.
Daisy Accent Keychain
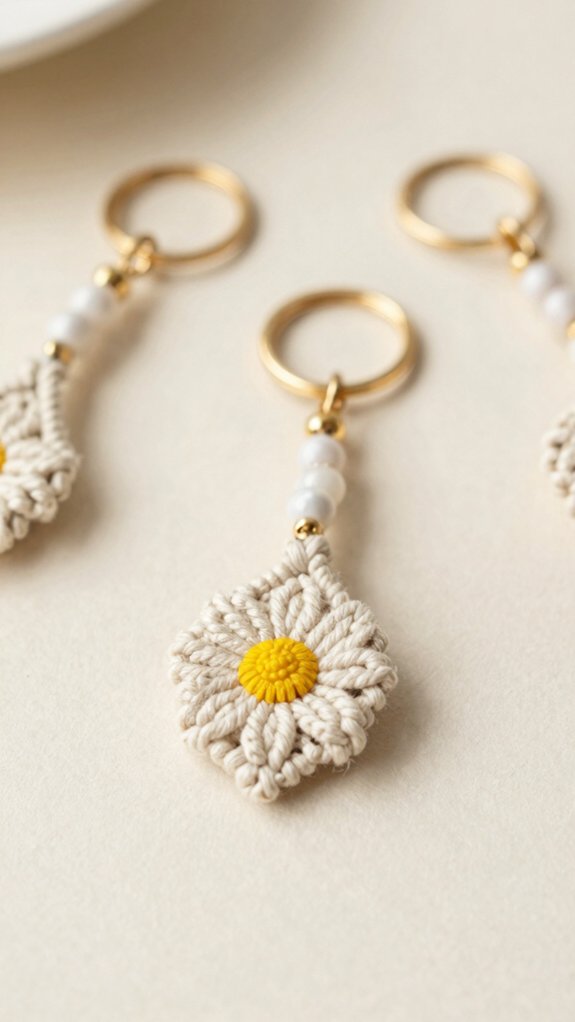
A daisy accent keychain is such a happy little project, and it’s easier than it looks!
You’ll fit right in with this beginner friendly tutorial, and the result feels polished.
Use muted cotton cord, a swivel lobster clasp, and a reverse larks head knot for the petal texture.
- Pick your cord material choices.
- Follow the knot breakdown.
- Add knot security tips.
- Finish with a tiny bow.
Colorful charm variations are fun too, but this daisy keeps it sweet.
Teens and adults can make one fast, and it won’t cost much—just a few cords and a little patience.
Wrapped Wooden Ring
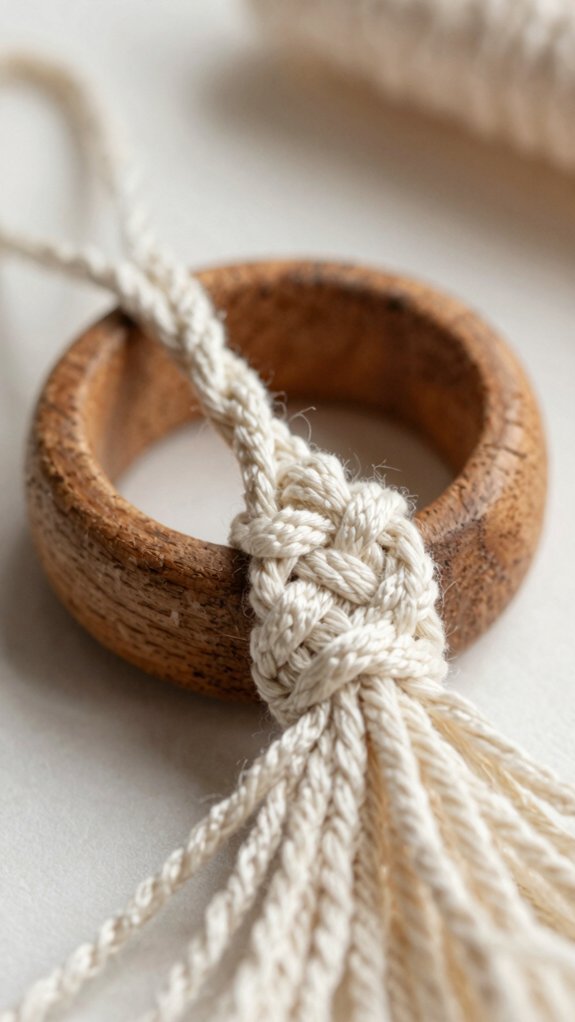
Wrapped wooden rings bring such a cool, finished look to a keychain, and honestly, they’re easier than they seem!
| Step | What to do | Why it helps |
|---|---|---|
| 1 | Cut a long cord | Gives you room to wrap |
| 2 | Tie the end on tight | Keeps the wrap from sliding |
| 3 | Spiral the cord snugly | Makes smooth, even texture |
You’ll love the clean vibe, especially with Cord color mixing for extra pop. Use secure knot techniques, then add a few half-hitch knots to lock the tail. Keep pulling evenly, trim the ends, and you’ve got a neat ring that feels handmade and group-chat worthy!
Wristlet Keychain
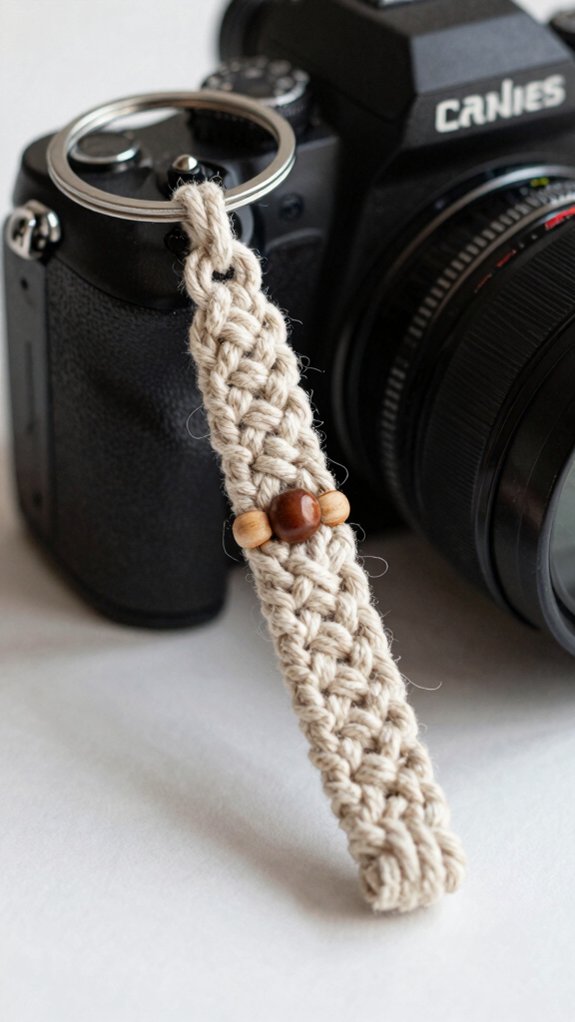
Ready for a wristlet that looks cute, feels sturdy, and won’t make your hands stage a protest? You can build one fast with 5 mm cotton cord, sharp scissors, and a tape measure.
Pick your vibe:
- Version 1: two 84″ cords, plus a 30″ wrapping cord.
- Version 2: 30″/60″/25″ cords, plus a key ring.
- Keep cord tension control steady, so your knots stay neat.
- Use knot spacing tips: leave about 2″ before the first square knot.
Add glue in that tiny gap for extra hold, then wrap, comb, and enjoy your new wristlet!
Two-Tone Modern Pattern
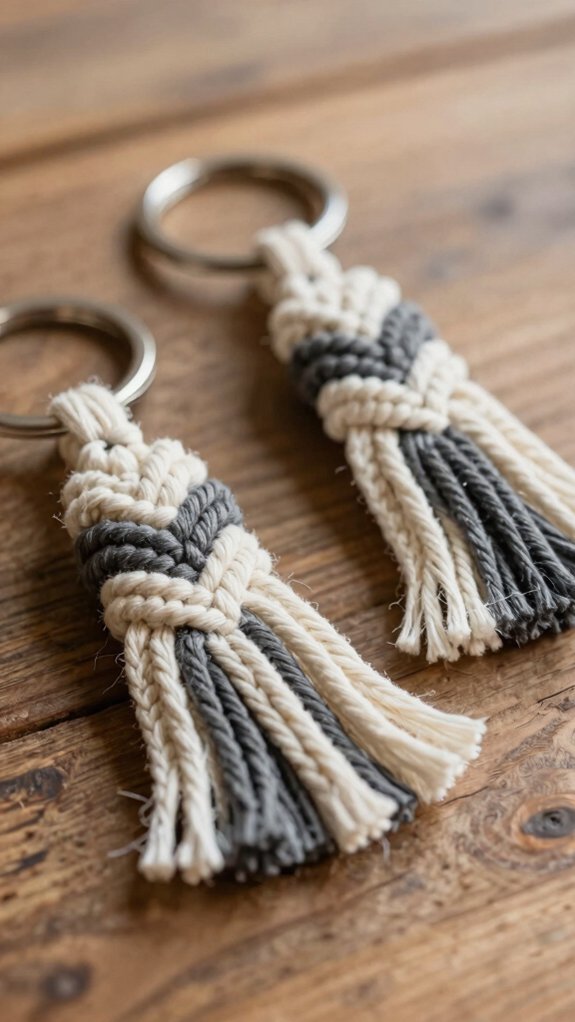
If you want your macramé keychain to feel fresh and a little stylish, this two-tone modern pattern is such a fun choice!
Grab two complementary cords, like a neutral and a pop of color, then clip them to a lobster clasp with a larks head knot.
Your color blocked strap starts looking cool fast with easy beginner knots, especially square knots spaced by color.
Next, measure your first row about 1–2 inches below the hardware, then work double half hitch knots or a chevron repeat so the colors stripe neatly.
Finish with a wrapping knot, trim cleanly, and enjoy that sleek, shop-worthy vibe!
Braided Cord Design
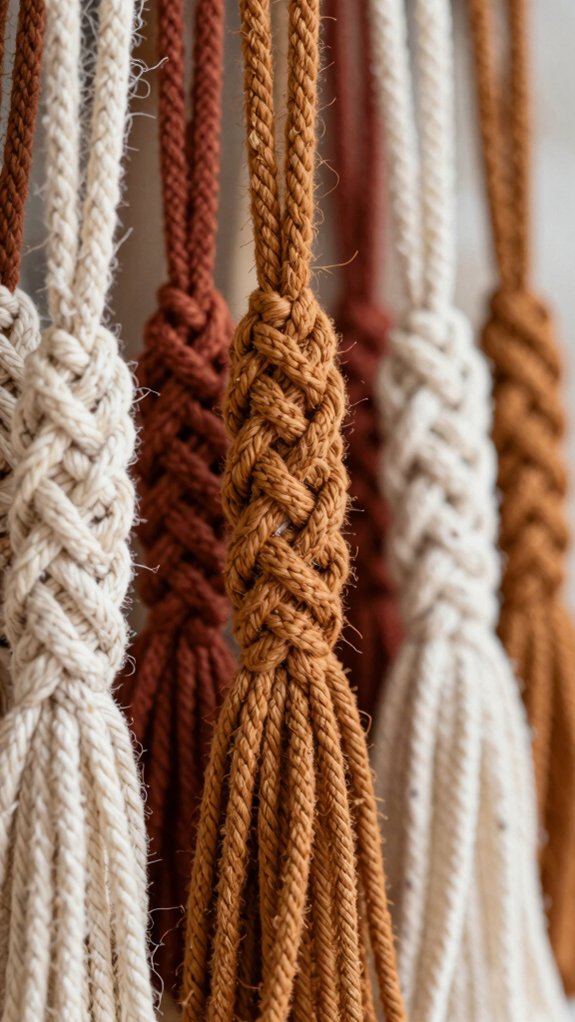
Braided cord keychains have a cozy, handmade look that feels a little more polished than a plain knot, and they’re super beginner-friendly too! You’ll fit right in making one that looks neat and clever.
- Cut three equal cords, a little longer than your keychain.
- Stack them, add a small rubber band, and braid down.
- Loop the braid through your ring, then tie the neck snug.
- Finish with a tidy stopper and trim the fringe.
For braid maintenance tips, comb the ends gently. Try cord color matching for extra flair, and if you’re curious, a fishtail braid can really surprise you!
Personalized Initial Keychain
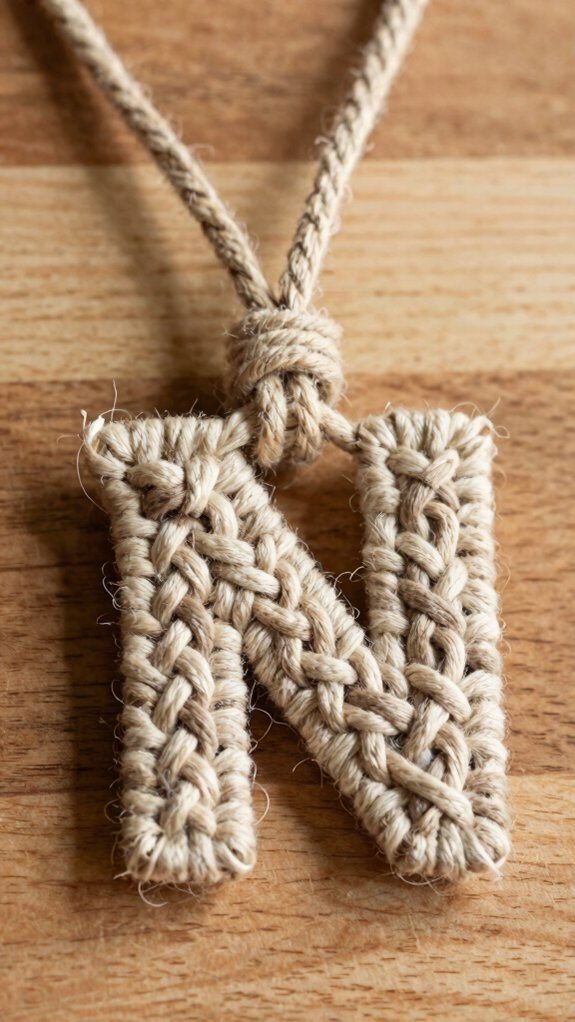
Your keychain can spell out a little personality, and honestly, that’s half the fun! Grab a thick 3–5 mm cotton cord, a lobster clasp, and pick your first letter. You’ll feel right at home making it, and it won’t cost much, either.
Attach your cords with larks head knots, then mark the width of your initial area. Use square knots or double half hitches to shape crisp edges, and keep knot spacing tips in mind so your rows stay neat.
Want extra pop? Try cord color contrast, like dark lettering on a light base. Finish with a wrapping knot, trim the fringe, and voilà—clean, centered, proudly yours!


