
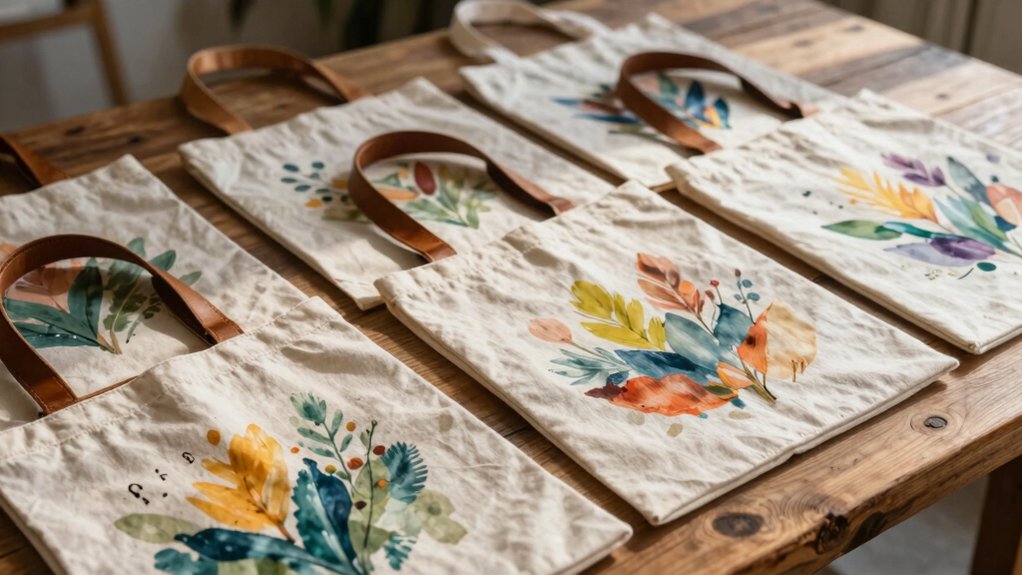

You can turn a plain tote into a cute grab-and-go bag with easy paint ideas like tiny wildflowers, strawberries, checkerboards, sun-and-moon line art, and cozy forest scenes! Use fabric-safe acrylics, painter’s tape, stencils, and cardboard inside the bag, then keep your steps simple: sketch, dab, dry, and heat-set. Add boho rainbows, abstract shapes, bold initials, or seasonal motifs for extra flair, and save the punchiest monogram or holiday twist for last—you’ll want the full list!
Key Takeaways
- Try minimal wildflower sketches with 3–5 stems, tiny blooms, and soft colors like dusty pink and sage.
- Make bold checkerboard totes using painter’s tape, a ruler, and two high-contrast acrylic colors like black and white.
- Paint sweet strawberry motifs with red, pink, yellow seed dots, and green leaf tips for a playful look.
- Use simple line-art designs like suns, moons, seashells, monograms, or cozy woodland stencils for easy personalized totes.
- Switch by season with heart, snowflake, ghost, shamrock, or stars-and-stripes stencils for cheap, giftable tote ideas.
Minimal Wildflower Sketches
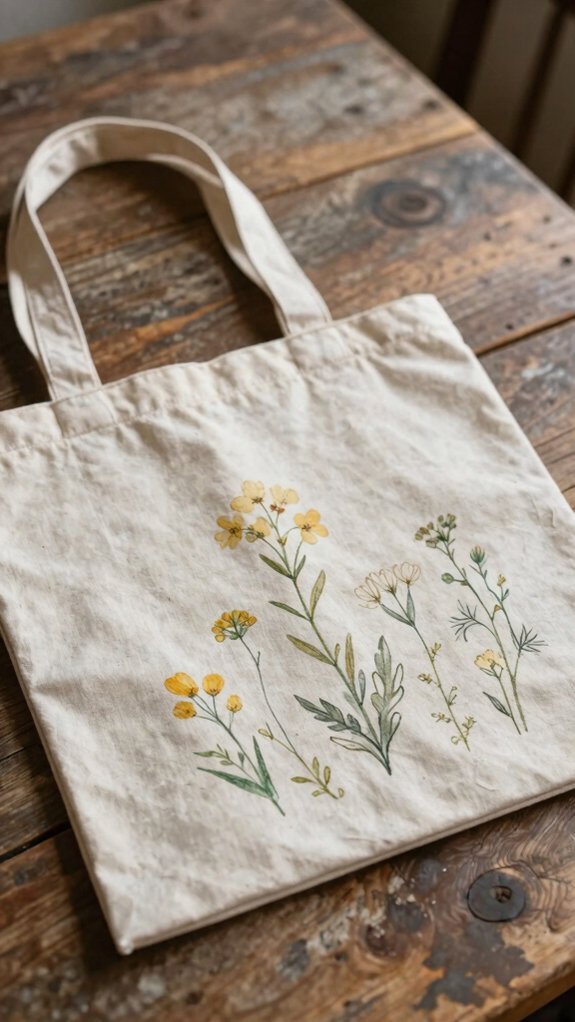
If you want your tote to feel fresh and artsy without looking crowded, minimal wildflower sketches are such a fun place to start! Pick simple stencil layouts or sketch 3–5 stems with tiny blooms, then lightly map them in pencil so everything feels balanced.
Use a fabric-safe acrylic, or mix acrylic with fabric medium, and follow fabric marker tips: paint the tiny centers first, then add stems and leaf lines with a fine brush. Stick to 2–3 soft colors, like dusty pink and sage, for a friendly, wild-but-minimal vibe.
When it’s dry, heat-set it, and you’ve got a durable tote that looks totally you.
Bold Checkerboard Patterns
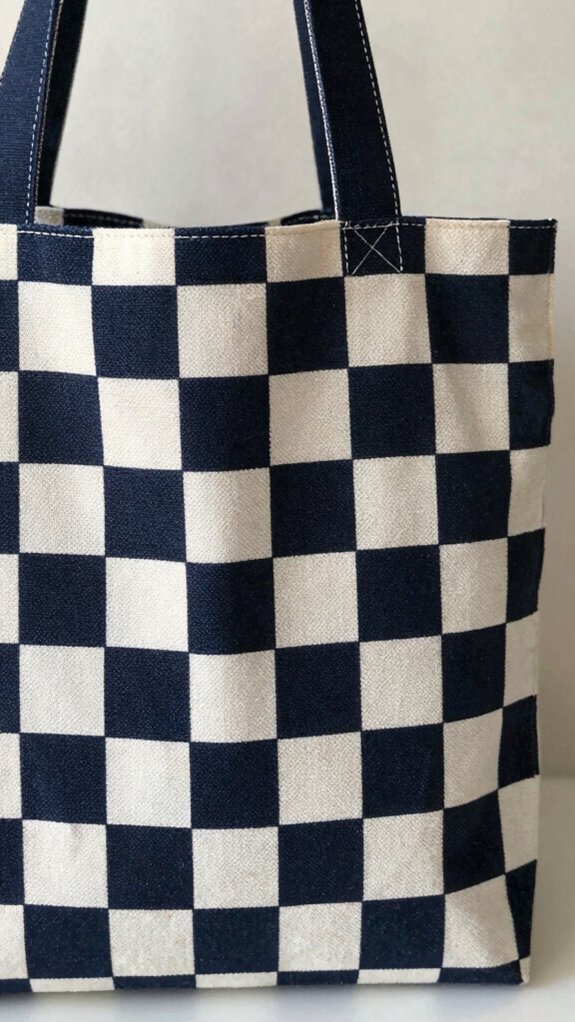
Ready for something bolder? You can make a checkerboard tote that feels trendy and totally yours. Iron the bag, slide cardboard inside, then use painter’s tape and a ruler to map even 1–2 inch squares.
Pick two high-contrast Multi-Surface Acrylic colors, like black and white, and dab them on with a stencil brush for crisp stenciled edges and nice texture contrast. Paint one color across all squares, let it dry, then peel the tape and fill the rest.
Keep the grid steady, and you’ll get sharp, modern style—cheap, beginner-friendly, and seriously eye-catching!
Sweet Strawberry Motifs
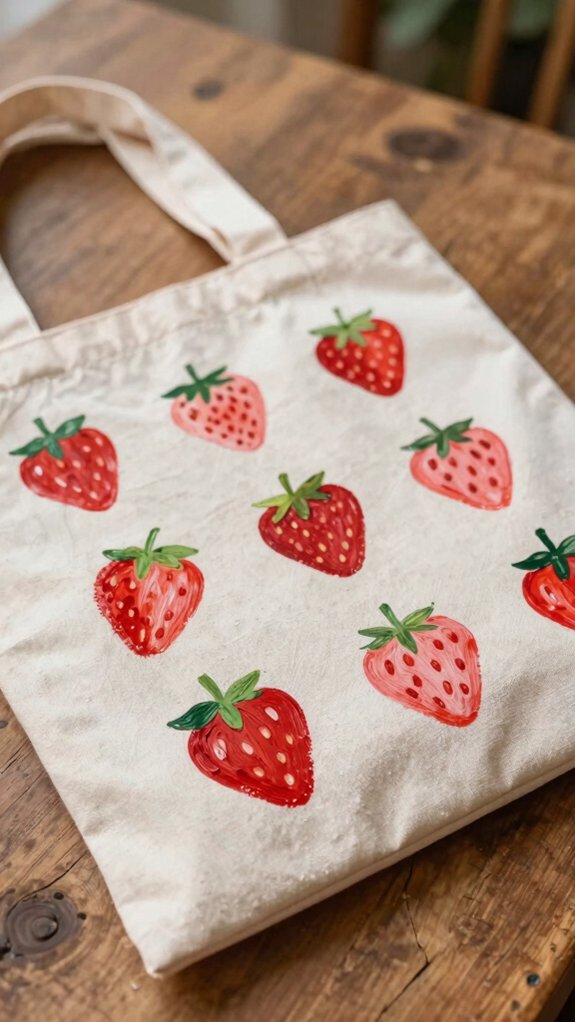
Nothing says sweet summer vibes quite like a tote covered in strawberries! You can join the stenciled fruit club with a simple strawberry stencil, then dab paint straight up and down for crisp detailing on your cotton tote.
- Slip cardboard inside first, so the color won’t bleed through.
- Paint red and shaded pink, then add yellow seed dots and green leaf tips.
- Wipe the stencil clean between each berry for a neat repeat.
Want extra charm? Outline each strawberry in darker red or brown, and toss in tiny flowers or mini hearts. Let it dry, heat-set it, then carry it proudly!
Sun and Moon Line Art
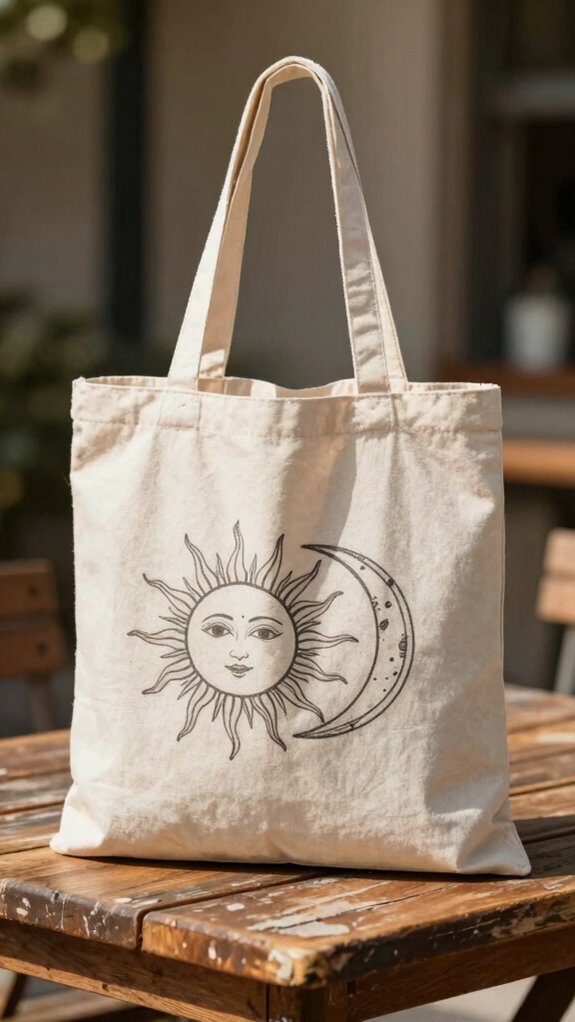
Sun, moon, and a little starlight magic—this tote idea feels dreamy without being tricky! You can sketch a round sun with short rays and a crescent moon with tiny stars using a fabric-safe pencil, so your lines stay neat and friendly-looking.
Slip cardboard inside the bag, then use stencil brushwork or a small liner brush to trace the shapes with thin acrylic mixed with fabric medium. Let each layer dry, then follow the heat set tips: press with a dry iron and cloth. Wash inside out, cold, and line-dry, and your cosmic tote stays crisp, cute, and ready for compliments!
Colorful Abstract Shapes
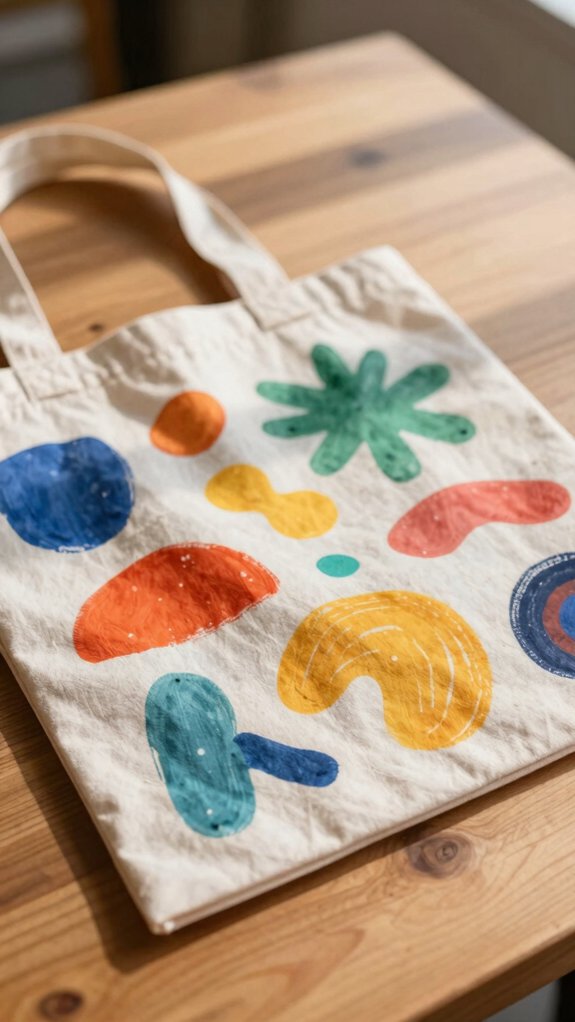
If you want a tote that feels modern, cheerful, and just a little artsy, colorful abstract shapes are such a fun place to start! You only need a blank cotton tote, FolkArt Multi-Surface acrylics, painter’s tape, a ruler, and a thin brush.
- Plan 3–5 colors, mixing brights with neutrals.
- Block in circles, triangles, and wavy blobs.
- Dab through tape edges, then layer light to dark.
Brush texture techniques make the finish feel lively, while geometric pattern planning keeps it neat. For extra oomph, sponge on matte layers!
Let it dry, heat-set it, and you’ve got a tote that feels like your crew made it.
Delicate Botanical Illustrations
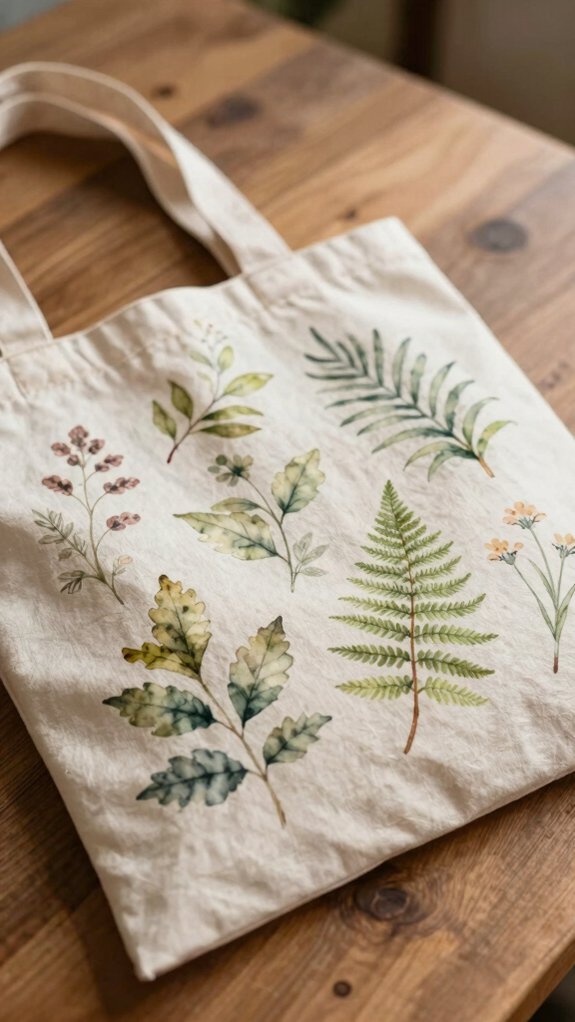
For a tote that feels soft, pretty, and a little dreamy, delicate botanical illustrations are such a lovely choice! You’ll fit right in with this gentle look. Use thin brushes for stems, then dab petals and leaves with stencil dotwork techniques for an airy finish. | Materials | Tip |
| — | — |
|---|---|
| fabric paint | choose multi-surface or add fabric medium |
| small brush, stencil, tape | trace lightly, then tap vertical dabs |
| cardboard, iron, cloth | heat-set after drying |
Slip cardboard inside, skip the handles, and let your art stay neat. After textile heat setting, cure 24–72 hours, then line-dry. Cute, easy, and not fussy at all!
Coastal Seashell Designs
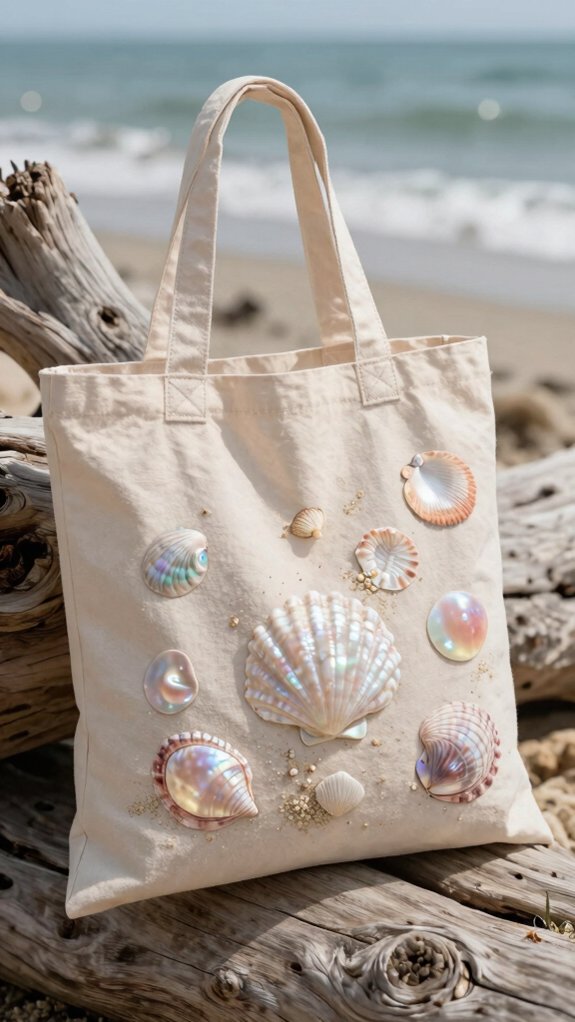
Soft botanical art is lovely, but coastal seashell designs bring a breezy, beach-day feel that’s just as charming! You’ll fit right in with this easy tote vibe.
Pick a calm Color palette of sand, cream, and soft gray, then use stencil techniques for scallops, conch shapes, starfish outlines, and wave bands.
- Slide cardboard inside the tote to stop bleed.
- Lightly iron it first for smoother lines.
- Use FolkArt Multi-Surface paint, then heat-set it.
Add tiny highlights, and a little glitter on shell edges if you want that sunlit sparkle.
Dry fully, wash cold inside out, and carry your shore-day style everywhere!
Cute Cat Silhouettes
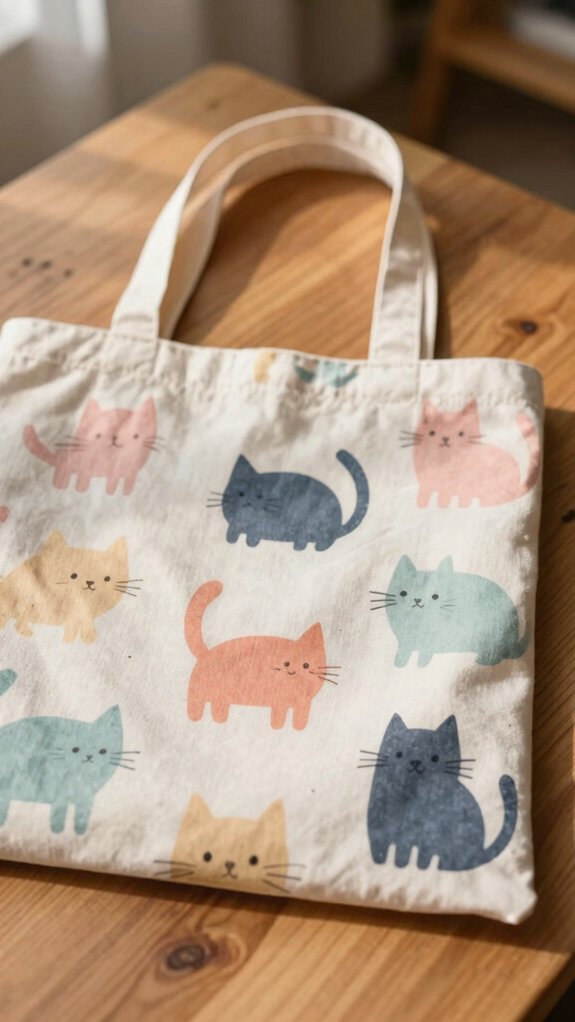
Meow-velous and easy to love, cute cat silhouettes can turn a plain tote into a playful everyday favorite!
You’ll need a stencil, acrylic paint, a dabbing brush, cardboard, and a fabric-safe marker.
For stencil placement tips, tuck cardboard inside the tote, then place cats in a random scatter or a neat walking-and-sitting pattern.
Dab paint through the stencil for crisp edges, and try black on cream or charcoal on navy for a look that pops year-round.
Add texture with light textured paint techniques, then let it dry.
Last, draw whiskers or a tiny moon, heat-set, and you’re set!
Retro Smiley Faces
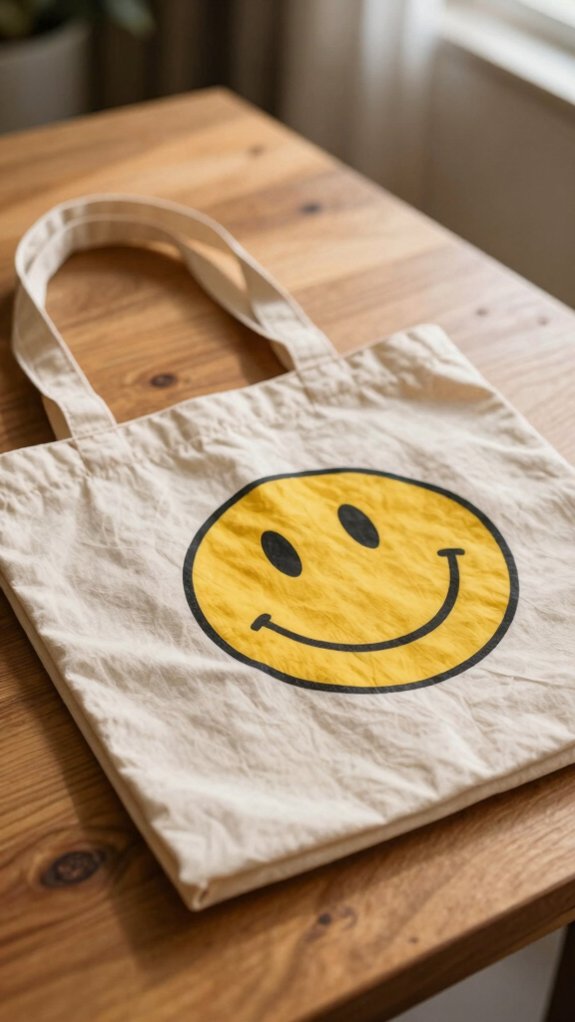
If you want a tote that feels straight out of the 70s, retro smiley faces are a super fun place to start! You’ll fit right in with this happy, bold look, and it’s easier than it sounds. Use multi-surface acrylic paint, cardboard inside, and a stencil brush for crisp circles.
- Experiment with neon color for extra pop.
- Follow stencil alignment tips so each face stays neat.
- Wipe the stencil clean between uses.
Let it dry, then heat-set with a dry iron and pressing cloth. Wash cold, line-dry inside out, and your tote stays bright, cheerful, and ready for compliments!
Vintage-Inspired Mushrooms
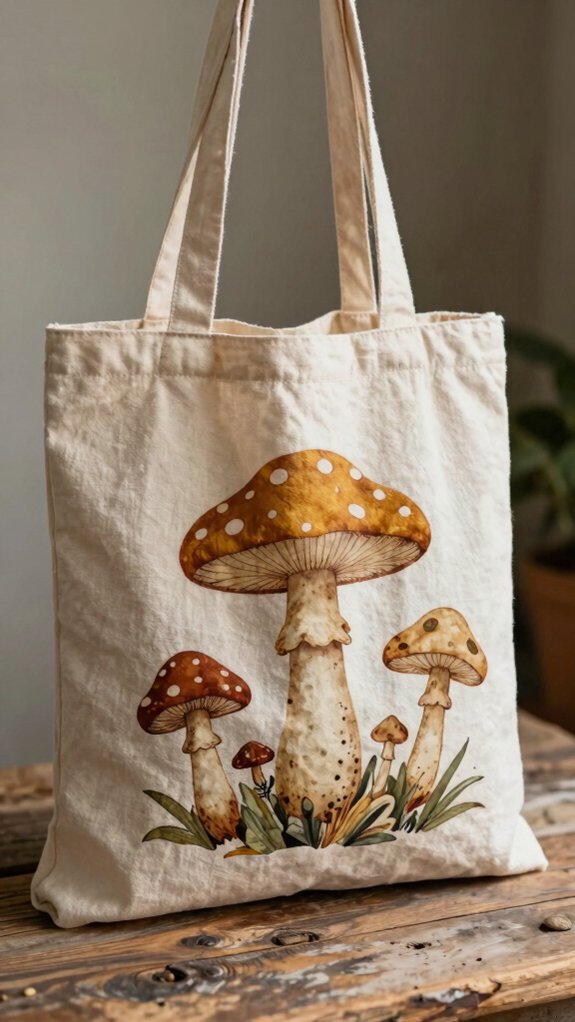
Vintage-inspired mushrooms are such a cute way to give your tote that old-timey, storybook feel without making it look too serious—because, honestly, mushrooms should always be a little charming!
Pick muted creams, sage, burnt umber, and dusty red, then stencil retro caps in stencil repetition patterns for a neat, collected look.
Dab paint through the shape, add simple dots and tiny leaves, and keep it beginner-friendly and cheap.
Next, deepen the gills and stems with Aged marker detailing, plus a thin dark wash for that worn-print vibe.
Finish with a few clustered mushrooms, then heat-set after drying so your bag stays lovely, wash after wash!
Soft Watercolor Citrus
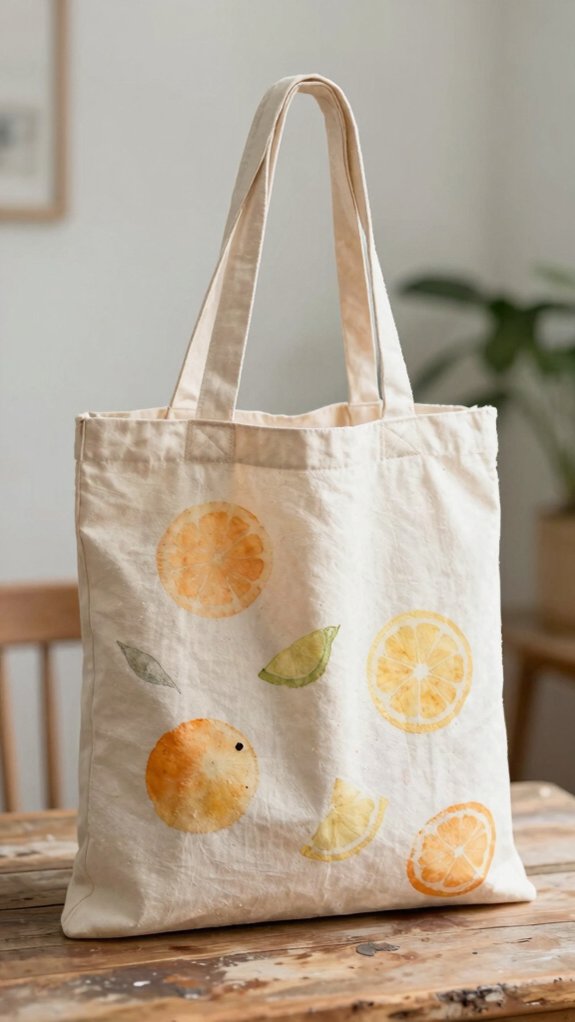
After those cozy vintage mushrooms, a burst of soft watercolor citrus feels like sunshine with a squeeze of charm! You can keep it beginner-friendly and bright, using diluted multi-surface acrylic or fabric paint medium for a watercolor peel look.
- Start with pale lemon and orange washes.
- Layer darker slices toward the center for translucent gradients.
- Let each layer dry, then add peel lines with a fine brush.
For the softest glow, dab mid-tone paint with a sponge, not a brush. Once dry, heat-set it, then wash cold inside out. Your tote’ll feel fresh, friendly, and totally yours!
Boho Rainbow Artwork
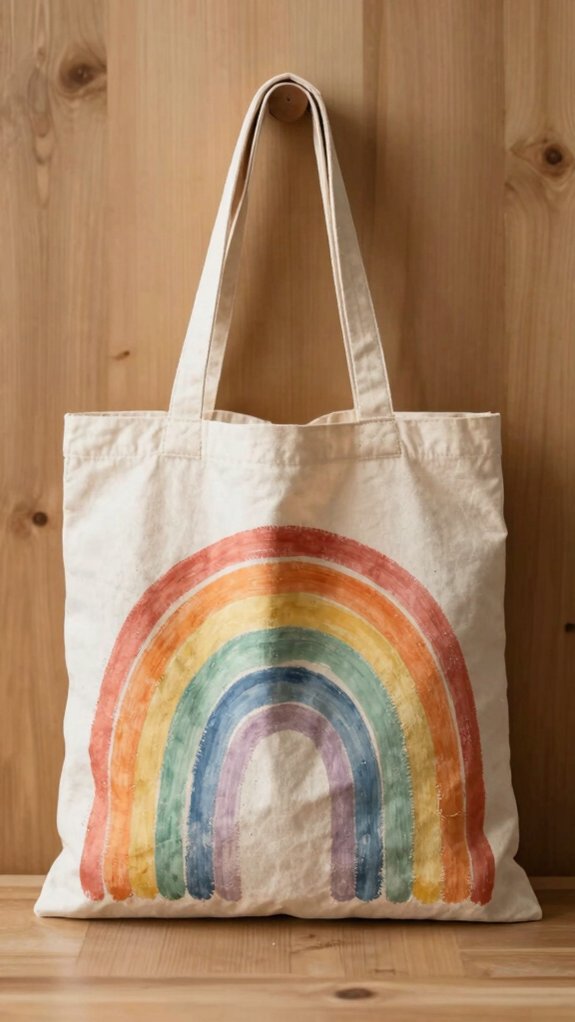
With bright FolkArt Multi-Surface acrylics and a clean, lightly ironed cotton canvas tote, you can paint a boho rainbow that feels bold, happy, and just a little artsy-cool! Grab painter’s tape tips, a small brush, and bright rainbow shades, then mark stacked, wavy bands or soft ombre stripes.
Let each color dry before a second pass for texture layering, and add tiny dots, leaf shapes, or stencil hearts for extra charm. Wipe stencils clean as you go.
Finish with a dry iron and pressing cloth, then wash cold inside out. Your tote’ll look boutique-made, but totally you!
Cottagecore Forest Scenes
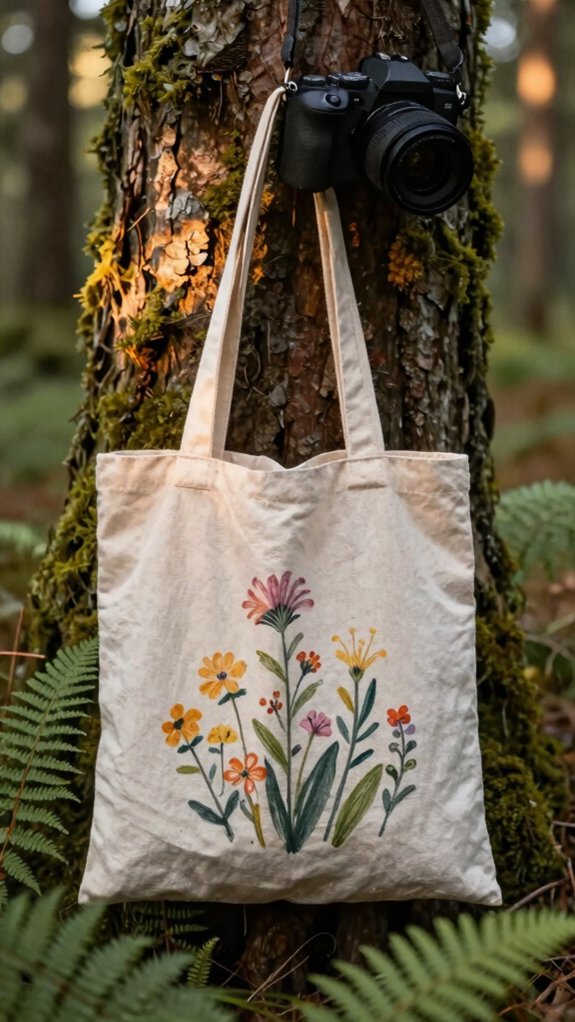
- Paint distant pines first, then mid-ground trees, then crisp front details.
- Add mushrooms, fox tracks, berries, and fern fronds with outlines or stencil dabs.
- Keep it cozy with deep greens, muted browns, soft cream, and warm sky blue.
Use sponges for fog and a fine brush for bark and berries. Let it dry, heat-set, and wash cold—easy, cute, and very “I belong in the woods!”
Personalized Initial Designs
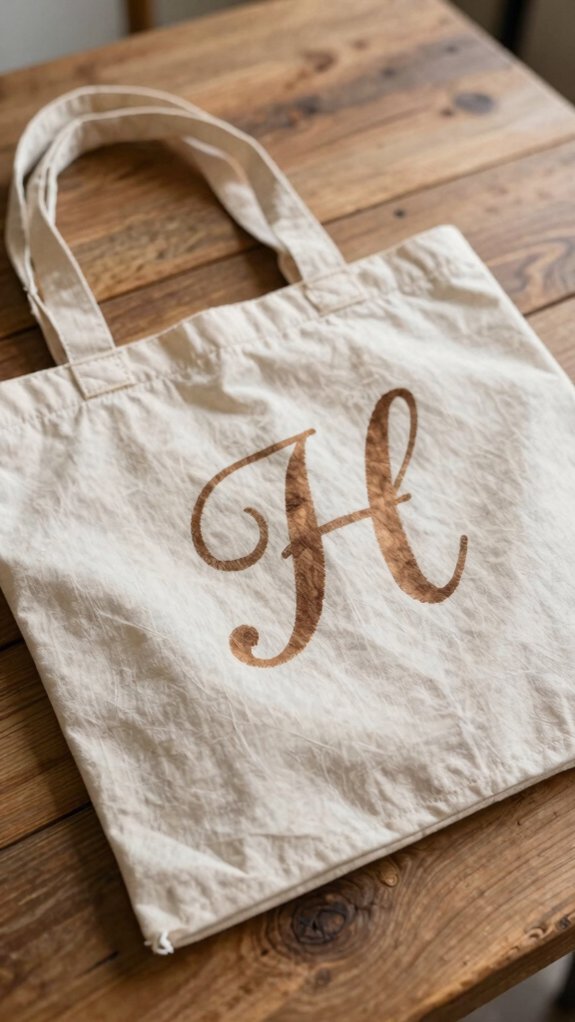
Ever wonder how to make a tote bag feel instantly yours? Try a stencil-style monogram, and use painter’s tape to frame your initials, nice and neat!
For crisp edges, start with Fabric safe pencil outlining, then follow smart Stencil placement techniques so your letters sit centered and spaced well.
Dab Multi-Surface acrylics, made for fabric, with a stencil brush instead of dragging, which keeps the lines sharp and the vibe polished.
It’s cheap, beginner-friendly, and honestly kind of satisfying.
Let the paint dry, heat-set it, then wash inside out, cold, on gentle, so your initials stay bold and your tote stays totally you!
Seasonal Holiday Themes
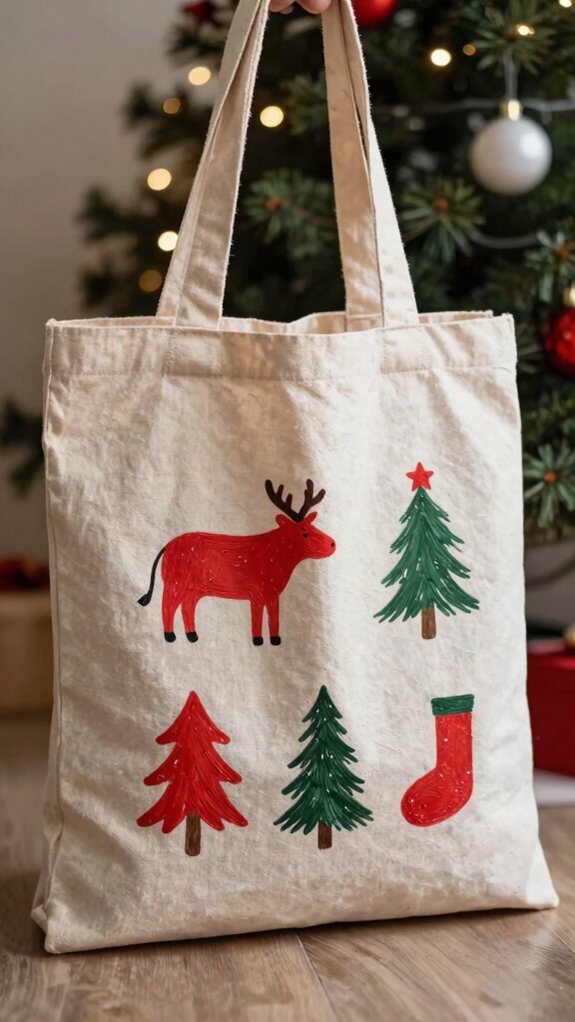
Holiday totes are such a fun way to dress up your bag for the season, and you don’t need skilled art skills to make one look cheerful and pulled together!
You can swap themes anytime and still feel part of the crafty crowd.
- Valentine’s Day: dab heart stencils, then heat-set when dry.
- Winter: use Holiday mosaic stencils for snowflakes, then add festive glitter layering on a few shapes.
- Halloween or St. Patrick’s Day: paint crisp ghosts, bats, shamrocks, or leprechauns with tape borders.
For summer, try stars and stripes. Cheap, easy, and totally giftable—your tote’ll look like it belongs at every celebration.


