
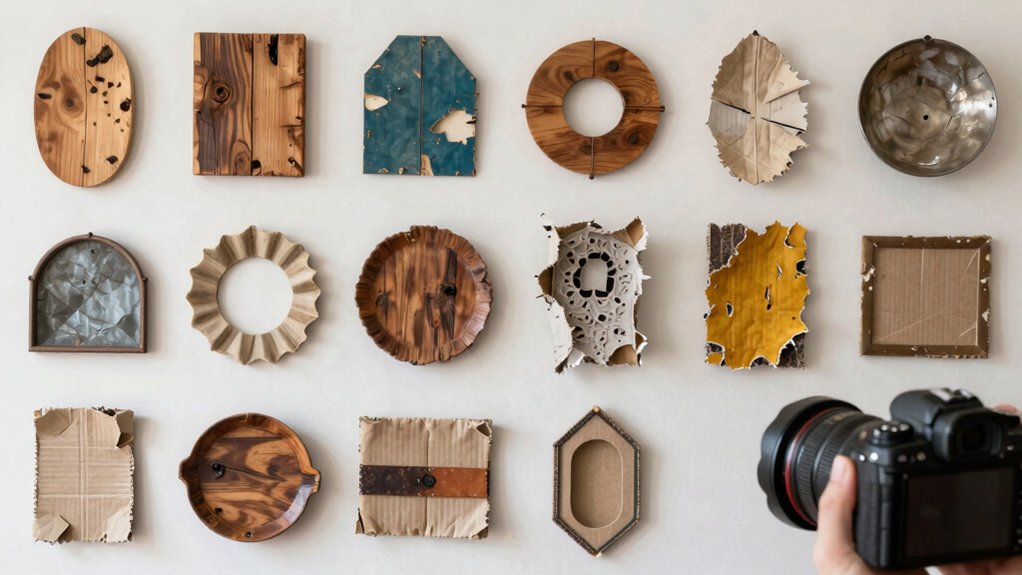

You can turn everyday waste into decor with 14 beginner-friendly projects that feel way fancier than they are! Try denim patchwork wall hangings, magazine weaving, cardboard relief art, cork mosaics, driftwood displays, jar terrariums, book-page collages, reclaimed wood panels, and mixed recycled sculptures. Use scraps, glue, thread, paint, and a little patience, then trim, seal, or mount for a polished finish. Cheap, fun, and oddly satisfying, the best surprise ideas are coming up next!
Key Takeaways
- Turn denim scraps, magazine pages, cardboard, and fabric leftovers into wall hangings, collages, and relief art.
- Repurpose bottle caps, corks, and tin cans into mosaics, mandalas, lanterns, and tabletop decor.
- Use driftwood, wood slats, and egg cartons to build rustic wall art and sculptural floral forms.
- Make glass jar terrariums and book-page collages using layered salvaged materials for decorative displays.
- Strengthen and finish projects with sanding, sealing, painting, and thoughtful layouts that preserve texture and character.
Denim Patchwork Wall Hanging
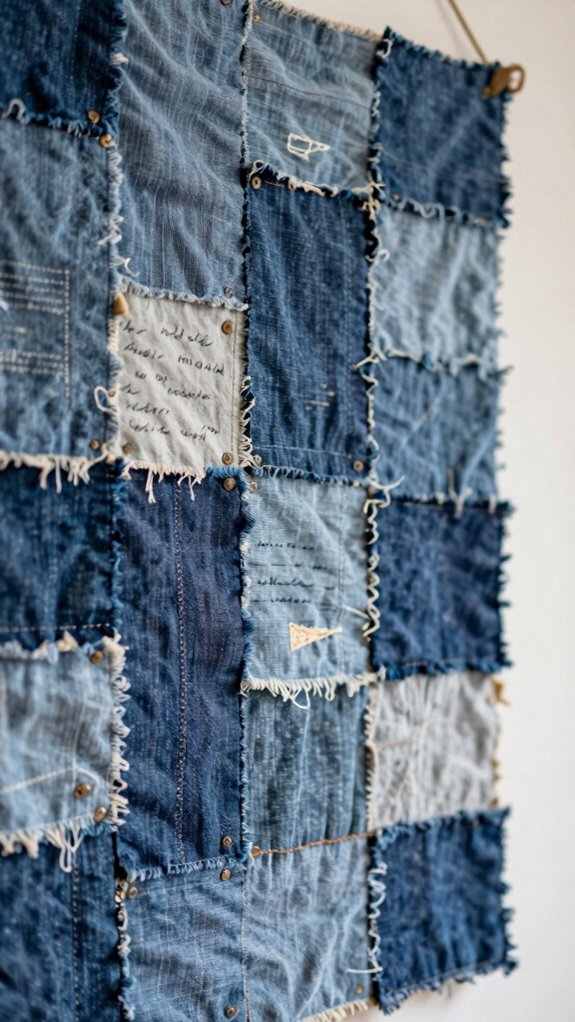
If you’ve got a stack of old jeans lying around, this denim patchwork wall hanging is a fun way to turn “too worn to wear” into “wow, that looks good!”
Grab different washes and weights of denim, then cut them into squares, rectangles, and strips so you can lay out a simple grid that feels creative, not chaotic.
Dry-fit the pieces first, mixing light and dark panels with a little open space for a clean, modern vibe.
Stitch them in rows with strong thread, and use denim care tips plus stitch reinforcement tricks at the edges.
Add scrap backing, top-stitch around it, then finish with a hanging strip—easy, thrifty, and super cool!
Magazine Paper Weaving
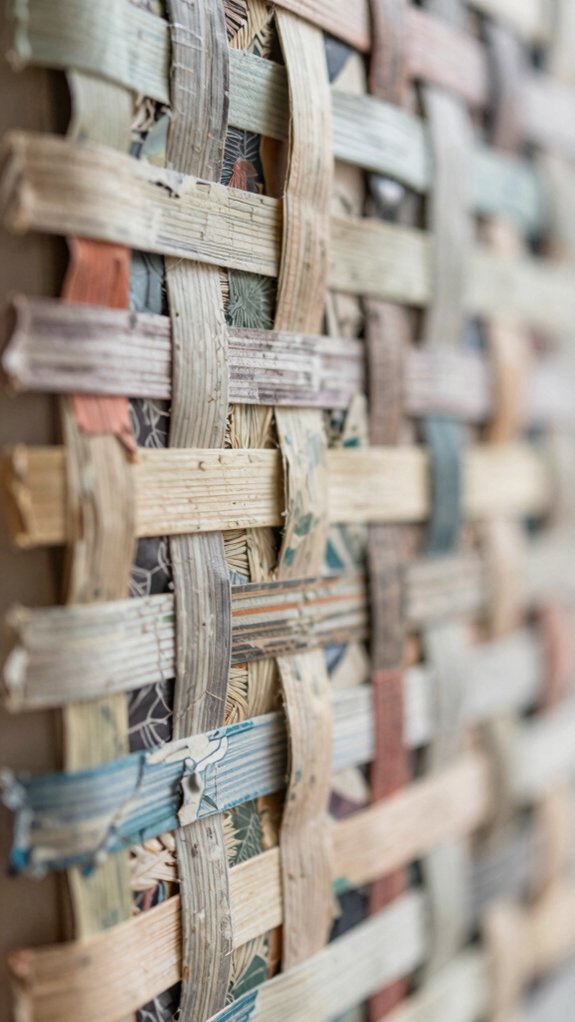
Old magazines are practically free craft gold, and magazine paper weaving turns those glossy pages into something surprisingly sturdy and cute!
| Step | What You Do | Result |
|---|---|---|
| 1 | Cut pages into strips | Easy starting strips |
| 2 | Weave over-under | Strong pattern |
| 3 | Seal and trim | Neat finish |
You only need magazines, scissors, and a little patience. Mix text, photos, and bold color for fun Color Contrast, then try Texture Techniques with tighter or looser strips. Fold and interlock them, add a thicker border strip, and finish with decoupage medium or acrylic varnish. Soon, you’ve got a mini basket or decor piece that feels like your crafty squad made it!
Cardboard Relief Artwork
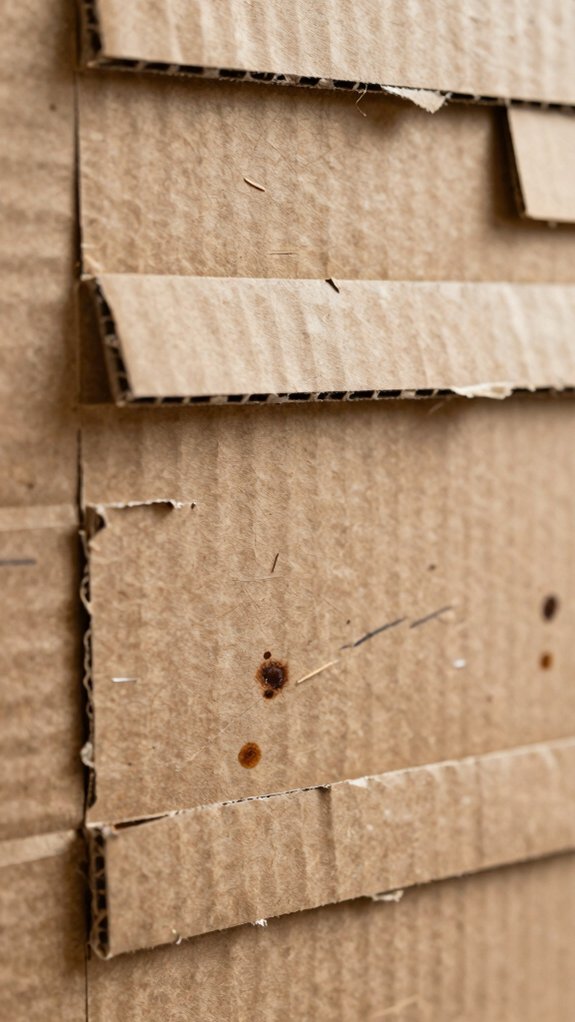
Cardboard might look like plain packing trash at first, but it can turn into seriously cool wall art with just a few smart cuts and layers! Save flattened boxes, snip simple shapes, and stack them for a raised relief that feels sculptural yet stays light.
Use texture layering methods like scoring, folding, and leaving open spaces so your design breathes, not clutters.
Glue with strong craft adhesive, add support if it’s freestanding, and brush on white primer to make edges pop.
Then try Frugal framing tips: mount it on a backing panel, seal with acrylic varnish, and hang your handmade standout proudly!
Wine Cork Mosaic
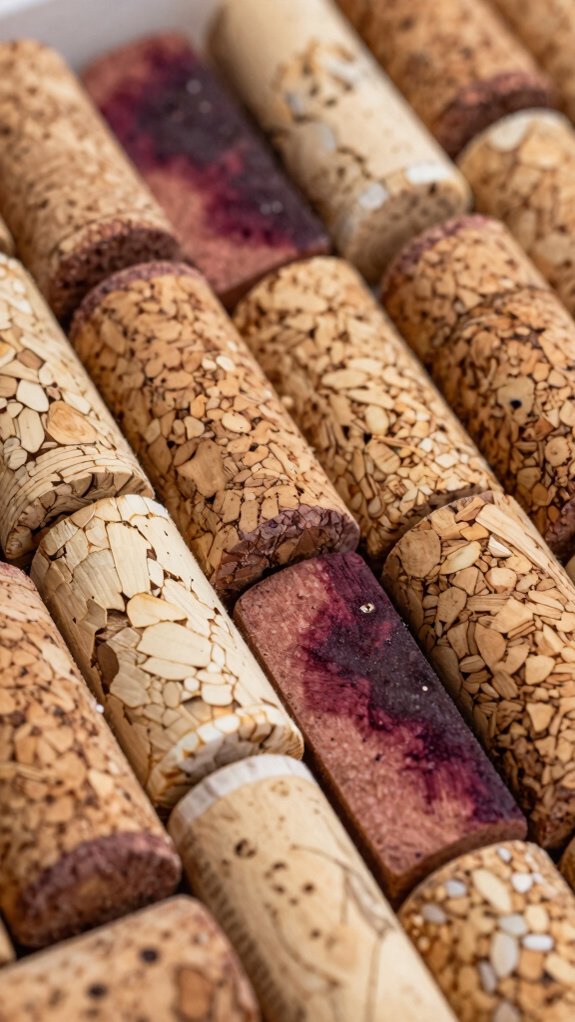
Wine corks don’t have to end up in a junk drawer, because they can turn into a cozy, textured mosaic that looks way fancier than the materials suggest!
Gather corks, champagne stoppers, and any extras, then wash and dry them well before cutting.
Choose a base like a frame, tray, or tabletop section, sketch your design, and start your Colorful cork selection.
Slice some pieces thin, leave others chunky, and glue them down like tiny tiles with strong craft adhesive.
The mix adds instant depth!
Finish with a sealing protective finish, and your mosaic’ll stay dust-resistant, warm-looking, and proudly one-of-a-kind.
Driftwood Gallery Display

If you’ve ever picked up a piece of driftwood and thought, “Yep, that looks like art,” you’re already halfway there!
You can build a driftwood gallery display with beach finds, and it won’t cost much.
Clean, dry, sand, and seal each piece first, then use strong adhesive or hidden mounts.
- Make a wall grid or shadow box
- Balance pieces by weight and length
- Add shells or dried plants for coastal storytelling
That little detail gives each branch a past life and boosts Sustainability impact.
In your space, it feels warm, handmade, and totally you—like your own shoreline club!
Bottle Cap Mandala
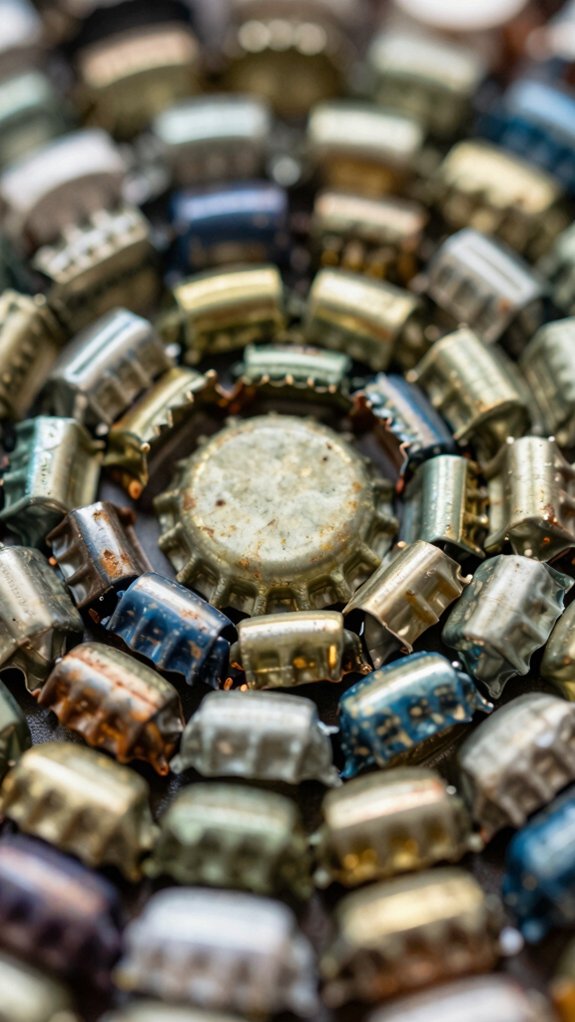
With a handful of bottle caps, you can build a bottle cap mandala that looks way fancier than the trash bin it came from!
Gather flat bottle caps, and toss in matching jar lids if you want extra sizes.
Arrange them first in a sun-like circle, then work outward in concentric rings for easy symmetry.
Mix colors for a Tile Mosaic feel, and slightly offset each cap so the edges catch light like a tiny Reclaimed Mirror.
Glue everything to sturdy backing, seal it with clear coat, and you’ve got bold wall decor that feels cheerful, clever, and totally yours!
Tin Can Lanterns
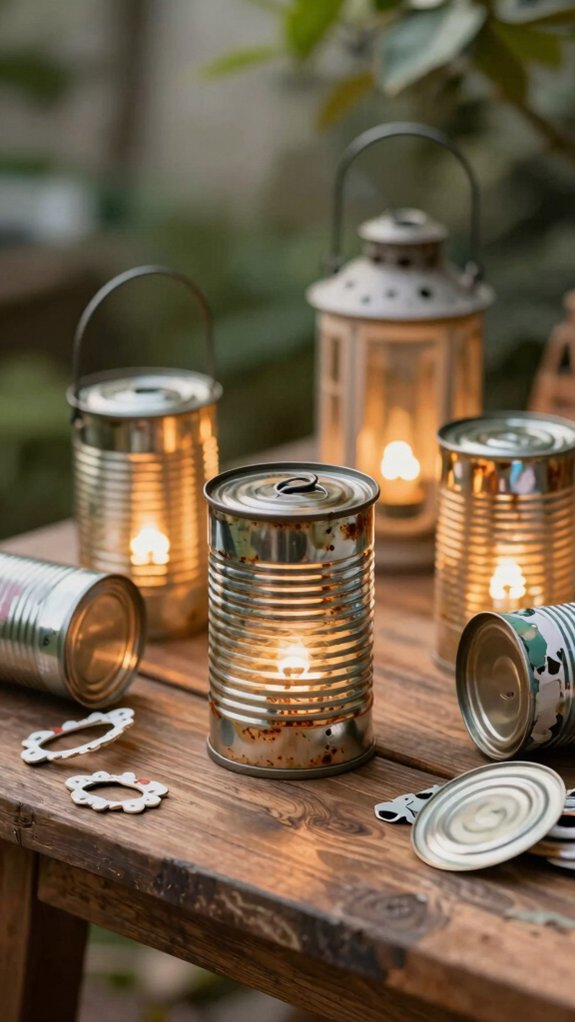
After all those colorful bottle caps, tin cans are the next thrifty heroes waiting to shine! You can turn empty cans, even soda cans, into cozy lanterns with just a few tools and a little grit.
Cut openings, smooth the edges with sandpaper, then paint or add decoupage paper so the metal looks like one happy family.
- Poke stars, stripes, or dots for a glowing pattern.
- Seal the can with acrylic, then use LED lighting or mind Candle safety.
- Add a loop or string for easy hanging.
At night, your handmade glow feels warm, cheap, and delightfully magical!
Fabric Scrap Canvas
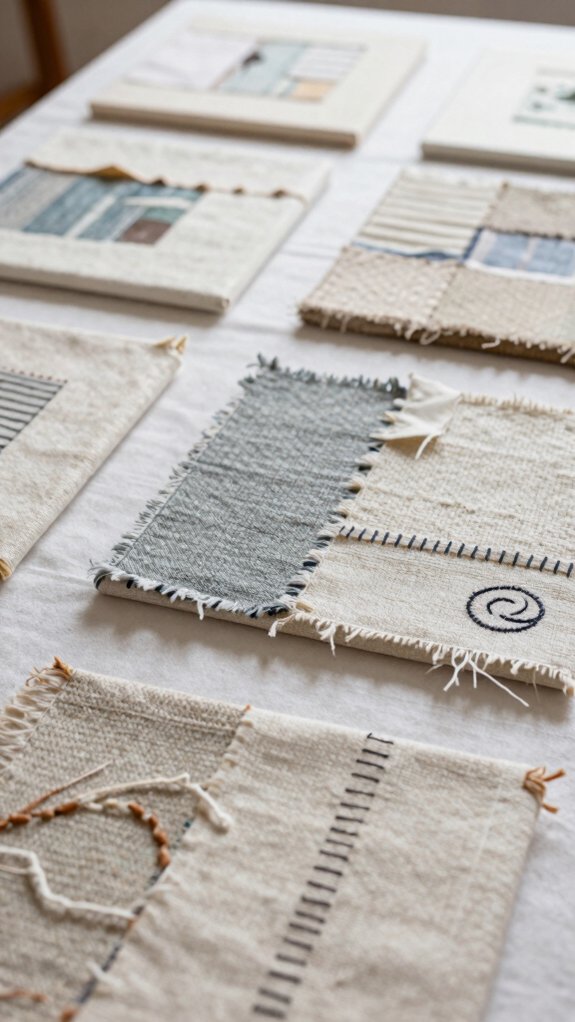
Tossing fabric scraps in the bin? Don’t! You can turn them into a cozy fabric collage that feels like it belongs in your home.
Start with a canvas or cardboard panel, lightly sand or prime it, then lay down a solid scrap base for stability.
Next, trim denim, T-shirts, and linen into clean shapes, and practice scrap organization with color planning before you glue or stitch them on.
Leave a little negative space so the patterns don’t crowd each other—nice, right?
Finish with sealant, and you’ll get bold Upcycled texture, plus a decor piece that looks gallery-ready, not junky.
Woven Plastic Basket Art
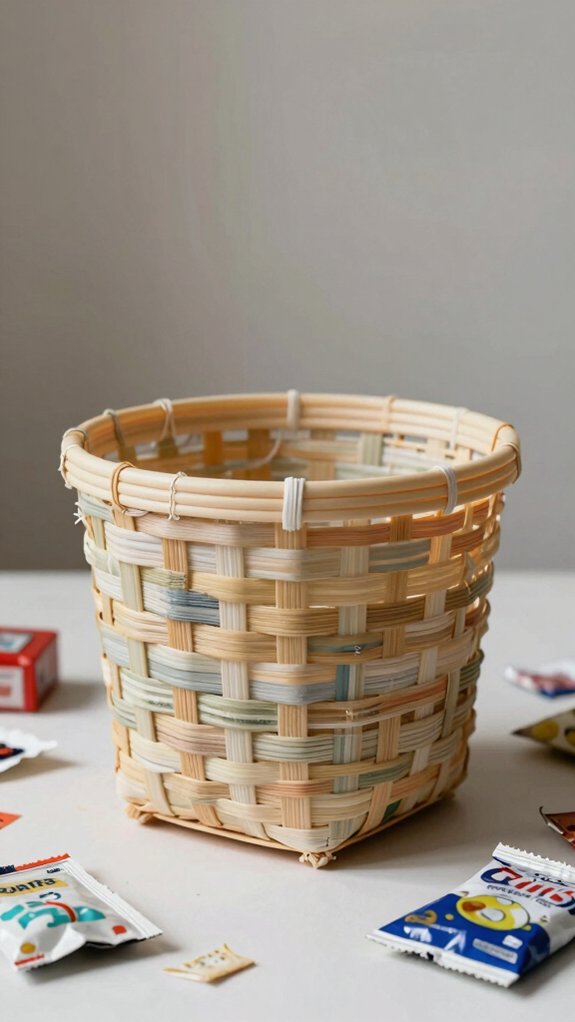
Fabric scraps aren’t the only things that can get a second life—plastic bags can, too, and they make surprisingly cool woven basket art!
- Cut clean bags into thin strips and braid or weave them.
- Start on cardboard ring or container base, then keep a tight repeat.
- Use color dyed bags, add thicker starter bands, and finish with a snug rim.
You can make handmade organizer bins that look neat on a shelf or countertop, and they’re cheap, easy, and a little magical!
Add a small braided handle, then brush on clear sealant so your basket stays tidy and weather-ready.
Your space’ll feel more like yours, with pride.
Egg Carton Floral Sculpture
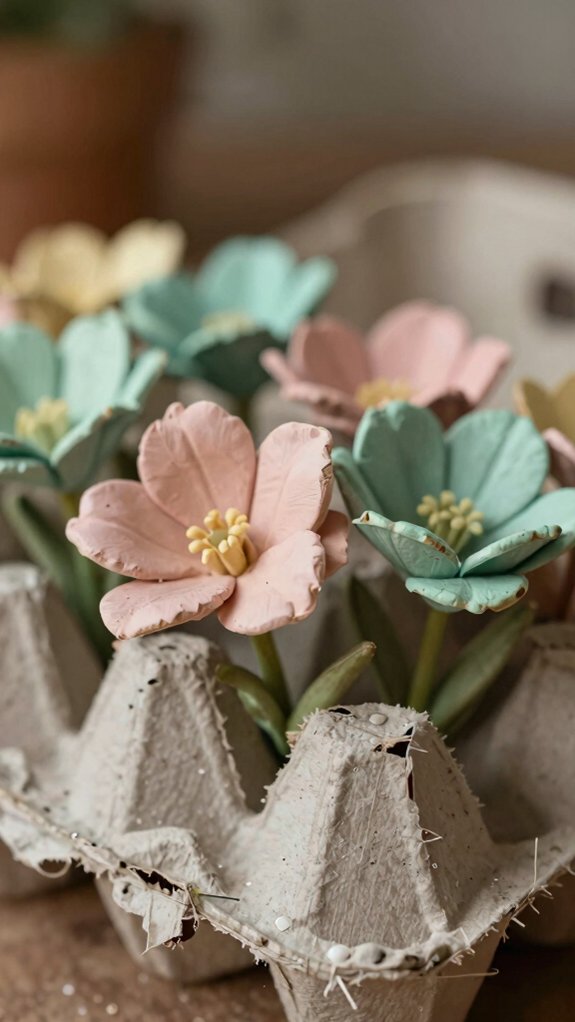
Even an empty egg carton can bloom into something pretty charming! Cut the cups into rows, then snip petal edges so each piece looks like a little flower. Paint them with acrylics, adding a few coats so the porous paper stops drinking color like a thirsty sponge.
Layer several blooms together for fuller clusters, then add tiny painted stamens or marker dots for extra charm. Let everything dry flat before you arrange it.
Mount your finished sculpture on cardboard, a wreath base, or even Reclaimed Wood Panels with strong glue. It’s low-cost, easy, and perfect beside Colorful Jar Terrariums—hello, happy decor!
Glass Jar Terrariums
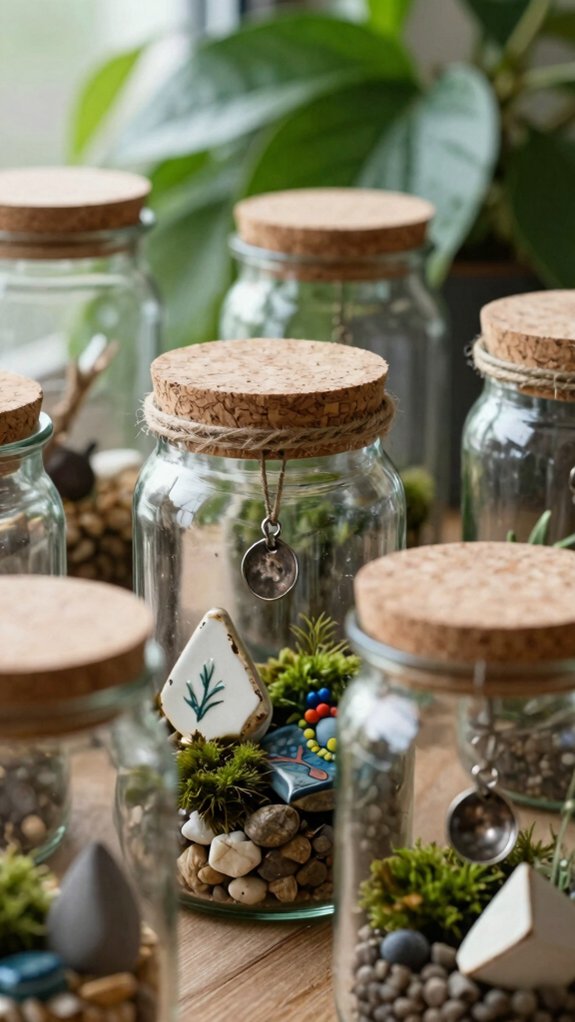
A clear glass jar can turn into a tiny living scene with just a few simple layers, and honestly, it’s kind of magical! You clean it, add small stones, then soil, and tuck in a plant that likes the light, like a slow-growing succulent or hardy greenery.
For easy
- Upcycled plant care, keep watering light.
- Use leftover paper labels or a cork base.
- Try self contained decor with cloche moisture control.
Your jar becomes a cozy little world, perfect for minimalist terrarium styling and a shared set of jars that looks pulled together, not pricey.
Vintage Book Page Collage
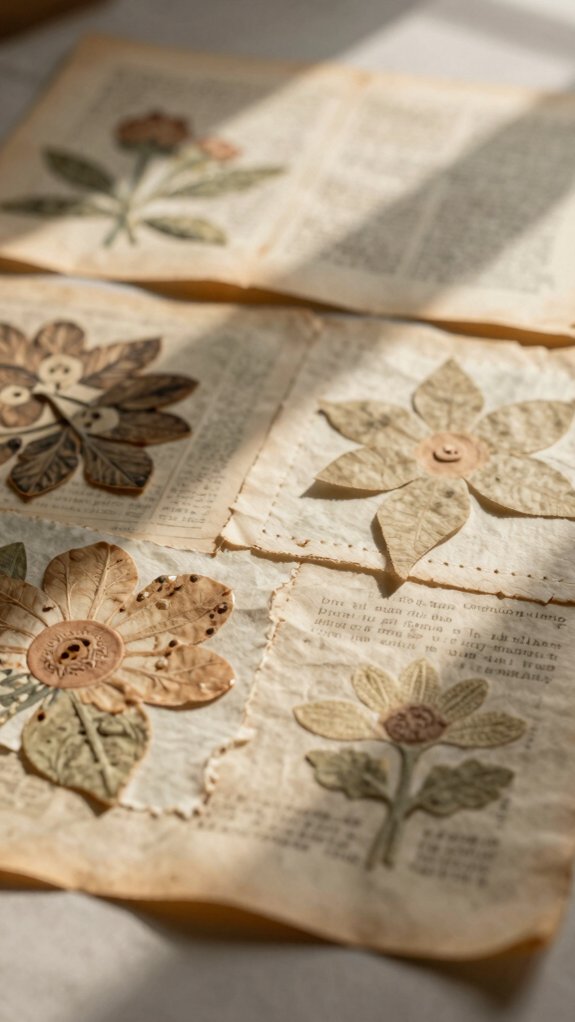
When you want wall art with a little old-soul charm, vintage book page collage is such a fun place to start!
You tear or cut pages from an old book, then layer them with colorful salvage like packaging or newspaper.
Glue the pieces in overlapping sections, leaving little gaps for typography contrast so the words still pop.
Next, add a few hand-drawn lines or painted shapes to tie the look together.
It’s low-cost, easy, and a little messy in the best way.
Finish by sealing it with adhesive or varnish, and you’ll have sturdy decor that feels cozy and smart!
Reclaimed Wood Wall Panels
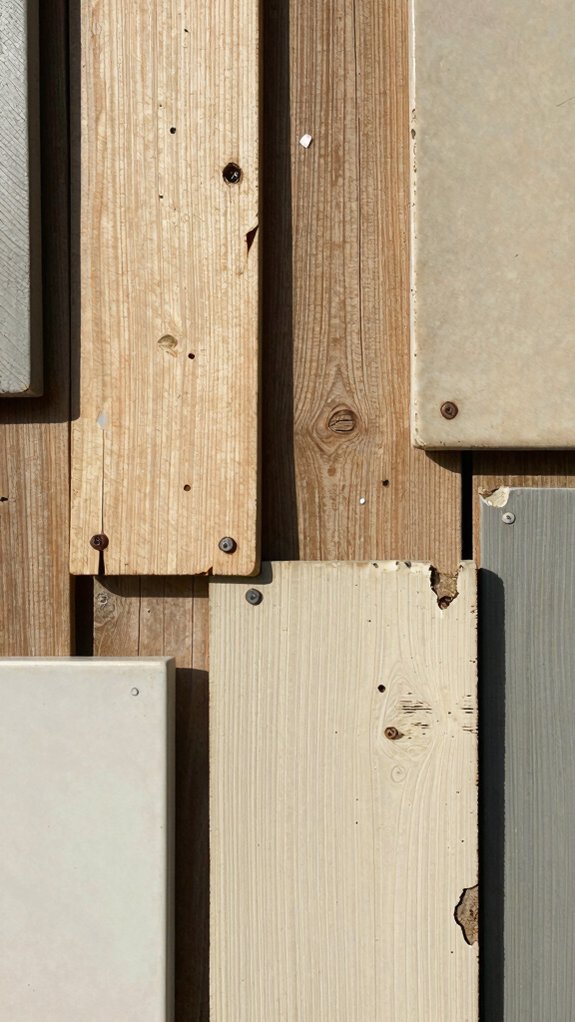
If you’ve got old boards, busted packaging, or leftover scrap wood hanging around, reclaimed wood wall panels can turn that rough pile into seriously cool wall art! You trim, sand, and mount the pieces on a flat backing, then let their worn edges do the talking.
For a clean look, prime and paint, then seal with clear acrylic or varnish.
- Grid for neat vibes
- Staggered for rustic texture layering
- Negative space for a bold pause
Use adhesives with screws or nails for strength, especially on uneven slats.
Add tiny metallic accents or collage bits, and you’ve got sustainability storytelling that feels like your crew’s wall.
Mixed Recycled Sculpture
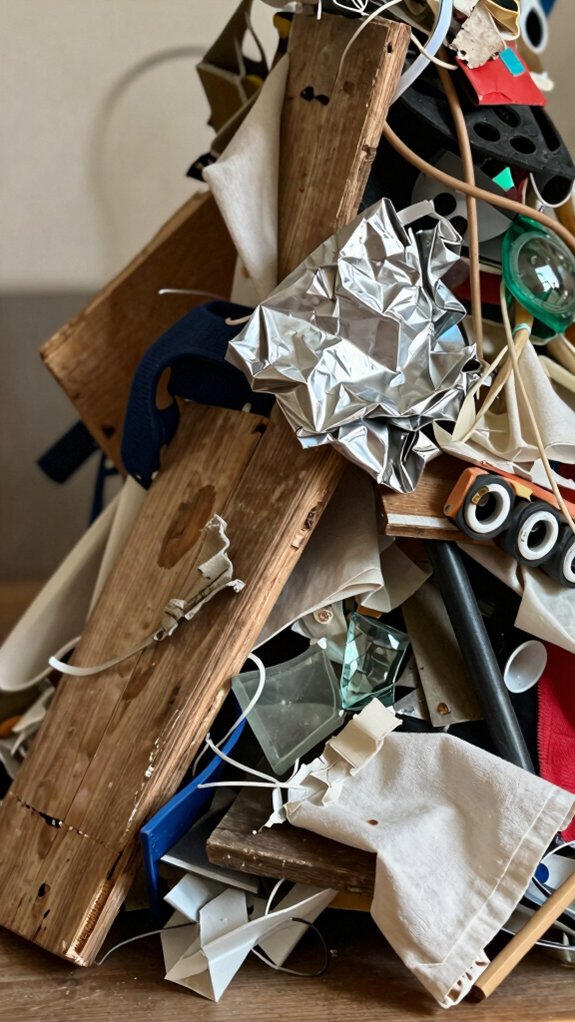
What can you make from a tin can, a soda strip, and a lonely egg carton corner? You can build a mixed recycled sculpture that feels like home for your scraps!
Start with cans, lids, tubes, and jars, then layer them with glue so the heavy pieces sit low and the lighter supports lift up.
Use acrylic paint for color harmony, but leave some labels and dents showing for story.
Play with texture contrast, circular composition, and negative space.
Sketch each step, because every added bit shifts the silhouette.
Cheap, fun, and surprisingly sturdy—your junk’s got charisma!


