
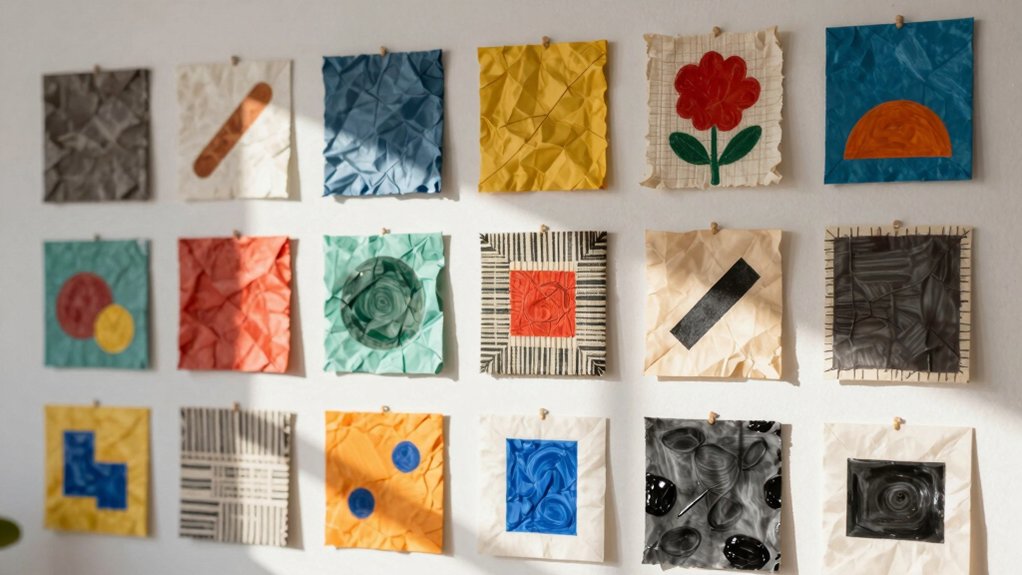

You can make 16 art projects that feel fresh and modern without skilled skills! Try textured canvas art with tissue paper, Mod Podge, and stamps, or big abstract painting on oversized paper with just 3 colors. Then make punch needle wall art, pressed flower collages, polymer clay jewelry, and a digital print set. Add a botanical series, a mini gallery wall, and portfolio pieces too, because the coolest ideas get even better when you keep going…
Key Takeaways
- Try modern collage surfaces with tissue paper, magazine scraps, Mod Podge, stencils, and glossy or soft-matte sealing.
- Use oversized canvases, limited color palettes, and quick warmups for confident, bold paintings with strong visual impact.
- Make textured wall art with punch needle, pressed flowers, or other sculptural fiber elements using beginner-friendly tools.
- Create small-format projects like polymer clay jewelry or painted vinyl records for fast, wearable, and display-ready results.
- Build portfolio-worthy series through mixed-media journals, print challenges, botanical sets, or mini gallery walls with cohesive themes.
Textured Canvas Art
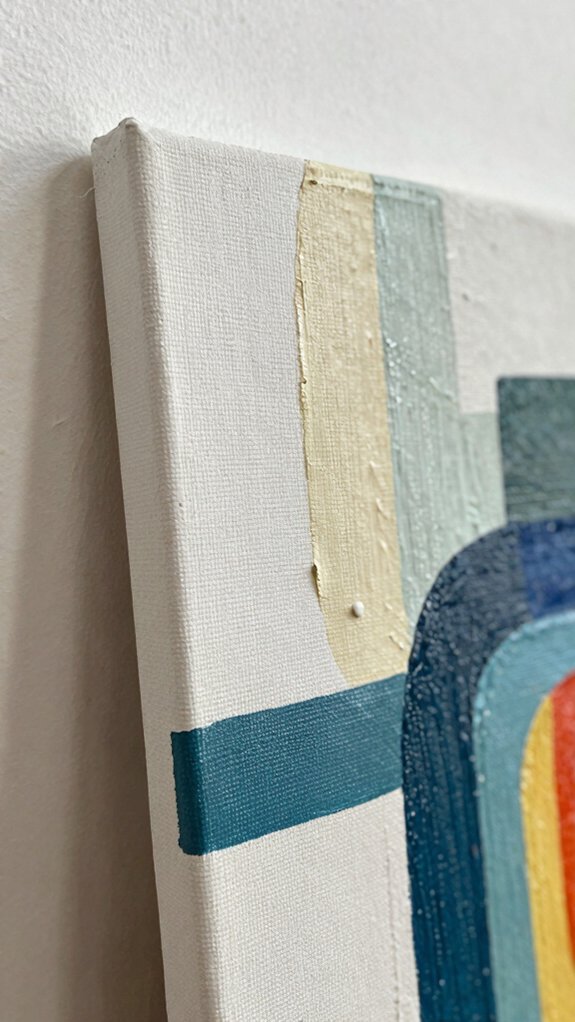
If you want your canvas to look a little more wow and a lot less flat, textured art is such a fun place to start!
You can join the trend with Layered collage techniques, using tissue paper, ripped magazine scraps, or fabric, plus a thin coat of Mod Podge.
Press it down, add a top coat, and you’ve got a glossy or soft-matte finish that feels polished, not fussy.
Want more depth?
Try texture paste stencils, or smear thick paint, then press bubble wrap in for cool patterns.
Finish with doodles or word strips, seal it, and boom—your canvas looks intentional and super cool!
Oversized Abstract Painting
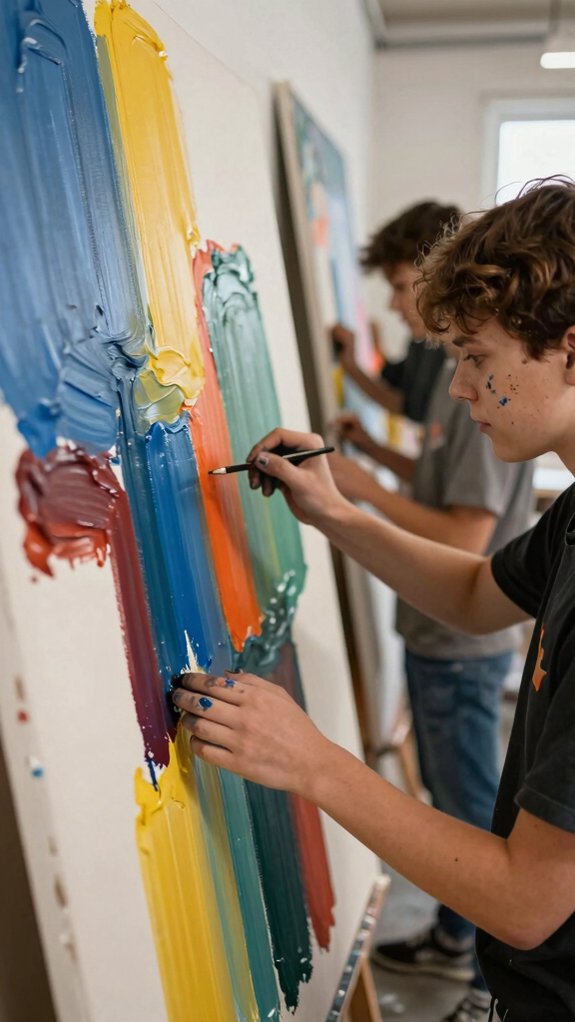
Go big and let the paint breathe! You’ll feel freer on an oversized canvas or bristol sheet, and your crew can paint with huge arm swings, not tiny scared ones. Start with a 10-minute splash-and-drip warmup; it’s one of those time saving techniques that knocks out awkwardness fast.
| Move | Result |
|---|---|
| Pick 3–5 colors | A bold, linked look |
| Add layers | More depth, less fuss |
Then play color palette games, like swapping one color for white or black. Try one surprise rule, maybe repeat a shape three times, then finish with a strong outline or wash. Boom, it feels modern and yours!
DIY Punch Needle Wall Art
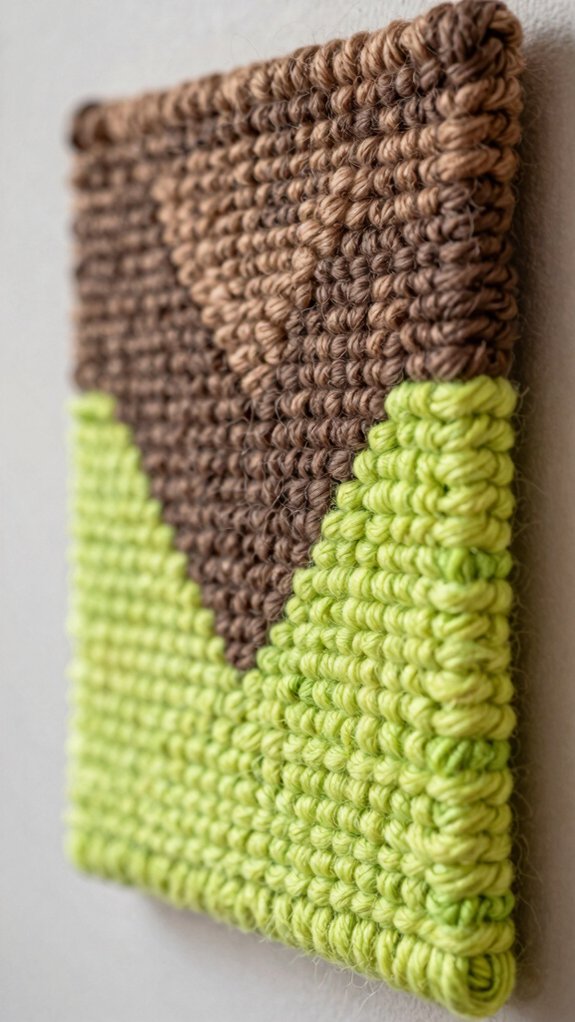
DIY punch needle wall art feels like magic at first glance, but it’s really just a clever, low-mess way to turn yarn into a textured piece that looks way fancier than it is.
You’ll fit right in with this trendy craft, even if you’ve never tried fiber art before, and starter kits make it easy.
- Pick yarn colorways that pop together.
- Trace a small shape on backing canvas.
- Punch with a pen-like tool, keeping stitches even.
- Trim, then mount it in a hoop or frame.
Try one 15-minute micro-pattern first, then level up fast, and wow, your wall gets instant personality!
Pressed Flower Collage
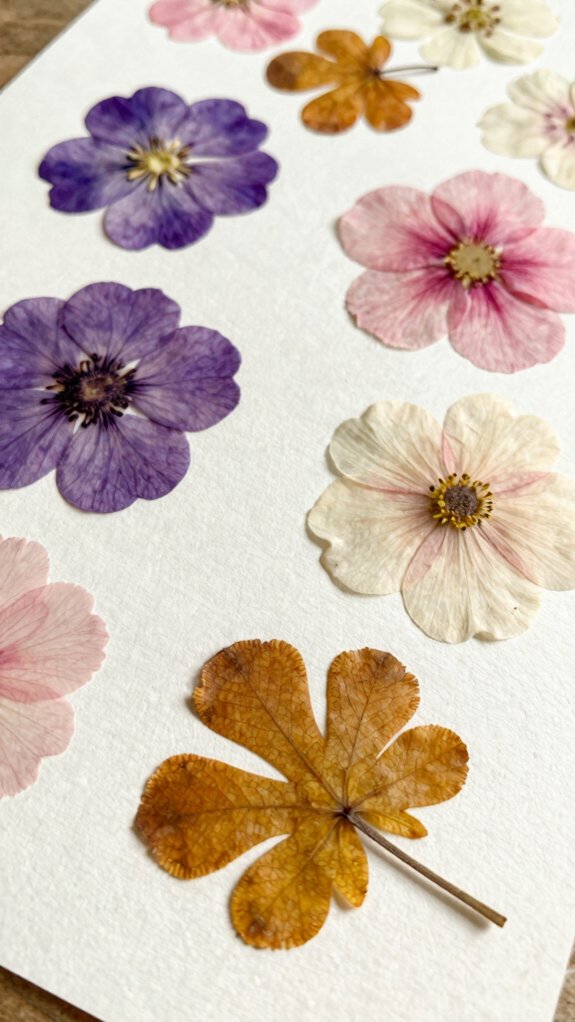
Pressed flower collage looks dreamy right away, and the best part is that you don’t need elite art skills to make it happen!
You’ll need dried flowers, cardstock, Mod Podge, a brush, and maybe scissors.
Press blooms between book pages until flat, then plan your color palette choices so the whole piece feels calm, bold, or sunny, whichever matches your vibe.
Next, arrange petals with smart composition balance techniques, layering small bits over bigger ones on the paper.
Use glue sparingly, because soggy petals get weird fast.
For a modern finish, add tiny paper strips, then seal lightly once dry.
Polymer Clay Jewelry
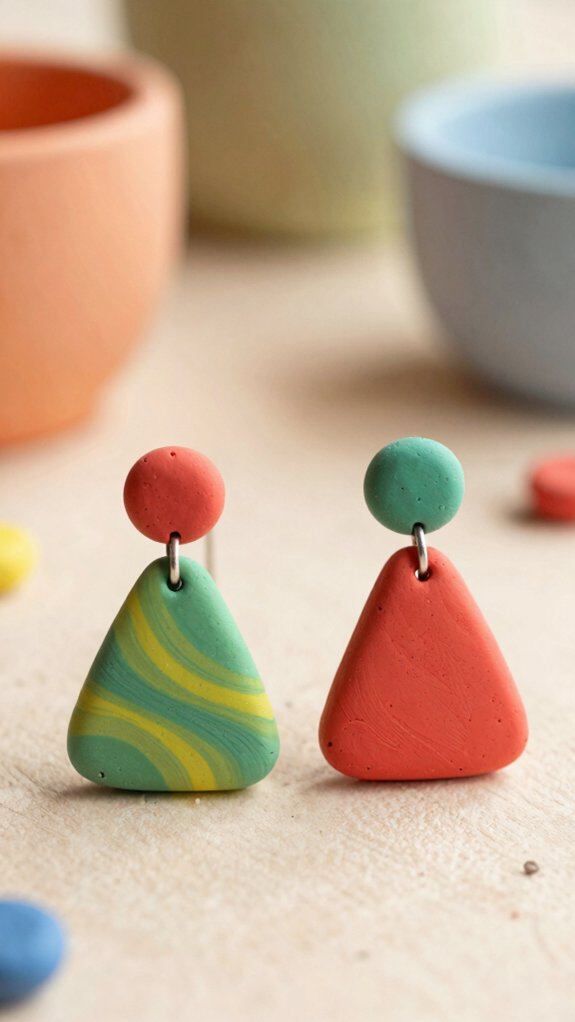
If you loved making dreamy pressed flower art, polymer clay jewelry gives you that same hands-on magic, just in a tiny, wearable form! You can start with affordable scraps, so it’s easy to join in and make pieces that feel totally you.
- Color mixing: knead two clays for cool swirls and gradients.
- Texture tools: press in fabric, combs, or stamps for a modern look.
- Clay baking: bake once until firm, then cool fully for less warping.
- Jewelry safety: add stud backs, jump rings, or clasps, then seal for a clean finish.
Add glitter or foil flakes, and your charm game gets instant wow!
Painted Vinyl Records
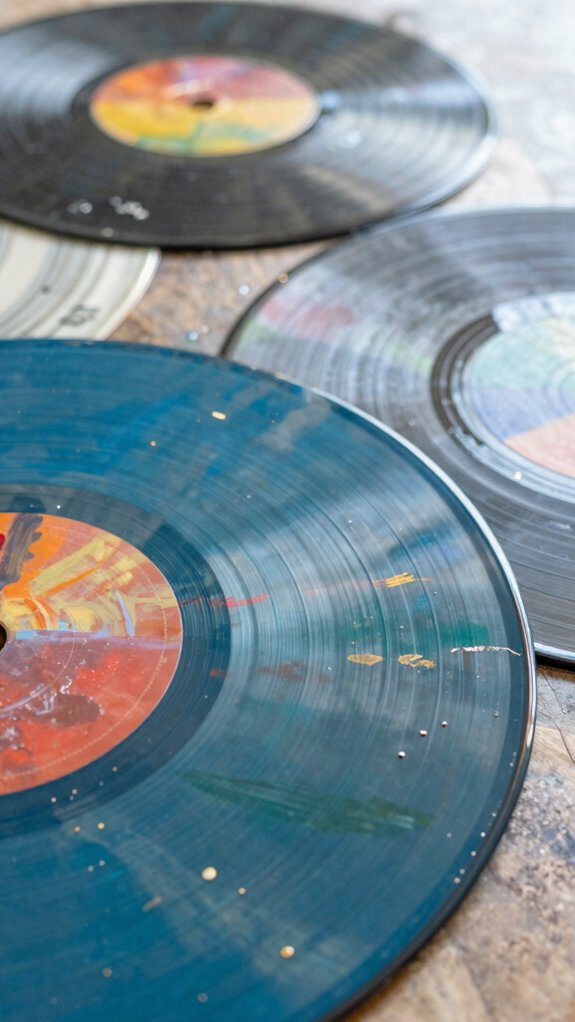
On a worn vinyl record, paint can suddenly feel extra cool, because that shiny circle is already a ready-made canvas! You can skip sanding and jump into bold color, so it feels easy to join the creative crowd.
Grab acrylic paint, a brush, and maybe a Colorful stencil for crisp shapes. Or go freer with drip gradients and geometric blocks right on the grooves, where the texture adds instant depth. Keep it modern with a small palette, like black, white, and one neon pop.
Set a 30-minute paint sprint, then seal it. Boom, you’ve got wall art that looks confident, not fussy!
Mixed Media Journal Pages
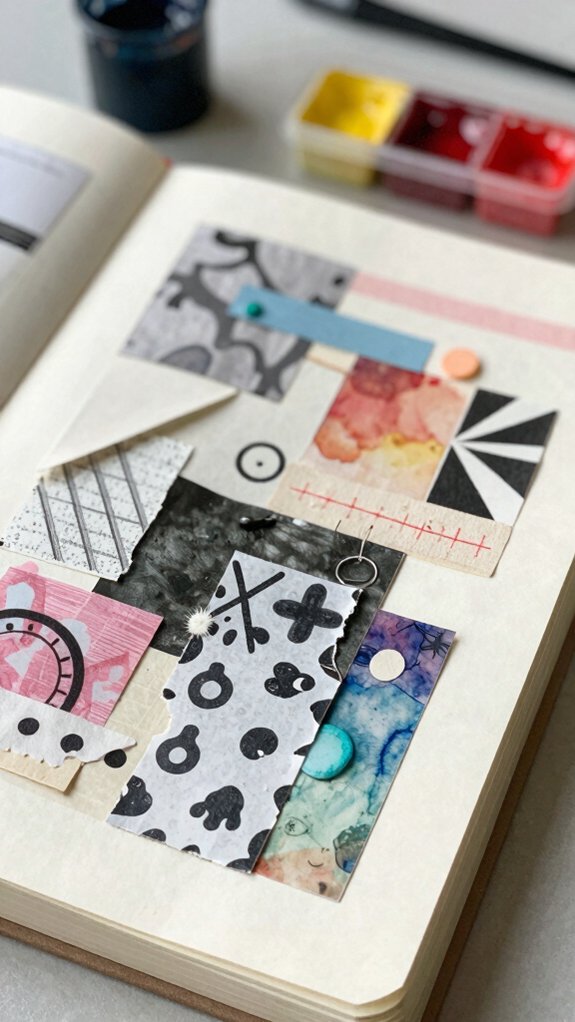
When you want a journal page to feel more like art and less like homework, mixed media is the move!
Start on cardstock, then layer torn magazine pieces, cut paper shapes, and doodled linework so your page feels busy in the best way.
Use collage texture techniques with a slip layer of watered glue, press tissue scraps fast, then seal them.
- Matte black photos with bold color pops
- Typography and journaling prompts as tiny labels
- Mod Podge for smooth glue-seal shine
- Full-page coverage, no awkward blank gaps
Finish with word strips or a title, and your spread looks complete, modern, and totally yours!
Acrylic Pour Artwork
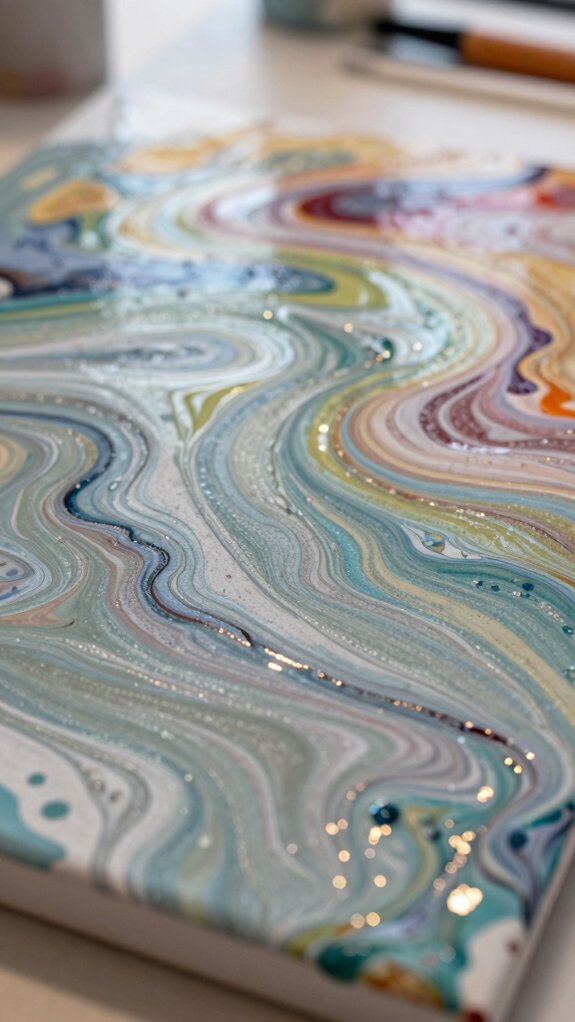
Acrylic pour art looks extra cool because the paint does a lot of the work for you, and honestly, that’s part of the fun! You mix acrylic with pouring medium for smooth color mixing, then try a dirty pour, flip cup, or string drag to make wild patterns on canvas.
Before you start, tape the edges and use plastic for messy workspace protection, because this stuff splashes like it’s showing off.
For air bubble control, give the surface a quick torch pass if you can.
Then follow drying time tips: let it sit 24–72 hours, untouched, so your shiny new piece levels out beautifully.
Handmade Stickers
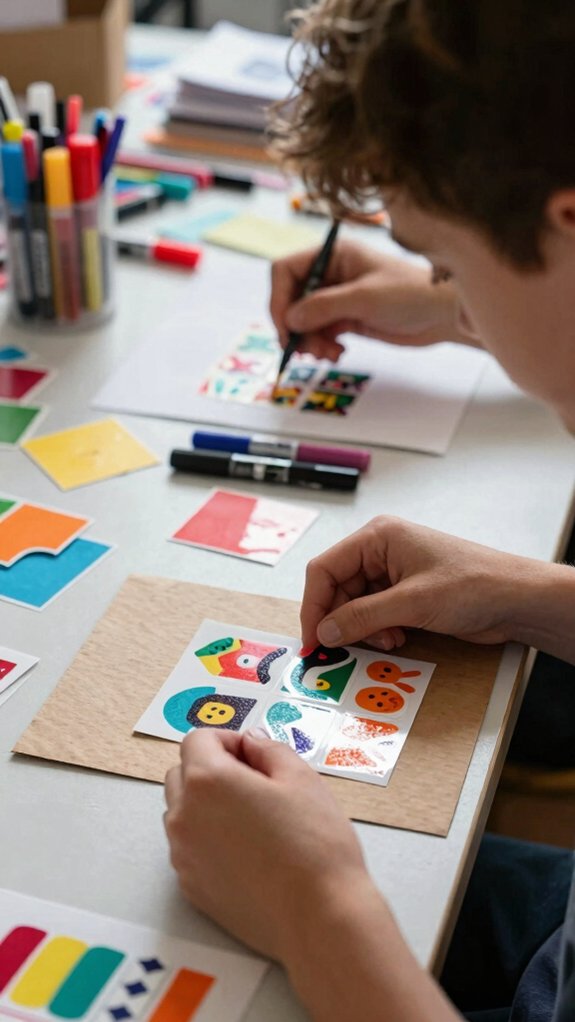
If you loved watching paint swirl into wild, glossy patterns, you’ll probably have a blast making handmade stickers too! You can jump into sticker design prompts like surprise character, graffiti tag, or altered-magazine mashup, then cut your art from cardstock or sticker paper.
- bold marker doodles
- ripped collage faces
- neon names with edge
- tiny chaos creatures
Use Cray Pas crayons for messy texture, then try sticker sealing methods with clear tape or a thin Mod Podge coat. The best part? You can treat every sheet like a full collection, so nobody’s art gets left out. Easy, cheap, and seriously cool!
Personalized Sketchbook Covers
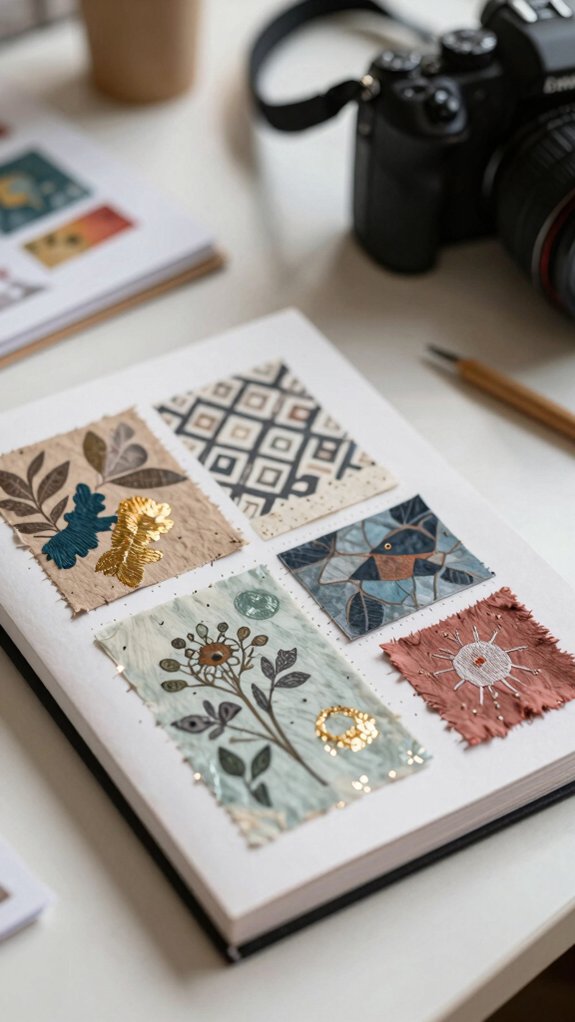
Ever notice how a plain sketchbook can go from “meh” to totally yours with just a few smart moves? Grab a black or white one, then collage magazine cutouts with Mod Podge, or brush on acrylic paint for a clean, modern vibe.
Want something faster? Sketch a monogram or graffiti tag with a fine Sharpie, then fill it with bold color blocks, geometric patterns, and tiny jokes that feel like you.
For texture, layer torn paper on watered glue, seal it, and add removable photo strips, book spine design touches, or minimalist sticker labels. Finish with stitched edges, and boom, it looks bold, personal, and super shareable!
Sculptural Paper Art
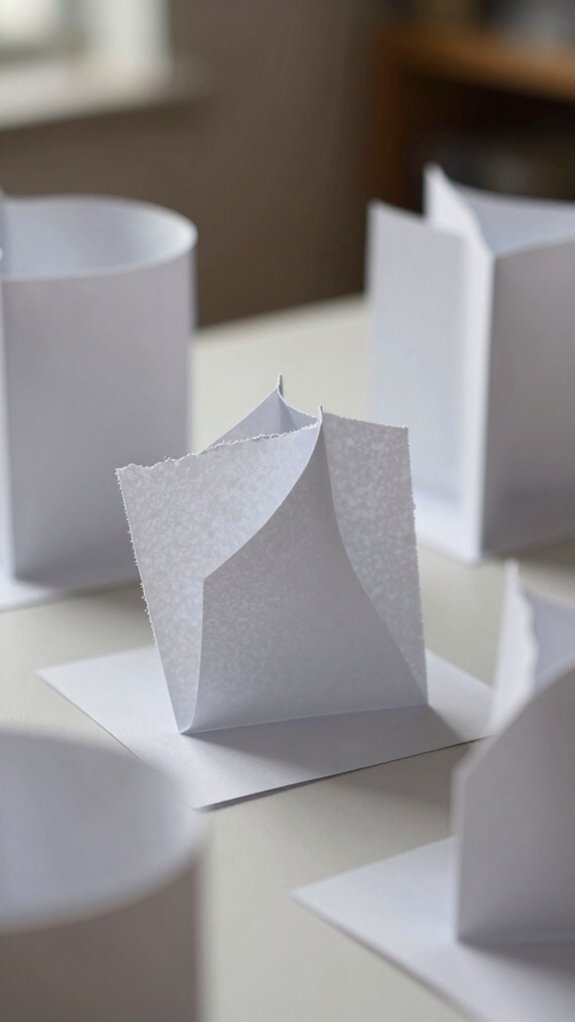
When you want paper art to feel less like “flat craft project” and more like “wait, you made that?!” sculptural paper art is where the magic starts. You can crinkle pre-painted dark blue paper, layer it, and watch paper resilience turn wrinkles into stormy texture.
- Tear magazine squares for a crazy-quilt collage wall.
- Glue five paper people, then add thought bubbles for collage storytelling.
- Work fast on a time limit, so you experiment instead of panic.
- Build a group mural panel by panel with bristol board and tempura paint.
You’ll make bold shapes, laugh at happy accidents, and fit right in!
Upcycled Fashion Accessories
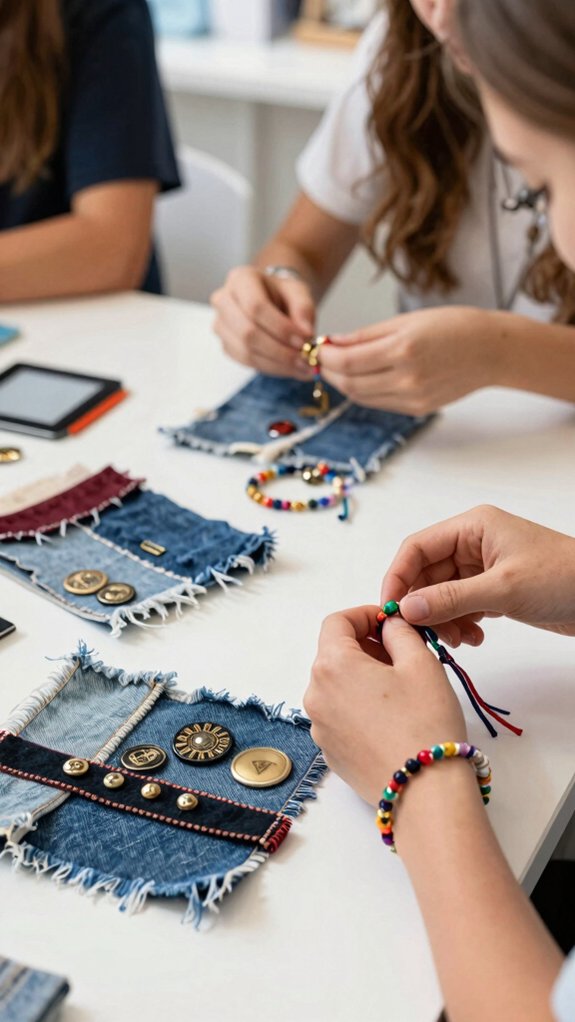
Start simple with a thrifted pouch or an old phone case, then add fabric paint, diluted latex paint, bottle caps, buttons, beads, or embroidery floss for texture and attitude.
You can turn old tees, jeans, or scraps into upcycled zipperpouches, no-sew patches, or a tote that feels totally yours—nice!
Paint fabric paint patterns in bold stripes, drips, or graffiti-style initials, then let it dry and wear it out.
Clip on buttons or bead pulls for extra edge, and mix in floss wraps for color.
It’s cheap, fast, and honestly, the cool factor is doing the work for you.
Gift it, keep it, show it off!
Digital Art Print Collection
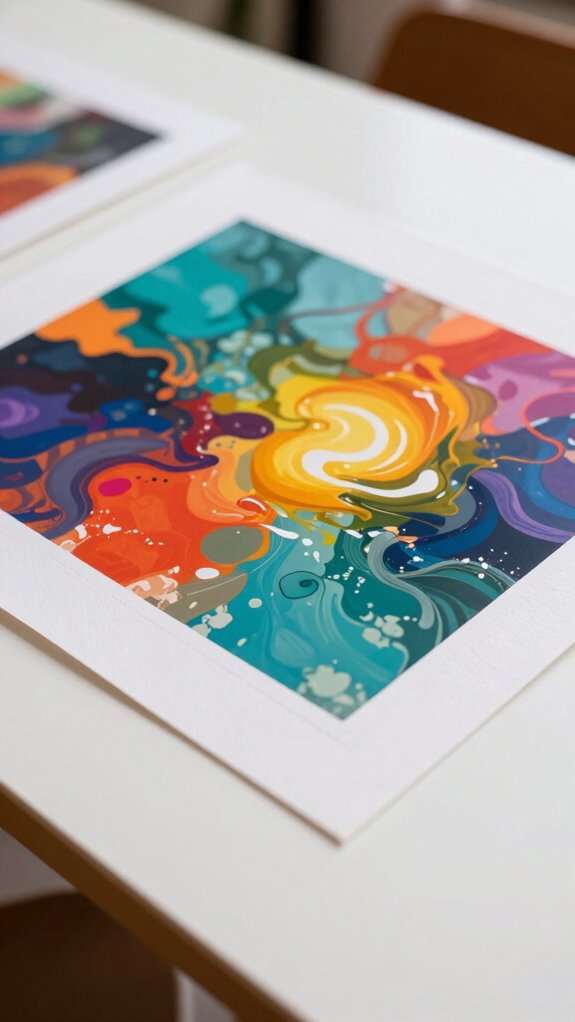
Because a digital art print collection can look super polished without being hard to make, you can build one by designing 6–12 original pieces that all feel like they belong together—think posters, bold typography quotes, or collage art with a shared color vibe!
Use Canva or Photoshop, pick 8×10, 11×14, or 16×20 sizes, and export at 300 DPI for crisp, hangable results.
- Try teen print challenges to spark fresh ideas.
- Do color palette tests so your series matches.
- Make one print in 20 minutes to stop overthinking.
- Proof a test print first, then swap and share!
Botanical Illustration Series
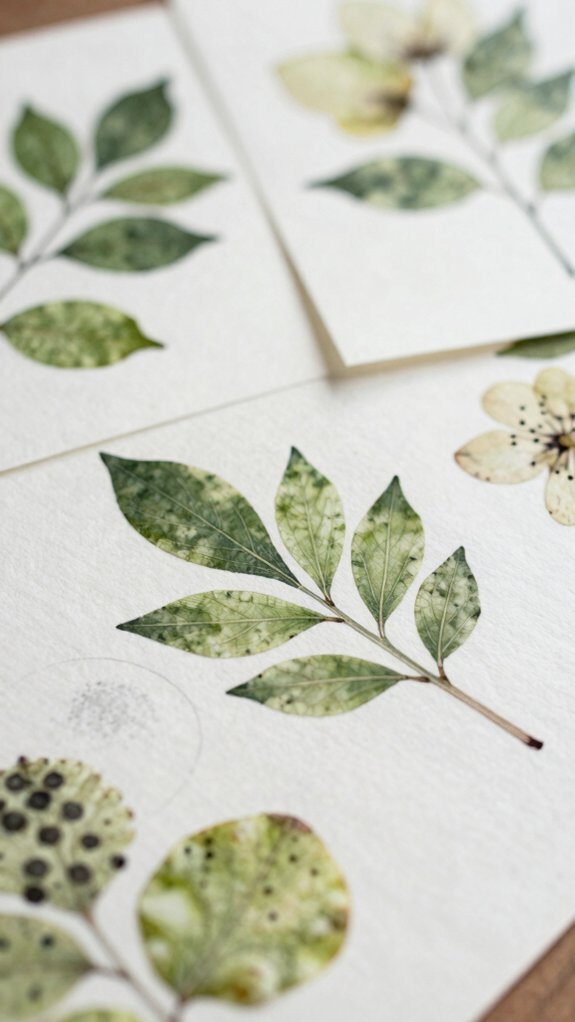
A botanical illustration series can feel fresh, artsy, and way less intimidating than it sounds!
You pick 3–5 plant subjects, like herbs or flowers, then make one piece each session so your set starts to feel like a crew.
Use white cardstock, tissue paper, glue, oil pastels, markers, or watercolor, and delve into Botanical color theory as you layer from light to dark.
Keep Teen friendly composition, loose and bold, with doodle-style outlines and messy, expressive marks.
Want a twist?
Try an altered botanical photo collage.
Finish by naming each plant and adding a tiny caption strip—cute, right?
Mini Gallery Wall
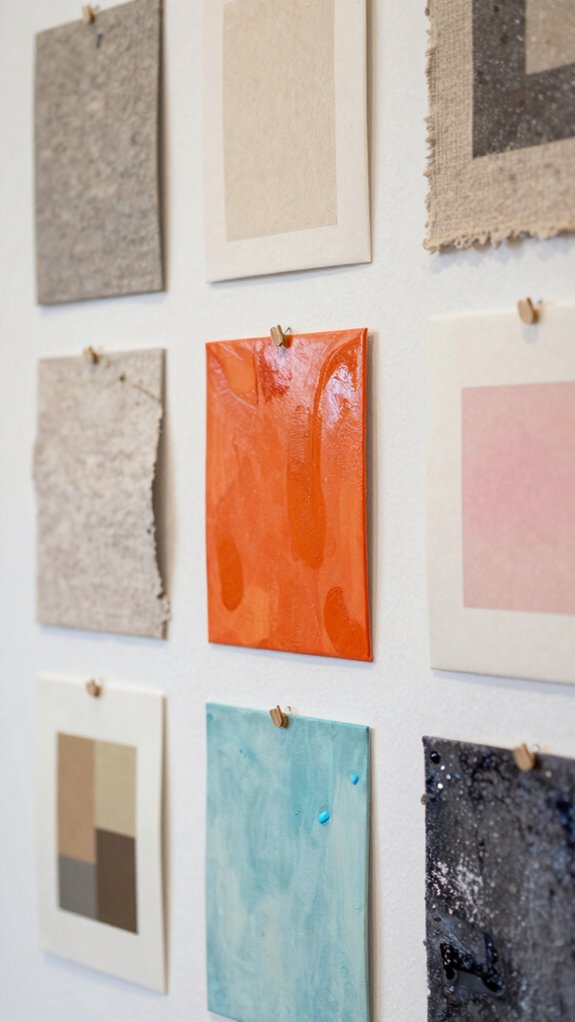
If you want your room to look instantly cooler, a mini gallery wall is such a fun way to do it!
Use teen safe materials like magazine scraps, tape, cardboard, and paint to make tiny art that feels like yours.
Start with theme consistency, then play with size variation for a look that’s lively, not messy.
- Paint a 15-minute crumpled paper piece
- Collage a bold quote card
- Make a tissue-paper color panel
- Hang a collaborative tile with friends
With smart display planning, line them up on one backing or matching tape mounts, and suddenly your wall looks intentional, modern, and totally in the group.
Handmade Portfolio Pieces
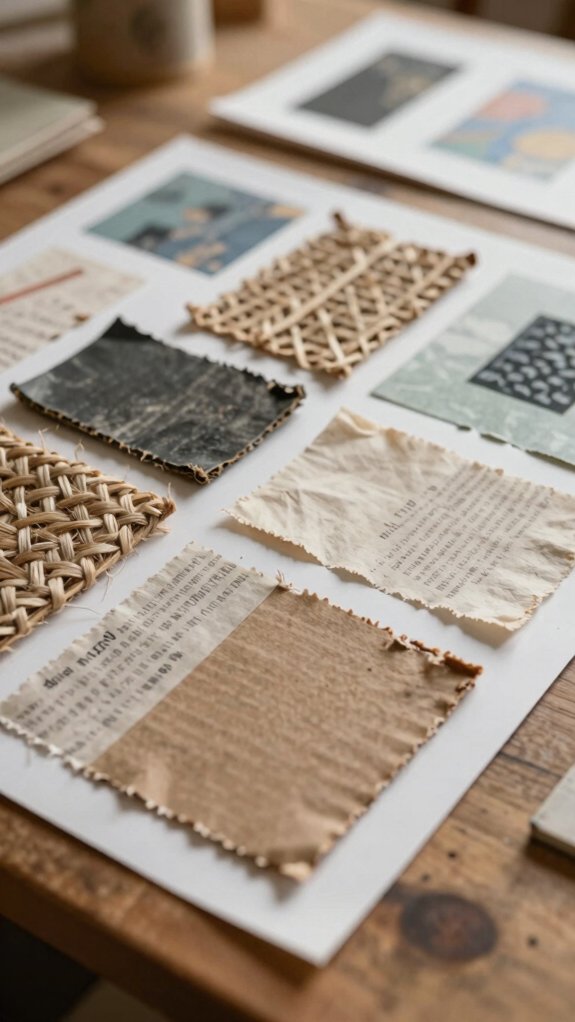
Handmade portfolio pieces are where your ideas stop just looking cute on the wall and start looking like, “Okay, this person has real style!”
You can build a curated process with collage, painting, mixed-media, and sculpture, using cheap stuff like paper, mod podge, clay, and paint.
Try tissue paper collage first, then a crumpled paper painting on dark paper, or a one-hour foil sculpture.
Next, make a wearable t-shirt with latex house paint, or a concrete planter for a polished win.
Each piece shows personal style, quick choices, and confidence.
Best part? Imperfect can look awesome!


