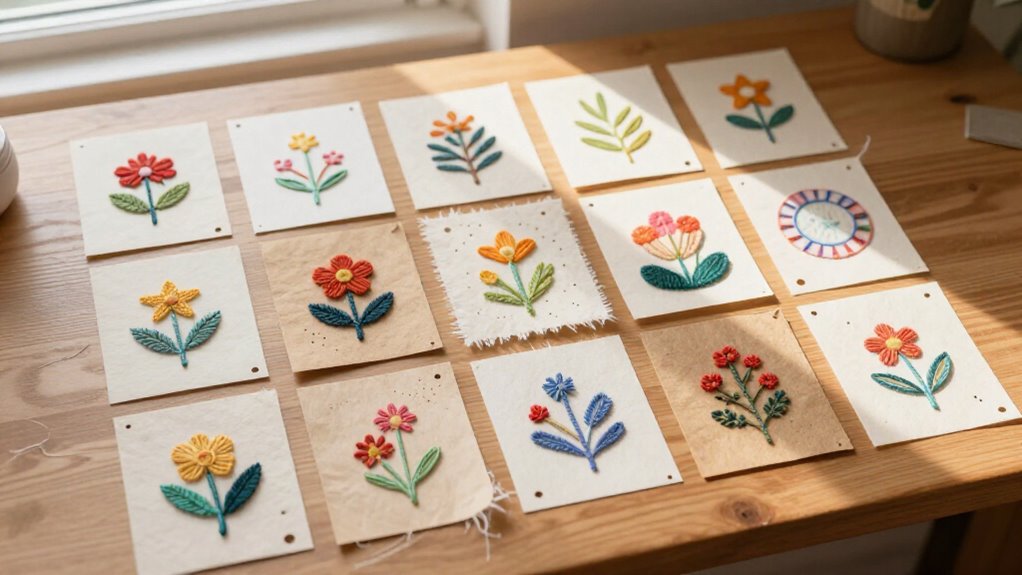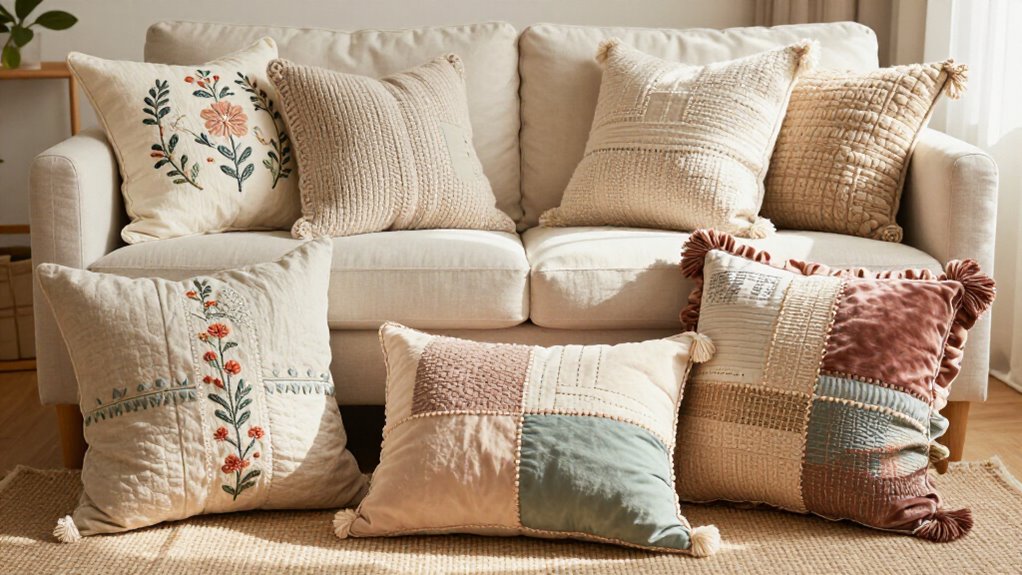
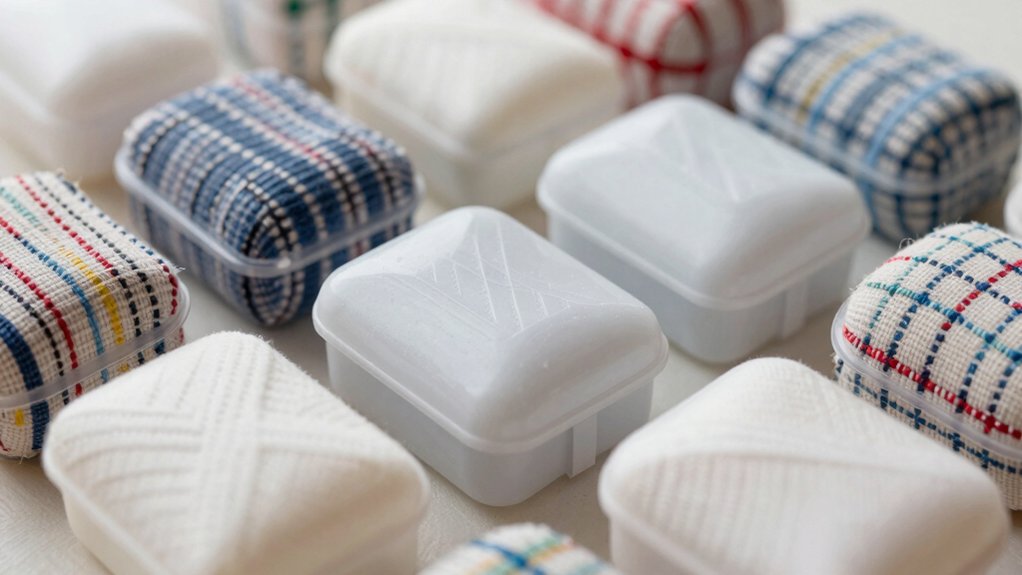

You can make a plastic canvas tissue box that feels fun, elegant, or cozy without much fuss! Start with classic florals, farmhouse basket weave, or a sunflower look, then try vintage rose, woodland cabin, rainbow, or neutral beige. Most use 7-count plastic canvas, worsted yarn, and simple over-under stitches, with panels cut to fit the lid and tissue slot. Beginner-friendly, cheap, and cute, these patterns turn plain tissues into decor with personality—wait till you see the holiday and geometric surprises!
Key Takeaways
- Classic floral and vintage rose patterns add colorful, elegant appeal with careful hole alignment and neatly finished tissue slots.
- Farmhouse basket weave designs use 7-count plastic canvas and worsted yarn for a rustic, textured look.
- Woodland cabin, ocean-inspired, and modern geometric styles offer themed options with blue, silver, and crisp block patterns.
- Animal and holiday covers like Easter bunny, cat lover, dog paw, and Christmas cottage bring playful seasonal charm.
- Bright rainbow and minimal neutral designs provide versatile choices, from bold color to clean, understated decor.
Classic Floral Cover
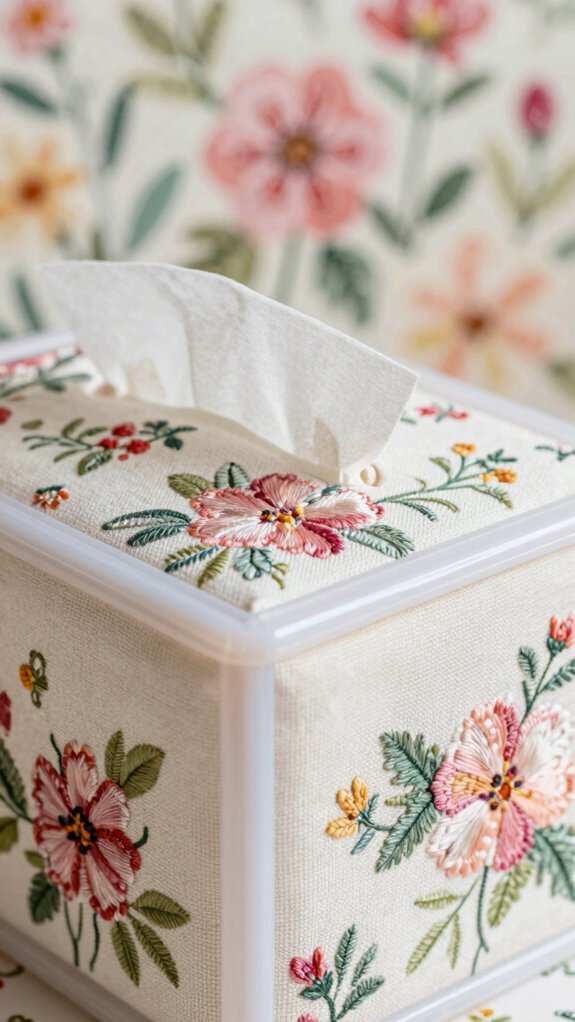
Weave your flowers right into the canvas for a Colorful springtime look, then trim the tissue slot so the center opens cleanly.
Add a basket weave border, edge everything first, and join the panels after.
It’s beginner-friendly, affordable, and your cover’ll fit snug, with a cheerful handmade finish!
Farmhouse Basket Weave
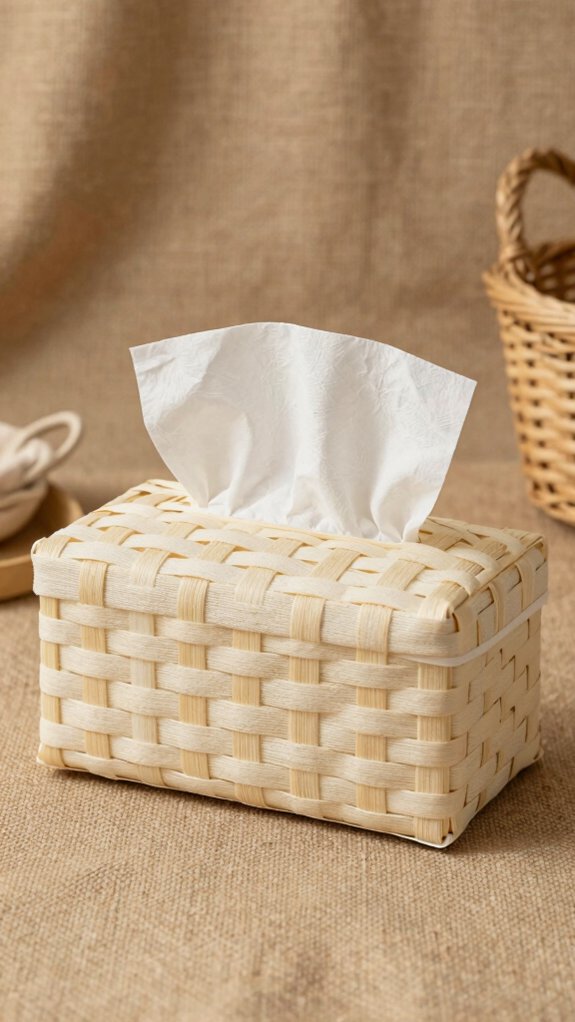
Then, build that woven-look texture by alternating over-and-under yarn passes in a repeating block pattern, almost like you’re fake-weaving a tiny fence, only cuter.
You’ll use 7# plastic canvas and worsted-weight yarn, and the combo feels friendly for beginners, not fussy at all!
Cut your panels first, like 62 holes wide by 22 or 34 tall, so everything fits your box.
Pick two shades for a little color contrast, then keep your yarn weight steady and your tension snug, so the slats stay crisp.
Trim stray ends, secure the layers, and boom—your farmhouse cover looks neat, cozy, and totally inviting.
Sunflower Design
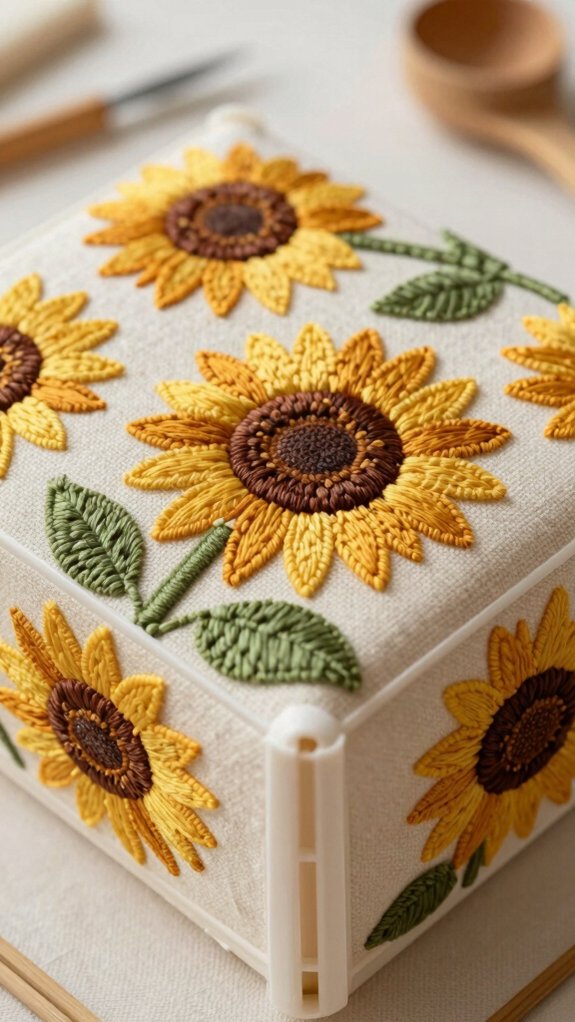
- Cut your lid and sides to size, then mark the tissue slot.
- Stitch the center first, using warm yellows and browns, then grow petals outward in a bordered lattice.
- Weave every patterned row, trim the opening, and hide loose ends for a tidy finish.
You’ll get a bright, friendly cover that looks handmade, sturdy, and ready to brighten your room—no skillful skills needed, just a happy rhythm!
Vintage Rose Pattern
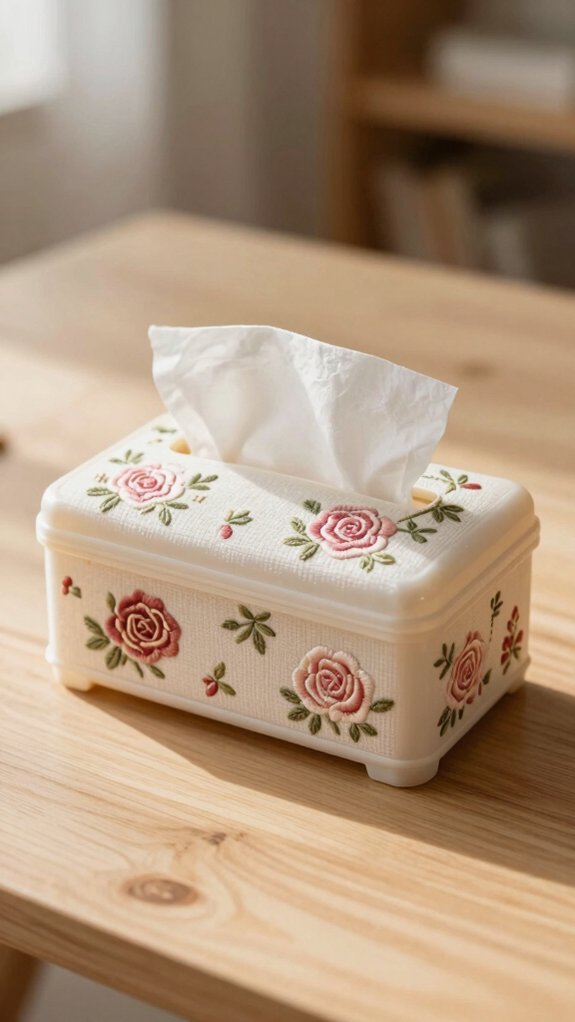
Start with pattern color matching, choosing rosy pinks or deep reds with a little contrast so the bloom pops.
Then do your hole count planning carefully, because every panel and tissue slot must line up by holes, not guesses.
Weave the motif in repeatable sections, and you’ll get a crisp, charming cover that feels handmade with heart!
Christmas Cottage Theme
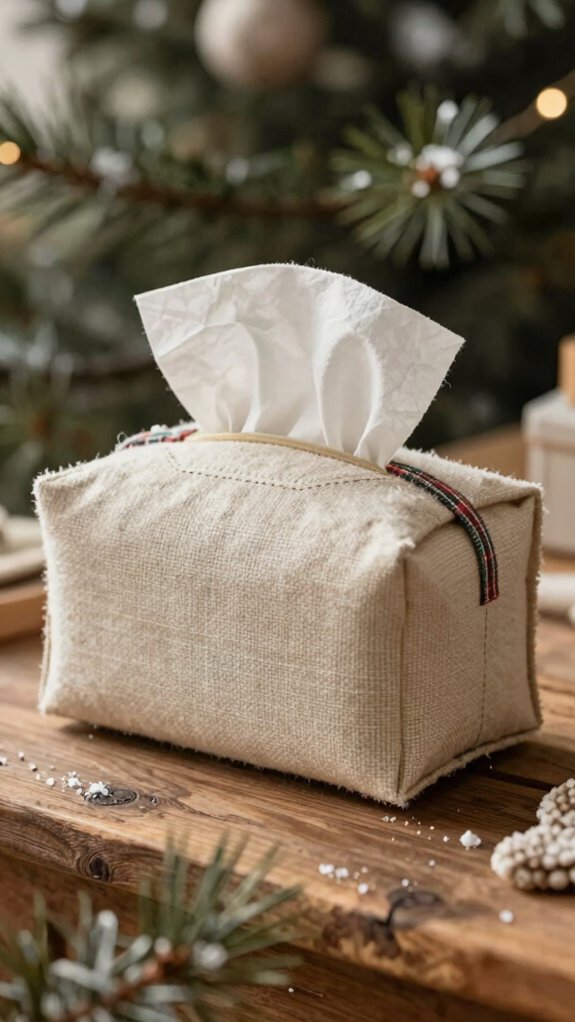
- Cut panels to fit: lid 62 by 34, long sides 62 by 22.
- Shape the tissue slot, leaving 24 side holes and 13 top and bottom.
- Stitch with a plastic canvas needle for neat, even results.
You’ll get a sturdy, charming cover that feels homey!
Easter Bunny Box
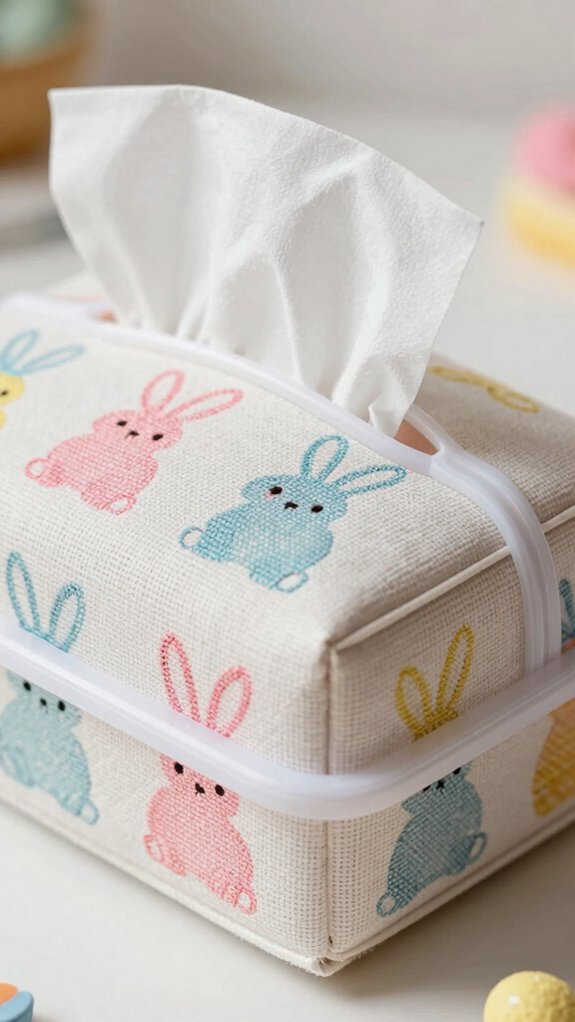
Next, create the tissue slot, stitch a centered bunny silhouette on the 62×34-hole top, and add border embellishments for a clean finish.
Join the panels, tidy loose ends, and keep it simple.
Slip on themed tassels, and your Easter basket display suddenly feels handmade and friendly!
Cat Lover Tissue Cover
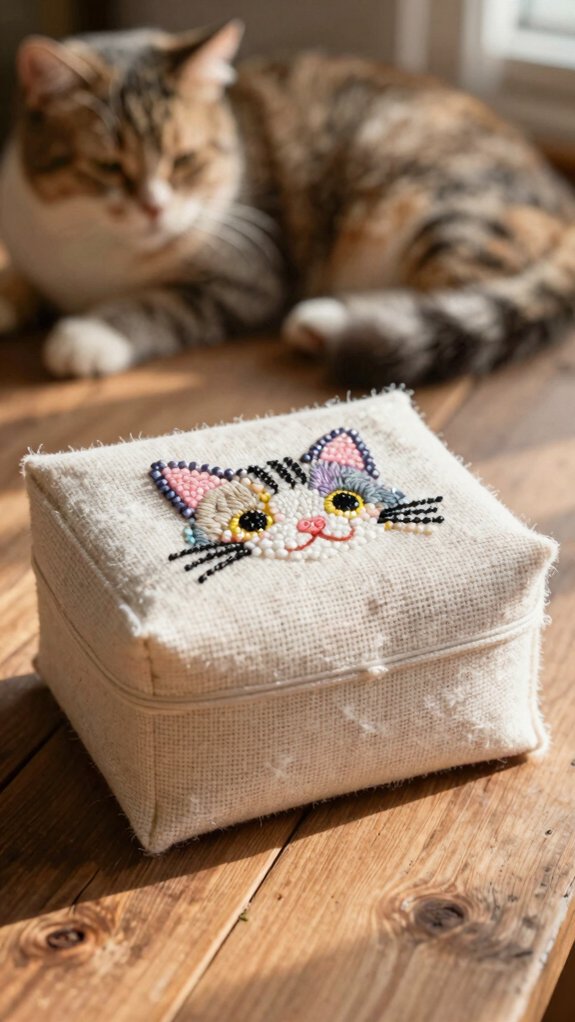
A cat lover tissue box cover is a fun little project that turns plain plastic canvas into something way more charming than “just a tissue box,” and yes, it’s beginner-friendly too! You’ll feel right at home making it with 7# plastic canvas, worsted yarn, and a needle.
Cut two sheets, use the cut-and-weave method, and shape the lid at 62 holes wide by 34 tall.
- Add cat themed colorwork for ears and a sweet face
- Try whisker detail tips with neat, short stitches
- Join the panels after finishing for a snug fit
Your cozy result? A purr-fect cover that looks friendly, tidy, and totally yours!
Dog Paw Pattern
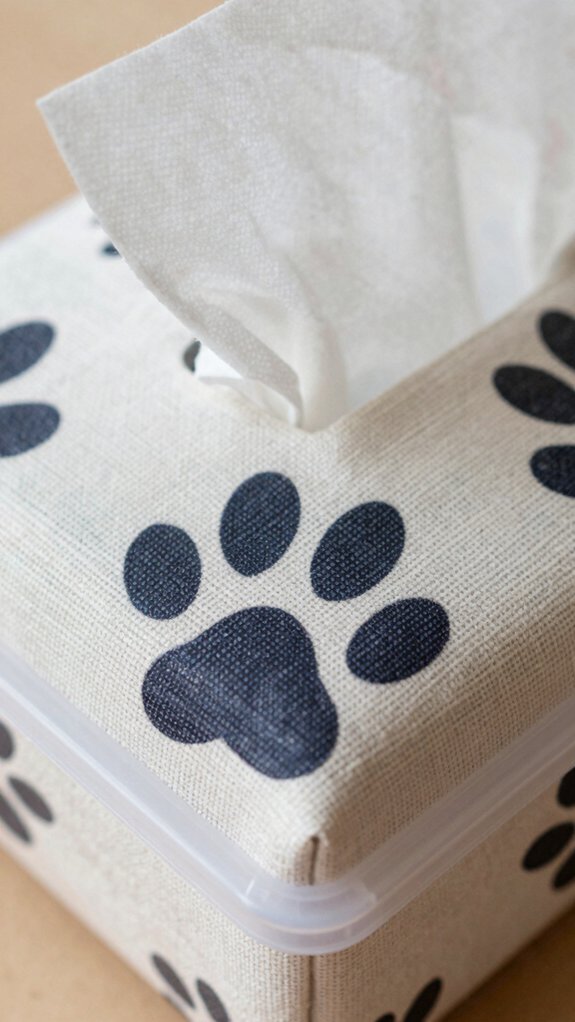
If the cat cover has you smiling, a dog paw pattern brings that same cozy charm with a playful little twist!
Use 7# plastic canvas, so worsted yarn fits neatly and your stitches look tidy.
Start with a colorwork swatch and check paw size scaling before you commit, then center each toe blossom over the grid and mark the outline.
Stitch the pad and toes with steady cross stitches, keeping tension even for crisp edges.
Finish by weaving in tails, trimming them, and blocking flat.
On a tissue box, repeat the paw across the long sides—cute, durable, and pack-a-punch adorable!
Ocean-Inspired Design
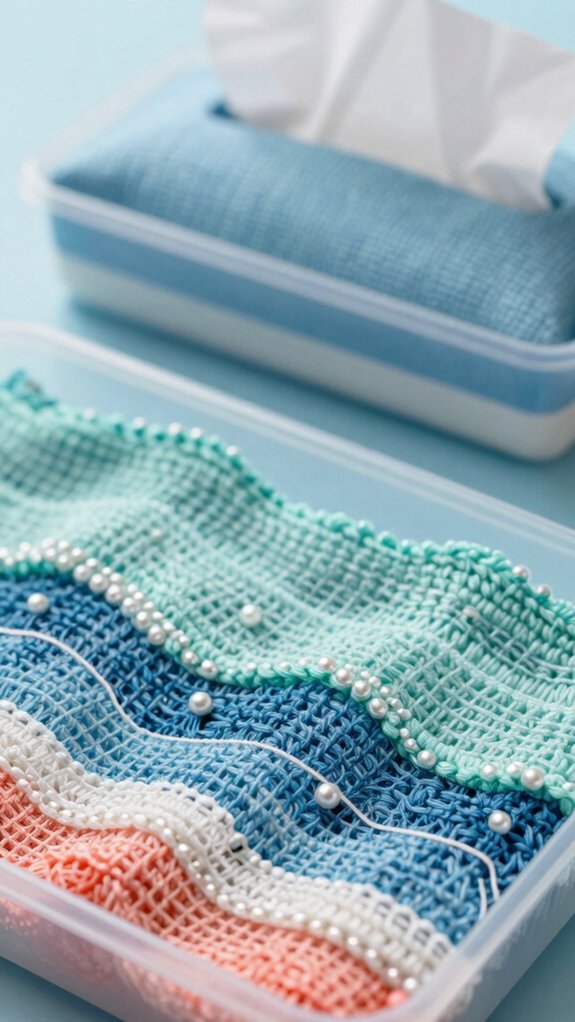
Under the sea vibes can be so fun on a tissue box cover! You can grab 7# plastic canvas, since its medium holes fit worsted yarn nicely and keep things easy for you.
- Make ocean wave motifs with blue over-under stitches.
- Add sea foam yarn accents in silver for a splashy glow.
- Cut the lid panel to 62 holes wide by 34 tall, then shape the tissue slot.
For clean sides, stitch long panels at 62 by 22 and short ones at 34 by 22.
Use a plastic canvas needle, join everything, and you’ll get a rigid, flat box that feels beachy and welcoming!
Modern Geometric Style
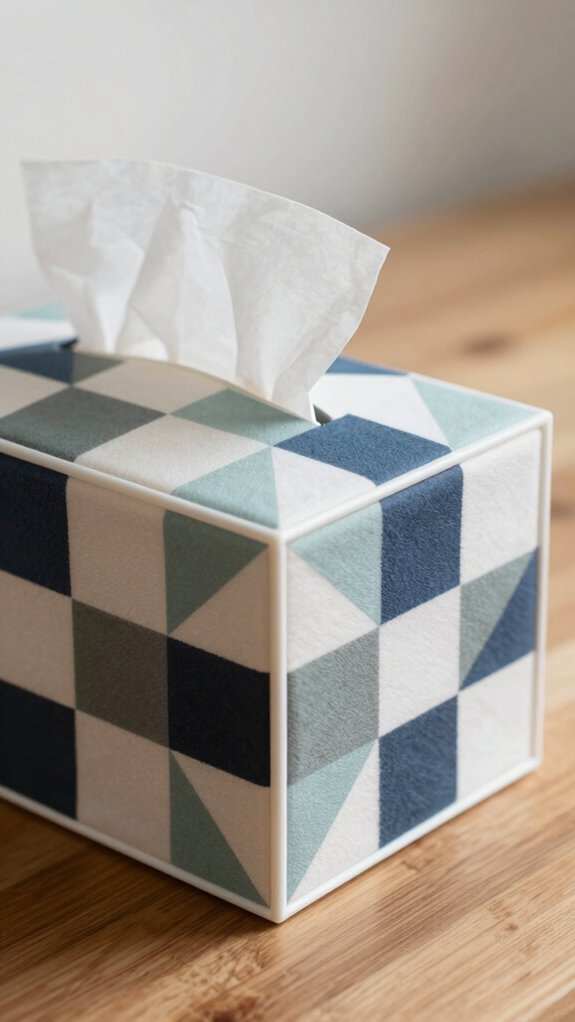
Cut a lid panel 62 holes wide by 34 tall, then remove the middle grids for the tissue slot, leaving 13 holes at the top and bottom, plus 24 on each side.
Make the side panels next, weave crisp blocks with a plastic canvas needle, then join everything.
Your lines’ll meet cleanly, and wow, that symmetry looks pro!
Woodland Cabin Theme
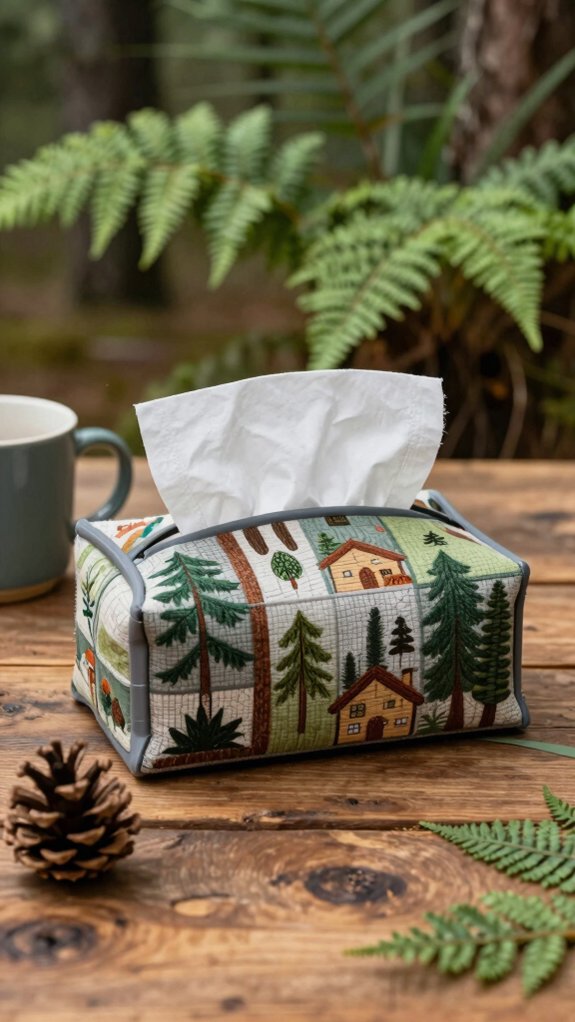
- Pick woodland cabin colors like blue and silver for sky, trim, and snow.
- Cut the rectangle panels to 62×34, 62×22, and 34×22 holes.
- Frame the tissue slot, then trim the middle grids, leaving 24 side holes and 13 top and bottom.
You’ll get a cozy, friendly look that feels right at home!
Bright Rainbow Pattern
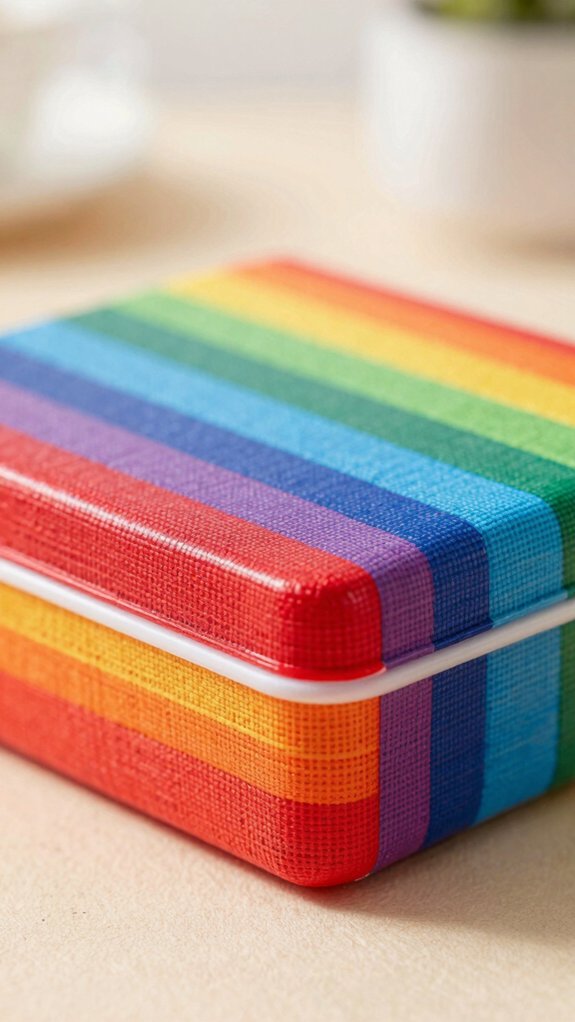
When you want your tissue box to feel cheerful instead of plain, a bright rainbow pattern is the way to go! You’ll cut 7-count plastic canvas: lid 62 by 34, long sides 62 by 22, short sides 34 by 22.
| Color | Place | Tip |
|---|---|---|
| Red | Top | Start bold |
| Orange | Sides | Blend softly |
| Blue | Slot | Keep crisp |
Weave worsted-weight yarn with basic stitches, and try color blending plus stitch variations for extra fun. Remove the middle grids, leave 24 holes on the sides and 13 on top and bottom, then stitch right across. Finish, join panels, and boom—your happy little cover shines!
Minimal Neutral Decor
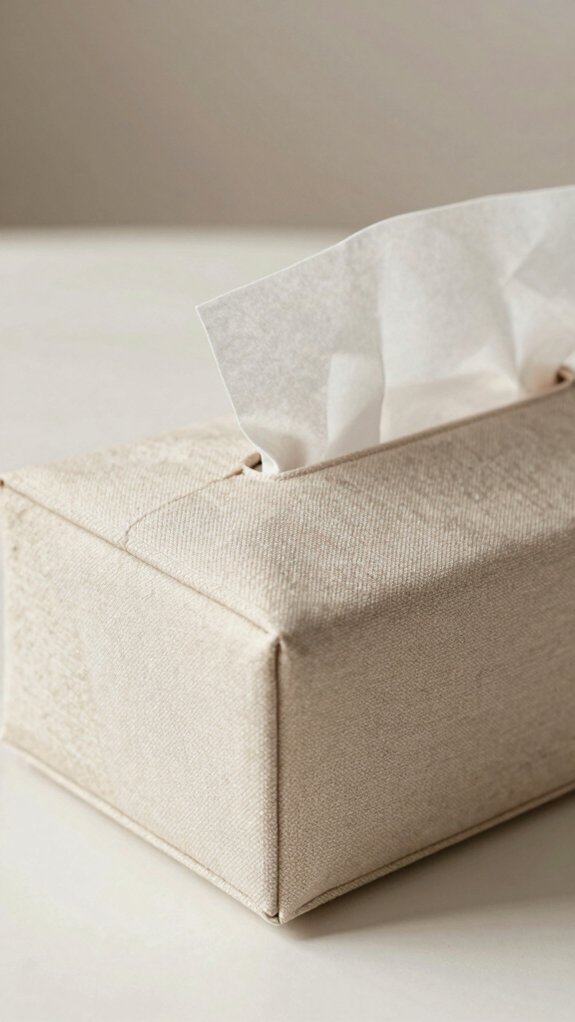
For a tissue box cover that feels calm, clean, and a little bit elegant without trying too hard, minimal neutral decor is a total win!
- Use 7# plastic canvas with worsted-weight yarn for a tidy grid that feels sturdy and easy.
- Choose beige, tan, gray, or cream, and let the simple panel shape do the decorating.
- Cut the opening with balanced spacing, then finish with texture first shaping and smooth edge finishing.
You’ll get a cover that blends right into your room, not a craft fair parade. Keep stitching basic, weave ends neatly, and maybe add a whisper of trim if you want.
It’s easy, affordable, and quietly stylish!