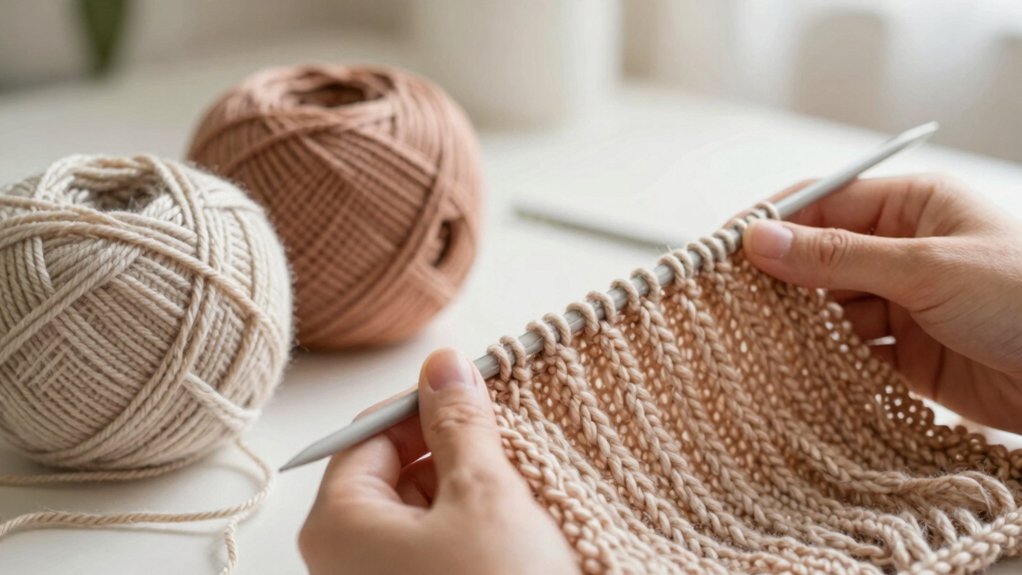

Start knitting with chunky yarn, bamboo or wood needles, and a simple slip knot—easy, affordable, and way less slippery! Cast on a few stitches, then practice the knit stitch until your row looks like a tidy little fence. Next, try purling and simple knit-one, purl-one patterns for texture. If a loop drops, don’t panic; just fix it and keep going. Soon you’ll be making a cozy rectangle, and the neatest trick comes next.
Key Takeaways
- Start with bulky, beginner-friendly yarn and larger straight needles, ideally bamboo or wood for less slipping.
- Check the yarn label for recommended needle size in millimetres and choose light-colored yarn to see stitches clearly.
- Learn the slip knot and basic cast-on, then practice until you reach the pattern’s stitch count.
- Practice the knit stitch first, focusing on smooth needle insertion, yarn wrapping, and steady tension.
- Add the purl stitch, try knit-one-purl-one, and finish by casting off and weaving in the yarn ends.
Choose Your First Needles
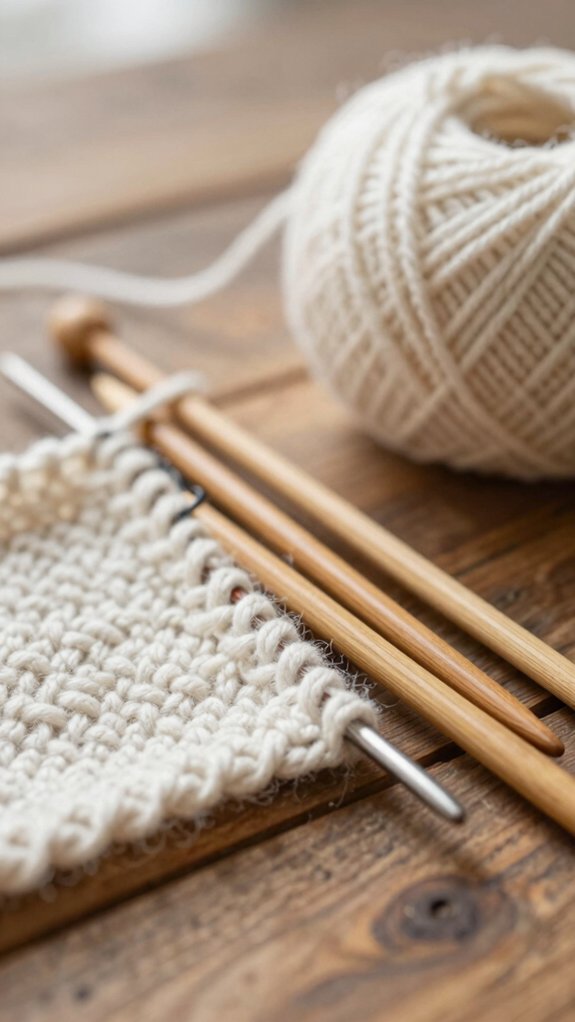
For your very first stitches, start with thick, friendly yarn—look for labels like “bulky,” “chunky,” or “12-ply”—and pair it with larger needles, since that combo gives you a little more room to breathe while you learn.
Great! Now choose straight needles with a stopper, so your stitches don’t go on a little adventure off the end.
If you’re comparing options, a quick needle materials comparison often points beginners to bamboo or wood, because they’re less slippery than metal or plastic.
Check needle sizing charts and the yarn label for millimetres, since sizes vary by system.
If you buy a kit, use the matched pair—it’s the easiest win!
Understand Yarn Weights
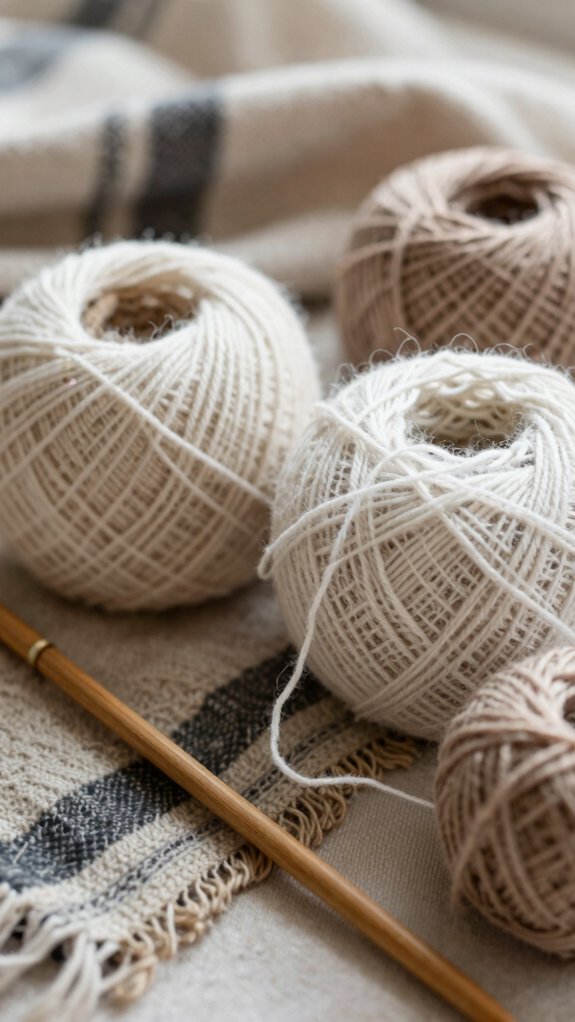
Yarn weights might sound a little elegant, but they’re really just the “thickness levels” of yarn, from super-thin lace yarns to thick bulky or chunky ones—yes, the cozy, squishy stuff that’s often labeled 12-ply!
For your first projects, pick worsted/medium or thicker, and you’ll see stitches better, fix mistakes faster, and feel less like you’re wrestling spaghetti.
Check the label for the recommended needle size in millimetres first, then match the US number if needed.
Yarn weight myths can confuse you, but Gauge importance matters most.
Light-colored yarn, like cream or white, helps you spot every loop—hello, team confidence!
Learn the Basic Cast-On
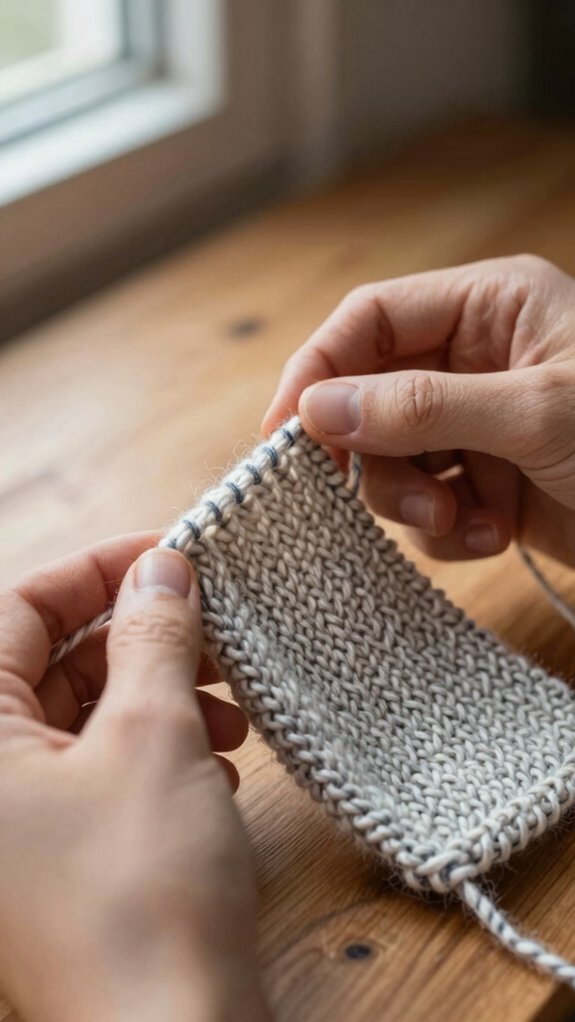
Now that you’ve picked a yarn weight that’s friendly to beginners, it’s time to get those stitches onto the needle!
Start with a slip knot, your little anchor, then place it on the left needle and snug the yarn tails so it sits neatly.
If you’re using chunky yarn, try selecting yarn needles around 8mm, since bigger tools make each loop easier to see.
Repeat the cast-on until you match your pattern’s stitch count—nice and tidy, no guesswork!
If a loop looks wonky, don’t panic; fixing beginner cast ons is part of the club.
Then you’re set to knit rows!
Practice the Knit Stitch
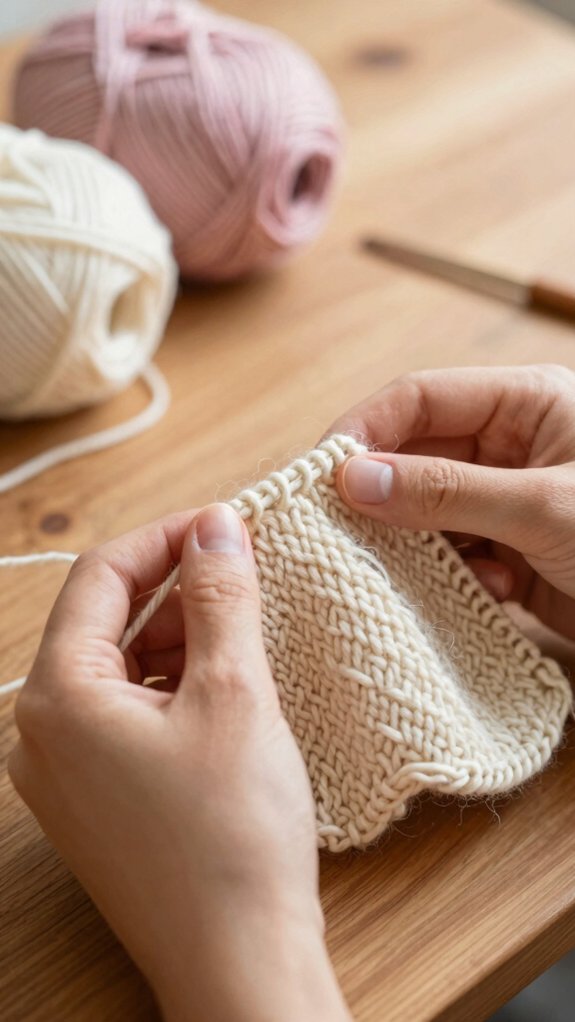
With your stitches cast on, it’s time for the fun part—actually knitting!
- Insert the right needle into the first stitch, bottom to top.
- Wrap the yarn around it, back to front, then pull it down so it peeks through.
- Slip the old stitch off, and repeat across the row.
You’re building a tiny team of stitches, one by one, and that’s how knitters start to belong. Keep your rhythm comfy, like “spinning the needle ’round,” and practice Needle tension control as you go.
When you’re reading knit progress, watch the fabric grow into a neat rectangle—hey, you made that!
Building Even Rows
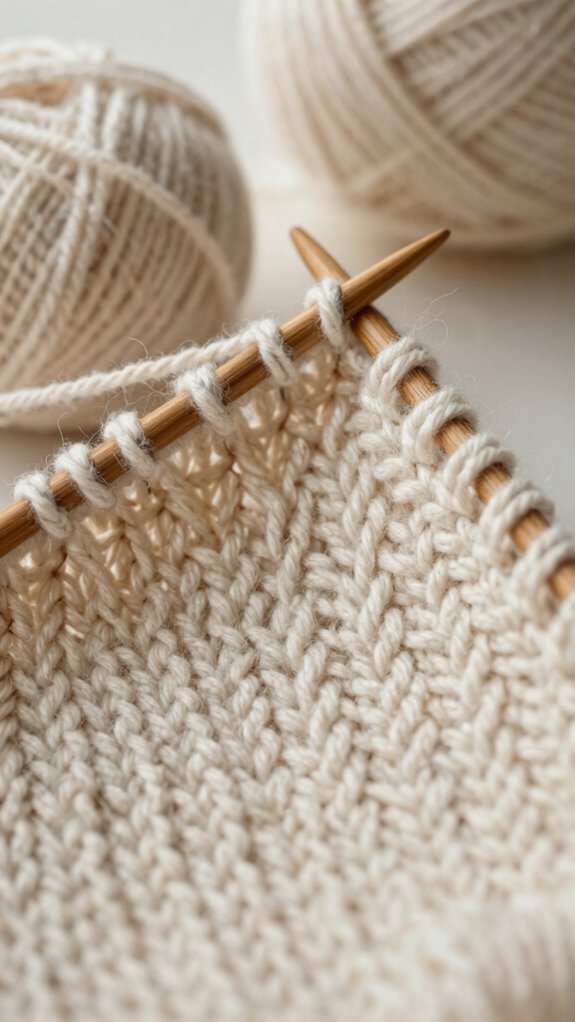
After you finish casting on, treat those stitches like the first row of your project and start building the fabric by working the knit stitch across every loop, one by one. Nice and steady, you’ve got this!
Insert the right needle bottom-to-top, wrap the yarn from back to front, and pull through so the old loop slips off the left needle. Keep your tension control relaxed, not clenched, so each stitch looks friendly and even.
At the end, finish cleanly, turn your work, and repeat.
For stitch troubleshooting, scan for consistent sizes; a long tear usually means you missed a stitch.
Try the Purl Stitch
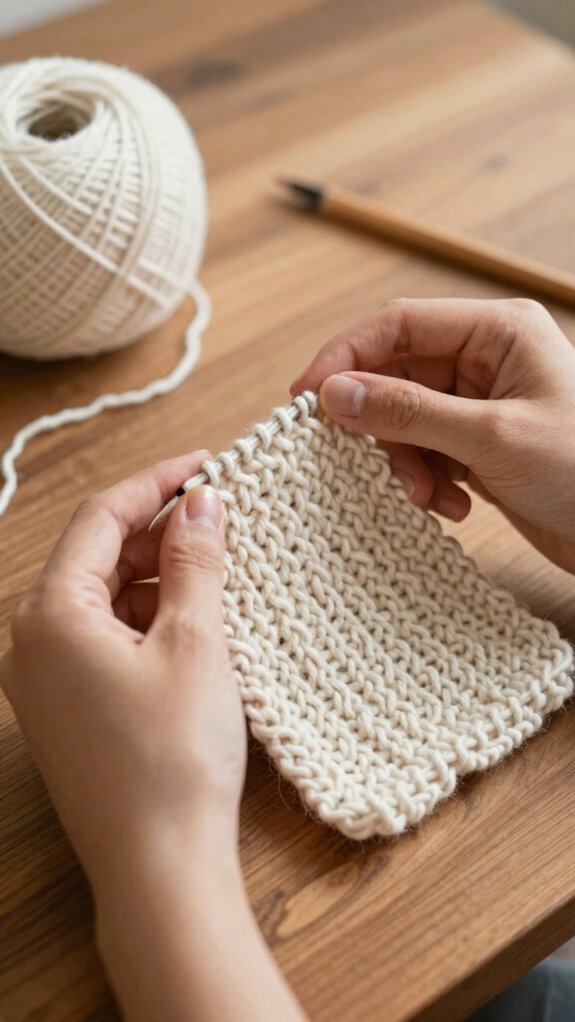
Once your knit rows feel steady, it’s time to meet the purl stitch, the quirky little cousin that helps knitting make all kinds of textures! Grab chunky yarn and bigger needles, then try this purl practice:
- Bring the yarn to the front.
- Insert the right needle into the front of the left stitch.
- Wrap and pull through, nice and easy.
It feels odd at first, but that’s normal, friend!
With a little repetition, you’ll spot texture contrast, and your stitches will start looking like cozy bumps and smooth rows.
Keep going—those purl bumps are the secret handshake of knitting!
Combining Knit and Purl
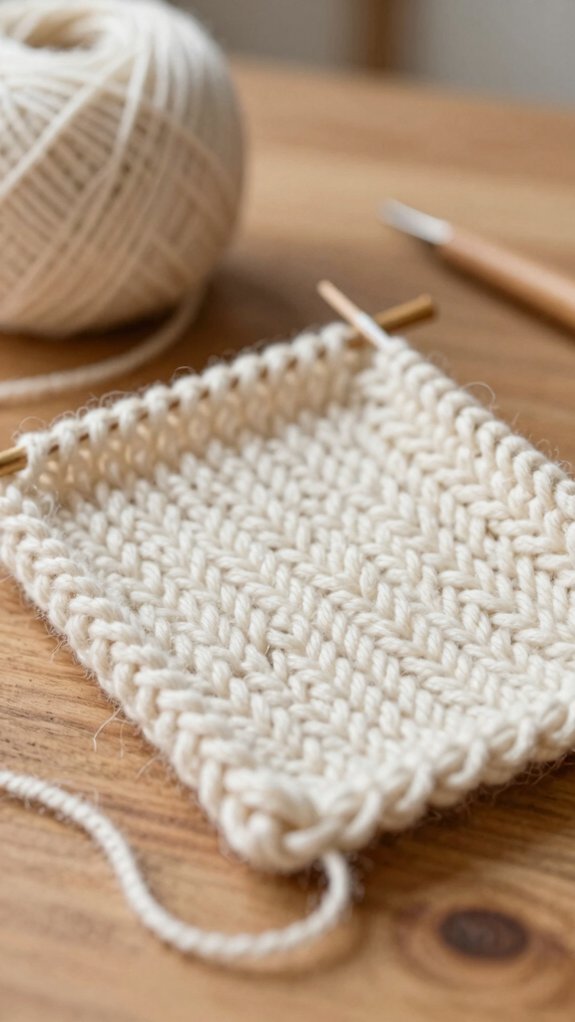
Now that you’ve tried both stitches, let’s mix them together and see the magic happen! You’re building a knitting buddy system: knit and purl work side by side, and your fabric starts to talk back. Try a simple knit one, purl one rhythm with thicker, light-colored yarn and 8–9mm needles, so every bump shows up *visibly*.
Watch the texture comparison, and notice stitch direction as you move each loop. Knit rows feel smooth, purl rows pop with bumps, and together they create cozy knit purl ribbing that stretches nicely.
Finish one row, breathe, then start the next—easy, cheap, and pretty satisfying!
Fix Small Mistakes Without Starting Over
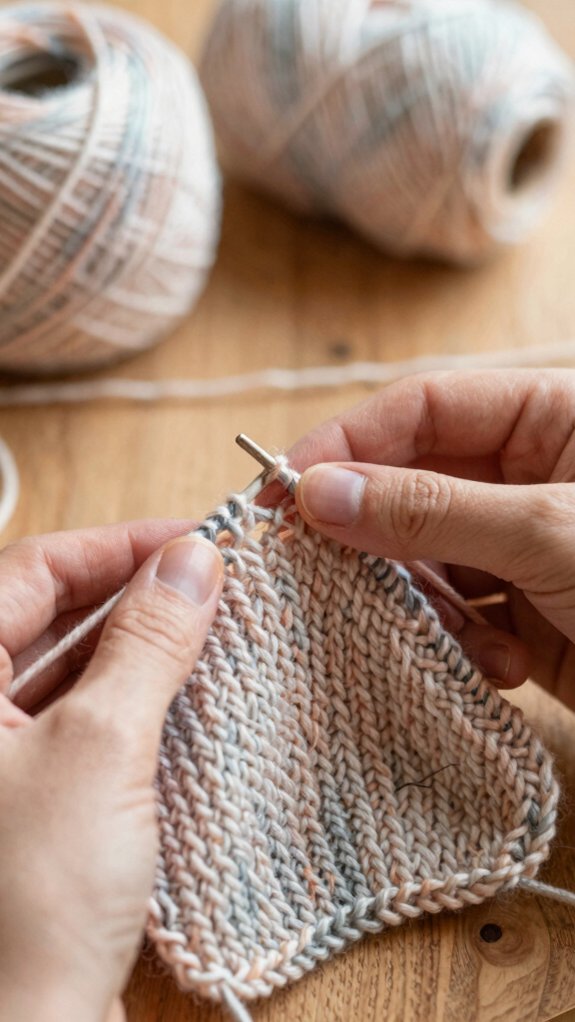
Tiny mistakes don’t have to send your whole project into a dramatic yarn meltdown! You’re in good company, and you can fix most hiccups fast.
- Dropped stitch? Spot the long tear and little loop, then use a needle or crochet hook to lift it back up, reading row ladders as you go.
- Tight fabric? Loosen your grip, and try larger needles than the label suggests. It costs nothing!
- Extra stitches or holes? Count each row, catch sneaky yarn-overs, and correct that spot.
Need to start over? Try How to frog back to the last correct row. Fixing right away builds muscle memory!
Read Simple Knitting Patterns
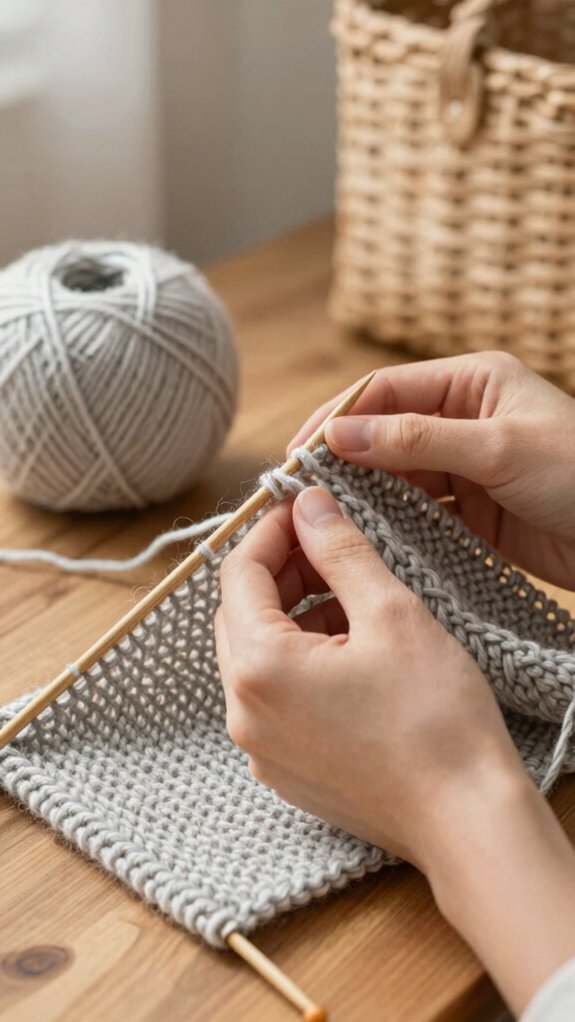
Where do you even begin with a knitting pattern? Pick a beginner-friendly one, like a plain scarf or Wheat scarf, so you can practice the basics without surprise gymnastics!
Look for pattern reading tips that show clear repeats: cast on X stitches, knit to length Y, then cast off.
Check the yarn and needle size too, because matching them helps your stitches look comfy, not wonky.
Learn common stitch abbreviations like row, RS, WS, and bind off/cast off, and keep a quick-reference tutorial nearby.
Then, when the pattern says repeat Row 1, you’ll know exactly what to do.
Nice, right?
Finish Your First Project
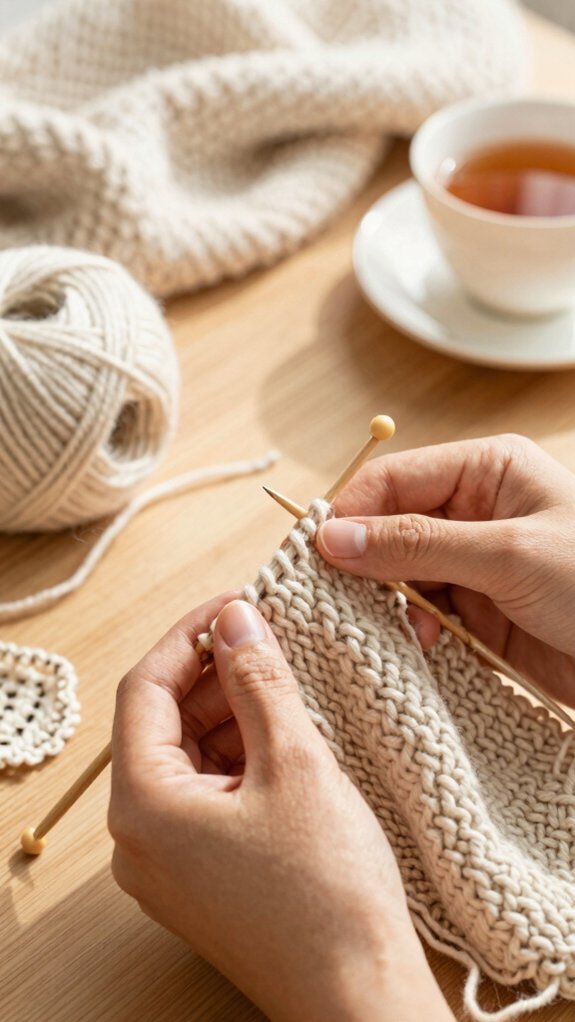
You’ve picked your pattern, followed the rows, and made it this far, so let’s get that first project off the needles—yes, the grand finale! You’re in the club now.
- Knit two stitches, then pull the first over the second.
- Keep sliding the next loop over, one by one, until one stitch remains.
- Cut a 10-inch tail, wrap it around the needle, and pull the stitch off.
Tighten the tail to secure the edge, then weave in yarn ends. If you spot wobble, slow down and troubleshoot edge curling with even tension. A neat finish feels amazing—tiny victory dance included!
Build Confidence with Easy Practice
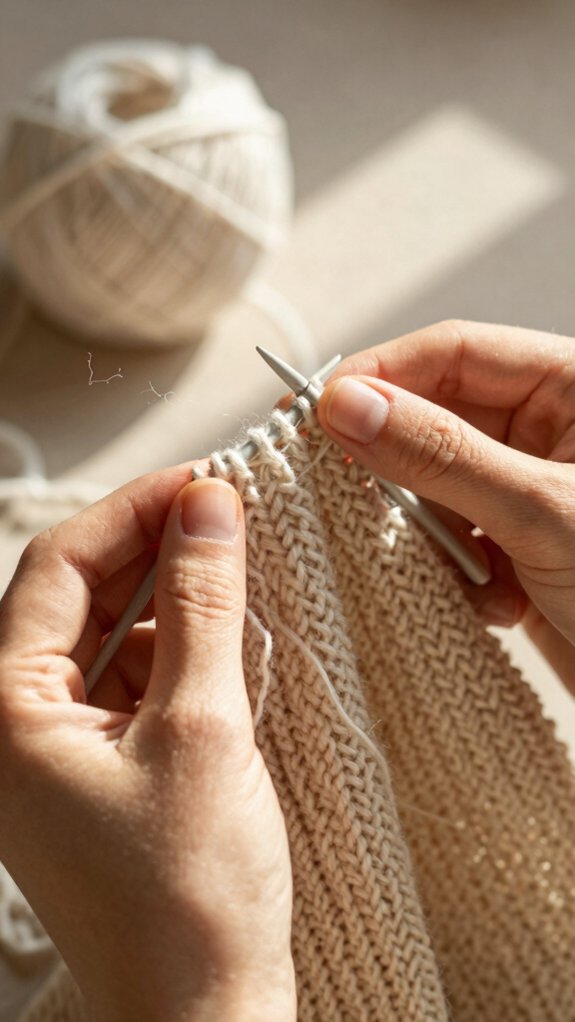
Practice makes knitting feel less like a mystery and more like muscle memory, so start small and repeat the four core moves in order: slip knot, cast on, knit stitch, and cast off.
| Practice milestone | Materials | Result |
|---|---|---|
| First slip knot | Chunky yarn | You’re started! |
| Cast on finished | US #8/5mm+ needles | Ready to knit |
| Full knit row | Worsted yarn | Rhythm grows |
| Cast off done | Simple scarf project | Real win |
Choose a knit-only scarf, 10–15 stitches wide, and keep going. Big yarn helps you see stitches, and mistake recovery gets easier when a loop drops or sneaks in. You’ve got this—practice beats perfection every time!