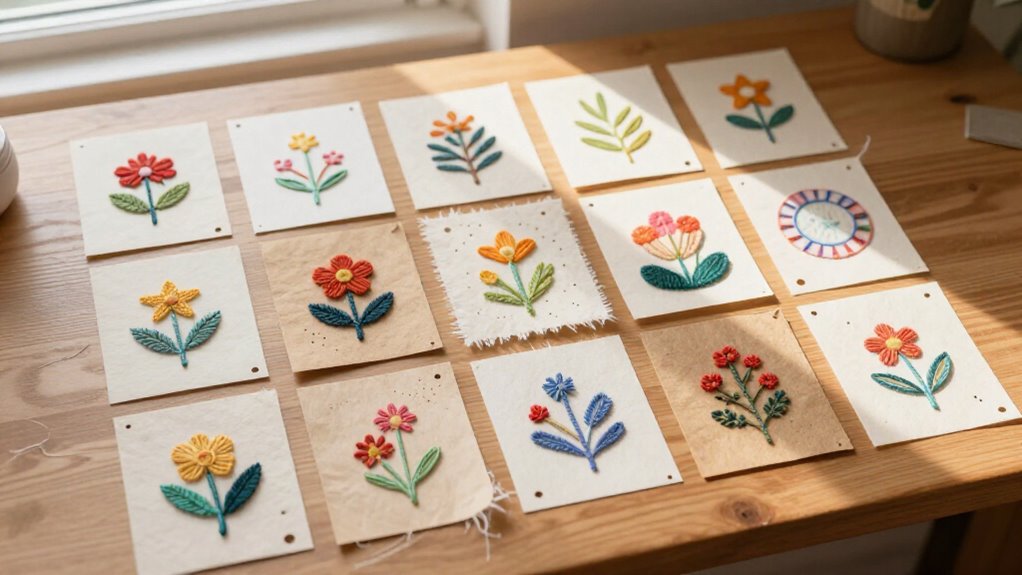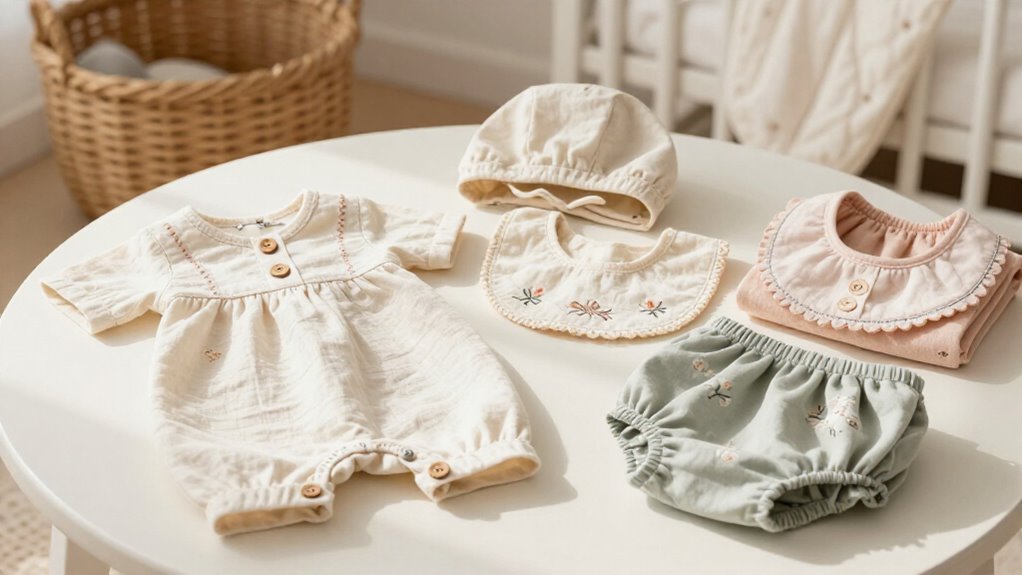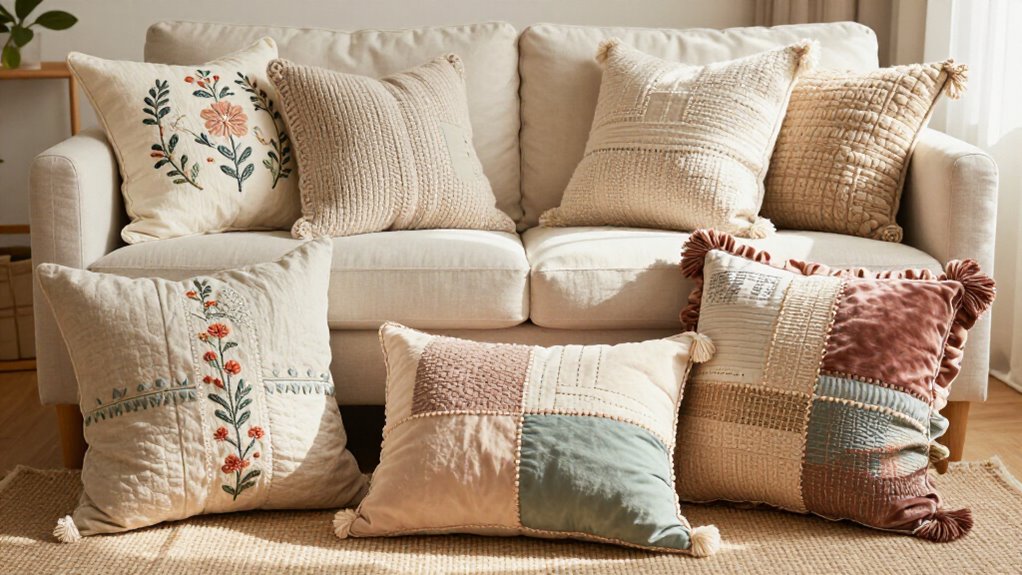


You’ve got this! Start with quick wins like scrunchies (under 10 minutes!) and fabric bookmarks to build confidence fast. Then tackle a simple tote bag or envelope pillow cover—both doable in a couple hours with straightforward stitching. Drawstring gift bags, cloth napkins, and reversible placemats round out your day perfectly. You’ll need basic supplies: medium-weight cotton, a sturdy needle, and patience. Each project teaches you essential skills like topstitching, pressing seams, and corner boxing. Stick around to uncover which projects match your skill level best.
Key Takeaways
- Scrunchies, bookmarks, and fabric headbands are ultra-quick projects completable in under 10–30 minutes each for beginners.
- Simple tote bags, zipper pouches, and envelope pillow covers require basic straight stitching skills and finish in 1–2 hours.
- Cloth napkins, reversible placemats, and microwave bowl cozies are beginner-friendly home linens projects achievable in 10–30 minutes each.
- Patchwork coasters complete four pieces in an afternoon using charm squares, batting, and decorative ribbon without complex piecing.
- Beginner projects emphasize straight stitches, pressing, and topstitching techniques while building confidence through quick completion and immediate wearable results.
Simple Tote Bag
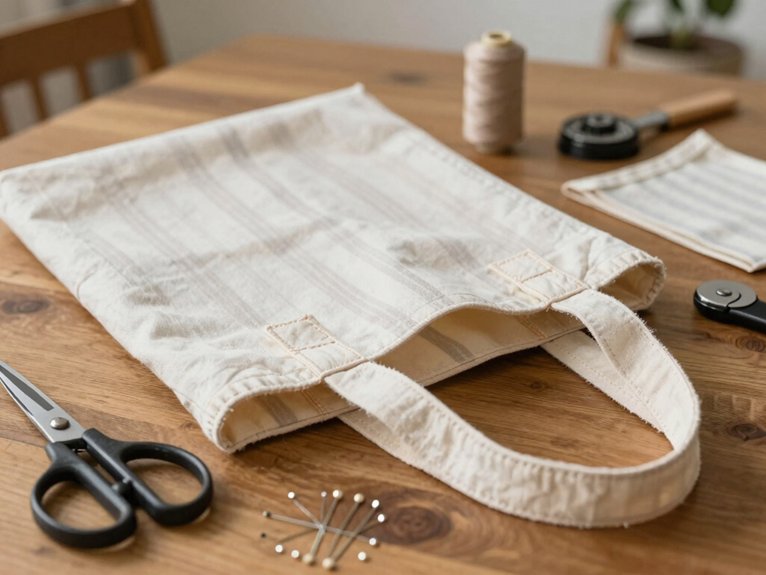
If you’re looking for a project that’ll actually be useful the moment you finish it, a simple tote bag is where it’s at!
You’ll need just one yard of medium-weight cotton or canvas—perfect for canvas printing later if you’re feeling creative.
Cut two body pieces and two strap pieces, then sew them together in about 1–2 hours.
The real magic happens with strap reinforcement: attach straps 2″ from each side using a sturdy needle to handle multiple layers.
Press seams as you go, add optional features like a boxed bottom or inside pocket, and boom—you’ve got a functional bag you’ll actually use!
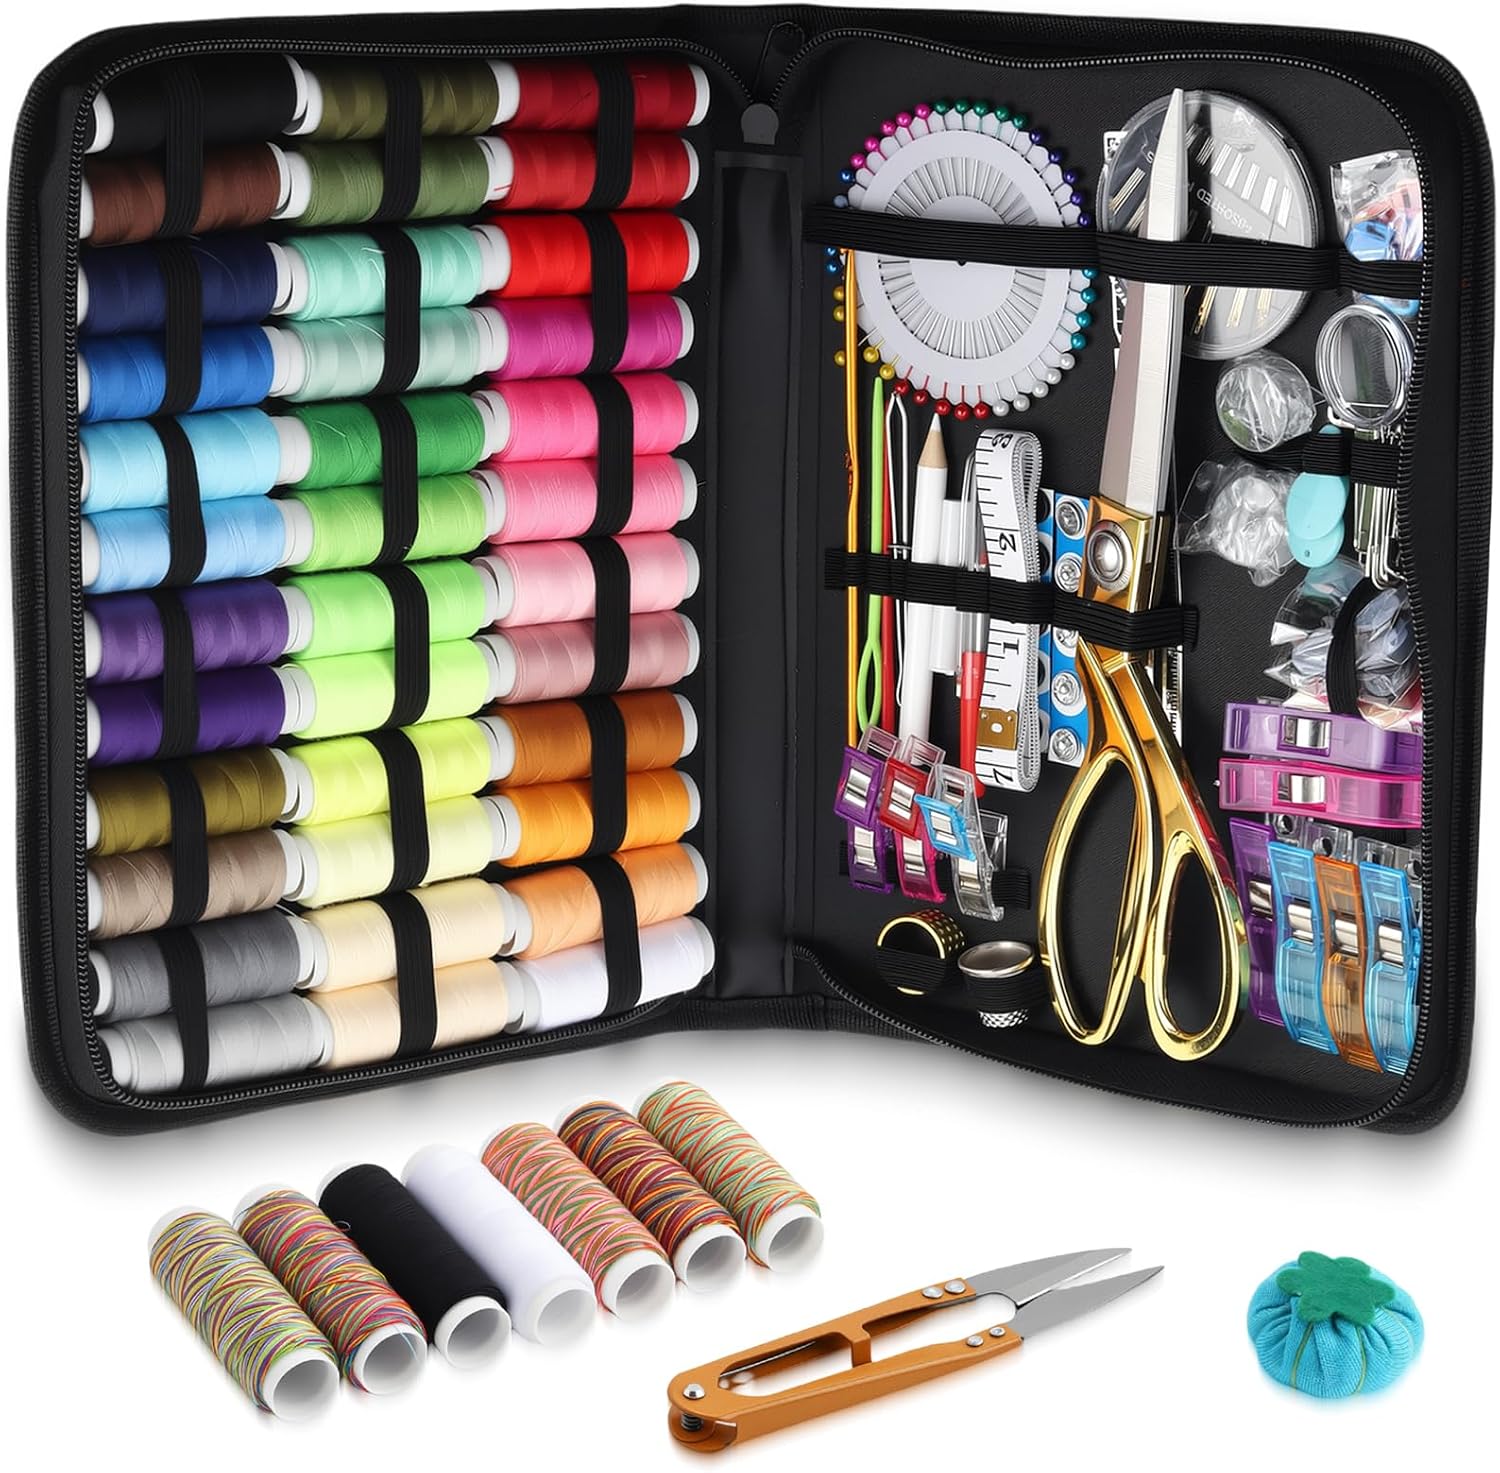
KAMTOP 191 PCS Sewing Kit for Adults
191Pcs Sewing Kit With 43 Threads, Needles, Buttons, Scissors And Case For Home, Travel, Dorm And Emergency Repairs
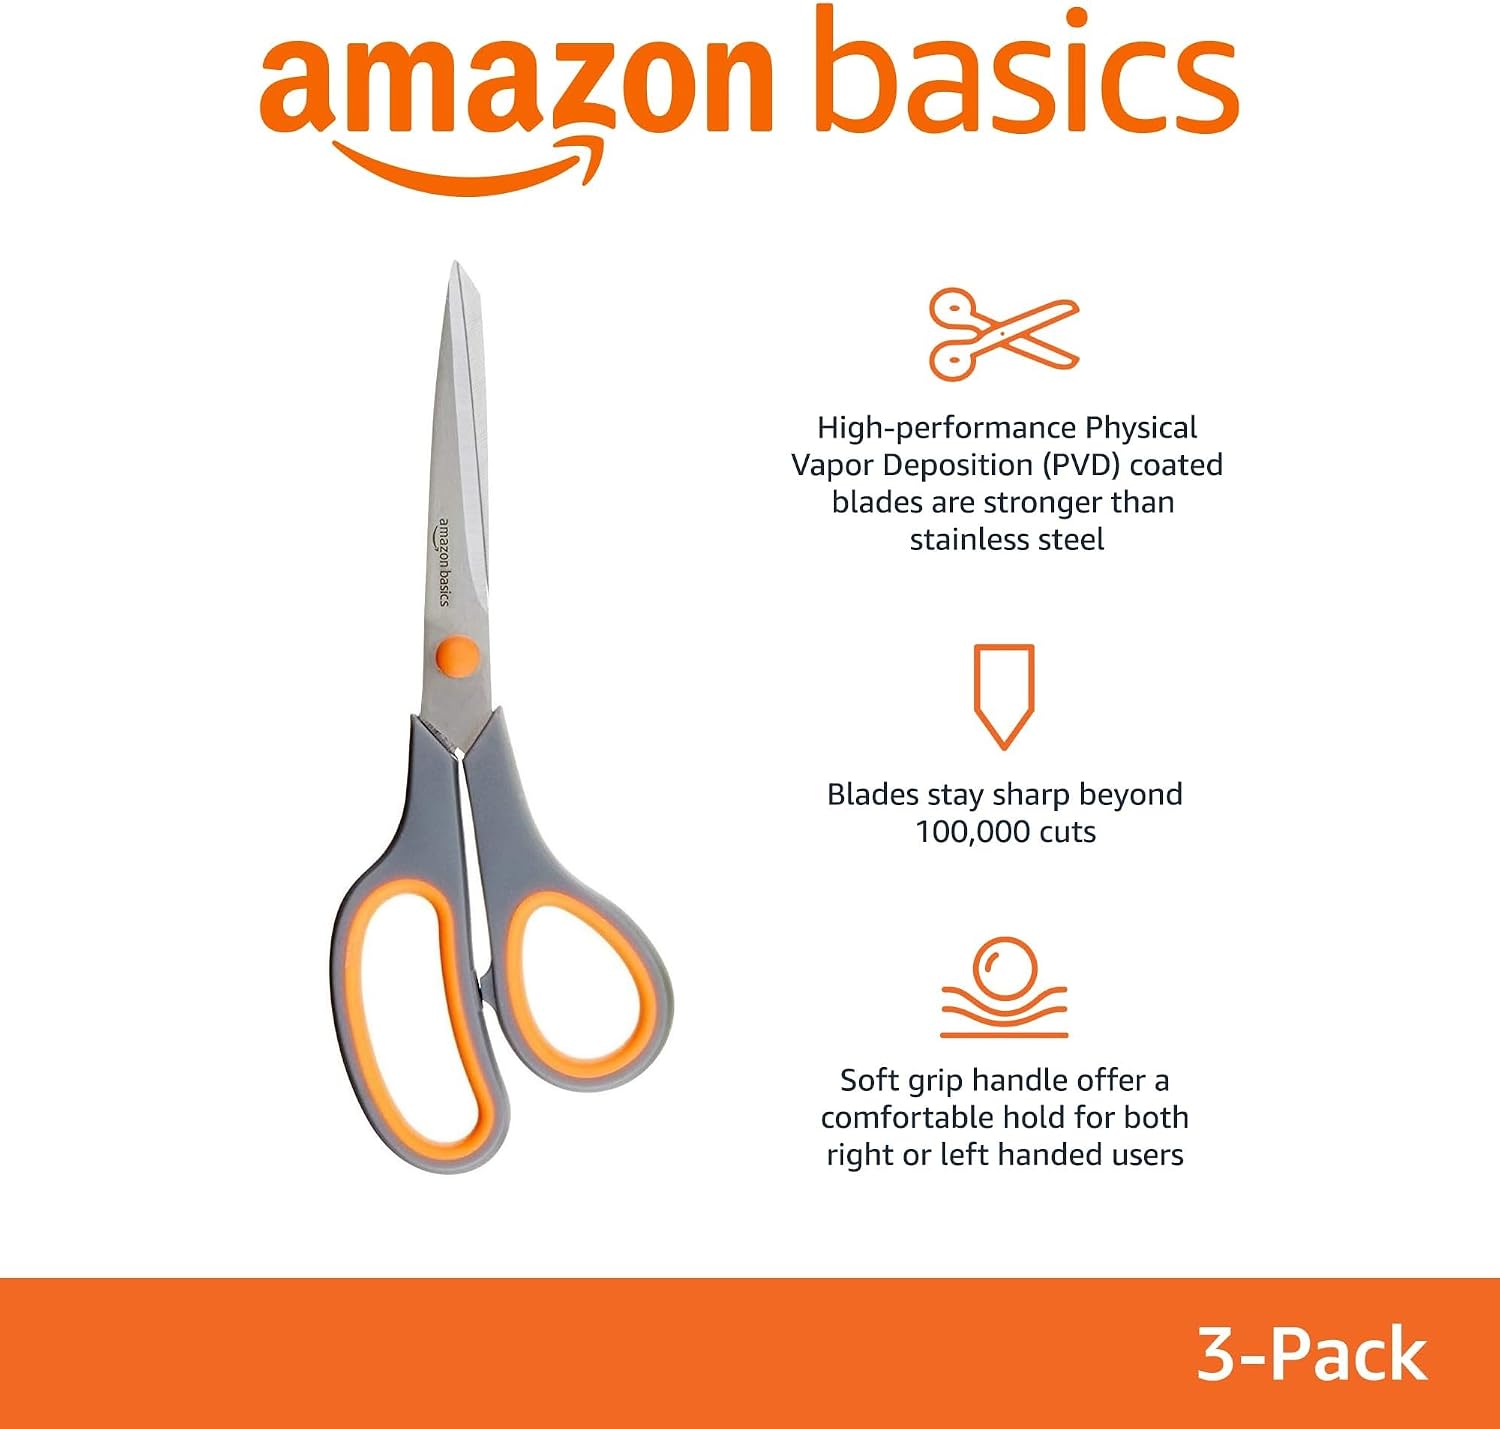
Amazon Basics Multipurpose Stainless Steel Scissors
The all purpose scissors are great for cutting paper, cardboard, fabric, photos, and more
Envelope Pillow Cover
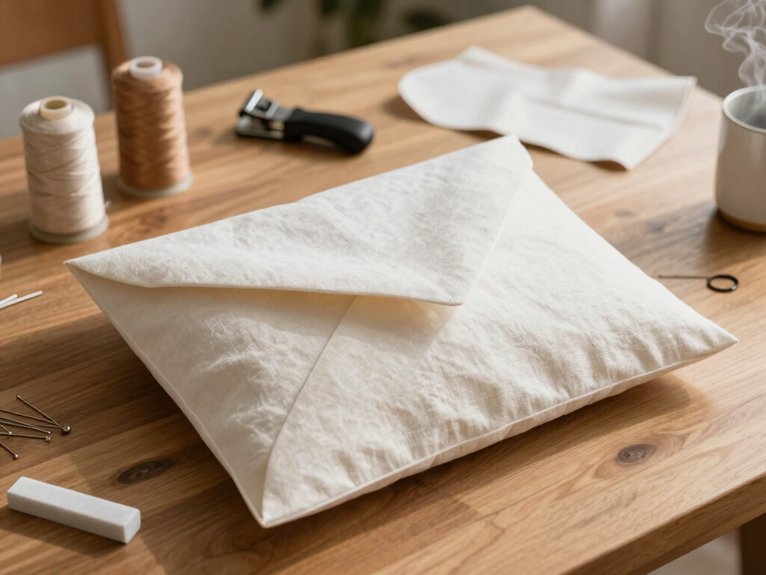
You’ll love how envelope pillow covers rely on just the straight stitch—seriously, it’s the only stitch you need to master!
Since you’re working with simple, clean lines all the way around, you’ll get tons of practice making that fundamental stitch perfectly straight and consistent.
This means you can focus entirely on nailing your seam accuracy and building confidence without juggling multiple stitch types!
Straight stitch only
Master the envelope pillow cover, and you’ve got yourself a quick, satisfying sewing win that takes just 20–30 minutes from cutting to completion!
This project uses only straight stitches, making it perfect for building confidence with single needle techniques.
You’ll simply sew straight lines around all four sides using a basic stitch lengths guide—typically medium length works great.
No fancy stitches needed!
You’ll press hems, position fabric pieces right sides together, and stitch with a 1/2″ seam allowance.
The beauty? You’re learning foundational skills that open countless future projects.
Turn it inside out, press those seams flat, and boom—you’re officially part of the sewing community!
Scrunchie Hair Accessory
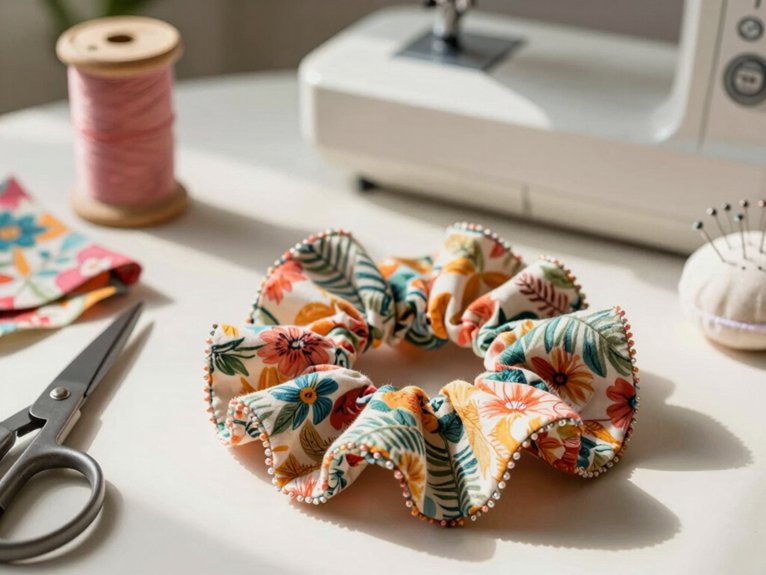
Scrunchies are seriously one of the easiest projects to whip up on your sewing machine—we’re talking under 10 minutes of actual sewing time!
Your fabric choice matters, so grab lightweight cotton or rayon for smooth, gorgeous gathers. You’ll need a 22–24 inch fabric strip and elastic, then fold everything with right sides together, sew a tube, flip it inside-out, and thread in elastic with a safety pin.
Overlap and secure those elastic ends with a zigzag stitch, then close the opening with an invisible ladder stitch. Boom! You’ve created a practical accessory that’ll make you proud!
Fabric Bookmarks
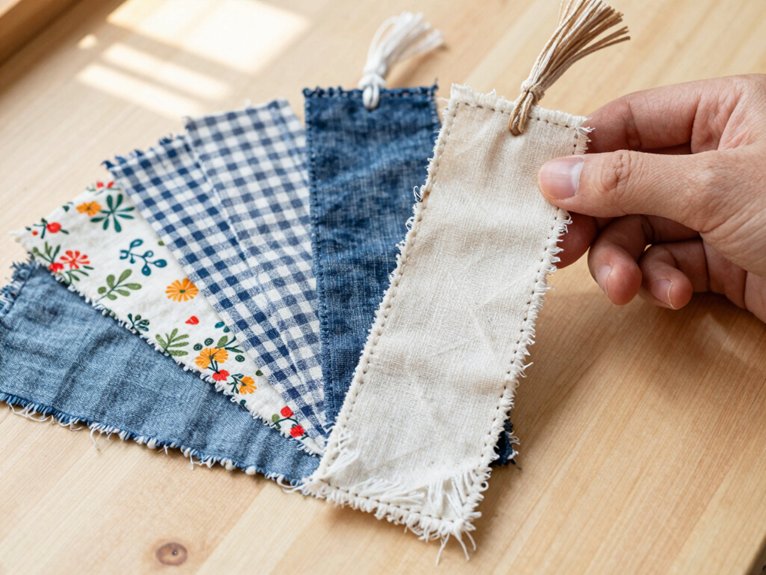
If you’re looking for a project that’s quick, useful, and seriously satisfying, fabric bookmarks are absolutely the way to go!
You’ll create finished bookmarks in under 10 minutes using just a 2.5″ x 8″ cotton scrap folded lengthwise and topstitched.
Add lightweight interfacing to prevent stretching and guarantee durability through countless reads.
Personalize yours with appliqué, ribbon tassels, or ricrac sewn into the top seam—perfect for marking your book corner!
Fat quarters yield about 16 bookmarks, making them ideal bulk gifts.
These little treasures belong in every reader’s collection, offering practical charm that lasts for years!
Drawstring Gift Bag
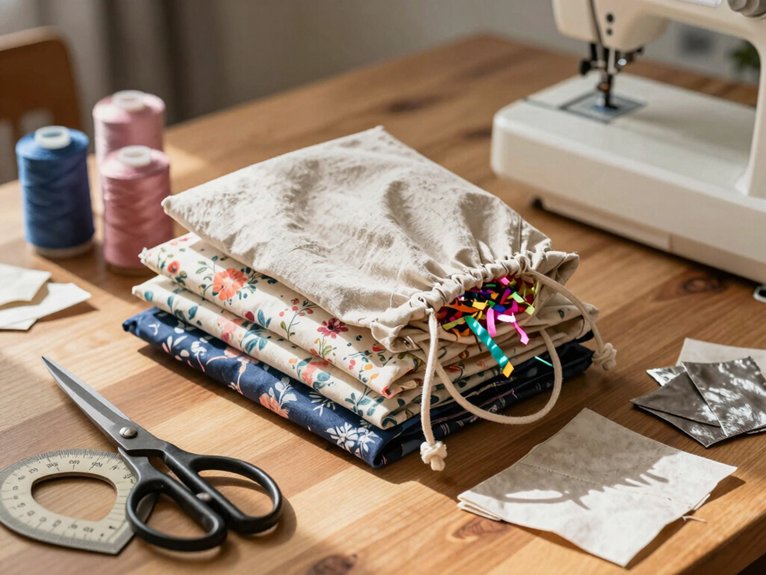
You’ll love how simple the casing method makes creating a drawstring gift bag, especially since you’re just folding fabric twice and stitching close to the fold—no elaborate footwork required!
This beginner-friendly technique transforms a basic rectangular piece of fabric into a functional, polished bag in minutes, and you can customize it with contrasting thread or decorative trim for that extra wow factor.
Once you master this straightforward casing approach, you’ll have a go-to skill for whipping up personalized gifts that actually look like you spent way more time on them than you did!
Beginner casing method
Creating a drawstring bag is one of the most satisfying beginner sewing projects you can tackle—and honestly, it’s easier than you’d think!
The secret’s in perfecting the double fold technique for your casing. You’ll fold your fabric’s top edge down twice: first a quarter inch, then three-eighths to half an inch.
This double fold creates channel reinforcement that prevents fraying and lets your drawstring glide smoothly without snagging.
Stitch close to that inner fold, leaving a small gap at the side seam for threading.
Once you’ve got this method down, you’re essentially unstoppable!
Reversible Placemats
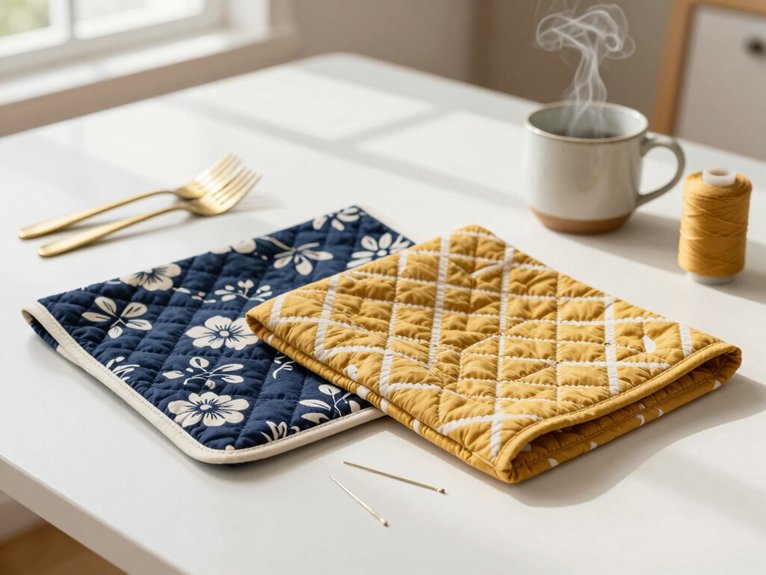
Reversible placemats are where sewing magic really takes off—you’ll end up with two gorgeous designs in one simple project! For fabric selection, grab medium-weight cotton or cotton blends paired with thin batting for structure. Your edge finishes will look polished when you topstitch around the perimeter. Stack right sides together, sew with a ¼”–½” seam allowance, leaving a 3–4″ gap for turning. Clip corners, flip, press, and topstitch to close everything up. Add optional quilting lines in 1″–2″ intervals for durability. You’re looking at just 15–30 minutes per placemat—seriously perfect quick gifts!
| Step | Time | Difficulty |
|---|---|---|
| Cutting & prep | 5 min | Easy |
| Sewing seams | 10 min | Easy |
| Finishing touches | 10–15 min | Moderate |
Zipper Pouch (Basic Version)
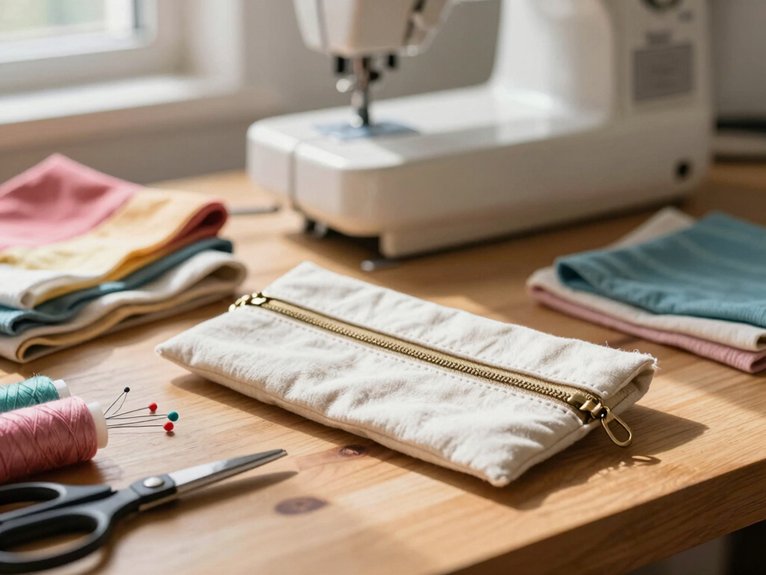
Once you’ve mastered the simple satisfaction of reversible placemats, it’s time to level up with a project that’s both practical and addictive—the basic zipper pouch! You’ll love how zipper techniques transform fabric into something functional.
For fabric choices, grab medium-weight cotton or canvas—they’re durable workhorses! Add lightweight fusible interfacing to stabilize everything. Sandwich your zipper between exterior and lining, topstitch it down, then stitch three sides with a ¼”–½” seam allowance.
Box the corners for a flat bottom, turn it right-side-out, and hand-stitch the opening closed. Boom! You’ve created something genuinely useful that friends will actually want!
Cloth Napkins
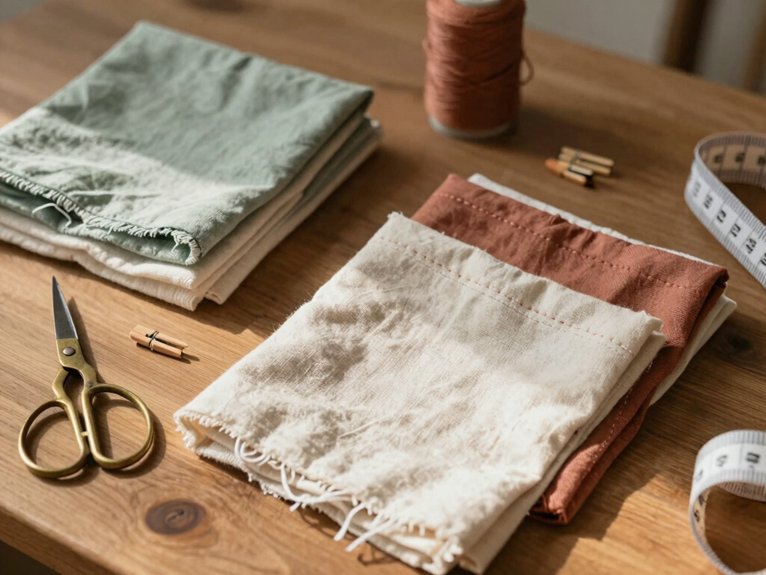
After conquering the satisfying challenge of a zippered pouch, you’re ready for a project that’s ridiculously simple yet seriously rewarding—cloth napkins! You’ll love how quickly you can create a coordinated set that actually makes you feel elegant. Here’s what makes this project so beginner-friendly:
- Cut fabric to standard sizes (16″, 18″, or 20″ squares) plus 1/2″ seam allowance
- Press double-fold hems and topstitch for crisp, professional edges
- Choose 100% cotton or linen in eco-friendly dyes for durability
- Pair with seasonal centerpieces for stunning table settings
Each napkin takes just 10–20 minutes to finish. You’ll have gorgeous, reusable pieces perfect for entertaining!
Elastic Waist Skirt
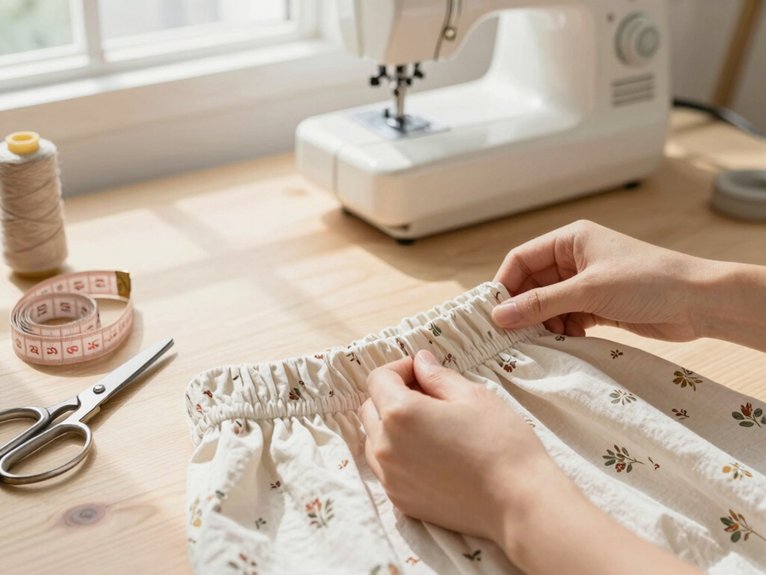
You’ll love how an elastic waist skirt eliminates the hassle of zippers—no complicated closures to worry about!
This beginner-friendly design means you can focus on honing the basics like cutting straight lines, sewing seams, and creating a simple waistband casing.
Best of all, you’ll have a comfortable, wearable skirt that actually fits perfectly without any fussy fasteners slowing you down!
No zipper required
Let’s jump into one of the easiest skirt projects you can tackle as a beginner! You’ll love how simple this is—no zipper means less stress and more success.
Here’s what makes this project so approachable:
- Elastic waistband creates a comfortable, forgiving fit that doesn’t require tricky closures
- Gather techniques add beautiful volume using just a simple width multiplier (1.5× your waist measurement)
- Straight seams only keep construction straightforward and confidence-boosting
- One opening lets you thread elastic through effortlessly with a safety pin
You’re essentially sewing rectangles and folding edges! This project teaches fundamental skills while delivering a wearable garment you’ll actually reach for. Let’s get started!
Simple Apron
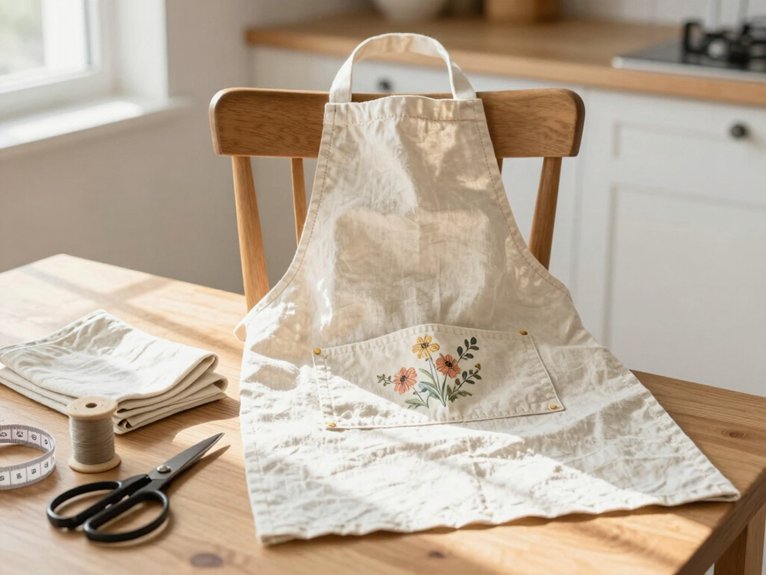
Making a simple apron is the perfect first sewing project—it’s practical, quick, and totally doable even if you’ve never threaded a needle before!
You’ll need just one yard of medium-weight cotton fabric and 30–60 minutes, depending on your skill level.
Create a rectangle body (24″ wide x 30″ long), add waist ties and a neck strap, then fold and topstitch all raw edges for polished hems.
A half apron silhouette works great!
Add an 8″ x 10″ pocket at waist level for functionality.
Prewash your linen apron fabric, press seams carefully, and use polyester-cotton thread with a 2.5mm straight stitch.
You’ve got this!
Fabric Headband
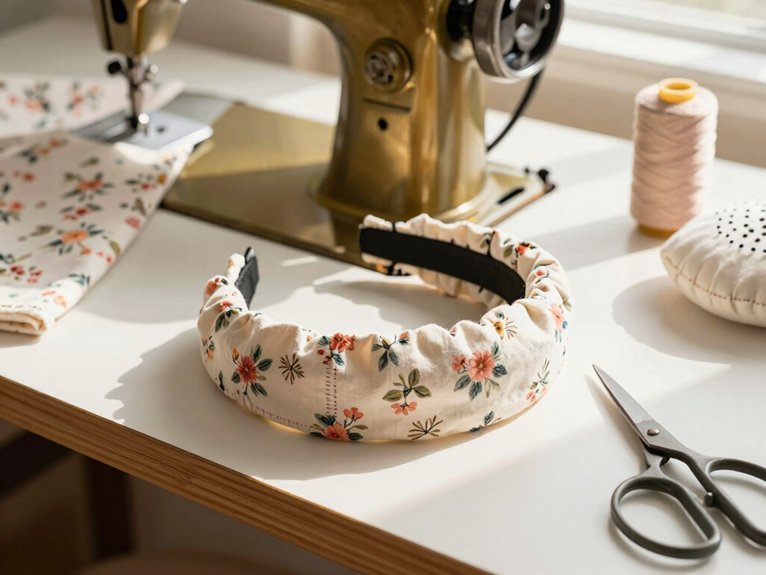
If you’re looking for a quick sewing win that’ll take you just 10–20 minutes, a fabric headband is absolutely your answer!
You’ll love how easy this project feels once you get started.
Here’s what you need:
- A 3″ x 18″ cotton strip for the outer layer and matching lining piece
- A 9″ x 2″ elastic piece (perfect for elastic replacement if yours wears out!)
- Lightweight batting for a padded headband effect that adds comfort and volume
Just sew your fabric strips right sides together, turn them inside out, press flat, slip in your elastic, and topstitch the ends!
You’ve got yourself a professional-looking headband that’ll keep your hair in place all day long!
Patchwork Coasters
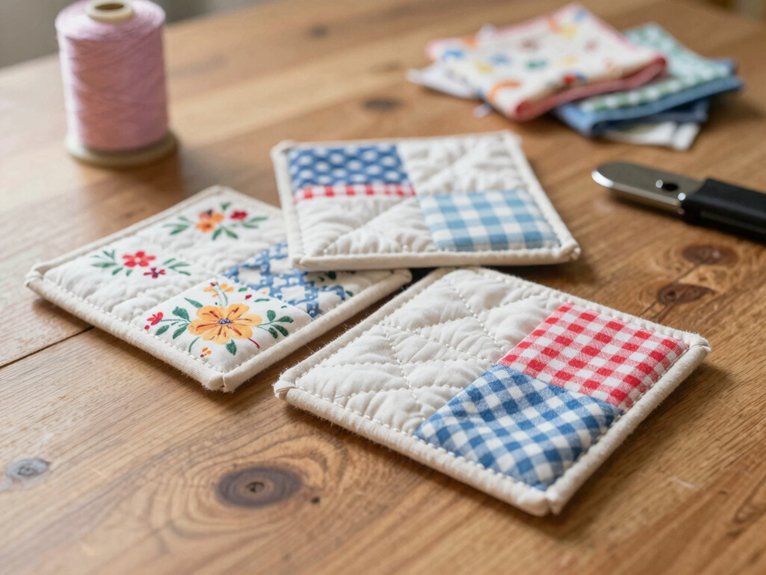
If you’ve got a fabric scrap bin that’s bursting at the seams, patchwork coasters are your new best friend!
You’ll love how these little projects transform those leftover 2.5″ charm squares and small fabric pieces into something useful and totally adorable.
Best of all, you can whip up a whole set of four coasters in just an afternoon, making them perfect for using up scraps without any waste.
Great for scrap fabric
Patchwork coasters are an absolute game-changer for using up those fabric scraps that are too small to throw away but too cute to toss! You’ll love how this project transforms your stash into something functional and beautiful.
Here’s what makes them perfect for scrap lovers:
- Combine colorful cotton scraps as small as 2″ × 2″ into 4″–5″ finished squares
- Layer with batting or cork backing for absorbency and heat protection
- Add decorative touches like printed ribbon or upcycled denim strips for character
- Complete each coaster in just 10–20 minutes using simple piecing and topstitching
You’re creating gifts people actually use while clearing your sewing room!
Basic Pencil Case
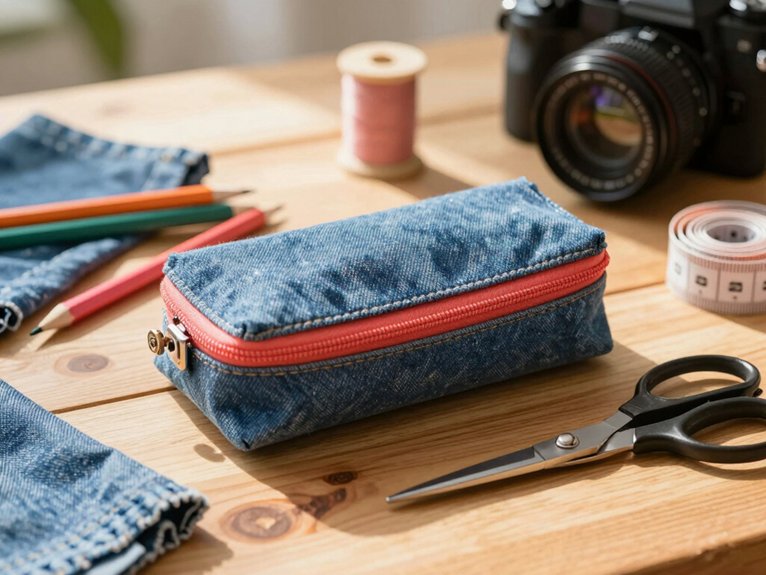
Start your sewing voyage with a practical basic pencil case—it’s the perfect beginner project that’ll have you creating something useful in just 15 to 30 minutes!
You’ll need a 9″ x 10″ fabric piece, lining, and a 9″ zipper. Cut two outer and two lining pieces, then master zipper techniques by sewing the zipper between outer and lining pieces with right sides together. Press those seams open and topstitch for polish!
| Material | Size | Purpose |
|---|---|---|
| Cotton fabric | 9″ x 10″ | Outer pouch |
| Lining | 9″ x 3″ | Interior layer |
| Zipper | 9″ | Closure |
| Thread | Matching | Assembly |
Want more depth? Try corner shaping by boxing those corners with 1″ stitches. You’ve got this!
Microwave Bowl Cozy
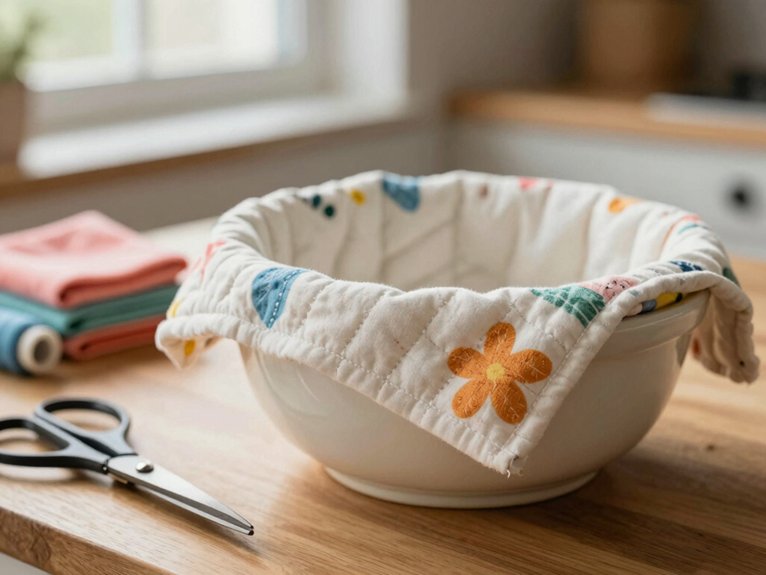
Now that you’ve conquered the zipper skills from your pencil case, you’re ready for a project that’s just as quick but way more practical—a microwave bowl cozy!
This padded fabric pouch protects your hands while heating bowls. Here’s what you’ll do:
- Cut two cotton fabric squares (12–14 inches for cereal bowls, 16–18 inches for soup bowls)
- Sandwich Insul-Bright batting between layers for superior heat protection and even heating compared to regular cotton batting
- Sew three sides, turn right-side out, then topstitch for a polished finish
- Test microwave safety by heating water 30–60 seconds; if it’s too hot, add thicker batting
You’ll complete this practical project in under thirty minutes!
Easy Table Runner
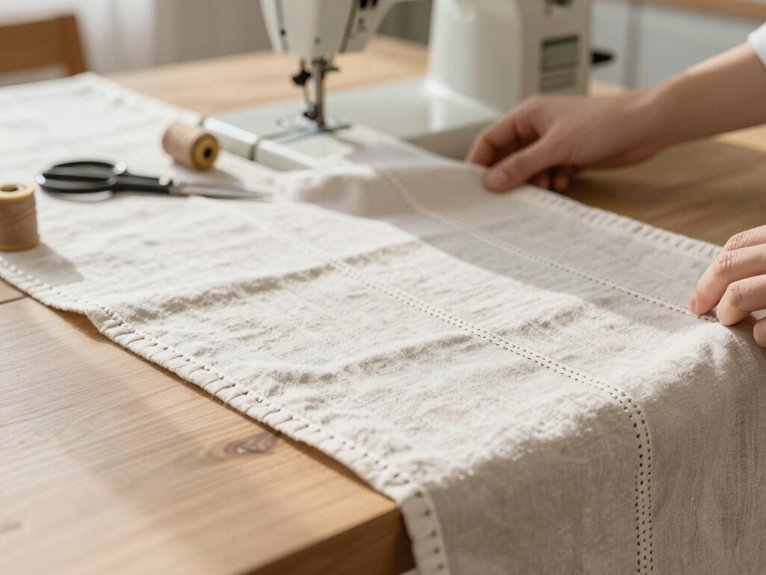
You’re going to love how simple a table runner really is—just two rectangular panels of fabric sewn together, and you’ve got yourself a polished centerpiece!
The beauty of this rectangle cut design is that there’s no tricky shaping or complicated angles to worry about, making it perfect for building your confidence as a beginner sewer.
Plus, you can customize the length and width to fit your specific table, so whether you’ve got a tiny bistro setup or a sprawling dining space, you’re totally in control!
Rectangle cut design
Crafting a table runner’s one of the easiest sewing projects you’ll tackle, and honestly, it’s such a satisfying first project!
Here’s what makes the rectangle cut design perfect for beginners:
- Fabric selection matters—grab medium-weight cotton or linen in ½–1 yard
- Cut your fabric to finished size plus ½ inch seam allowance
- Add 1–2 inch hems for clean edges that lie flat
- Consider bias tape for quick, professional-looking fringe edges instead of traditional hems
You’ll press those hems with your iron, then topstitch ⅛–¼ inch from the folded edge.
The whole project takes just 20–45 minutes, making it genuinely doable in one afternoon!
Reusable Makeup Remover Pads
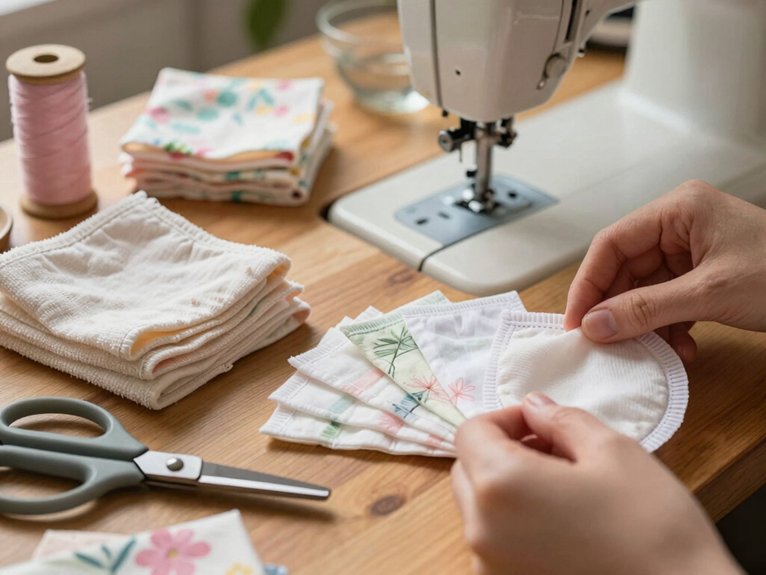
makeup remover pads you’ve sewn yourself! You’ll stack cotton flannel with smooth outer layers, creating soft circles that replace disposables. Sew two fabric rounds together, leaving a gap to turn inside-out, then topstitch the edge. Want faster? Stack three layers and skip turning altogether! Add snaps to keep pairs together, then toss them in a mesh bag for machine washing. You’re joining a community of sustainable makers who’ve ditched wasteful pads. Wash with skin-safe detergents, and watch your handmade pads outlast dozens of uses!
| Fabric Type | Layer Purpose | Softness | Durability | Cost |
|---|---|---|---|---|
| Cotton Flannel | Inner | High | Excellent | Low |
| Terry Toweling | Inner | Very High | Excellent | Medium |
| Bamboo Cotton | Outer | High | Good | Medium |
| Quilting Cotton | Outer | Medium | Very Good | Low |
| Cotton Blend | Either | Medium | Good | Low |
Baby Burp Cloth
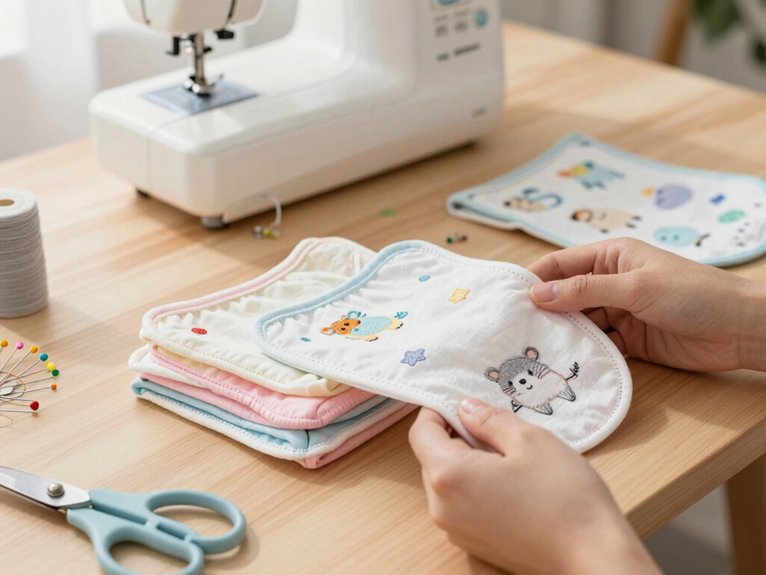
After perfecting simple shapes like those makeup remover pads, you’re ready to tackle a project that’ll actually get used daily—a baby burp cloth! This rectangular necessity measures about 10–12 inches wide by 18–20 inches long, perfectly sized for newborn positioning on your shoulder.
Here’s what makes this project so rewarding:
- Use absorbent materials like cotton flannel or layer flannel with terry cloth for maximum absorption
- Sew right sides together with a 1/4–1/2 inch seam allowance, then turn and topstitch
- Prewash fabrics to prevent future shrinkage
- Complete the whole thing in 10–20 minutes flat!
You’ll spend roughly 1/4–1/2 yard of inexpensive fabric creating a gift that genuinely helps parents!
Simple Cushion Cover
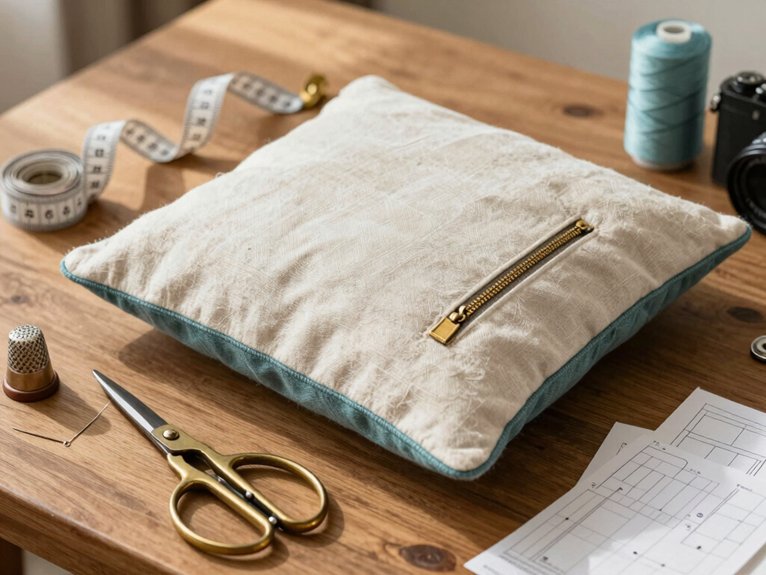
Take your sewing skills up a notch by creating a simple cushion cover—a project that’s totally doable for beginners and produces something you’ll actually want to display in your home!
The envelope-back method is your fastest route to success: cut three rectangles, hem two smaller pieces, then overlap and sew them together.
For fabric selection, grab medium-weight 100% cotton or home-dec fabric—it’s durable and won’t frustrate you while handling.
Press those seams flat with your iron, use pins to keep everything even, and nail that ½ inch seam finishing!
You’ll have a polished cushion cover ready in under 30 minutes.
Add piping or contrasting bands to make it uniquely yours!
Fabric Keychain Strap
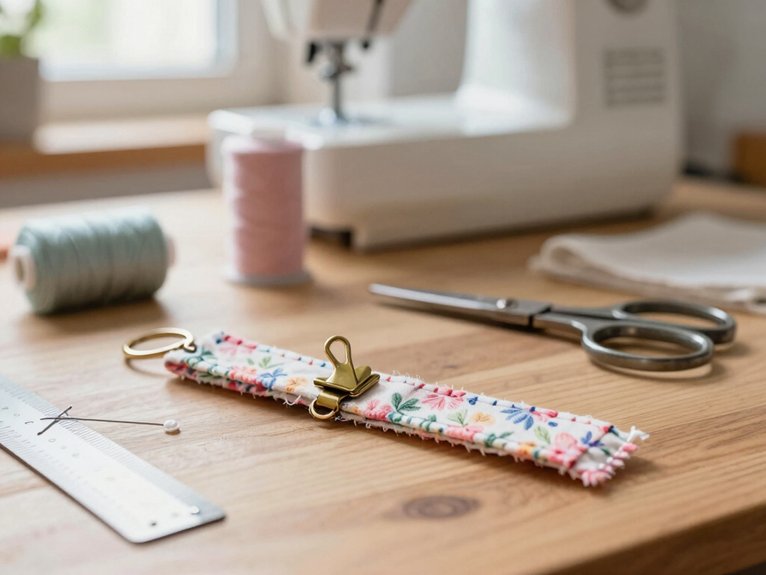
You’ve got fabric scraps lying around—why not transform them into adorable keychain straps that’ll take you just 10 to 20 minutes to whip up? This project’s perfect for beginners because it’s quick, forgiving, and uses materials you probably already have at home, making it an ideal way to practice your sewing skills without committing hours to a bigger project.
Plus, you can crank out a bunch of these little gems and give them as personalized gifts that look way more impressive than the time you actually spent making them!
Quick scrap project
Ready to whip up something practical and fun? You’re about to create a fabric keychain strap through fabric upcycling! This beginner-friendly project takes just 10–20 minutes and transforms your fabric scraps into something you’ll actually use daily.
Here’s what you’ll do:
- Gather 2″–3″ wide fabric strips, lightweight interfacing, and a swivel keyring
- Fold your strip lengthwise, sew it closed, then flip it right-side out for a polished finish
- Press flat and topstitch the edges for durability
- Anchor one end securely to your keyring with a box stitch
Want extra flair? Personalize your mini wristlet with decorative stitching or ribbon overlays. You’ve got this!
Basic Pajama Shorts
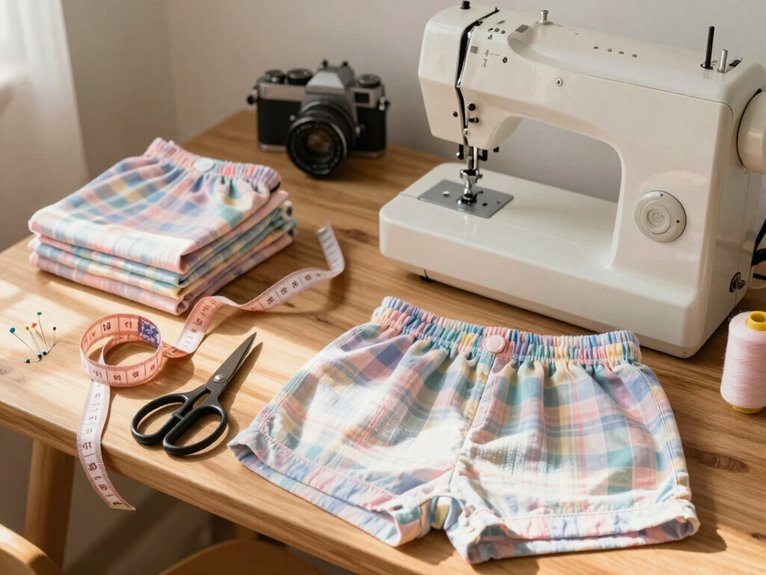
Among the easiest projects you can tackle as a beginner, basic pajama shorts are an absolute game-changer—they’re comfortable, quick to make, and honestly kind of addictive once you finish your first pair!
You’ll need just one yard of lightweight cotton or flannel and a simple two-piece pattern. The elastic fitting is straightforward: measure your waist, subtract two to three inches for stretch, and thread elastic through a one-inch casing.
For hem finishes, you’ve got options—zigzag stitch those leg openings or fold them twice for a clean look. In under an hour, you’ll have cozy shorts ready to wear!
DIY Fabric Basket
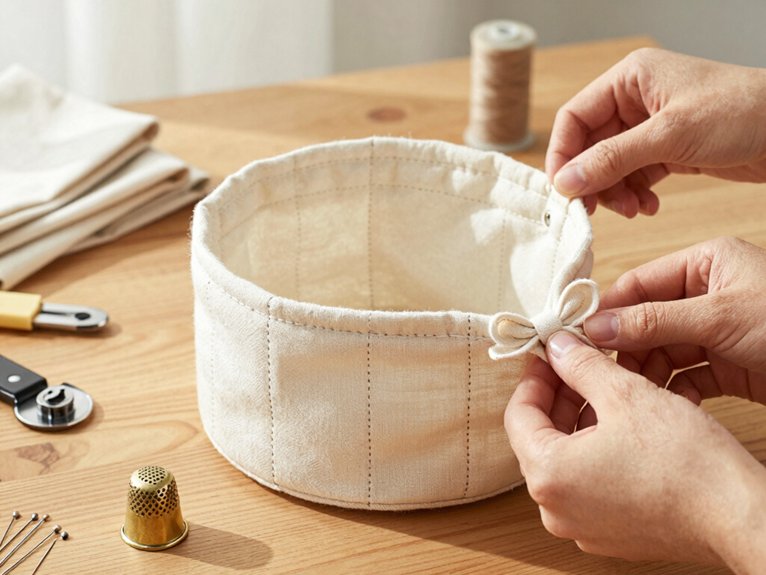
Creating a sturdy fabric basket is one of those satisfying projects that actually looks way more impressive than it’s to make!
You’ll love how quickly you can finish this one. Here’s what you’ll do:
- Cut exterior and lining squares at 12 inches for a perfectly sized finished basket
- Box the corners by folding and stitching to create that professional structure
- Turn your lining right-side-out into the exterior, then press and topstitch the top edge
- Add optional handles or pockets for extra function
Perfect for fabric organization and seasonal decor, you’ll complete this beauty in under an hour!
Frequently Asked Questions
Can You Learn to Sew in One Day?
Yes, you can learn to sew in one day! You’ll master basic stitches and simple repairs through focused, hands-on practice. With 2–4 hours of dedicated effort, you’ll gain the foundational skills to join the sewing community and start your first projects confidently.