


I’ve put together 17 clay lighter case ideas that are practical and fun, from textured Bic sleeves to carved leather-and-clay Zippo covers, gemstone swirls, gothic spiderwebs, and cozy romantic hearts. I’ll walk you through supplies, sizing templates for Bic, Zippo and petrol lighters, plus bonding, baking, and heatproofing tips, reinforcement and lining options, and finish choices for glossy or matte looks. Try marbling, stone inlays, or tiny beads for personality, and keep going to see exact patterns and pricing ideas.
Key Takeaways
- Combine polymer clay textures and metallic powders to create chrome, gemstone, or marbled lighter cases.
- Design character and themed covers (kittens, Animal Cookies, Halloween) for personalized gift appeal.
- Use sizing templates for Bic, Zippo, and flip-top lighters to ensure snug, functional fits.
- Reinforce edges, line interiors with felt or silicone, and seal with glaze for durability and heat resistance.
- Photograph bright, close-up textures, offer competitive pricing (~$28–$40), free shipping, and eco-friendly packaging.
Who This Guide Helps : Makers & Gift Shoppers
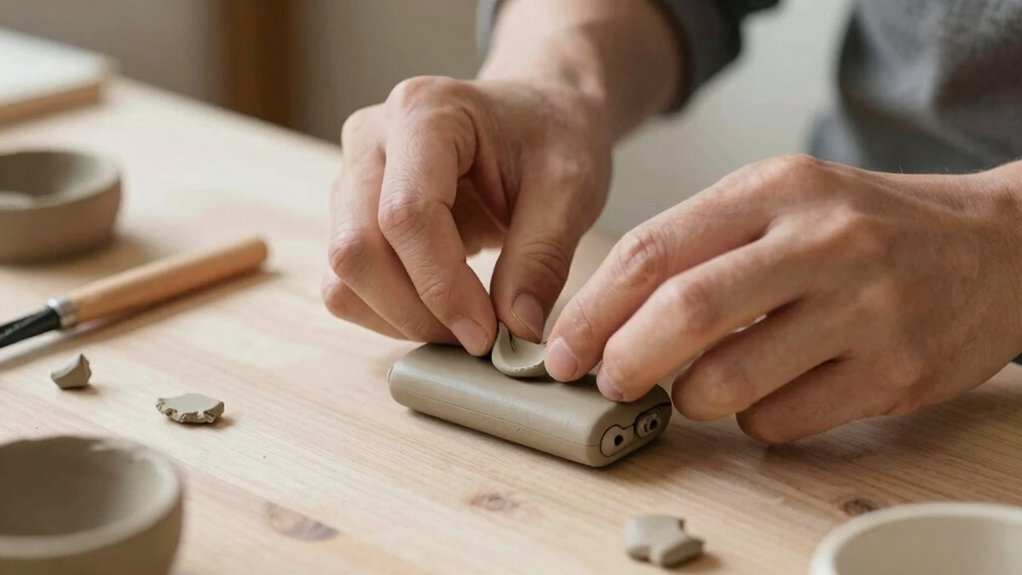
Even if you’re just curious, I wrote this guide with two kinds of people in mind: makers who love hands-on projects and gift shoppers hunting for something special.
I’m speaking to you who want connection through craft; makers will enjoy experimenting with creative themes and unique techniques, turning $40 custom polymer clay lighter cases or $28 Animal Cookies designs into small art.
Gift shoppers can snag affordable personalized face accessories at $16.77 or pick lovers-themed cases for $30.
I’ll compare styles, suggest when to splurge or save, and show how handmade cases bond maker and recipient.
Essential Supplies and Tools for Clay Lighter Cases
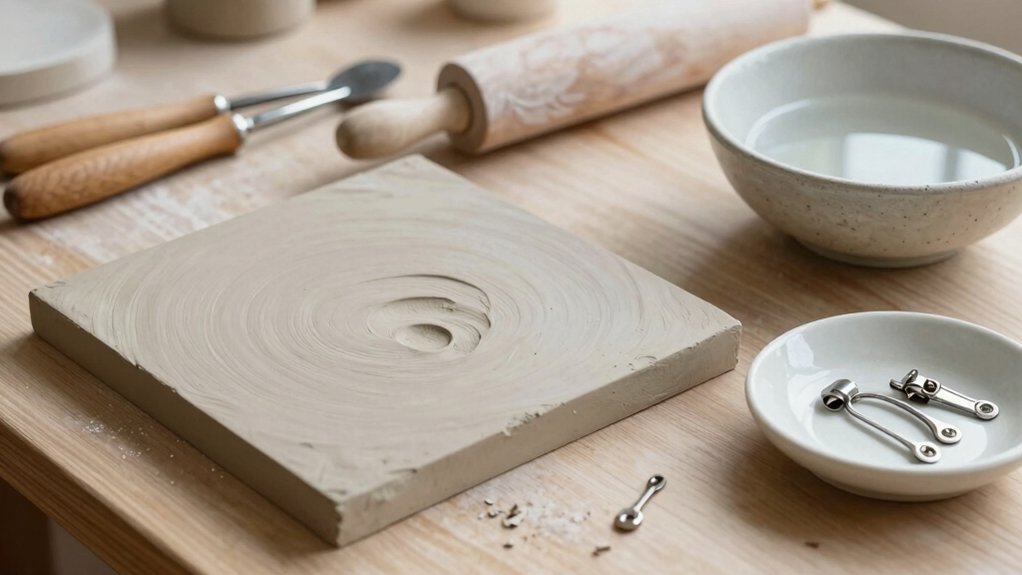
I’m going to walk you through the basics of clay lighter cases, starting with which types of polymer clay work best—soft clays for easy shaping versus firmer ones for fine detail—and when a pasta machine can make conditioning a breeze.
Next I’ll cover crucial sculpting tools like a craft knife, rollers, and various shaping picks, plus tips for keeping edges crisp and pieces consistent.
Finally I’ll explain finishing and sealing options, from baking to using varnish or matte sealers and how to add beads or metallic accents without harming the cure.
Clay Types Overview
Clay choices set the tone for any lighter-case project, so I’ll walk you through the fundamentals you’ll want on your bench.
I prefer polymer types because they’re versatile, lightweight, and durable; different brands vary in clay properties like firmness, translucency, and blendability.
Choose softer clays for easy shaping, firmer for fine detail and stability. Mix colors to create custom shades, and test small blends first.
Bake at the maker’s recommended temperature to harden pieces reliably. Add texture with stamps or tools for personality.
These choices make your group projects and solo builds feel personal and confidently shared.
Essential Sculpting Tools
Tools matter, and getting the right ones makes building a clay lighter case a lot more fun and less fiddly. I keep loop tools and needle tools close: loop tool techniques carve smooth contours and remove bulk quickly, while needle tool applications add fine seams and precise holes.
I also use a rolling pin to flatten even bases and a craft knife for snug cuts that fit the lighter. Silicone molds save time when I want repeated shapes, and acrylic paints add personality.
These key items help me work cleanly, share tips with friends, and enjoy a tidy, confident sculpting process.
Finishing And Sealing
Once the lighter case is baked and cooled, you’ll want to focus on finishing and sealing so your work lasts and looks polished.
I sand lightly with fine-grit sandpaper to smooth seams, then decide on finishing techniques: glossy polymer clay glaze for shine or matte varnish for subtlety.
I add beads or paint details before sealing, and I compare seals—glaze resists wear better, varnish feels softer.
For texture I use silicone molds or texture sheets during shaping, which holds up after baking.
Finally, I apply thin, even sealing methods in two coats, letting each dry fully for durable, beautiful results.
Safety Tips When Making Cases Near Lighters and Heat
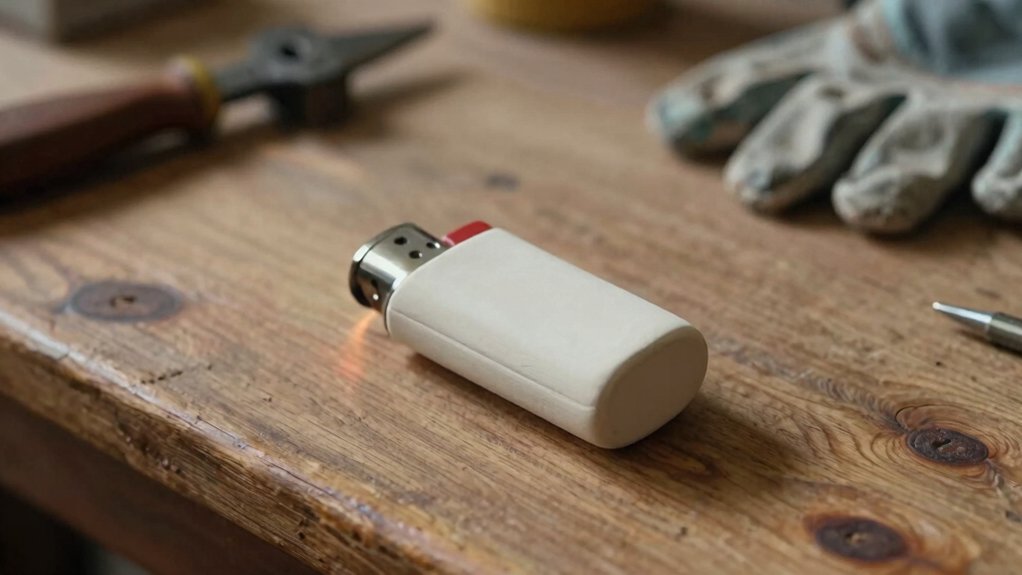
Because you’re working so close to a flame, I make safety my top priority and I want you to do the same: keep flammable materials and messy work far from the lighter, pick heat-resistant clays and finishes, and set up a clean, well-ventilated workspace so accidents are less likely.
I choose safe materials and follow crafting techniques designed for heat, and I encourage you to do likewise. Use tools made for heat-sensitive projects, let paints and adhesives fully cure, and store scraps away from flames.
Inspect each finished case for wear; replace any that show damage. We look out for each other.
Starter Textured Sleeve for Bic & Zippo Clay Cases
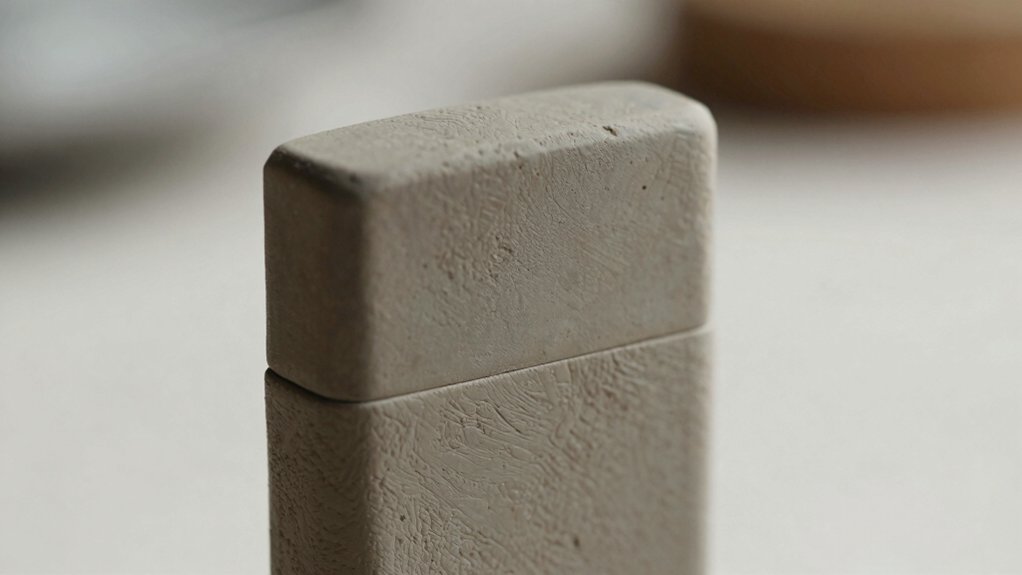
Now that we’ve covered how to keep your workspace and materials safe around open flames, let me show you a fun, low-risk project: making a starter textured sleeve for Bic and Zippo lighters from polymer clay.
I’ll walk you through simple Texture techniques—press stamps, fabric, or a toothbrush—to add grip and style. Roll clay to fit your lighter, wrap, smooth seams, then bake per package directions.
Compare DIY cost to Custom designs sold around $40; smaller personalized face accessories can be about $16.77 on sale.
This project builds skills, invites creativity, and makes thoughtful, handmade gifts.
Leather-and-Clay Zippo Cover (Personalized Carving + Stone)
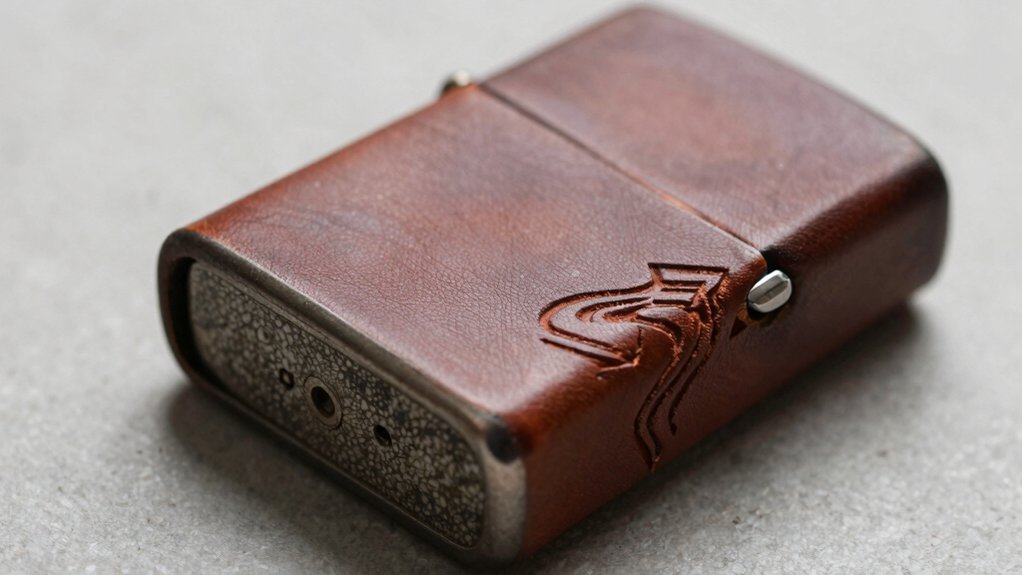
I’m excited to walk you through personalized carving options, stone inlay choices, and how leather fits and cares for a Zippo cover, so you can create something both rugged and polished.
I’ll explain carving styles from simple initials to detailed symbols, compare stones like turquoise or onyx for color and durability, and show how to size the leather snugly while treating it to resist wear.
Personalized Carving Options
If you like the idea of a lighter that feels personal and lasts, try combining carved leather with polymer clay and a small stone inlay for a Zippo cover—I’ll walk you through why that mix works so well.
I use custom design techniques to sketch initials, symbols, or repeating patterns, then carve shallow lines into leather for depth before adding textured clay around them.
You can vary tools for crisp or soft edges, choose contrasting colors, and size the design to fit any lighter model.
These unique personalization ideas help you create a piece that feels belonging-worthy and truly one-of-a-kind.
Stone Inlay Choices
After carving the leather and shaping the clay, I like to add a stone inlay to give the Zippo cover an extra pop of personality and texture.
I choose gemstones using simple stone selection techniques: durability, color harmony, and scale. That way each piece feels personal and shared, like something we both belong to.
I compare small turquoise, jasper, or labradorite for contrast against carved patterns.
- Pick durable stones for daily use.
- Match color to carving for cohesive flair.
- Size stones to fit recessed clay for secure setting.
These unique inlay designs make thoughtful, lasting gifts.
Leather Fit And Care
1 key to a comfortable, long-lasting leather-and-clay Zippo cover is getting the fit right from the start, and I’ll walk you through how to check and tweak it so your carving and stone inlay stay safe.
I fit the cover snugly, testing movement and edge gaps so the personalized designs don’t rub or pop out.
For leather care, I avoid moisture, wipe with a soft dry cloth, and condition sparingly to prevent cracking.
If clay needs trimming, I reshape before setting.
These steps keep your cover looking unified, durable, and ready to share with friends.
Whimsical Character Clay Lighter Cases: Animal Cookies & Kitten
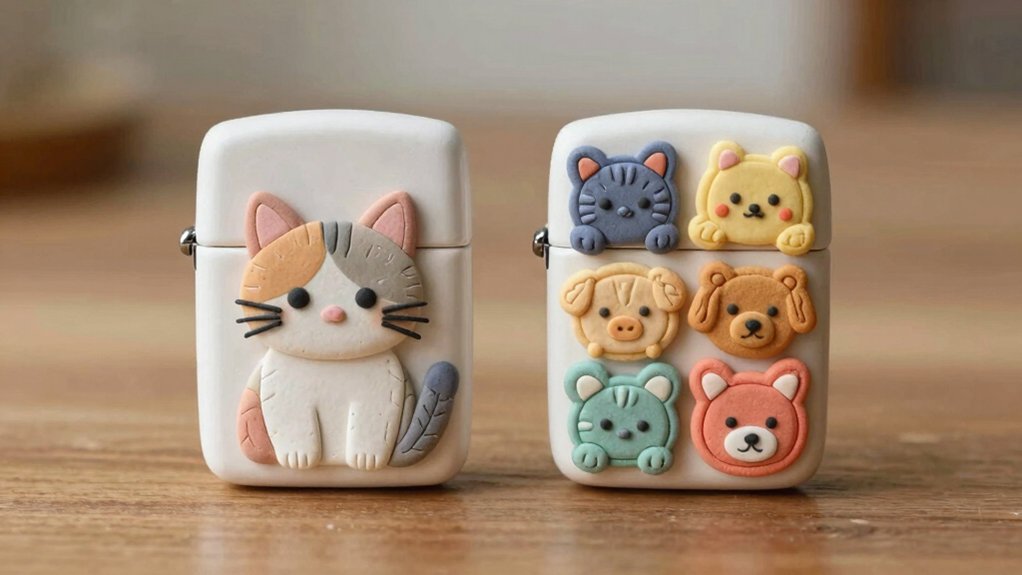
I love how a tiny pop of character can change an everyday item, and these whimsical clay lighter cases do just that—think bright Animal Cookies motifs or a sleek kitten design that feels playful without being over the top.
I pick pieces that show personality: the $28 animal cookies case adds color, the $24.99 kitten high-polish chrome pairs nicely, and custom cases at $40 let you tell your story.
A discounted personalized face accessory ($16.77) is a sweet add-on too.
Try these tips to match mood and function:
- Mix styles for balance.
- Prioritize durability.
- Personalize subtly.
High-Polish Chrome Look in Clay: Steps & Materials
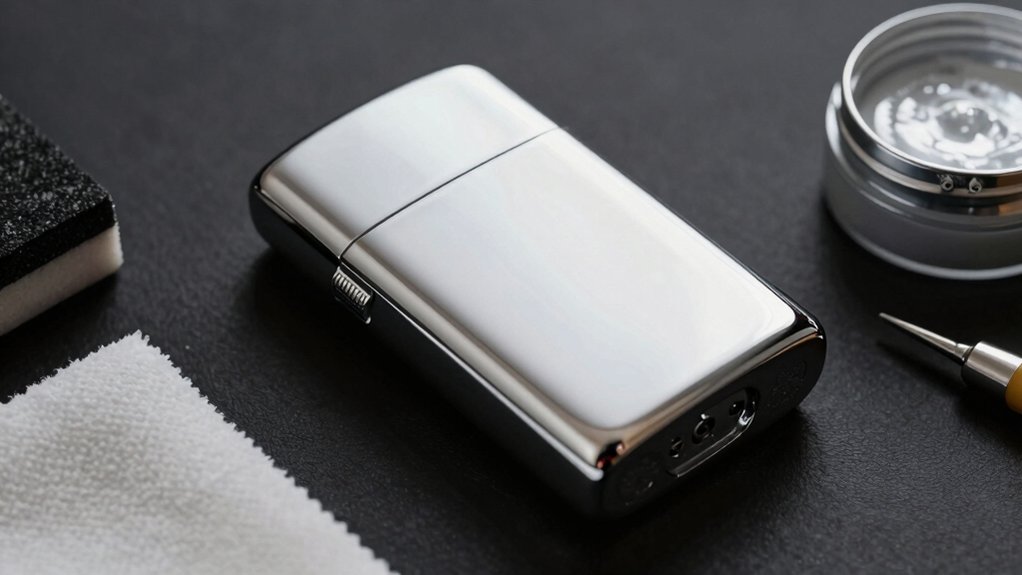
A few careful steps will get you that mirror-like chrome look in clay, and I’ll walk you through the materials and techniques that make it work.
I begin with a smoothly conditioned polymer clay base so the surface mirrors real chrome; sanding before curing helps.
For chrome finish techniques I use metallic acrylic paints or fine powders, applying thin even layers and buffing between coats.
After curing, I add reflective paint options topped with a clear glaze for shine and protection.
I encourage trying subtle textures or patterns first, allowing full curing time per instructions to keep the polished look durable.
Gemstone-Style Clay Lighter Cases: Black Jade & Malachite Effects
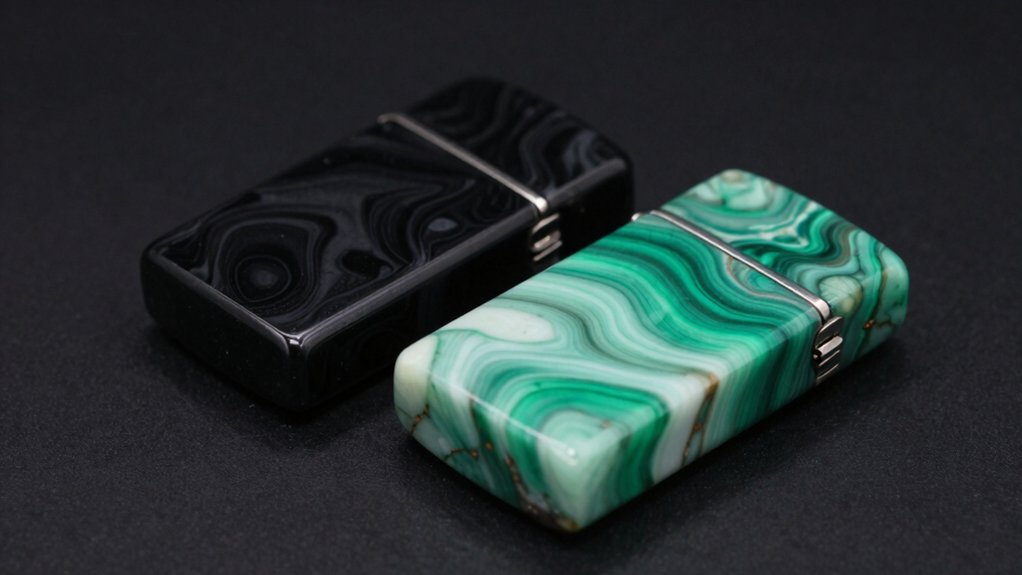
When you want a lighter case that really catches the eye, I love making gemstone-style designs like black jade and malachite because they mix deep, rich colors with swirls and veins that feel natural and luxe.
I use polymer clay techniques to blend greens, blacks, and metallic pigments for vivid gemstone aesthetics. Start by conditioning clay, layering thin sheets, and twisting for veining; bake carefully, then sand and seal for shine.
These pieces feel personal, like shared treasures.
Tips I follow:
- Test pigments on scrap.
- Keep layers thin for realism.
- Use translucent clay for depth.
Spiderweb and Gothic Clay Covers for Flip-Top Petrol Lighters
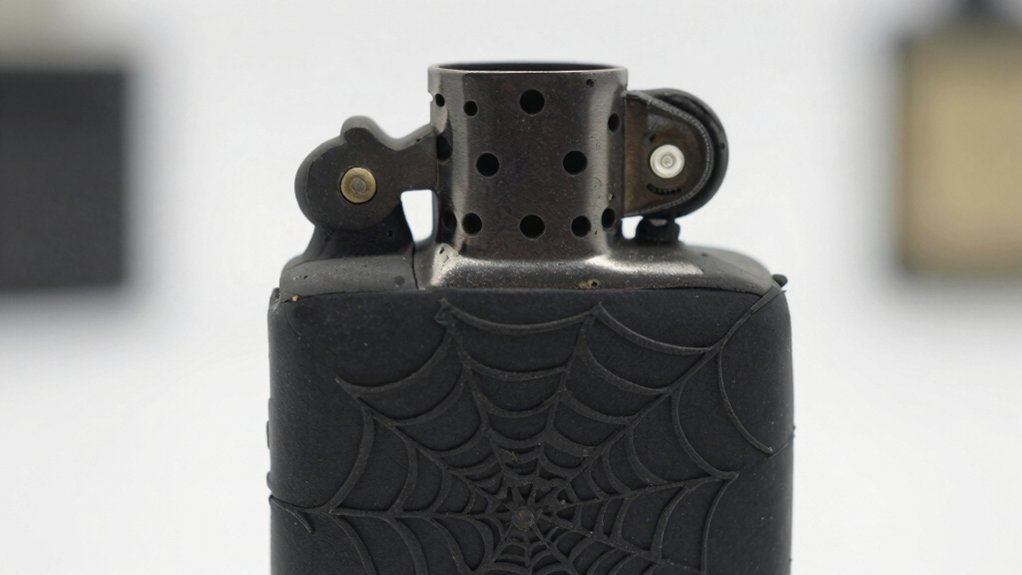
I’m excited to show you how simple spiderweb texture techniques—like dragging a needle through layered clay or using lace as an imprint—can create crisp, raised webs that really pop on flip-top petrol lighters.
I’ll compare gothic color palettes (think matte blacks, deep purples, and antique silvers) and suggest when to use bold contrast versus subtle shading.
Then we’ll cover protective finish options so your design won’t chip or lose its shine.
Together we’ll pick the right texture method, color scheme, and sealant so your lighter reflects your style and stays durable for everyday use.
Spiderweb Texture Techniques
Although it might seem fiddly at first, I’ll walk you through creating spiderweb textures on clay lighter covers so you can get crisp, haunting results without frustration.
I start by etching with a fine needle while clay’s tacky, drawing radial lines then connecting arcs for a true spiderweb design. I layer slightly different shades for depth, pressing thin strips beneath the top layer so the web appears raised.
After baking, I add metallic or iridescent glaze to highlight threads. Combine with subtle gothic motifs like tiny bats or skull accents for cohesion and personality.
- Etch radial lines first.
- Layer shades for depth.
- Highlight with glaze.
Gothic Color Palettes
Since gothic palettes thrive on contrast and mood, I like to start with a base of deep, velvety black and build out from there with two or three accent tones—think blood red, eggplant purple, and smoky pewter—to make spiderweb details pop on a polymer clay lighter cover.
I mix colors intentionally, using gothic motifs like skulls or bats in the accents so each element reads distinctly. Color symbolism matters: crimson feels dramatic, purple feels mysterious, pewter feels antique.
For a flip-top petrol lighter, choose a bold accent for the web and a subtler shade for background shading to balance drama and cohesion.
Protective Finish Options
When you want a protective finish that looks as striking as it’s tough, polymer clay covers for flip-top petrol lighters give you plenty of options to balance style and durability, and I’ll walk you through the best choices.
I love spiderweb and gothic clay covers because they mix aesthetic appeal with real protection; spiderwebs add texture and charm, gothic motifs bring dramatic flair, and tailored cases let you express belonging.
- Use high-quality polymer clay for durability and clear design inspiration.
- Seal with a matte or gloss varnish for wear resistance.
- Personalize colors and accents for a custom finish.
Face, Mask, and Pierced-Look Clay Covers for Halloween Gifts
If you like the idea of gifting something both spooky and personal, I’ll show you how face, mask, and pierced-look polymer clay lighter covers make perfect Halloween presents that feel handcrafted and fun.
I recommend mixing spooky designs with whimsical characters so recipients feel included and delighted. I’ll compare simple face molds, full-mask wraps, and pierced-look accents, noting durability and ease of making each.
The personalized face accessory is $16.77 on sale, so you can offer affordable, tailored gifts.
I’ll give tips on matching colors, securing tiny clay rings, and finishing pieces for long-lasting charm and shared joy.
Lovers Heart Clay Case for Valentine’s and 420 Gifting
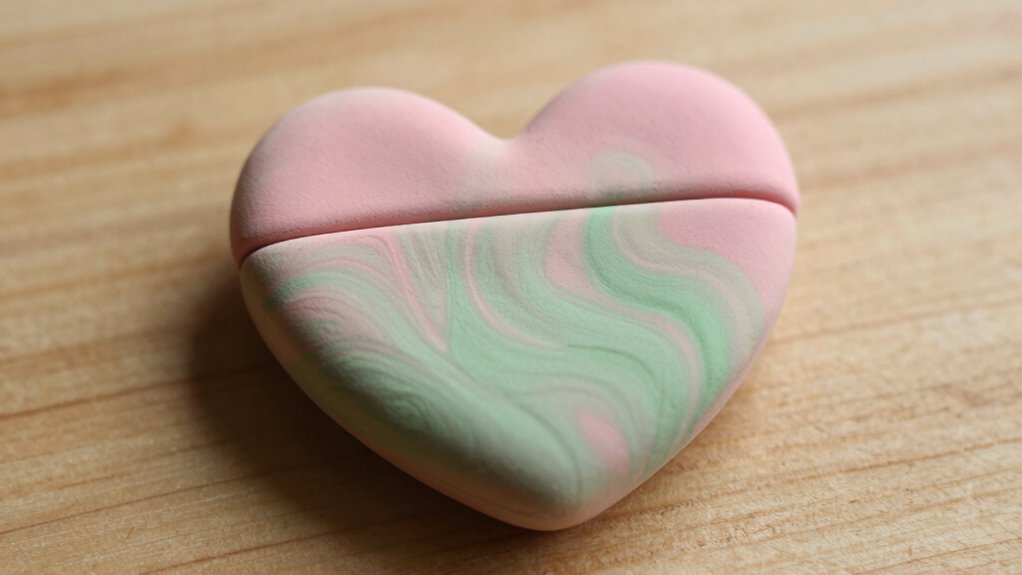
Though it might sound like a small thing, I’ve found the Lovers Heart Clay Case can turn an ordinary lighter into a heartfelt keepsake that’s perfect for Valentine’s or 420 gifting.
I love how romantic designs and customizable options let me match a case to someone’s style, choosing colors and tiny patterns that feel personal. It costs $30.00, handmade from durable polymer clay, and offers protection while looking special.
If you want to give belonging and thoughtfulness, consider these quick tips:
- Pick colors that echo shared memories.
- Add initials for intimacy.
- Choose vibrant contrasts for visibility.
Modular Add-Ons: Charms, Rings, Clips for Clay Cases
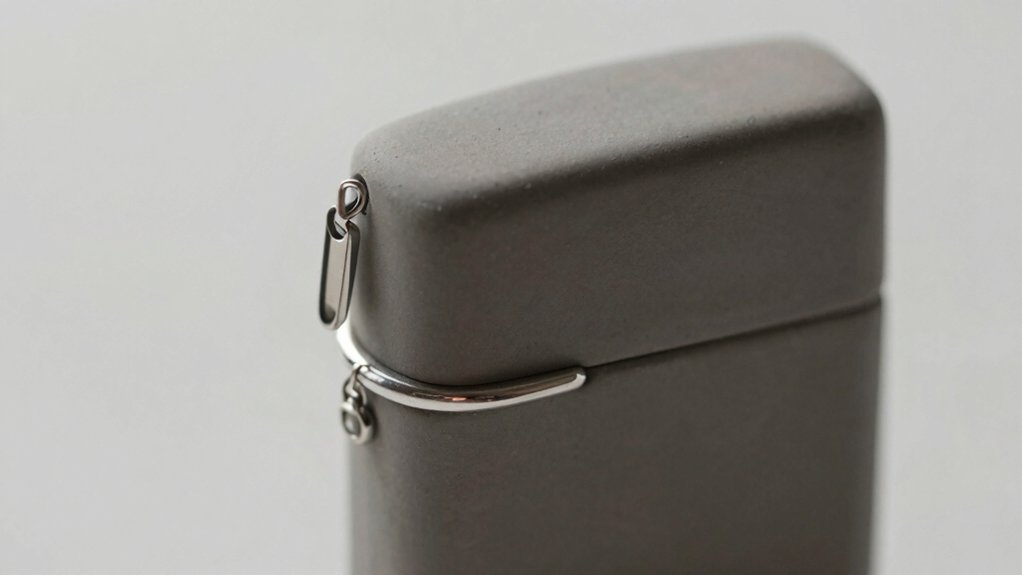
I’ve found that offering removable charms lets people swap themes—like animals, nature, or pop culture—so one lighter can match different moods or gifts.
I also recommend adding a small ring for grip and a clip for attaching to bags or keychains, and you can compare finishes (matte vs. glossy) to keep the look cohesive.
Start with a simple attachment point on the clay case and test a few charm sizes and clip strengths so they’re secure but easy to remove.
Removable Charm Options
A few simple add-ons can totally change how your clay lighter looks and works, and I love showing people easy ways to customize theirs.
I suggest removable charm options that feel personal and practical, using charm materials like beads, metal, or tiny clay figures to match seasonal themes and moods. They let us swap looks fast and keep a shared sense of style.
- Tiny clay charms for handcrafted warmth.
- Beads and metal for durability and shine.
- Holiday-themed charms for quick seasonal swaps.
I’ll show simple attachment tips so our pieces last and feel like home.
Clip And Ring Attachments
Three simple attachments — a clip, a ring, and a charm — can turn a plain clay lighter case into something both practical and personal, and I’ll walk you through how to pick and add each one.
I start by choosing clip designs that match my routine: sturdy metal clips for bags, swivel clips for keys, or tiny carabiners for quick access.
For ring styles I compare flat decorative rings that add grip with thicker ergonomic rings that feel secure in hand.
I use polymer clay to match colors, bake pieces separately, and attach with jump rings or epoxy for lasting, friendly results.
Painting, Glazes, and Varnishes for Clay Lighter Cases
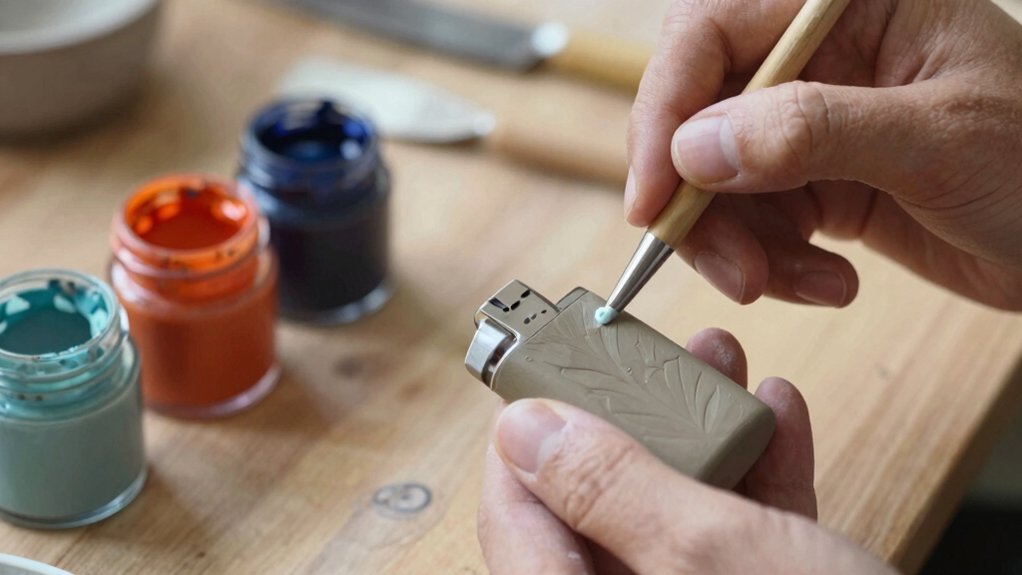
When you’re ready to finish a clay lighter case, I’ll walk you through the painting, glazing, and varnishing steps that make your design last and pop.
I use acrylics for painting techniques because they stick well and give bright colors; for fine detail I try underglazes before firing, which keeps lines crisp.
Next, choose glaze finishes—glossy, satin, or matte—to change mood and durability.
Finally, I seal with a clear varnish to guard against scratches and moisture.
Try different combos to find your style; you’re welcome to experiment, share results, and belong to our creative circle.
- Acrylic base for color and detail
- Underglaze before final glaze
- Clear varnish for protection
Durability Upgrades: Reinforcement, Heatproofing, and Lining
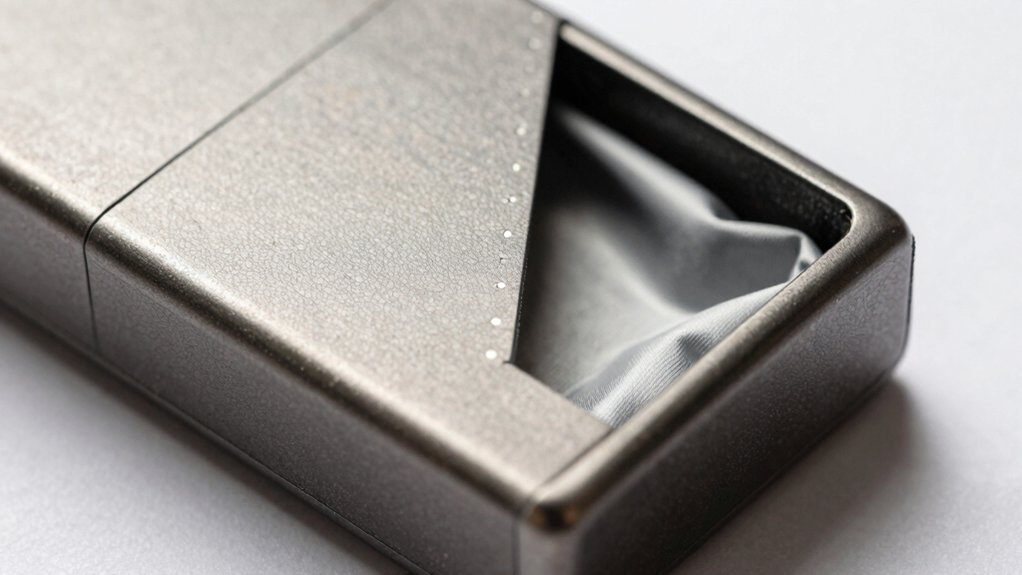
Since you want your clay lighter case to look great and survive everyday use, I’ll walk you through a few straightforward durability upgrades that really work: reinforcement, heatproofing, and lining.
I recommend reinforcement techniques like adding a thin metal or hard plastic frame inside, or thicker edges and textured patterns to protect corners.
For heat resistance, use heat‑resistant additives or a specialized coating to stop melting near the flame.
Line the interior with felt or silicone to cushion the lighter and stop rattling.
Finish with a resin coating for extra water resistance and surface toughness—practical, simple, and community‑friendly tips.
Sizing Templates: Fit Cases to Bic, Zippo, and Petrol Lighters
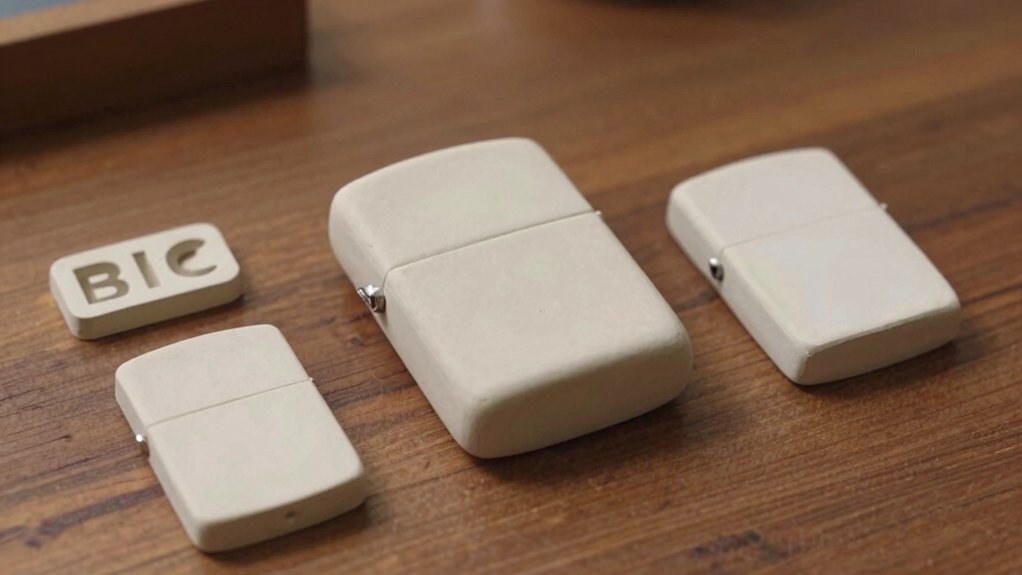
Now that we’ve covered reinforcements and heatproofing, let’s focus on getting the size right so your clay case fits the lighter like a glove.
I make sizing templates for Bic, Zippo, and petrol lighters so friends in my crafting circle all feel included and confident.
Consider these sizing considerations and plan template adjustments before cutting clay.
- Measure Bic (3.25″ x 1″) and add thin seam allowance for flexibility.
- Draft Zippo template (2.25″ x 1.5″) with top flap clearance for the hinge.
- Map petrol flip-top shapes, noting cutouts for ignition and decorative trims.
Use flexible clay to hug contours.
Selling Clay Lighter Cases on Etsy: Pricing, Packaging, Photos
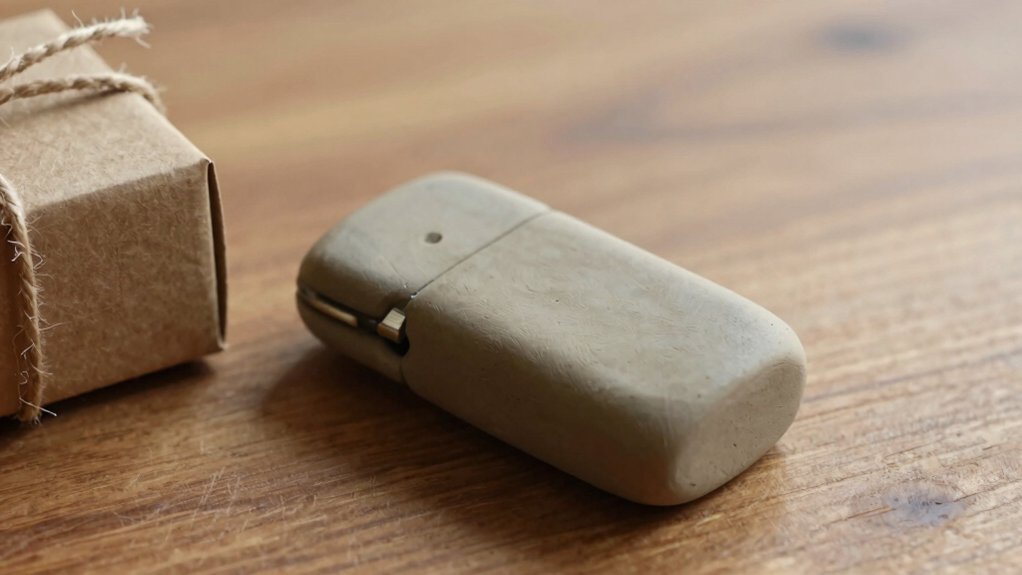
If you want your clay lighter cases to stand out on Etsy, you’ve got to think like both a maker and a shopper, and I’ll walk you through the key choices that make listings sell.
I price competitively: an Animal Cookies style around $28, custom pieces near $40, and I spotlight discounts like a personalized face accessory at $16.77 (25% off).
Use clear pricing strategies and mention free shipping when possible.
Photograph cases with bright, close-up shots showing textures and details.
Pack orders with sturdy, eco-friendly packaging materials, include a thank-you note, and write warm, descriptive listings.
Fix Common Problems (Cracks, Adhesion, Heat) + Design Variations
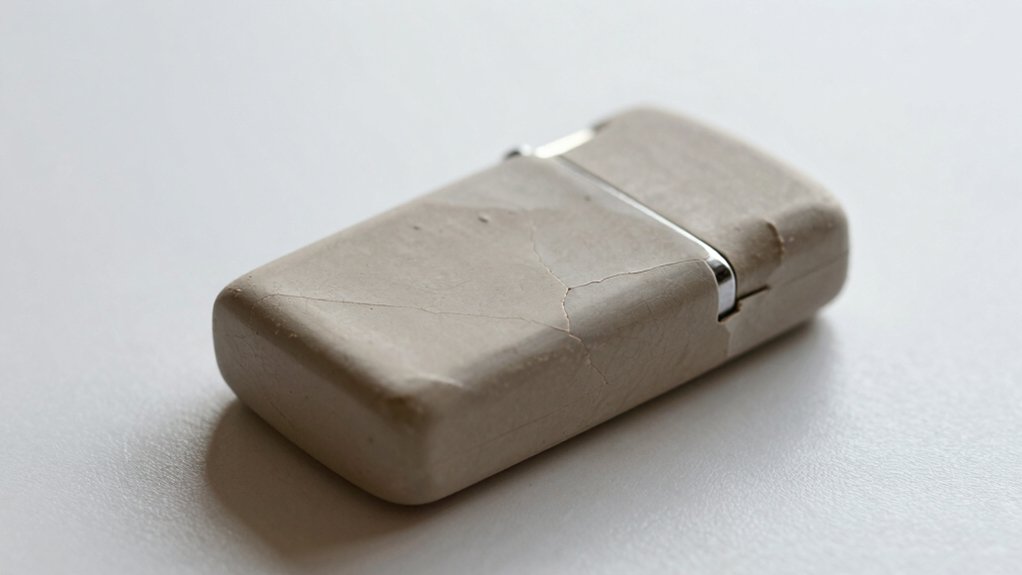
When you want your clay lighter cases to last and look great, I tackle the main trouble spots—cracks, poor joins, and heat warping—right away so you don’t end up reworking pieces later.
I use crack prevention techniques: condition clay well, score surfaces, and apply thin liquid clay or a clay-specific adhesive before baking. For heat management tips, bake in a low-temperature oven and time carefully per manufacturer directions.
I also investigate design variations—marbling, layers, textures, beads or stones—for durability and style.
Try these three steps to build confidence and community as we craft better pieces together:
- Condition and score
- Bond and bake low
- Texture and embellish


