
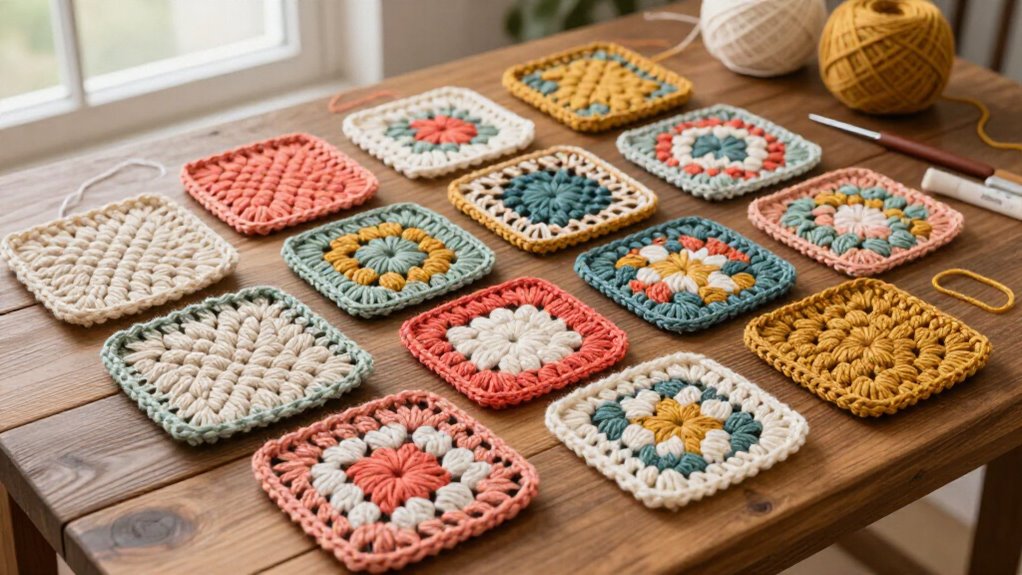

You can sew granny squares 15 lovely ways using a blunt tapestry needle and matching or contrast yarn. Try invisible, straight, whip-stitch, blanket, quilt-style, chunky, scrappy, or raised-ridge seams—easy, low-cost choices with big results! Match chain-1 corners and V stitches, keep tension snug, and pin tricky edges. Wrong sides together makes flat joins; right sides together can create border lines. Best surprise? Mix flat whip stitches with raised slip-stitch texture for a cozy, quilted finish. Keep going for simple steps and tips!
Key Takeaways
- Match granny square sizes, chain-1 corners, and edge stitches before sewing to keep every join straight and prevent puckering.
- Use a classic invisible whip stitch with wrong sides together for a smooth, low-bulk seam that nearly disappears.
- Sew right sides together through outer loops to create subtle twin border lines and a decorative outlined panel.
- Choose contrasting yarn, blanket stitch, or a raised ridge seam when you want texture, color, and visible definition.
- Use matching-weight yarn, a blunt tapestry needle, even tension, and woven-in ends for durable, polished joins.
Classic Invisible Join
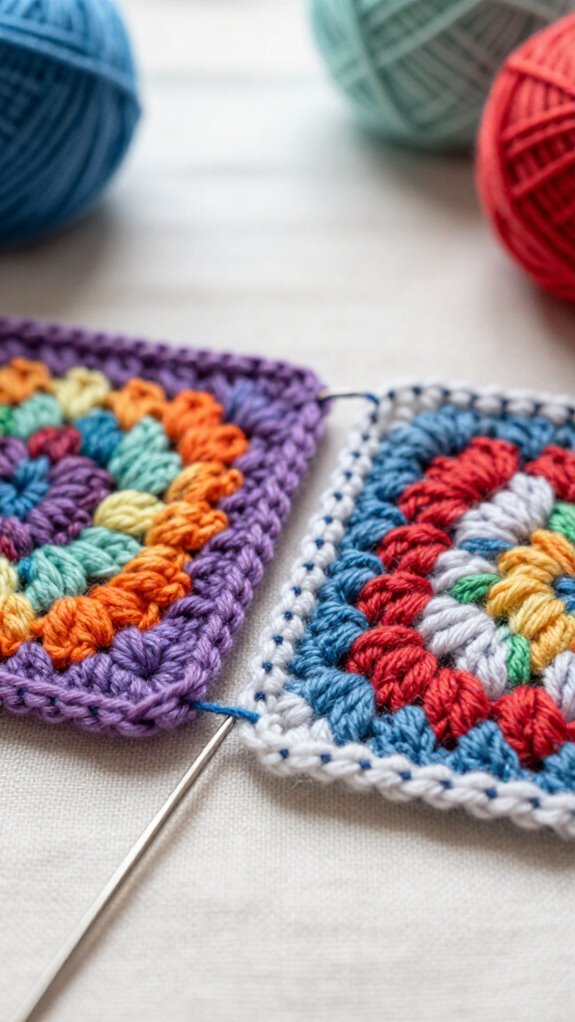
For a smooth, almost magic-looking finish, the classic invisible join lets you sew finished granny squares together without adding a bulky crochet ridge!
Check Granny square sizing first; matching motifs make this beginner-friendly method shine.
Grab a tapestry needle and coordinating yarn, about two to three times your edge length.
Place wrong sides together, then use these Stitch alignment tips: match corners and each chain-1 space carefully.
Whip-stitch through corresponding loops across the edge, keeping your tension snug but not grumpy-tight.
At the last corner, pass yarn under the final loop to secure it, then weave ends into the wrong side.
Flip your work over—wow, your squares look beautifully united!
Straight Line Seam
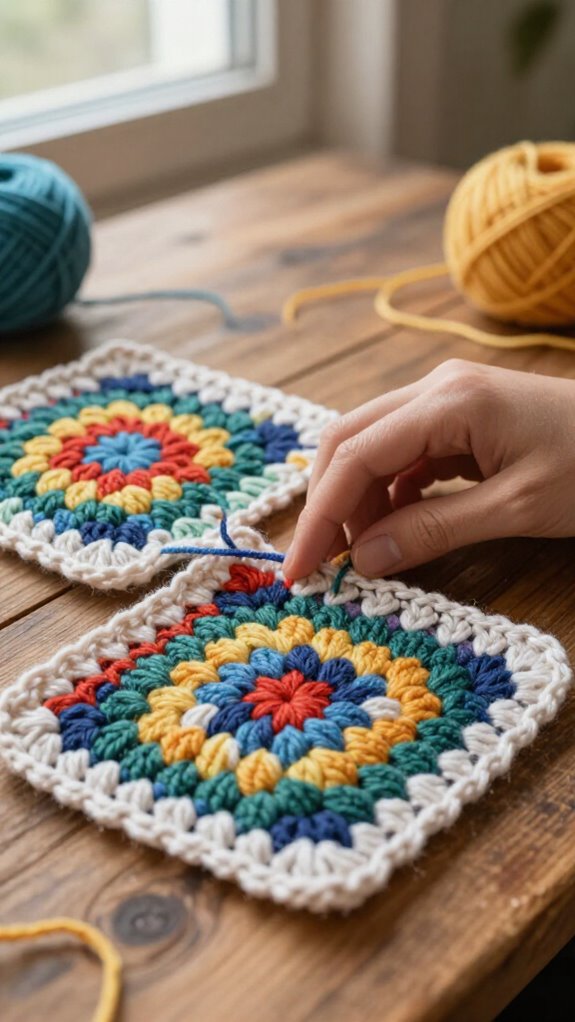
A straight line seam gives your granny squares a neat, tidy connection that’s easy to control—great news if you like clean rows without a raised crochet ridge!
Gather your Granny square materials: a tapestry needle and coordinating yarn, about two to three times the square’s side length.
Place squares wrong sides together, or right sides together for your preferred look, then match corners and edge stitches.
Start in the corner chain-1 space and sew matching positions across, checking alignment often.
You’re part of the neat-seam club now!
At the final corner, secure the yarn under the last loop.
For seam finishing tips, weave ends into the wrong side—flat, smooth, and no puckering!
Whip Stitch Join
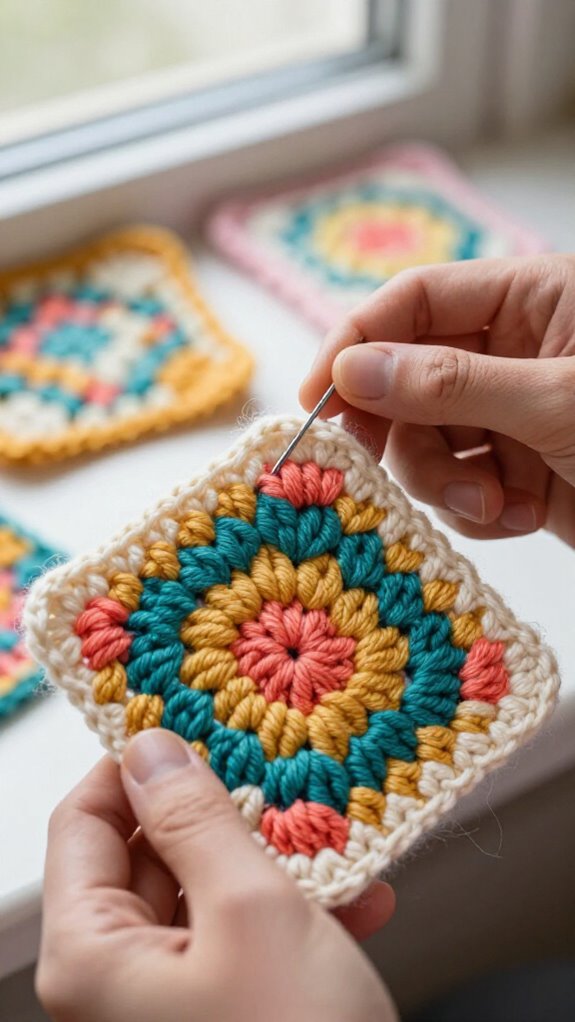
Want a seam with a little more texture and a hand-sewn charm? You’ll love the whip stitch join!
After Granny square blocking, grab a tapestry needle and coordinating yarn, about two to three times your square’s side length.
For a flat finish, hold squares wrong sides together. Match corners and chain-1 spaces, then stitch through each matching loop, keeping your line neat.
At the corner, slip under the last loop, secure, and weave in ends.
Need seam tension troubleshooting? Loosen tight pulls—your squares shouldn’t pucker!
Here’s the surprise: place right sides together and catch only outer corner stitches. You’ll create two subtle border lines, like your squares joined their own little club!
Decorative Blanket Stitch
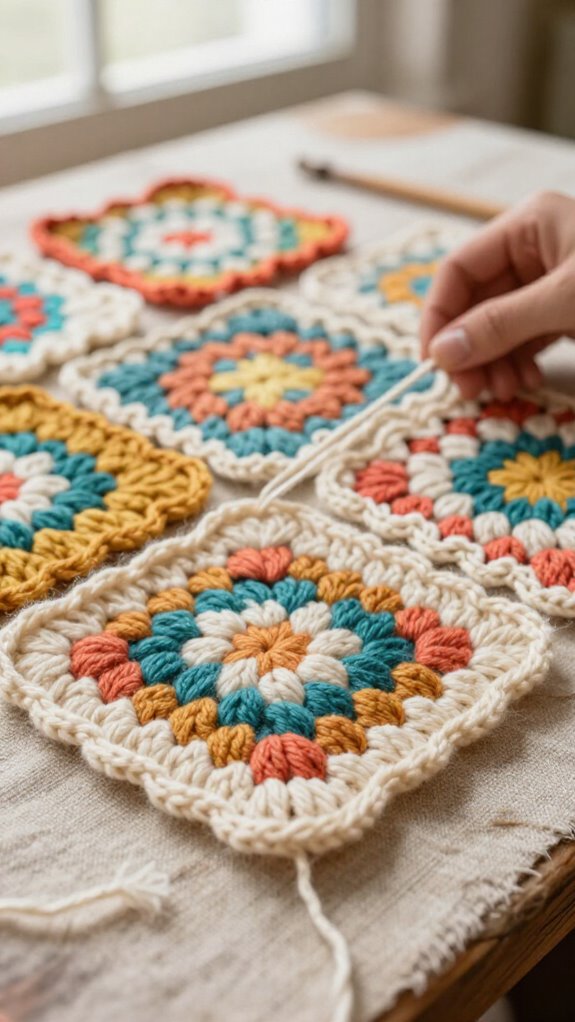
If you’d like your granny-square seams to stand out instead of disappearing, try a decorative blanket stitch join—it creates a neat, visible border that looks delightfully handmade!
| Materials | Do this | You’ll get |
|---|---|---|
| Tapestry needle | Line up corners | Crisp start |
| Coordinating yarn | Stitch edge pairs evenly | Stepped loops |
| 2–3 side lengths | Keep loops consistent | Symmetry |
| Secure tail | Knot or weave wrong side | Durable seam |
After blocking and seaming, use these stitch tension tips: keep each loop snug, not squeezed. Your squares will look like they belong together—no awkward gaps! The visible border becomes part of the design, and that’s the charming surprise.
Contrasting Thread Join
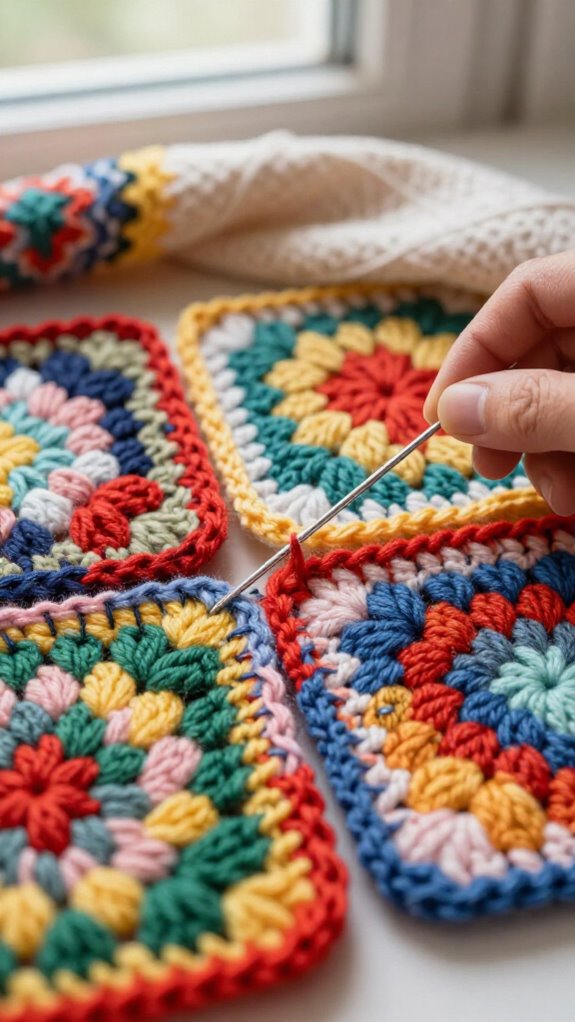
With a bold contrasting yarn, you can turn an ordinary granny-square seam into a clean little outline that makes every motif pop! Grab a tapestry needle and a strand about two to three times your square’s side length—simple, affordable, and beginner-friendly.
Place squares wrong sides together, then whip-stitch through matching chain-1 spaces and corresponding stitches.
Focus on neat seam positioning: line up corners and stitch counts before you sew, or the border may wander like it missed the group chat!
Use gentle Stitch tension control for a flat finish.
At each corner, tuck under the last loop, secure it, and weave ends into the wrong side.
Matching structures create wonderfully even outlines.
Matching Color Join
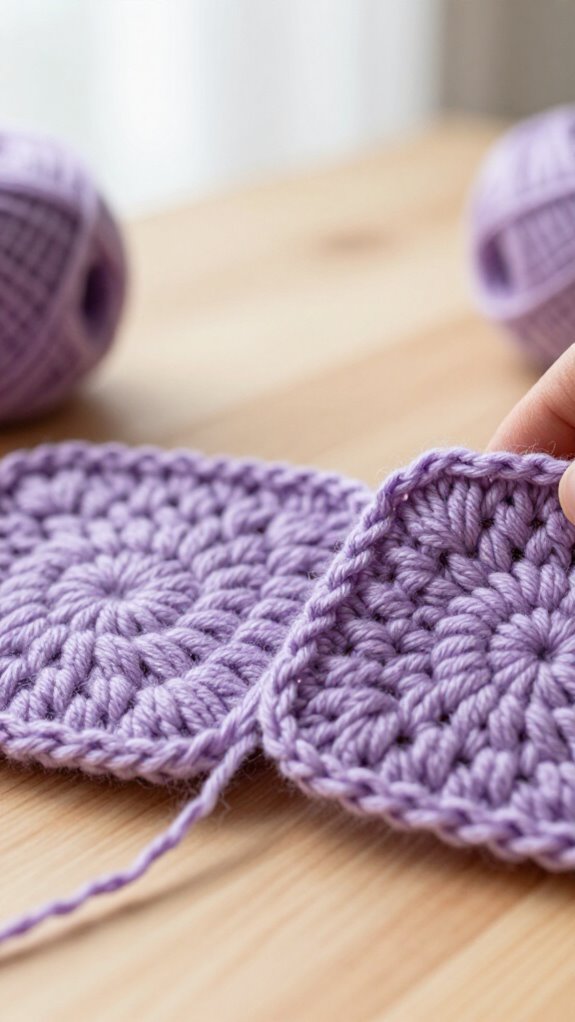
A matching color join lets your granny squares melt together for a smooth, almost hidden seam—perfect when you want the pattern, not the stitching, to steal the show!
Choose yarn that matches, grab a tapestry needle, and try granny square blocking first. It helps every edge sit neatly, so your squares feel like they belong together.
Line up the chain-1 corners and each matching V stitch. Cut yarn about two to three times the square’s side, then whip-stitch through corresponding stitches. Keep your pulls gentle—no puckered drama!
For seam invisibility tips, secure the yarn at the corner and weave ends into the wrong side. Your finished blanket looks wonderfully unified!
Raised Ridge Join
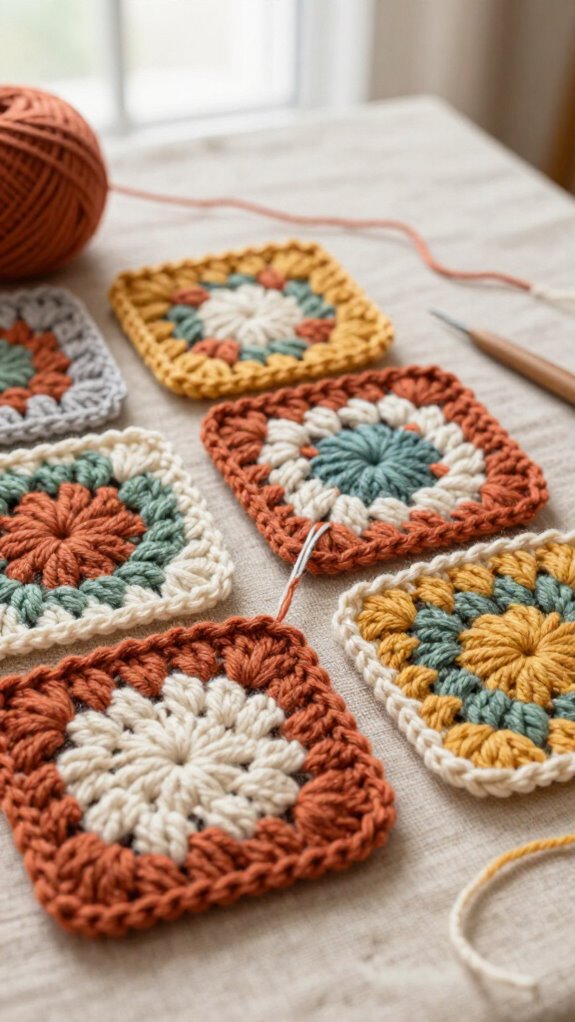
Ready to make your granny squares stand out instead of blend in? A Raised Ridge Join gives your project a bold, touchable seam that feels wonderfully handmade!
Start with Blocking basics: shape each square so edge stitches and chain-1 corners match.
For corner alignment tips, pin or hold corners together before sewing with a tapestry needle.
Use coordinating yarn for a subtle look, or choose contrast for instant personality.
Cut yarn about two to three times the square’s side length, then stitch between edge loops so the seam rises proudly.
Secure every corner, weave ends behind, and admire that crisp ridge—your squares now look like they belong together!
Vintage Quilt Style Join
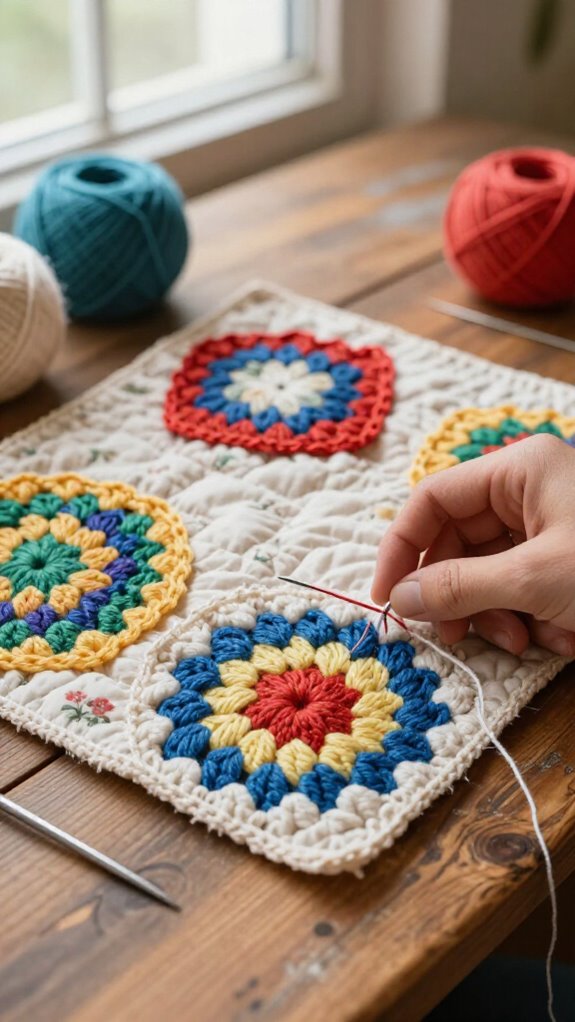
Give your granny squares a cozy heirloom look with a Vintage Quilt Style Join, a flat, tidy seam that echoes the stitched lines on an old patchwork quilt—so charming!
You’ll need coordinating yarn, a tapestry needle, and a strand about two to three times each square’s side. Place squares wrong sides together, line up their corner spaces, then whip stitch through matching edge “V” stitches.
Keep gentle tension control so the fabric stays smooth, not puckered like a grumpy raisin. Secure your yarn at each end for seam reinforcement.
Want a subtle border effect? Put right sides together and stitch the outer “V” loops instead. You’ll create two crisp parallel lines—instant quilt magic!
Neat Corner Join
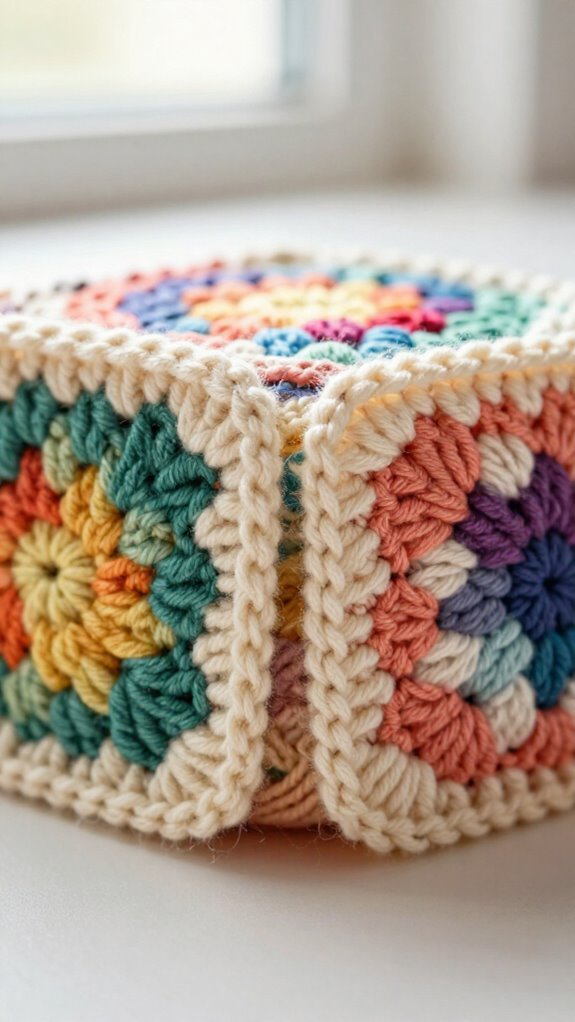
At each meeting point, a neat corner join keeps your granny squares lined up and looking polished—no lumpy little yarn traffic jams here! Put wrong sides together, then match each chain-1 space, or stitch “V,” before sewing.
- Use chain spacing tips: count corners so both edges sit evenly.
- Try tension control methods: whip-stitch the matching front and back corner stitches without pulling tight.
- For a sweet border effect, catch only outside corner stitches, creating two crisp little lines.
Secure the final loop, weave ends on the wrong side, and lightly block if needed. You’ll get corners that look beautifully connected—like every square belongs in the same cozy crochet family!
Chunky Yarn Style Join
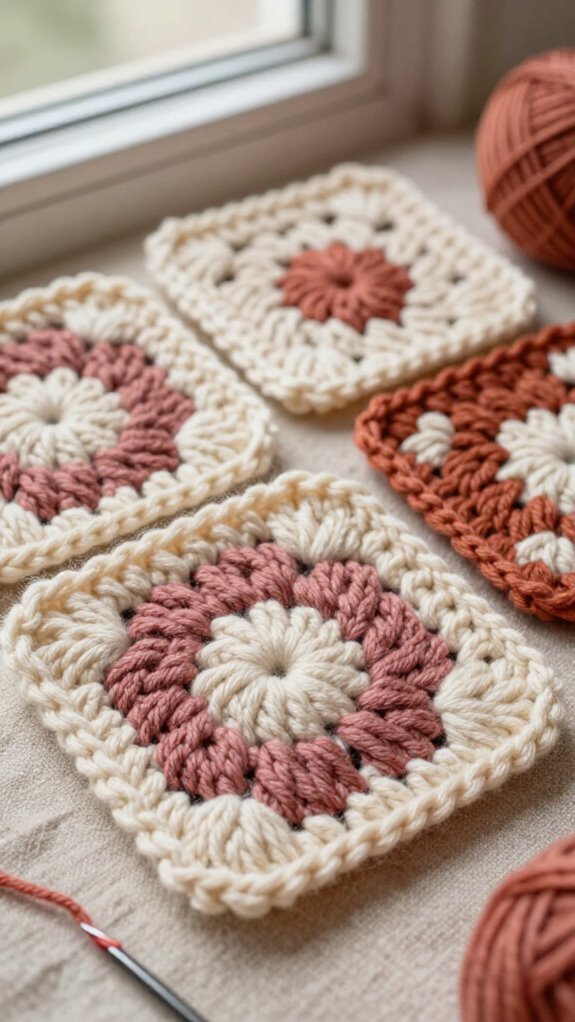
Chunky yarn can turn a simple granny-square join into a soft, sturdy frame, especially when your squares have a few tiny edge bumps—no crochet police will notice!
Grab chunky yarn, a tapestry needle, and a hook slightly larger than your square hook.
Try yarn blocking tricks first, so corners sit neatly.
Lay squares together, match chain-1 corners, then whip stitch through matching V stitches.
Keep your seam flat, firm, and never cinched—these crochet tension tips prevent puckering!
Different stitch counts? Spread the extra stitch along the side.
The plush yarn disguises it beautifully, giving your project a cozy, handmade finish.
Minimal Neutral Join
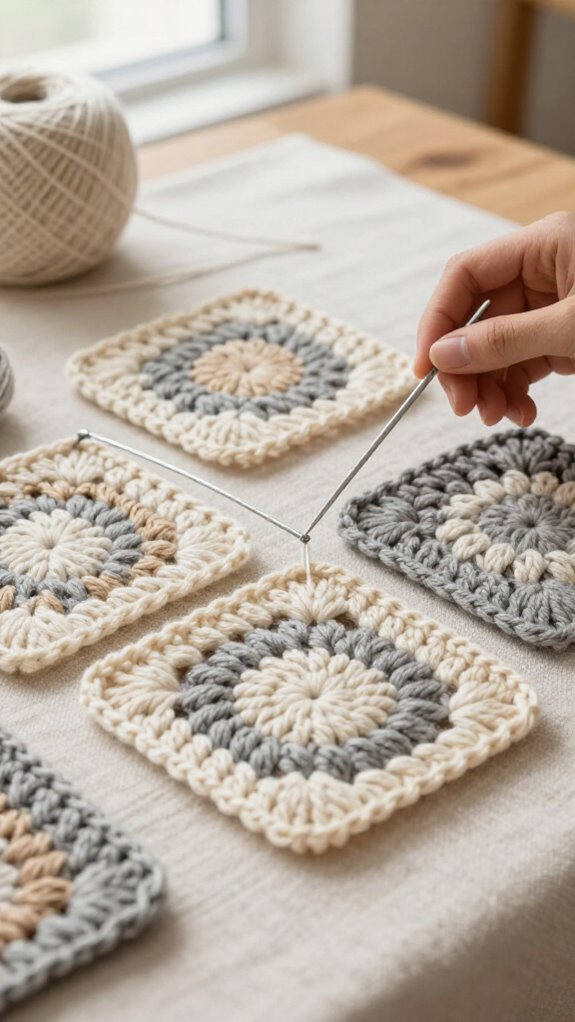
For a seam that nearly disappears, try a minimal neutral join with a tapestry needle and yarn that matches your squares—simple, tidy, and wonderfully low-key!
- Plan seam allowance planning before sewing; leave a tail two to three times the edge length.
- Hold squares wrong sides together, align chain-1 corners, then whip-stitch through matching spaces.
- Keep each pull even, secure beneath the last loop, and weave ends inside.
You’ll create a calm, polished fabric that lets every square belong without competing.
After Granny square blocking, the seam settles flatter and softer—no puckered drama allowed!
This beginner-friendly method costs almost nothing, yet gives your project a quietly finished look.
Colorful Scrappy Join
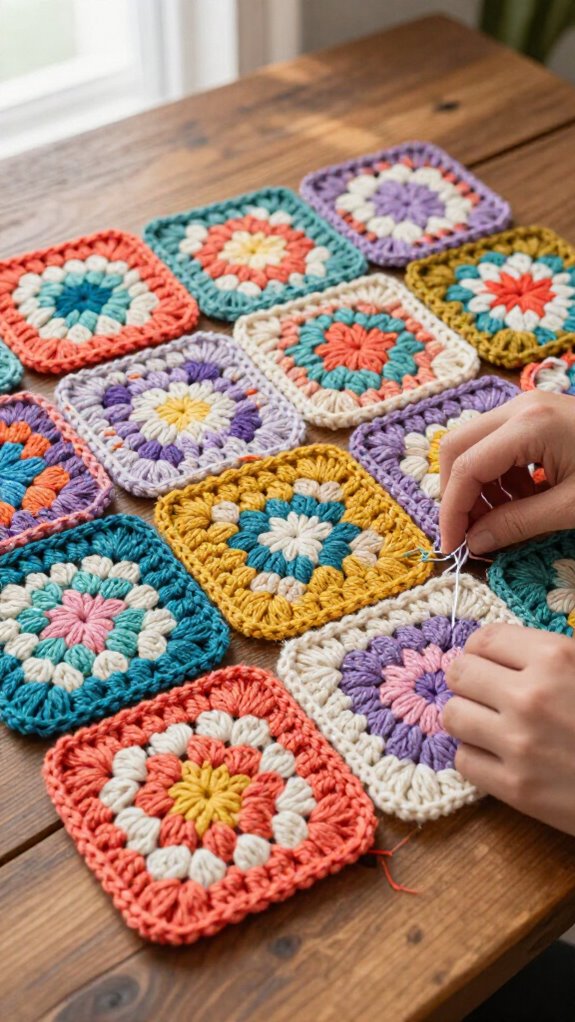
Bring your granny squares to life with a colorful scrappy join—this cheerful seam turns leftover yarn into a playful part of the design!
Choose coordinating or contrasting yarn scraps, plus a tapestry needle. For easy scrappy joining tricks, cut yarn about two to three times each square’s side length, so you won’t face the classic “ran out mid-seam” surprise!
Place squares wrong sides together for a flat whip stitch. Use join alignment hacks: match chain-1 corner spaces and edge stitch Vs, then whip stitch through corresponding loops to the next corner. Weave ends on the wrong side.
Best part? Change square pairings as you go, creating tiny color shifts that make your blanket feel wonderfully yours.
Hand-Embroidered Join
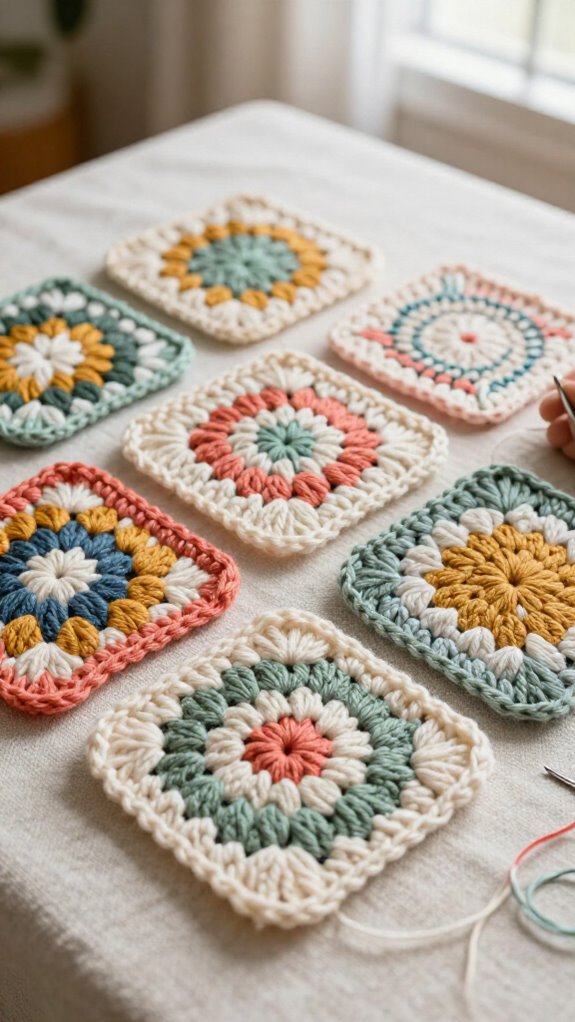
A hand-embroidered join gives your granny squares a neat, almost invisible seam, and you don’t need elaborate tools to make it happen! Grab a tapestry needle and yarn, then place wrong sides together.
- Line up corners and each “v” stitch, especially chain-1 spaces, so your work feels beautifully connected.
- Cut yarn 2–3 times the side length, or use a tail; stitch corner to corner with even tension.
- Fasten at the last corner and weave ends into the wrong side for polished blocking and finishing techniques.
This beginner-friendly method costs almost nothing and shines at joining for comfort.
Your blanket stays smooth, cozy, and proudly yours—no puckered drama!
Bordered Granny Square Panel
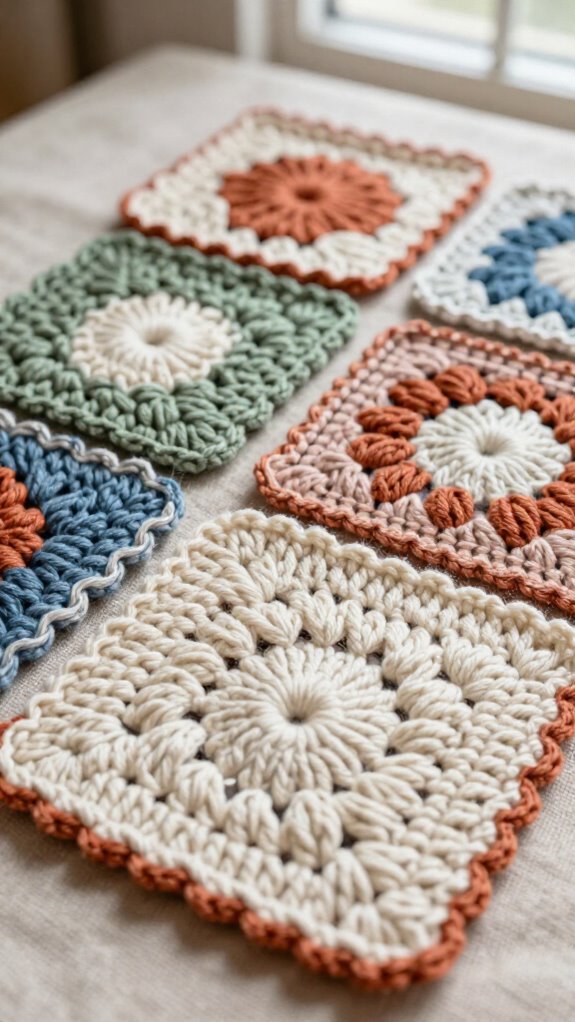
Turn a group of finished granny squares into a polished bordered panel by sewing their joining edges with a simple twist—your seams can look like a tiny frame!
Place squares right sides together, matching corners and chain-1 spaces. Grab a tapestry needle and coordinating yarn, about three side lengths long.
| Step | Do this | You’ll get |
|---|---|---|
| Line up | Match every stitch | Neat edges |
| Stitch | Catch outer V loops | Twin border lines |
Whip-stitch corresponding spaces evenly, then knot at the corner and weave tails behind. Fabric blocking tips help squares behave—finally! Probe panel finishing options after your tidy, welcoming frame is complete.
Mixed Texture Granny Square Join
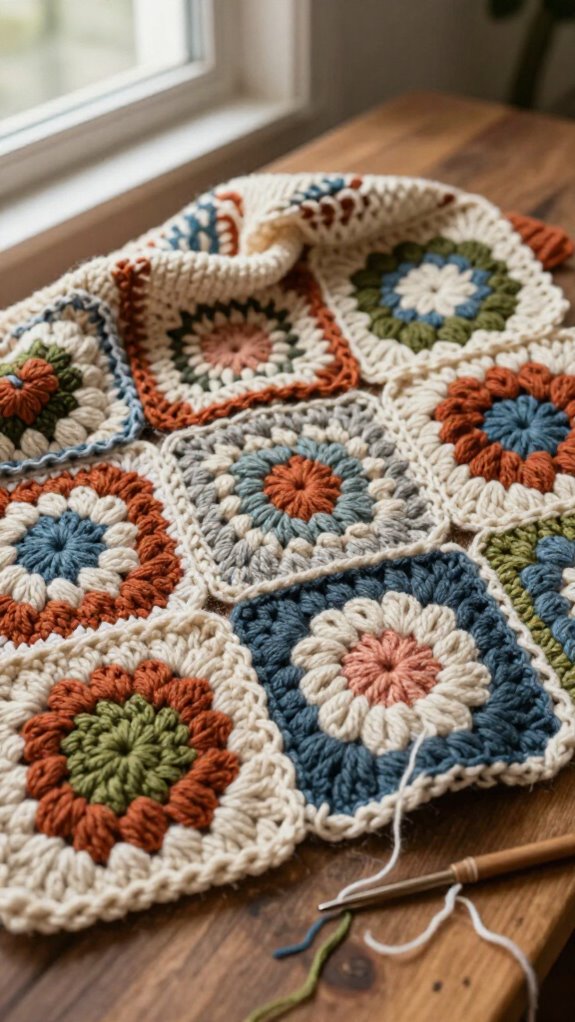
Mixing seam styles gives your granny-square project a little extra personality, and it’s easier than it sounds—no elaborate tools or expert crochet magic required!
- Flat start: Keep wrong sides together, match corner chain-1 spaces, and whip stitch for a smooth base. These seam allowance tips help every square feel like it belongs.
- Textured twist: Put right sides together, then slip stitch along the edge for a gently raised line. If counts differ, adjust tension here—no puckering allowed!
- Polished finish: Weave sewn ends into the wrong side and snug slip-stitch corners. Blocking and starch make the contrast look crisp, turning your cozy patchwork into a truly finished, share-worthy piece!
Choosing Thread for Granny Squares
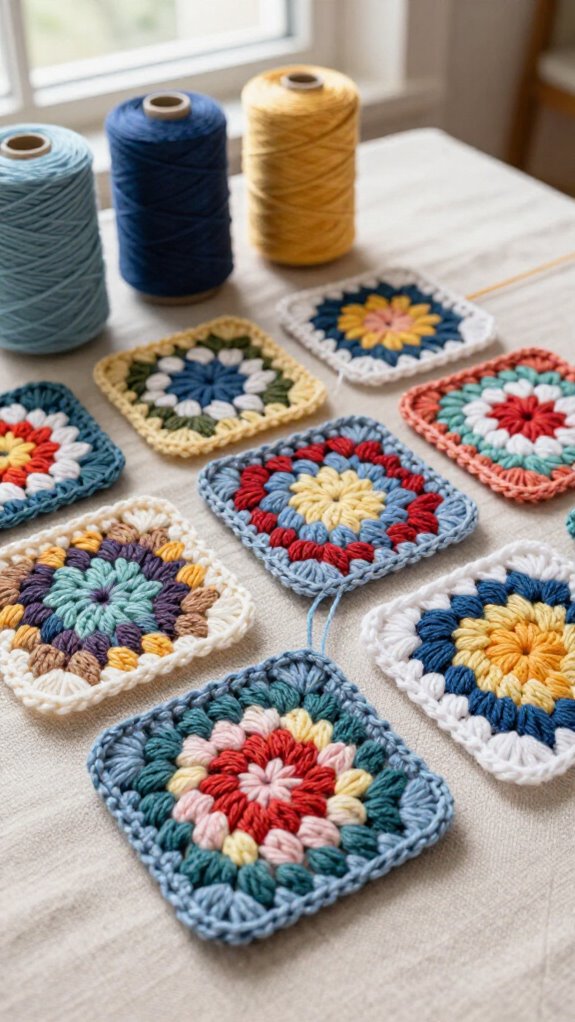
Choosing the right joining yarn makes your granny-square seams look neat instead of lumpy—hooray for small details that do big work! You’ll feel right at home with a large, blunt tapestry needle.
| Choice | Use it for | Result |
|---|---|---|
| Matching yarn | Quiet seams | Blended look |
| Contrast yarn | Bold outlines | Defined squares |
| Long tail | Easy joining | Fewer ends |
| Similar weight | Flat seams | No puckers |
Try Yarn weight matching first, choosing yarn equally thick or slightly thinner. Do needle size testing through chain-1 spaces and “v” stitches; it shouldn’t split fibers. Cut 2–3 side lengths per seam. Best trick? Use each square’s tail—easy, thrifty, and beautifully consistent!
How to Keep Squares Aligned
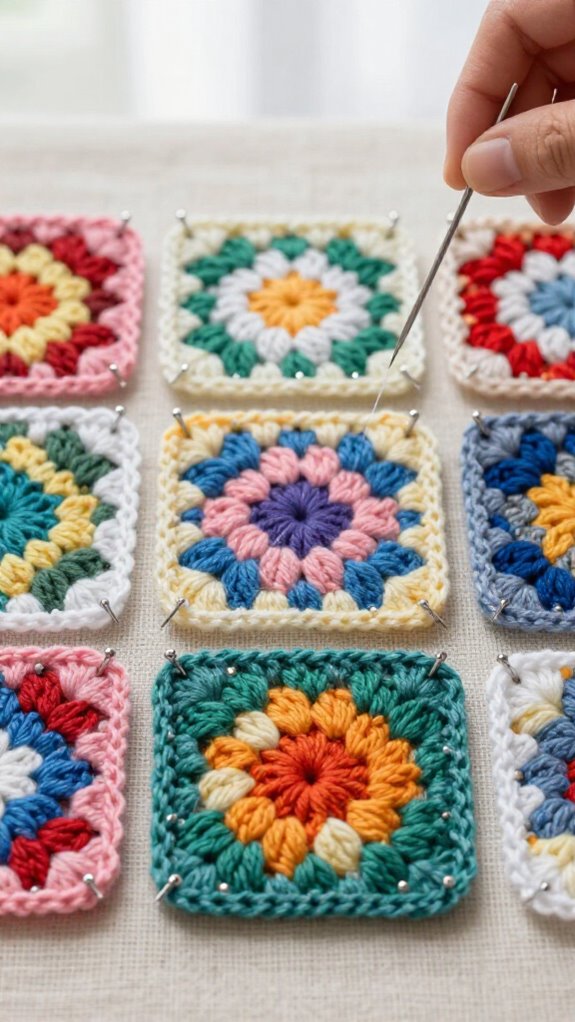
A matching yarn and a blunt needle give you a great start, but keeping the squares lined up is what makes the finished blanket look polished—no sneaky crooked seams allowed!
- Smooth matching corners and “V” stitches flat; line up chain-1 spaces before joining.
- Use a pinning technique with markers or pins every few stitches, so your squares stay friendly neighbors.
- Practice seam tension control: follow matching stitch paths, pull snugly, and check every few inches.
If counts differ, adjust with your joining method, not random tugging. Blocking squares first makes this much easier—your edges will meet neatly, and your handmade community masterpiece will look wonderfully even!
Best Uses for Joined Granny Squares
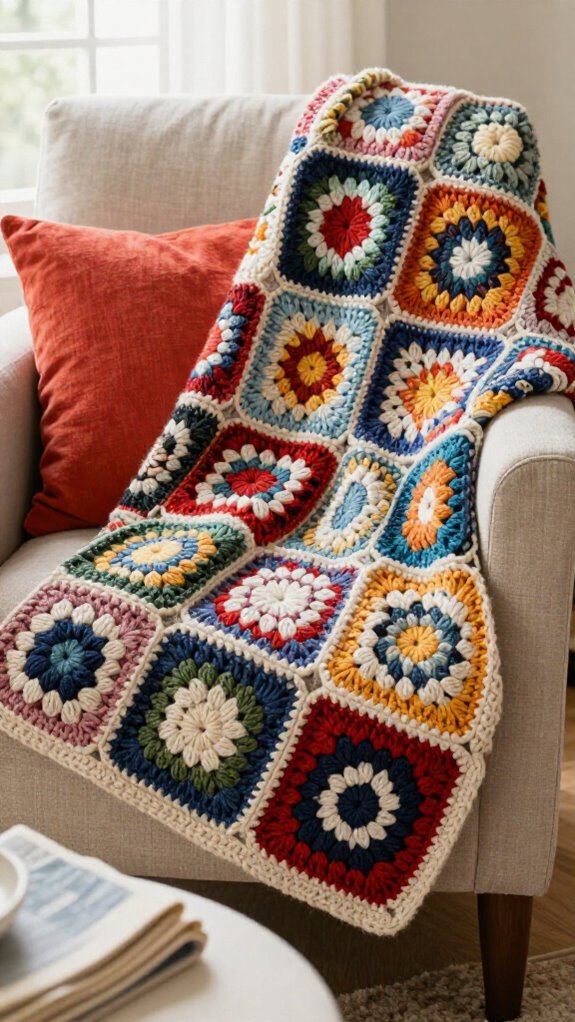
Joined granny squares shine in projects that need plenty of color, warmth, and room to grow—especially blankets! You can use Batch production planning for a CAL, finishing one square every two weeks, then joining your shared collection at the end.
Before assembly, try blocking square prep: water, pins, and a flat surface make edges friendlier.
For fitted or drapey blankets, whip stitch creates a smooth, low-bulk seam—no lumpy sandwich effect!
Got chain spaces along each edge? The Mijo Join may suit your squares beautifully.
If stitch counts wobble a little, don’t panic! A single-crochet join flexes around uneven edges, helping your blanket lie flat and feel welcoming.


