
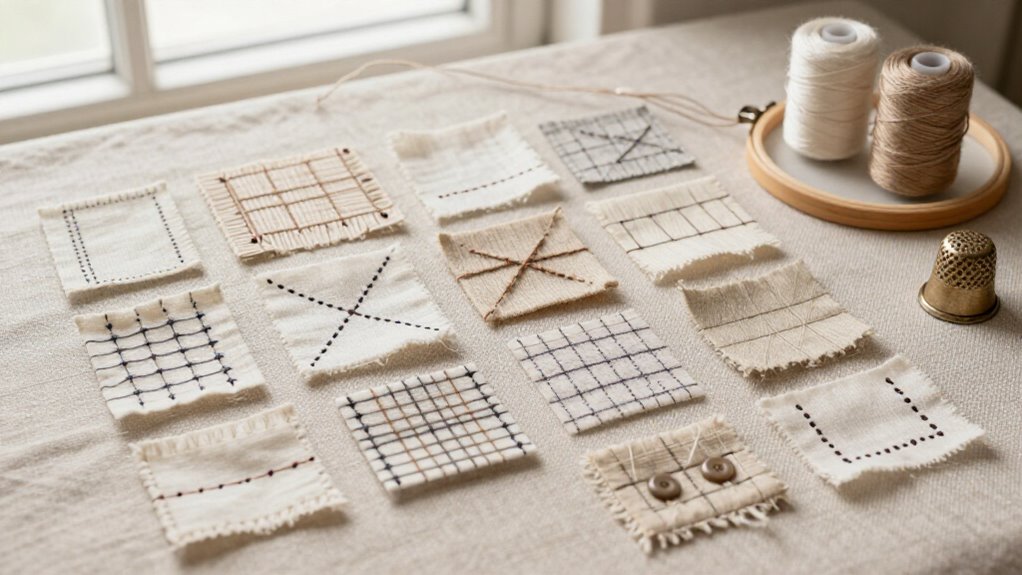

You’ll master DIY sewing with running stitch for quick basting, backstitch for tough seams, whip and blanket stitches for tidy edges, and slip stitch for nearly invisible hems—no machine drama! Use matching thread, a needle, scissors, and scrap fabric; keep bites even and pull snug, not tight. Add seed stitches, cross stitches, and French knots for texture. Best surprise: ladder stitch closes stuffed toys almost invisibly. Keep going for simple steps and polished results.
Key Takeaways
- Running stitch is ideal for quick basting, gathers, simple mending, and beginner practice with an easy up-and-down motion.
- Backstitch creates strong, machine-like seams for repairs, pillows, stuffed ornaments, and projects needing lasting durability.
- Ladder stitch closes stuffed toys, pillow openings, and lined seams with an almost invisible finish.
- Whip, overcast, blanket, and buttonhole stitches secure raw edges, prevent fraying, and add polished decorative borders.
- Slip stitch hides hems, while seed stitch, cross stitch, and French knots add texture and decorative detail.
Running Stitch
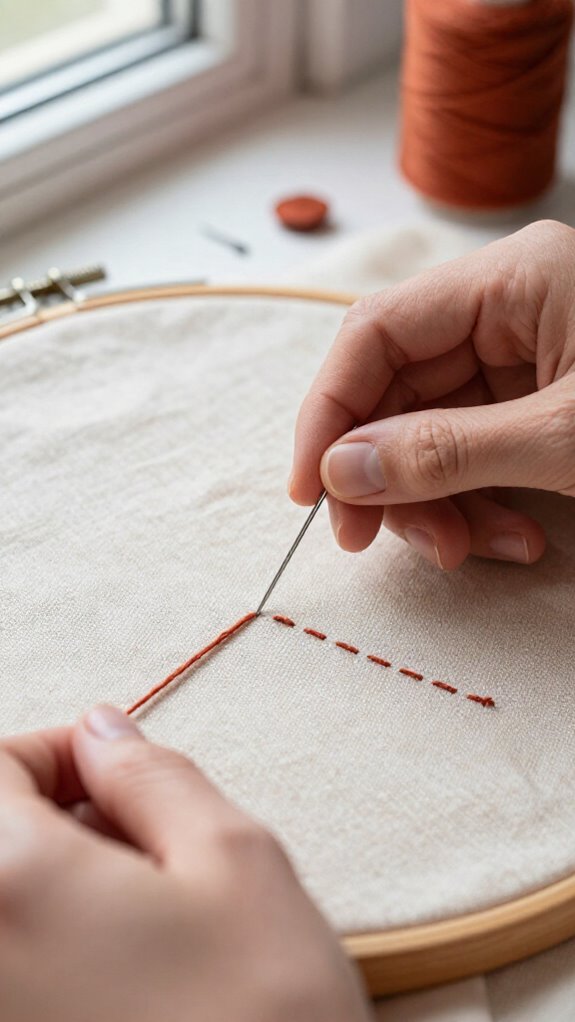
Running stitch is the easiest hand stitch to learn, and you’ll use it far more often than you might expect! You’re joining generations of makers with one simple up-and-down motion—no special tools, no pressure!
Use it for basting, quick gathers, colorful mending, or embroidery.
For Stitch speed practice, glide several tiny stitches onto your needle in one smooth rhythm.
On thin fabric, gently scrunch it ahead of the needle and take small bites.
With thick layers, stab straight through and work one stitch at a time for fabric tension control.
Soon, you can try boro or sashiko-inspired repairs, turning a worn spot into something wonderfully yours.
Backstitch
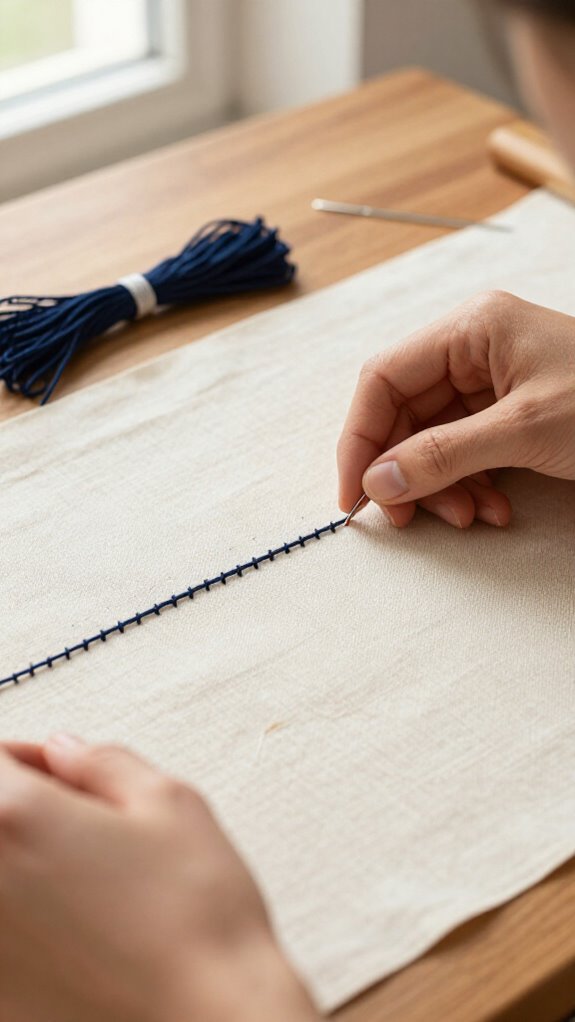
When you need a seam that can handle real life—tugging, stuffing, and the occasional overenthusiastic pillow hug—reach for the backstitch! You’ll join countless makers using this sturdy, machine-like favorite.
Start with smooth beginning anchors: make a few tiny backstitches instead of a bulky knot.
Then insert your needle behind the last stitch and bring it up one stitch-length ahead.
Aim for Thread spacing control with even, 1/4-inch bites, and pull gently to prevent thread tangles.
It’s beginner-friendly, low-cost, and wonderfully reliable!
Because each stitch locks into the last, you get strong seam finishing that won’t pop open—perfect for stuffed ornaments, pillows, and everyday repairs.
Whip Stitch
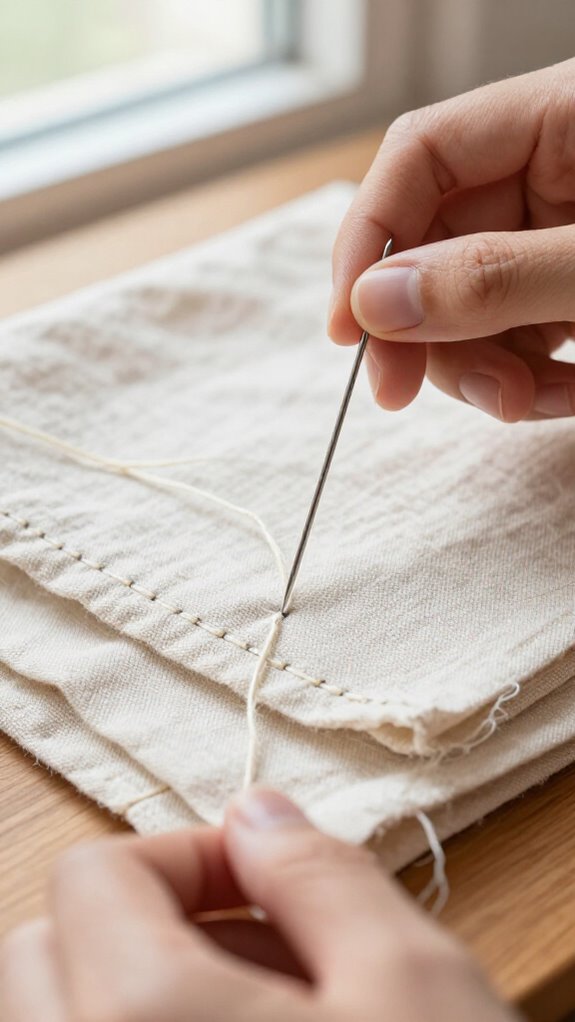
Wrap raw edges, patch a small tear, or join two fabric pieces with the cheerful little whip stitch! You’ll feel right at home with this easy, tidy technique.
| What you do | What you’ll see |
|---|---|
| Secure thread | No slipping |
| Bring needle up | Edge begins |
| Catch tiny bites | Neat joins |
| Space evenly | Less puckering |
| Finish with backstitches | Lasting hold |
Use needle, thread, and fabric scraps—cheap, beginner-friendly supplies! Work from the outer edge inward, letting thread wrap around the join. Try it for French seam finishing or hemming small edges. Keep stitches tiny, and voilà: your project looks polished, not like it fought a squirrel.
Blanket Stitch
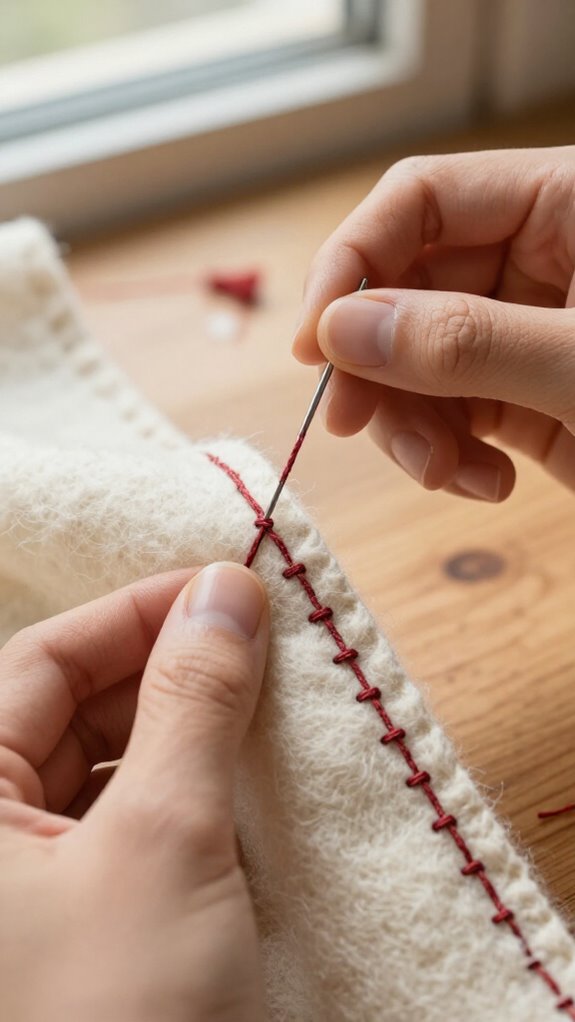
Blanket stitch gives your project a crisp, cheerful border while keeping raw edges tucked in—especially on felt, where it looks almost too cute to be *legal*!
You’ll love this beginner-friendly choice for Felt edge finishing on Nature bags or Christmas Pudding Ornaments. Grab felt, thread, and a needle—nothing *elaborate* needed!
Make small, evenly spaced stitches along the edge. Bring the needle through, then catch the working thread before you pull tight, creating tiny loops that sit neatly in a row. Keep your pace relaxed; you’re part of a crafty crew now!
The surprise? That knot like texture building adds a raised, handmade trim that looks polished every time.
Slip Stitch
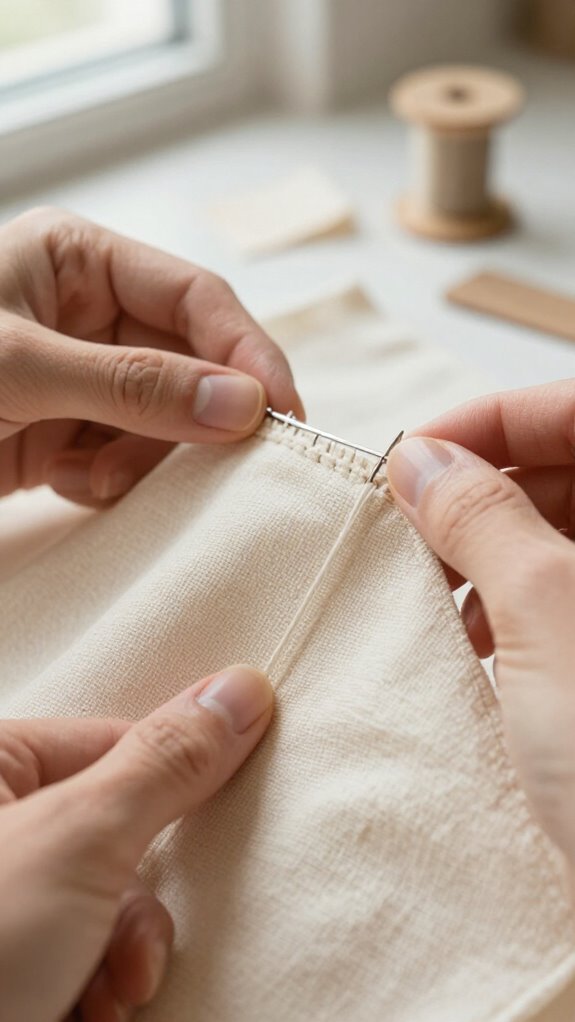
Slip stitch is your secret weapon for hems that look almost magically invisible—perfect for dresses, pants, and skirts that need a clean finish without a row of obvious stitches.
Join the polished-hem club! For Choosing hem materials, use a folded edge, matching thread, and a hand needle.
Thread selection tips: pick a color that disappears into the fabric.
Secure your thread with a tiny back stitch.
Working left to right, hide the needle in the fold, then travel diagonally up to catch a tiny bit of fabric about 1/4 inch above the edge.
Return diagonally down and repeat.
Keep pricks evenly spaced—the right side may show tiny pinpoints, but yours will look beautifully neat!
Ladder Stitch
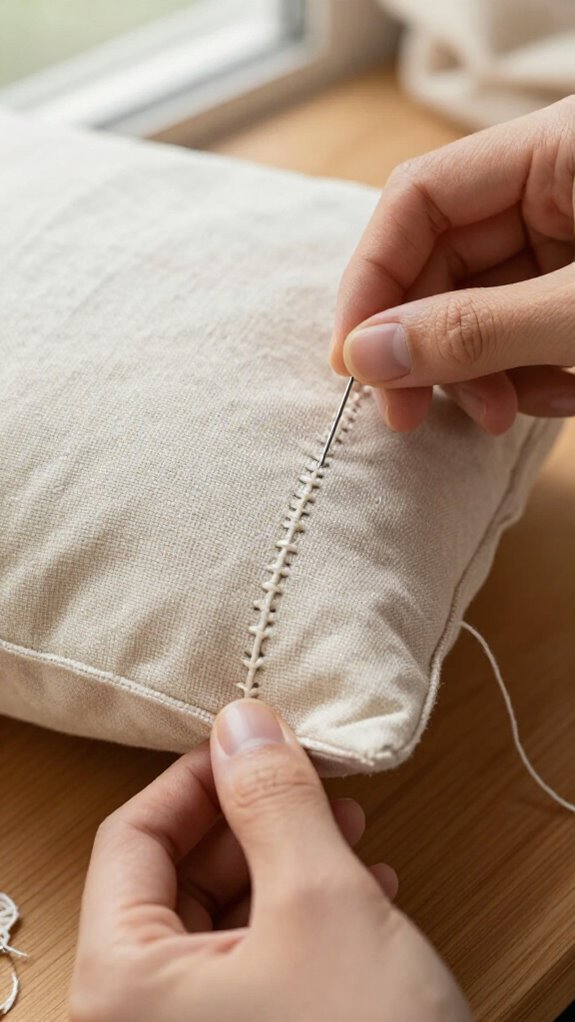
Ladder stitch is the tidy little trick you’ll love when a stuffed toy, pillow cover, or lined opening needs to disappear without a bulky seam—ta-da!
It’s beginner-friendly, inexpensive, and perfect for joining our crafty crew’s polished projects.
Use a needle, matching thread, and neatly folded edges.
Secure your thread with tiny backstitches, then take small, even catch bites through one folded edge and the matching edge opposite.
Pull snug after each pair, not too tight—these thread tension tips prevent puckers.
The little rungs vanish as edges meet!
For lightweight fabrics, finish with backstitches or tuck in the tail: clever finishing knot tricks keep your secret seam secure.
Overcast Stitch
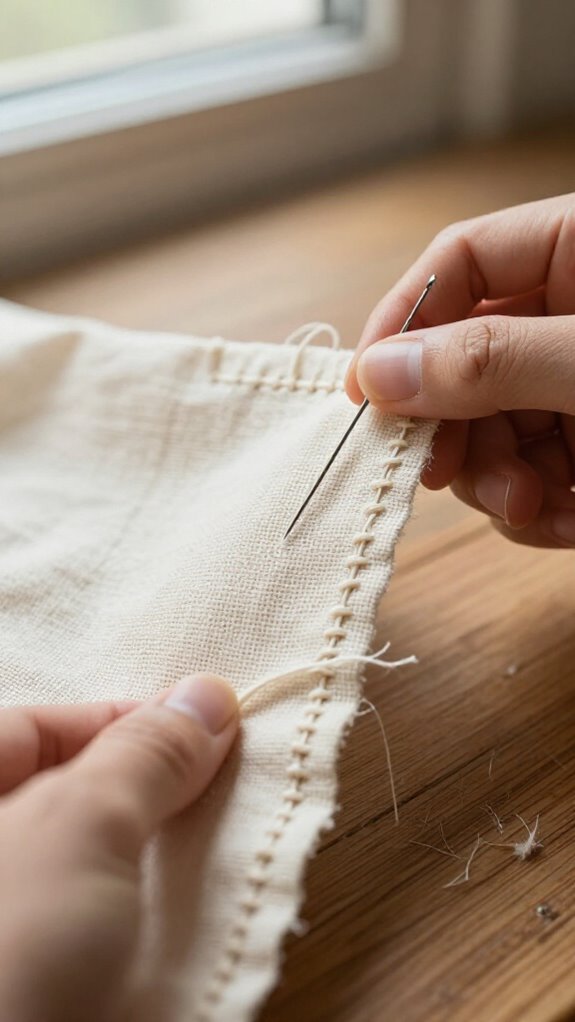
With an overcast stitch, you can tame a raw fabric edge before it frays into a tiny, thread-shedding monster—hooray! It’s an easy next step after running stitch, and you’ll fit right in with fellow DIY makers using it on craft projects.
For materials, grab a needle, thread, and fabric. Wondering How to choose thread type? Match its weight and color to your fabric for a tidy finish.
Bring the needle over the edge, catching the fabric evenly each time. To join two layers, catch both raw edges.
Common overcast stitch mistakes include uneven spacing and stitch sizes. Keep them consistent, and you’ll create a charming textured edge that looks wonderfully intentional!
Basting Stitch
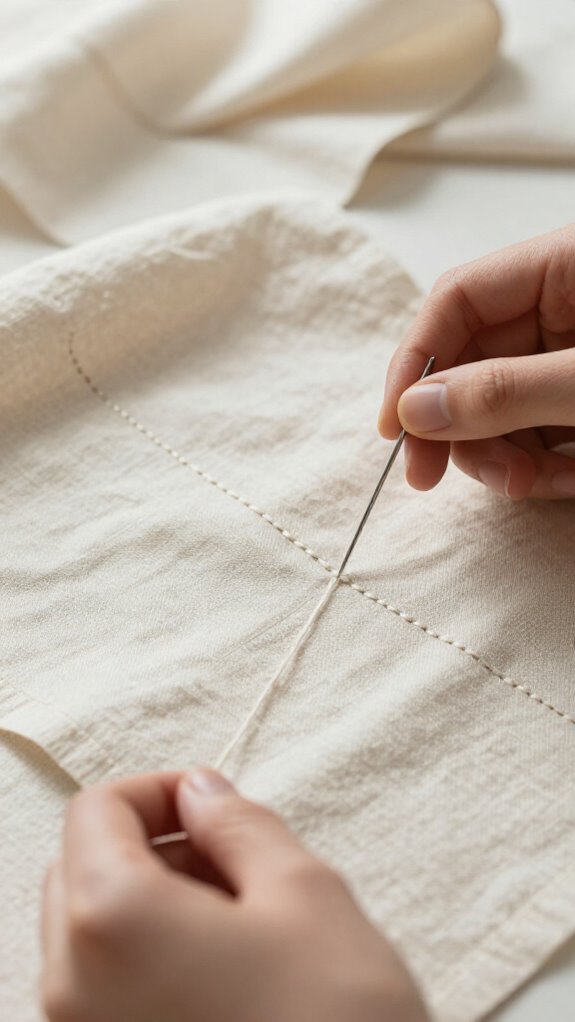
Basting stitch is your handy “hold everything right there!” stitch, perfect for keeping fabric layers lined up while you fit or assemble a project.
When Choosing basting placement, follow the marked seam line, especially on curves or tiny pieces. Use an arm’s-length thread, then sew long, even running stitches—quick, friendly, and easy to spot!
While working with layers, secure each end with tiny backstitches or a hidden anchor knot so nothing scoots away. Common basting stitch mistakes include using thread that’s too long or stitches that are too tight.
Here’s the magic: after sewing your final seam, removing basting threads is wonderfully simple. Pull gently, and voilà—your project stays neat!
Catch Stitch
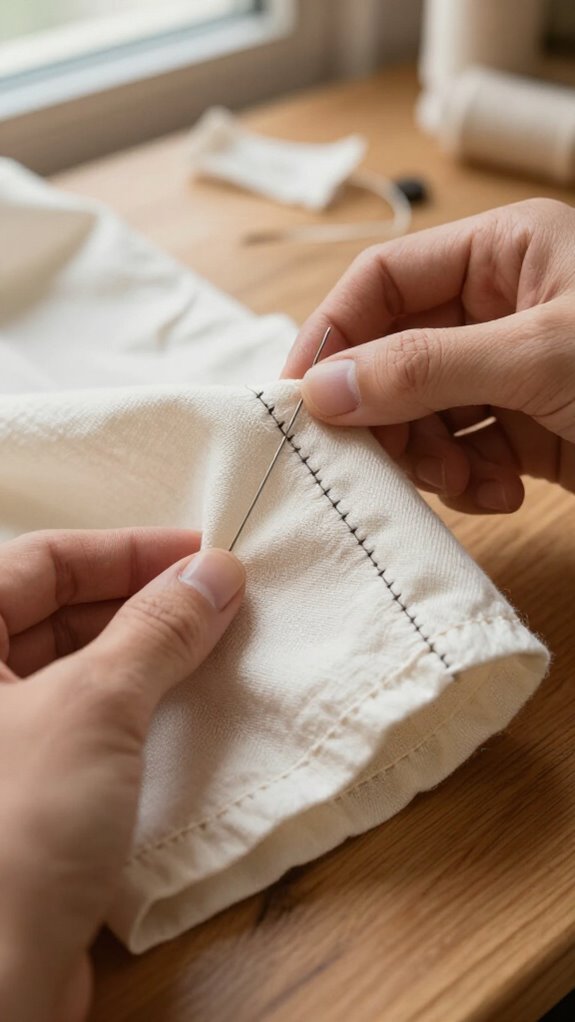
A catch stitch is a clever little crisscross that hems edges neatly inside garments, especially stretchy knits and bias-cut fabric that need room to move—pretty handy, right?
You’ll need a needle and matching thread—nothing fancy! Secure it with a tiny backstitch, then work left to right.
- Take 1/4-inch bites along the hem edge.
- Cross diagonally, catching a small bit of fabric each time.
- Keep stitches near the seam’s beginning for a nearly invisible finish.
For Stitch placement tips, save larger bites for hidden areas. Follow Thread choice guidance by using a thread that blends in.
Those crossed threads grip both layers, giving your hem strength and gentle stretch—teamwork for your fabric!
Herringbone Stitch
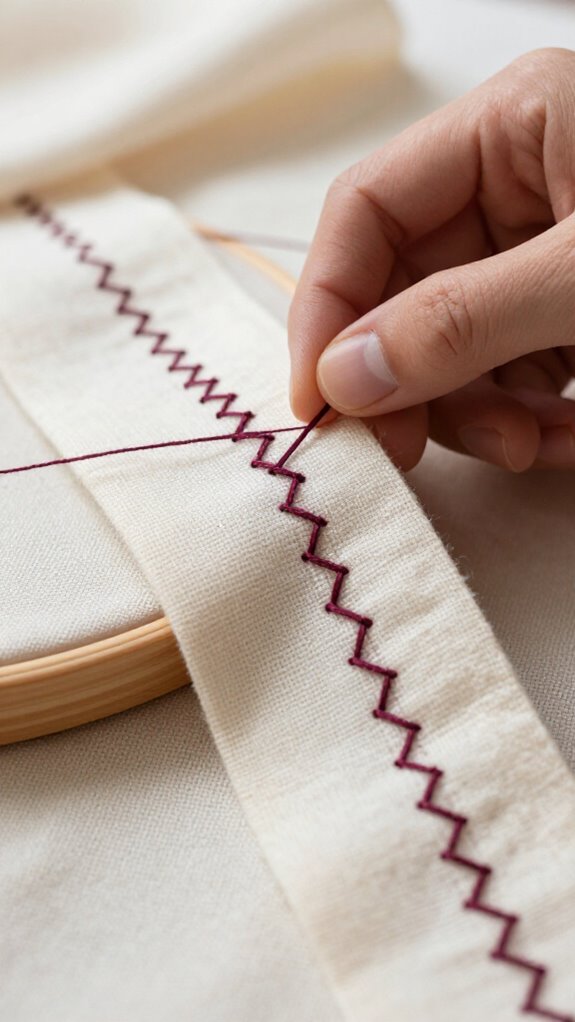
Herringbone stitch brings a crisp, zigzag “fishbone” pattern to your sewing, adding texture without making lightweight fabric feel bulky—nice, right?
Bring your needle up on the line, then take short diagonal bites back and forth, letting each stitch lock into the last. You’ll quickly create tidy little Vs that make borders and edging feel extra special!
For beginner practice tips, use scrap fabric, thread, and a drawn guide line. Keep stitch lengths small and even for a polished row; widen the angles when you want an airier look.
Try thoughtful Color and fabric pairing—contrasting thread makes that cheerful fishbone design really shine!
French Knot
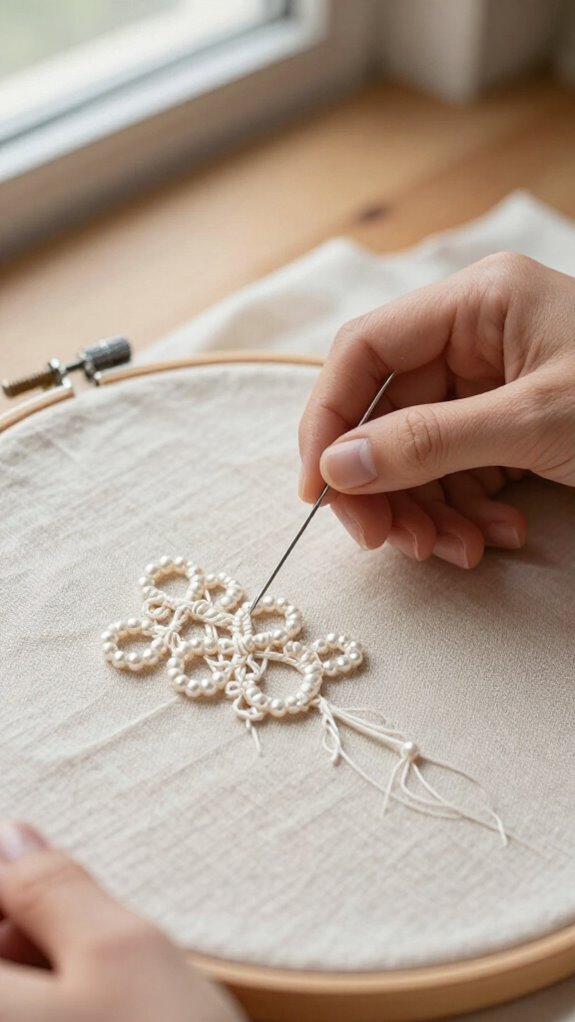
French knots add tiny, raised dots of texture that can make simple hand sewing feel wonderfully playful—think little “raisins” on a Christmas pudding ornament or a bright, beady eye on a fabric chicken!
You’ll wrap thread around your needle, return close to the entry point, and pull through slowly. They’re fiddly at first, but your crew of fellow makers has been there!
- Red thread makes pudding raisins pop.
- Black floss gives fabric birds cheeky eyes.
- Spaced knots create charming dotted trails.
Practice thread tension basics and needle wrap control, keeping the coil snug as you pull. Don’t fret over wonky first tries—each little bead gets neater.
Soon, you’ll add intentional, magical accents that look surprisingly professional!
Seed Stitch
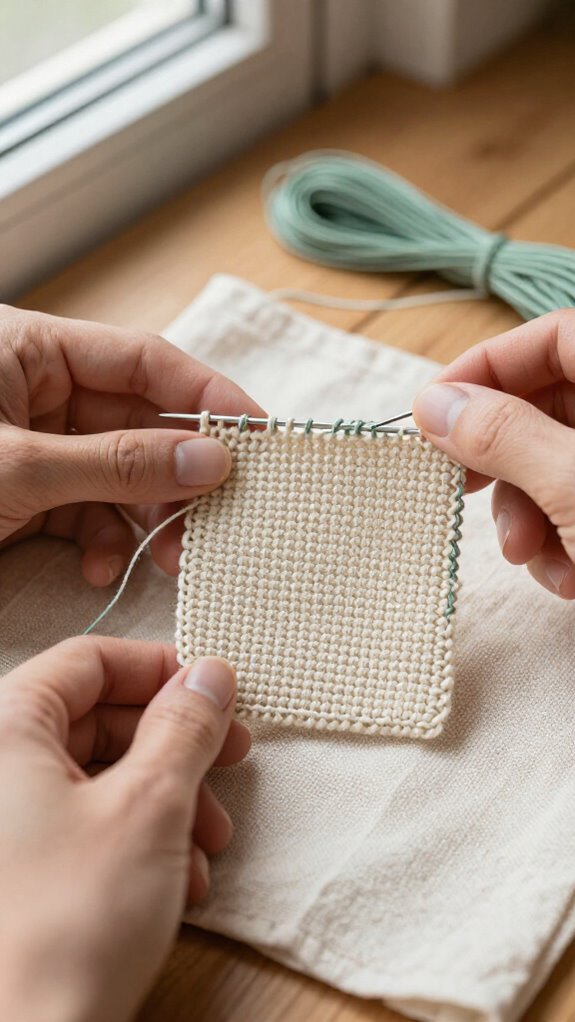
Seed stitch creates a tiny, bumpy trail of thread that looks a bit like scattered seeds—small but seriously charming!
You’ll use fine thread, a small needle, and scrap fabric for a little Texture and practice. Bring your needle up, take a short bite back down nearby, then repeat beside the last stitch. Easy, right?
This dense row works beautifully for holding appliqué edges or adding a cozy border, so your project feels polished and part of the handmade club!
For crisp results, try these stitch consistency tips: keep each stitch equally short and space them closely. Practice first—those tiny bites can be sneaky, but they’ll stop edges from lifting!
Decorative Cross Stitch
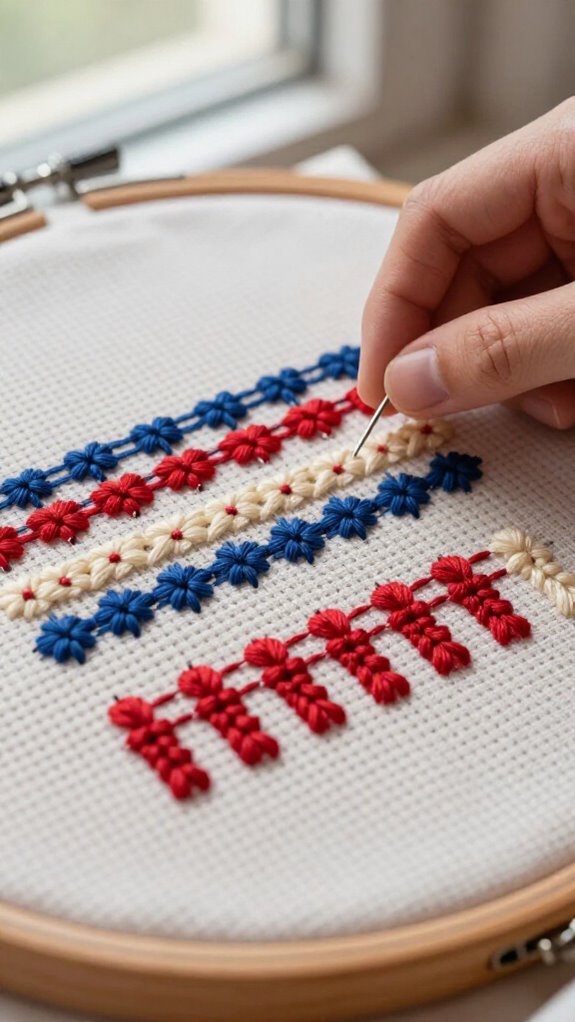
Ready for a little stitched sparkle? Decorative cross stitch builds neat Xs across a fabric grid, creating a cheerful pattern that looks almost painted on!
- Gather floss, a needle, scissors, and even-weave fabric—budget-friendly supplies, big handmade charm.
- Secure your thread with a tiny backstitch or neat knot, then make matching diagonal legs in each grid square.
- Use arm-length floss or shorter, so it won’t tangle like a tiny spaghetti monster.
Follow these Evenweave fabric tips and thread tension basics: keep every X the same size, with gentle, even pull. As you turn corners, anchor stitches in the same squares.
Soon, your crisp little crosses will make your project feel beautifully yours.
Choosing the Right Stitch for Each Fabric
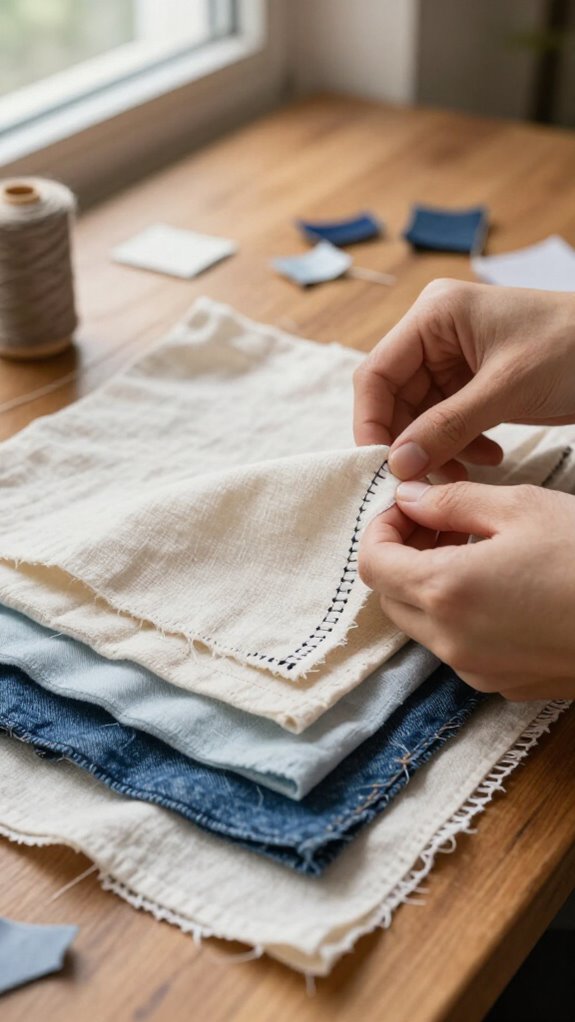
Fabric has a personality, and the stitch you choose should match it! For thin cottons, use a running stitch for quick joining, basting, or gathering; small bites keep it accurate.
Needle size selection and thread thickness matching help your work feel right, not fussy. Choose backstitch for strong seams and repairs that resemble machine sewing.
For fraying edges, overcast stitches protect fabric while joining pieces. Felt ornaments and nature bags welcome cheerful blanket stitches—your crafting crew will love the looped finish!
Here’s the tough-fabric surprise: stab running stitches through dense cloth one at a time, or use buttonhole stitch to lock raw edges with durable knots.
How to Make Hand Stitches Look Neat
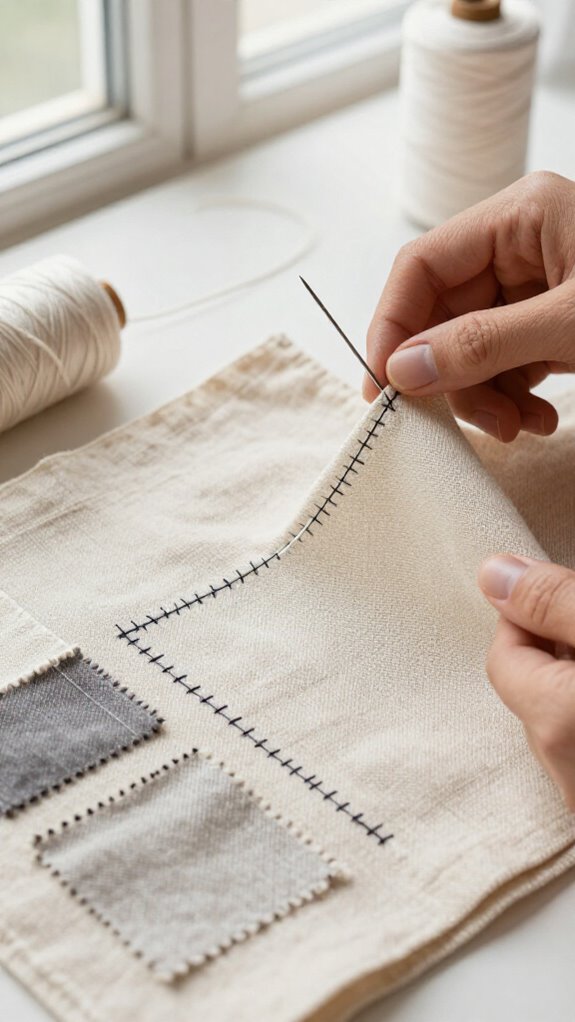
Neat hand stitching isn’t about having magic fingers—it’s about slowing down just enough to make each stitch look intentional! You’ve got this—practice makes your work look wonderfully polished!
- Master Thread tension basics: pull snug, not tight, so fabric stays smooth instead of puckering like a tiny accordion.
- Aim for consistent stitch spacing: take small running-stitch bites, or use close backstitches for a crisp, machine-like line.
- Try knot hiding methods: secure with 2–3 tiny backstitches, then run the tail between layers and snip close.
For felt edges, keep blanket stitches even; for fraying fabric, space overcast stitches carefully.
Finish with pressing for clean seams—wow, what a difference!


