
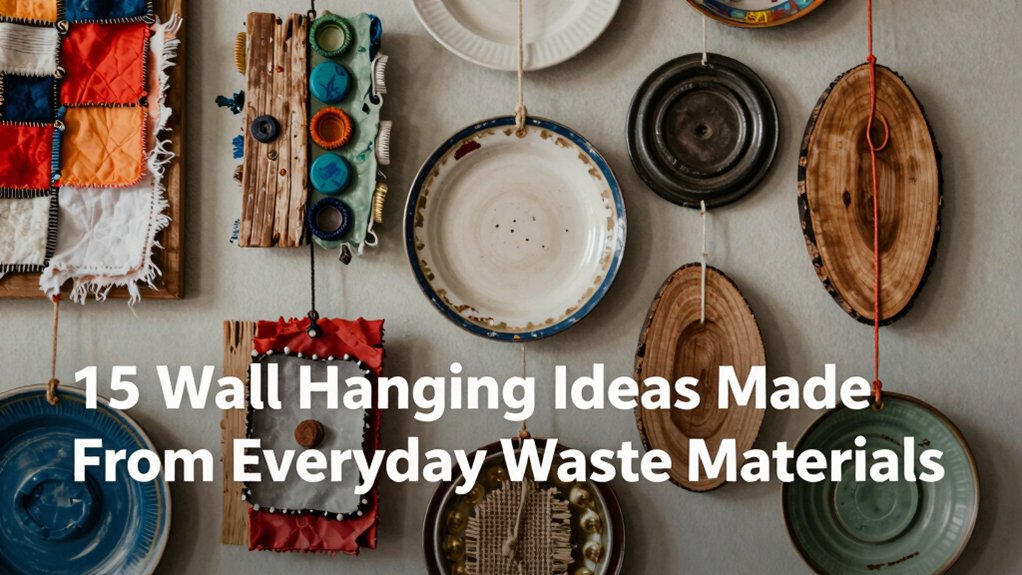

You can make 15 wall hangings from everyday waste, and they’re fun, cheap, and beginner-friendly! Try newspaper flowers, cardboard geometric panels, fabric scrap tapestries, plastic spoon blooms, bottle cap mosaics, egg carton florals, popsicle stick patterns, woven plastic bag art, and mixed recycled collages. Use glue, scissors, paint, twine, and a sturdy base, then add texture, color, and simple hanging loops. The coolest surprise comes near the end, so keep going for more clever ideas.
Key Takeaways
- Newspaper flowers turn old pages into layered blooms using rolled strips, glue, and light paint for textured wall art.
- Cardboard boxes make geometric wall panels by cutting shapes, painting them, and adding a simple hanging loop.
- Fabric scraps can be woven into a cozy tapestry with cardboard or hoop support and a reinforced ribbon hanger.
- Plastic spoons, bottle caps, and shopping bags can become flowers, mosaics, or woven hangings with sturdy backing.
- Driftwood, tin cans, and recycled collage materials add natural texture and useful structure to creative wall decor.
Newspaper Flower Wall Art
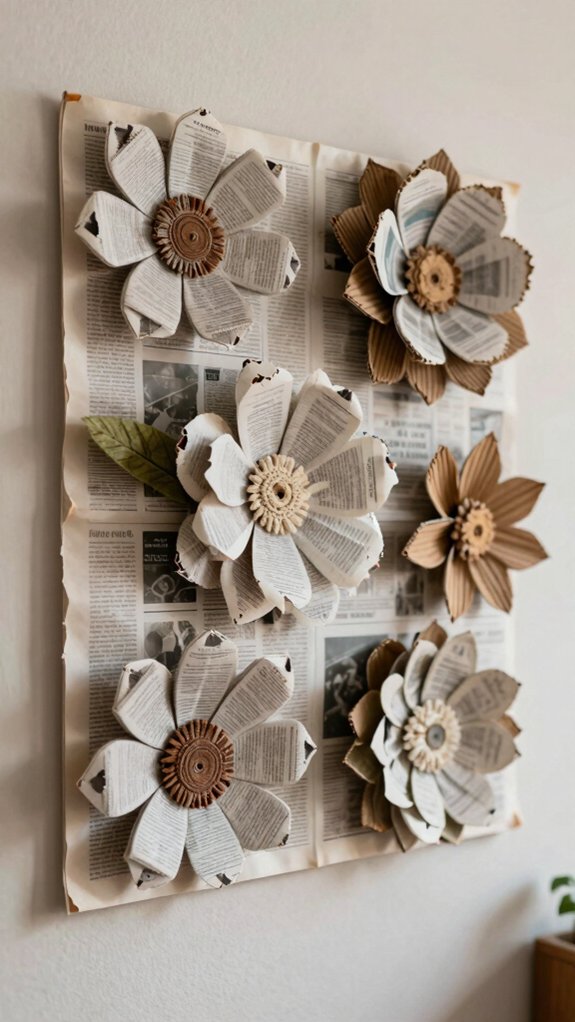
If you’ve got a stack of old newspapers lying around, don’t toss them just yet—turn them into cheerful flower wall art instead! You’ll only need newspapers, scissors, glue, and a little paint, so it stays cheap and easy.
Cut strips, roll them, then shape each petal and glue it to a base. Use thin strips for tiny blooms and wider ones for bold flowers, mixing sizes like a creative magazine collage or upcycled book page decor.
Let everything dry, then paint or decoupage lightly, keeping the texture visible. Finish by arranging your flowers on cardboard for a lovely cluster or wreath-like wall display.
Cardboard Geometric Panels
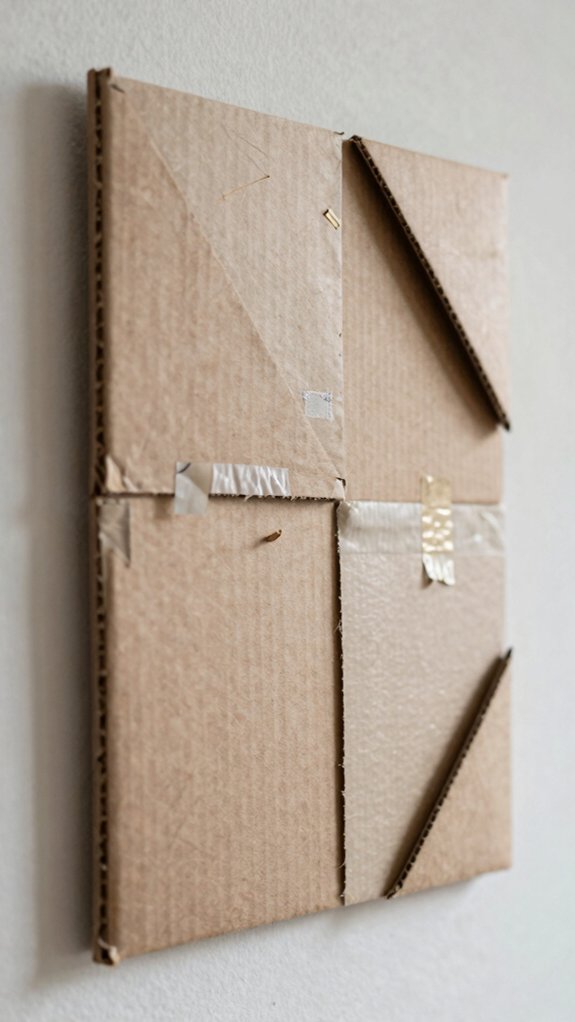
Cardboard can turn into surprisingly cool wall art, and this one’s a total win for your recycling pile! Grab Upcycled cardboard from Amazon boxes or cereal cartons, then cut straight strips and triangles with a ruler and utility knife.
Dry-fit the pieces first, so your geometry stays neat and nobody gets a wonky triangle party.
Paint the panel white, let it dry, then add darker accents for crisp contrast.
Want extra wow? Layer thicker cutouts on a larger base shape for a bold shadow effect.
Seal it with varnish, and you’ve got a sturdy, stylish piece that feels custom-made!
Fabric Scrap Tapestry
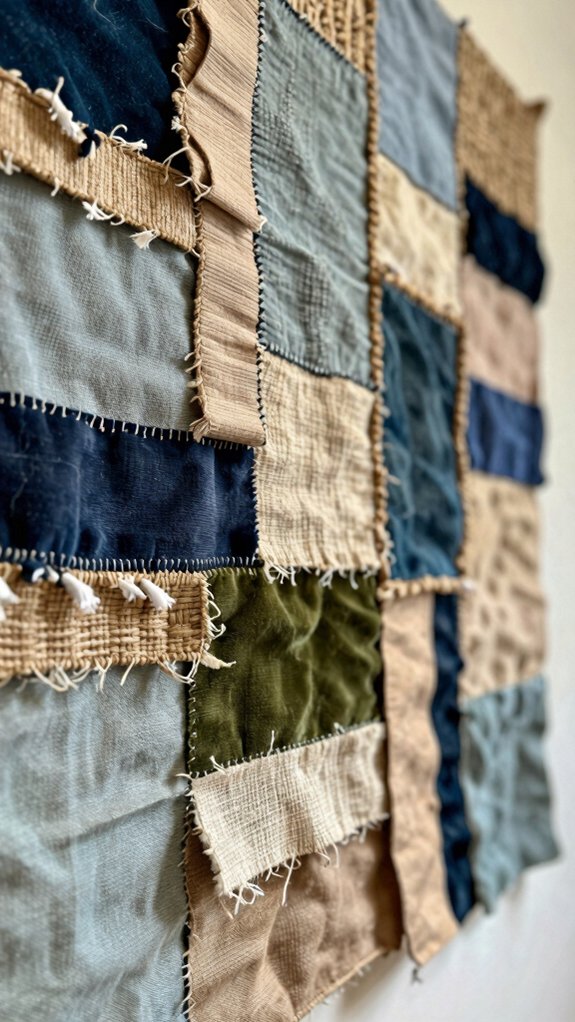
Now that we’ve played with bold cardboard shapes, let’s soften things up with a cozy fabric scrap tapestry—this one’s a fantastic way to use those tiny leftover strips hiding in your sewing basket!
You’ll fit right in with this easy textile scrap weaving project.
- Trim cotton, denim, and jersey strips to the same width, then weave them through a cardboard grid or embroidery hoop.
- Press painter’s tape or masking tape around the edges first, so everything stays put while you glue.
- Add a ribbon hanger, reinforce it, and seal loose edges with fabric-safe glue.
Your wall hanging display’ll look handmade, warm, and wonderfully thrift-smart!
Plastic Spoon Flowers
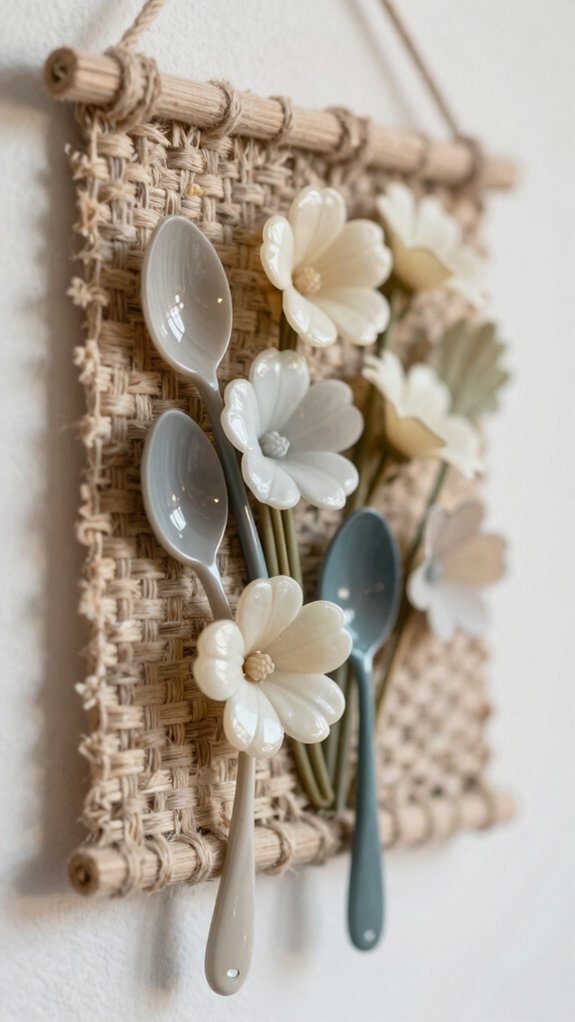
Plastic spoons might seem like picnic leftovers, but they can turn into surprisingly cute wall flowers with just a little paint and glue! You’ll need clean spoons, sandpaper, acrylic paint, strong glue, and a small center piece. Lightly roughen the glossy handles and bowls, then paint them in bright or soft shades and let them dry fully.
Next, cut or bend the spoon bowls, overlap them like petals, and glue them around your center. Make a few blooms, then string them on twine for charming Upcycled decor styling. These Eco friendly craft tips keep costs low, and the result feels fun, friendly, and totally yours!
Bottle Cap Mosaic
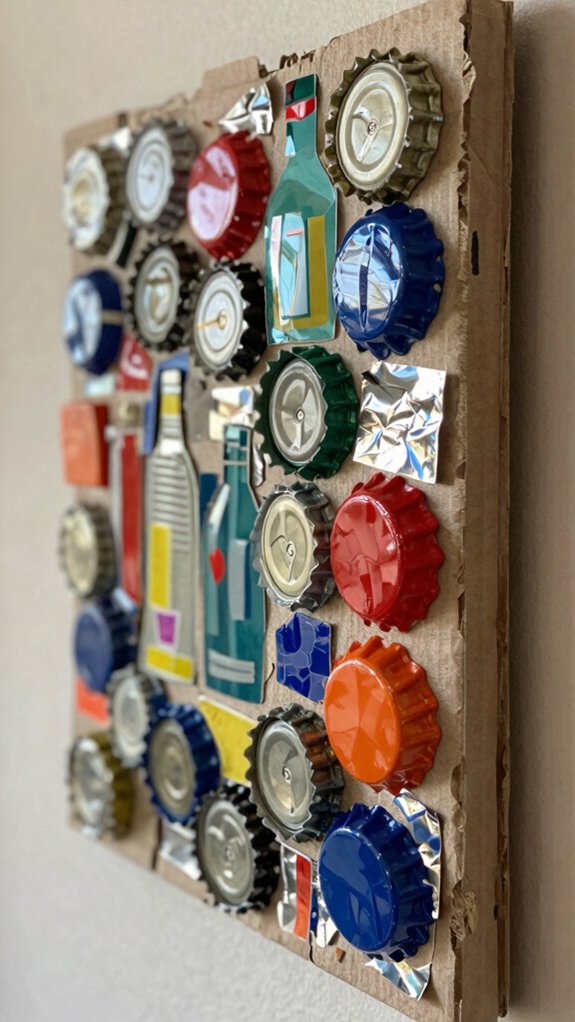
If you’ve got a stash of bottle caps hiding in a drawer, don’t toss them—turn them into a bold little mosaic that looks way fancier than it is! You’ll fit right in with your crafty crew.
- Rinse caps, pick a matching mix, and sketch a flower, letter, or grid.
- Glue them on a sturdy board, pressing each one flat for easy cleanup later.
- Fill gaps with grout finishing or epoxy, then seal for weatherproof sealing and outdoor durability.
Want a pro-looking wall piece? Use even spacing, let it cure fully, and add outdoor-rated varnish. Tiny trash, big wow!
Denim Pocket Organizer
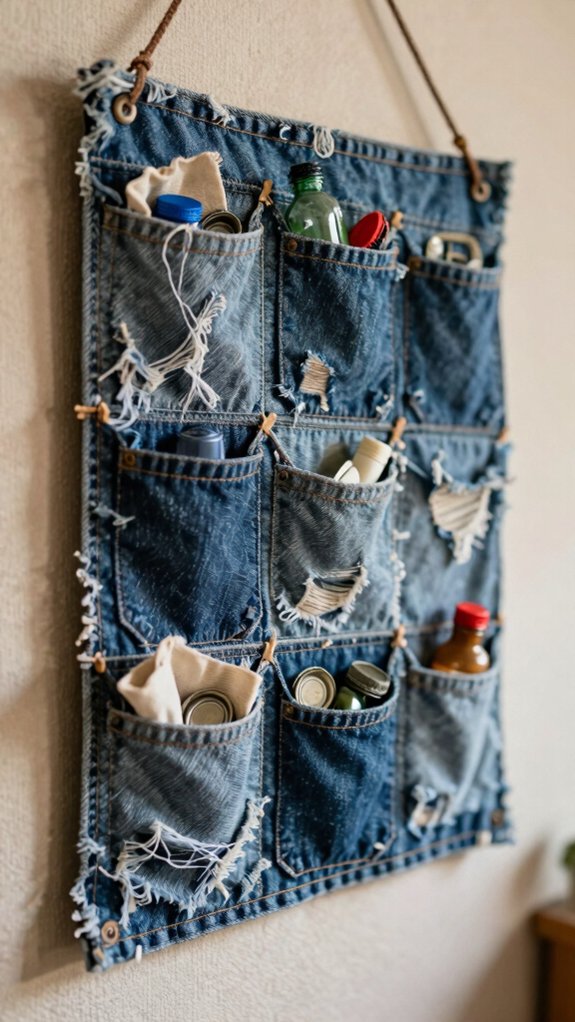
Those bottle caps can sit pretty while you raid your jeans drawer, because an old pair of jeans can become a super handy denim pocket organizer in just a few easy steps!
Cut out one or more intact pockets, then glue or sew them onto cardboard from a shoe box or thick fabric.
This kitchen craft keeps costs near zero and gives you cozy Upcycled storage with real charm.
Place pockets at different heights, so you can sort stationery, keys, or tiny craft tools.
Add a belt loop, waistband strip, or twine hanger, then lightly paint or decoupage the back.
Driftwood and Rope Display
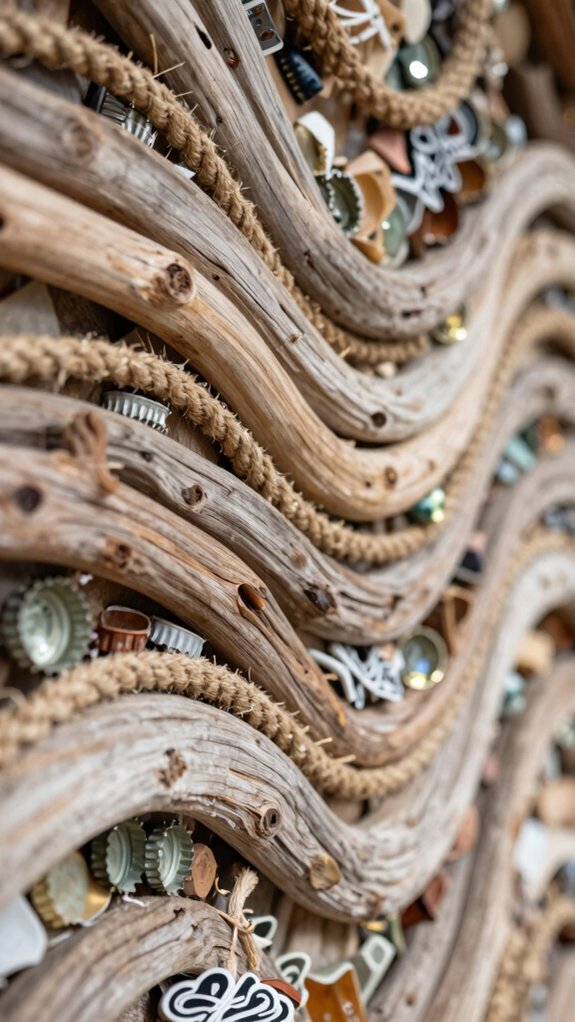
After a beach walk or a quick backyard sweep, you can turn a few small pieces of driftwood into a cool rope wall hanging that looks way fancier than it is!
This coastal craft gives your room natural texture and easy beach themed decor vibes.
- Clean and dry the wood first.
- Tie pieces with Upcycled twine, spacing them evenly.
- If a knot won’t hold, drill a tiny hole, thread the rope, and finish with hot glue.
Wrap the knots tight, then hang it on a loop or dowel.
You’ll get a sturdy display that feels handmade and welcoming!
Magazine Paper Weaving
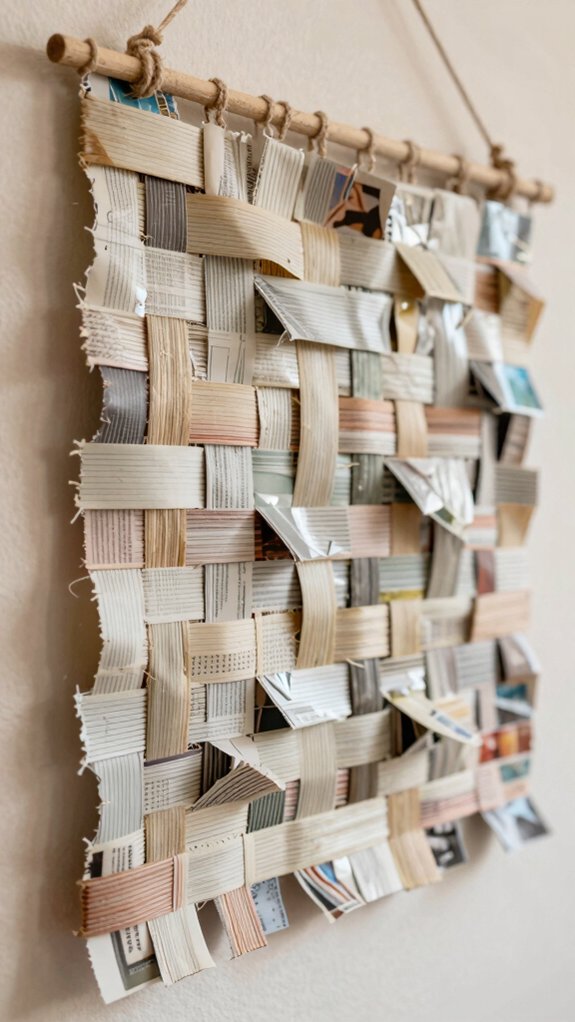
With just an old magazine and a pair of scissors, you can turn glossy pages into a woven wall hanging that looks artsy, colorful, and way more expensive than it is!
You’ll feel right at home making it, because magazine strip trimming is simple: cut each page into long, even strips, then weave them over-and-under in a repeating pattern.
Use thinner strips for a tighter, neater finish, and don’t stress, it’s beginner-friendly.
For extra hold, try glue reinforcement tips by securing the ends and brushing adhesive on the back edges.
Build a flat panel, mount it on cardboard, and finish with paint or decoupage.
Wine Cork Wall Accent
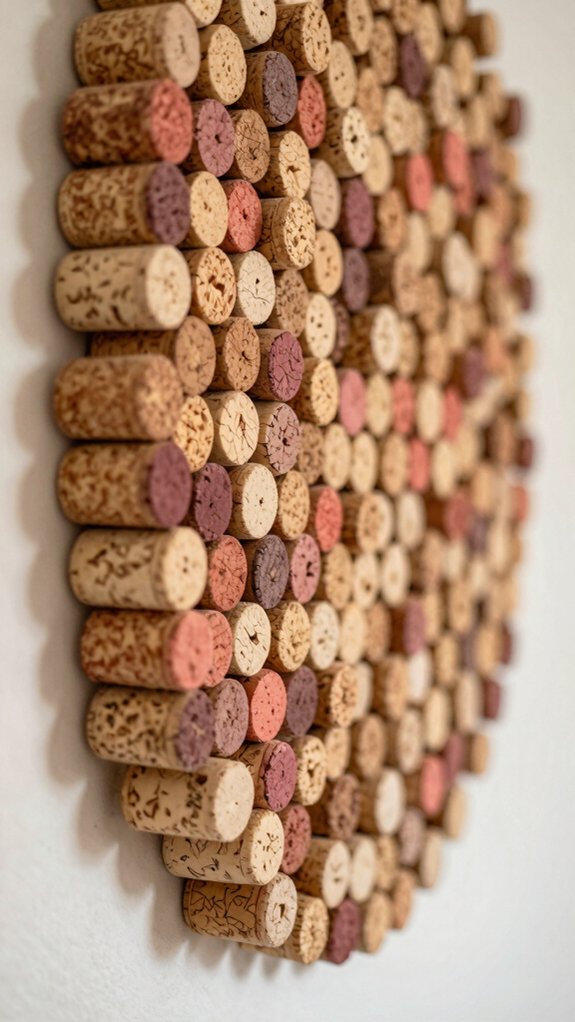
A humble pile of wine corks can turn into a super charming wall accent, and yes, it’s easier than it sounds! Gather clean corks, then sort them into a grid or a playful shape on cardboard or a board.
- Use hot glue, press each cork, and let the bumpy surfaces stick tight.
- Add paint or bottle label art for a cozy wine vibe.
- Mount it with a picture hook, and you’ve got low-cost wow factor.
This little craft also works as corkboard storage for notes, and it feels like your crew made it!
Old CD Mobile
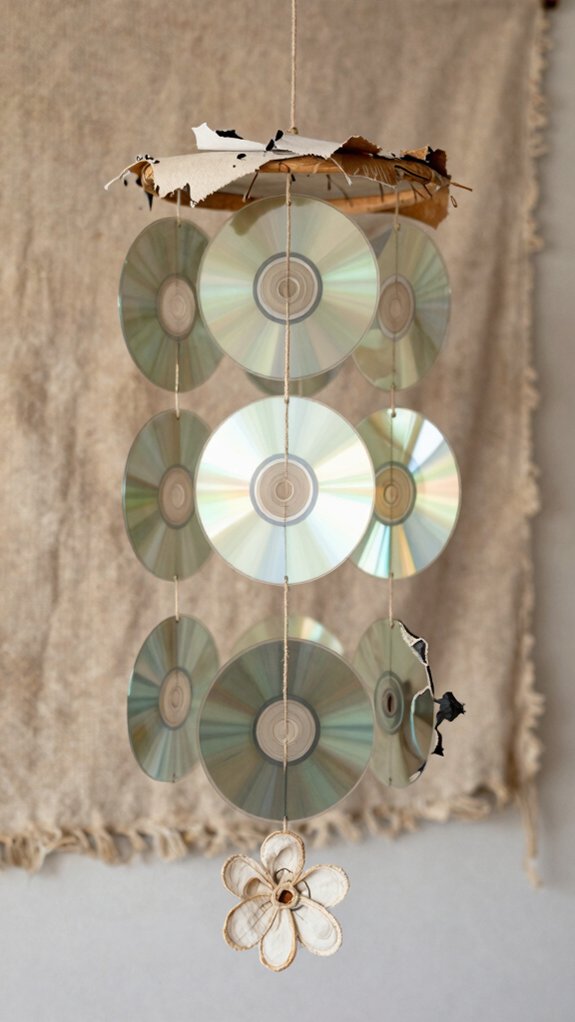
Instead of tossing that scratched-up old CD, turn it into a shiny little wall mobile that twirls and catches light like a mini disco cloud!
You’ll join the upcycled music crowd with a clever piece of reflective décor that feels fun and friendly.
Grab a few old CDs, thin string or fishing line, a small cardboard circle or picture-frame backing, and a lightweight hanger.
Punch or drill tiny holes near each center, then tie them on tight.
Mix shiny and scratched discs for extra sparkle, balance the lengths, and keep the base flat so it hangs neatly.
Cute, cheap, and wow-worthy!
Tin Can Hanging Planters
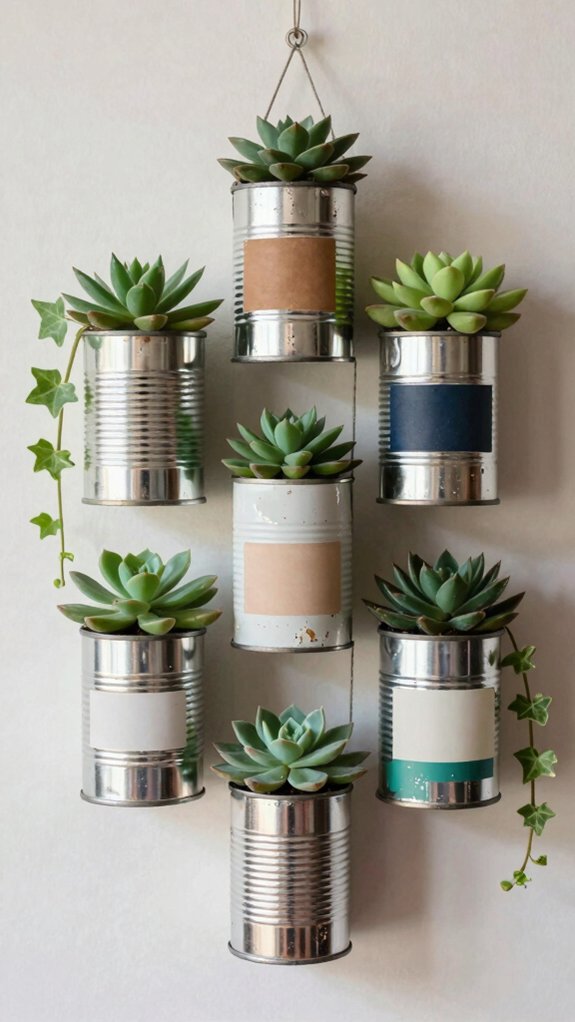
Tin cans don’t have to head straight for the recycling bin, because they can turn into charming hanging planters that look surprisingly stylish!
- Pick empty cans in different sizes, add Weatherproof paint options, and let them dry fully for a neat, budget-friendly look.
- Drill drainage holes, then punch holes near the rim and tie jute twine, wire, or hooks for steady indoor versus outdoor placement.
- Decorate with torn paper, seal with clear outdoor varnish, and plant succulents or herbs; their small roots fit perfectly and dry out fast.
You’ll create a cheerful wall garden that feels like home!
Egg Carton Floral Arrangement
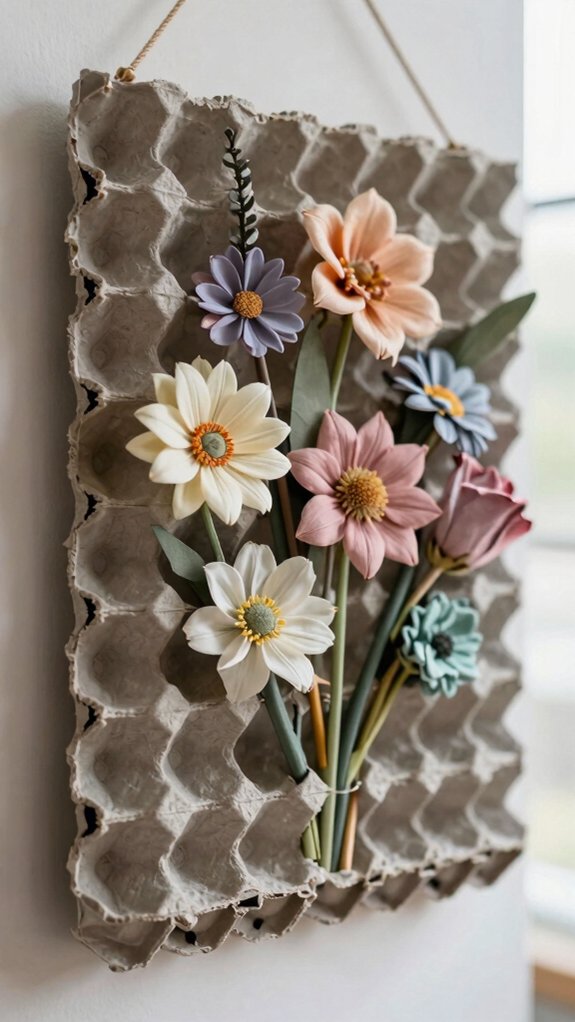
If you’ve got an empty egg carton lying around, don’t toss it just yet—those little cups can turn into surprisingly pretty wall flowers! You’ll cut out each cup, trim the edges into petals, and stack them with glue for single blooms or fuller shapes.
Grab scissors, adhesive, paint, and a scrap of cardboard for the backing. This kid craft feels like colorful recycling, and it’s cheap, easy, and oddly satisfying—no ornate tools needed!
Paint each layer in bright colors or soft pastels, let it dry, then glue the flowers onto the board. Give it time to cure, and you’ve got a light, cheerful wall piece.
Popsicle Stick Pattern
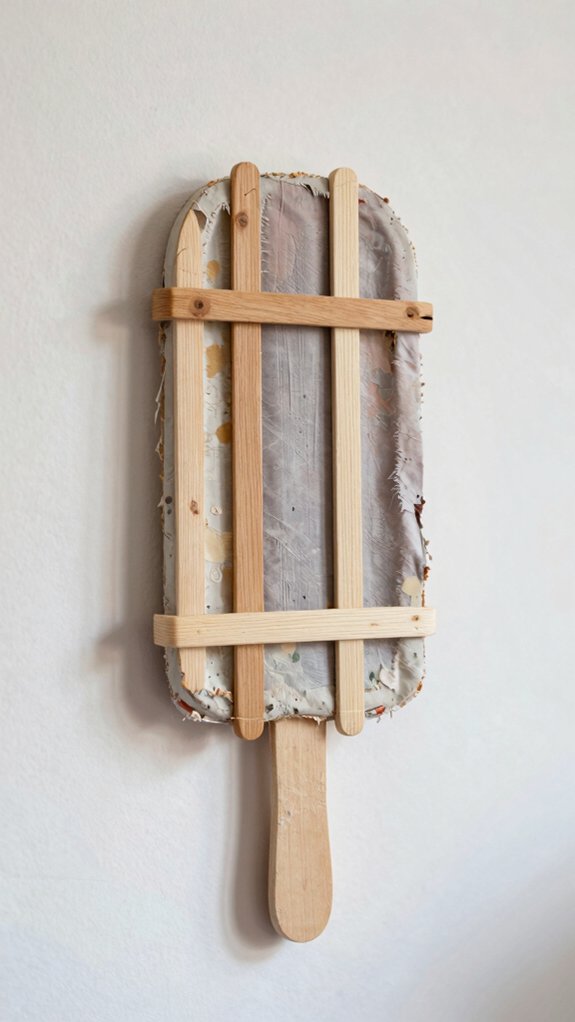
Egg cartons aren’t the only humble scraps that can bloom into wall art—popsicle sticks can do it too, and the result is neat, modern, and super easy to make!
- Gather clean sticks, trim wonky ends, and line them up in tight rows or a crisscross shape.
- Glue the ends together, keep spacing even, then let everything cure fully before you touch it again.
- Paint on a white base, then add Painted Texture or Stencil Patterns, and a few contrasting stripes for extra pop.
Finish with a small loop or cardboard strip on back. Cheap, cool, and totally yours!
Woven Plastic Bag Art
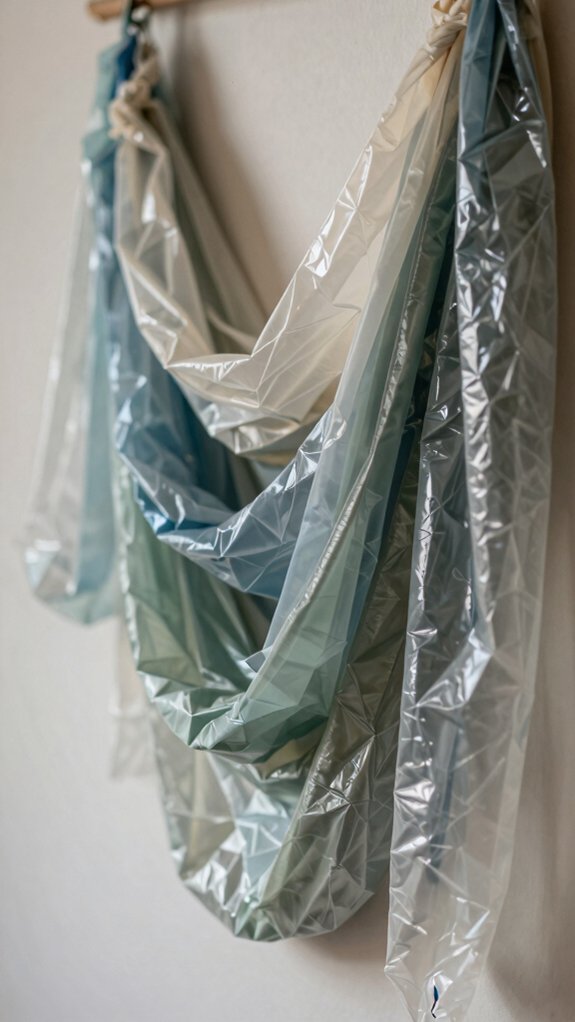
With a little cutting and weaving, old plastic shopping bags can turn into a wall hanging that looks surprisingly like a real textile—who knew grocery runs could become art?
You can cut the bags into even strips, braid or weave them into a flat sheet, and layer new strips as you go, so your piece grows easily.
Use cardboard or a recycled frame backing to keep it flat, then tuck or knot the edges to stop fraying.
Add a twine loop for hanging, and check craft safety as you work.
Bag dyeing can add color, and tiny bottle caps make fun textured accents!
Mixed Recycled Materials Collage
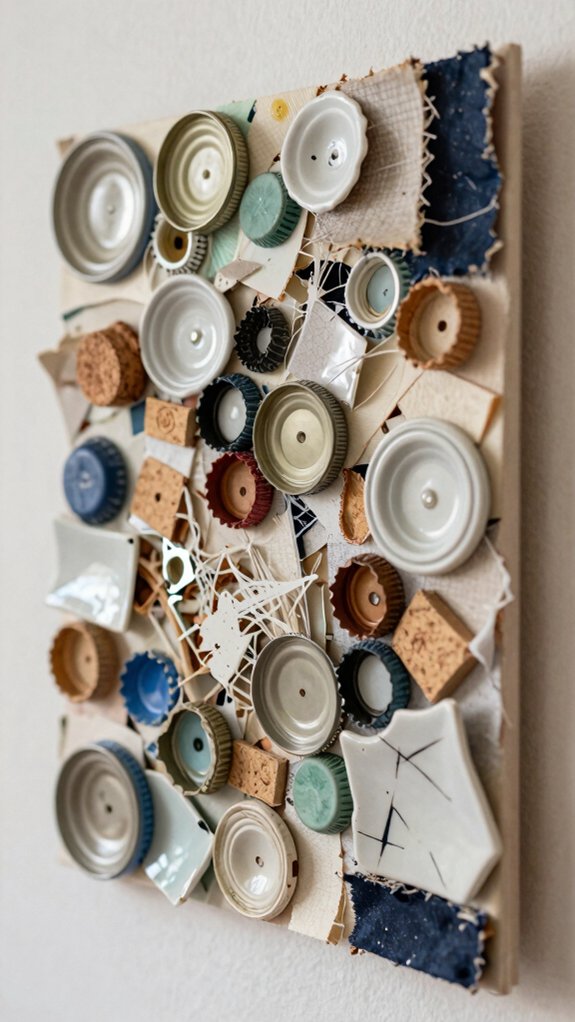
Start by raiding your recycling bin and sorting the scraps by texture, because a mixed-material collage really comes alive when smooth, rough, shiny, and crinkly pieces sit side by side.
- Build the base: Glue cardboard, egg-carton bits, and paper scraps onto a sturdy shoe-box panel for easy recycled material framing.
- Add sparkle: Snip soda cans into tiny strips or shapes, then tuck them between layers for raised, metallic pop.
- Finish strong: Brush on paint and glue, add rolled paper or torn newspaper, and use texture led layering for a cozy, one-of-a-kind wall hanging.


