
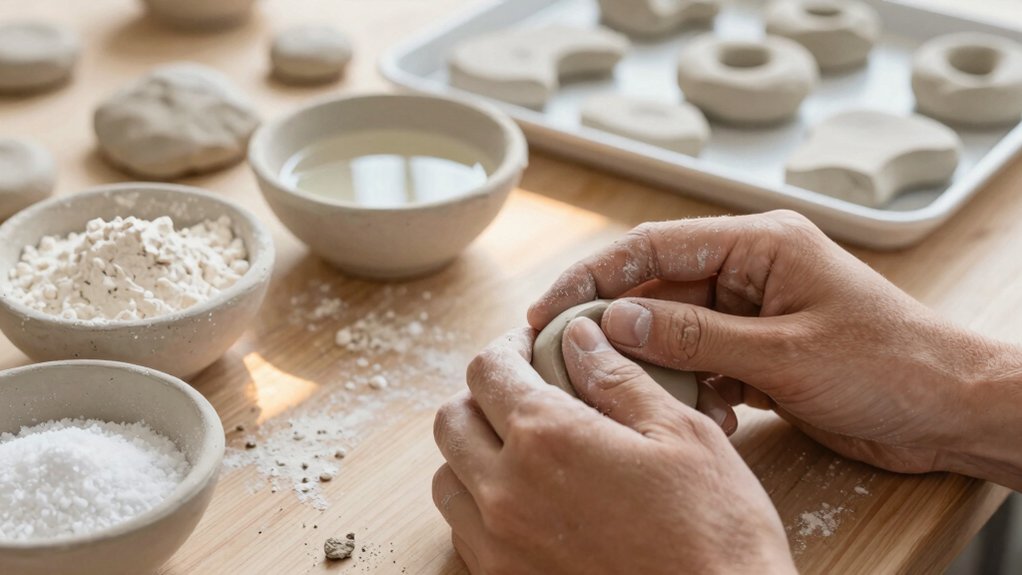

You can make smooth, white air-dry clay with stuff already in your kitchen—easy and budget-friendly! Mix 2 cups baking soda, 1 cup cornstarch, and 1¼ to 1½ cups water in a saucepan, then stir over low heat until it turns into one soft ball. Cool it, knead it smooth, and dust with cornstarch if it gets sticky. Roll it about 1/4 inch thick for cute cuts, and it dries strong in a few days, with a handy trick coming up next.
Key Takeaways
- Mix 2 cups baking soda, 1 cup cornstarch, and 1 1/4 to 1 1/2 cups water for a simple DIY air-dry clay.
- Cook the mixture over low to medium heat, stirring until it becomes smooth, thick, and pulls into one lump.
- Knead the cooled clay until smooth; add cornstarch if sticky or a few drops of water if crumbly.
- Roll the clay to about 1/4 inch thick, then cut shapes or mold by hand for easy crafting.
- Let pieces dry 3 to 5 days, flipping once, and store leftover clay wrapped airtight for up to 2 weeks.
Why Homemade Clay Is Worth Trying
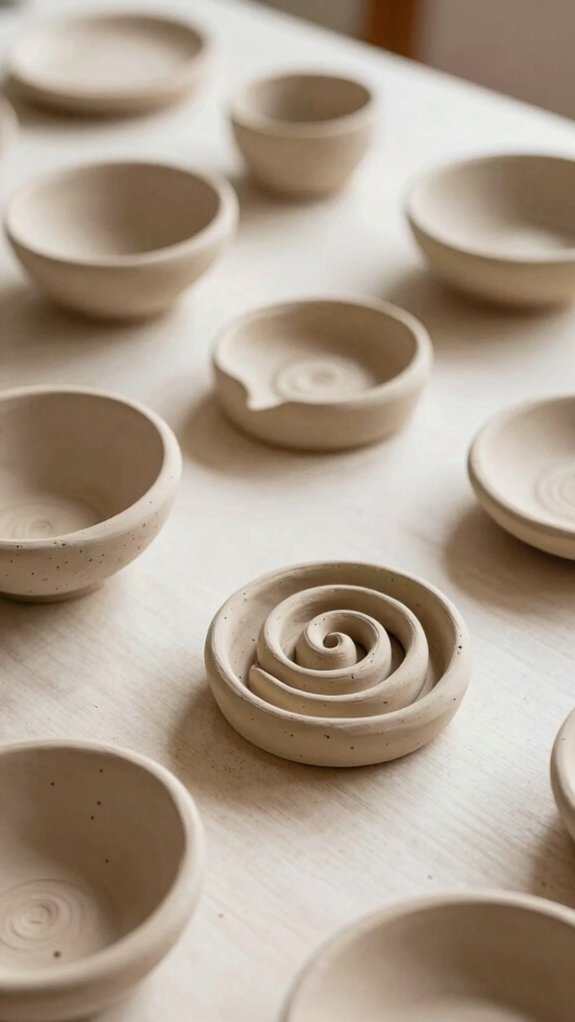
If you’ve ever wanted to make clay without a trip to the craft store, homemade air-dry clay is a super fun place to start!
You’ll love Beginner friendly crafting because you can mix simple pantry staples, skip elaborate tools, and still get a smooth, crisp white finish.
It feels soft at room temperature, not sticky, so you can roll it to about 1/4 inch and cut cute shapes with cookie cutters.
That’s Versatile moldability, at its best!
Give it a few days to dry, and you’ve got pieces that can handle real life, even a little drop test.
Pretty cool, right?
Ingredients You’ll Need
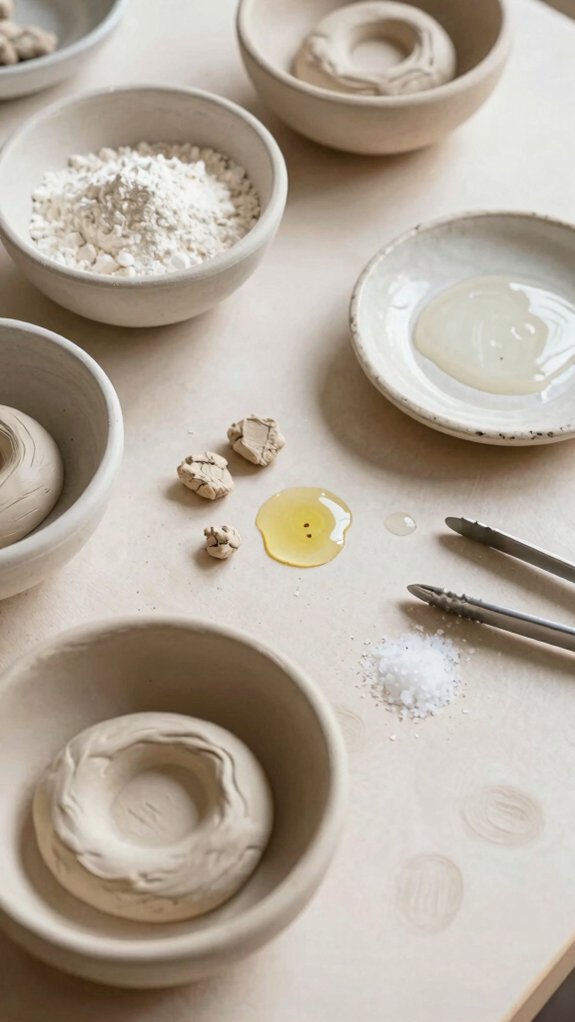
The best part about this DIY clay recipe is that you probably already have most of the ingredients sitting in your kitchen—talk about handy! You’ll need 2 cups baking soda, 1 cup cornstarch, and 1 1/4 to 1 1/2 cups water, plus a saucepan, spoon, measuring cups, and nonstick cookware. It’s a low-cost, beginner-friendly setup, perfect when you want to make something fun without a store run.
Cornstarch helps the clay turn smoother and less clumpy, while baking soda gives it that bright white finish. If you want extra strength, add a little Elmer’s glue. You’re making a friendly, flavorless mixture!
Mix Everything Until Smooth
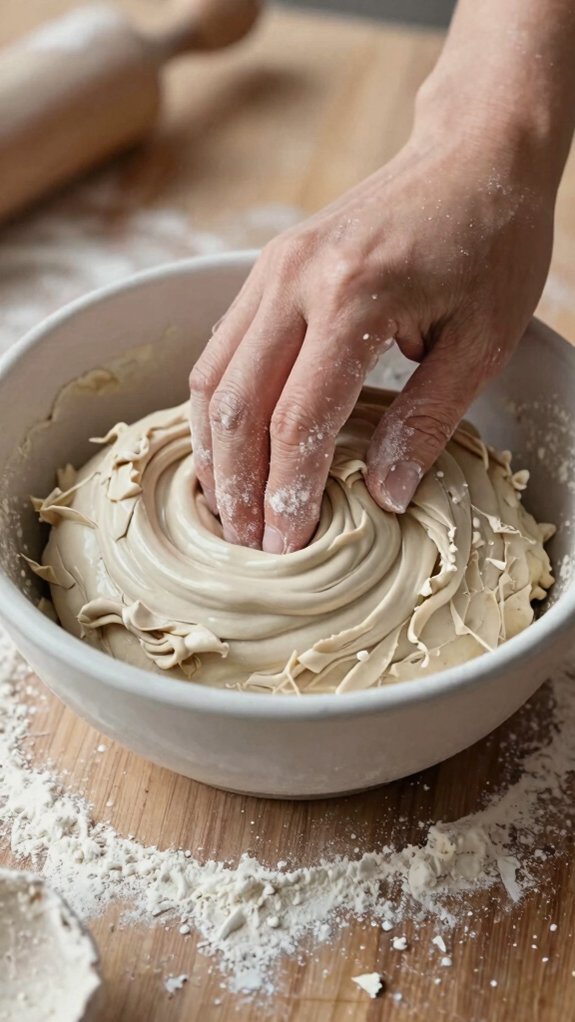
Now comes the fun part—combining everything in the saucepan and stirring it over low to medium heat until it turns into a smooth, thick mixture.
You’re making homemade clay, and yes, you’ve got this! Keep that stirring consistency steady so the baking soda, cornstarch, and water become one friendly team.
- Watch it thicken.
- Scrape the pot bottom.
- Keep it moving.
- Enjoy the change.
- Stay with the heating duration.
Soon it’ll feel like mashed potatoes, then one lump, not grainy bits. That’s the magic moment.
It’s cheap, simple, and kinda satisfying, like joining a crafty club with no membership fee!
Adjust the Texture
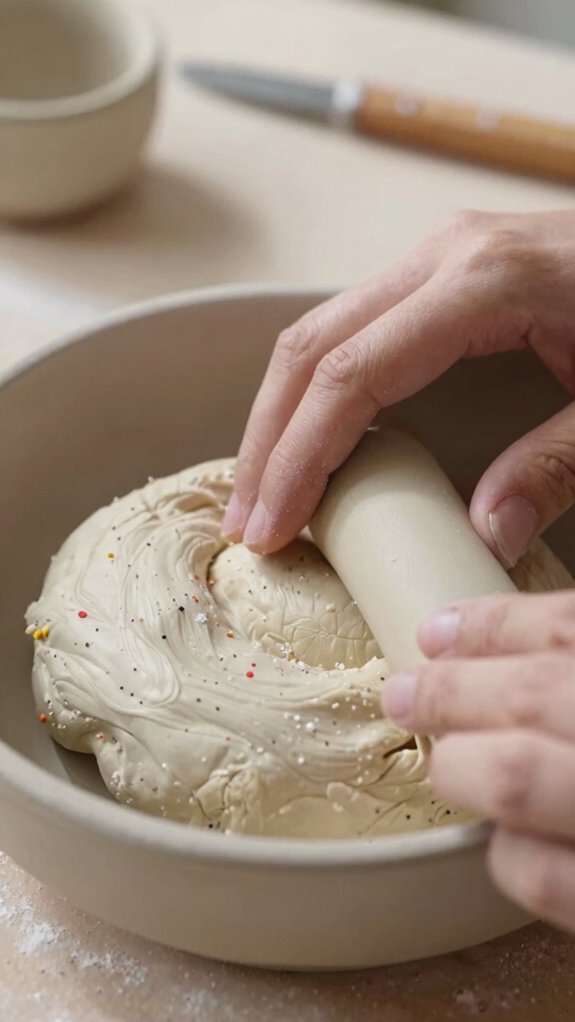
A little texture tuning goes a long way! If your clay feels sticky, dust your hands and work surface with a little cornstarch, or add a pinch while you shape it. If it’s dry or crumbly, stir in a splash more water during heating—too little water often causes cracks, and nobody wants that drama.
Cook it until it pulls from the pot and forms one soft ball, then let it cool to room temp. For ornaments, roll it 1/4 to 1/3 inch thick.
Need to join pieces? Use a damp fingertip to score and smooth. That’s smart humidity control and texture troubleshooting!
Knead for the Best Results
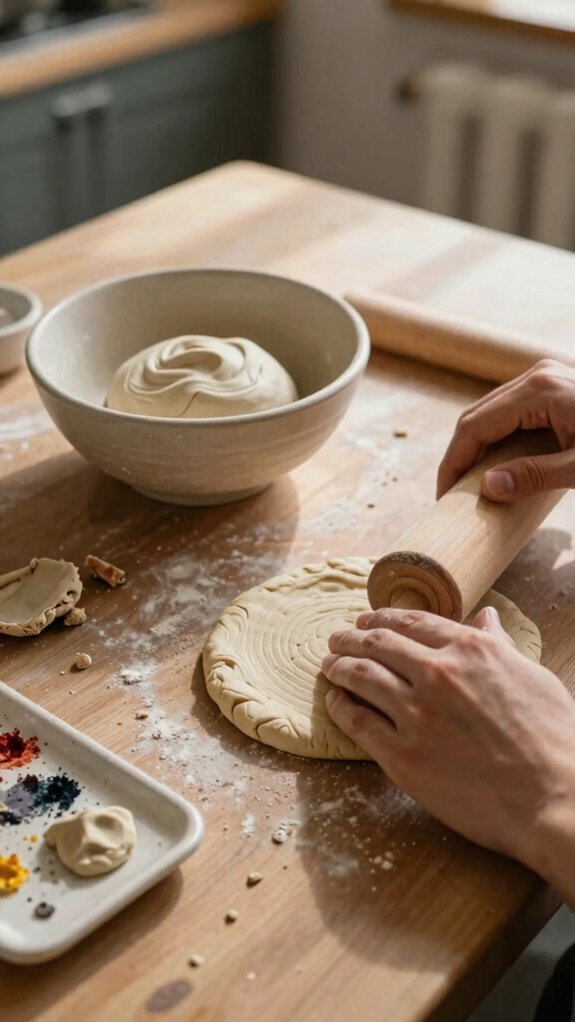
Once your clay has cooled, knead it well until it turns smooth and even, because this is where that homemade magic really starts! You’re building texture consistency, and that means fewer gritty spots and cleaner shapes.
- Feel the lumps fade away
- Add a few drops of water if it’s crumbly
- Dust lightly with cornstarch if it sticks
- Shape it to fit tool sharpening details
- Cover it fast, so your crew can keep creating
For ornaments or thin pieces, aim for slightly firm, not sticky. That sweet spot helps you join parts easier and keeps your project looking crisp.
Add Natural or Acrylic Color
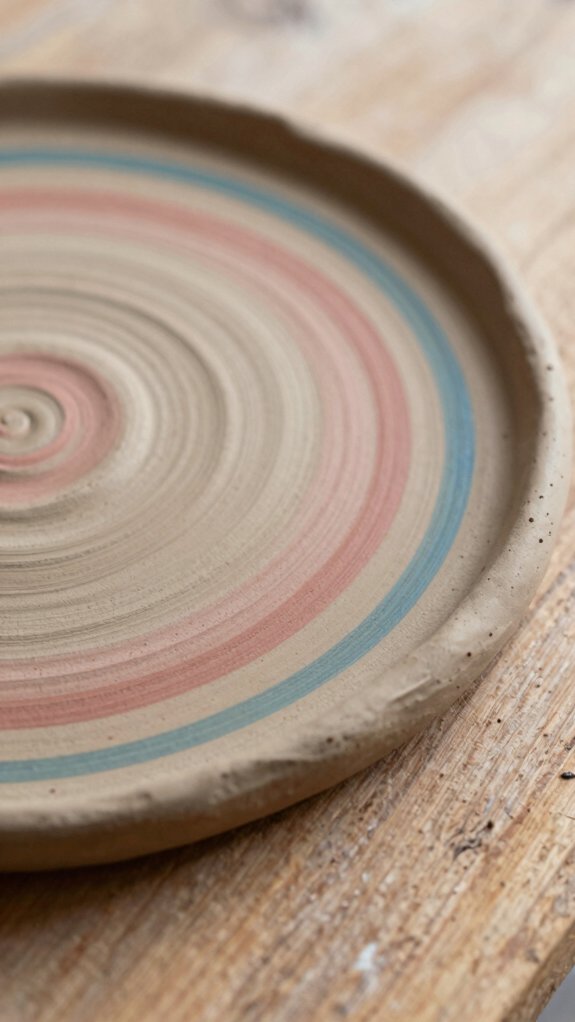
If you want your clay to stay crisp white, start by kneading food coloring into separate portions after the clay has cooled to room temperature, and you’ll get soft, even color without muddy streaks.
Want one bold shade? Add a single food coloring drop to the water before mixing in baking soda and cornstarch, then cook until it looks like mashed potatoes—yes, really!
For extra flair, try Mixing mica powder after cooking for a tiny sparkle party, or use acrylic paint for Watercolor blending before shaping.
Once your piece is fully dry, paint it, and wow, it pops!
Store Clay the Right Way
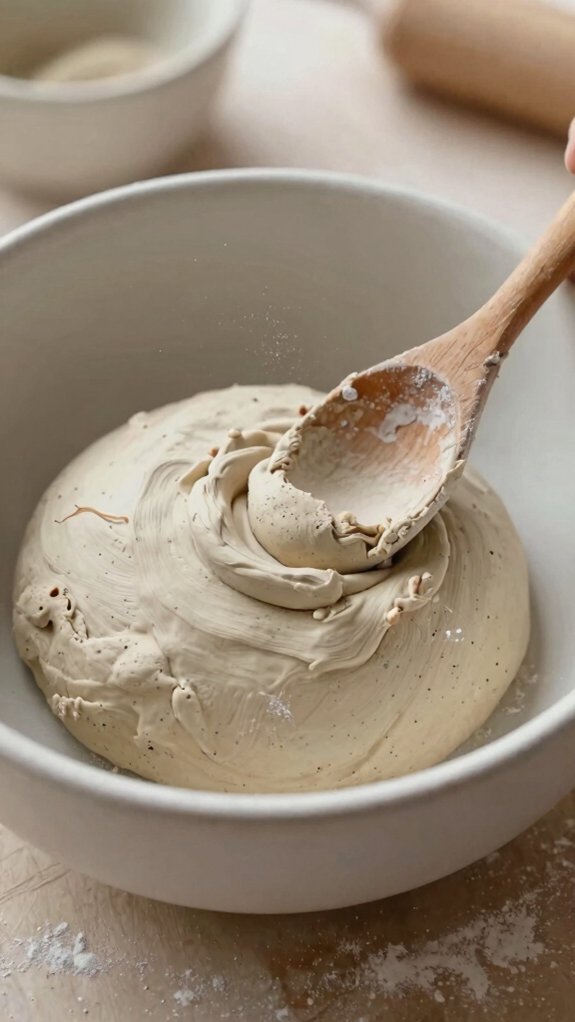
To keep your leftover clay soft and ready for round two, wrap it tightly in plastic wrap, then tuck it into an airtight container or Ziploc bag—this simple move can keep it workable for about 2 weeks.
- You’ll feel like a clay pro, not a cleanup champ.
- Keep it at room temperature, away from heat vents, wow!
- Focus on preventing air exposure between uses.
- Portion it fast, then seal container tightly every time.
- If it’s already dry in the bag, don’t battle it.
Want the best result? Save only fully dry pieces, then store them separate.
Make It Less Likely to Crack
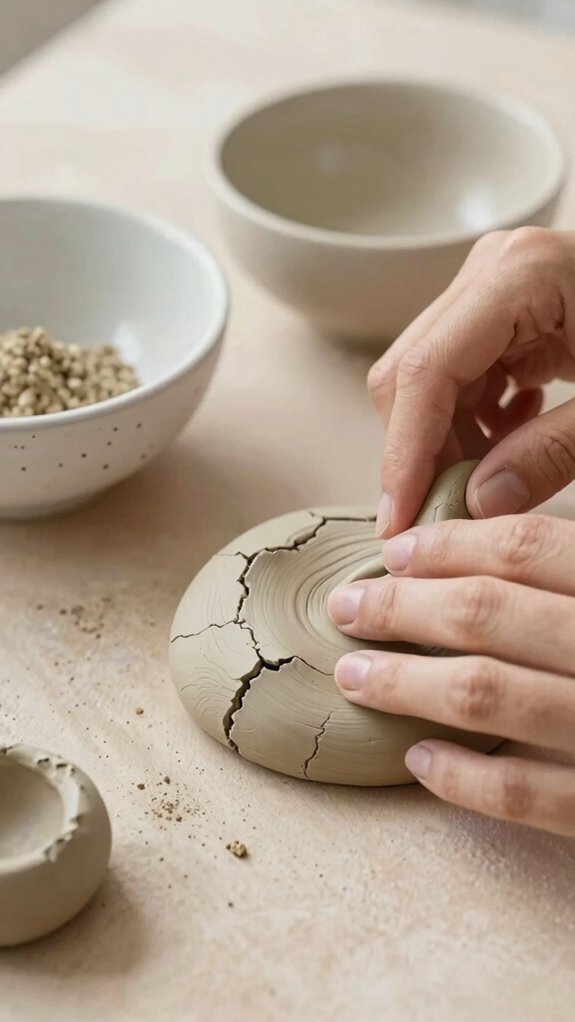
Cracks can sneak up on you, but you can stack the odds in your favor with a few smart moves! Roll your clay to even thickness, about 1/4 to 1/3 inch, so it dries like a team, not a drama club.
Let it go slow drying for 2 to 3 days, longer if it’s thick, and flip it after day one.
Shape it on paper or cardboard, not a glass bottle, so it can shrink happily.
Work in small batches, cover extras, and if a crack shows up, smooth it with a damp finger, then patch it thinly.
Projects That Work Best with Homemade Clay
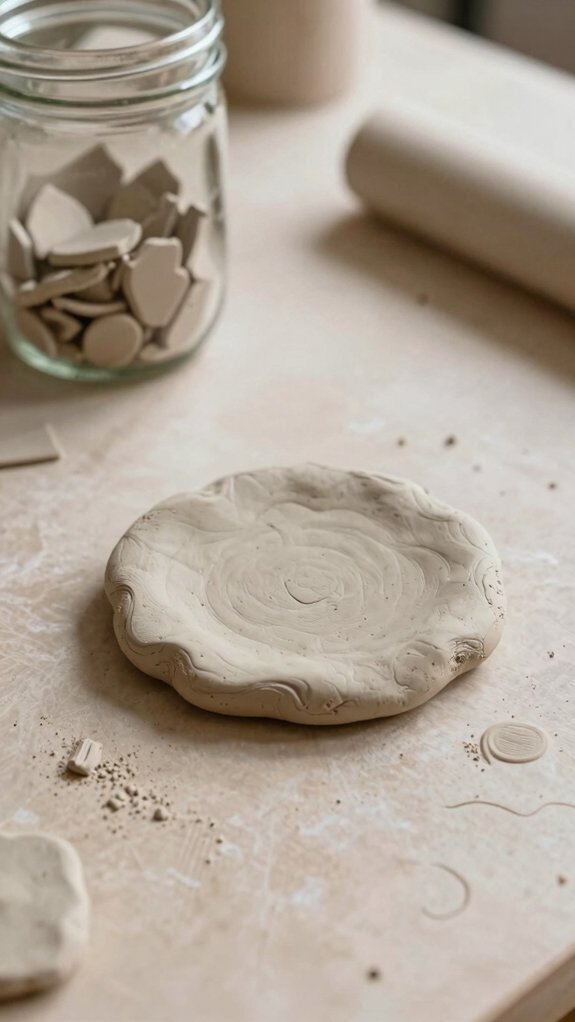
When you’re working with homemade baking-soda-and-cornstarch clay, the sweetest wins come from small, simple projects that dry all the way through without throwing a tantrum!
You’ll feel right at home making pieces that stay light and friendly.
- Thin ornaments: roll, cut, and hang, so they look charming fast.
- Jewelry holders: pinch a tiny dish, smooth the rim, and stash rings in style.
- Simple figurines: shape little animals, then blend joints with a damp finger.
- Pinch pots or plates: press gently, keep them shallow, and they’ll stay neat.
- Mask layers: spread clay over an armature for a bold, doable craft.
Drying Time and What to Expect
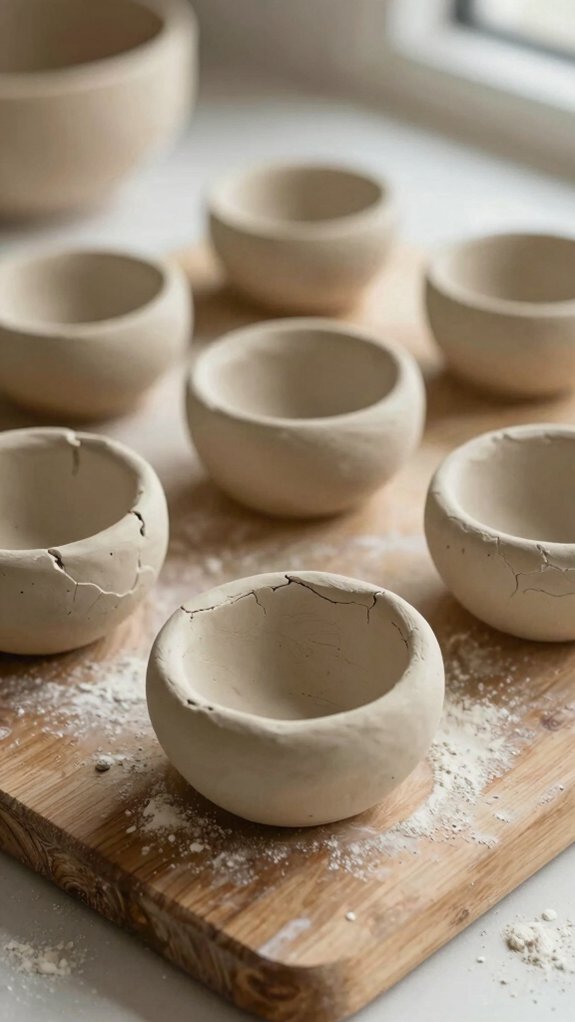
Your adorable clay projects are only half the story, because the drying part can make or break the whole thing! Plan on 3 to 5 days, and keep in mind that thickness varies, so chunky pieces need more patience.
Humidity impact is real, and if you rush, cracks can show up quickly, sometimes even after 12 hours—ouch!
Let it sit undisturbed, then flip it after the first day so both sides dry evenly.
Before you paint or seal, make sure it’s 100% dry.
Need it sooner? Try the oven at 200°F for 1 to 1½ hours, flip halfway, then cool inside.


