
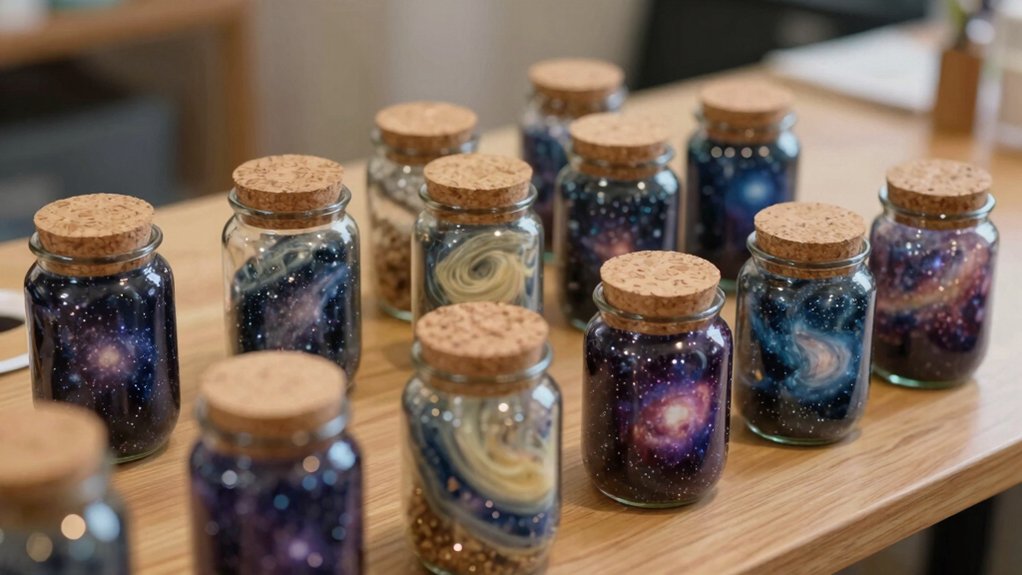

You can make a galaxy jar with a glass jar, water, cotton balls, paint, and glitter—so easy, it’s essentially tiny space in a bottle! Try blue-and-purple swirls, pink nebula clouds, or a calm-down jar with floating sparkle. Layer light colors first, then darker ones, and nudge them with a skewer for dreamy depth. Add LED light, too, for a glow-up wow factor. And yes, the coolest jar idea may be waiting just ahead.
Key Takeaways
- Use a glass jar with a tight lid, plus purple, blue, and pink paint, cotton balls, water, and fine glitter.
- Start with about one-third water, add a few drops of paint, then glitter, then fluffy cotton for a dreamy galaxy base.
- Layer light colors first, then darker shades, using separate cups to avoid muddy mixing and create nebula depth.
- Add glitter and star shapes lightly between layers, and use a wooden skewer to gently nudge colors together.
- Finish by cleaning the rim, screwing on the lid tightly, and letting the sealed jar set for a magical space display.
What Is a Galaxy Jar?
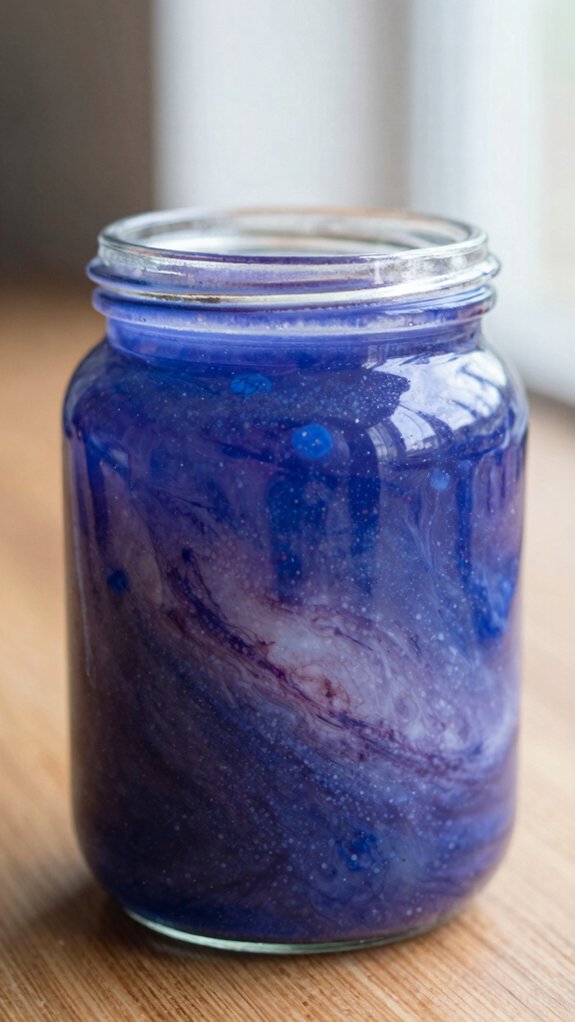
If you’ve ever looked up at the night sky and thought, “Whoa, that’s a lot of stars,” a galaxy jar is essentially that feeling in a bottle! You make one to show a galaxy, a huge gravity-held family of stars, gas, dust, and dark matter.
Think of Star facts and Milky Way myths as your guide: a nebula is a cloud of gas and dust, and old sky stories once used that word for any fuzzy space object.
In your jar, cotton balls suggest stars, and paint swirls mimic glowing clouds.
Cool, right? It’s simple, low-cost, and magical!
Galaxy Jar Materials You’ll Need
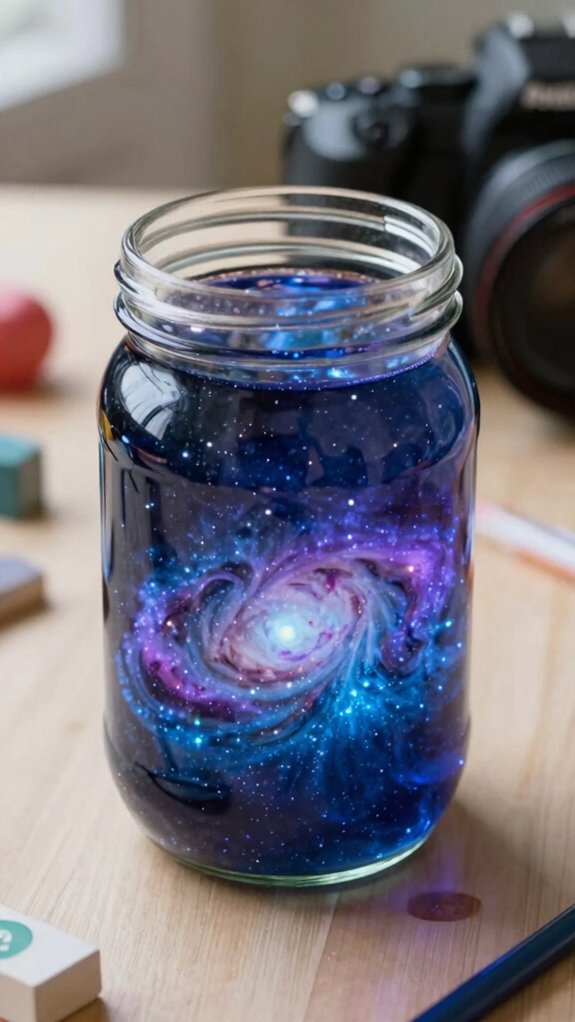
Gathering your galaxy jar supplies is the fun part, because this is where the magic starts taking shape!
You’ll need a clean glass jar with a lid, plus tempera or acrylic paint in purple, blue, pink, or any colors you love for Color Mixing.
Grab cotton balls for the dreamy cloud effect, and don’t be shy—larger jars can use a lot.
Next, stock fine glitter, water, and a few Glitter Options like iridescent stars or holographic shapes.
Use disposable cups to mix each color, stir, layer, and watch your jar turn into a tiny universe you made yourself.
Choose the Right Jar Size
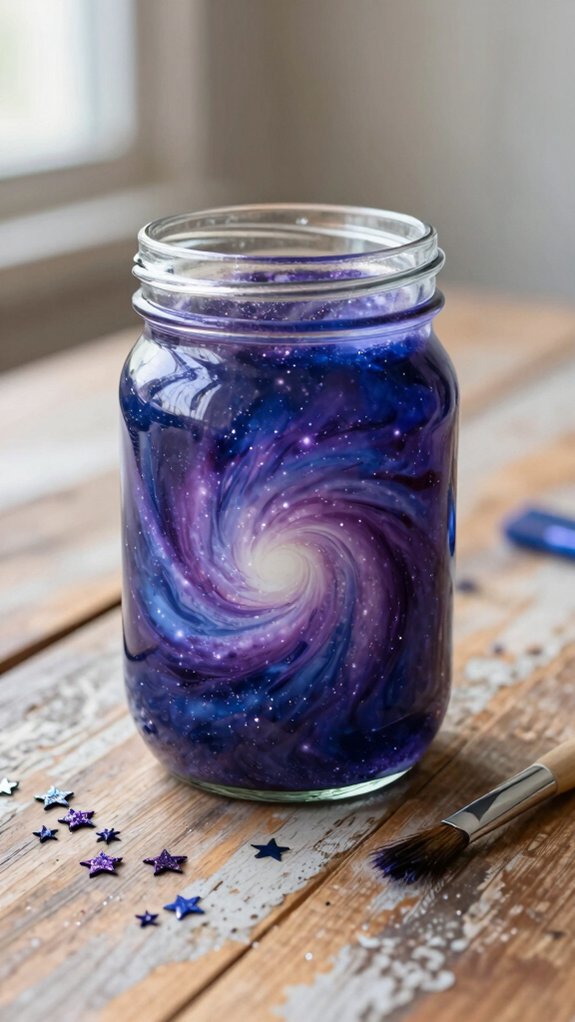
Start with a small jar if you want a quick, kid-friendly project, because it’s easy to fill and makes a cute little galaxy fast!
A medium jar gives you more room for cotton, paint, and glitter layers, so you can build that classic swirling space look without too much fuss.
And if you’re going big, a 16 oz mason jar really shines, since it leaves plenty of space for glowing stars, deeper nebula colors, and maybe a few extra cotton balls—just in case your “tiny universe” gets ambitious.
Small Jar Options
Small jars make galaxy jars feel way less intimidating, and honestly, they’re usually the sweet spot for kids’ crafts! You’ll get kid friendly cleanup, better glitter mess control, and quick layering tips that keep the fun moving.
Try safe plastic cup options, like 9-ounce cups, to mix each color separately before you pour.
For the jar itself, pick a small container, and leave enough room for a cotton base about one-quarter full. That gives your colors and sparkle a dreamy glow without turning into a science-fair avalanche.
A pint mason jar works too, but smaller jars make easier, faster, and brighter little galaxies!
Medium Jar Choices
A pint-sized jar is the sweet spot when you want a galaxy craft that still feels manageable but has room to look magical!
Grab a 16 oz mason jar, fill it about 1/4 with cotton, then layer 3–8 oz cups of paint so the cotton soaks it up, not swims in it.
- Start light, then go dark for that nebula fade.
- Keep extra cotton nearby, just in case.
- Add glitter bands between colors for sparkle.
- Use it for Space themed gifting or sensory play ideas.
You’ll get a cozy, kid-friendly jar that feels wow-worthy, without the fuss.
Large Jar Projects
When you’re making a bigger galaxy jar, the jar size really matters, and the sweet spot is still a 16 oz pint mason jar with a regular mouth. You get room for cotton clouds and glitter stars, so your space scene feels bold, not crowded.
Try filling it about 1/3 at a time: shake water and paint, add glitter, then press in a cotton layer. Use more cotton balls, even up to 3 bags, for kid friendly mess prevention and cleaner layers.
Mix colors in 9 oz cups, lightest to darkest.
Before sealing, wipe the rim well for airtight sealing tips.
How to Assemble a Galaxy Jar
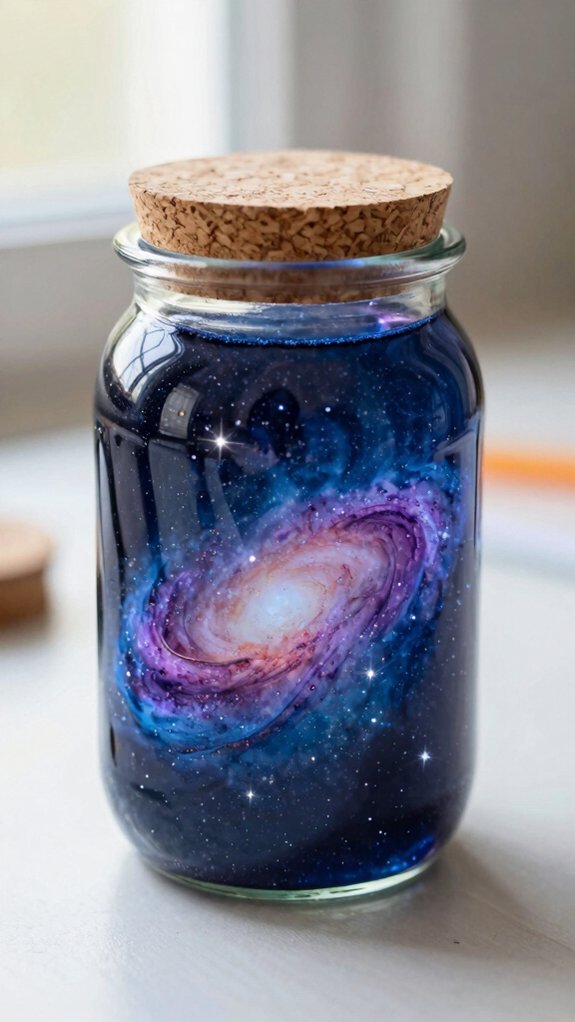
Start by wiping the rim of your mason jar clean, because you want that lid to seal tightly and you definitely don’t want sneaky glitter messing with the closure—glitter has a way of showing up where it’s least invited!
For great Safety seal tips and Glitter mess prevention, try this:
- Add about 1/3 water first
- Stir in a few drops of paint
- Sprinkle fine glitter, then cotton balls
- Repeat in lighter-to-darker layers
Use a wooden skewer to nudge colors together and spread the stars. Finish near the top, screw on the lid tightly, and let it set. Wow, your galaxy’s ready!
Add the First Paint Layer
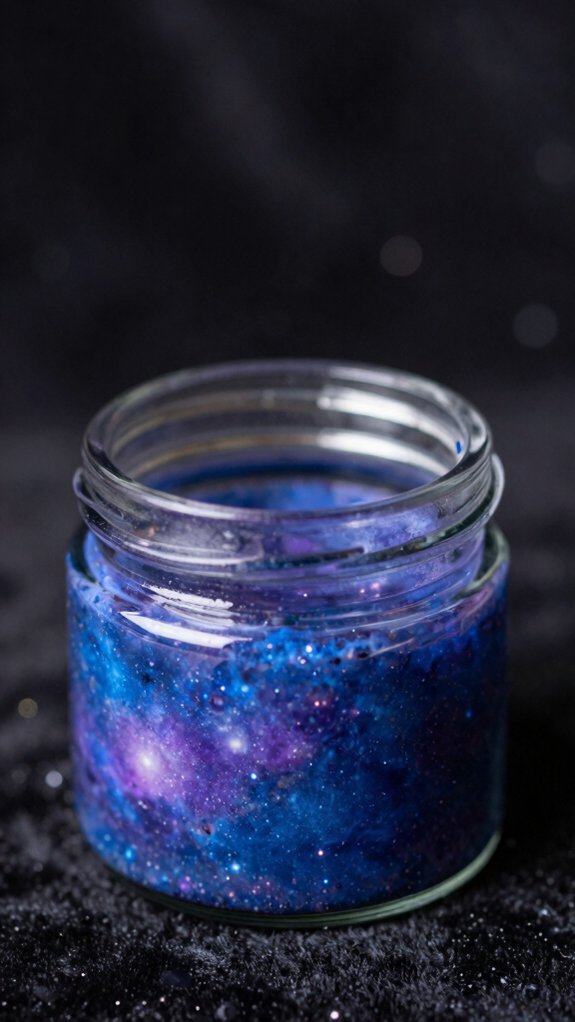
Start with the lightest paint color first, because it sets the mood for your galaxy without turning the jar into a muddy mess—yay, instant space vibes!
Mix about 4–5 drops of acrylic or tempera paint into water, then pour it over the cotton so it soaks in evenly, not floating around like a tiny cloud on vacation.
If you want a little wow factor, sprinkle in some fine glitter right after that first layer, and boom, you’ve got the start of your stars!
Lightest Color First
A soft, pale base makes the whole galaxy jar feel extra magical right away! You’re setting up that dreamy glow, and it’s easier than it looks.
- Mix your lightest color first, with 4–5 drops per cup.
- Pour it over the cotton so it soaks in, not swims.
- Sprinkle a little glitter or stars right after.
- Use Color mixing tips and Layering timing hacks as you go.
Keep your layers moving from light to dark, and blend only at the edges with a skewer. That keeps your ombré clean, not muddy, and gives your jar a real nebula vibe.
Soak The Cotton
Once your lightest color is mixed, pour in about 1/3 water, add several drops of paint, then pop the lid on and shake or stir until it looks smooth and dreamy.
Stretch your cotton balls into fluffy nebula shapes, then tuck them into the jar and let the mix soak in, just enough to color the fibers without making them float, yay!
Keep an eye on color layer spacing so each shade stays distinct and pretty.
After the cotton drinks up the paint, sprinkle in fine glitter like tiny stars, and use careful glitter star placement for a galaxy that feels made for your crew.
Add Glitter Sparkle
With the cotton all fluffy and soaking up color, it’s time to give your galaxy a little star *energy*! Mix about 1/3 jar of water with 4–5 drops of the lightest acrylic tempera paint, then shake or stir until it looks smooth.
- Add glitter before the cotton is fully soaked.
- Use fine glitter for tiny stars.
- Pour just enough to moisten, not flood.
- Finish with a light sprinkle after the first layer.
That keeps sparkles from clumping and helps your colors glow.
For sparkle safety tips and glitter cleanup hacks, keep a tray nearby—less mess, more magic!
Build the Nebula Look With Cotton
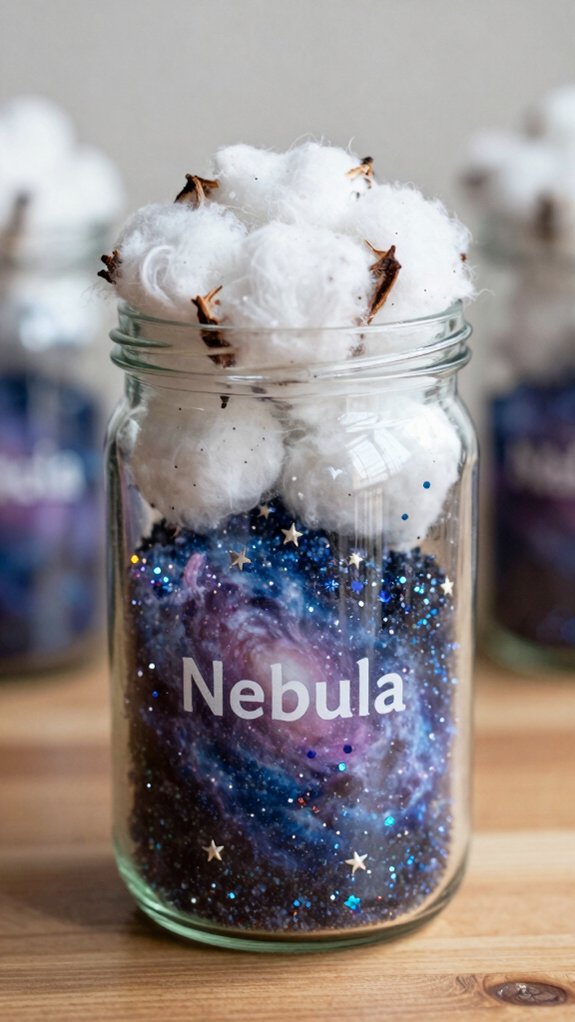
Start your nebula layer by pulling apart cotton balls until they look fluffy and cloud-like, then press them into the bottom of a clean mason jar for that soft, starry base.
You’ll want just enough cotton to catch color without swimming, so pour in your lightest paint-water mix first, about 4–5 drops of tempera per batch. Nice and easy!
For smart Color mixing tips, add a little more color as you go, then sprinkle fine glitter with clever Glitter placement tricks before the next cotton layer.
Keep building, and tuck cotton along the sides to stop bleeding.
If you want a dreamy gradient, stir gently with a wooden skewer, but only a bit—too much turns galaxy magic into mud!
Use Glitter for Stars and Sparkle
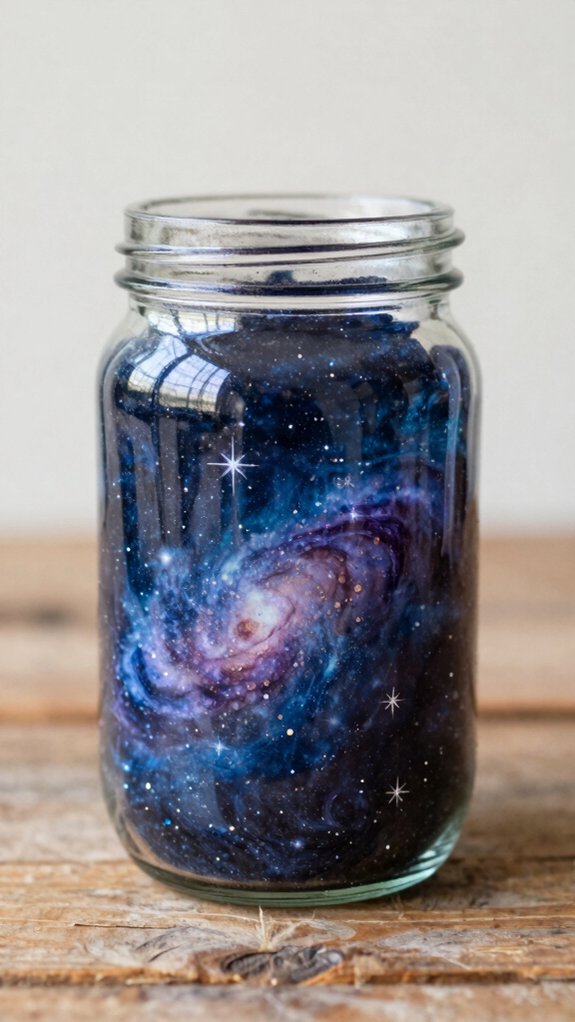
Tiny sparkles can make your galaxy jar look like it’s full of real stars! Use fine glitter in your water-and-paint mix, then add a pinch between layers for that twinkly, shaken-up effect. These glitter placement tips help your jar feel magical, not messy.
- Sprinkle lightly at first, so your stars don’t crowd out the glow.
- Add silver glitter for bright pops.
- Try chunky holographic stars for extra shine.
- Wipe the rim clean before sealing, so the lid fits tight.
For the best star sparkle tricks, mix in a little more after each cotton cloud, and wow, your crew will cheer!
Layer More Colors for Depth
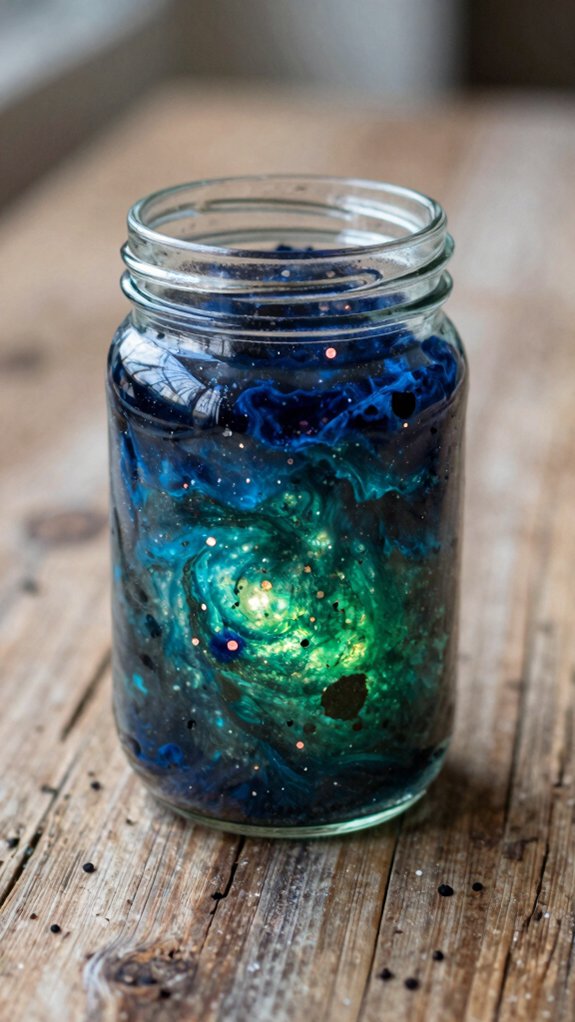
Start with your lightest paint first, then build up to darker shades so your jar gets that dreamy nebula depth, wow!
Add a little fine glitter and a few star accents after each layer, because tiny sparkles here and there make the whole thing feel more like a real galaxy.
Keep the colors from getting muddy by using cotton balls in small sections and blending gently with a wooden skewer or pop stick, and if you want extra richness, repeat the paint, glitter, and cotton cycle again and again!
Build Color Layers
For the coolest galaxy look, mix each paint color with a little water in separate cups first, so you can control how bold or soft every layer turns out. That’s your secret for Layer thickness control and smart Prevent bleeding tips, friend!
- Pour light purple first, then blue, then pink.
- Add a tiny pinch of glitter and star bits.
- Press in fluffy cotton balls, soaked but not swimming.
- Use a skewer to gently nudge edges, not stir chaos.
Fill the jar about a third at a time, and your nebula starts glowing fast. Keep going, and the colors stay crisp, dreamy, and totally out-of-this-world!
Blend For Depth
Once your first color band is in place, you can make the jar look much deeper by layering in 3 or more shades, one at a time, and letting each one peek into the next like a tiny nebula sunrise!
Mix each paint in its own cup, about 4–5 drops each, then pour over fluffy cotton and nudge only near the edge with a wooden skewer.
Start light, move darker, and keep a thin cotton layer between colors so they stay dreamy, not muddy.
Sprinkle stars sparingly after each pour, and try Color wheel practice for smooth choices.
Easy, cheap, and kid safe cleanup, too!
Make a Glow-In-The-Dark Galaxy Jar
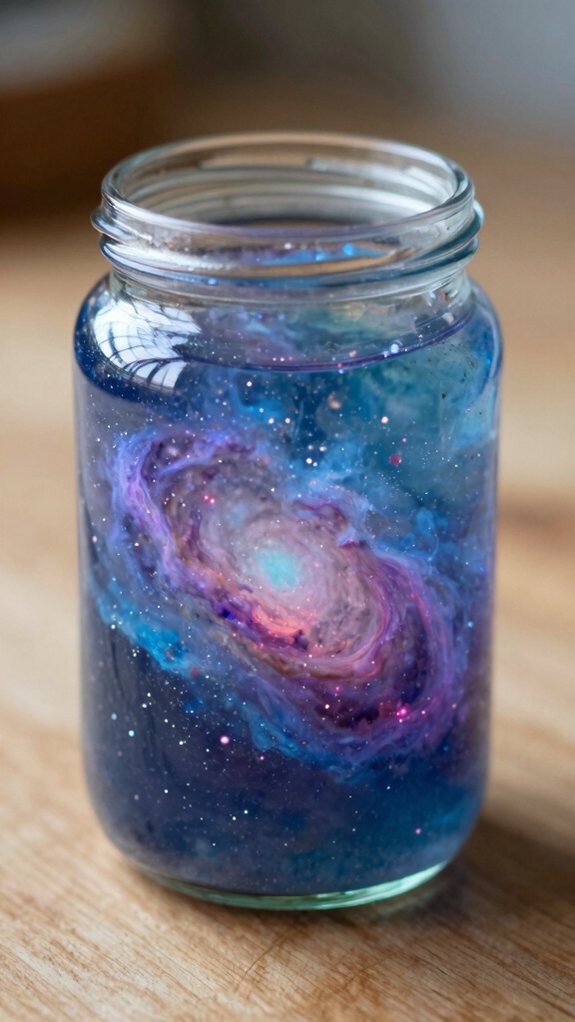
If you want your Galaxy Jar to glow like a tiny space scene, you’ve got two fun paths to choose from, and both are super kid-friendly!
For a Glow night display, follow these safety lighting tips and keep it simple.
- Use a battery-operated votive candle or glow stick in pink, purple, or blue.
- Go no-mess with printable 3Below galaxy paper under the light.
- Try ooey gooey glitter glue, then microwave 40 seconds.
- Let it cool fully, then add the light and lid.
Center the glow, and your jar’ll look like a dreamy nebula—wow!
Turn It Into a Calm-Down Jar
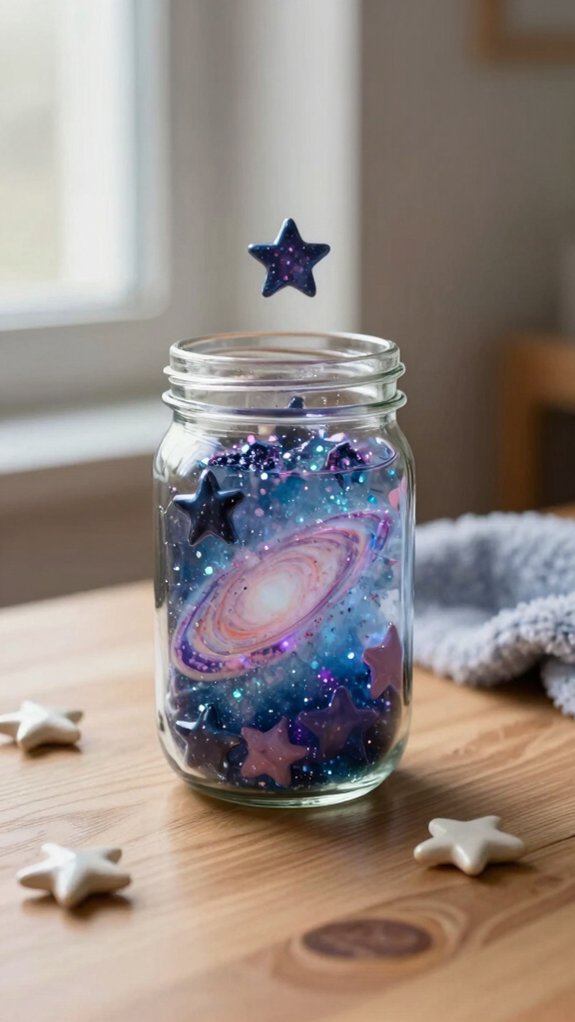
When you want your Galaxy Jar to double as a calm-down tool, you can turn it into a little swirl of space magic that’s both pretty and soothing! Fill a clean mason jar with water, a few drops of purple, blue, or pink paint, and a sprinkle of glitter, then add stretched cotton balls for a cozy cloud look.
| Step | What You Do | Result |
|---|---|---|
| 1 | Add water | Easy start |
| 2 | Shake gently | Sensory calming |
| 3 | Layer cotton | Soft depth |
| 4 | Seal tight | No mess |
| 5 | Use at bedtime | Quiet focus |
Slowly shaking it helps during a bedtime routine, and less glitter works if you want a softer vibe.
What Is a Galaxy?
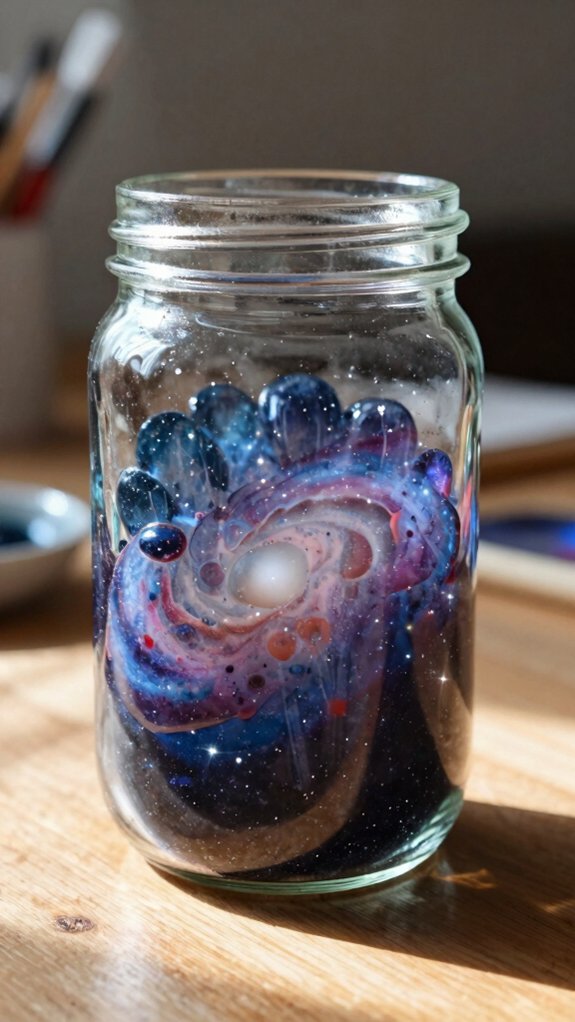
A galaxy is fundamentally a giant space family, held together by gravity so all its stars, dust, and gas don’t go drifting off in different directions—pretty amazing, right! You fit into this cosmic crowd through the Milky Way structure, and it’s just one of many Forms of galaxies.
- Spiral galaxies, like ours, have glowing arms
- Elliptical galaxies look smooth and round
- Irregular galaxies skip the neat shape
- Galaxies can hold billions of stars
That means your night sky is part of something huge, wild, and wonderfully connected. Even Andromeda nearby joins the neighborhood!
Galaxy vs. Nebula: What’s the Difference?
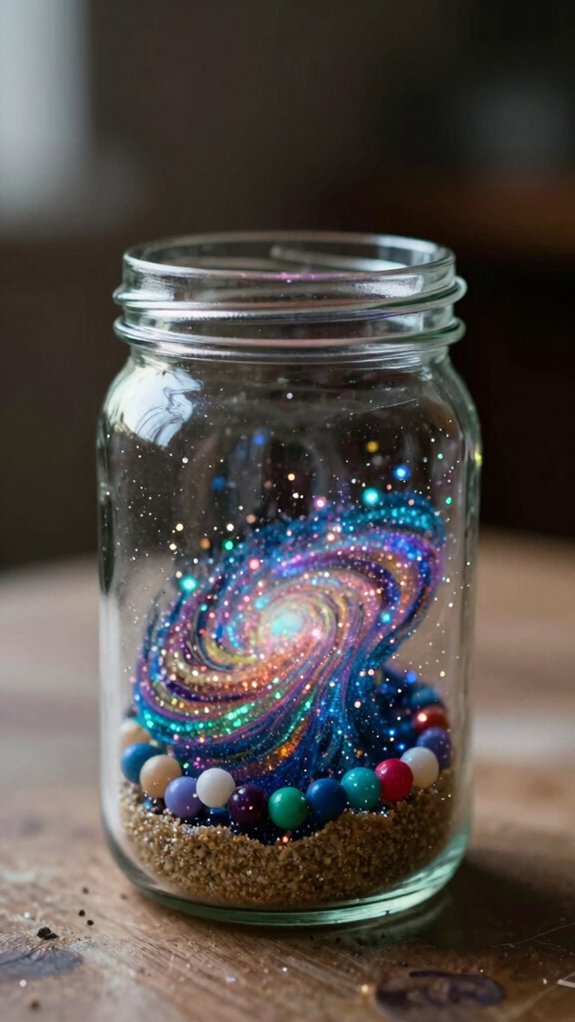
Up in space, galaxies and nebulae can sound like twins, but they’re not the same thing at all! A galaxy is the big crew, stars, gas, dust, and dark matter held together by gravity, so use a galaxy scale analogy to picture it.
A nebula is just a cloud of dust and ionized gas inside or between those huge systems.
In your jar, cotton cloud placement can show stars, while Nebula texture mixing makes the misty cloud look real.
For planet jar naming, pick a fun label, because your tiny universe should feel like yours!
Galaxy Jar Color Ideas
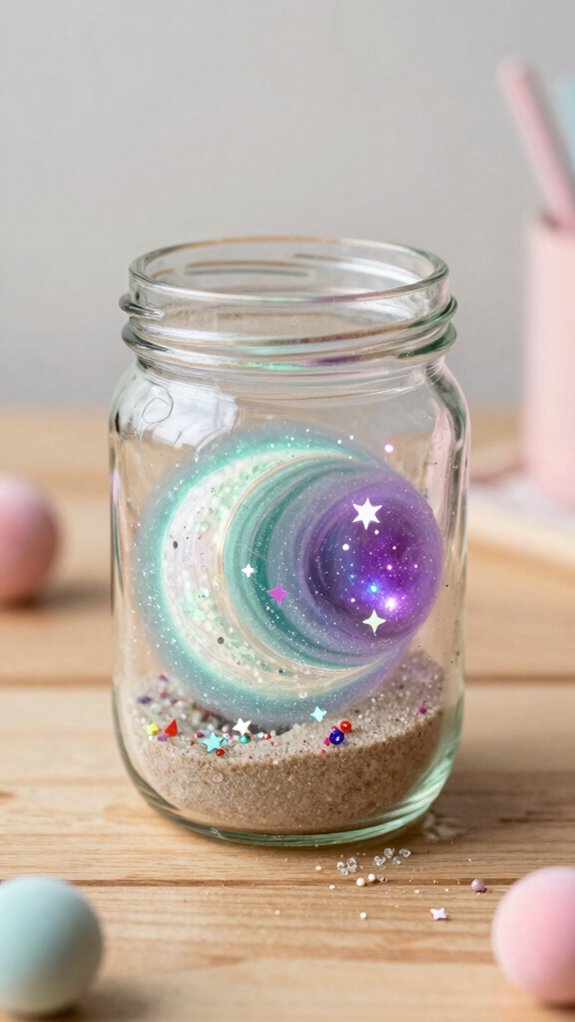
Now that you know a galaxy isn’t the same thing as a nebula, let’s make those space colors work for your jar!
Start with kid safe paint mixing, then try Color theme swapping for different moods.
- Cool blues and purples for deep space
- Pink and orange for a glowing nebula
- Light purple to dark blue ombré
- Silver glitter with chunky stars, kept light
Layer cotton from lightest to darkest, soaking each part with the next color. Use enough cotton on the sides, and wipe the rim before sealing, so your colors stay crisp.
Tiny mess, huge wow!


