


I’ve gathered 20 elegant fold card tutorials that are impressive yet easy, and I’ll guide you through favorites like gatefolds, Z-folds, easels, tri-fold shutters, double doors, peekaboo windows, accordion and flip-flap styles. I’ll give exact scores, mat sizes, and simple reinforcement tips so your cards stay mail-friendly and sturdy. You’ll learn when to use heavier cardstock, where to add chipboard or magnets, and quick assembly tricks for neat results—keep going and you’ll pick up step-by-step measurements and pro tricks.
Key Takeaways
- Choose versatile, easy-to-score bases like A2 gatefolds, Z-folds, and easels for impressive results with minimal complexity.
- Use pre-measured mats and panels (leave ~1/8″ gaps) so decorative layers nest cleanly and folding stays accurate.
- Favor sturdier base cardstock (80–110 lb for easels/side steps, 65–80 lb for shutters) and thin-line adhesive to avoid bulk.
- Add simple interactive elements—waterfall strips, hidden sliders, or basic pop-ups—with reinforced tabs and acetate guides for smooth movement.
- Keep mailability in mind: limit thickness to about 1/4″, use removable belly bands, and secure closures with magnets or die-cut latches.
Gatefold Card Design
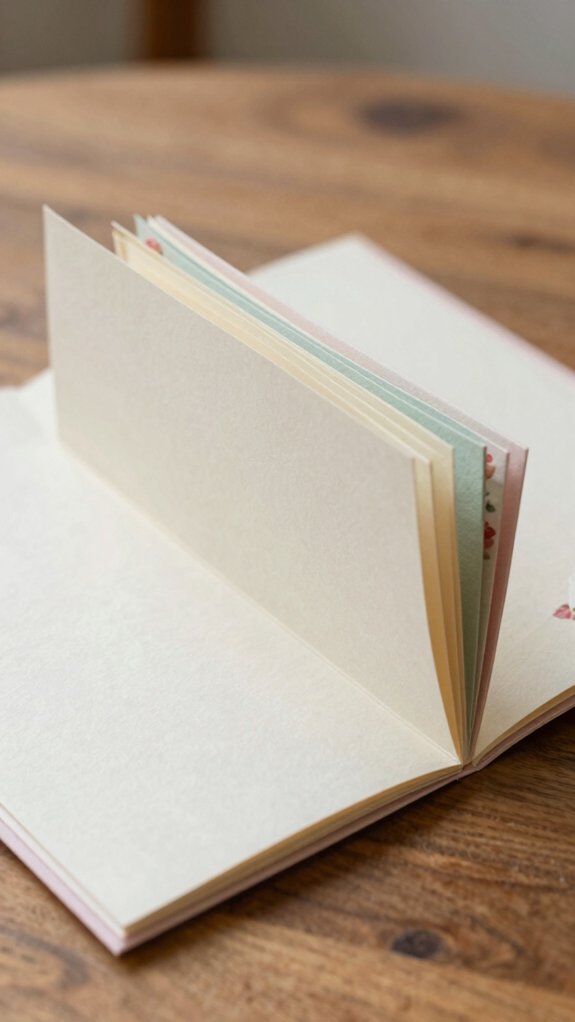
When you want a card that opens like theater curtains, a gatefold is a simple way to get a dramatic reveal—so I’ll walk you through the basics and a few handy twists.
I start with an A2 base: score 8.5″ x 5.5″ at 2.125″ and 6.375″ so the outer panels fold to meet cleanly.
For more drama, I use a double gatefold—11″ x 4.25″ scored at 2.75″, 5.5″, 8.25″—it gives a second inner gate.
Add stability and a neat reveal by adhering a 4″ x 5.25″ panel to one inner gate and a 3.75″ x 5″ to the other, leaving 1/8″ gap.
I finish with layered textures, edge distressing, and a belly band or ribbon if my design is bulky.
Z-Fold Card Tutorial
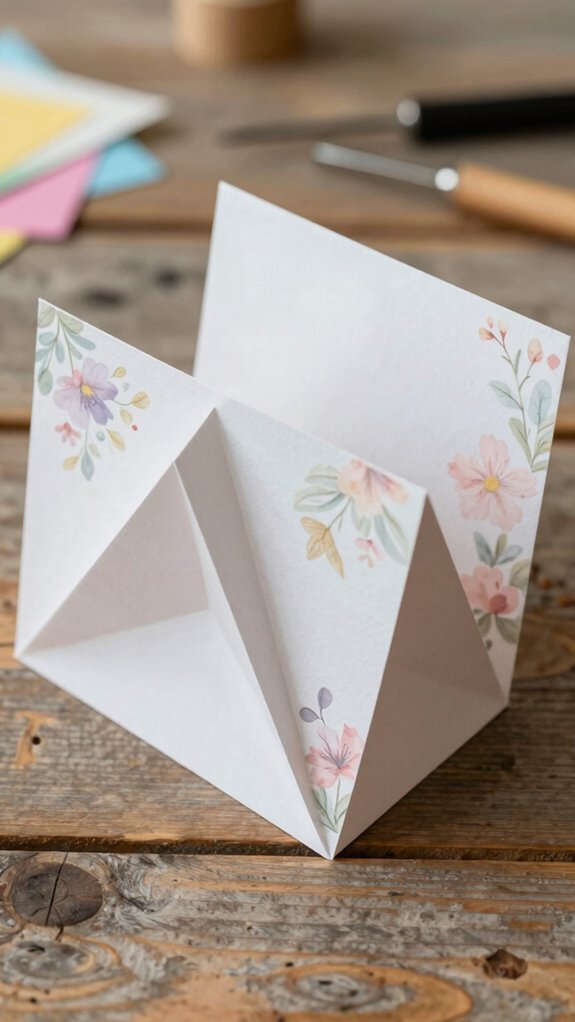
I love how the Z-fold can act like an accordion-style base, giving you three panels that pop in a stepped display without any extra parts.
I’ll show you how to trim and score so each panel is equal, use slightly narrower mats to prevent buckling, and mount your focal pieces only to the front and middle so it folds flat for mailing.
With those simple adjustments you’ll get a neat, dimensional card that fits an A2 envelope or can wear a removable belly band when it’s more heavily embellished.
Accordion-style base
Here’s a neat fold that gives your card instant movement and interest: I start with a single long panel cut to 8.5″ x 5.5″ and score it at 2.75″ and 5.5″ so it folds into a staggered Z that becomes an A2-size card.
I call this a layered concertina because the three panels stack with rhythm, and patterned registration matters so designs line up when the card opens.
Score on a scoreboard, valley-fold the first score and mountain-fold the second, leaving about 1/8″ for closure.
Cut mats 2.5″ x 4″ for front/back and a 2.5″ x 5″ center panel so focal images stay visible.
Add a pop-up or pocket to the middle, use foam tape sparingly, and keep thickness under 1/4” for mailing.
Easel Fold Card
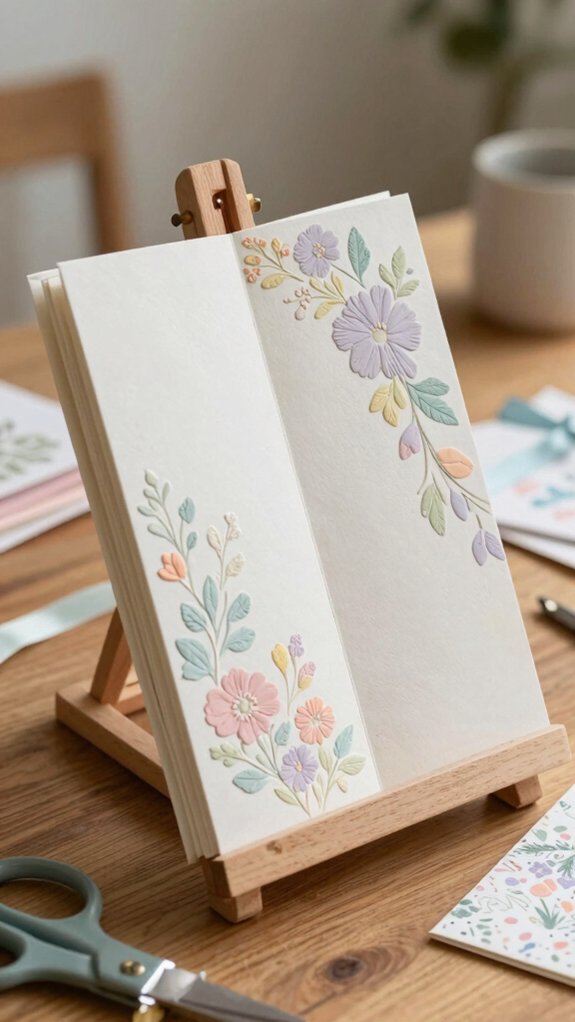
Although the easel fold looks ornate, it’s really a clever bit of folding that turns a regular card into a freestanding mini-display, and I’ll walk you through the basics so you can make one with confidence.
I start with a standard base (5.5″ x 8.5″ scored at 4.25″) and fold the front panel back, scoring at halfway so the easel mechanics work smoothly.
For stability, add a small stopper on the inside lower panel — try punched circles or a raised layer 1/2″–3/4″ high; those stopper variations let the front tuck and hold.
Use 80–110 lb cardstock, a bone folder, and test fold before gluing.
Decorate with a 3″–3.5″ focal and a 4″ x 5-1/4″ mat, and plan for flat mailing if needed.
Tri-Fold Shutter Card
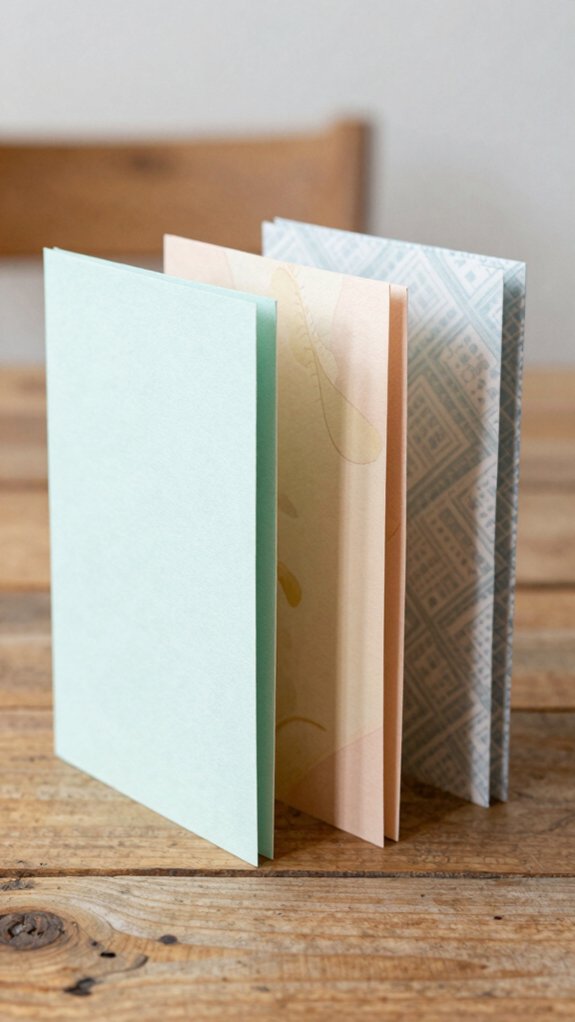
I love how the Tri-Fold Shutter Card creates a layered panel effect that feels elegant but stays mail-friendly, and I’ll show you how to get those crisp layers every time.
Start with the standard A2 base measurements and use contrasting patterned papers on alternating shutters, cutting each decorative panel about 1/8″ smaller so the layers nest cleanly; adhere only the outer edges of the center panel so the shutters open freely.
For a polished finish, place a focal image or sentiment on the center front, keep bulk under 1/4″ for postage, and add a belly band or magnet if you want a reusable closure.
Layered panel effect
I often reach for the tri-fold shutter when I want a card that feels like a little surprise every time you open it, and the layered-panel effect makes that reveal even more dramatic.
Start with an 8½” x 5½” base scored at 1¾”, 3½”, 5¼” so panels layer neatly; trim the front panel strips by 1/8″–1/4″ or use patterned strips (2″, 1¾”, 1½”) for stepped color progression.
Use 65–80 lb base cardstock and slightly heavier patterned panels, leaving a 1/16″ gap from folds and thin-line adhesive for a crisp hinge.
Stagger sentiments and images across shutters so each view is balanced; keep heavy embellishments centered.
For mailing, tuck the outer shutter under a removable belly band and check postage limits.
Double Door Fold Card
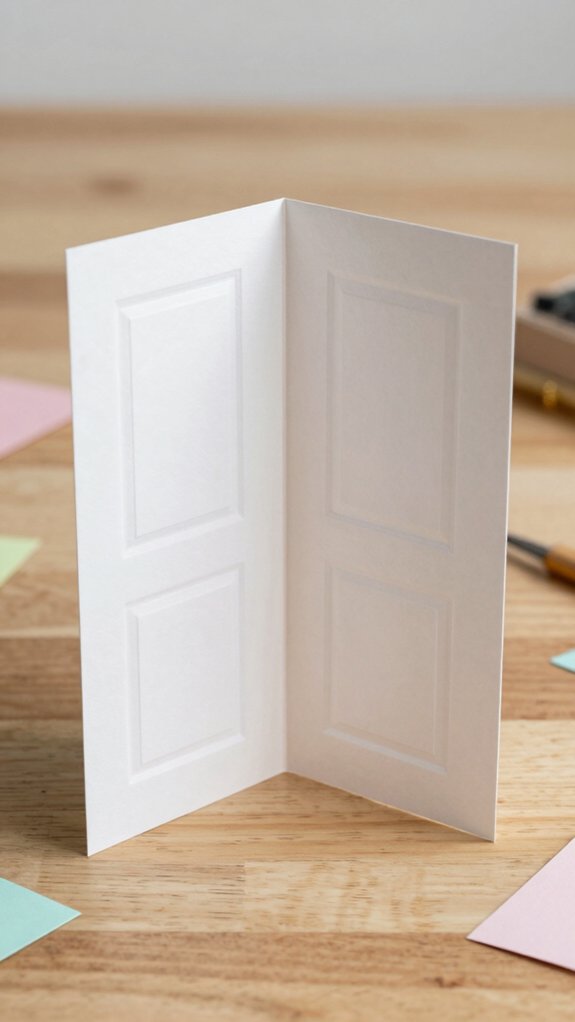
When you want a card that makes a big entrance, the Double Door Fold is a perfect choice because it opens like two little doors to reveal a surprise inside. I love how the center hinge creates symmetry; I usually start with an A2 base scored at 2.75″ and 5.75″ so the doors meet neatly. Reinforce the closure with a magnetic closure, belly band, or die-cut latch so it stays shut yet mails flat. Decorate mirrored panels and place a focal element spanning both doors for drama. For extra interaction, add a full-width interior panel or a pocket for tags revealed only when both doors open.
| Step | Tip |
|---|---|
| Base | Score at 2.75″ & 5.75″ |
| Closure | Magnetic closure or band |
| Panels | Mirrored 2.5″ x 4.75″ mats |
| Surprise | Full-width panel or pocket |
Pop-Up Center Panel Card
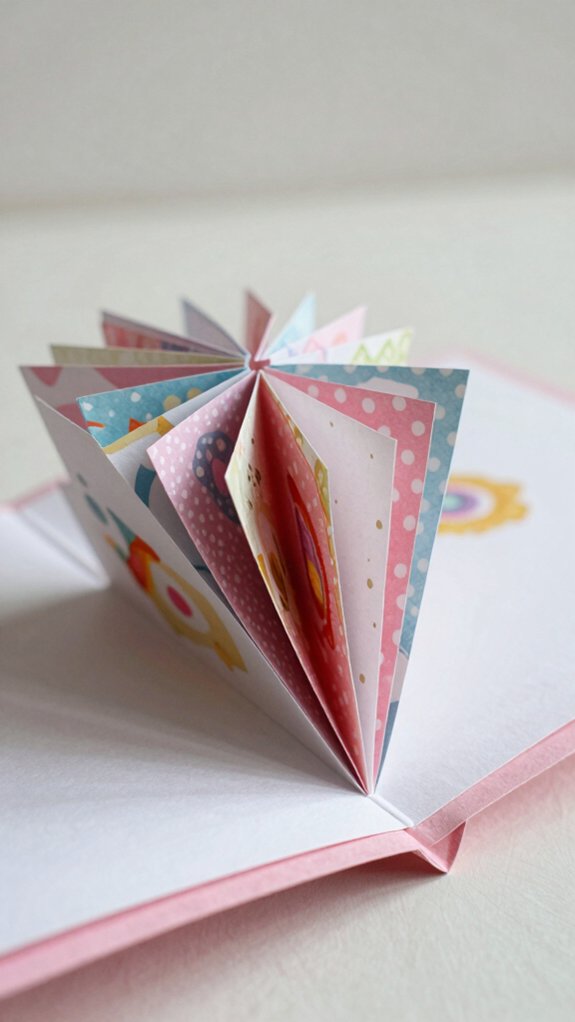
Pop-up cards are a delightful way to add surprise and depth to a greeting, and the Pop-Up Center Panel Card does it simply while still packing a wow factor.
I’ll walk you through a friendly, step-by-step approach so you feel confident making one for friends or family.
Start with a top- or side-fold base, score tabs or cut straight center slits on a glass surface for the cleanest edges, and leave at least 3/4″ (19 mm) of cardstock on each side so the mechanical hinge functions and the card lies flat.
Avoid glue on moving layers by marking placements first.
Keep pop-up elements under 4–5″ for A2 cards to prevent postage considerations, and practice on scraps before using designer papers.
Side Step Card Design
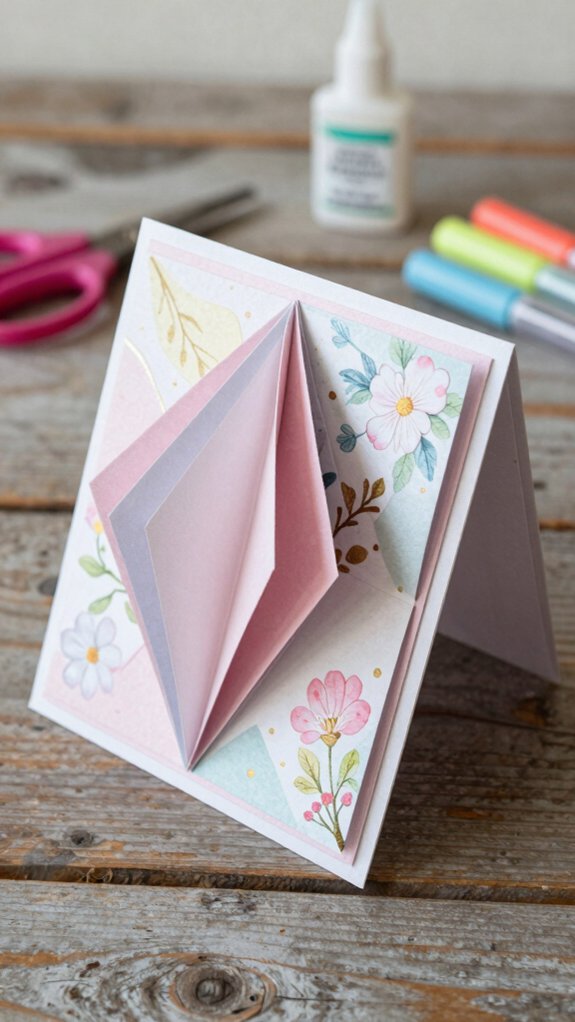
I love how the stair-step structure of a Side Step card creates instant dimension, so I’ll walk you through the simple measurements and folds that make it pop while still fitting a standard #10 envelope.
Start with an 8-1/2″ x 11″ sheet scored at 4-1/4″ and 5-1/2″ (or use 5-1/2″ x 8-1/2″ scored at 2-3/4″ and 4″) to get the stepped front panels, and remember to make the middle step 1/2″–3/4″ narrower than the front for a clear ledge.
I’ll also share practical tips—crisp scores with a bone folder, slightly smaller patterned panels for neat borders, and optional belly-band or magnet closures—so your card both looks great and stays sturdy.
Stair-step structure
Although it looks fancier than it is, I’ll walk you through the stair-step (side step) card so you can build one confidently from a single sheet. I love how stair step balance and stepped focalpoint placement make a simple sheet feel like a mini stage, and I want you to feel welcome trying it.
- Score A4/8.5″x11″ or 12″x12″ at 1″, 2.5″, 4″, 6.5″ (2.5, 6.5, 10, 16.5 cm) for three tiers.
- Cut a 2″x4″ (5×10 cm) centered notch in the middle tier to reveal layers.
- Use 80–110 lb (216–300 gsm) cardstock and add 1/8″ tabs to prevent buckling.
- Assemble with full double-sided tape and narrow foam tape for lift; avoid glue on folds and test action first.
Explosion Box Card
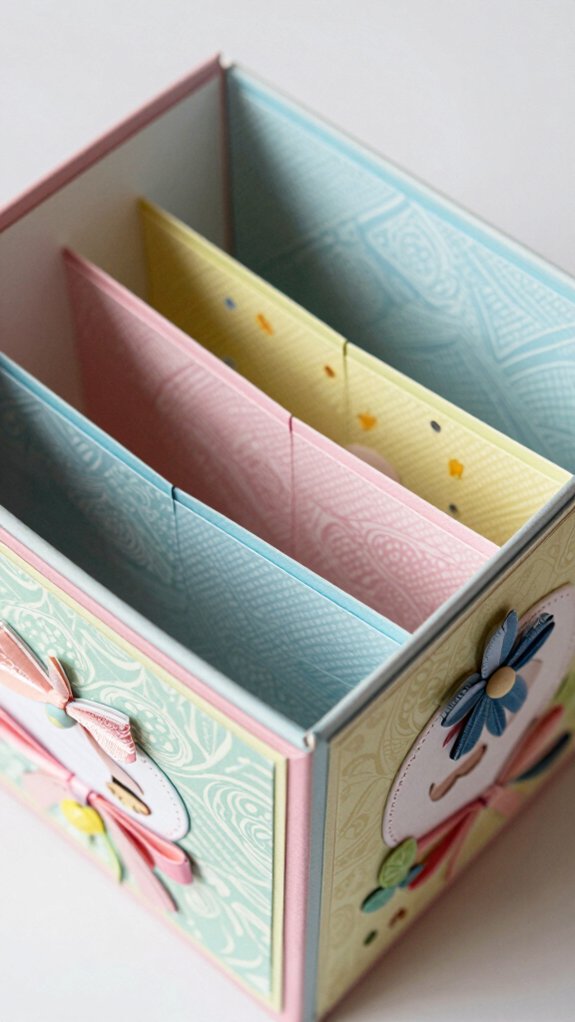
An Explosion Box Card is one of my favorite show-stoppers because it looks intricate but you can build it from just a few simple pieces of paper.
I’ll walk you through the fundamentals so you feel confident making one for friends or family.
Start with a single scored sheet (12″ x 12″ scored at thirds or quarters) for the base and a separate lid about 1/8″–1/4″ larger per side.
Layer 3–4 concentric panels with coordinating patterned paper, pre-cut photo mats, and surprise pockets for tags or tiny treats.
Use double-sided adhesive for neat edges, washi tape borders, and simple pleats.
Finish with a belly band or ribbon, and consider a smaller inner box for a tiered keepsake themes effect.
Twist and Pop Mechanism
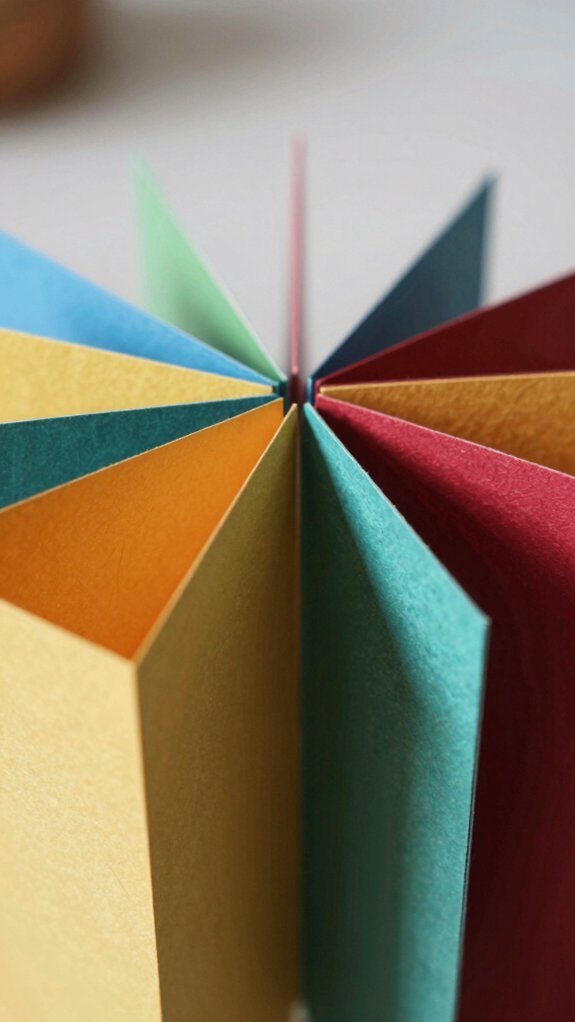
When you open a Twist and Pop card the first time, you’ll get that little gasp of surprise—so let’s make sure it works smoothly and looks gorgeous. I love how a flat A2 card blooms into a 3D display; the secret is two intersecting score lines and a central square that twists 90°. I’ll walk you through clean construction and happy results.
- Use a 4-panel base and glue the pivot strip only on outer edges for free movement.
- Choose thin strong adhesive on pivot tabs; never glue moving hinge areas.
- Score crisp folds, add pivot reinforcement with lightweight chipboard (65–80 lb) to avoid sag.
- Decorate using mirrored or rotational symmetry so panels balance and “pop” precisely.
Test before decorating, and you’ll belong to the proud pop-card makers.
Waterfall Fold Card
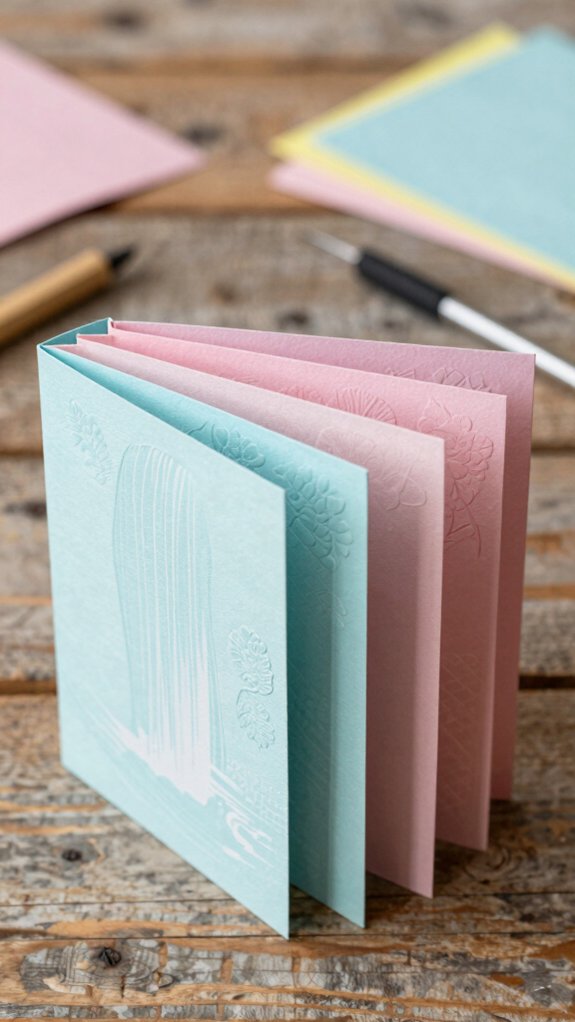
I love how the Waterfall Fold card turns a simple pull into an engaging flip feature that reveals photos or sentiments one by one, and I’ll show you how to make it smooth and reliable.
Start with a 4-1/4″ x 11″ base scored at 5-1/2″, a 2-3/4″–3″ waterfall strip with five to seven 2″–2-1/2″ panels, and a hidden 3/4″–1″ accordion or slider strip attached behind it so the panels flip cleanly.
Keep panel weights even, reinforce the top hinge with cardstock or washi tape, leave a 1/16″ gap between panels, and pre-number patterned-paper pieces for quick, foolproof assembly.
Interactive flip feature
Flip the panels and watch the sequence cascade—it’s one of my favorite little tricks for adding motion to a handmade card.
I love how the waterfall fold uses simple mechanical hinges to create engaging storytelling; the hidden base hinge makes each panel flip in order when you pull the tab.
I’ll share practical tips so you feel confident building one with friends.
- Make panels 1/8″ shorter than the one beneath for clear visibility and smooth flipping.
- Use thin, strong adhesive only on top edges and the base hinge to avoid binding.
- Score the base hinge 1/4″–3/8″ for durability and reinforce the pull-tab with cardstock or washi tape.
- Keep embellishments light (under ~1/8″) and center heavier pieces near folds to prevent catching.
Diagonal Fold Card
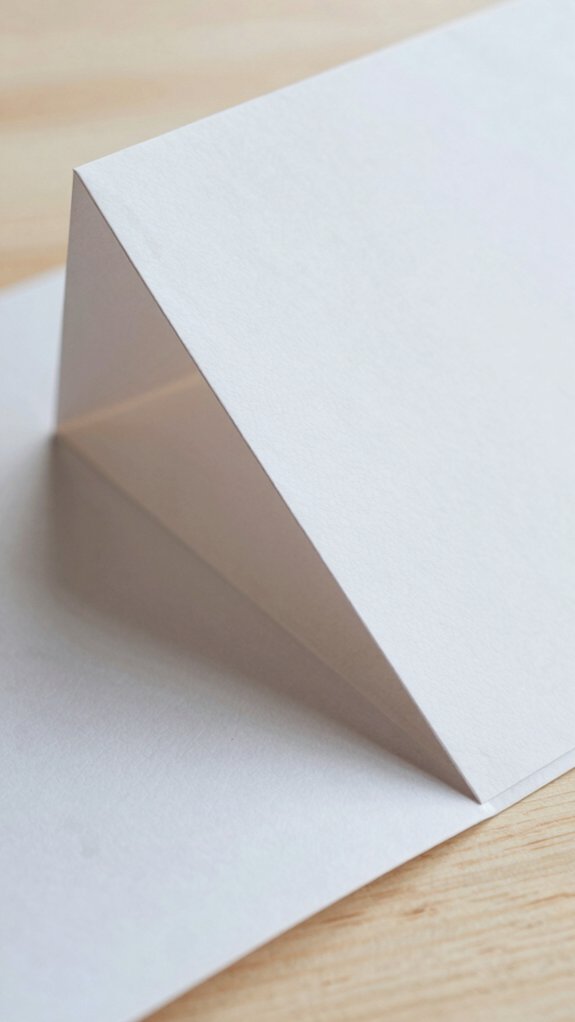
Because a diagonal fold instantly adds motion and interest to a simple card, I love starting with a clear plan for measurements and structure before I cut. I often begin with a 6″ square, score from corner to midpoint (3″) and fold one triangle over to create layered diagonal panels; for A4 I score at 4.25″ from one corner. Use 200–250 gsm cardstock so the hinge stays stable and mail-friendly.
Place patterned strips or mats cut on the same 45° angle to emphasize the fold line, and consider diagonal embossing for subtle texture. Keep corner embellishments flat on the hinge, reserve bulkier items inside or use a belly band, and trim mats using the base as your angle guide for perfect alignment.
Teepee Fold Card
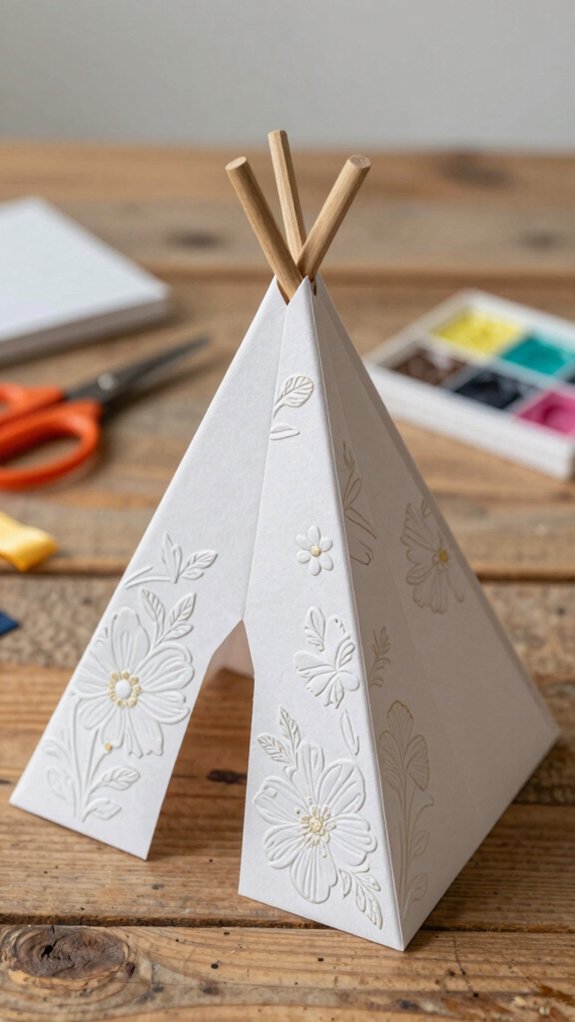
A teepee fold card brings instant charm and a little pop-up surprise to your projects, and it’s easier to make than it looks—so let’s walk through the basics together.
I love how a single scored front panel folds inward to form that sweet triangular peak, and I’ll guide you so we all feel confident trying it. Use a 6″ or 8″ square base for a teepee about 3″–4″ high, and score from bottom center to the top edge.
- Choose patterned layers with 1/8″–1/4″ clearance so it folds flat.
- Anchor the tip with a magnet, velcro dot, or decorative brad.
- Reinforce the base score to avoid cracking when collapsed.
- For flat-mail-friendly results, avoid bulky embellishments and follow mailing tips.
I’ll also share materials sourcing ideas so you won’t feel alone.
Hidden Message Slider Card
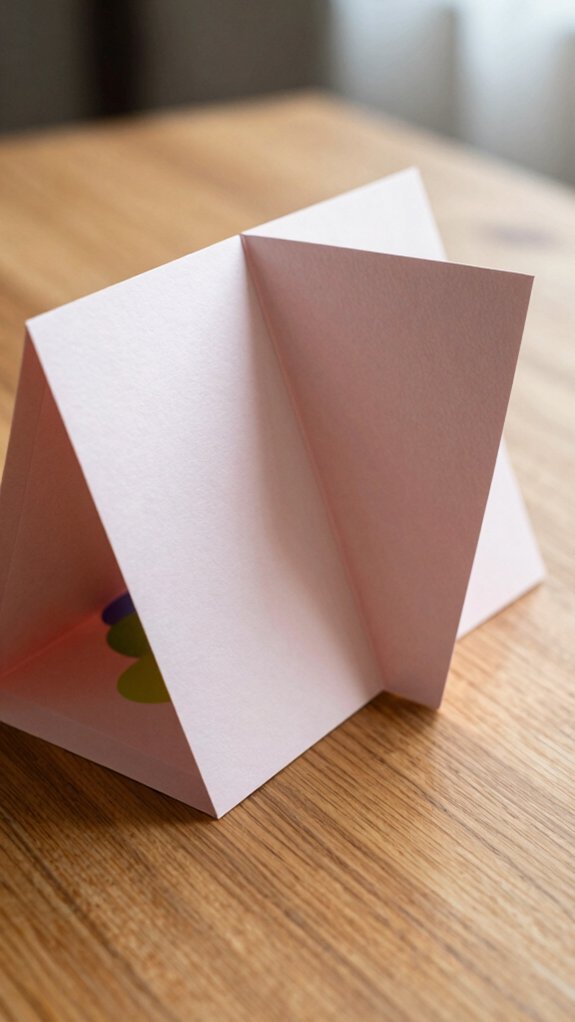
I love how the pull-tab element turns a simple card into a little magic trick, sliding a hidden sentiment or image into view with a gentle tug.
I’ll walk you through choosing the right tab length (1″–1.5″ for smooth handling), adding a 1/8″ gap and thin foam or acetate guides so it doesn’t bind, and testing the motion before you glue anything down.
With a trimmed tab, light embellishments, and a decorative window or frame, your slider will be reliable for mailing and delightful to open.
Pull-tab element
Try sliding a secret message into your card and watch the smile—pull-tab (hidden message slider) elements are a fun way to add surprise without fuss. I’ll walk you through the hidden mechanism and how to make it feel satisfying, so our little community of makers can share that delight.
- Cut a 1/8″–1/4″ slot or use a rectangular channel die; make the slider strip ~1/8″ shorter than the slot.
- Glue only the decorative front to the tab end, leaving the back free for smooth movement.
- Add a foam adhesive or folded cardstock stopper to prevent the tab from coming out fully.
- Reinforce the tab with acetate or extra cardstock and dust powdered graphite if the channel’s tight.
Align a die-cut window and use a contrasting strip for a precise, joyful reveal with tactile feedback.
Book Fold Card Style
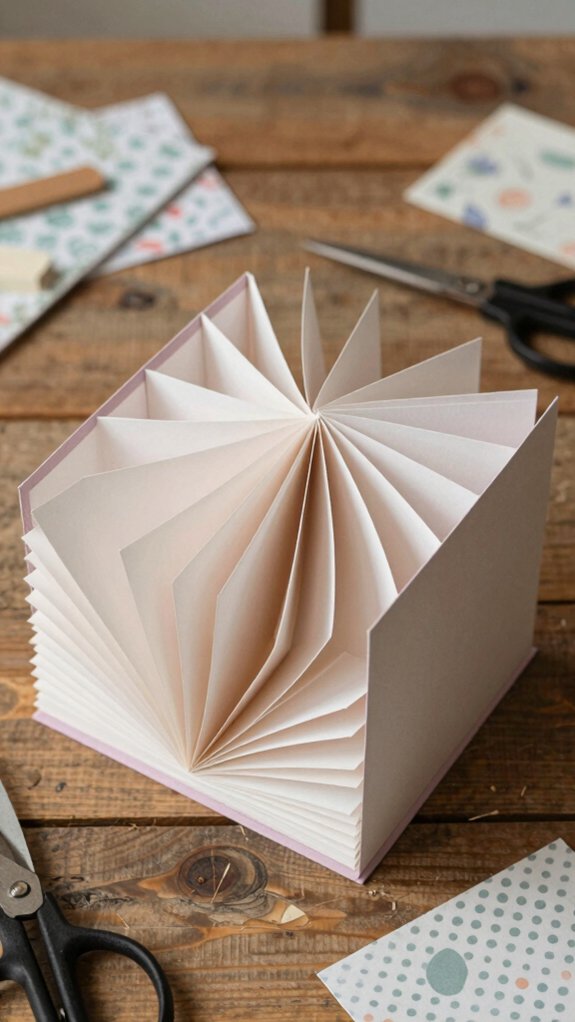
Book Fold cards have a charming, miniature-book feel that folds flat for mailing but pops open into layered, staggered “pages” when you open them, and I’ll walk you through the basics so you can make one on a standard 5.5″ x 8.5″ card base.
I score the 4.25″ front into equal sections—usually 3/4″ to 1″—to set page depth, keeping at least 3/4″ uncut at each side so the signature spine stays strong and the card closes neatly.
I use contrasting papers from one collection and 1/2″–1″ decorative strips on each page for balance.
For stability, I score precisely, mountain/valley fold with a bone folder, add 65–80 lb backing, and rely on layered hinges.
Keep inner embellishments flat or use a belly band so it mails easily.
Tunnel Fold Card
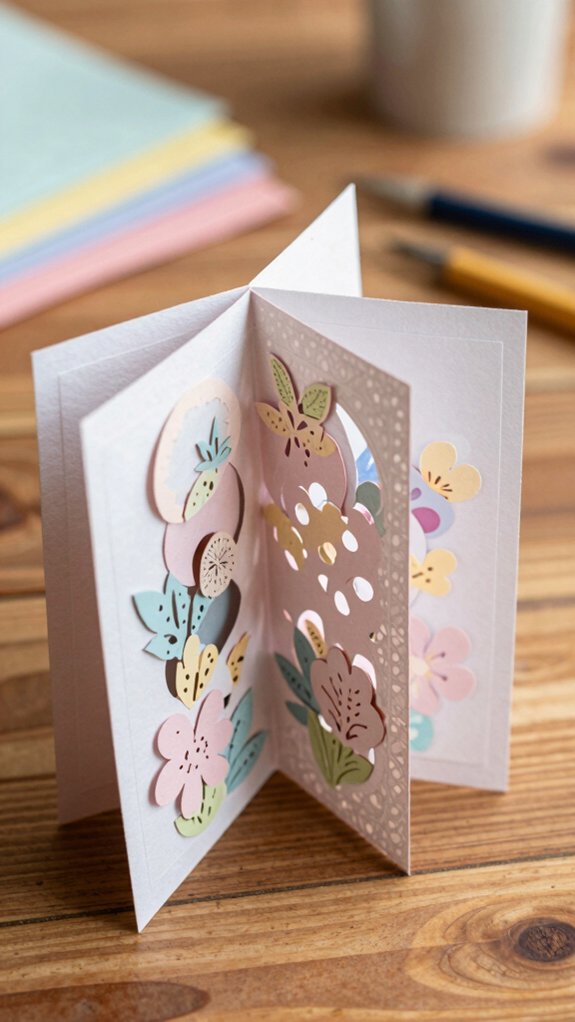
If you like the layered “pages” of a book fold, you’ll enjoy the tunnel fold‘s peek‑through magic — it uses one or more rectangular windows cut into the front panel to reveal a staged scene inside. I love how depth layering creates a tiny theater; I’ll walk you through a reliable, mail‑friendly build.
Start with a 5½” x 8½” base folded to 4¼” x 5½” and an inner strip scored at 1″, 2″, 3″ for three recesses. Cut clean windows with a craft knife or dies, then adhere images from back to front so the furthest scene sits deepest.
- Use heavy cardstock (80–110 lb)
- Score crisp folds with a tool
- Stick with thin adhesives or minimal foam for flat-to-mail
- Consider mailing considerations like collapse and thickness
You’ll feel proud sharing these with friends.
Bridge Fold Card
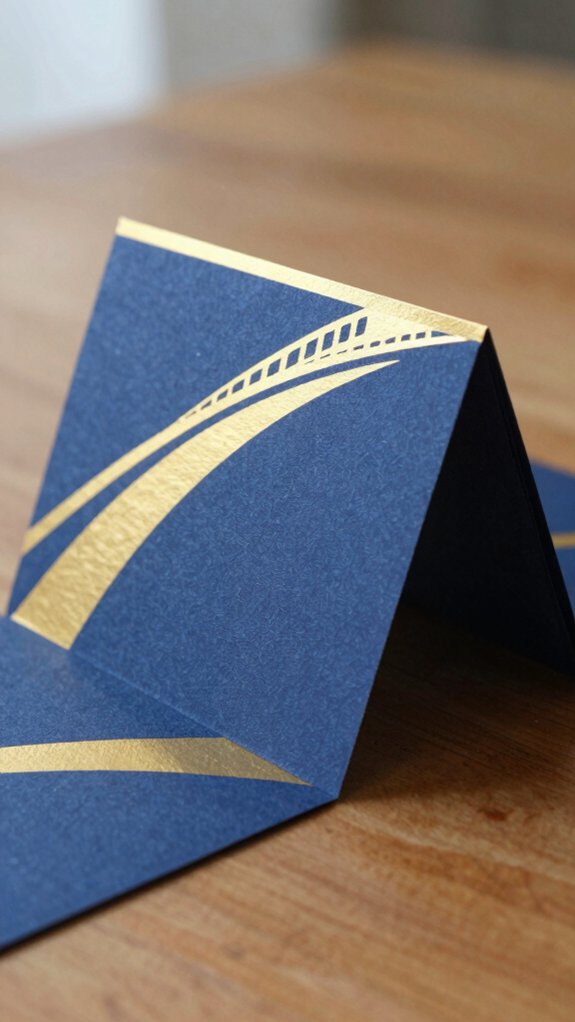
I love how the Bridge Fold creates a 3D standing effect that makes a simple card feel like a mini stage, and I’ll show you how to build that raised panel so it stays flat for mailing.
Start with an A2 card base and a separate 1″–1½” high bridge piece the full width, then glue two bridge layers or add a 1/4″–3/8″ chipboard strip underneath for strength so heavy embellishments won’t sag.
Mount patterned paper on all three front sections, use temporary tape to position the bridge edges precisely before sticking, and keep decorations low-profile or removable so your dimensional focal point pops without causing postage problems.
3D standing effect
Try a D standing (bridge) fold when you want a card that literally pops up and holds its focal piece like a little stage. I’ll walk you through fold mechanics and mailing considerations so you feel confident making one for friends. Measure an A2 base, cut the bridge from the front panel, and score side legs at 1/2″, 1″, 1/2″ for steady support. Glue only the outer edges so the center pivots.
- Use 65–80 lb cardstock for the D element so it folds flat for mailing.
- Cut a semicircle 2.5″–3.5″ radius to match your focal image.
- Burnish scored legs for crisp action.
- Keep embellishments low-profile to close the card.
You’re part of a creative community—try variations and share results.
Peekaboo Window Card
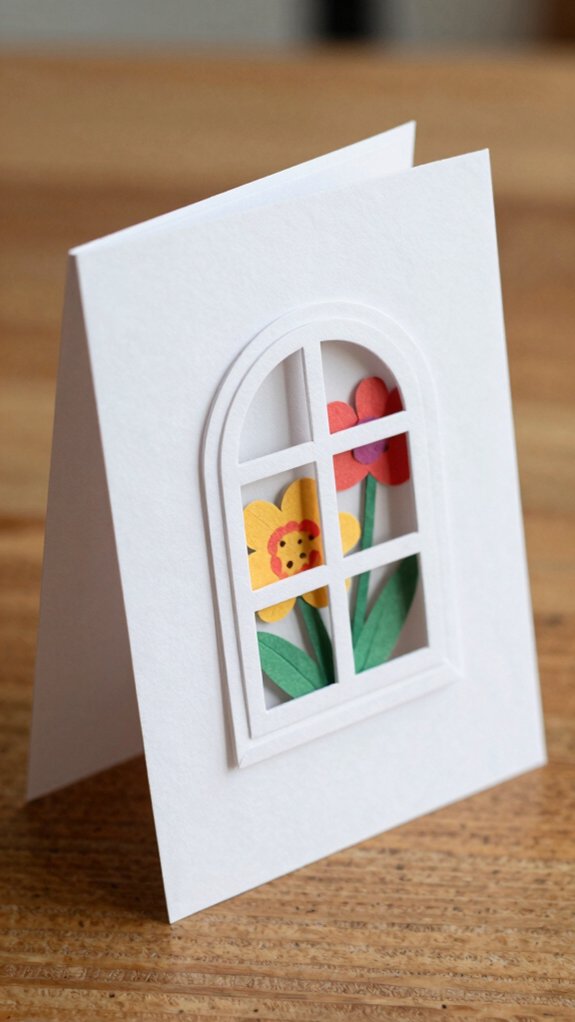
When you flip open a peekaboo window card, you get that small, delightful surprise of seeing a hidden image or sentiment peek through—so I’m going to show you how to make one that’s sturdy enough to mail but still full of charm. I use an A2 base scored at 4.25″ with a separate front panel to support embellishments. Cut clean windows with dies, then center a reveal layer 1/8″ inside the opening. Mount on layered foam for depth or add dynamic acetate for shaker fun. Here’s a quick materials glance to help you feel confident and included:
| Base | Front Panel | Reveal Layer |
|---|---|---|
| 5.5″x8.5″ | 4″x5.25″ | slightly smaller |
| scored | window cut | centered |
Accordion Fold Card
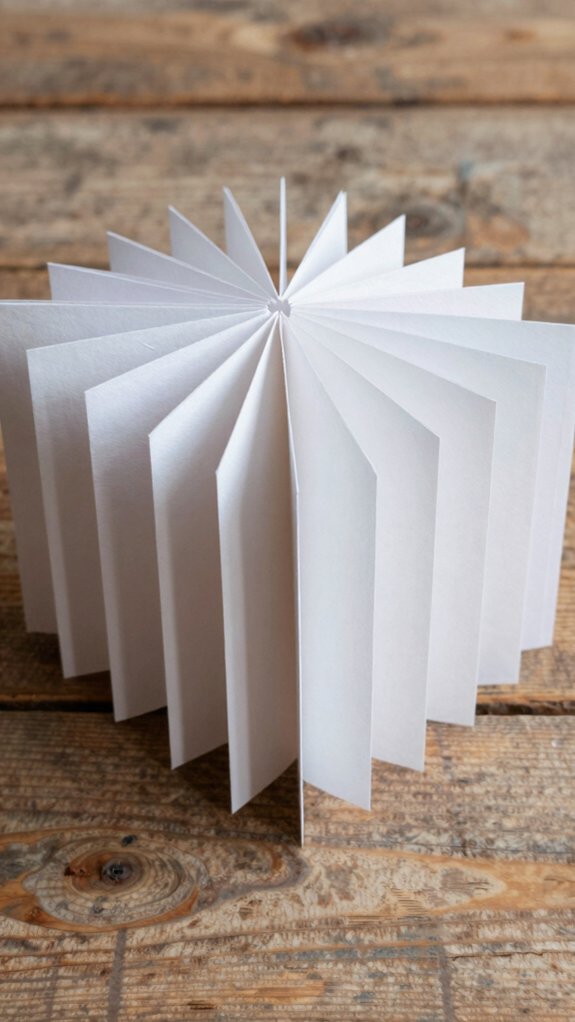
An accordion fold card gives you a fun, dimensional surprise that’s easy to make and great for showing off a series of small designs or a longer message. I like scoring a single sheet into equal panels—4–6 depending on size—and folding mountain, valley, mountain to get the zig-zag.
For an A2 result I score a 4.25″ x 11″ sheet at 2.75″, 5.5″, and 8.25″. Use a bone folder for crisp creases and avoid covering fold lines when adding layered textures or interactive pockets.
- Decorate front three panels with 2.5″ squares or die-cuts.
- Reserve one panel for a handwritten note or pop-up.
- Use thin adhesive or small foam dots centered.
- Add a scallop edge or belly band to close.
These tips make us feel confident and part of a creative group.
Flip Flap Card
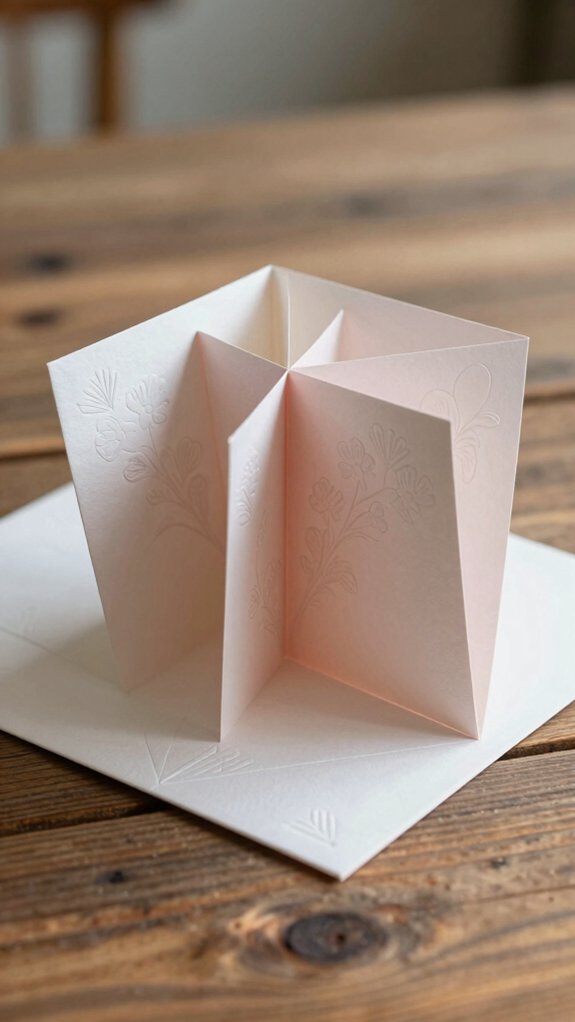
Curious how to make a card that keeps surprising someone as they flip each panel? I’ll walk you through a Flip Flap Card that’s playful, reliable, and welcoming to anyone who wants to craft with me. I use an 8.5″ x 2″ strip, score every 1.25″, and burnish each fold for crisp flipping.
| Step | Quick Tip |
|---|---|
| Cut & Score | 8.5″ x 2″, score at equal intervals |
| Adhesive | Narrow edges only so flaps move |
| Papers | Patterned panels + contrasting back |
| Finish | Belly band or small magnetic closure |
Coordinate patterns for mini scene coordination so each flip feels intentional. Use thin cardstock (80–100 gsm), test on scraps, and avoid bulky embellishments for smooth mailing.
Shadow Box Fold Card
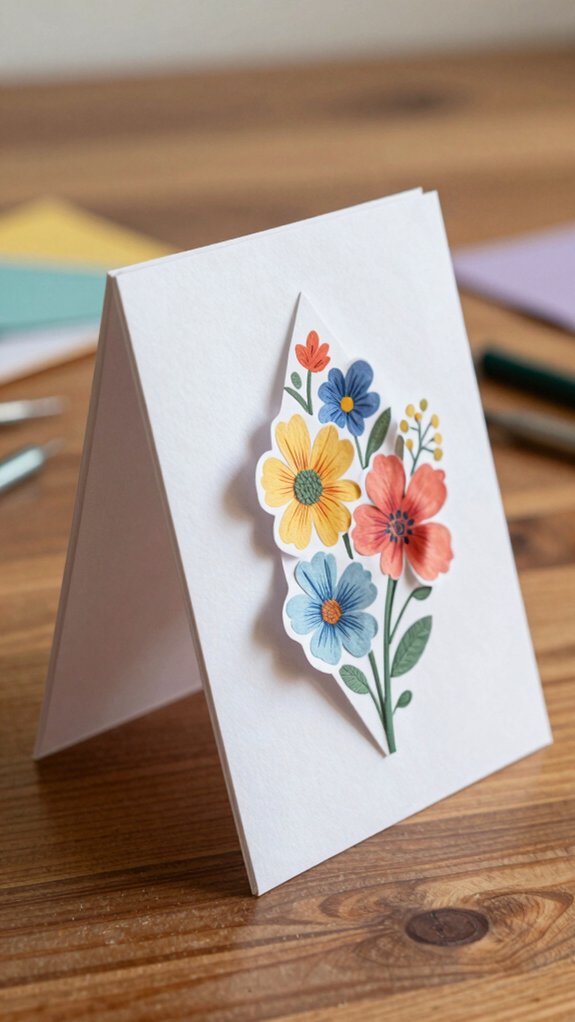
I love how a Shadow Box Fold Card turns a flat piece of cardstock into a dimensional display that pops right off the table, and I’ll show you the simple panel and layering tricks that make that depth believable.
Start with a 5″–6″ square base and score inner strips at 1/4″–1/2″ to form 3–4 frame layers, leaving 1/8″–1/4″ clearance between them so the box folds flat for mailing or stays sturdy when opened.
For a strong visual effect, put darker or patterned paper at the back, mid-tones in the middle, and your focal die-cuts on the front layer with foam tape or removable tabs so you can flatten the card for postage if needed.
Dimensional display
Depth makes a scene feel alive, and with a shadow box fold card you can build little worlds that stand up and invite a closer look. I love creating a layered vignette, using interior panels spaced with 1/4″–1/2″ strips so each element pops without bulging the front. I’ll walk you through practical tips and choices that help us craft reliably sturdy displays.
- Choose a 5″ x 7″ or 4.25″ x 5.5″ base and plan interior recess depth (1/2″–1″) for layers.
- Use acetate windows or framed openings so the scene stays visible and in register.
- Keep mailability: lightweight die-cuts and removable foam tabs for bulky bits.
- Reinforce scored edges with a bone folder and 30 lb+ tape on seams.
For extra magic, add subtle LED accents, secure them, and enjoy sharing these cozy scenes together.


