
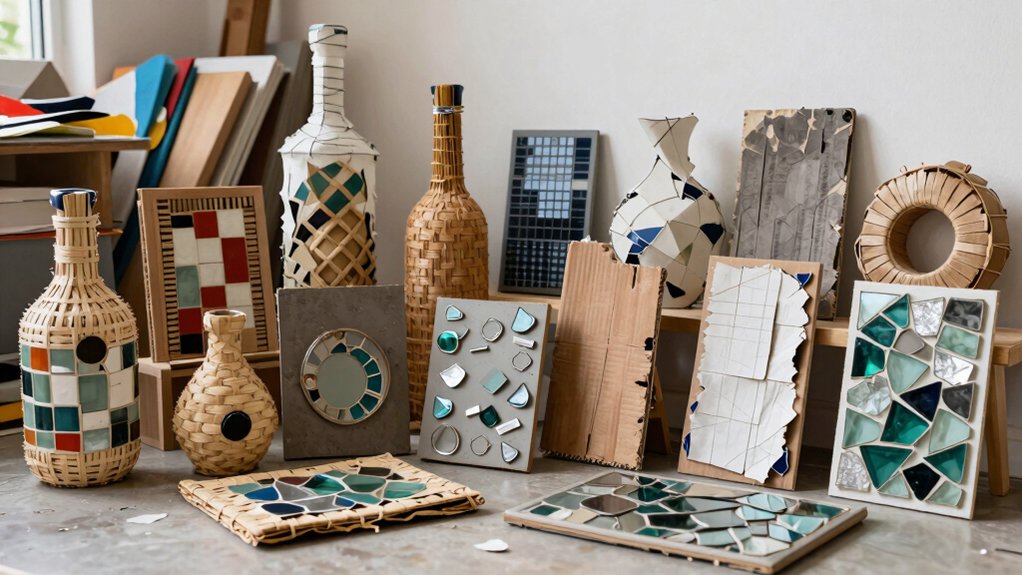

You can turn old jeans, magazines, corks, cans, jars, wood scraps, and even book pages into decor that feels handmade and cool, not trashy! Start with simple projects like patchwork wall hangings, paper weaving, cork mosaics, and tin can lanterns, then try terrariums, reclaimed wood panels, or mixed sculptures for bigger wow. They’re cheap, beginner-friendly, and surprisingly sturdy. Stick around, because the cleverest transformations are still coming!
Key Takeaways
- Denim, fabric scraps, and canvas can become tidy wall hangings or collage panels with simple stitching, trimming, and clean edge finishing.
- Magazine strips and cardboard boxes upcycle into woven or relief wall art using glue, layering, sanding, painting, and clear sealing.
- Corks, driftwood, and bottle caps work well for small decorative mosaics and mandalas when arranged, glued, filled, and varnished.
- Tin cans can be turned into safe lanterns by punching patterns and using LED tea lights or battery candles instead of flames.
- Reclaimed wood, jars, and mixed found materials create sturdy decor pieces when cut, mounted, sealed, and styled with organized backing.
Denim Patchwork Wall Hanging
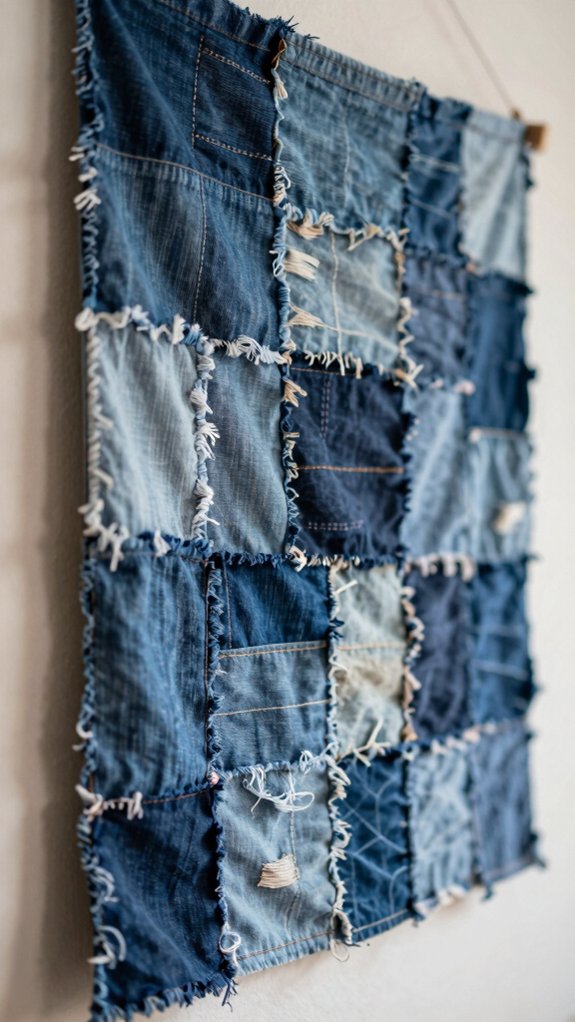
If you’ve got a stack of old jeans hiding in a closet, this denim patchwork wall hanging is a fun way to give them a second life!
You can start with smart Material Sourcing, grabbing pockets, seams, and scraps from leftover jeans, then cut them into repeating shapes for a neat patchwork look.
Use sturdy cotton or canvas as backing, and stitch the pieces in rows with easy Sewing Techniques, like hand-basting or simple topstitching.
Mix light and dark washes for texture, and reinforce chunky pocket bits.
Finish the edge cleanly, then add a sewn sleeve or dowel so it hangs straight.
Magazine Paper Weaving
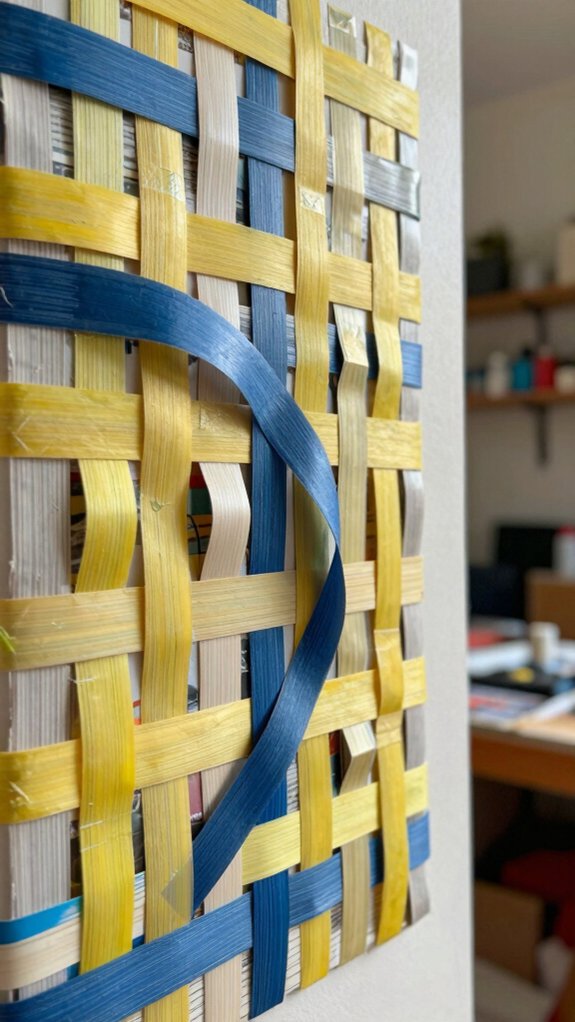
Old jeans can make a cool wall hanging, but magazines can do something pretty wild too—turn plain paper into a woven piece that looks way fancier than it sounds! You cut old pages into even strips, then do Paper Weaving over-and-under until the pattern feels snug and friendly.
| Material | Use | Tip |
|---|---|---|
| Mag pages | Strips | Fold first |
| Glue | Hold | Press ends |
| Varnish | Seal | Stop fray |
For easy Eco Crafting, layer sections, keep tension even, and you’ll get sturdy Upcycled Decor with lovely Wall Texture. It’s cheap, quick, and so satisfying—your stash finally joins the party!
Cardboard Relief Artwork
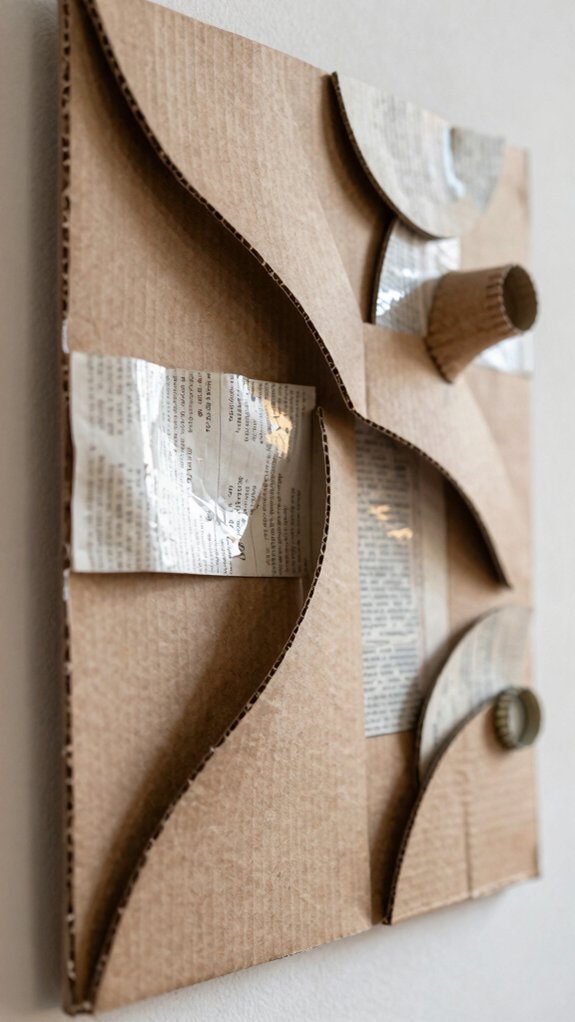
With a few scraps of corrugated cardboard, you can turn plain packing into a layered wall piece that looks way more artistic than “box leftovers” sounds! Grab shipping boxes, cereal cartons, scissors, glue, primer, and acrylics, then cut bold shapes and stack them on a flat base.
Want extra depth? Twist, score, or fold pieces before you glue them down, using textured layering techniques to build little hills, valleys, and sharp edges.
After it dries, sand lightly, paint it white or in Colorful holiday accents, and leave some negative space. Finish with acrylic sealant, and your cozy wall art’ll last beautifully!
Wine Cork Mosaic

Wine corks are tiny free building blocks, and once you collect a handful, you can turn them into a cute mosaic with almost no fuss! Clean them, dry them, then slice or tear them into tiles.
| Step | What You Do | Result |
|---|---|---|
| 1 | Sort corks | Easy planning |
| 2 | Lay out Cork Mosaic Patterns | Better design |
| 3 | Glue pieces | Strong hold |
| 4 | Add filler | Smooth gaps |
| 5 | Seal it | Lasting finish |
This is one of those Budget Friendly Upcycling Tips that feels like you joined a clever craft club. Use a frame, trivet, or tabletop, and enjoy the cozy, tan-to-brown texture!
Driftwood Gallery Display
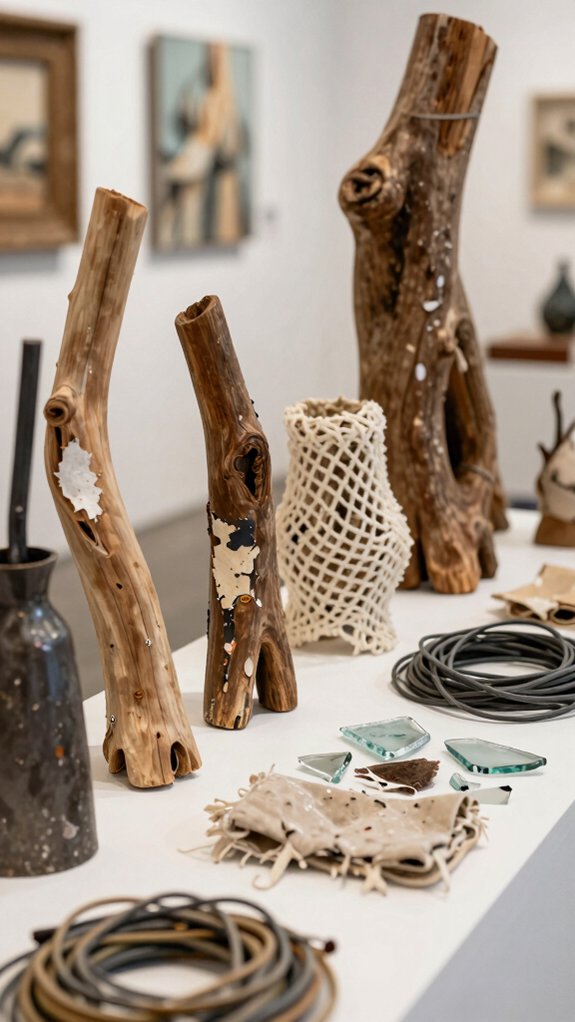
If you loved turning tiny leftovers into art with that cork mosaic, driftwood gives you the same happy scrap-hunt feeling, just with a breezy, beachy twist! Gather pieces with similar thickness, then lightly sand the edges so your hands stay happy, too.
Next, build your Minimalist Arrangement on a tray, wall grid, or frame backing, tucking larger pieces behind smaller ones for depth. Use strong adhesive or hidden wire so it won’t wobble if somebody bumps it.
Want a unified look? Add soft Coastal Color with primer, then seal it. Finish with Natural Accents for Texture Contrast, and you’ve got a gallery-worthy win!
Bottle Cap Mandala
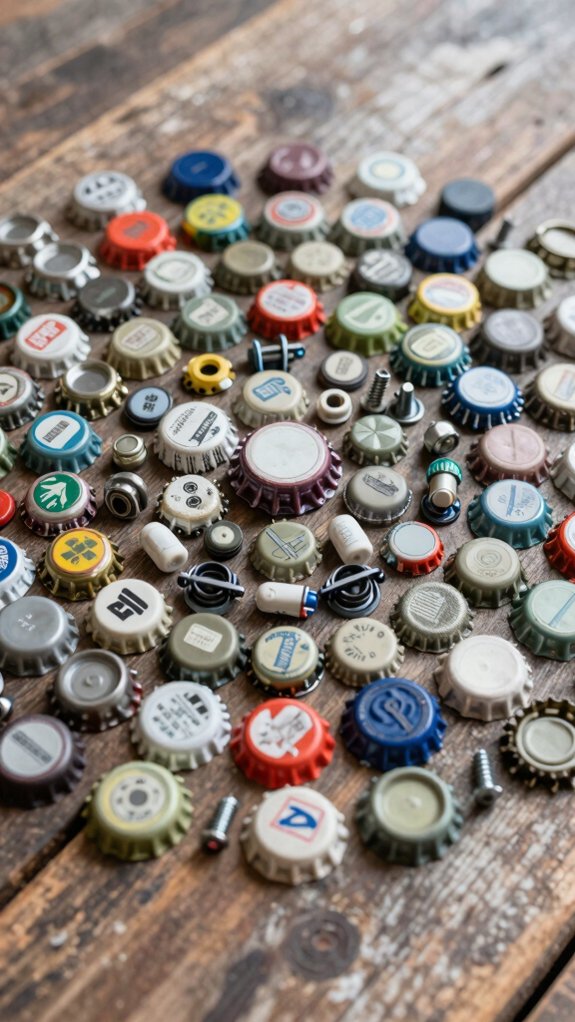
A bottle-cap mandala turns a pile of old caps into a bold little burst of pattern, and it’s way easier than it sounds! You’ll need cleaned caps, cardboard, hot glue, and maybe a few jar-lid bits.
Sketch a center point and light guide lines, then place caps in circles or a spiral, keeping spacing even for easy symmetry.
Choose a color plan for Mandala color harmony: paint the caps for a neat look, or mix metal tones for cool texture contrast effects.
Fill gaps with tiny scraps, glue everything down, then seal it with clear varnish.
You’ll end up with cheap, cheerful wall art that feels proudly yours!
Tin Can Lanterns
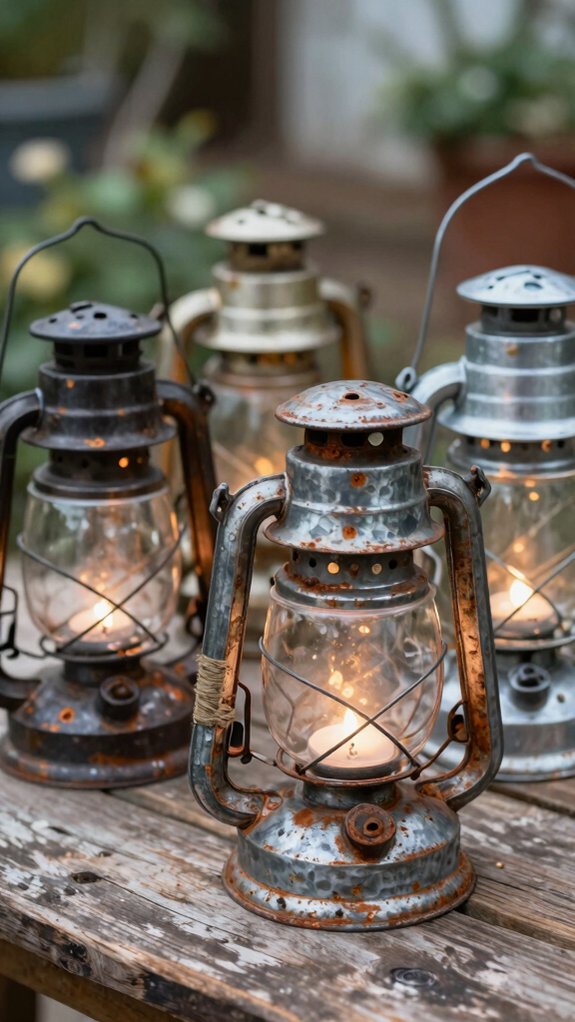
After that colorful bottle-cap mandala, you can keep the upcycled magic going with tin can lanterns, and honestly, they’re a blast!
You’ll turn empty food or soda cans into Upcycled lighting by washing off labels, then punching stars, dots, or swirls with a craft knife.
Try can design templates for neat patterns, or glue on paper scraps for a bold look, then seal it.
For a safe candle alternative, slide in a LED tea light or battery candle, no smoke, no stress.
Make a whole set in mixed sizes for mantel charm or garden glow, and yep, it’s budget-friendly magic!
Fabric Scrap Canvas
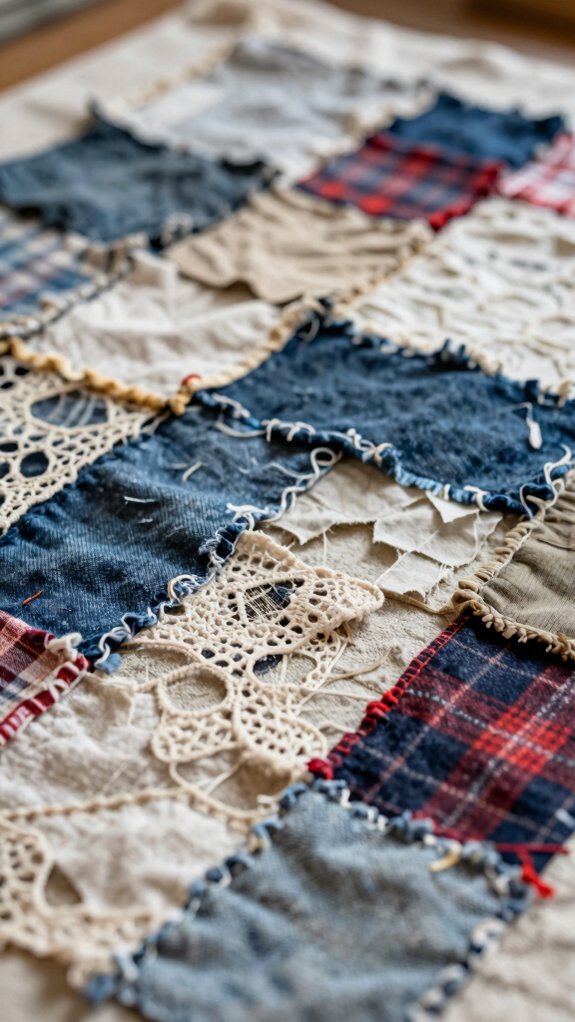
Even the tiniest fabric scraps can turn into a cheerful fabric scrap canvas, and it’s way easier than it sounds! You just need cardboard or canvas board, fabric glue or hot glue, and a mix of textile waste and thrift store finds.
Stretch your base, then layer worn cotton, denim, and linen pieces like a cozy collage. Keep going, because the varied weave patterns add instant charm!
Lightly paint over edges to tie the colors together, then trim any messy ends flush.
Seal it after the glue cures, and you’ve got a rich, sturdy piece that looks delightfully intentional—oops, not trash!
Woven Plastic Basket Art
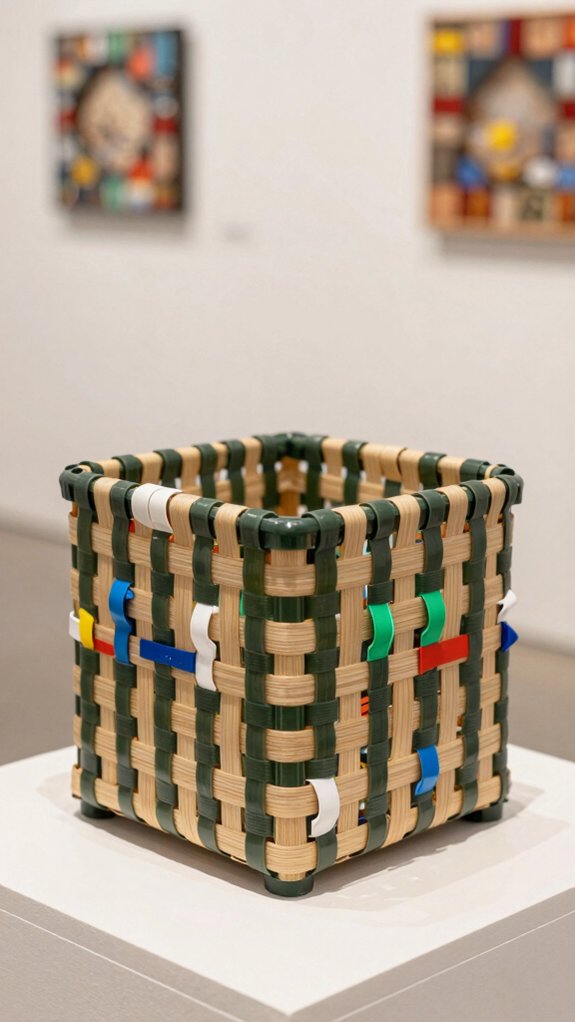
Plastic bags can get a second life as a woven basket that actually looks cute on a shelf or helps corral your odds and ends—pretty sneaky, right? You just cut clean bags into strips, then braid or weave them around a cardboard circle, jar rim, or coiled ring.
| Step | What you do |
|---|---|
| 1 | Pick bag strips |
| 2 | Build a base |
| 3 | Weave evenly |
| 4 | Add color contrast |
| 5 | Seal and admire |
Keep the base tight, then ease up higher for that basket shape. Because strips slip, use glue reinforcement at key spots. A clear sealer helps tame fraying, and wow, you’ve got storage!
Egg Carton Floral Sculpture
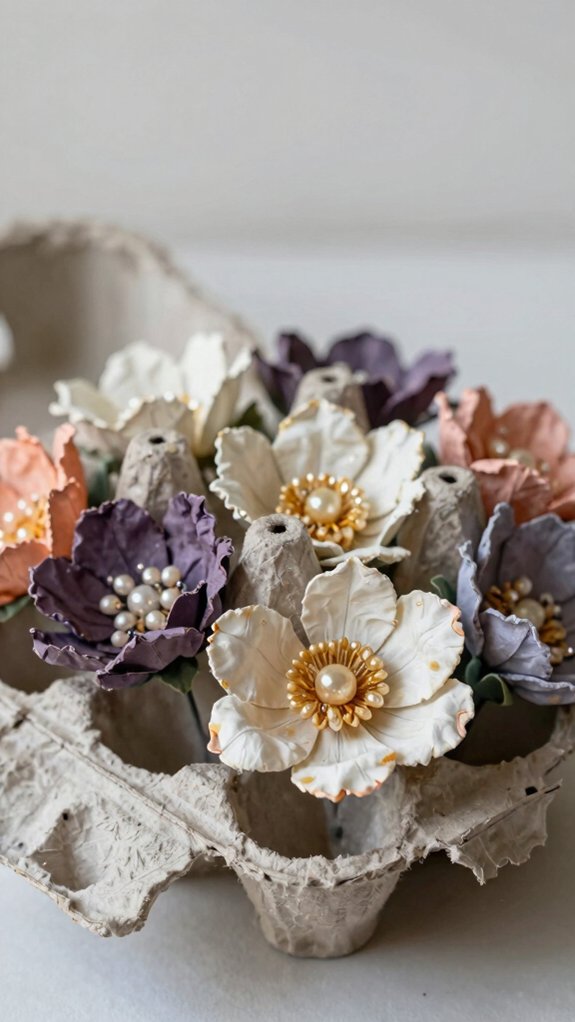
Sometimes the cutest blooms come from the most ordinary trash! You can turn an empty egg carton into a cheerful floral sculpture that feels like a little secret garden, and it’s perfect for Sustainable Crafting.
- Cut out the cups, trim them, and overlap the edges.
- Paint the pieces with acrylics for bright, happy color.
- Glue flowers onto cardboard, foam, or a wreath ring.
- Add tiny layers and contrasting edges for Texture Building.
Let it dry all the way, or the paper-fiber may warp—oops! Soon you’ve got a low-cost display that looks handmade, bold, and totally yours.
Glass Jar Terrariums
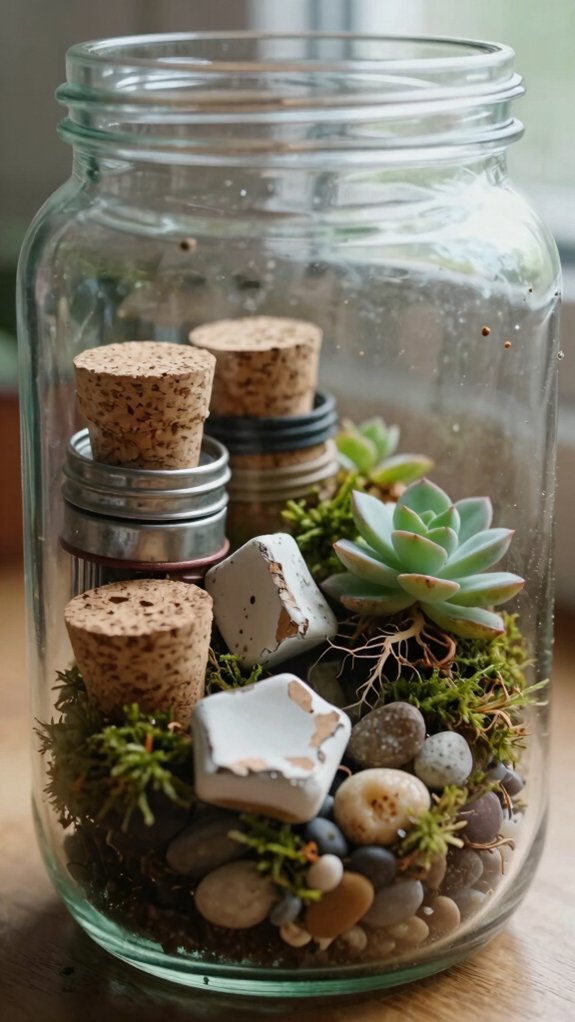
With a clean glass jar, you can build a tiny terrarium that feels like a little indoor garden, and it’s way easier than it sounds!
Start with small stones, a pinch of activated charcoal, then lightweight potting mix, and tuck in low maintenance plants like succulents.
These indirect light terrariums love a bright spot, not harsh sun.
You can paint or seal the outside for a neat cloche look, while leaving the top open so air moves freely.
Add a few cork bits for a playful, earthy base, if you want.
Water sparingly, let soil dry a bit, and enjoy your mini green buddy!
Vintage Book Page Collage
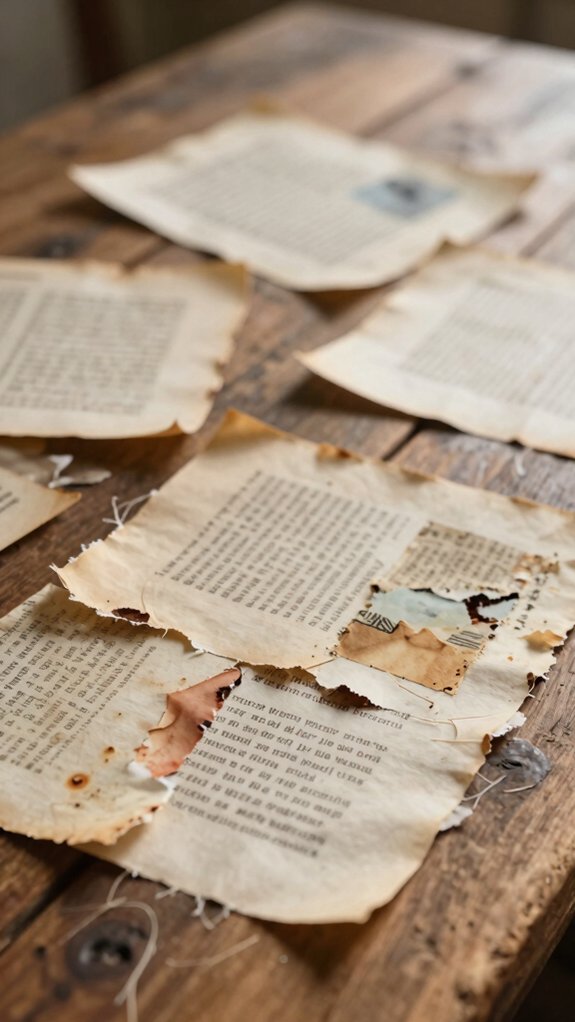
If you loved turning an old jar into a tiny green world, here’s another fun way to rescue something forgotten: vintage book pages!
You can build a cozy collage that feels like it belongs in your favorite creative corner.
- Gather torn pages, scissors, glue, and a sturdy base.
- Cut shapes, letters, and borders, then plan overlap and open space.
- Smooth each layer with Mod Podge so the text stays crisp and the layered paper texture shines.
- Add index scraps, headings, or tiny paint blocks for textural collage depth.
Finish with clear sealer, and you’ll protect your art, dust-free and lovely!
Reclaimed Wood Wall Panels
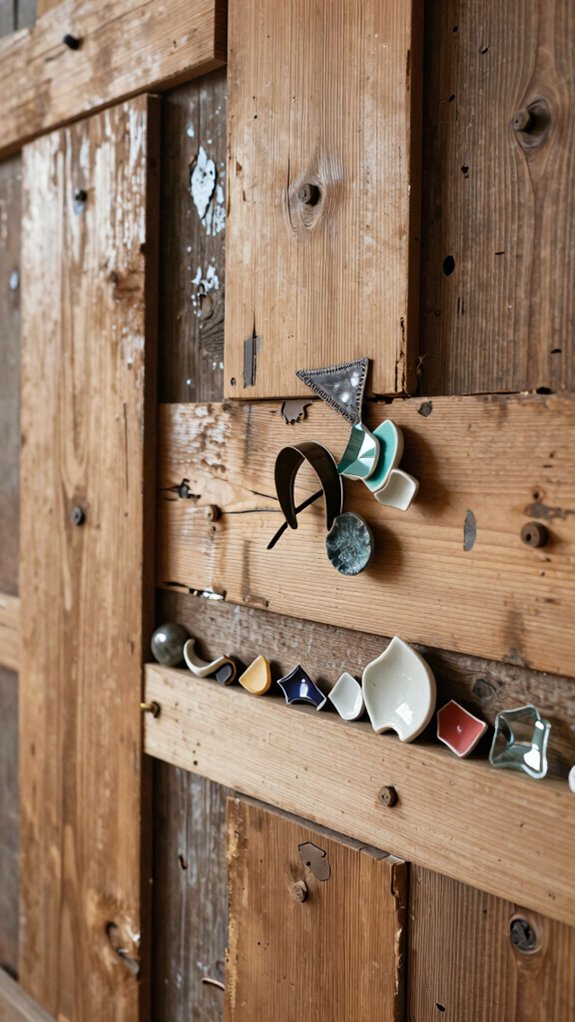
A reclaimed wood wall panel can turn a pile of old scraps into a bold, cozy focal point, and honestly, it’s a lot more fun than staring at plain walls!
You can gather pallets, crates, fence boards, or broken furniture, then cut, sand, and mix them into matching shapes.
Try Reclaimed Finish Options like paint, primer, or a clear sealant that shows off the grain.
For a snug look, use spacers or a border frame, then fasten the pieces to plywood with screws or heavy-duty glue.
With smart Wall Mounting Methods, your handmade panel feels sturdy, stylish, and totally yours!
Mixed Recycled Sculpture
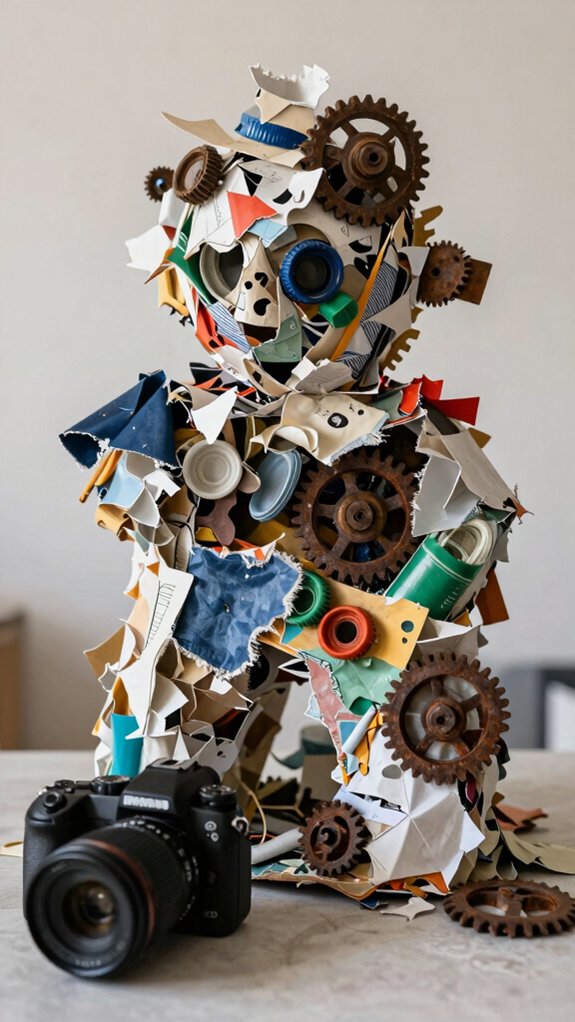
Old scraps don’t have to stay scraps, and that’s where mixed recycled sculpture gets really fun! You can turn cans, caps, jars, and wrappers into a piece that feels like your own little tribe trophy.
- Build a base with cardboard tubes or egg cartons.
- Glue on found parts in layers.
- Sand, prime, and paint for texture contrast.
- Finish with reflective sealants.
Add tin labels or paper bits for story, then place a thick cardboard backing under the sculpture so it stands steady.
You’ll get bold decor, low cost, and a proud, handmade look that says, “Yep, I made that!”


