


I turned one messy room into a calm corner with 10 simple DIY room divider ideas for a temporary wall, and I didn’t need ornate tools. I’ve used IKEA frames, luan, hinges, glue gun tacks, and Dollar Tree weights to build freestanding panels, accordion walls, and picture-frame dividers that hide clutter fast. I usually start with a 2×3 frame, add feet, then finish with paint or wallpaper—my wobbly first try taught me the hard part, but the smart tricks come next.
Key Takeaways
- Build lightweight 24–30″ wide panels from 2×3 frames with luan skin so they’re easy to carry and reuse.
- Add cross-braces, extra studs, and a centered foot or ledge to reduce sway and improve freestanding stability.
- Use removable hinges or an accordion zig-zag layout so panels fold flat and support each other without permanent anchoring.
- Weigh panels with sandbags, books, or bricks, and add felt pads to prevent sliding and floor damage.
- Finish with peel-and-stick wallpaper, paint, trim, or caulk to create a polished temporary wall that hides seams.
Pick the Right Temporary Wall Design
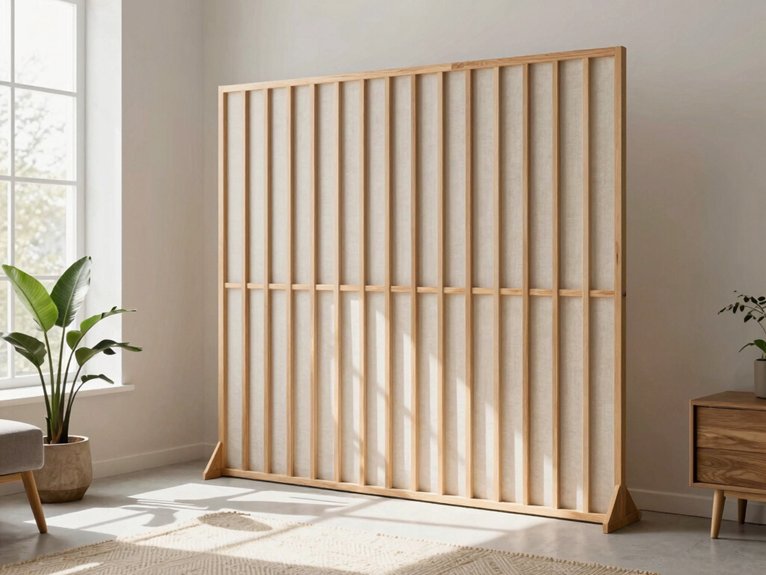
I usually keep the build basic: a circular saw, a drill, wood glue, a few screws, and sometimes a glue gun for quick trim fixes or little Dollar Tree covers that hide rough edges.
When I need acoustic insulation, I pick freestanding modular panels with 2×3 frames and luan skin. They’re light, reusable, and don’t bully apartment walls. I add 10-inch feet, then sandbags on the base—top-heavy walls wobble fast, trust me. For longer runs, I hinge panels in a zig-zag. I finish with peel-and-stick wallpaper, and color psychology helps the space feel calm, cozy, and ours.
Build a Freestanding Temporary Wall
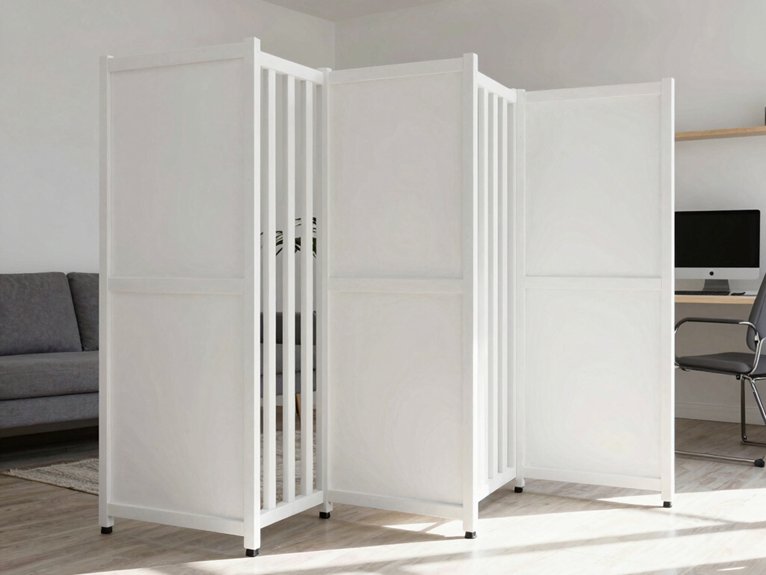
Then I skin the frames with 1/4-inch luan or thin OSB instead of drywall, because that keeps the whole thing light, reusable, and way easier to take apart later.
When I need a freestanding temporary wall, I build 24- to 30-inch panels from 2x3s, add two or three studs, and set each one on a centered 1×4 foot.
A glue gun helps me tack on felt pads, and a couple sandbags or bricks keep the feet steady.
I’ve even slid portable shelving beside the divider for storage and extra acoustic insulation.
No wall bolts, no landlord drama, just a room that finally feels like mine.
Use Hinged Panels for an Accordion Wall
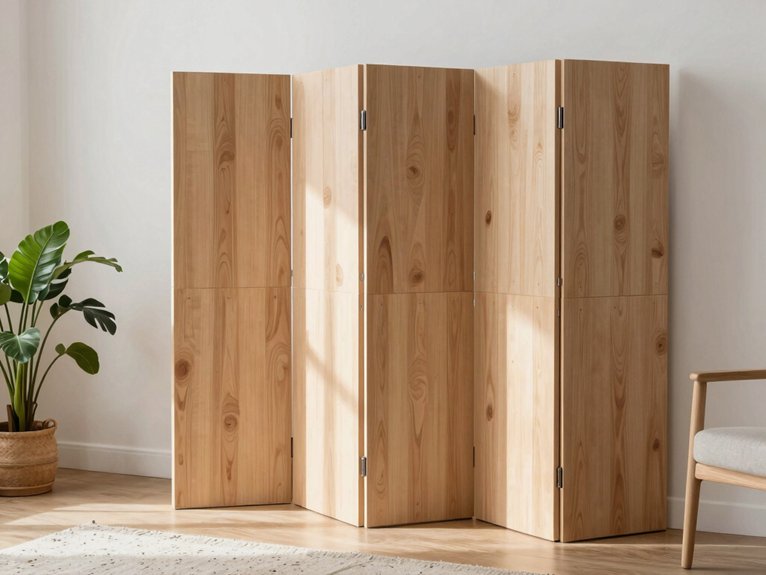
The magic is in the hinges. I turned IKEA-style frames into an accordion wall when my living room needed privacy fast. I used lightweight hinges and portable hardware, plus luan-backed panels that felt sturdy, not heavy.
- Cut 24–30″ panels
- Add 1×1 trim, glue, and nails
- Space hinges every 18–24″
- Clip in removable pins
- Fold flat for storage
I set 10″ feet on the ends, then added a Dollar Tree book stack as a sneaky weight. Zig-zagging the panels made them stand better than I expected. A little tape hid seams. Honestly, it looked like I’d hired myself.
Make Picture-Frame Wall Panels
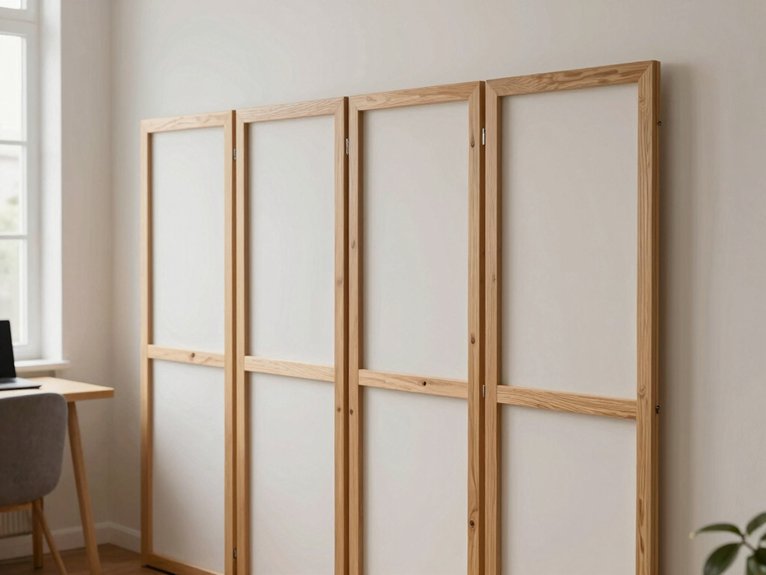
Craving a quick room fix without building a whole wall? I make picture-frame wall panels from 2×3 lumber, then add decorative molding so they feel elegant, not flimsy.
I size each frame about 28 inches wide and 82 inches tall, add cross-braces, and set a 1×1 ledge inside for easy skin removal later.
I glue on Dollar Tree trim with a glue gun, then staple or screw in thin luan. A few hinges let me fold the panels, and simple feet keep them steady.
The best surprise? They add a little acoustic insulation and make my space feel like mine.
Skin the Frame With Luan or Plywood
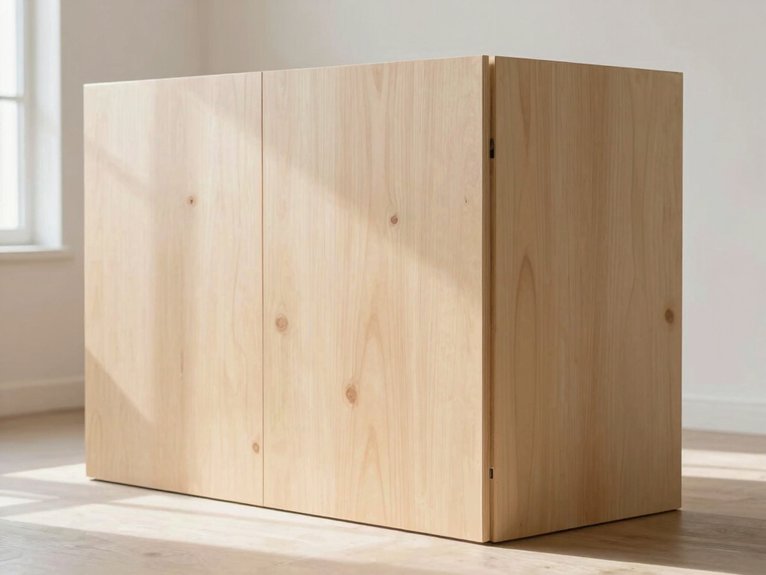
I’ve learned not to reach for joint compound here. When I built my temporary wall, I skinned the frame with 1/4″ luan, and it felt like a win for my tiny place.
- I cut 24-inch panels and set them on a 1×1 ledge.
- I used lightweight fasteners, plus a glue gun for quick holds.
- Short self-tapping screws made removal easy later.
- Dollar Tree clips and IKEA frames helped me mock up sizes.
- I sealed seams with tape and added removable trim.
The panels stayed under 40 pounds, so I could lift them out without a wrestling match.
Hide Seams With Paint or Wallpaper
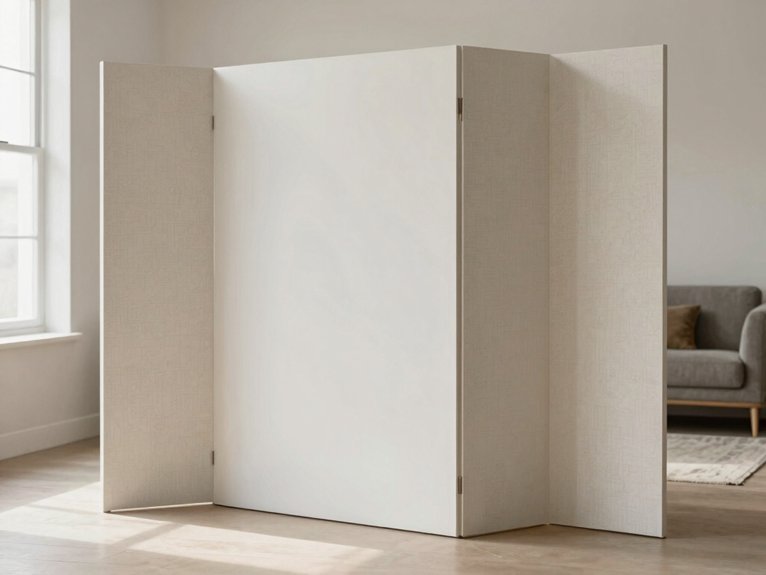
Once the frame was skinned, I’d a plain wall staring back at me, and that’s when hide seams with paint or wallpaper became the magic trick. I brushed on shellac primer for color matching, then two coats of semi-gloss, and the room finally looked like it belonged together.
Before painting, I filled seams with flexible caulk and light sanded for texture smoothing; my Dollar Tree putty knife worked fine, honestly. If you want an easier win, I’d use peel-and-stick wallpaper over taped luan panels.
I hid one ugly joint behind IKEA picture-frame trim, and wow—instant calm, no drama, just a cozy little room.
Add Stability Without Permanent Anchors
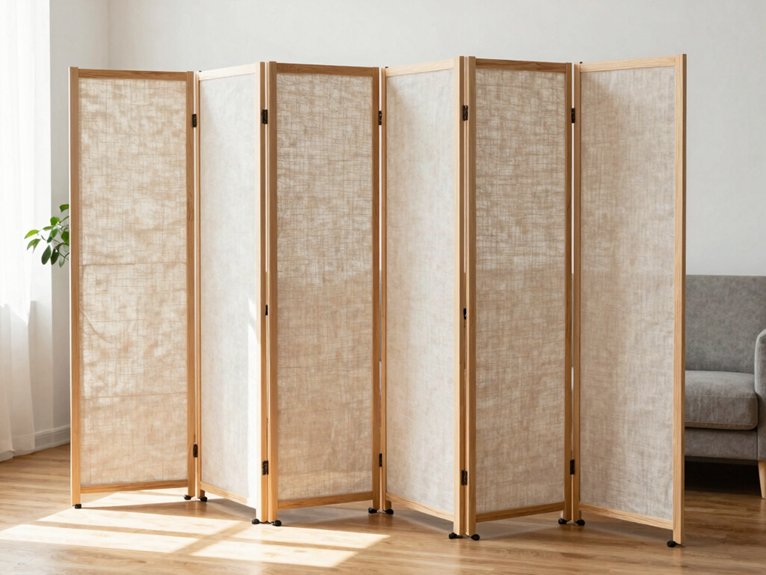
That little trick kept the whole thing from feeling top-heavy, and it didn’t leave a mark on the floor.
I start with weighted bases: I glue 10–12″ 1×4 feet under IKEA frames, then strap on sandbags or bricks. Cheap, sturdy, and my cat finally stopped judging me.
- Felt pads stop sliding.
- Removable hinge pins make resets easy.
- 1/4″ luan adds stiffness.
- Cross-braces cut sway fast.
- Tension poles give extra hold.
I like hinged panels in a zig-zag; they stand better together. A few tension poles at the top kept my divider calm during a fan blast. Small win, big relief.
Size Panels for Easy Carrying
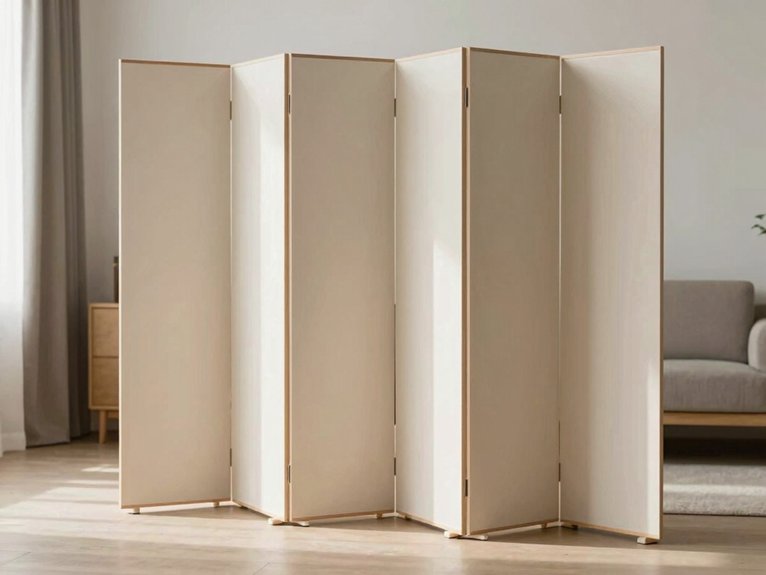
A sturdy divider is great until you need to move it through a hallway, and then it suddenly feels like you built a tiny wall by accident.
I keep my panels 24 to 30 inches wide and 80 to 84 inches tall, so I can carry them alone without scraping paint. I use 1/4-inch luan over a 2×3 frame, plus lightweight handles cut into the sides. A glue gun helps me tack on Dollar Tree trim fast. For taller looks, I do stacked transport with two shorter halves. Under 1.5 inches thick, they slide flat and store neatly.
Create Doorways and Custom Layouts
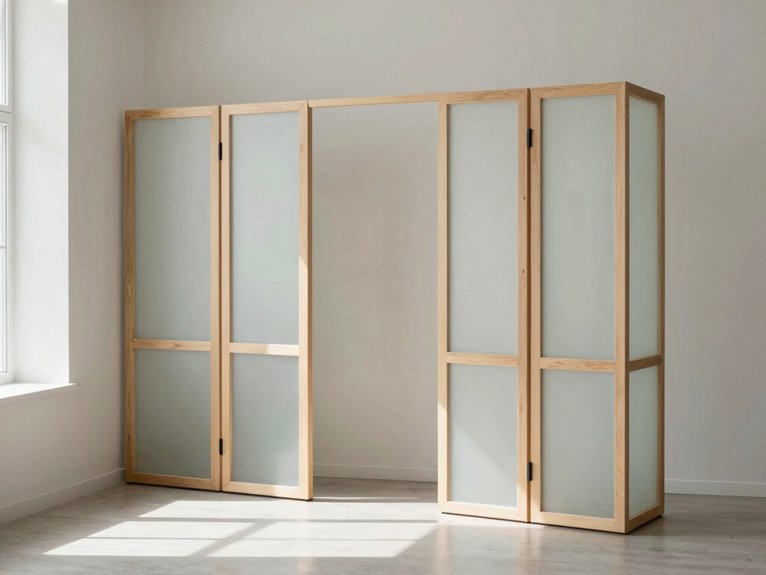
When I wanted my DIY room divider ideas to do more than just block a view, I started treating one panel like a real doorway instead of a fake wall.
I mark hardware templates on IKEA frames, then cut a 24–30″ opening for a light door. Carriage bolts and doubled studs kept it steady.
- Butt hinges with removable pins made an L-shape fold flat.
- A zig-zag layout added a cozy alcove.
- I used a glue gun for quick trim fixes.
- Dollar Tree bins hid tools.
- Floor thresholds helped the doorway feel finished, not wobbly.
Tiny room, big win.
Take the Temporary Wall Apart Fast
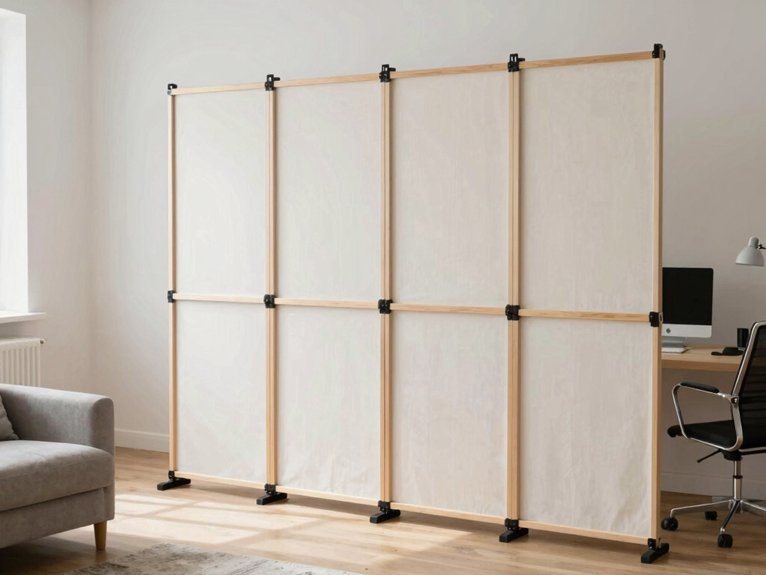
I keep each section light enough for one person to lift, and I connect them with removable hinge pins or carriage bolts so I can separate the pieces without a wrestling match. When my tiny apartment feels cramped, I want quick disassembly, not chaos.
I build each panel from 2x3s and luan, then set them on short feet or a 1×1 ledge groove. No permanent anchors, ever. Weighted sandbags keep things steady, and an accordion fold helps me tuck it away fast. If I need an emergency exit, the panels lift straight up. A glue gun and peel-and-stick tape make cleanup oddly satisfying.


