
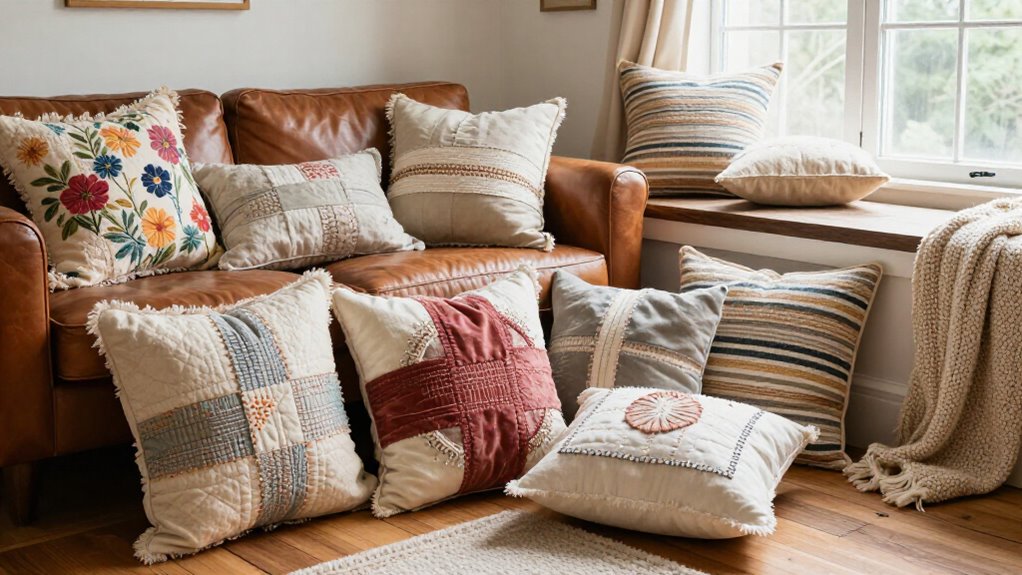

You can make a room feel personal with easy pillows: sew charm squares into a quilted cover, fussy-cut a favorite floral, or add gathered gingham ruffles—no skillful skills required! Try linen envelope backs for washable covers, scalloped edges for a custom look, or a slim lumbar with piping. Mix one bold print with a cream, navy, or teal solid so patterns don’t argue. Keep going for cozy pockets, clever closures, and a surprisingly polished favorite.
Key Takeaways
- Make patchwork or vintage quilt-block pillows with 2–3 inch fabric squares for a warm, collected look.
- Add personality with floral fussy cuts, botanical embroidery, appliqué flowers, or cherished textile details.
- Use ruffles, scalloped edges, pom-pom trim, piping, or a slim flange to create custom-looking finishes.
- Choose tactile fabrics like velvet, bouclé, denim, eyelet, or gingham to match the room’s mood and texture.
- For polished results, size covers slightly larger than inserts, clip corners, press seams, and close openings with ladder stitches.
Quilted Patchwork Pillow
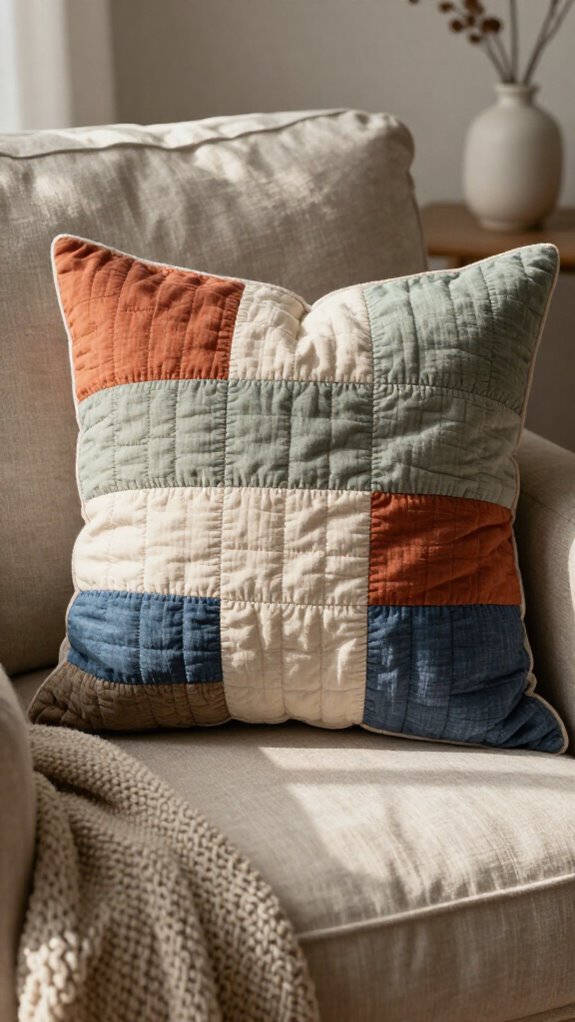
Turn a handful of charm squares or 2–3 inch fabric blocks into a quilted patchwork pillow that looks far more elegant than its beginner-friendly steps! Arrange Color blocking in an even grid, stitch the pieces, and press seams flat.
Next, baste your top with batting and backing, then quilt as you go using straight lines or easy diagonals. It’s affordable, cozy, and wonderfully shareable—like joining a tiny sewing club from your couch!
Trim the layers to fit your form, adding seam allowance, then bind or face the edges. Sew right sides together, leave an opening, turn, and stuff. An 18-inch form gets a tailored, boutique-worthy finish—no elegant machine required!
Vintage Floral Pillow
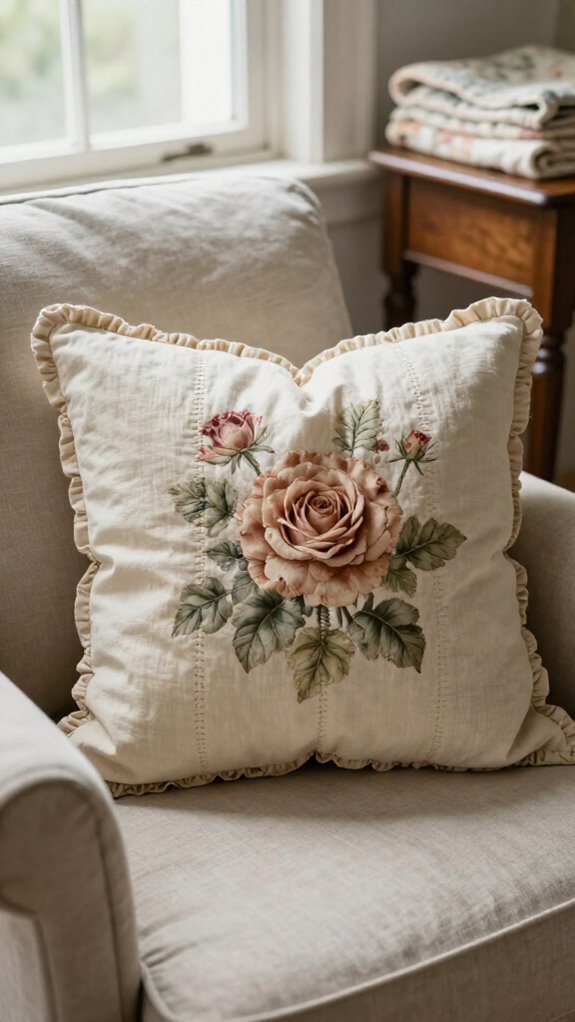
After the tidy geometry of patchwork, a vintage floral pillow brings in soft, storybook charm—like finding a pretty old dress at a thrift shop and giving it a new job!
Choose fabric with bold blooms, then fussy cut the front so your favorite flower takes center stage.
Cut front and back pieces with seam allowance, add handmade piping details, and sew right sides together, leaving a six-inch opening below.
Clip corners, turn, and stuff in your form—easy!
For a polished finish, topstitch near the trim with a zipper foot.
Close the opening with a ladder stitch or vintage button closures.
Suddenly, your sofa feels like it’s always belonged to you.
Cottagecore Ruffle Pillow
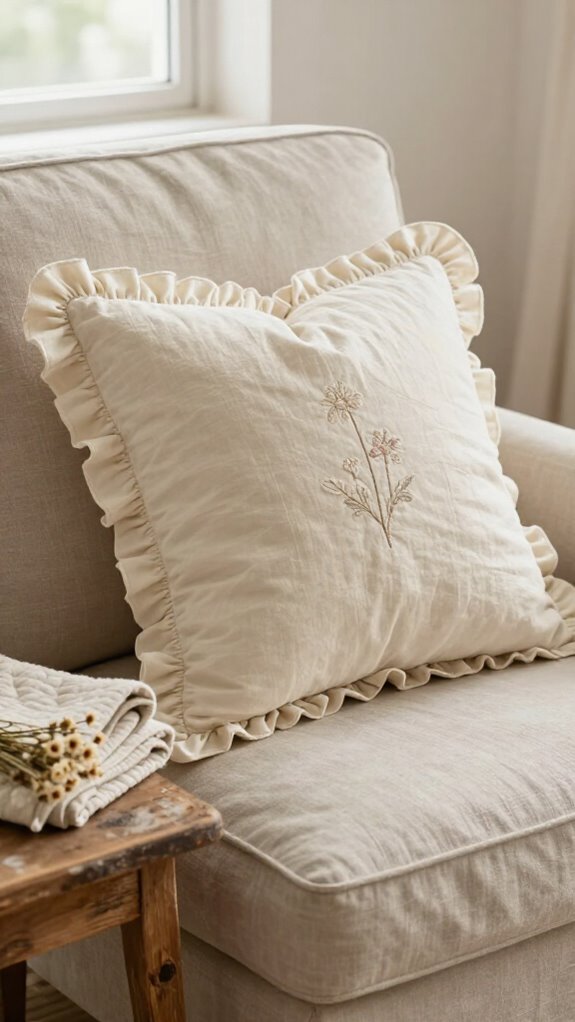
A cottagecore ruffle pillow gives your space that sweet, sunlit-cottage feeling—without requiring a sheep, a meadow, or a tea set collection!
| Step | Your cozy move |
|---|---|
| Fabric | Choose cotton lawn, eyelet, or gingham. |
| Sizing | Use pillow cover sizing: panels 1 inch larger. |
| Ruffle | Gather strips 2–3 times the edge length. |
For Color matching tips, pair soft florals with cream or sage. Sew ruffles to the front, then stitch front and back together, leaving a 6-inch opening. Turn, stuff, and ladder-stitch it closed. Your tidy ruffles become the sweet focal point—like your room finally joined the neighborhood!
Linen Envelope Pillow
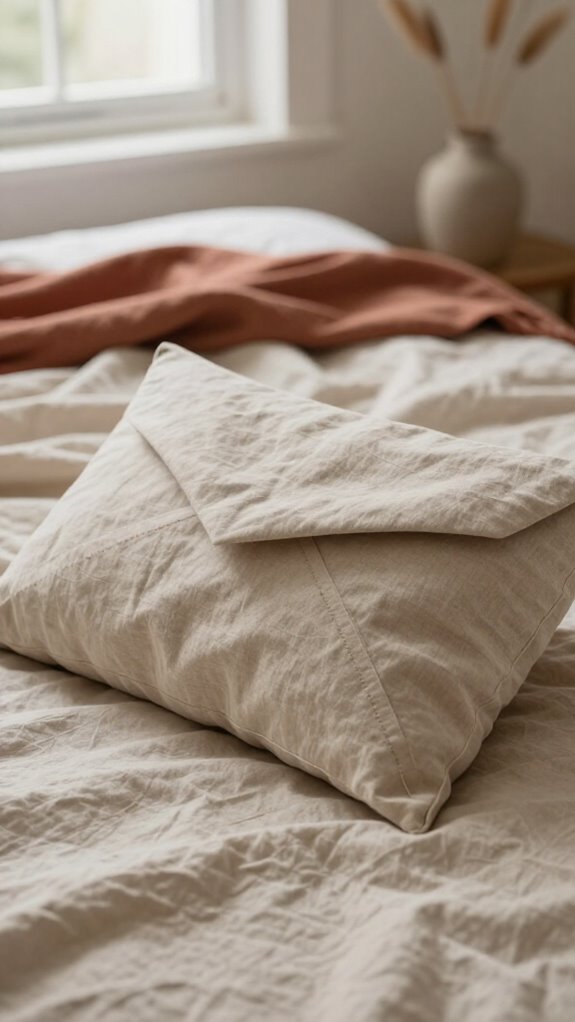
Linen envelope pillows give you that relaxed, boutique-style look, and you can remove the cover for washing—no zipper wrestling required!
Choose medium-weight linen, or add interfacing to lighter fabric so the overlap stays neat.
Cut front and back panels to your insert size plus seam allowance.
Try pattern matching techniques to center stripes or a floral motif; your pillow will look right at home with the rest of your cozy crew!
Hem the flap edges, overlap them, then stitch the layers together.
Press flat and use consistent seam finishing methods, including a 3/8-inch edge stitch.
Slide in the form—instant workroom polish, no stylish tools needed!
Scalloped Edge Pillow
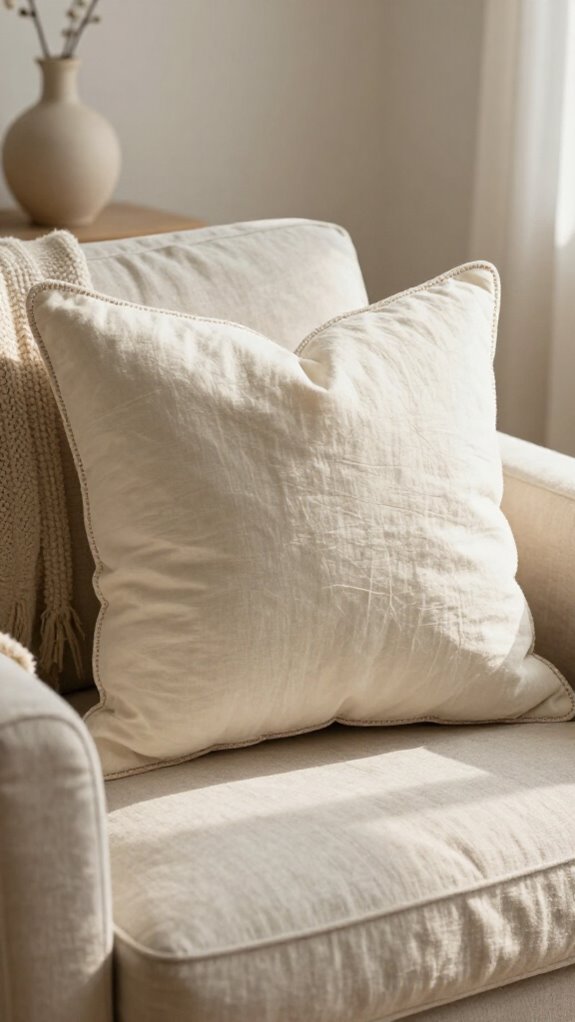
Ready for a little extra flair? A scalloped edge pillow gives your sofa a friendly, custom look without costing much!
- Choose sturdy cotton or linen; your Scallop fabric choice helps curves hold their shape.
- Cut two panels, mark smooth scallops, and sew right sides together, leaving a 6-inch opening.
- Clip each curve carefully, then turn and use a blunt tool to pop out every rounded edge.
- Try these finishing press tips: press lightly, insert the form, and ladder-stitch the opening closed.
You’ll create crisp, cheerful waves around the border—like your pillow dressed up for the neighborhood party!
Embroidered Botanical Pillow
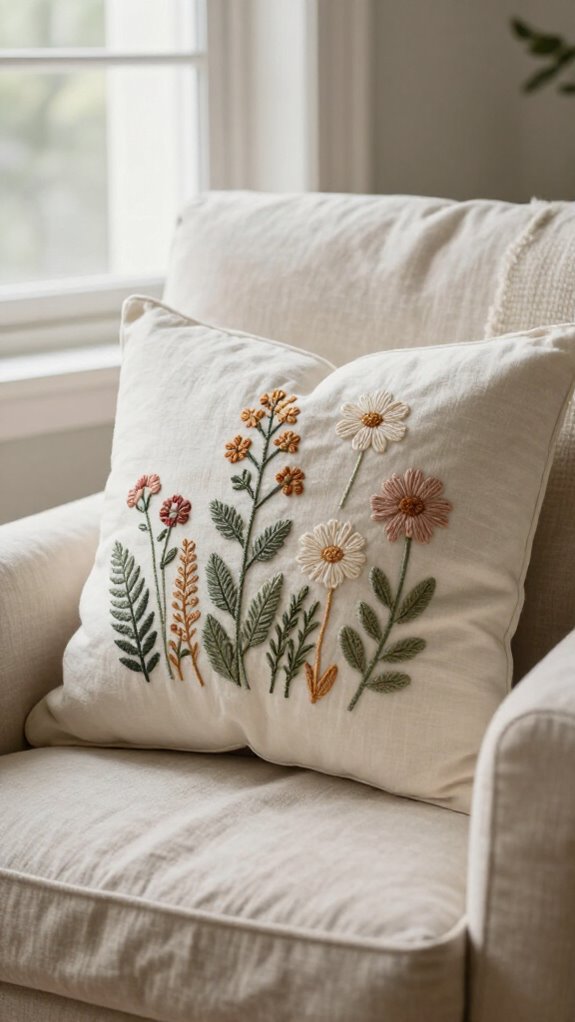
Turn a plain pillow into a tiny indoor garden with embroidered stems, leaves, and cheerful blooms—no green thumb required!
Choose botanical fabric or a neutral base, then sketch a centered plant layout sized for your pillow form. Your color palette and thread selection can echo the shades already loved in your home, making the room feel more like yours.
Use a hoop and stabilizer, then backstitch stems and leaf outlines. Add satin-stitched petals and French-knot centers—tiny flowers, big charm!
Sew right sides together, leave a bottom opening, insert the form, and ladder-stitch it shut. Press gently with a cloth; crisp curves and vivid stitches make it look wonderfully polished.
Monogram Throw Pillow
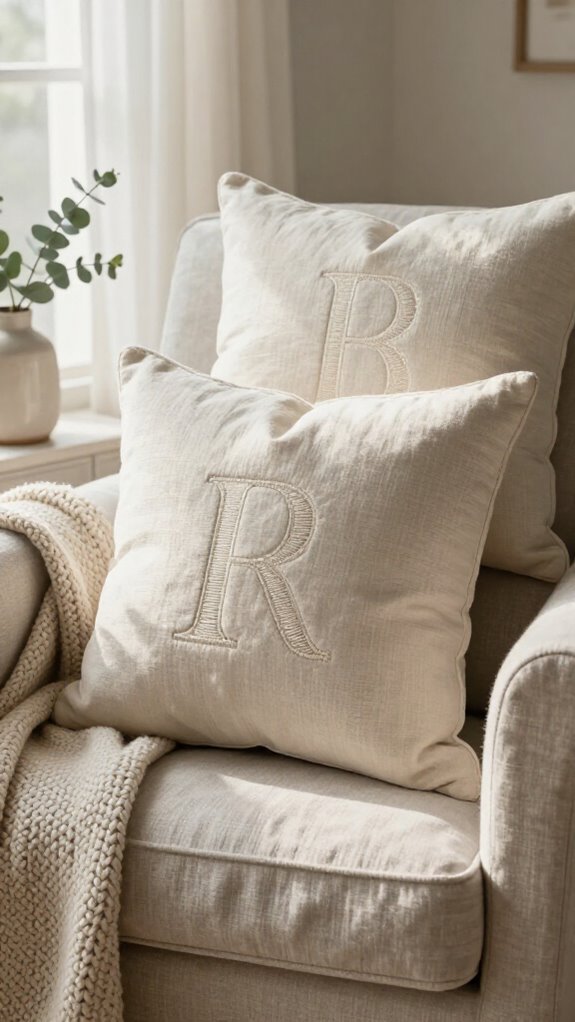
A monogram throw pillow adds a personal, polished touch to any sofa, chair, or bed, and it’s much easier to make than it looks—promise!
Gather fabric, thread, and a pillow form, then plan monogram sizing before cutting. Your thread color choice can match your room or add a cheerful pop!
- Cut fabric about 1 inch larger than your form.
- Center and trace the letter on the front panel.
- Use satin stitching on stable woven fabric.
- Press edges and shape corners neatly.
For an envelope cover, decorate only the visible front piece. That crisp initial makes your space feel truly yours—like everyone has a favorite seat!
Vintage Quilt Block Pillow
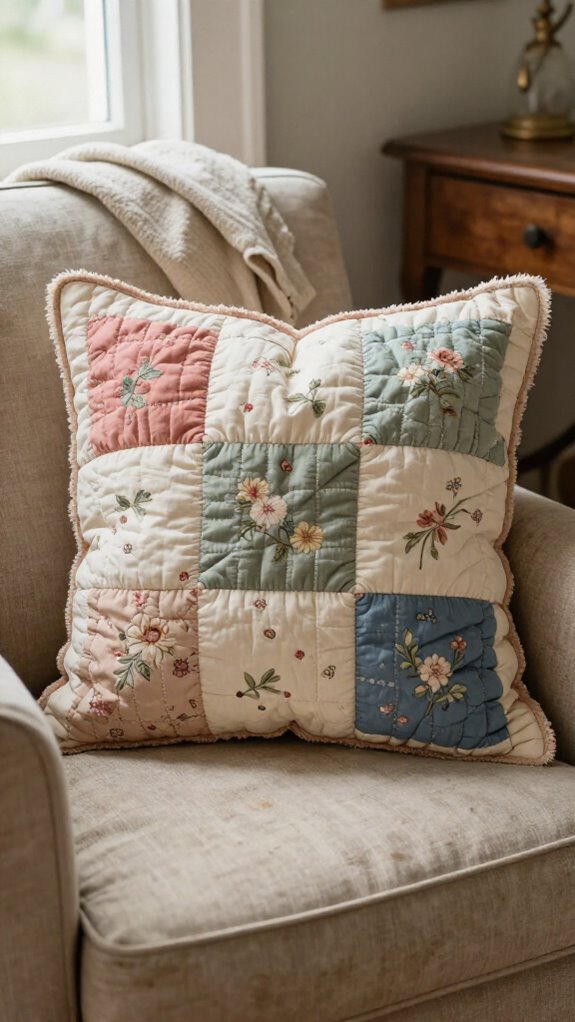
Whether you use a treasured vintage quilt block or sew a few patchwork squares yourself, this pillow turns old-fashioned fabric into a cozy accent with serious charm!
Cut front and back panels to your form size plus seam allowance, then center and pin the block with thoughtful color placement.
Add trim or homemade piping around the block for a polished workroom look—fancy, but totally doable!
Stitch it 3/8 inch from the edge.
Place panels right sides together, leave a 6-inch bottom opening, and use careful seam finishing.
Clip corners, turn, press, insert the form, then ladder-stitch closed.
You’ll create a one-of-a-kind seatmate that makes guests feel right at home!
Pom-Pom Accent Pillow
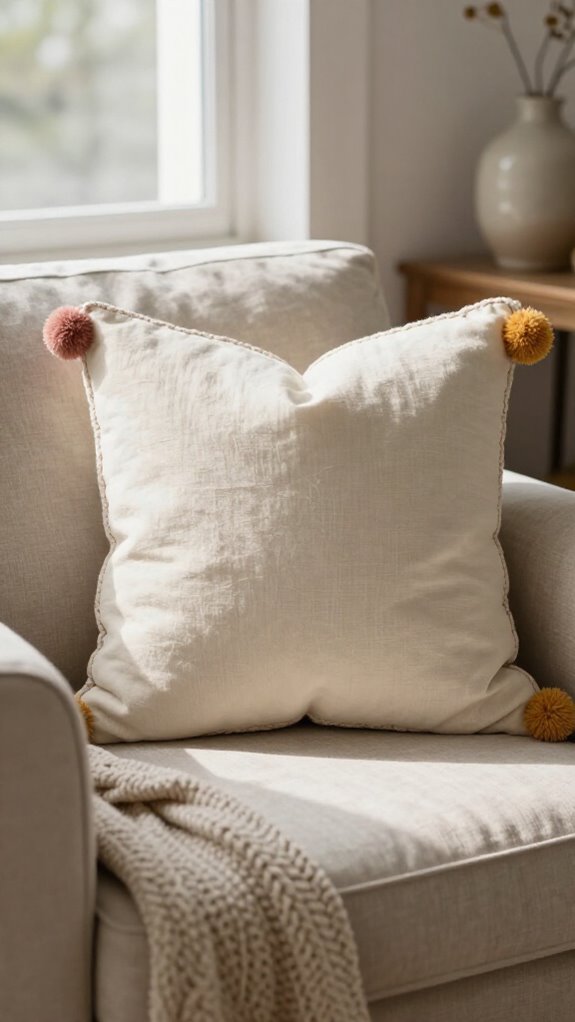
Bring instant cheer to a plain sofa with a pom-pom accent pillow—this beginner-friendly project looks delightfully stylish, but it’s mostly straight seams and a little patience!
- Cut two 19-inch squares for an 18-inch form.
- Pin dense reversible trim to the front’s right side.
- Stitch near the pom line with a zipper foot.
- Sew panels, leave 6 inches, turn, stuff, and ladder-stitch.
Match thread to your fabric, so Colorful tassels steal the show! Clip corners before turning to avoid bulky little “ears.”
Press lightly after closing, and you’ll have a crisp, cozy border that makes your space feel welcoming.
Bouclé and Cotton Pillow
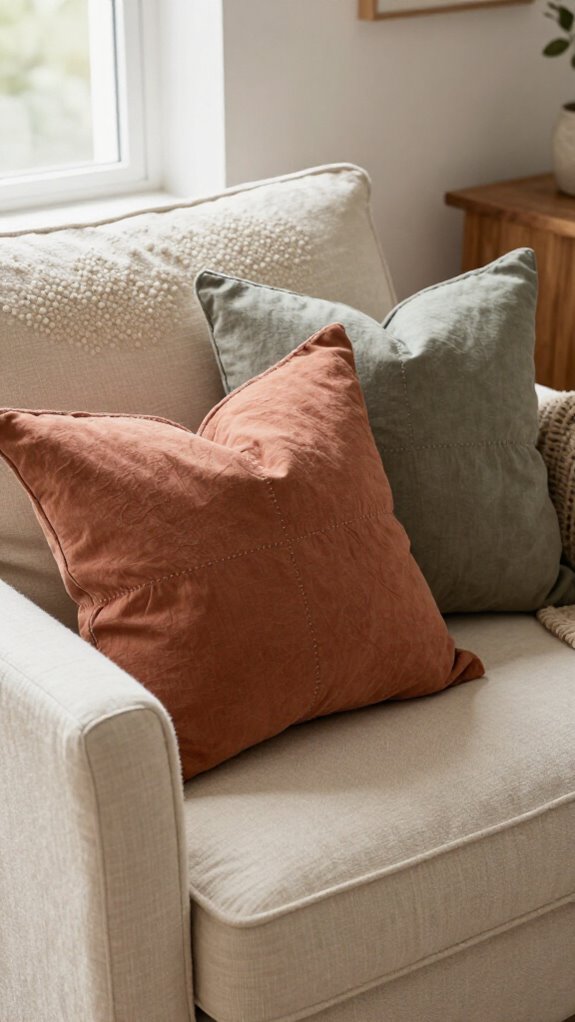
Mixing bouclé with cotton gives you a pillow that feels cozy yet polished—like your sofa got dressed up without becoming fussy! Choose nubby bouclé for the front and tightly woven quilting cotton for the back, so your pillow looks special but stays easy to wash.
For Sewing durable seams, use a sharp needle, stitch slowly, and try a zipper foot near the edges; bouclé loops can be tiny troublemakers!
Keep mixing color textures simple: pair cream bouclé with a solid sage or warm clay cotton. You’ll create a welcoming piece that feels right at home with your favorite people—and guests may ask where you bought it!
Striped Farmhouse Pillow
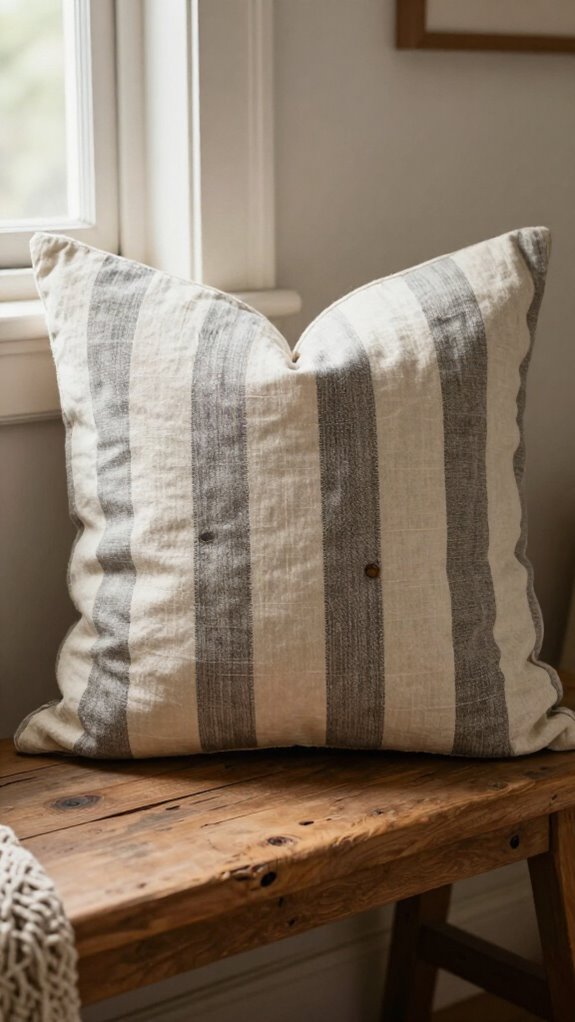
A striped farmhouse pillow adds instant porch-swing charm to a sofa, bed, or cozy reading chair—without costing a small fortune! You’ll create a welcoming look that feels right at home with your favorite people.
- Choose navy/cream or black/white fabric with bold contrast.
- Check pillow sizing, then cut two panels with seam allowance.
- Line up stripes carefully before sewing three sides, leaving an opening.
- Clip corners, insert an 18×18 form, and ladder stitch closed.
For a polished surprise, add matching piping along the front edge. It’s beginner-friendly, looks wonderfully finished, and makes your space say, “Come on in!”
Neutral Textured Pillow
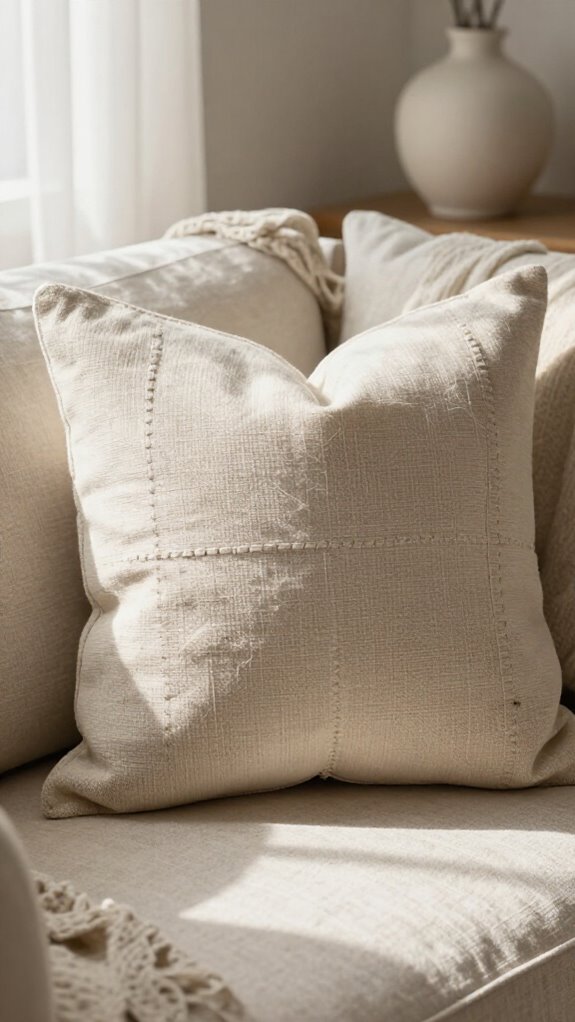
Even the simplest sofa gets an instant upgrade when you add a neutral textured pillow—think nubby linen, soft velvet, chunky knit, or fluffy faux fur!
Your Fabric selection makes the difference: choose a tactile material that feels welcoming and looks thoughtfully collected.
For an 18-inch form, cut two 19-inch squares, sew three sides, then add piping or a slim flange.
It’s beginner-friendly, affordable, and far more polished than “I made this at midnight” needs to look!
Careful seam finishing matters: clip corners, turn slowly, stuff the form, and close the opening with a ladder stitch.
Those crisp corners create the cozy, designer-worthy finishing touch!
Velvet Accent Pillow
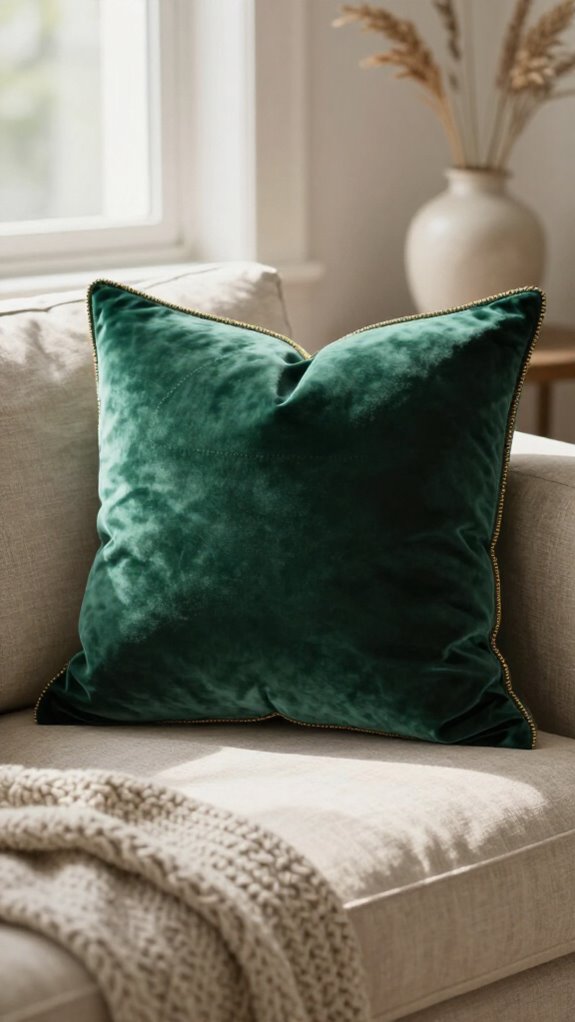
Velvet brings instant color and soft, touchable luxury to a sofa or bed, and you can sew this accent pillow without turning your craft table into a stylish upholstery shop!
- Choose 18-by-18-inch velvet panels.
- Keep nap direction identical on every piece.
- Add piping or a 1/2-inch flange.
- Plan gentle zipper installation at the bottom.
Sew slowly with a zipper foot near trim, and press lightly for smart velvet care—no shiny, crushed pile allowed!
You’ll get a polished knife-edge pillow that feels right at home with your favorite people.
For the cleanest finish, tuck in the form through the bottom opening or close it with a ladder stitch.
Denim Patchwork Pillow
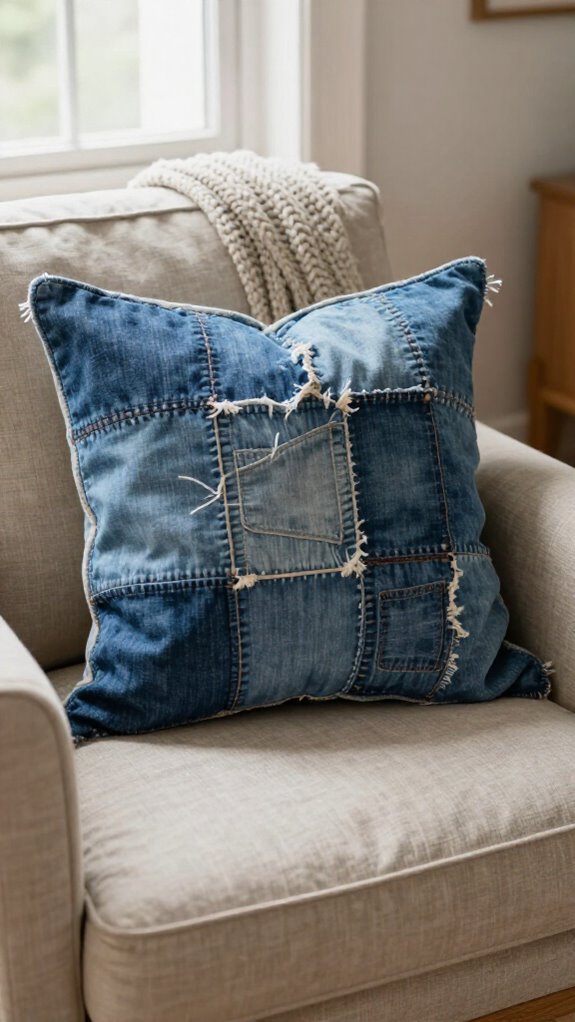
Denim patchwork gives your pillow a relaxed, lived-in look that feels totally different from smooth velvet—and it’s a fantastic way to use old jeans!
Choose denim colorways that feel like your home, then cut panels about 1 inch larger than your insert.
Fussy-cut pockets, whiskers, and fades for intentional patch placement—no accidental “butt pocket” centerpiece!
Stitch with sturdy topstitching, press seams flat, and add piping or a slim flange 3/8 inch from the edge.
Sew right sides together, leave a 6-inch bottom opening, clip corners, turn, stuff, and ladder-stitch closed.
Your finished pillow feels personal, practical, and ready to join the sofa crew!
French Country Pillow
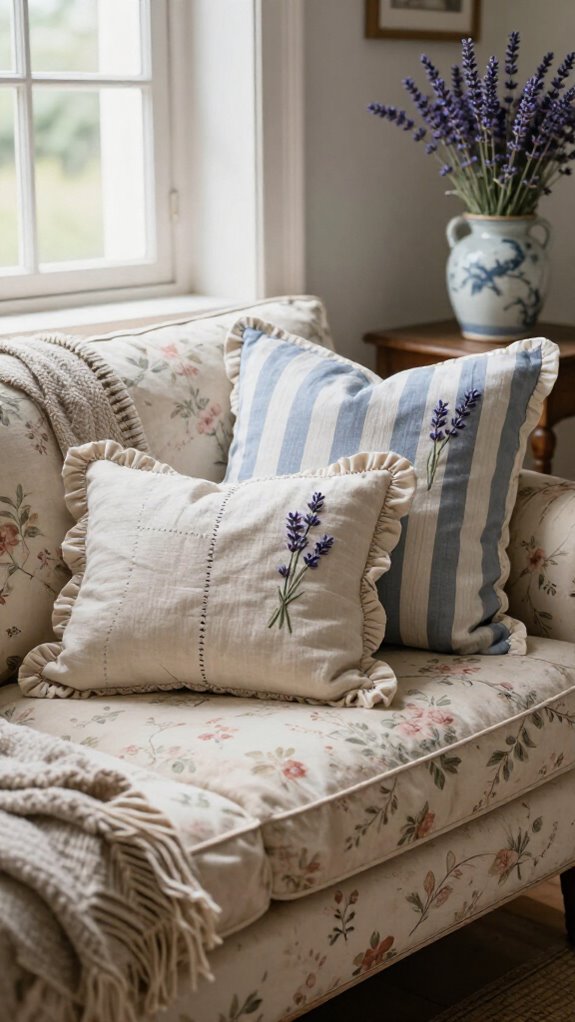
French Country pillows bring that cozy, collected farmhouse charm without requiring a trip to a château—thank goodness!
You’ll create cottage charm with a simple cover and a few thoughtful details.
- Choose inky blue-and-cream florals or toile accents.
- Fussy-cut motifs so birds or scenes sit neatly centered.
- Sew a knife-edge cover, clip corners, and add narrow piping.
- Finish with an envelope closure for an interchangeable insert.
Start with fabric cut one inch larger than your finished size, plus an 18-inch insert.
Tight stitches and crisp corners make your pillow look store-bought, not “first attempt” (we’ve all been there!).
Best of all, swap French Country prints seasonally and keep your space feeling welcoming.
Hand-Stitched Pillow
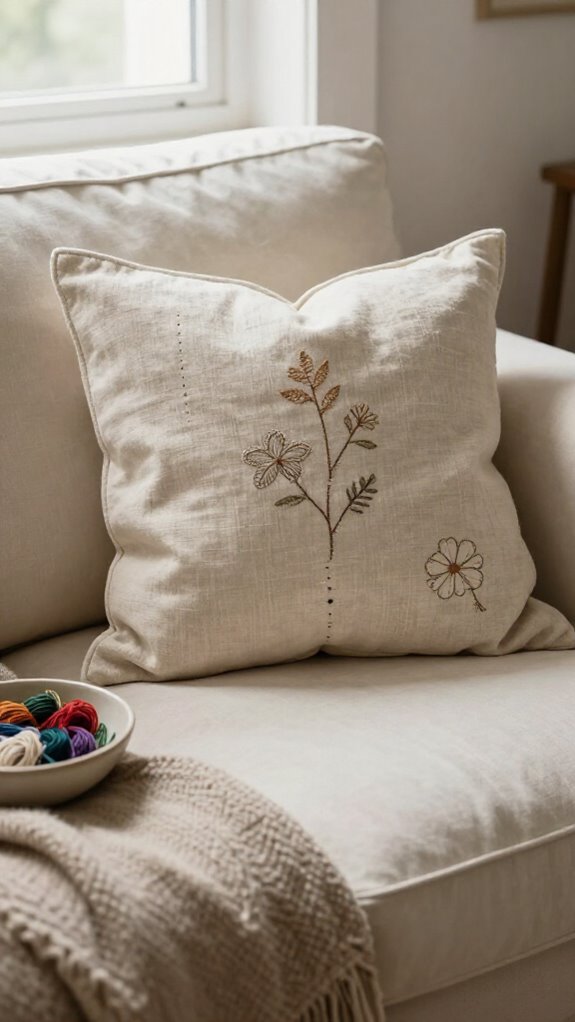
A hand-stitched pillow lets you slow down, choose a favorite fabric, and create something cozy with no sewing machine required—pretty great, right?
Cut two pieces about 1 inch larger than your pillow form, grab matching thread, a needle, scissors, and a corner tool. Fabric bias tips can help you avoid stretchy edges, especially with soft woven fabrics.
Stitch the sides, then clip corner bulk before turning. Add piping by basting it to the front first—no slippery trim drama!
After inserting the form, follow a hidden stitch guide for a tidy ladder stitch. Secure your thread with a small looped knot, and you’ll have a welcoming, handmade finish.
Floral Appliqué Pillow
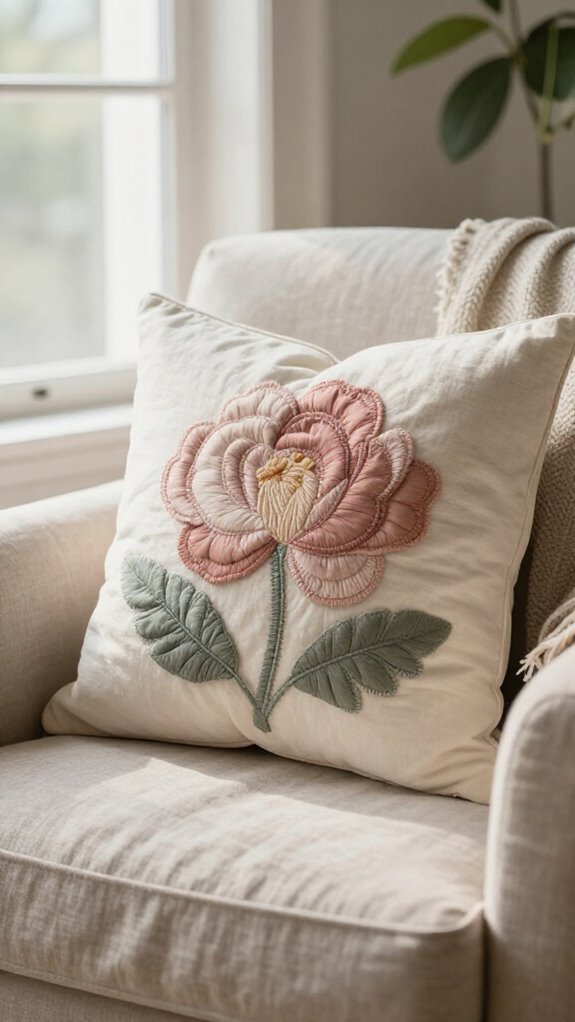
Flowers can brighten a plain pillow faster than you can say “spring refresh”! You’ll create a cheerful piece that makes your space feel warmly yours.
- Use Fabric selection tips: cotton, canvas, or felt all cut easily.
- Fuse your flower to the front panel with web, following heat times.
- Try applique edge finishing with a blanket stitch or close zigzag.
- For surprise dimension, layer felt beneath the flower and stitch key points densely.
Mark your pillow’s center first, especially on an 18-inch square, so nothing drifts sideways—sneaky petals! Sew front and back together, turn, stuff, and ladder-stitch the opening.
Your raised bloom won’t flatten, and guests will notice it immediately!
Personalized Family Pillow
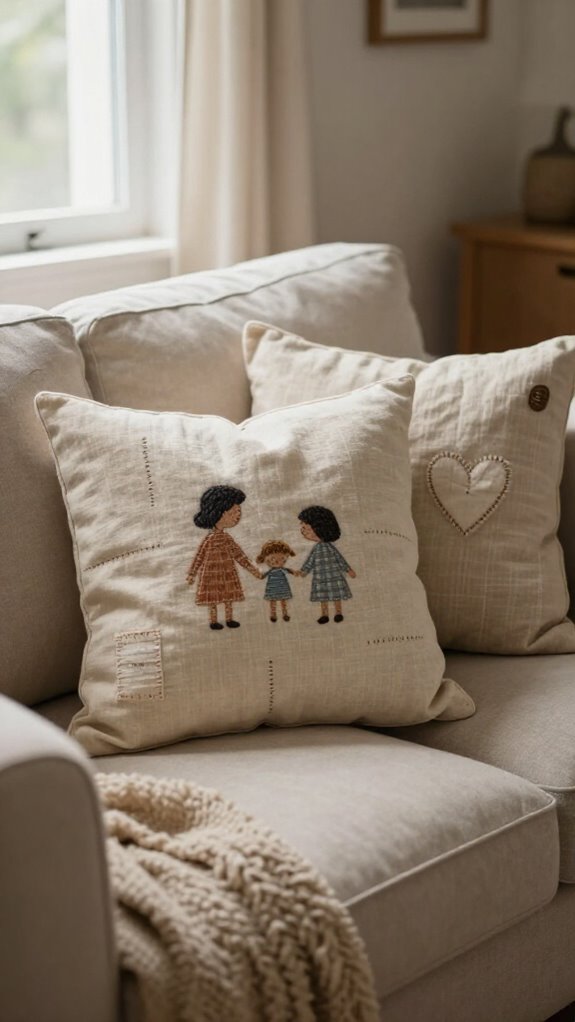
Turn a pillow into a family keepsake by giving a treasured textile a new spot to shine! Choose a loved, slightly stained cross-stitch cloth or heirloom fabric for the front panel, then use fabric placement tips to center its sweetest detail.
For size and fit, cut pieces for your insert, adding seam allowance. An 18-inch form needs two slightly larger squares. Sew an envelope closure, slip in the form, and enjoy—easy peasy!
Want an extra personal touch? Add a small vintage brooch or decorative pin at the closure. It’s a tiny detail with big “this belongs to us” energy!
Seasonal Pillow Cover
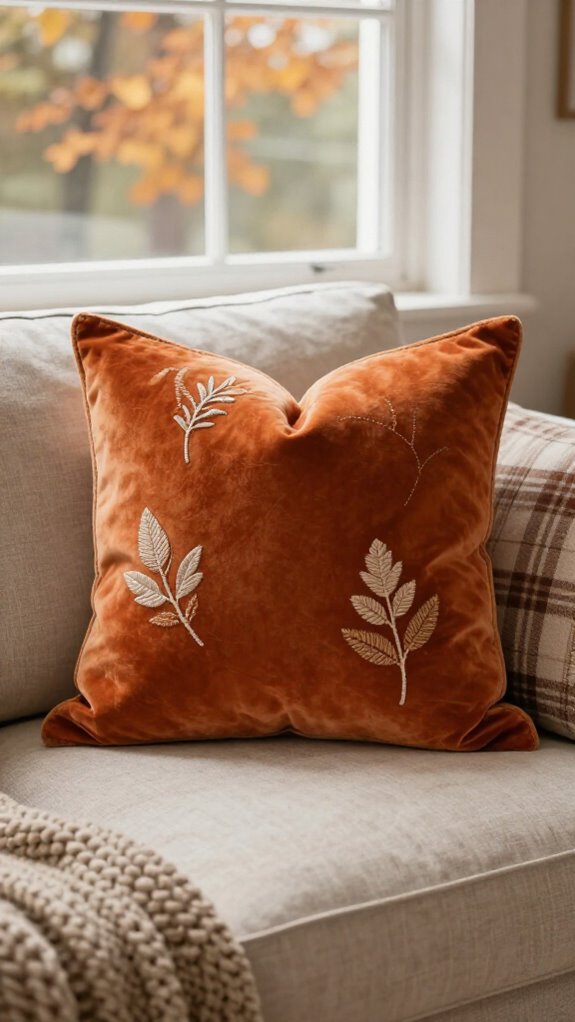
Seasonal pillow covers let you refresh a room without buying all-new decor—hooray for small changes with big impact!
Your Seasonal fabric choices help everyone feel at home, from breezy linen in summer to cozy knits in winter.
- Cut pieces 1 inch larger than your form for easy pillow insert sizing.
- Sew a 6-inch bottom opening, then close it after stuffing.
- Add a tiny flange or piping for a polished, shared-space look.
- Skip sewing: wrap fabric around an insert and pin with a pretty brooch.
You’ll create a welcoming update on a small budget.
Best surprise? Swap covers whenever the mood changes—no decorating committee required!
Reading Pillow for a Cozy Corner
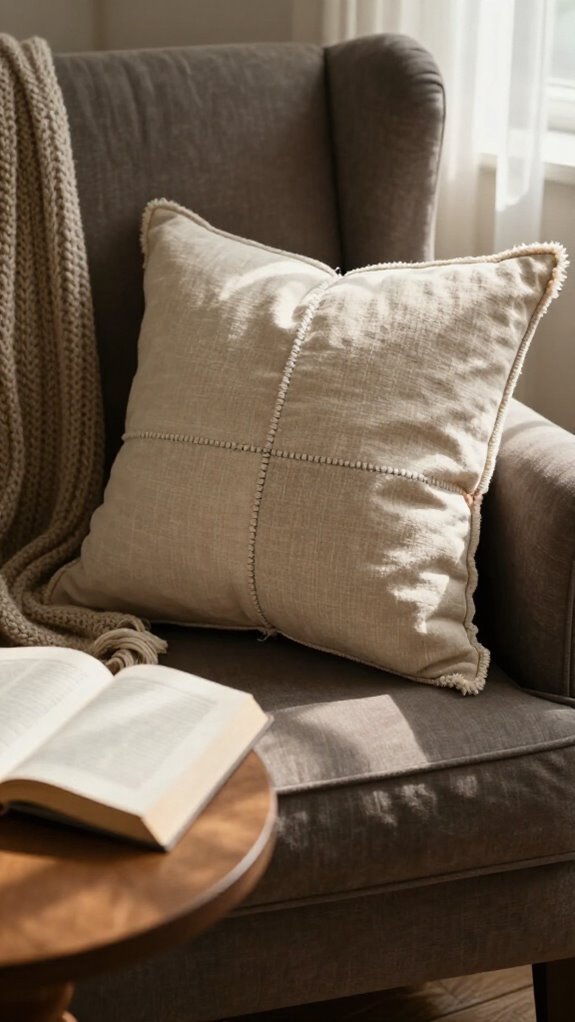
A reading pillow can turn one quiet corner into your favorite little escape—no elaborate makeover required! Choose 16-, 18-, or 20-inch sizing; thoughtful fabric selection helps your cozy corner feel like yours.
| Idea | Quick detail |
|---|---|
| Size | Match form plus seams |
| Trim | Sew piping 3/8-inch in |
| Finish | Leave 6-inch opening |
| Corners | Clip, turn, and press |
| Best trick | Try an envelope back |
Sew right sides together, add your form, and ladder-stitch the opening. Want easy seasonal swaps? The envelope back skips zippers—hooray! Clean, pressed corners give this simple project a surprisingly polished, welcoming look.
Decorative Lumbar Pillow
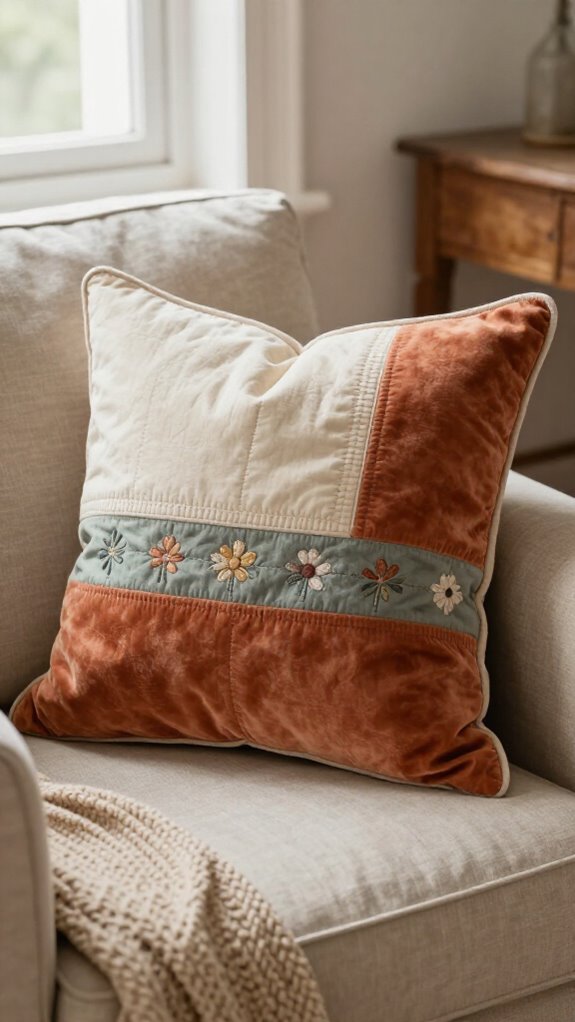
Bring tailored comfort to your sofa or bed with a decorative lumbar pillow—this slim, stylish shape looks elegant, but it’s a very beginner-friendly sew!
- Measure your insert, such as 12 x 20 inches, then cut two panels with seam allowance.
- Add piping along the long front edges for a polished, custom look—fancy without the fuss!
- Sew right sides together, leaving a bottom opening; clip corners and turn for crisp edges.
- Close with a ladder stitch, or add a zipper enclosure for a reversible design that welcomes easy updates.
Stuff in the form, fluff it, and enjoy that tailored, gathered-together look!
Choosing Fabric for Decorative Pillows
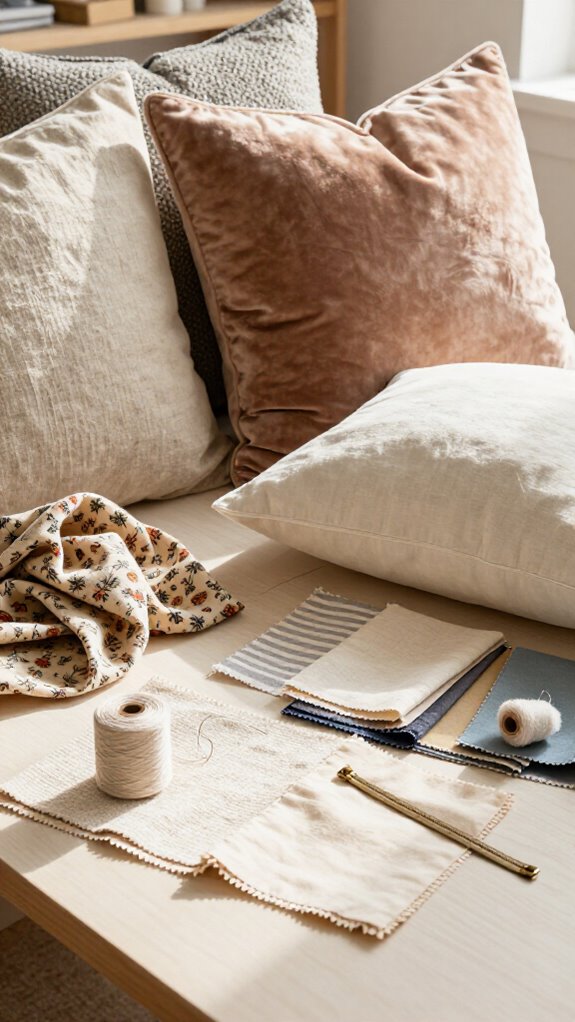
Fabric choice sets the whole mood for your decorative pillow, from soft and cozy to polished and tailored—so don’t grab the first cute print and hope for the best!
Match Fabric weight to use: silk can shine on a shelf, while busy family pillows need sturdy upholstery fabric. For sunny patios, choose outdoor fabric. Do shrink testing before cutting, especially with cotton or linen.
Create Color cohesion by repeating one shade from your room, so every pillow feels like it belongs. Consider pattern scale, too; larger designs suit bigger forms.
Then add texture—velvet, slubby linen, or chenille—and finish with fringe. That small detail makes your handmade pillow look wonderfully custom, not craft-fair confused!
How to Mix Pillow Patterns Without Clutter
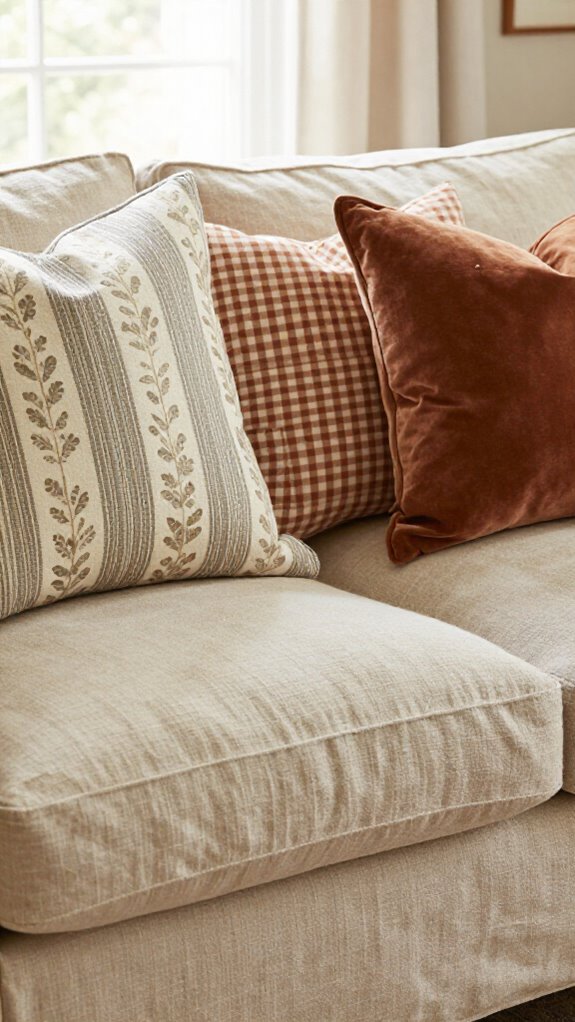
Mixing pillow patterns can look pulled together, not like your sofa lost a fight with the fabric store! Start with Pattern contrast rules: let one bold floral lead, then add a tiny stripe or micro-geo.
- Repeat blue, green, or another shared shade using Color banding tricks.
- Add linen, chenille, or a soft neutral solid for breathing room.
- Choose three or five pillows, mixing squares with one lumbar.
- Try floral + small geometric + cream, navy, or teal solid—instant harmony!
You don’t need expensive fabric or expert skills; sew simple envelope covers and arrange them together.
The solid pillow is the secret: it gives every print a place to belong.


