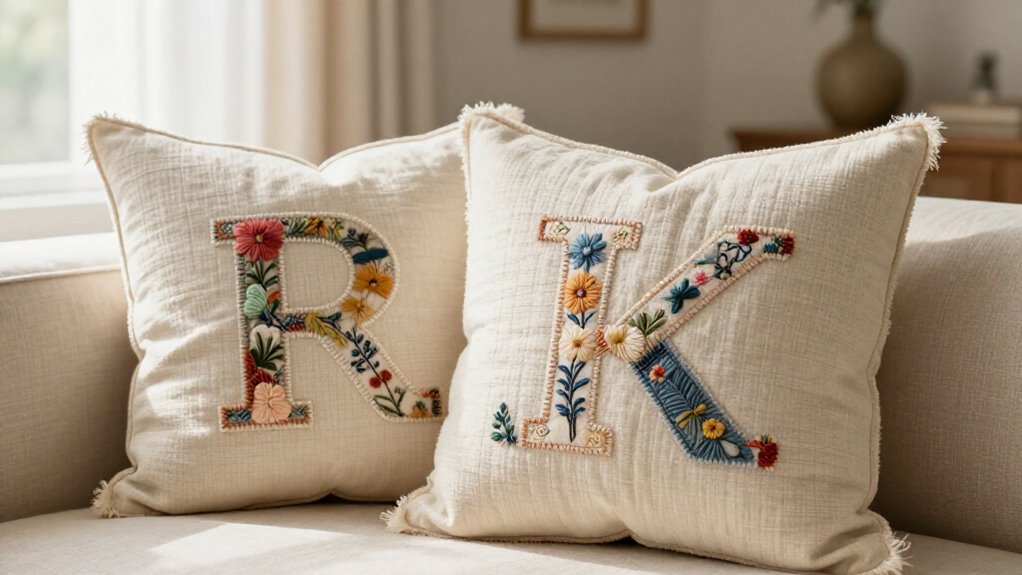

You can sew bold fabric letters onto pillows, towels, napkins, runners, curtains, or a family banner—easy, low-cost upgrades with big charm! Print simple thick letters at 100%, pin them over felt or batting, and zigzag edges at width 4, length 1. Use tear-away stabilizer on towels, then snip inner curves carefully. Start with a monogram pillow, but save the wow factor for a jute-hung family name banner. Keep going for placement, font, and finishing tips.
Key Takeaways
- Create monogrammed pillows, chair cushions, or bed accents with bold fabric letters for an easy personalized update.
- Sew family-name banners, nursery signs, or laundry-room hangings using layered fabric letters and jute twine.
- Personalize kitchen towels, napkins, and table runners with initials, names, or festive words like “JOY.”
- Stabilize appliqué letters with batting, felt, or tear-away backing, then zigzag stitch at width 4 and length 1.
- Add names or initials to aprons, fabric baskets, recipe-book covers, and kids’ storage bins for practical custom decor.
Monogrammed Throw Pillow
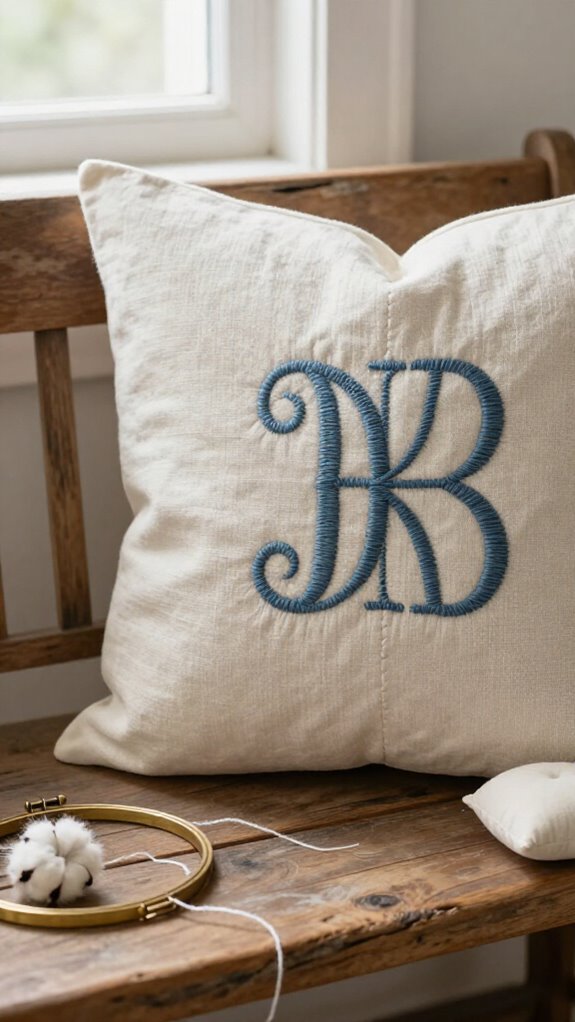
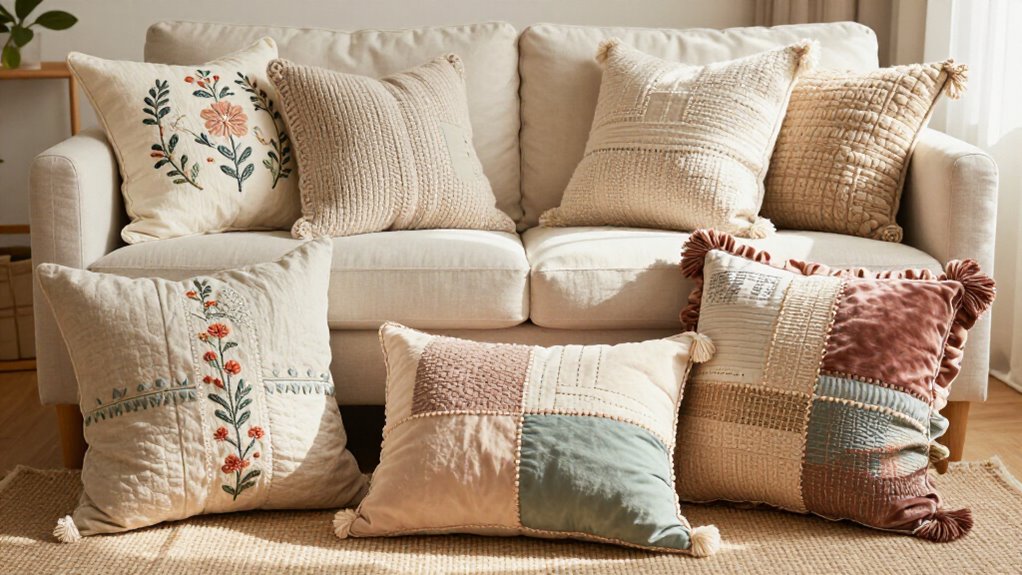
A monogrammed throw pillow gives your sofa, bed, or reading chair a custom touch without costing boutique-store prices—yay! Choose one bold letter, cut it from a fat quarter, and use matching front and backing layers for tidy edges.
For applique vs embroidery, applique feels quicker and wonderfully beginner-friendly. Pin your letter, then stabilize it with batting, felt, or two tissue-stabilizer layers. Zigzag around it at width 4, length 1.
Wondering about best stitch placement? Keep the monogram clear of cover seams. Snip inside curves on A, O, or P close to stitching, remove paper there, and fully secure edges before stuffing. Your pillow will look proudly yours!
Family Name Wall Banner
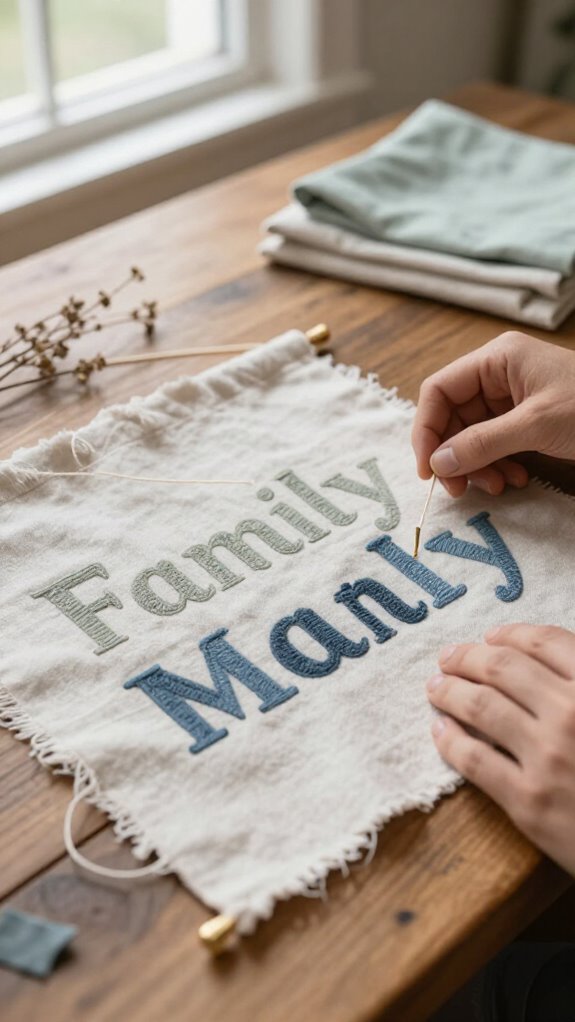
Take that custom-letter charm from your pillow to the wall with a family name banner—such a fun way to make an entryway, nursery, or gallery wall feel instantly yours!
- Coordinated fat quarters in cozy colors
- Paper templates printed at 100%
- Batting tucked between fabric layers
- Jute twine for rustic hanging
- Contrasting thread colors for cheerful detail
Cut letters with extra seam allowance, stitch around curves, then trim carefully with pinking shears. Those finishing edges give every letter personality—no flat, sad alphabet soup here!
Slip twine through small back slits using a large-eye needle. Your finished surname becomes a warm welcome, reminding everyone that this is your shared, happy place.
Personalized Kitchen Towels
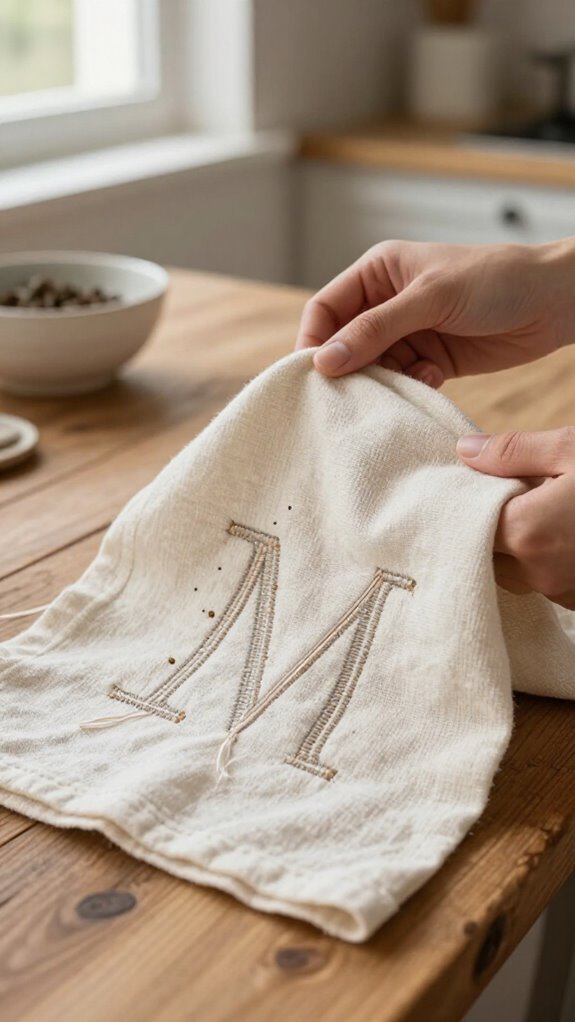
Plain kitchen towels turn into cheerful little statement pieces when you stitch on fabric letters—think a monogram, your family name, “GUESTS,” or a festive “JOY” for the holidays! Cut letters from scraps or fat quarters, glue them in place, and add tear-away stabilizer underneath.
Use a zig-zag stitch to secure raw edges; for curves, try width 4 and length 1, pivoting slowly. Fabric paint options and iron on transfer tests can help you choose colors first.
Want a cozy banner effect? Sandwich batting between two letter layers before sewing. Trim with pinking shears, remove stabilizer, and you’ve made a welcoming towel that says, “You belong here!”
Embroidered Dining Napkins
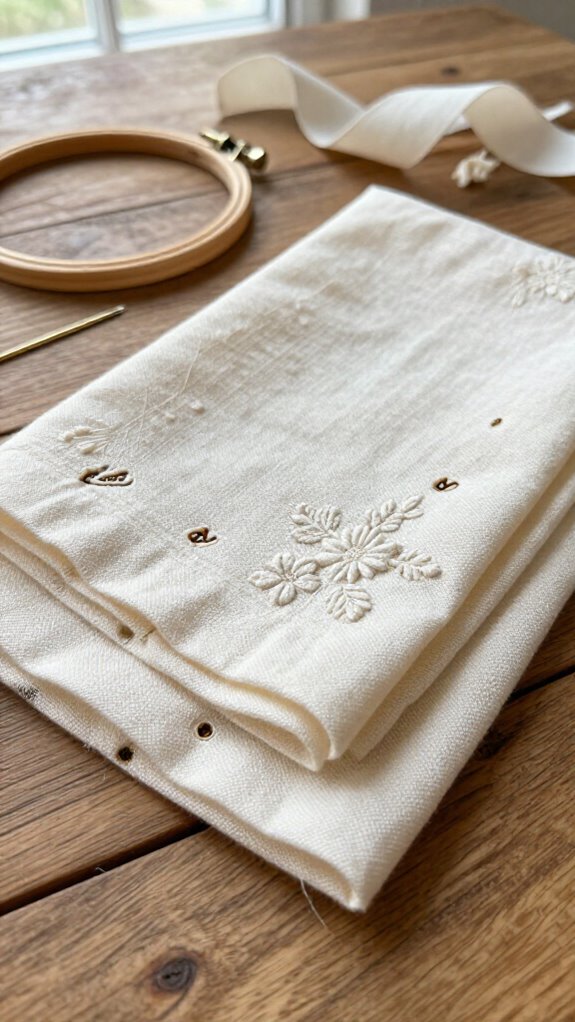
Embroidered dining napkins make every place setting feel a little more special, even if dinner is takeout—no judgment!
You’ll create a welcoming set everyone recognizes as part of your table.
- Medium-weight cotton or cotton-linen napkins
- Lightweight tear-away stabilizer
- Centered monogram templates
- Zigzag stitch: width 4, length 1
- Gentle wash care instructions
Choose tightly woven fabric, then stabilize it to prevent puckers.
Check stitch density on a scrap first—your letters should look smooth, not stiff.
Position templates so each initial faces guests correctly.
Sew the edges, tear away stabilizer, and admire that crisp finish.
Suddenly, even pizza night feels like a gathering worth dressing up for!
Custom Table Runner
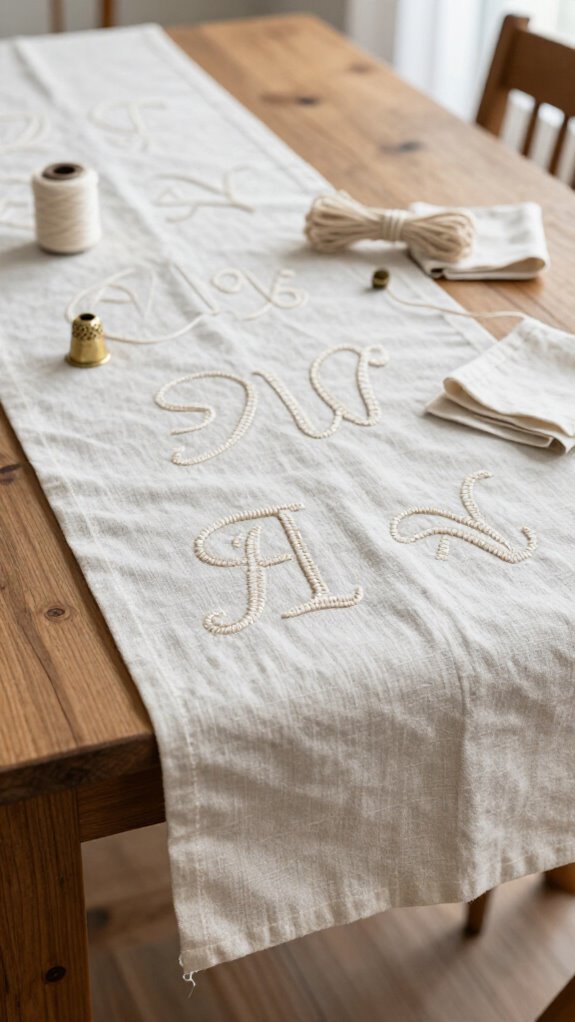
A custom lettered table runner turns an ordinary table into a cheerful focal point, and you don’t need skillful skills to make one—hooray!
Choose 4–6-inch letters for a standard runner, cutting them from coordinating fat quarters for a welcoming banner effect.
Use fusible web or fabric glue with stabilizer to hold each letter flat.
For Thread selection, pick a shade that either blends in or pops with your group’s favorite colors!
Pin letters, then zig-zag around edges at width 4 and length 1.
Tear away oversized stabilizer afterward.
For stitch finishing, add jute twine at the ends only—no bulky seams!
Monogrammed Linen Apron
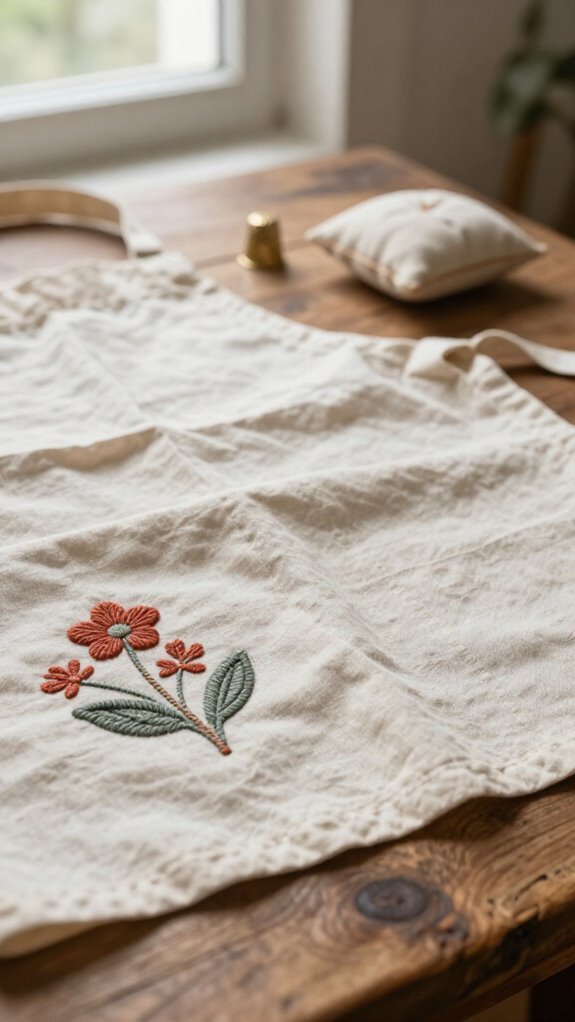
From a festive table runner to a kitchen-ready apron, fabric letters can make everyday chores feel a lot more personal—hooray!
Give your linen apron a welcoming monogram, using apron pocket placement or the bib. Consider fabric backing options for extra lift.
- Crisp initials, printed at 100% scale
- Coordinating cotton or anti-pill fleece
- Felt or batting, cut 1/2 inch larger
- Pins, glue, and tear-away stabilizer
- Zig-zag stitching: width 4, length 1
Pin layers, stitch around edges, then trim curves with snips. Add a final edge pass for a polished, padded letter that says, “This kitchen crew has style!”
Personalized Fabric Basket
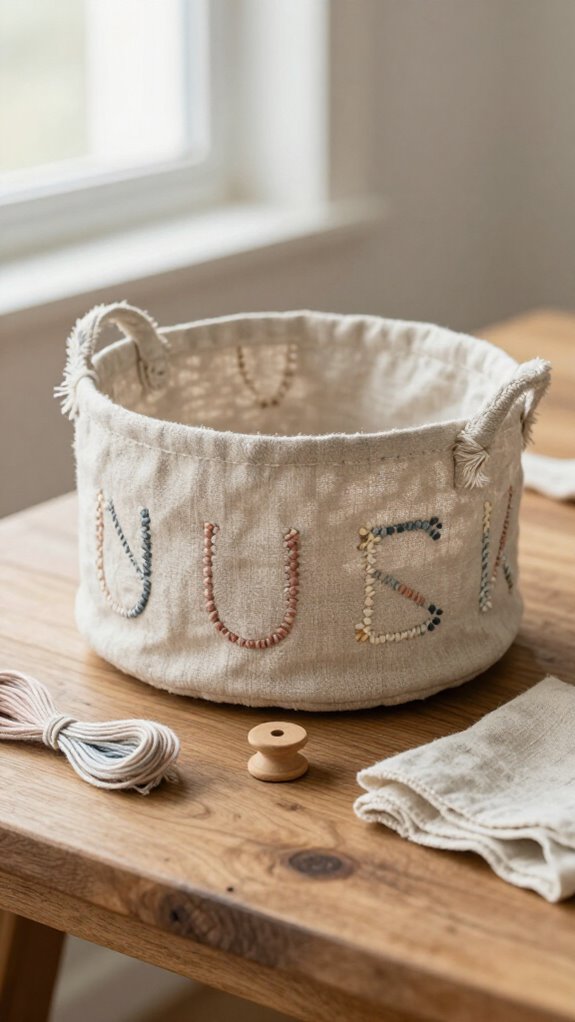
Turn an ordinary fabric basket into a cheerful catchall by sewing a name, initial, or playful word right onto the outside—hello, “TOYS,” “SOCKS,” or “SNACKS!” You’ll create a spot that feels like it belongs to everyone.
Start by Choosing fabric placement, then cut letters from coordinating fat-quarter scraps. Pin or glue them down, add tearing stabilizer behind thin basket fabric, and zig-zag around each edge.
For crisp letters, layer fabric, felt, and fabric, stitch, then trim with pinking shears. Selecting durable thread keeps busy-day baskets looking great!
For the strongest finish, attach letters to a stiff insert panel—perfect for frequently grabbed treasures.
Nursery Name Banner
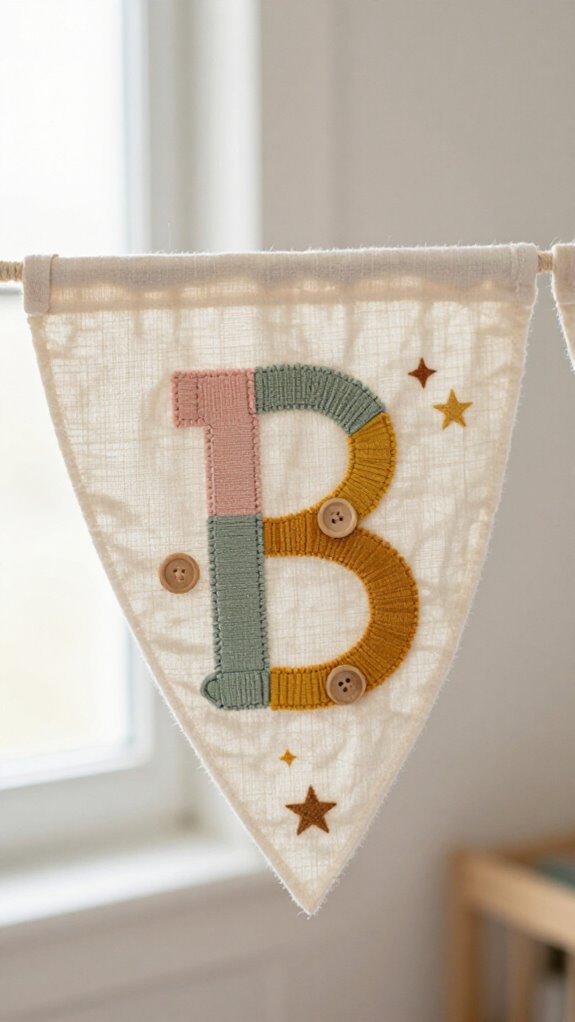
Give the nursery a handmade “this room is loved” touch with a soft name banner strung above a crib, changing table, or reading nook—so sweet!
You’ll create beginner friendly lettering that feels like it belongs in your family’s story.
- Printed, full-scale name templates
- Two fabric layers and batting
- A soft fabric backing in cheerful prints
- Pinking shears for gentle, wavy edges
- Jute twine for a cozy finishing touch
Cut rectangles larger than each letter, stitch the sandwich around every curve, then tear away paper.
Trim close, snip inner cutouts, and thread twine through back slits.
Space the letters evenly—suddenly, the room says “welcome home!”
Custom Reading Pillow
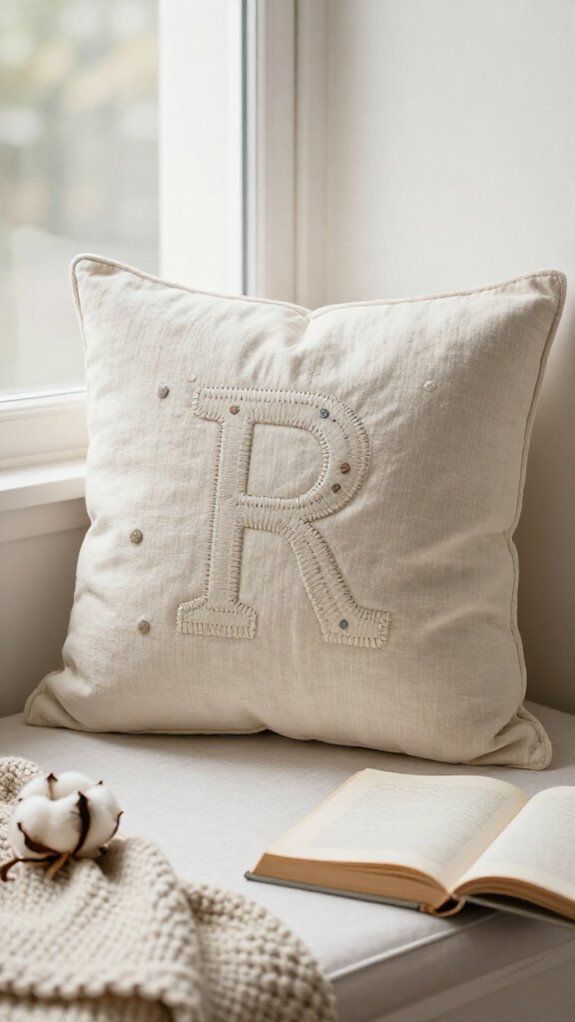
A custom reading pillow makes story time feel extra special, and you can sew a child’s name, “READ,” or a favorite bookish word right onto the cover—how fun is that?
For applique font selection, choose drape or storybook letters, 1–3 inches tall, and print templates at 100%. Plan fabric letter placement before cutting so every word stays centered and easy for little readers to spot.
Layer fabric, batting, and template with extra space, then stitch curves carefully. Add tear-away stabilizer underneath and zig-zag at width 4, length 1 for neat edges.
Snip close to stitches, especially inside cuts, remove accessible stabilizer, and attach your letters. You’ll create a cozy, one-of-a-kind reading spot!
Personalized Bedside Pocket
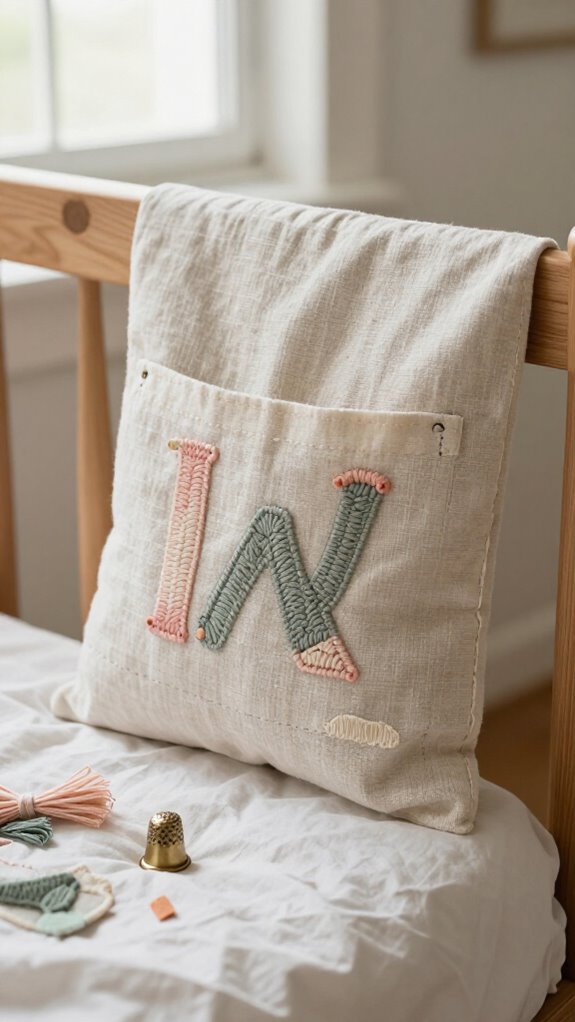
Bring that same story-time charm beside the bed with a personalized bedside pocket, a handy little fabric holder for books, glasses, a flashlight, or the mysterious collection of bedtime treasures kids seem to gather!
Gather simple supplies and make it yours:
- sturdy pocket fabric
- medium-to-large name letters
- fabric glue
- embroidery stabilizer
- zig-zag stitch settings
Glue letters in place, then stitch width 4 and length 1 around each edge. Add stabilizer underneath so everything stays smooth, then tear it away for a clean back. Pocket lining tips and Handmade zipper choices can help you match your family’s style.
Best surprise? Your child sees their name waiting every night!
Monogrammed Tote for Home Organization
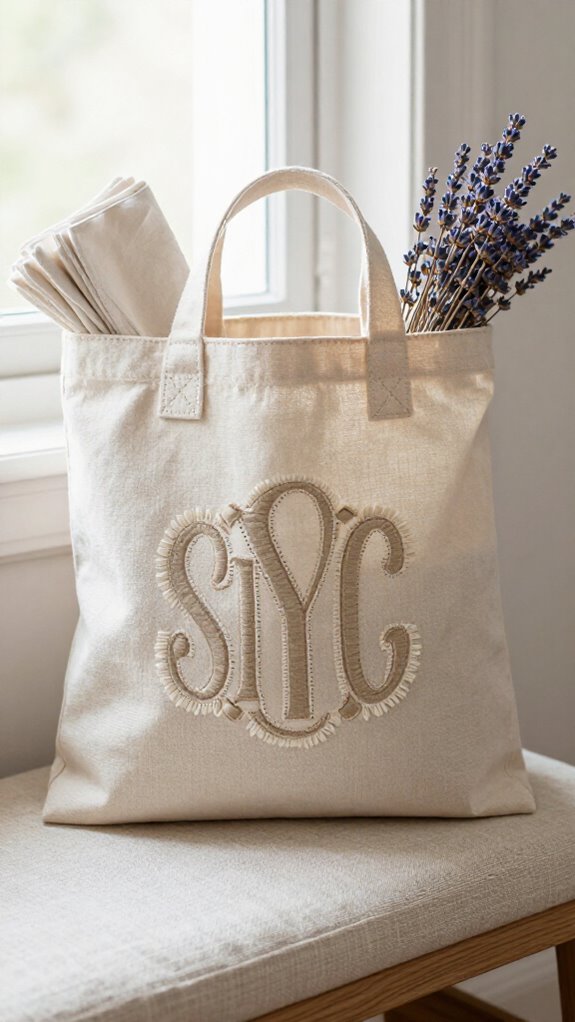
Turn everyday clutter into something that looks charmingly organized with a monogrammed tote! Choose cotton canvas or sturdy decorator fabric, then use fabric letter templates to size one bold initial for the front panel.
Cut two letter layers, leaving a 1/2-inch margin, and add felt or batting for a puffy look. Pin or glue it down, with tear-away stabilizer underneath.
Zigzag around the edges, using a width of 4 and length of 1, then tear away the backing. Trim close to the stitching, avoiding thread bare finishes.
For books, toys, or linens, add reinforcing stitches—your tote will feel like it belongs in your home!
Family Initial Pillow Set
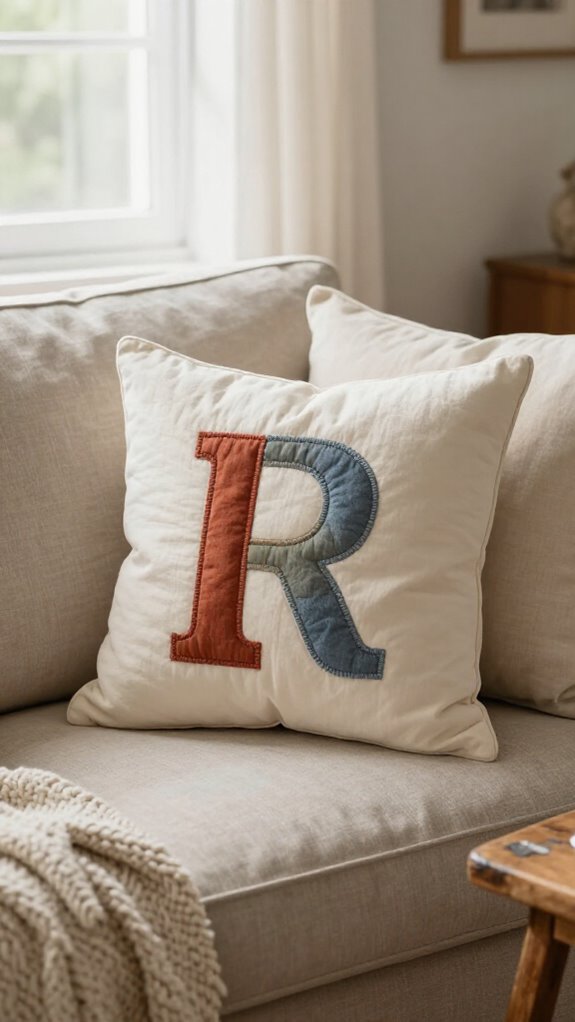
Few projects make a sofa or bed feel more personal than a set of family initial pillows! You’ll create cozy symbols of everyone who belongs.
- Matching fat quarters in cheerful colors
- Printed letters at 100% scale
- Felt or batting for dimension
- Stabilizer beneath each pillow front
- Sharp snips and pinking shears
Start by selecting coordinating fabrics, then cut each letter with extra fabric around it.
Pin, sandwich, and zig-zag at width 4, length 1. These Sewing applique tips keep edges neat!
Tear away stabilizer, trim a 1/4-inch border, and snip inner gaps.
Soon, your “A,” “B,” and “C” pillows will look wonderfully united—no family meeting required!
Personalized Recipe Book Cover
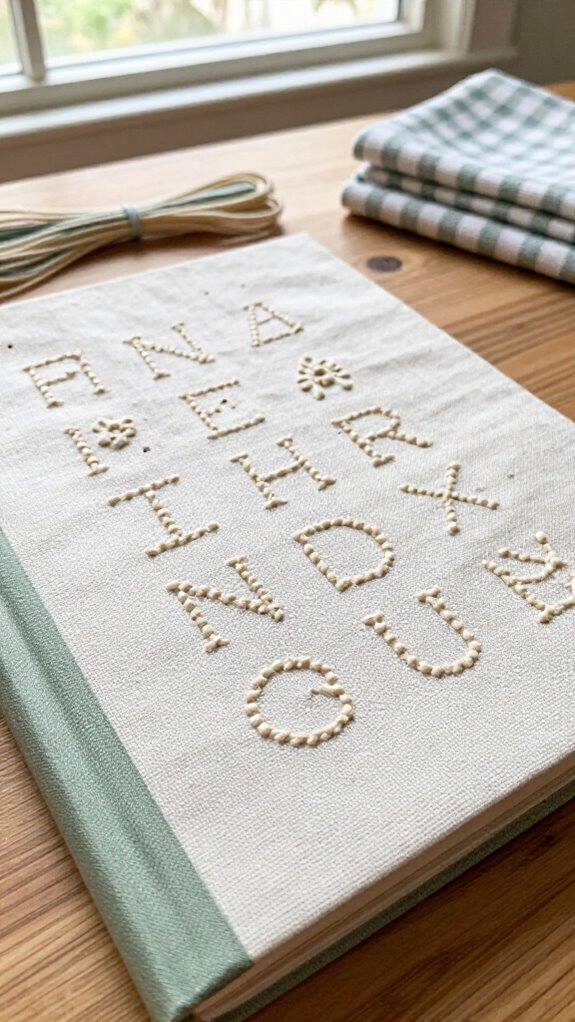
After your family initial pillows, give those treasured recipes a cover that feels just as special! Cut capital and lowercase letters from coordinating fat quarters, leaving 1/2–3/4 inch around each shape. These fabric placement tips help your title, like “MY FAVORITE RECIPES,” stay bold and easy to read.
For dimensional letters, sandwich each piece with batting or felt, sew every curve, then remove the paper template. Trim edges with pinking shears, leaving 1/4 inch, and peel away stabilizer for a tidy back.
Prefer a flat cover? Glue letters over stabilizer and zig-zag stitch, width 4, length 1. Finish with color coordination and a ribbon banner—your family cookbook becomes a shared heirloom!
Embroidered Guest Towels
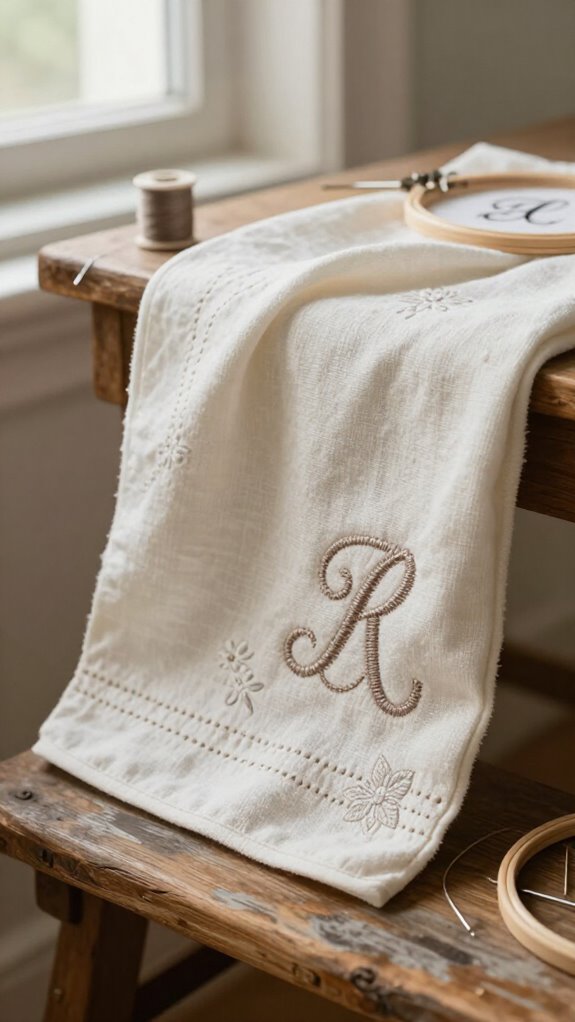
Embroidered guest towels add a polished, personal touch to your bathroom, and you don’t need elaborate equipment to make them look great!
Create a welcoming set everyone will notice:
- Soft white towels with navy initials
- Sunny floral fabric letters
- A tested thread choice
- Tear-away stabilizer backing
- Careful applique placement
Cut letters, pin them away from bulky hems, and stitch around each edge.
For zig-zag stitch settings, try width 4 and length 1; terry loops can be sneaky!
Add stabilizer beneath the towel, then remove it afterward.
A corner monogram feels classic, but full names across the center make every guest feel like part of the family.
Custom Laundry Room Sign
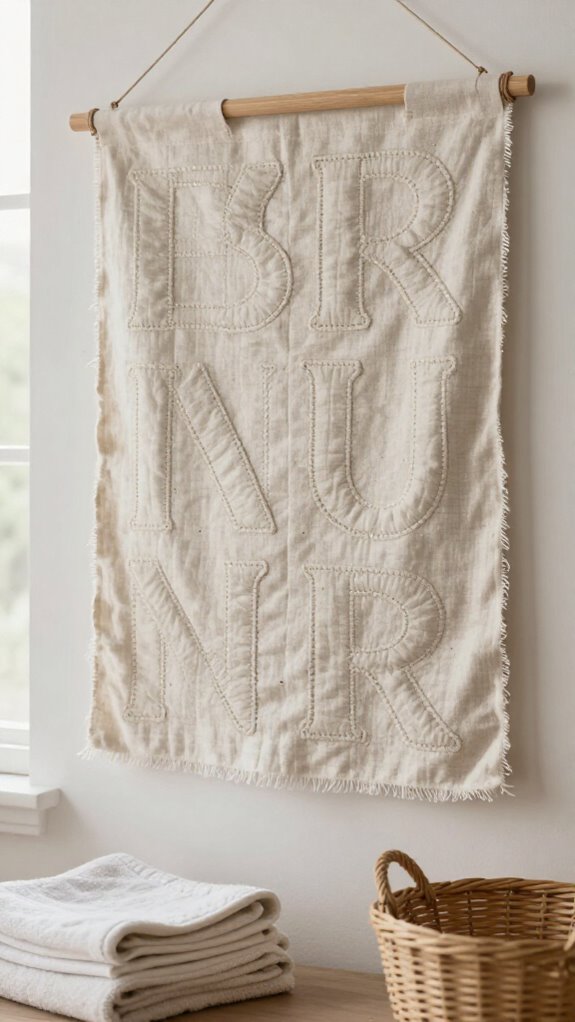
Take that same personalized charm from guest towels into the laundry room with a custom fabric-letter sign—because even the sock-munching corner of the house deserves a little style!
Choose fabric, batting, thread, jute twine, and optional colorful vinyl accents. Cut letters with a 1/2-inch seam allowance, layer batting or felt, and check your felt letter placement before stitching around each shape.
Next, peel away the paper from inner curves, then zig-zag letters onto your sign fabric using width 4 and length 1. Snip close inside cutouts and pink the edges to limit fraying.
Finally, thread twine through back slits. Your cheerful banner makes everyday chores feel like part of home!
Personalized Fabric Storage Bin
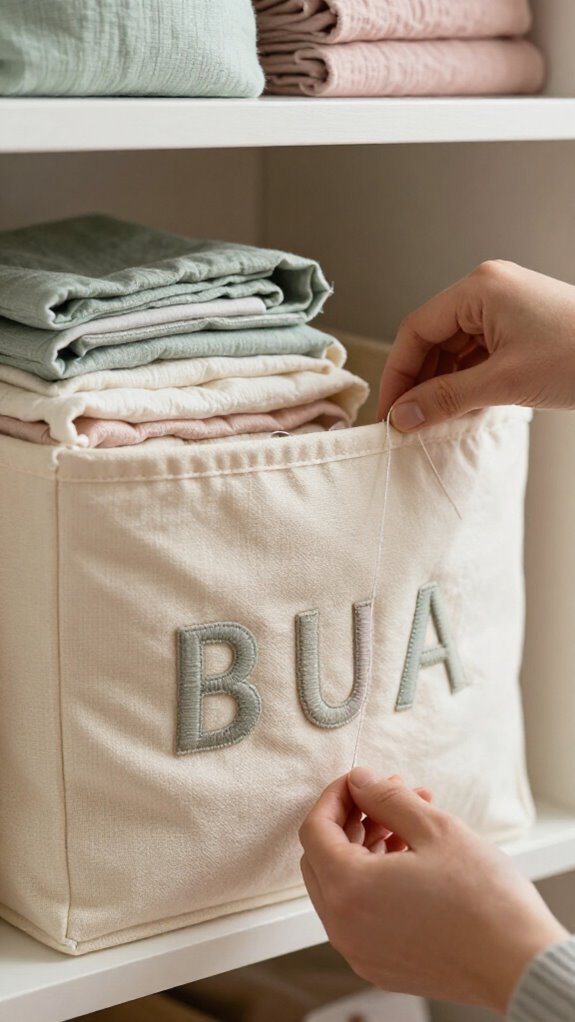
A personalized fabric storage bin turns everyday clutter into a cheerful little feature—yes, even the toy avalanche can look organized!
Choose washable cotton canvas for a firm, budget-friendly base. Your fabric color pairing can help the bin feel right at home!
- Cream canvas with sunny yellow “TOYS”
- Blue gingham letters for “LINEN”
- Coordinating fat quarters
- Felt or batting stabilizer
- Fabric glue and matching thread
Print letters at 100%, pin, glue, then zig-zag stitch, width 4 and length 1. These Stitching durability tips keep edges neat.
Trim batting slightly beyond each letter, topstitch flat, and test a gentle wash.
Your shared space looks calmer, friendlier, and wonderfully yours!
Monogrammed Chair Cushion
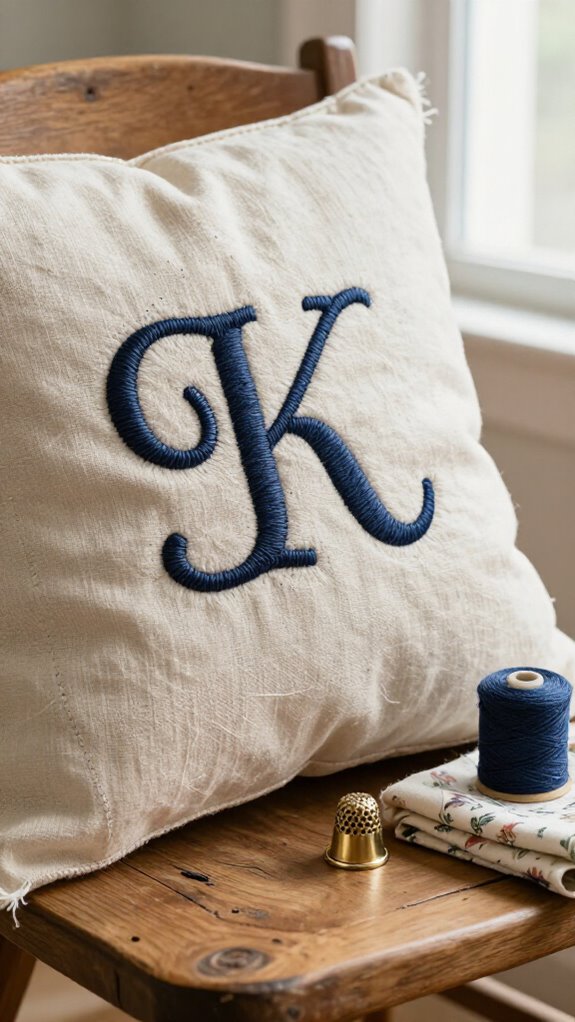
After tidying toys and linens, give a favorite chair its own little signature with a monogrammed cushion—such a fun upgrade! You’ll create a cozy, belonging-filled accent.
| Step | What you need | Quick tip |
|---|---|---|
| Size | 6–10-inch letter | Check cushion sizing |
| Fabric | Canvas, batting | Add Color contrast |
| Secure | Pins or glue | Prevent moving |
| Sew | Zig-zag, 4/1 | Clean stitch finishing |
Print at 100%, cut a letter with a ¾-inch margin, and layer felt behind it. For smart appliqué placement, center it, baste, then zig-zag the edge. Add stabilizer inside the cover, tear it away, and trim closely. Your chair now feels like it belongs—no stylish sewing club required!
Wedding Date Table Linens
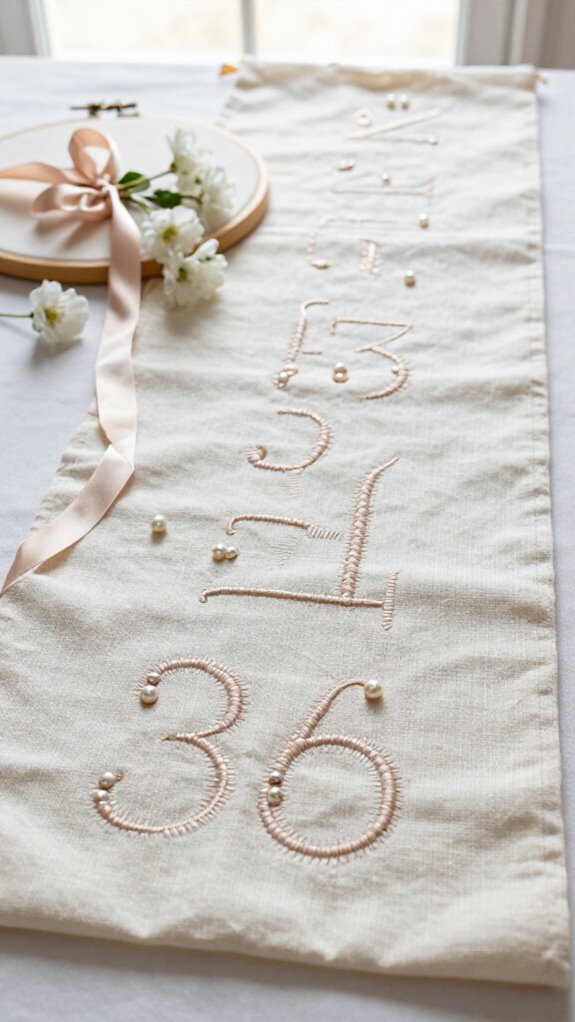
Wedding date table linens turn an ordinary table into a sweet little keepsake, and you don’t need skilled sewing skills to make them look celebration-ready!
- Cut “07.18.25” from coordinating fat quarters.
- Follow Letter sizing guidance for balanced napkins.
- Layer letters with felt, batting, or stabilizer.
- Pin paper templates, then stitch every curve.
- Use thread color matching and zig-zag stitches, width 4, length 1.
Repeat the same font across placemats, napkins, and a center runner, and your table suddenly feels like it belongs to your favorite people.
Tear away the paper after stitching, secure those raw edges, and enjoy linens made for happy meals, toasts, and maybe a few cake crumbs!
Personalized Holiday Stocking
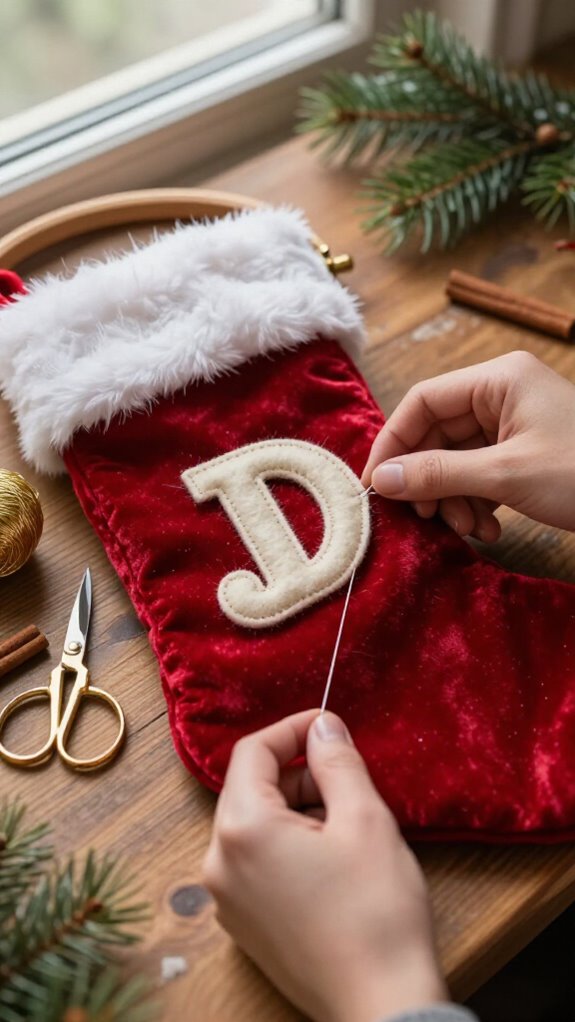
Holiday stockings get even sweeter when you sew a name or a cheerful word right onto the cuff—hello, “MERRY,” “JOY,” or a kid’s name in big, cozy letters!
Use fleece or quilting cotton, backed with felt or batting. Trace at 100%, add seam allowance, then zig-zag around layered letters.
| Material | Easy step | Belonging boost |
|---|---|---|
| Fabric | Cut letters | Matches your crew |
| Batting | Stitch edges | Adds cozy shape |
Remove templates, trim with pinking shears, and thread jute through back slits. Add holiday gift tags or fabric ornament accents—your mantel becomes the family’s happy roll call!
Embroidered Kitchen Curtain
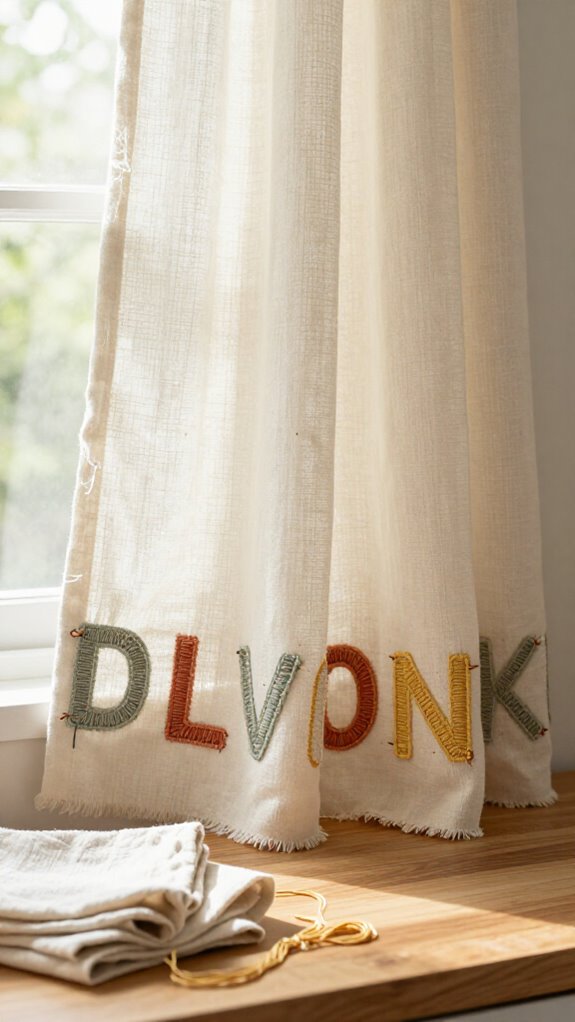
A plain kitchen curtain can become a cheerful little message board when you add fabric letters—think “COFFEE,” your family name, or a bright seasonal greeting!
- Cotton scraps offer budget friendly fabric choices.
- Paper templates keep letters centered.
- Pins and stabilizer prevent puckers.
- Zig-zag stitches help with securing applique edges.
- Large, sunny letters welcome everyone home.
Cut lightweight shapes so your hem stays relaxed, then use a zig-zag stitch, about width 4 and length 1.
If you sew on the curtain’s inside face, tear-away stabilizer gives a tidy finish.
Mix playful fonts, but save the sweetest reveal for “COFFEE”—your kitchen’s unofficial welcome sign!
Family Initial Wall Hanging
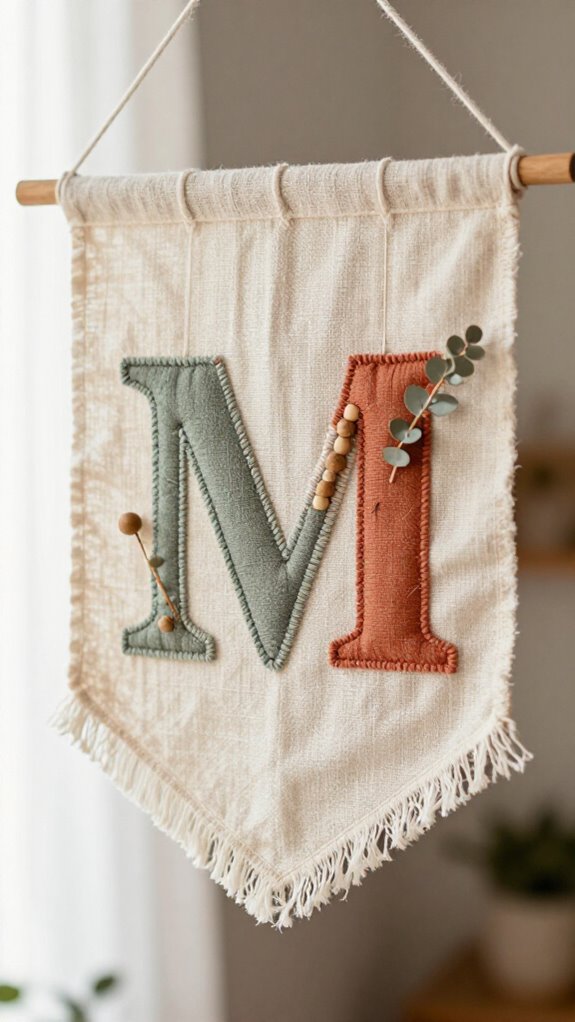
Carry that cheerful letter magic from the kitchen to a wall hanging that celebrates your whole crew! Print uppercase initials at 100% scale, then cut coordinating fat quarters and matching felt or batting—budget-friendly quilting needlework with big heart.
Make each letter a fabric sandwich, right sides out, and stitch around every curve. Tear away the paper, trim with pinking shears, and clip tight spaces so nothing puckers. Easy, beginner friendly techniques make this feel less like homework and more like crafting confetti!
For a polished background, place tear-away stabilizer underneath and zigzag stitch. Finally, thread jute through back slits, and let your family name hang proudly together.
Choosing Fonts That Suit Your Decor Style
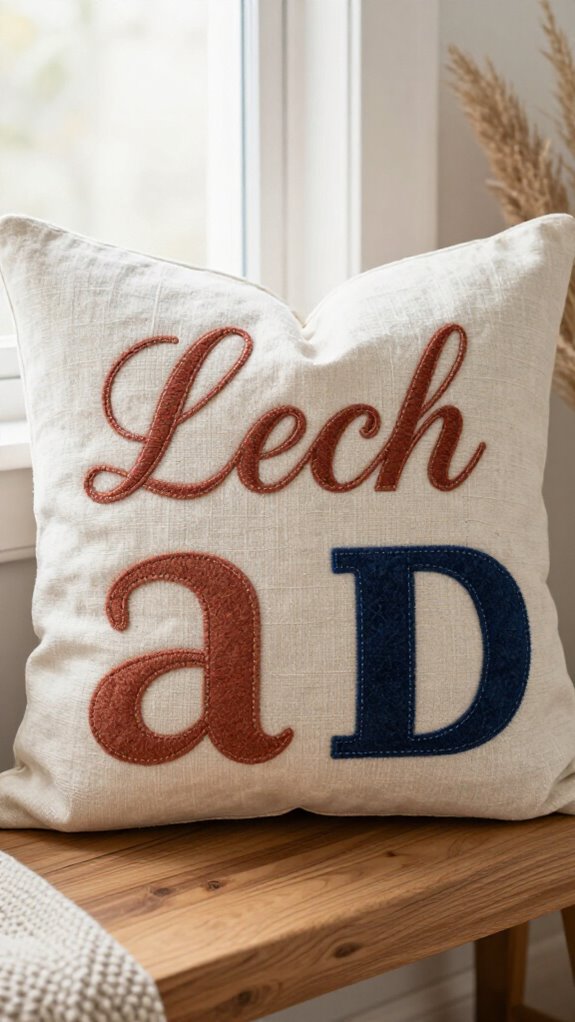
Set the mood before you make the first cut—your font does a lot of the decorating work! You’re creating a piece that feels right at home with your people.
- Choose chunky serif letters for cozy farmhouse warmth.
- Try clean sans-serif shapes for modern, calm rooms.
- Use Color palette matching to keep fabrics feeling connected.
- Practice font pairing techniques with a bold word and simple initials.
- Print letters at 100% scale, then test them on your fabric.
Pick thick, simple curves for easy zig-zag appliqué; fussy script can become a tiny stitching obstacle course!
Match heavier fonts to batting and layers, while delicate letters may pucker.
Large banner words read beautifully from afar—small initials need embroidery finesse.
Where to Place Fabric Lettering for the Best Visual Impact
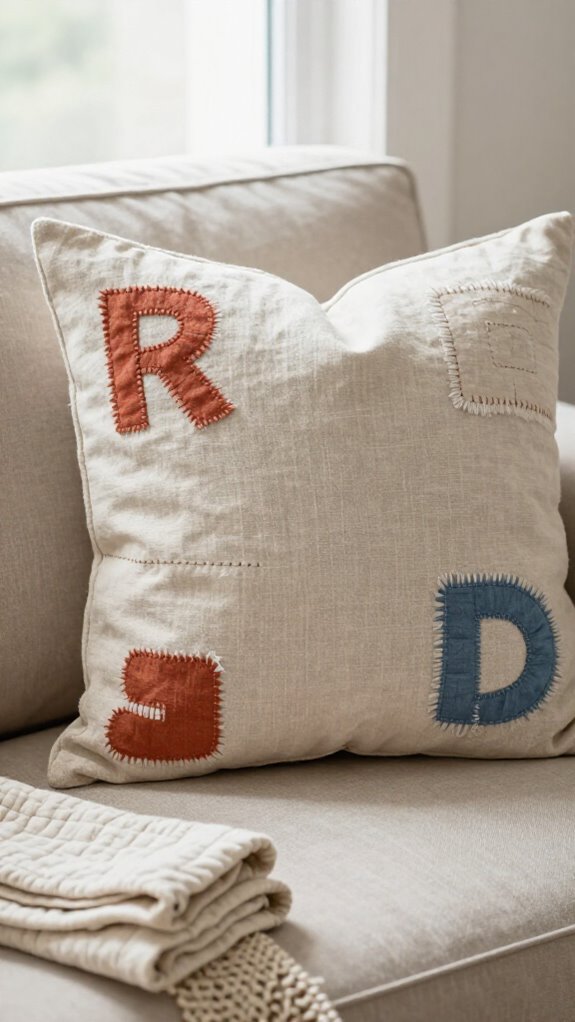
Where your fabric letters land can make a sweet handmade piece look polished instead of a little “oops, it drifted!” For gallery wall height, center your word 48–60 inches from the floor, so everyone can enjoy it comfortably.
Use simple mantel alignment tips: stretch “MERRY” or “THANKFUL” across the width, but center short words like “USA” with roomy margins.
Keep each letter spaced evenly, about 1/2–3/4 inch apart, and choose light-on-dark or dark-on-light fabrics for crisp shapes.
Making a hanging banner? Add jute twine through even back slits. Your letters will stay flat, properly positioned, and ready to welcome your people—no twisty, wonky surprises!