
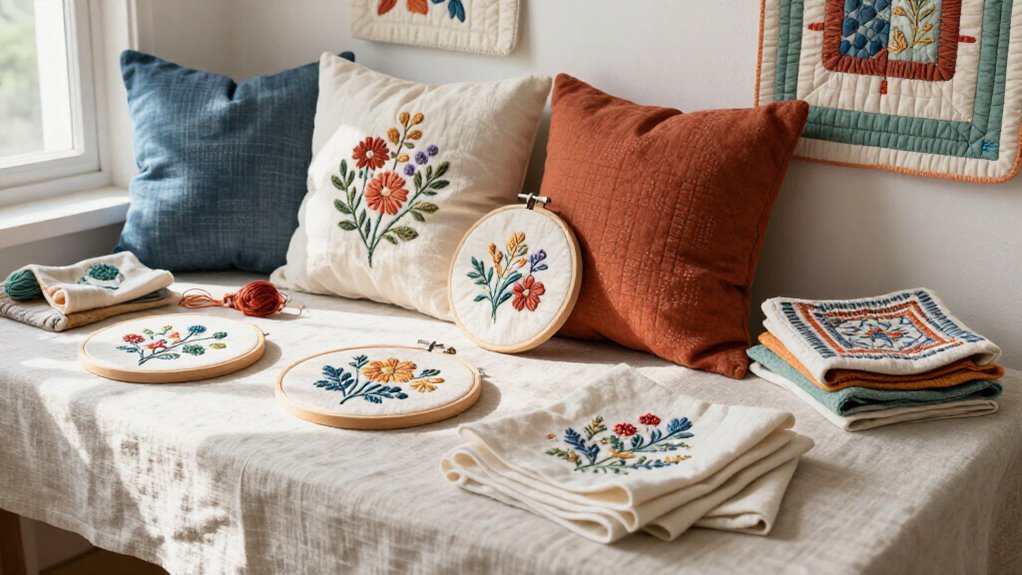

Turn scraps into cheerful home décor with easy embroidery! Stretch linen in a hoop for botanical art, stitch wildflowers onto wall panels, or add a bold monogram to a pillow with 1/4-inch grain-cut strips and colonial knots. Brighten towels, runners, napkins, and fabric baskets with simple leaves or blooms. Skip stretchy bias strips, let edges fray, and match colors to your room. Best surprise? A cozy textured basket looks wonderfully handmade—keep going for more clever projects.
Key Takeaways
- Transform fabric scraps into botanical hoop art with textured leaves, wildflowers, roses, or minimal line designs using dense colonial knots.
- Personalize walls and pillows with embroidered family names, monograms, and initials outlined first, then filled for bold dimension.
- Refresh practical textiles—kitchen towels, napkins, cushions, runners, and table mats—with stitched florals, berries, leaves, and seasonal motifs.
- Create custom curtain tiebacks and wall hangings with embroidered vines, stars, acorns, oak leaves, or small mandalas.
- Use stable linen or cotton, grain-cut 1/4-inch fabric strips, chalk-marked designs, and avoid stretchy bias strips for durable stitching.
Botanical Embroidery Hoop Art
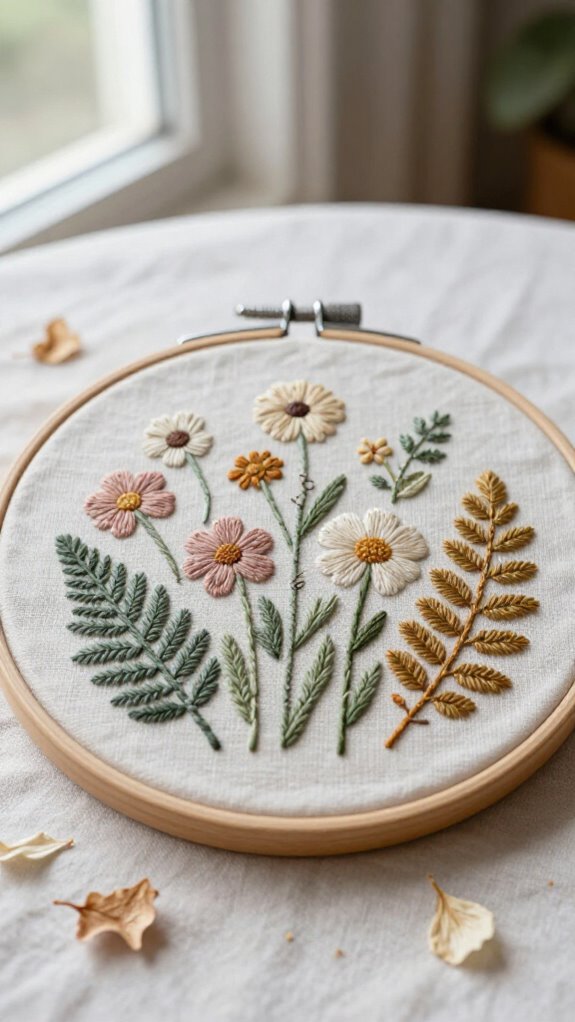
A botanical embroidery hoop is an easy, low-cost way to turn fabric scraps into cheerful wall art—no decorative thread stash required!
Stretch loose linen in a hoop, then sketch leaves or branches with chalk.
Cut grainwise scraps into 1/4-inch strips, 6–20 inches long; skip stretchy bias strips.
First, outline your shape with colonial or figure-8 knots: make a hook, slide the needle under, wrap upward, then pull through.
Next, pack the plant with knots, mixing colors for color contrast and letting frayed edges create cozy stitch texture.
No perfection needed—your little quirks belong here!
Finish it in the hoop, or cluster several together for a wonderfully welcoming wall.
Wildflower Linen Wall Art
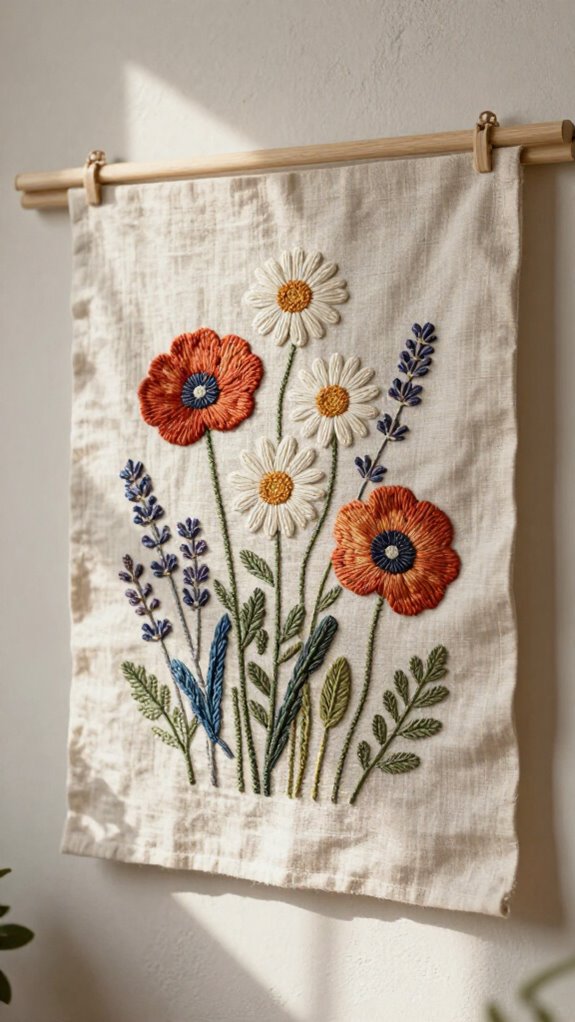
Turn a plain piece of loosely woven linen into a lively wildflower meadow, and you’ll get charming wall art without buying sumptuous embroidery floss—how fun is that? Cut about 1/4 yard, then sketch blooms with chalk or a water-soluble marker.
Snip colorful fabric scraps into 1/4-inch grain or crosswise strips; skip bias cuts because they stretch. You’ll join a thrifty, creative crew!
Outline each flower with colonial, or figure-8, knots: hook the strip, guide the needle beneath, wrap, reinsert, and pull.
Then add texture layering with 6-to-20-inch pieces, varying stitch length and packing centers tightly. Let edges fray a little—the deliciously messy finish makes every meadow feel handmade.
Embroidered Monogram Pillow
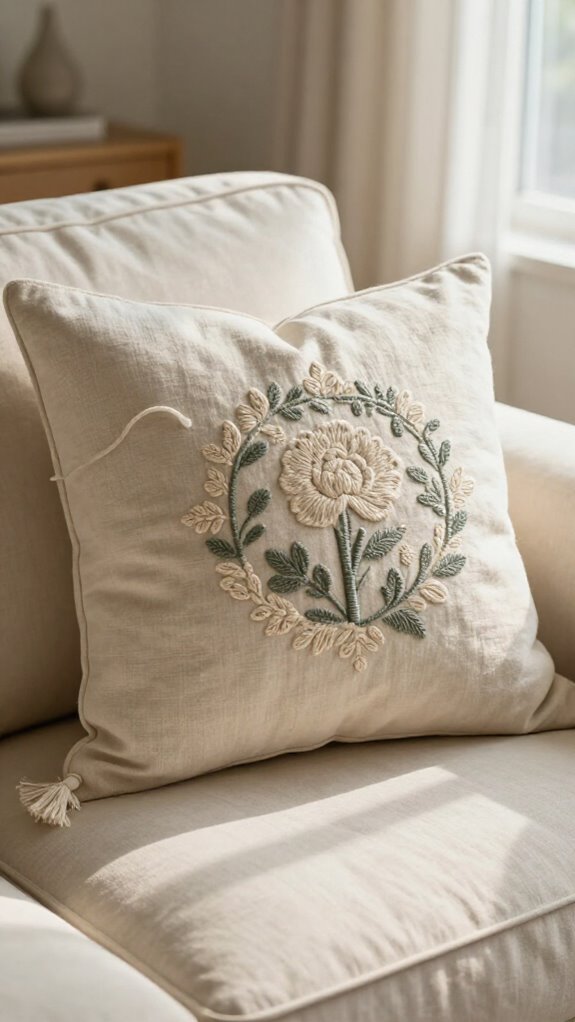
After stitching a whole meadow, give one pillow a little star treatment with an embroidered monogram—simple, personal, and surprisingly elegant-looking!
Choose linen or tightly woven cotton, then plan a size that feels welcoming, not oversized.
Mark your letter with chalk or a water-soluble marker; a stencil boosts stencil accuracy and keeps curves crisp.
Pick embroidery floss for ease, or use 1/4-inch on-grain fabric strips for cozy texture—skip stretchy bias scraps!
Outline first with secure knots, then densely fill the center.
Add color contrast so your initial pops across the room.
Stitch it firmly to the pillowcase, and voilà: you’ve made a polished piece your whole home team will notice.
Floral Table Runner
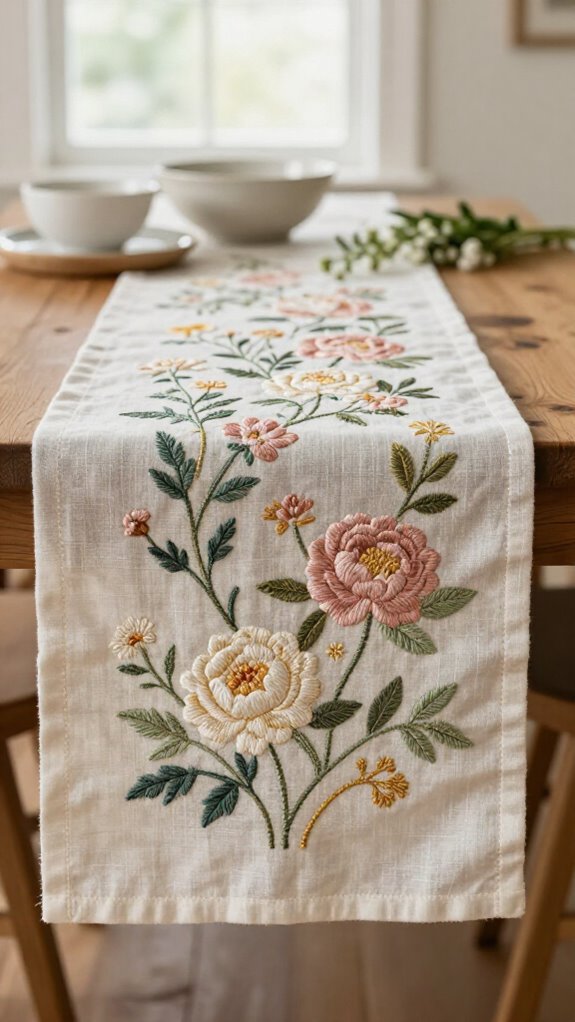
Bring a plain table runner to life with a trail of stitched flowers, and suddenly even Tuesday-night dinner feels a little elegant!
Start with linen or cotton, then sketch small blooms with chalk or a stencil before placing it in your hoop.
Use fabric strips, about 1/4 inch wide, plus a needle and thread.
Cut strips with the grain, not on the bias, and anchor them with colonial knots.
Short scraps work beautifully, so don’t toss them!
Plan stitch placement around one bouquet line, outlining petals first.
Then build texture layering by packing the centers densely along the midline.
A little fraying looks delightfully garden-wild, and your table instantly feels ready for company.
Embroidered Kitchen Towel
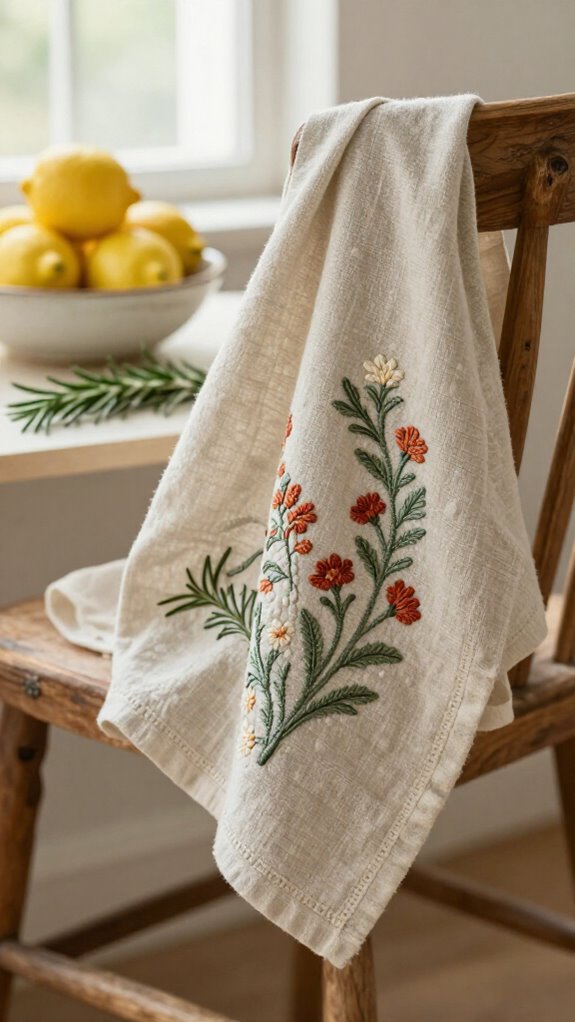
A plain kitchen towel can become a cheerful little piece of decor with a few stitched leaves, berries, or tiny seasonal flowers—no skilled skills required!
Choose a sturdy linen-cotton towel, then sketch your motif with chalk or a water-soluble marker.
You’ll feel right at home making it!
For Textured stitchwork, cut cotton strips 1/4 inch wide on the straight grain, not bias, which can stretch like a grumpy rubber band.
Outline shapes with colonial knots, then pack the centers densely.
Let ends fray and mix 6–20-inch strips for lively dimension.
Finally, repeat colors and motifs on other towels for coordinated towel styling.
Your kitchen instantly feels welcoming!
Vintage Rose Hoop
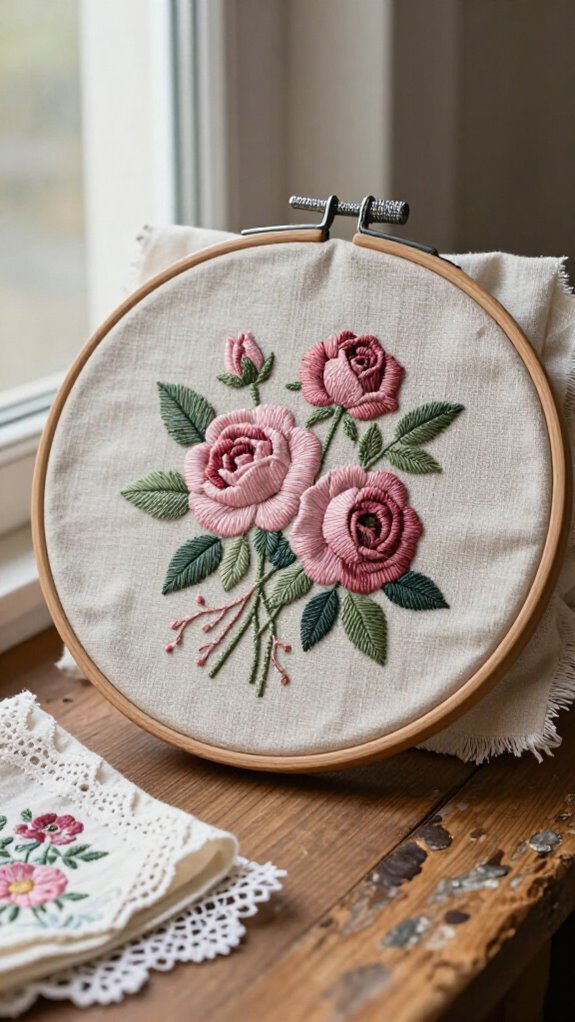
Turn that same cozy stitching spirit into wall art with a Vintage Rose Hoop—it’s a simple project that looks far fancier than it feels!
Stretch linen in a hoop, then sketch your rose with chalk or a water-soluble marker.
For easy linen texture tips, choose stable fabric and cut non-bias strips about 1/4 inch wide; ribbon, scraps, or floss all work!
Pick a warm rose color palette, outline the bloom first, and anchor strips with colonial or figure-8 knots.
Vary strip lengths so you won’t wrestle a fabric noodle—yes, it happens!
Then densely fill the center for plush texture.
Remove the hoop, trim cleanly, frame it, and hang your handmade rose proudly.
Embroidered Napkin Set
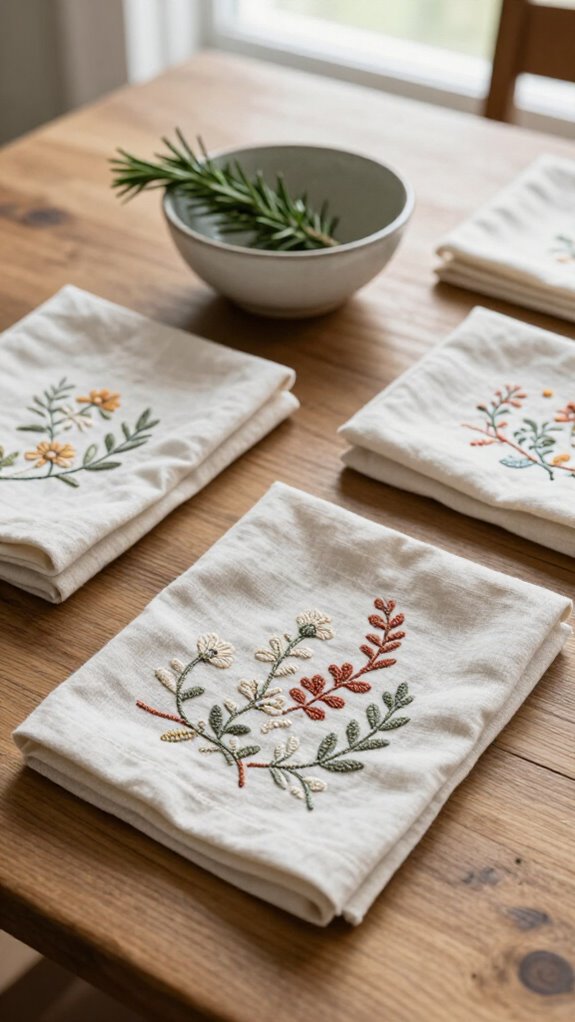
With a few scraps of fabric and a plain linen napkin, you can stitch up a cheerful embroidered napkin set that makes even Tuesday-night dinner feel a little special! Use a large-eye needle and 1/4-inch strips cut with the grain.
| Idea | Quick step |
|---|---|
| Materials | Linen, scraps, needle |
| Outline | Make colonial knots |
| Fill | Stitch densely |
| Texture | Let edges fray |
| Care | Wash gently |
Your embroidery thread choice can be colorful fabric strips; crooked edges add friendly charm! Outline a motif with figure-8 knots, then fill it boldly. For napkin cleaning care, choose linen or cotton—they’ll join your table for years. Everyone gets a handmade place setting—fancy, right?
Botanical Cushion Cover
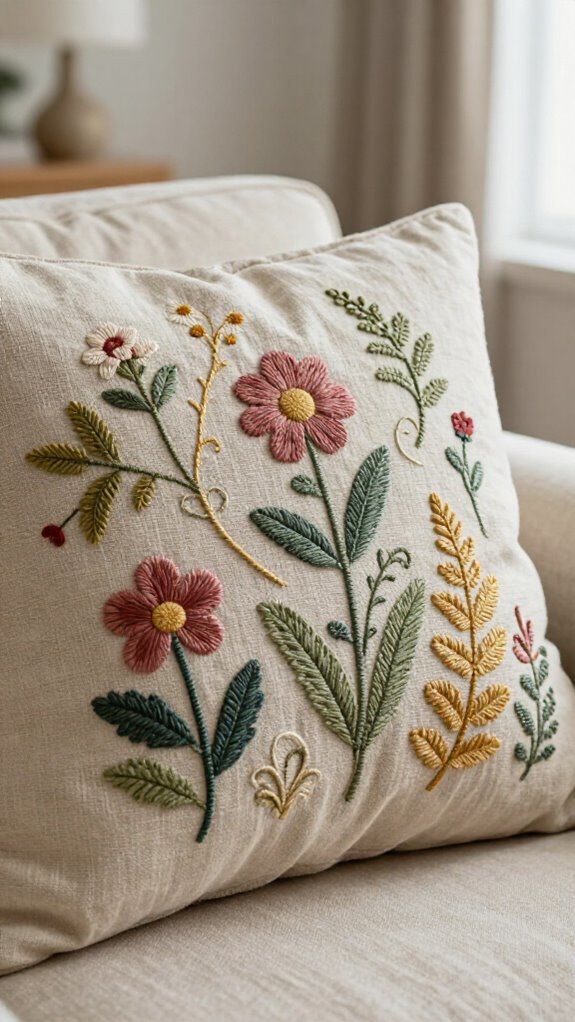
Bring a fresh garden indoors with a botanical cushion cover that’s easy enough for beginners and polished enough for the sofa!
Use fabric selection tips: choose linen or another tightly woven base, then keep your motif inside the front panel. With chalk or a water-soluble marker, sketch leaves, branches, or tiny flowers. No stylish skills required!
Next, try botanical color planning with greens that shift from light to deep, using floss or narrow fabric strips for texture. Stitch outlines first, then fill the shapes densely for lush, layered foliage.
Add a zip or envelope closure, and you’ll have a cheerful cushion that looks wonderfully handmade, not “oops, I tried.”
Embroidered Curtain Tiebacks
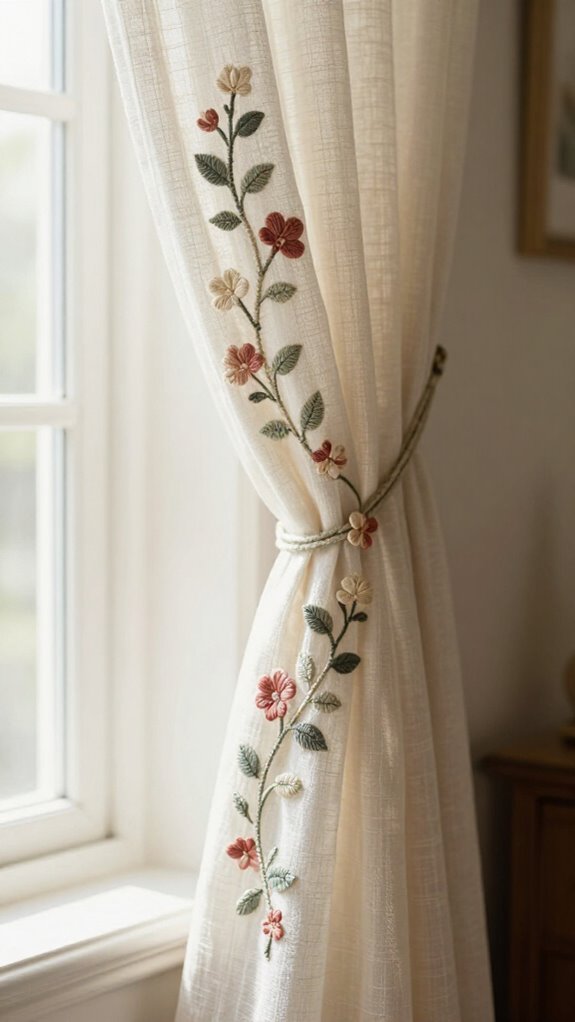
Embroidered curtain tiebacks can make even plain curtains feel custom-made, and you don’t need elaborate equipment to pull it off—hooray! Use linen, a hoop, floss, and a narrow strip.
| Choice | Feeling | Result |
|---|---|---|
| Vines | Welcoming | Soft charm |
| Stars | Playful | Cozy sparkle |
Follow stitching technique tips: embroider a vine or small mandala before finishing ends. Your color palette guidance is simple—echo curtain-edge details, so everything feels like it belongs together.
Want extra wow? Couch threads onto linen or velvet for raised texture. Then wrap the sturdy strip at the tie position; the embroidery becomes your room’s little shared secret!
Seasonal Embroidery Wall Hanging
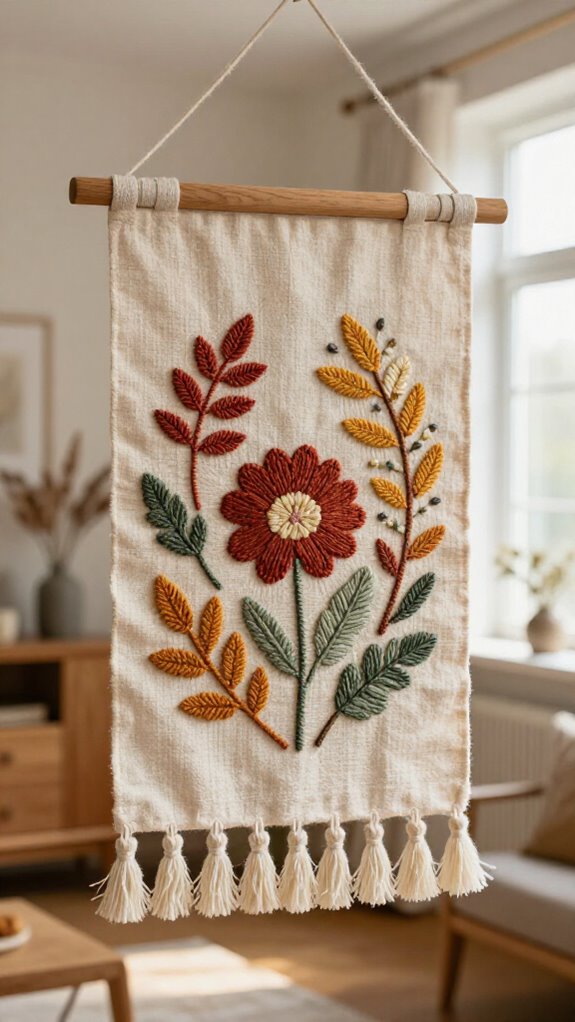
A seasonal embroidery wall hanging gives you a small, cheerful way to refresh a room—no full furniture shuffle required, hooray!
Choose linen or another stable, loosely woven base, then sketch acorns and oak leaves with chalk. Start Choosing color palette with warm rust, gold, and brown strips, cut 1/4 inch wide with the grain.
Outline shapes using colonial figure-8 knots, then fill them densely. Let 6–20-inch strips fray for cozy thread texture contrast—perfectly imperfect is the point!
You’ll create a textured little welcome sign for your shared space, and it costs very little. Best surprise? Those fuzzy frayed edges make your fall leaves look almost wind-tossed.
Embroidered Table Mat
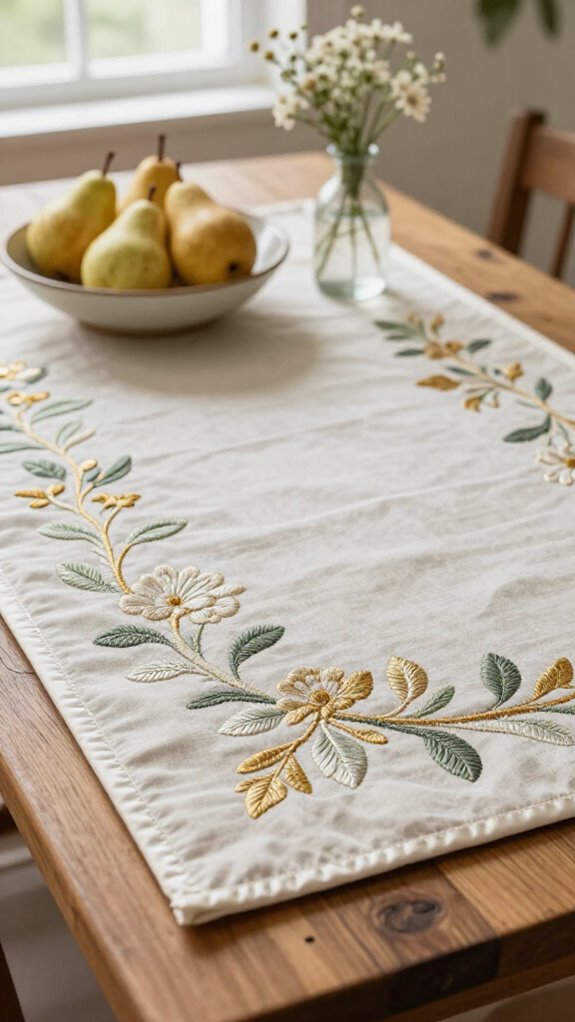
Turn a plain table mat into a cozy little showpiece with fabric-strip embroidery—yes, even if you’re new to stitching!
Choose stable, loosely woven linen, sketch a simple motif with chalk, and cut scraps into 1/4-inch strips, 6–20 inches long. Cut with the grain or crosswise, not bias, so your “thread” won’t stretch.
Outline first with colonial knots: make a hook, slip your needle under it, wrap upward, then reinsert.
Next, pack the center tightly for bold color and texture contrast stitches.
Let edges fray—perfection is overrated! Trim the mat neatly afterward.
You’ll create handmade gifting ideas that make every shared table feel welcoming.
Cottage Garden Embroidery
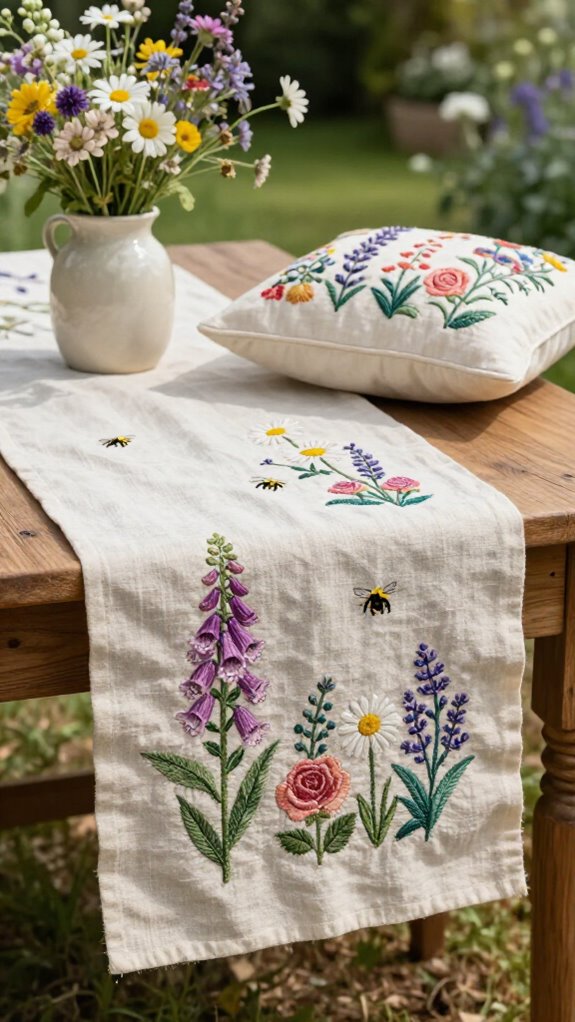
Carry that warm, handmade feel from the table to the rest of your home with cottage garden embroidery—think climbing vines, cheerful flowers, and just enough charming messiness! Draw a simple motif on loose linen with chalk, then stitch the outline before filling it.
For Textile transfer tips, use 1/4-inch fabric strips cut with the grain, not bias; they won’t stretch or snap. Vary 6–20-inch lengths as you pack in blooms.
Add colonial knots for bumpy texture—your garden gets personality fast! For fabric fraying control, let edges soften slightly, but trim loose wisps.
Repeat the motif on pillows, wall art, and linens for a cozy, connected set.
Herb and Flower Embroidery
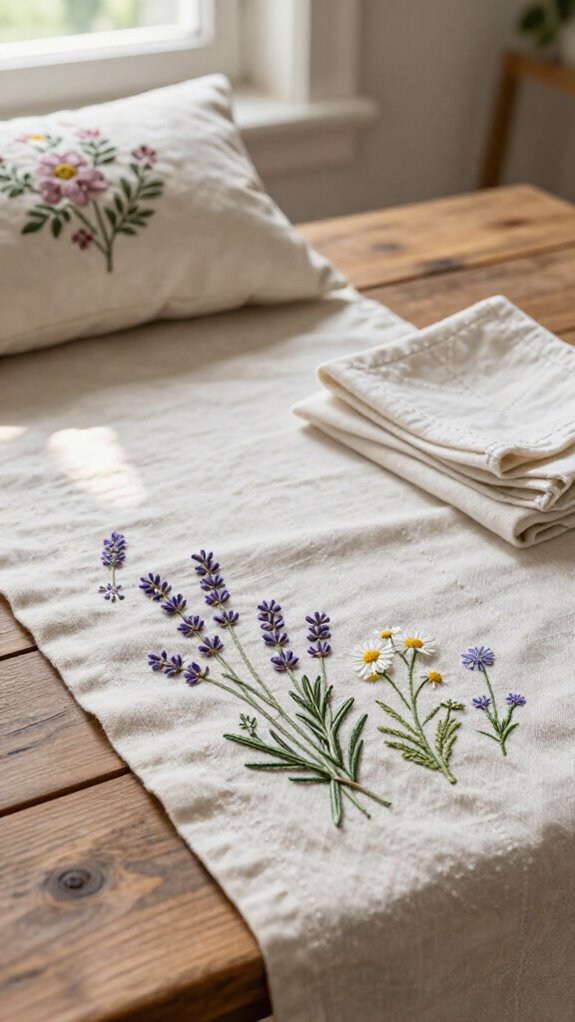
Fresh herb and flower embroidery brings a little garden magic indoors, and you don’t need decorative floss or expert skills to make it happen!
- Start with linen, using stain safe fabric prep for a clean base.
- Try Textile scrap sourcing from old cottons; cut 1/4-inch strips, 6–20 inches long.
- Outline leaves and blooms with colonial figure-8 knots, then pack the centers densely.
- Stitch with or across the grain, never bias—it stretches like it’s late for brunch!
Hook, wrap upward, loop, and pull each knot snug.
Let edges fray for a cozy, artsy texture.
Your raised herbs will look wonderfully lush, like our shared little indoor garden.
Embroidered Fabric Garland
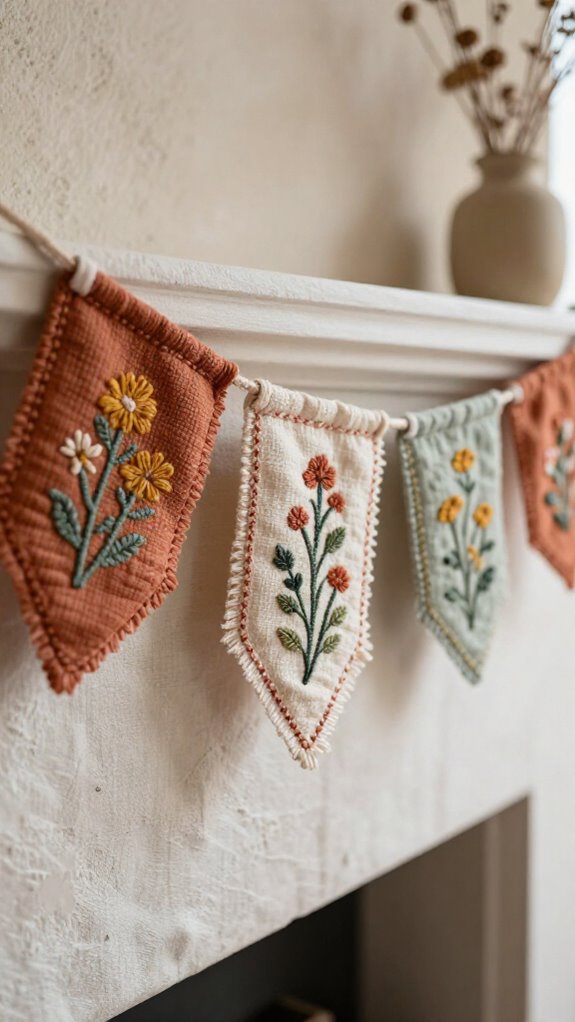
Those leafy stitches can wander off the hoop and become an embroidered fabric garland—such a cheerful way to dress up a window, shelf, or party table!
Start with a linen base, chalk, lightweight scraps, twine, and a large-eye needle. Draw hearts, then outline each shape before filling it with cozy texture.
For thread knotting, cut straight-grain strips 6–20 inches long; skip bias strips, which love to stretch at the worst moment! Make colonial knots by looping the strip in a figure-8, wrapping upward, and pulling through.
Stitch several shapes onto ribbon or twine. Let edges fray freely—the slightly messy finish makes your handmade garland feel warmly shared and perfectly welcoming.
Minimal Line Art Hoop
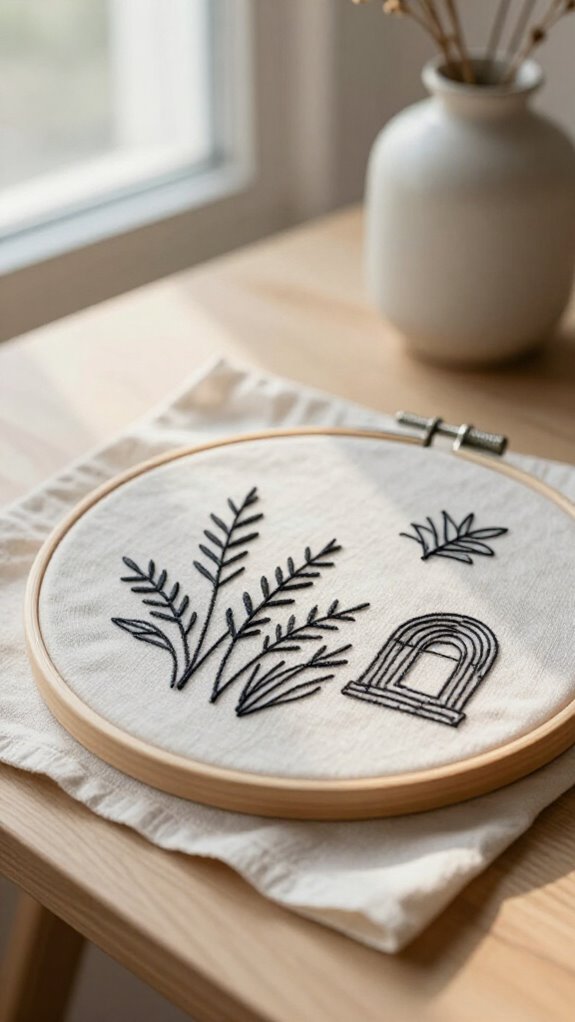
A minimal line art hoop turns a few simple curves into striking wall decor, and you don’t need detailed supplies or expert stitching skills to make it look polished!
- Draw a simple face, leaf, or arch on fabric stretched in a hoop.
- Cut colored fabric strips, about 1/4 inch wide, avoiding bias cuts.
- Secure outlines with colonial knots, then adjust line weight and color contrast.
- Fill enclosed spaces only after the perimeter is finished.
Use strips from 6–20 inches long; frayed edges are welcome, not a disaster! They add relaxed texture that makes your hoop feel handmade, like it belongs right alongside everyone else’s cozy decor.
Personalized Family Name Embroidery
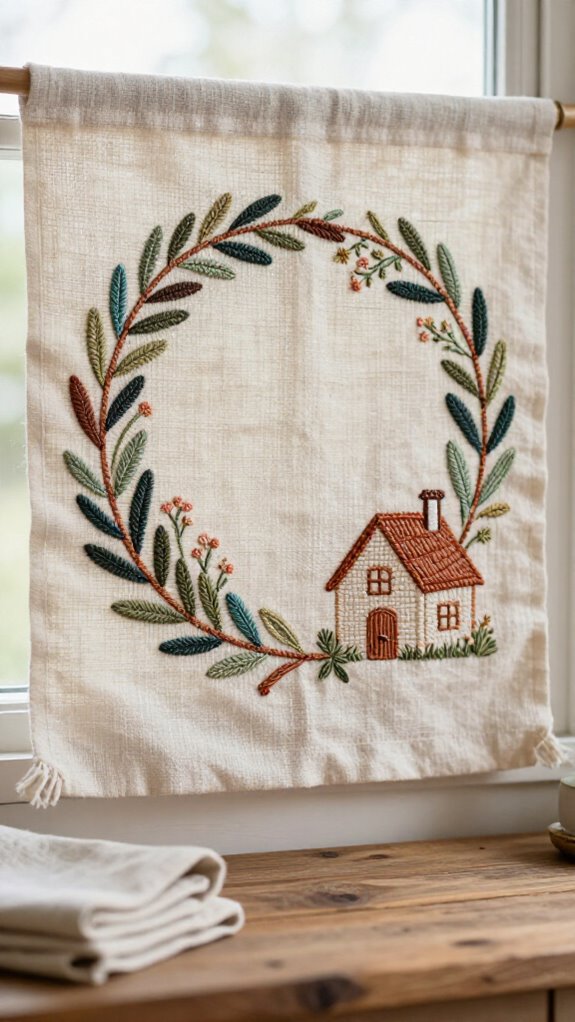
Turn your family name into cozy, textured wall art with fabric scraps, a hoop, and a few cheerful knots—yes, really! Choose linen or loose weave fabric, then sketch the name with chalk. Try color contrast tips so every letter pops!
Cut scraps into 1/4-inch strips, avoiding stretchy bias cuts. With hoop placement planning, center the name before you begin—no crooked surprises!
Outline each letter with colonial knots: hook, wrap, dip back through, pull. Then pack tight knots inside the outlines for bold texture. Frame it, add it to a pillowcase, or hang it in your gallery wall. Your home gets a little more “us”!
Embroidered Recipe Kitchen Art
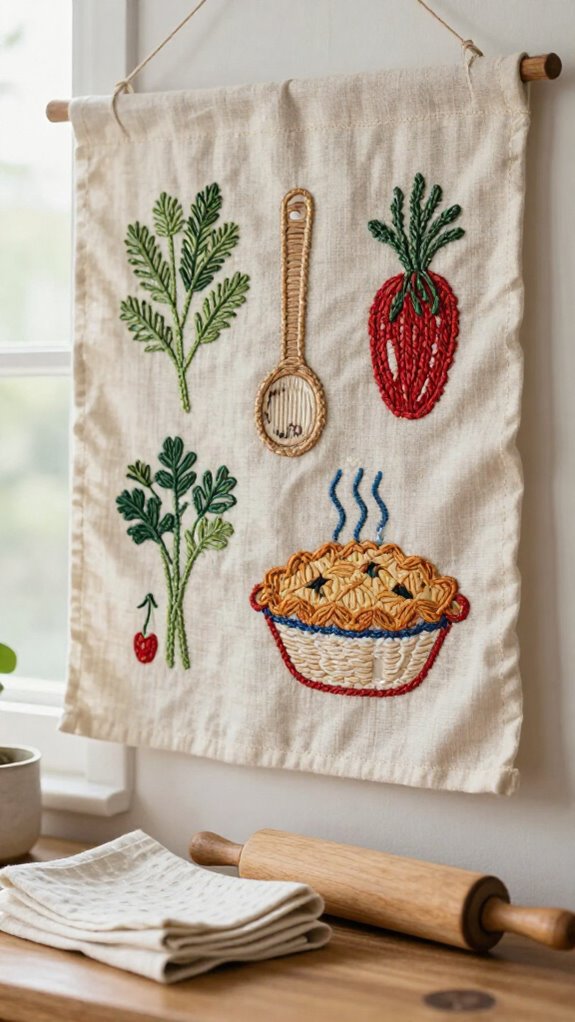
Even a favorite recipe card can become cheerful kitchen art when you stitch its title, ingredients, or a tiny whisk-and-flower motif onto a tea towel or small linen wall hanging—so charming!
- Choose linen, floss, and a seasonal color palette.
- Hoop your fabric for neat, easy stitches.
- Add flowers or acorns around the recipe for shared cozy style.
- Group towels and mini hangings for a welcoming set.
You’ll create something that feels right at home with your people! For extra stitch texture, couch thicker thread over lettering, creating a raised, touchable recipe design.
Frame one finished piece in an eclectic frame between shelves—suddenly, your kitchen has personality!
Vintage Bird Embroidery
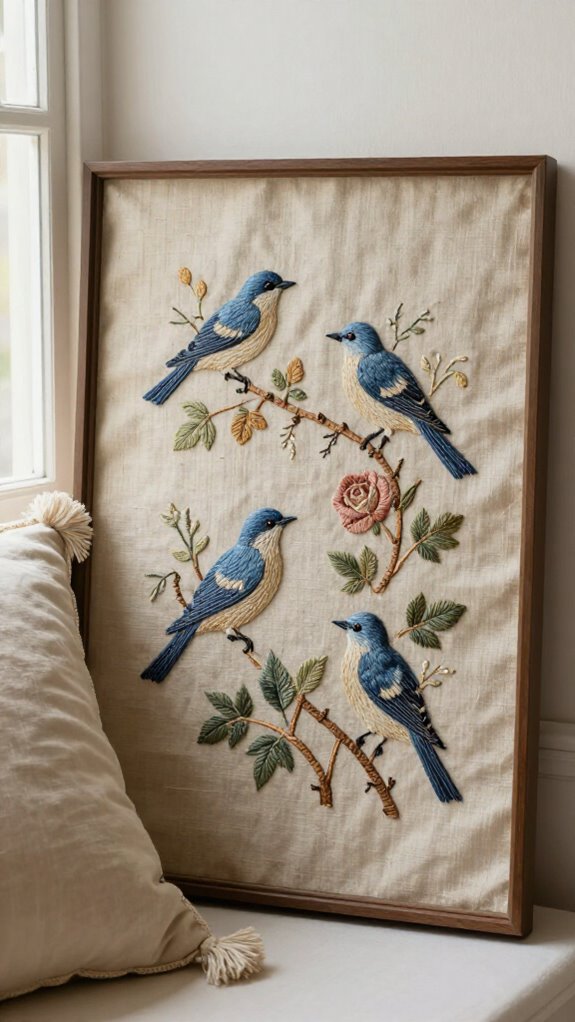
Vintage bird embroidery brings a gentle, timeless charm to your home decor, and you don’t need expert skills to make it look lovely!
Choose a Mountain Bluebird with Delicate Branches for a pillow, runner, or wall hanging. Use linen or another loosely woven fabric, floss, hoop, and needle; its texture makes every stitch feel warm and clear.
Need color palette tips? Pair soft blues with Indian Paintbrush tones, then look into vintage thread choices in muted cream, rust, and sage.
Add couching stitches for subtle raised feathers—tiny drama, no elaborate cape required!
For a cohesive gallery, make in-the-hoop bird pieces and hang coordinated frames together.
Embroidered Lavender Sachets
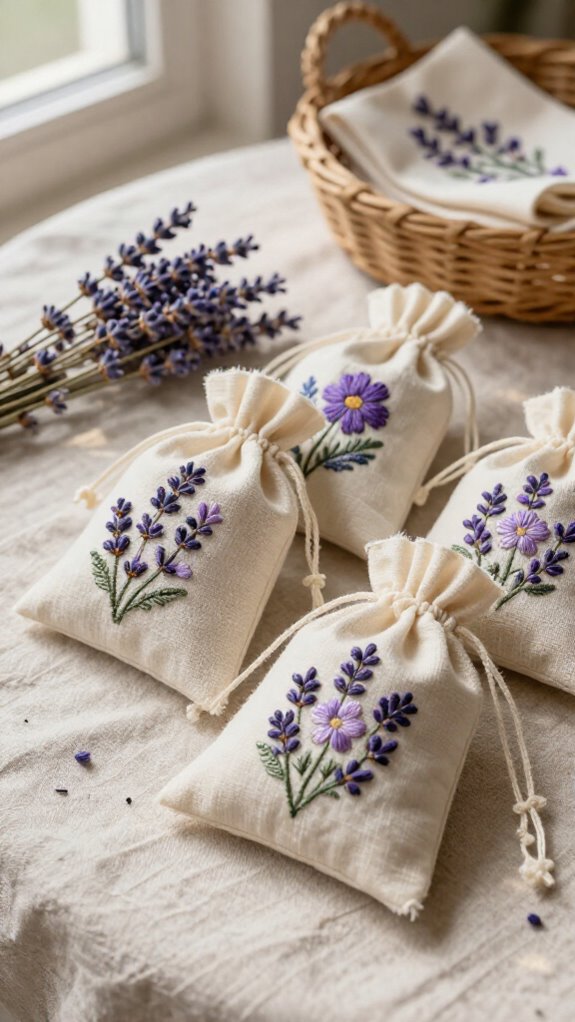
Embroidered lavender sachets turn a small scrap of linen into a sweet, useful bit of home decor—plus, your drawers get to smell amazing!
- Cut linen squares, then mark a lavender sprig or heart with chalk.
- Cut 1/4-inch grainwise fabric strips; skip bias strips, which stretch and snap.
- Outline with colonial knots, then pack the center with more knots.
- Stuff with dried lavender and stitch closed.
For secure stitches, make a fabric-thread hook, slide your needle beneath it, wrap upward, and pull through.
These finishing touches create a sturdy little treasure your home crew will love.
Keep sachets in drawers or closets for better scent longevity—tiny, cozy magic!
Nature-Inspired Wall Hanging
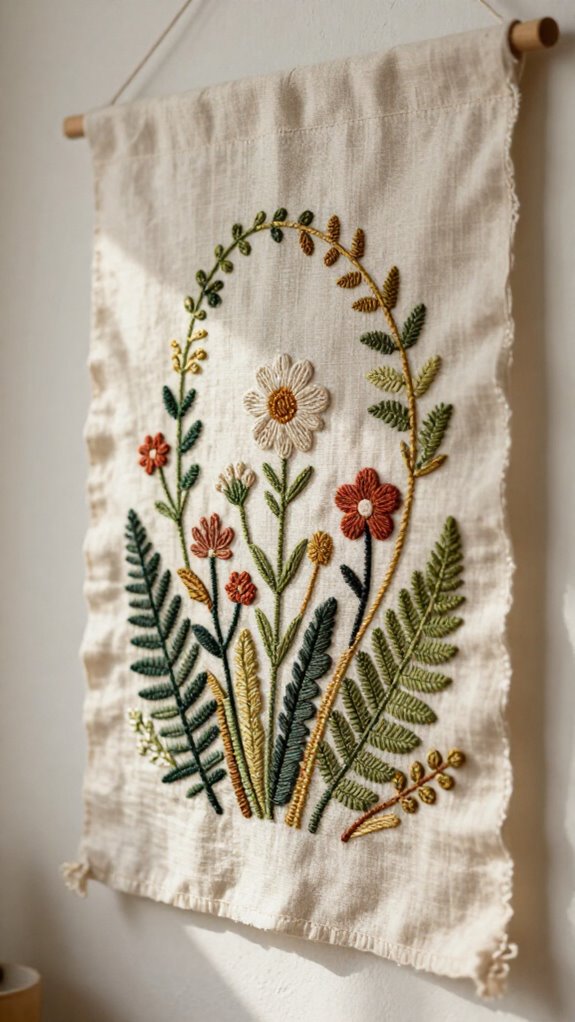
Once your lavender sachets have made the drawers smell lovely, turn those fabric scraps into a nature-inspired wall hanging! You’ll join a cozy maker crowd while creating art that feels like your own backyard.
| What you use | What you create |
|---|---|
| 1/4 yard linen | A sturdy base |
| Colorful thread scraps | Leafy fabric texture |
Trace leaves or tiny mountains with chalk. Cut 1/4-inch strips along the grain, then knot an outline with colonial knots. Fill inward with dense stitches; frayed edges add charm, not trouble!
Use 6–20-inch scraps, and skip stretchy bias strips. The surprise? More stitches make your scene pop beautifully from across the room!
Embroidered Tea Cozy
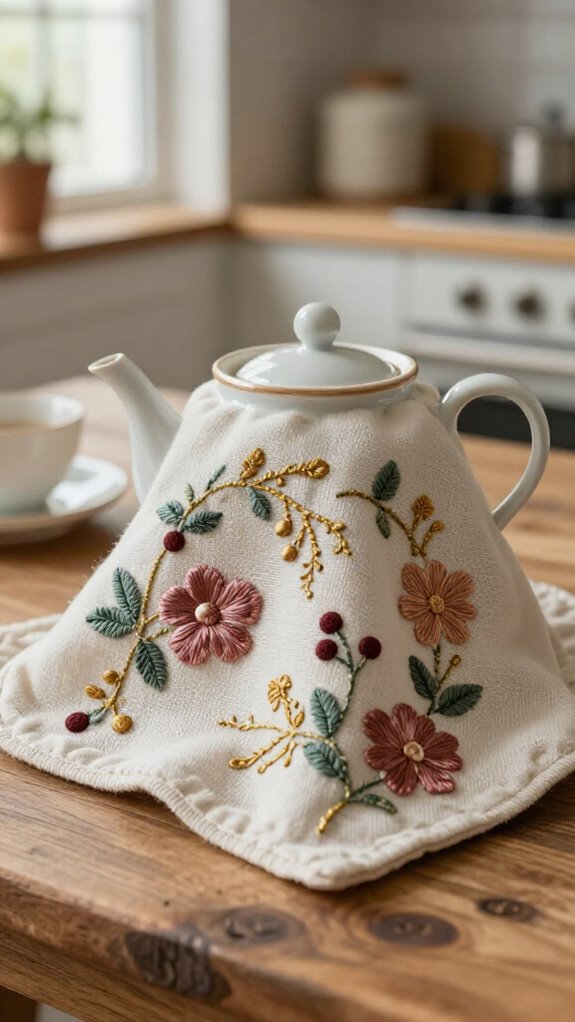
A tea cozy is a small project with big table charm, and you can stitch one in an afternoon without spending much!
- Choose sturdy decor fabric, then mark your pattern with chalk.
- Thread a large-eye needle; use colorful 1/4-inch fabric strips, not stretchy bias cuts.
- Outline shapes with colonial knots, then pack the centers with tight stitches.
- Try color contrast tips: bright strips on dark cloth create a cozy, cushiony design!
You’ll love seeing your seasonal colors join everyone’s table.
For tea cozy finishing, keep edges neat and stitches consistent, so your handmade cover holds its shape—no droopy teapot hats here!
Monogrammed Dining Napkins
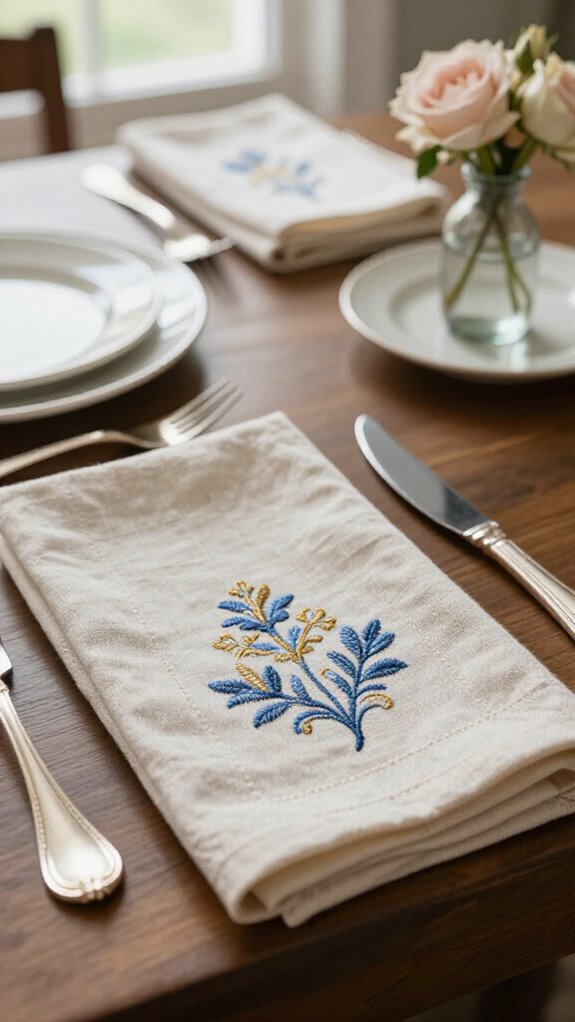
Your tea cozy brings charm to the pot, and monogrammed dining napkins carry that handmade warmth right to each place setting! Cut sturdy linen, center each initial with a guide, and stitch directly on top.
| Step | What you use | Friendly result |
|---|---|---|
| Cut | Linen, scissors | Matching squares |
| Mark | Placement guide | Coordinated initials |
| Outline | Needle, knot | Clear letter shape |
| Fill | Cotton thread | Bold, washable design |
Your embroidery thread choice matters: cotton shrinks like cotton fabric. For stitch longevity tips, use durable seams and tidy corners. Soon, every meal feels like your table has a little secret handshake—welcome home!
Embroidered Fabric Basket
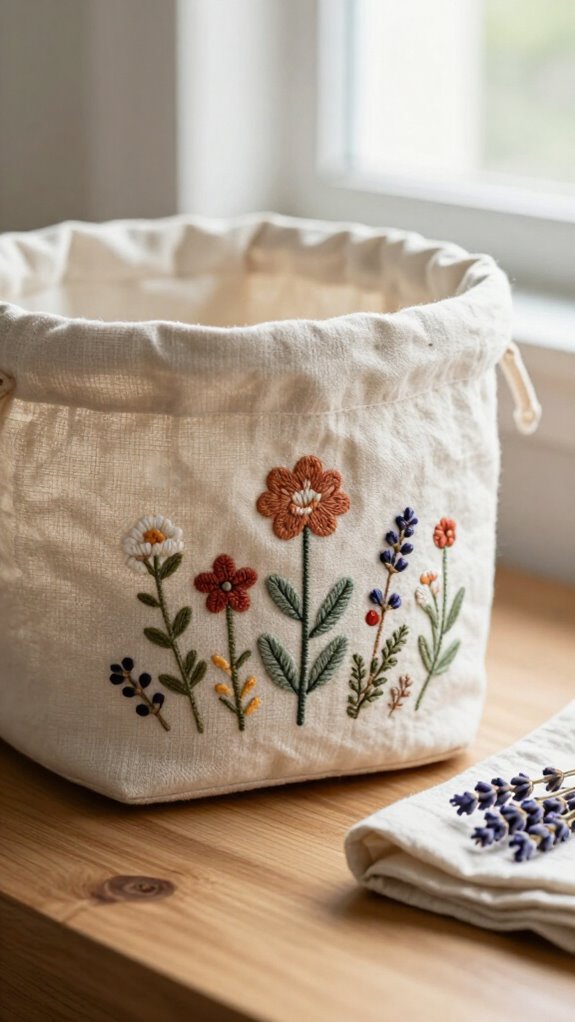
For a cozy, textured accent, stitch a tiny fabric basket right onto sturdy, loosely woven linen—no elaborate supplies required! Gather linen, chalk, and 1/4-inch fabric strips from your scrap pile.
- Sketch the basket with chalk.
- Secure its edge with colonial or figure-8 knots.
- Fill it with close, overlapping strips, 6–20 inches long.
- Cut strips grainwise or crosswise, never bias.
These texture stitch techniques make your piece feel handmade and welcoming, like it belongs beside everyone’s favorite chair. Color scrap planning keeps costs low, too!
Let the ends fray a little—your basket gains a charming, fuzzy finish that looks wonderfully lived-in.
Choosing Embroidery Designs for Your Home
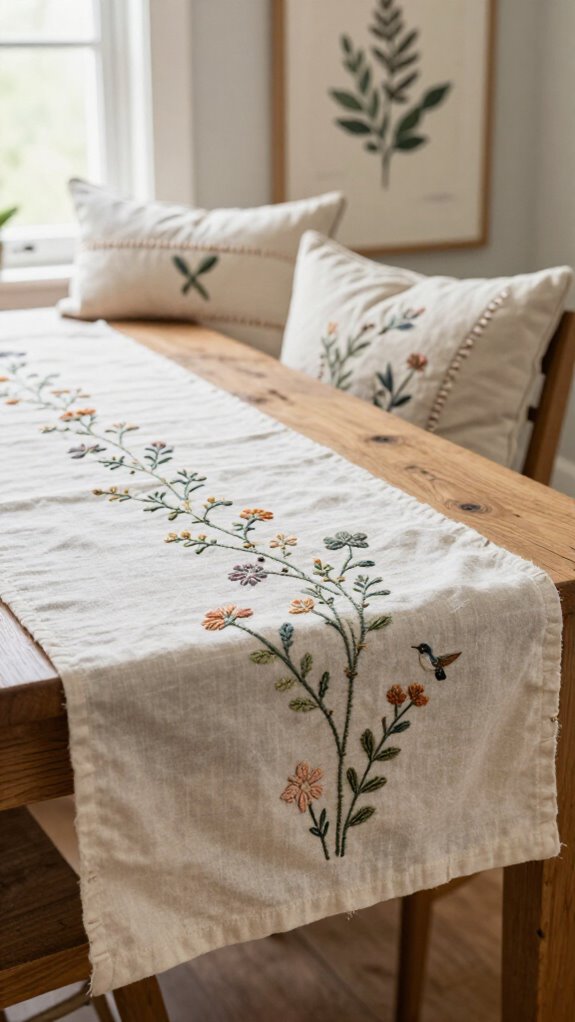
Once you’ve stitched a cozy fabric basket, choosing what to embroider next is the fun part—your home can help make the decision! Match room placement and color palette to a high-impact spot.
| Space | Design |
|---|---|
| Gallery wall | Framed floral hoop |
| Sofa | Pillowcase motif |
| Table | Napkin accent |
| Bedroom | Mandala cover |
Try linen or velvet for rich texture, then add couching stitches—fancy-looking, not fussy! Rotate fall acorns, desert scenes, or nature art with the seasons.
For an easy, polished win, stitch an in-the-hoop photo frame. It’s beginner-friendly, frames cleanly, and makes your space feel wonderfully yours.
How to Mix Embroidery With Existing Decor
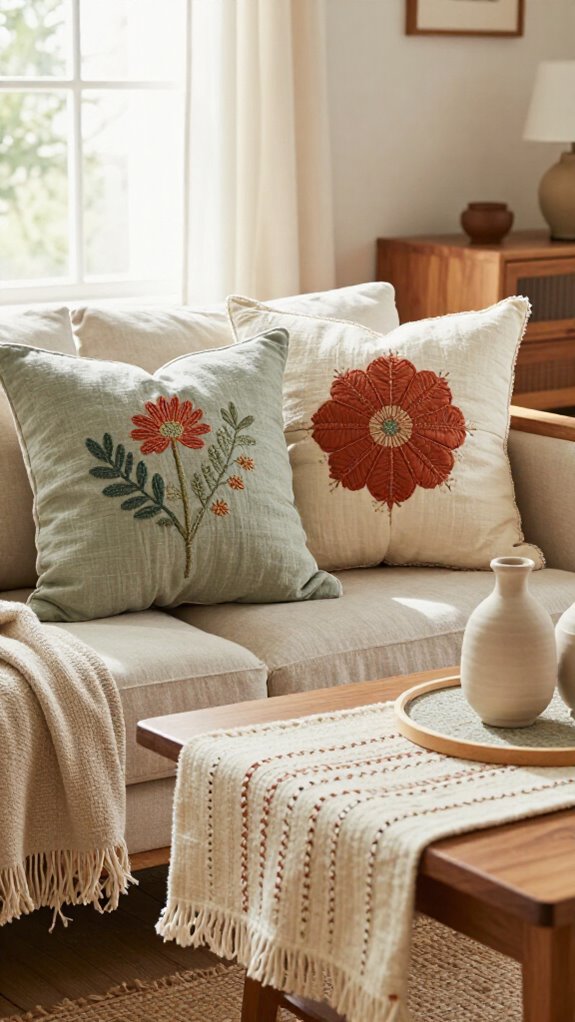
Start by borrowing colors and textures already in the room, then let embroidery act like a friendly little bridge between them!
- Try Color matching: stitch acorns, leaves, florals, or a mandala in shades from your rug or curtains. Repeat it on pillows and towels for an instant “we belong here” feeling.
- Choose linen or lightly woven fabric; it welcomes thread beautifully. You’ll need floss, a hoop, and a simple pattern—nothing elaborate!
- Use connector pieces: embroider pillowcases or a table runner that echoes your favorite tabletop decor.
- Save the wow for frame placement! Mix hoop art with eclectic frames in a foyer gallery wall, or create a bold entryway focal point. Tiny bookshelf pieces work, too—small but mighty!


