
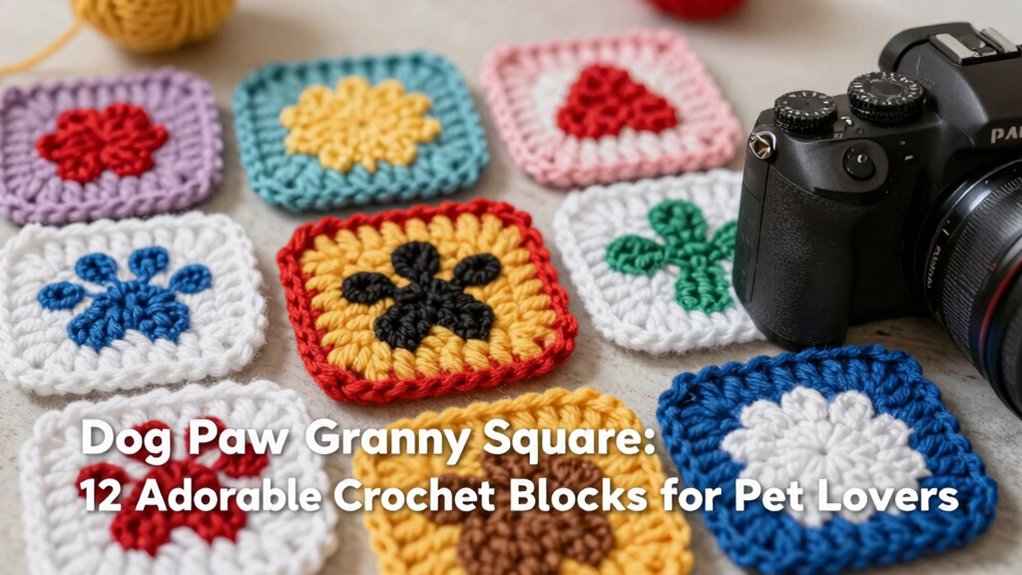

Want a dog paw granny square that’s cute, quick, and beginner-friendly? You can start with a simple ch 20 square, use worsted yarn and a G hook, then add Color B for paws, hearts, bobbles, or a rounded edge. Try classic, modern, or textured blocks for blankets, cushions, totes, or keepsakes. They’re budget-friendly, easy to size up, and seriously fun—your pet projects’ll look paws-itively polished, and the best surprise is waiting just ahead!
Key Takeaways
- Classic paw print squares use single crochet rows, starting with chain 20 and working 19 stitches across for a clean base.
- Rounded paw motifs soften the edges with chain-1 corners and bottom-up construction for a plumper, friendlier look.
- Heart-and-paw combinations add a sweet twist by placing Color B in the heart shape within the paw design.
- Minimal modern paw designs keep most of the square one color, using a second color only for toe beans and pads.
- Textured bobble paw blocks add dimension with bobbles on toes and pad outlines, then are lightly blocked for shape.
Classic Paw Print Square
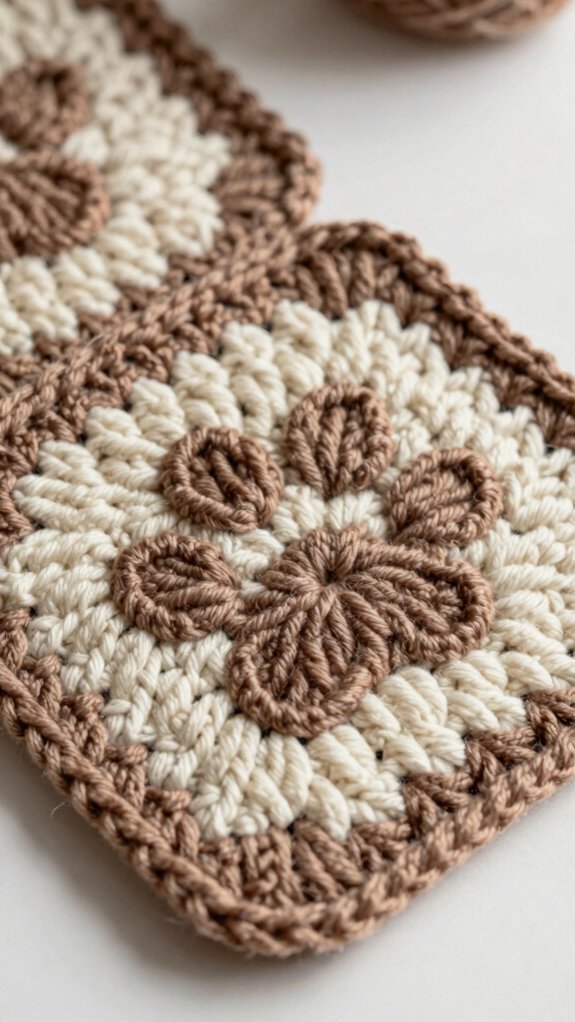
If you’re ready to make a cute little square with big puppy energy, the Classic Paw Print Square is a fun place to start!
You’ll use Color A for the whole block, then add Color B only when the paw details need it.
Start with ch 20, turn, and work 19 single crochet stitches in each row, with a turning chain at the start.
You’ll build it from the bottom up, so the rows stay easy to track.
Odd rows face the right side, even rows the wrong side, which helps your colors line up cleanly.
Blocking at gauge keeps it neat, and a border can finish it off!
Rounded Paw Motif
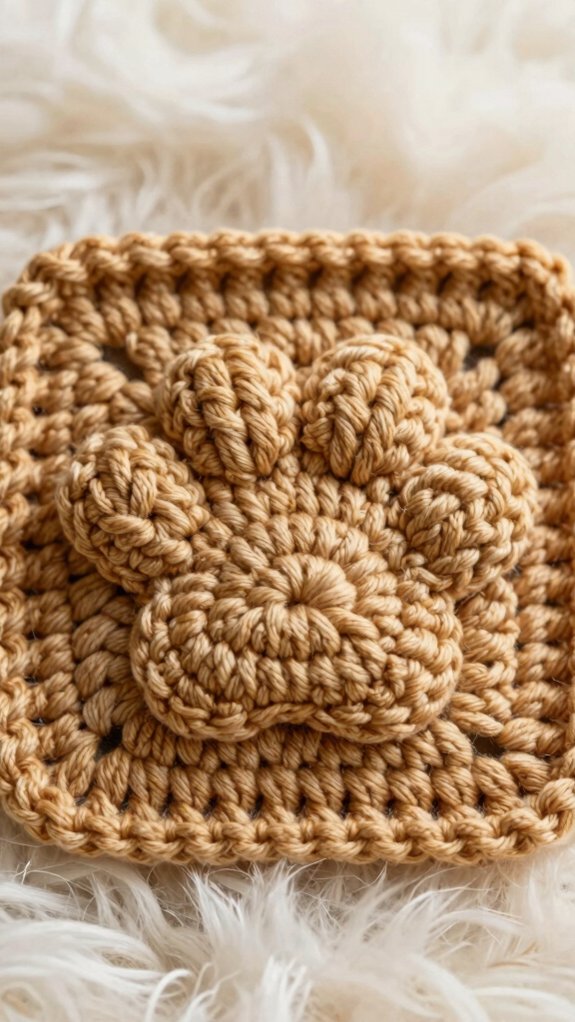
The Classic Paw Print Square gives you the basic shape, and the Rounded Paw Motif takes that cute idea and softens the edges for a plumper, friendlier look—almost like the paw just padded across your worktable and decided to stay! You’ll build it in single crochet, row by row, with a grid that keeps each toe bump neat and even.
| Step | What you do | Why it helps |
|---|---|---|
| 1 | Work bottom-up | Keeps sizing steady |
| 2 | Add color only where needed | Cuts bulk |
| 3 | Use chain-1 corners | Smooths edges |
If you love a cozy, welcoming feel, this rounded paw motif makes your square look extra huggable.
Heart and Paw Combination
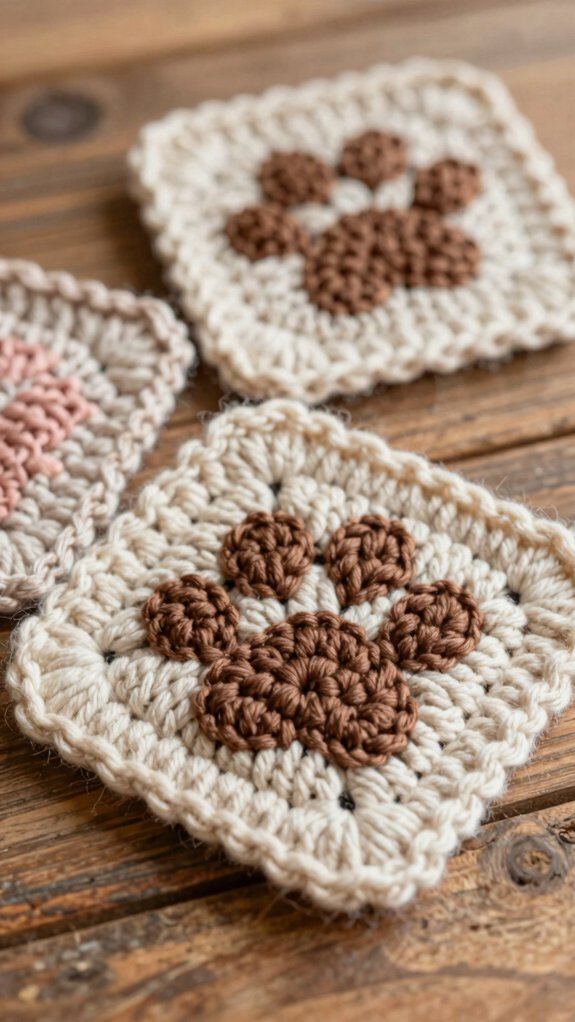
Bringing a heart and a paw together is such a sweet little twist, and it’s easier than it sounds!
You’ll use Color A for most of the square, then pop in Color B for the heart shape, tucked in the center or a corner of the paw print.
Work your panel bottom-up in rows of single crochet, carrying the unused yarn neatly behind, and keep reading the graph as you go—yes, your crochet map matters here!
After you block it to sharpen those cute edges, add a simple sc border if you want a sturdy, gift-ready finish.
Minimal Modern Paw Design
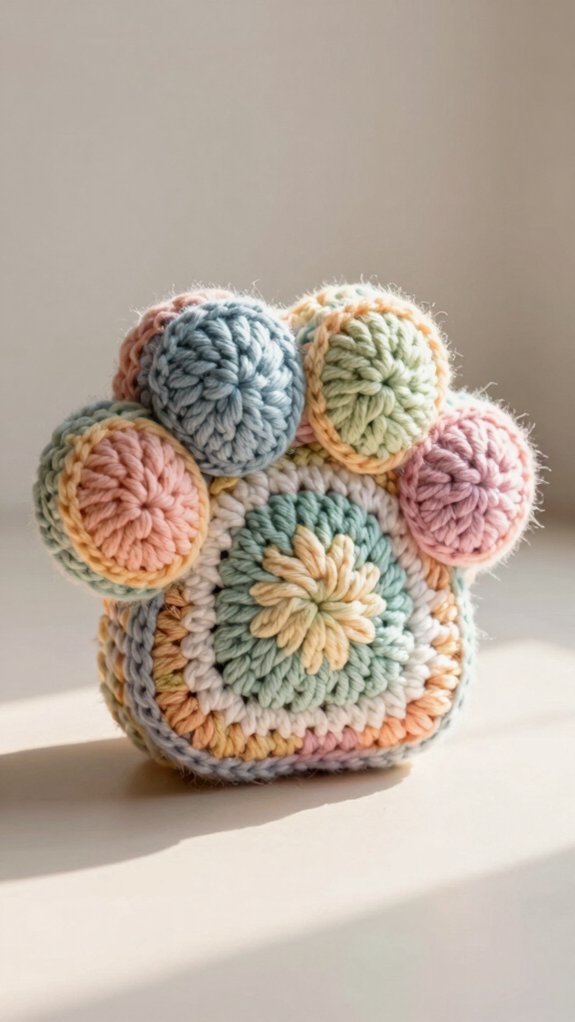
With a clean, modern paw print, you’ll keep the look sleek by using your main color for almost everything and only popping in a second color where the little toe beans and pads need it—nice and tidy! You’ll feel right at home with this cozy square.
| Need | Use | Tip |
|---|---|---|
| Yarn | #4 worsted | Keep it simple |
| Hook | US G | Aim for 4 in |
| Start | ch 20 | Begin in 2nd ch |
Work bottom-up in single crochet, carrying the inactive color so the RS/WS stays neat. Want the fine print? Check your Privacy Policy, then finish with the optional border, and enjoy a crisp, friendly coaster!
Textured Bobble Paw
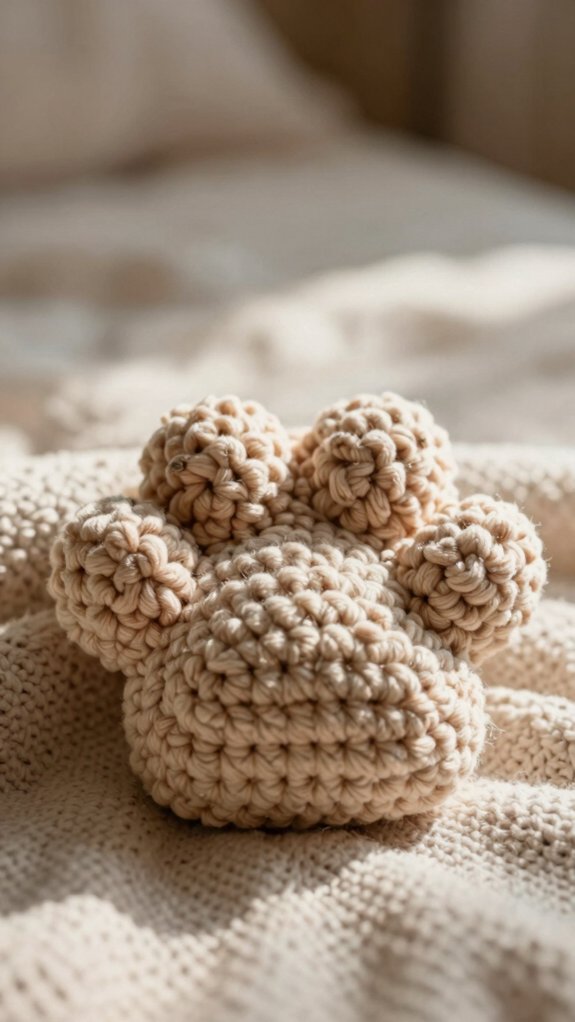
Every now and then, a paw print needs a little extra personality, and a textured bobble paw delivers it in the cutest way!
You’ll build most of it in single crochet, then pop bobbles onto the toes and pad outline for that cozy, furry look.
Grab yarn, a smaller hook, and your favorite square, because this one’s beginner-friendly and budget-friendly too!
- Keep bobble rows even across the grid.
- Place texture only where the paw should stand out.
- Block lightly so the shape stays rounded.
With a crisp finish, your textured bobble paw feels warm, playful, and totally team-pet!
Floral Paw Block
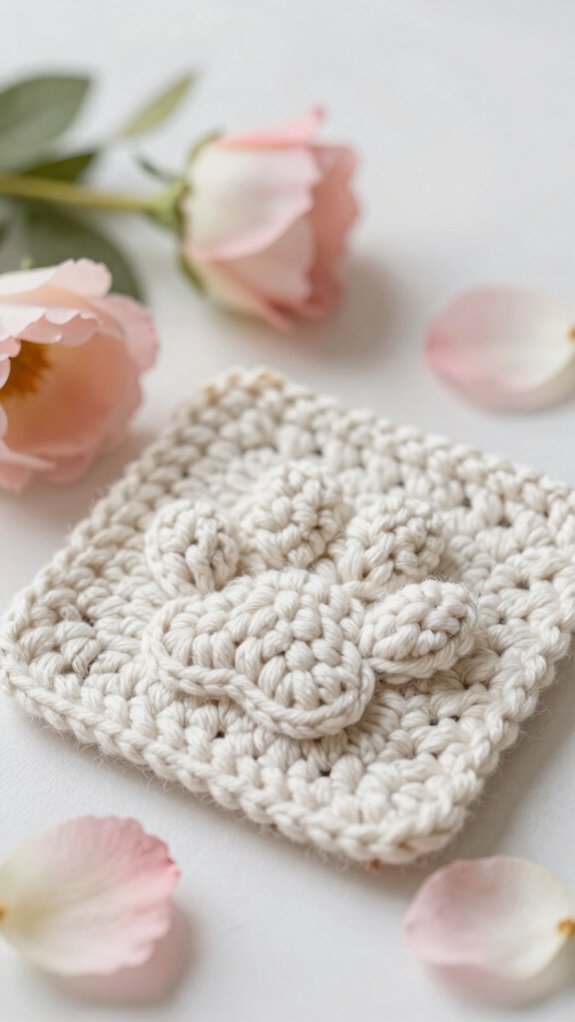
If you want your paw project to feel a little fancier, the Floral Paw Block is a sweet way to do it! You’ll build a paw-print center with single crochet rows, working the square bottom-up in 19-stitch rows, and that ch 1 at the start doesn’t count.
Keep Color A as your main yarn, then let Color B bloom in the paw detail or flower accent—cute, right?
Keep your tension steady and carry the inactive yarn when needed so everything lines up on the right and wrong sides.
Aim for 20 sc by 20 rows for 4 inches blocked.
Finish with a sturdy single crochet border, and you’ve got a cozy block that feels totally yours!
Rainbow Colorway
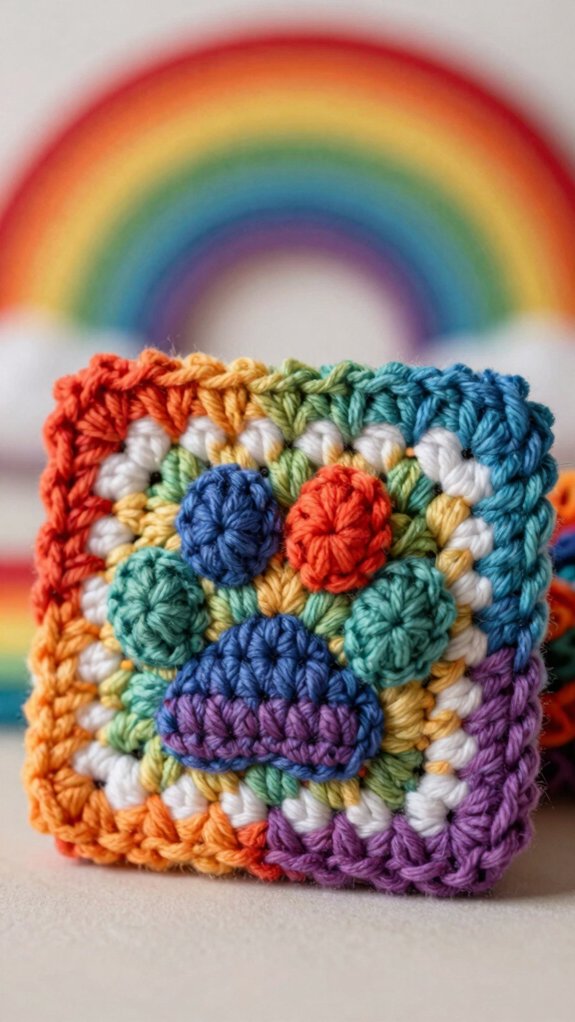
A rainbow Dog Paw Print Square is such a happy little twist on the classic design! You’ll use the rainbow colorway by making Color A your bright base, then swapping in Color B for the paw details, just like the pattern says.
- Start with simple yarn and a hook, then work rows of single crochet bottom-up.
- Keep each row at 19 stitches after the first chain, so your square stays neat.
- Follow RS and WS color changes, and don’t worry if Color B isn’t carried all the way.
Block it to 4 inches, and your cheerful paw square fits right in!
Neutral Farmhouse Palette
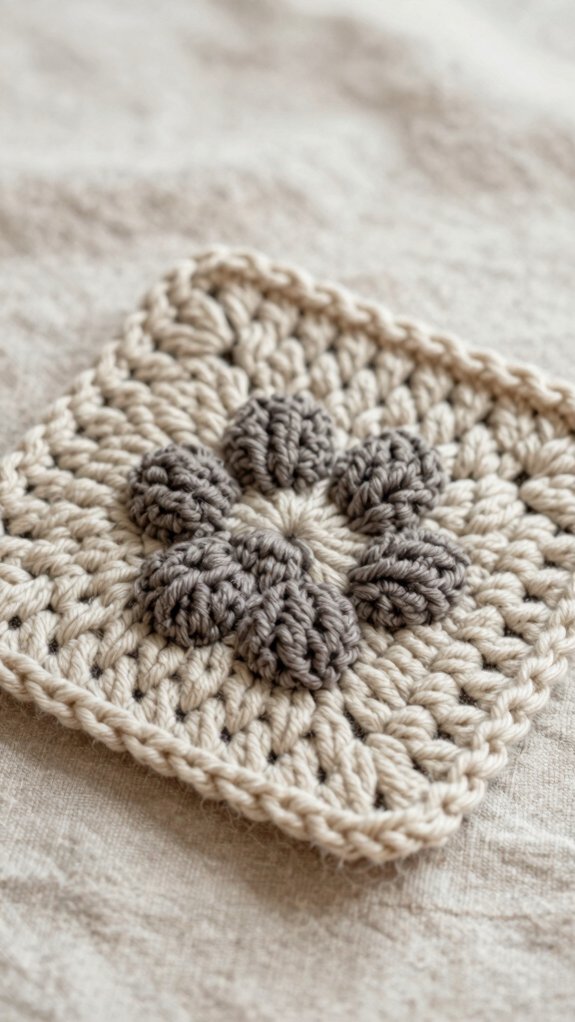
For a cozy farmhouse feel, start with a neutral base yarn, like creamy ivory, warm taupe, or soft gray, then use a second neutral just for the paw details so the whole square feels calm and pulled together.
Your neutral farmhouse palette keeps the dog paw cute, not loud, and it fits right in with cozy pet-lover decor—nice!
Choose worsted weight Color A for the main square, and keep Color B for tiny accents so the fabric stays crisp.
Work single crochet rows from the bottom up, carry yarn only in short spots, then block it flat for a tidy, welcoming finish.
Puppy Blanket Layout
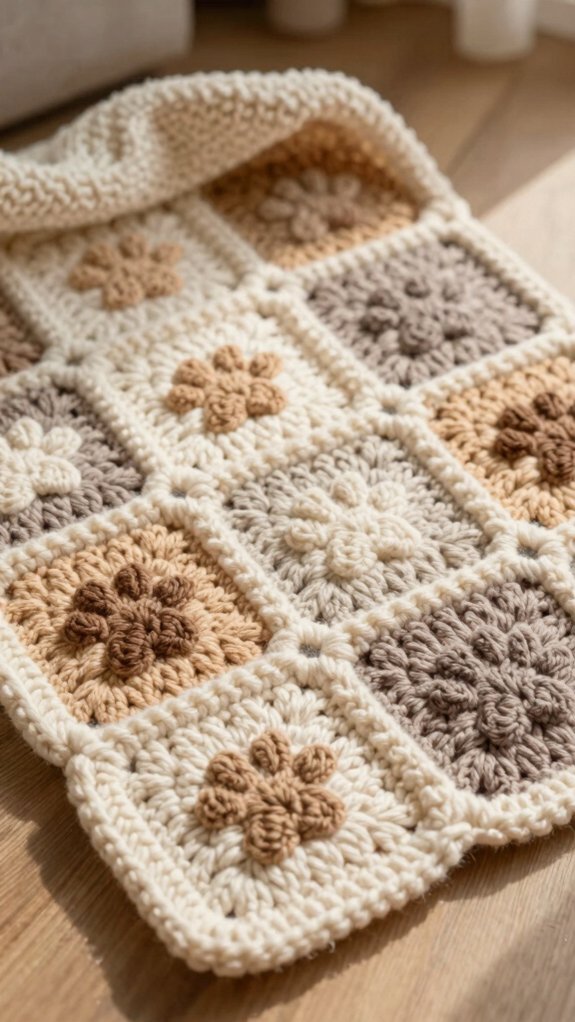
Usually, the easiest way to turn your Dog Paw Granny Square into a full Puppy Blanket is to repeat the blocks in a simple grid, and that makes planning feel way less mysterious!
You’ll fit right in with this cozy pack, even if a black cat is snoozing nearby.
- Keep Color A working, and use Color B only when the paw needs it.
- Match the 20 sc × 20 rows gauge, so every square lines up neatly.
- If your edges feel wobbly, add the optional border for extra strength.
Start from the bottom up, then join the squares with confidence, and your blanket’ll look calm, cute, and polished!
Cushion Cover Design
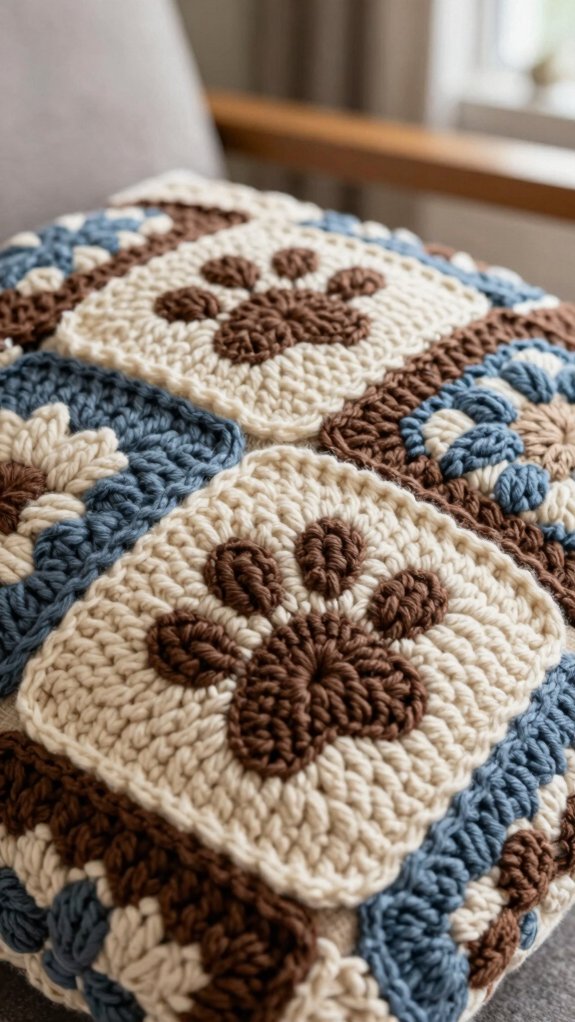
When you turn the Dog Paw Granny Square into a cushion cover panel, the whole project starts to feel extra cozy and cute! You’ll crochet it bottom-up in rows, starting with ch 20 and keeping 19 sc per row, so your panel grows evenly and feels easy to manage.
Use Color A for the paw and Color B only where it’s needed, carrying the unused yarn carefully with the RS/WS notes, so the design stays neat.
Aim for the 20 sc x 20 rows gauge, and if you want a super cute finish, add the optional border for a sturdy edge!
Tote Bag Assembly
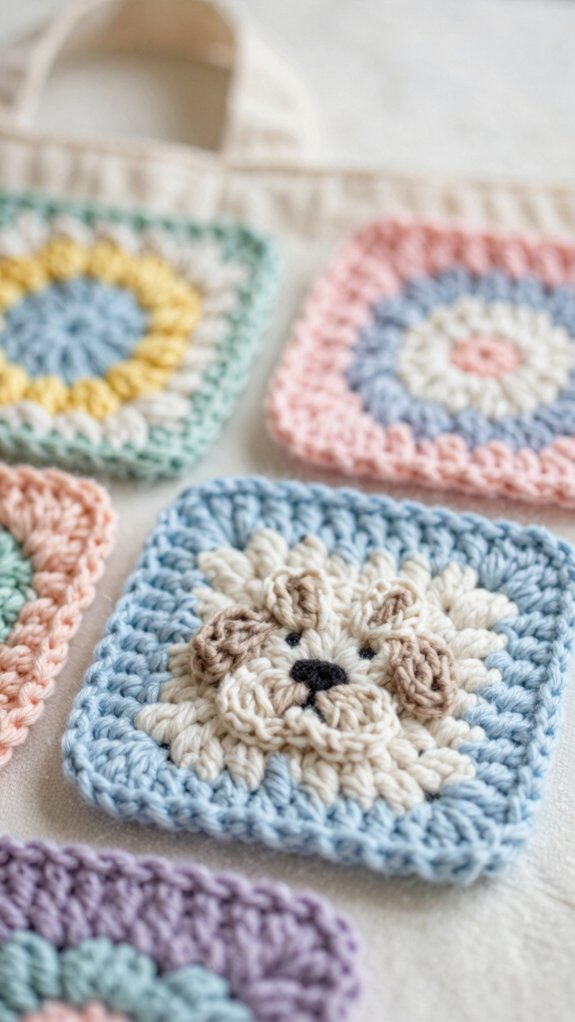
Now that your Dog Paw Granny Squares are finished and looking adorable, it’s time to turn them into a tote bag that’s actually ready to carry stuff, not just sit there looking cute!
For tote bag assembly, arrange the squares in your planned layout, then stitch every edge with the same join so the fabric stays dense and sturdy.
- Keep RS and WS lined up, so those paw colors pop right.
- Join the right square count first, before any border rows change the shape.
- Add the optional border, then block the panel to smooth waviness and square up the sides.
Nice, right?
Pet Memorial Keepsake
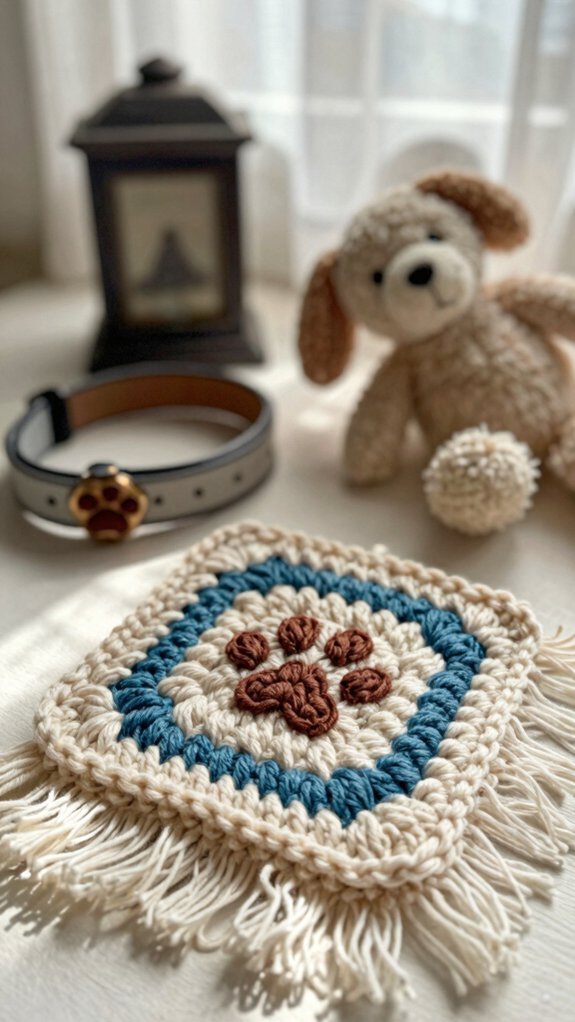
If you’re honoring a beloved pup, this Dog Paw Granny Square can become a sweet little memorial keepsake that feels personal without being fussy. You’ll stitch it with #4 worsted yarn and a US G/4.00 mm hook, working from the bottom up in rows of single crochet, so it’s easy to repeat and comforting to make.
Choose your colors with care, keeping accent yarn minimal so the paw details stand out.
Join one square into a coaster, scarf, or blanket panel, then add the optional border and block it for a neat, sturdy finish.
Simple, heartfelt, and oh-so lovely!


