
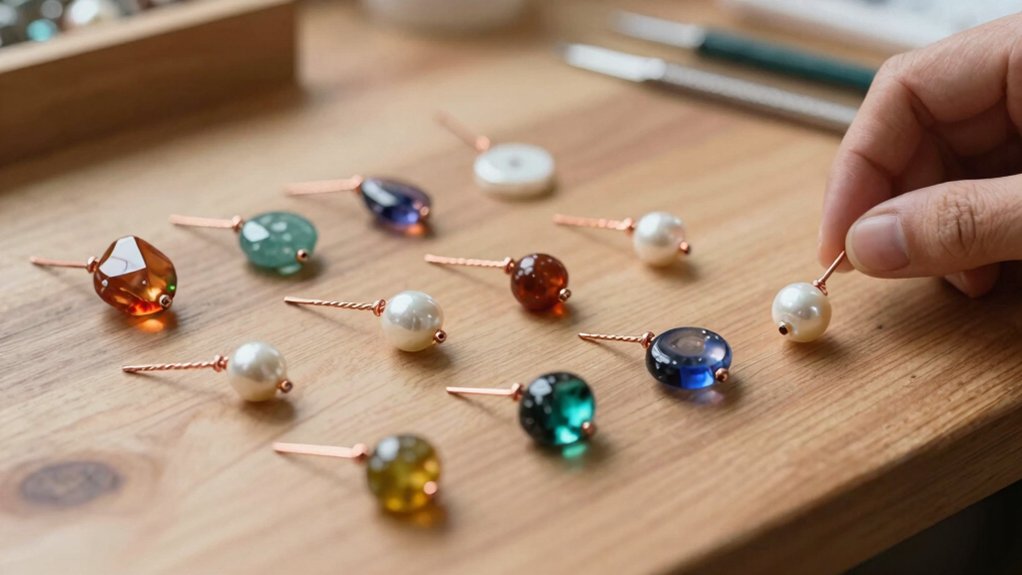

You can make beautiful jewelry at home with cheap, simple tools, and yes, it’s easier than it sounds! Start with stretchy bead bracelets, wire-wrapped pendants, clay earrings, resin necklaces, macramé bracelets, leather cord styles, tassel earrings, personalized anklets, and birthstone gifts. Use elastic cord, wire, clay, resin, knots, and charms, then trim, bake, wrap, or seal for a polished finish. Each project gives you a wearable win, and the best surprise comes a little later!
Key Takeaways
- Start with stretch bead bracelets using elastic cord, simple knots, and snug wrist-fit for a fast beginner win.
- Try wire-wrapped pendants and simple wire rings for cozy, minimal handmade jewelry without soldering tools.
- Make polymer clay earrings by shaping, baking, sanding, sealing, and adding durable hooks.
- Learn cord-and-knot projects like macramé bracelets, plus pressed flower charms and layered charm necklaces.
- Finish pieces with sturdy hardware, then wrap them as gifts with a quick, polished presentation.
Stretch Bead Bracelets
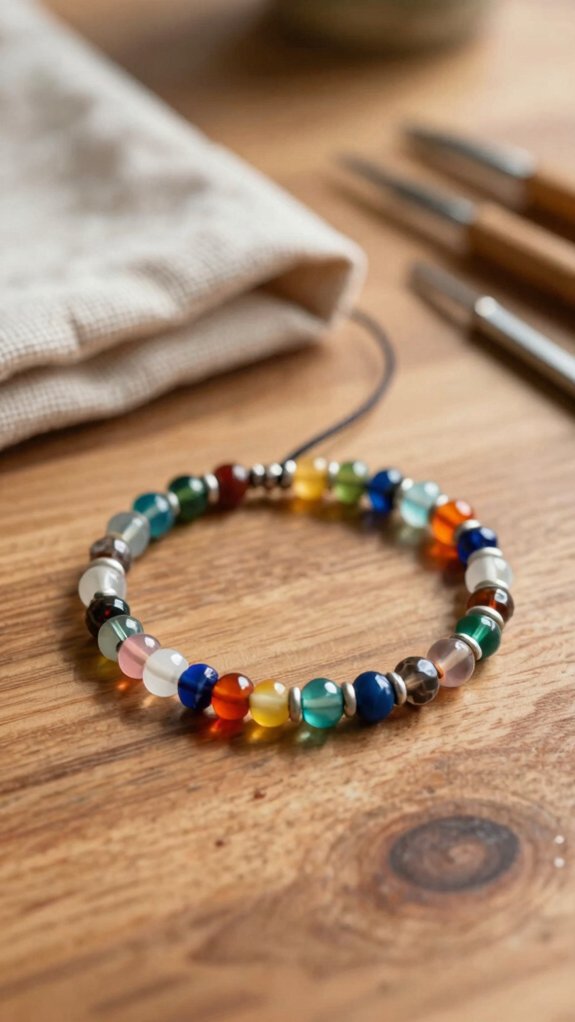
If you’re just starting out with jewelry making, stretch bead bracelets are a fun little win because you can make one fast with just elastic cord, a handful of beads, and a simple knot—no elaborate tools or clasp drama required!
You’ll feel right at home, and stacking rings can wait.
Pick crystal beads, mix sizes for a pretty rhythm, and string them until the fit hugs your wrist.
Tie a tight knot, trim the tail, and add a tiny dab of glue if you want extra security.
A clear step-by-step tutorial keeps you moving, and yes, your VINYL RECORD playlist helps!
Wire-Wrapped Pendants
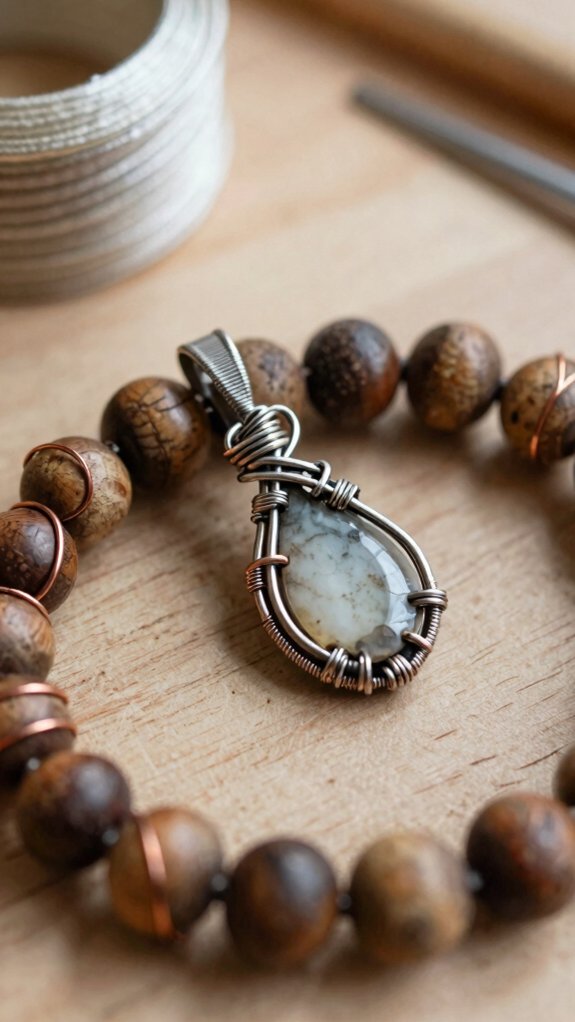
Wire-wrapped pendants are a fantastic next step after simple bead projects, because you can make something that looks polished and personal without touching soldering tools or premium metalworking gear!
You’ll use basic wire shaping and wrapping, so it’s easy to make beautiful jewelry that feels like it belongs to your style tribe.
Pick a cabochon, crystal, or tiny geode, then wrap it with silver-colored wire using simple loops and snug clasp wraps.
Form neat coils, trim the extra wire, and file sharp ends.
Start with flat-backed stones first, then level up to layered wraps.
Go on, MAKE DIY magic!
Clay Earrings
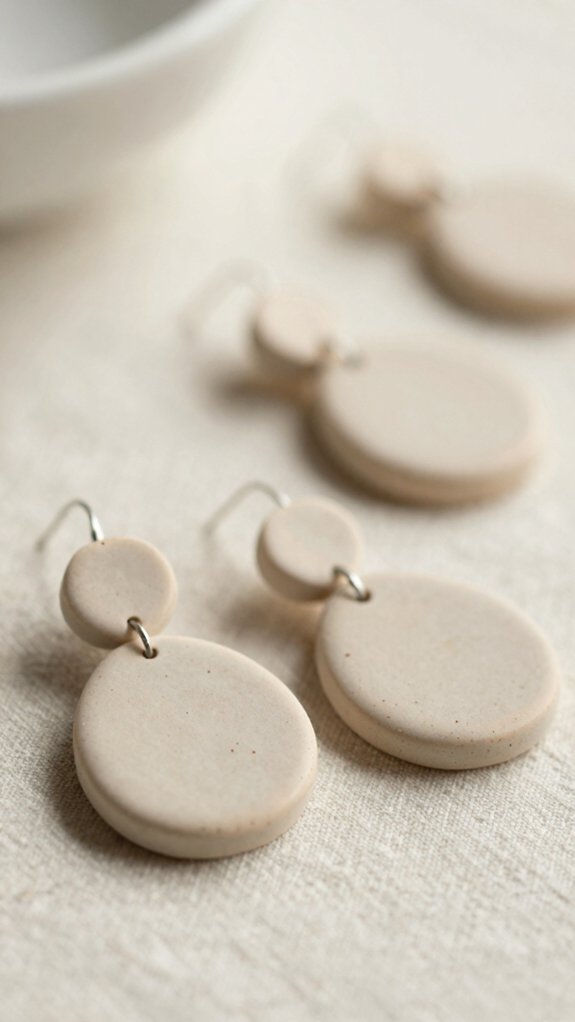
Clay earrings are such a fun beginner win, because you can turn a little lump of polymer clay into teardrops, disks, or tiny domes with just a few basic tools and a big imagination! You’ll fit right in with this friendly craft, and your first pair can make entirely new jewelry pieces without much stress.
| Step | What you do | Result |
|---|---|---|
| 1 | Shape clay | Cute forms |
| 2 | Press texture | Tiny detail |
| 3 | Bake, sand, seal | Smooth finish |
| 4 | Add hooks | Ready to wear |
Bake by package directions, then sand rough spots. Finish with varnish, and attach hooks for a polished, wearable win!
Resin Necklaces
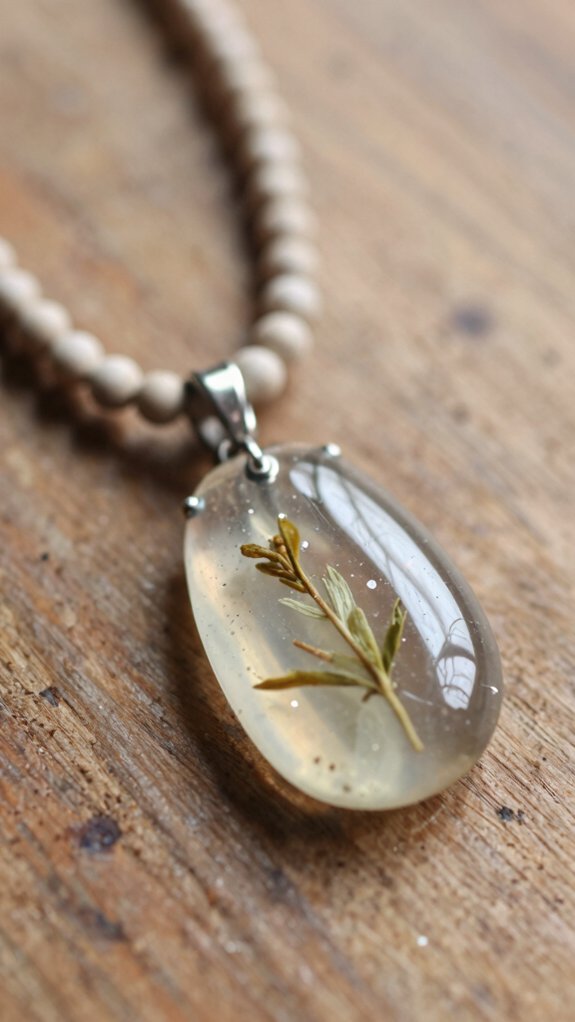
With resin necklaces, you can turn a tiny mold into a glossy little treasure that looks way fancier than the effort it takes!
You start with resin safety, then do mold preparation so every heart, geode, or cameo comes out smooth.
Mix your small epoxy kit by volume, stir well, and add pigment, glitter, dried flowers, or tiny stones for a look that feels like yours.
Pour carefully, top with a clear coat, and watch the magic build!
Keep an eye on cure timing, because full curing stops tackiness and warping.
Add a chain, and boom, you’ve got wearable sparkle!
Macramé Bracelets
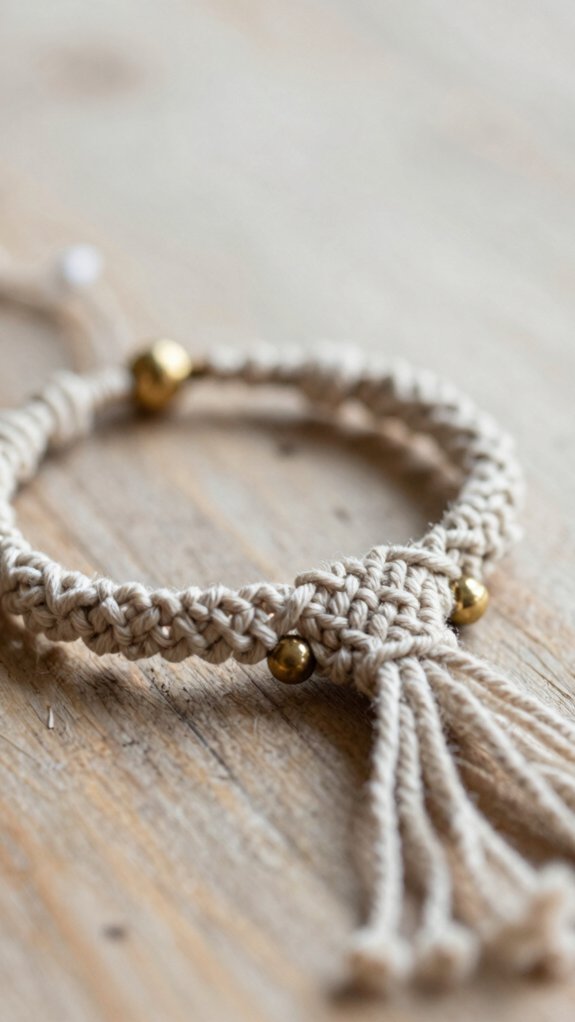
If resin necklaces gave you that “wow, I made this?!” feeling, macramé bracelets bring the same happy buzz, just with cord, knots, and a lot less waiting around! You can join the club fast, because these bracelets are beginner-friendly, low-cost, and fun to wear every day.
Start with Cord selection, like cotton or waxed cord that keeps tension steady. Learn knot basics, then try beginner patterns such as square knots or half-hitch braids.
In under 30 minutes, you can build a neat, adjustable bracelet, trim the ends, and seal them. Swap colors or add beads for a look that feels totally yours!
Pearl Hoop Earrings
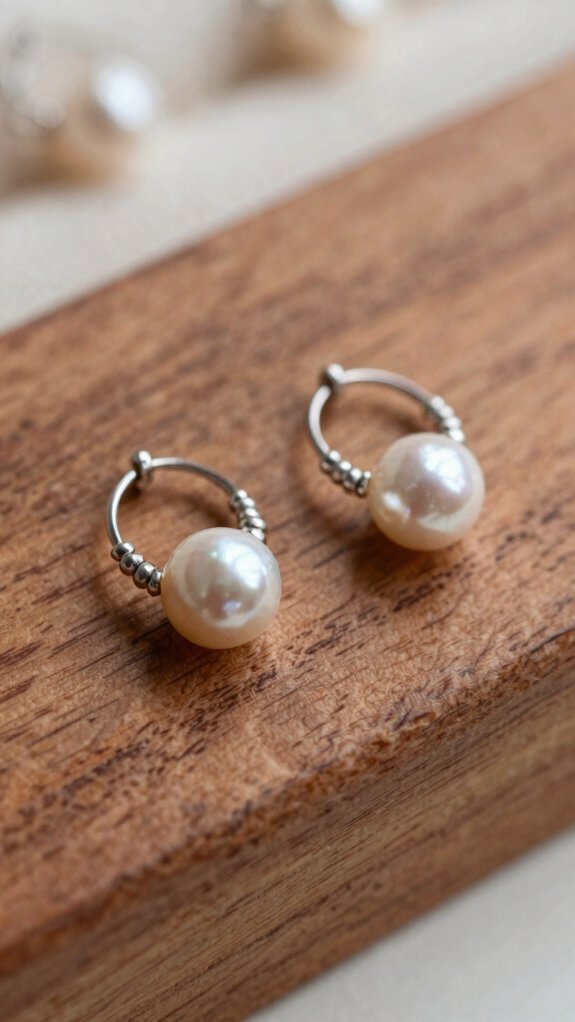
Pearl hoop earrings are a chic little project that feels fancier than it really is, and that’s part of the fun! You’ll grab pliers, cutters, wire, and pearls, then start with simple wire hoop shaping.
Next, follow pearl spacing tips as you thread each bead, keeping the line even so your earrings look polished, not lumpy.
It’s quick, beginner-friendly, and won’t empty your wallet.
Here’s the sneaky best part: earring finishing care matters most. Tuck in the ends well, and your hoops won’t snag hair or clothes.
With a tutorial, you’ll finish a pretty pair you can wear anywhere!
Pressed Flower Charms
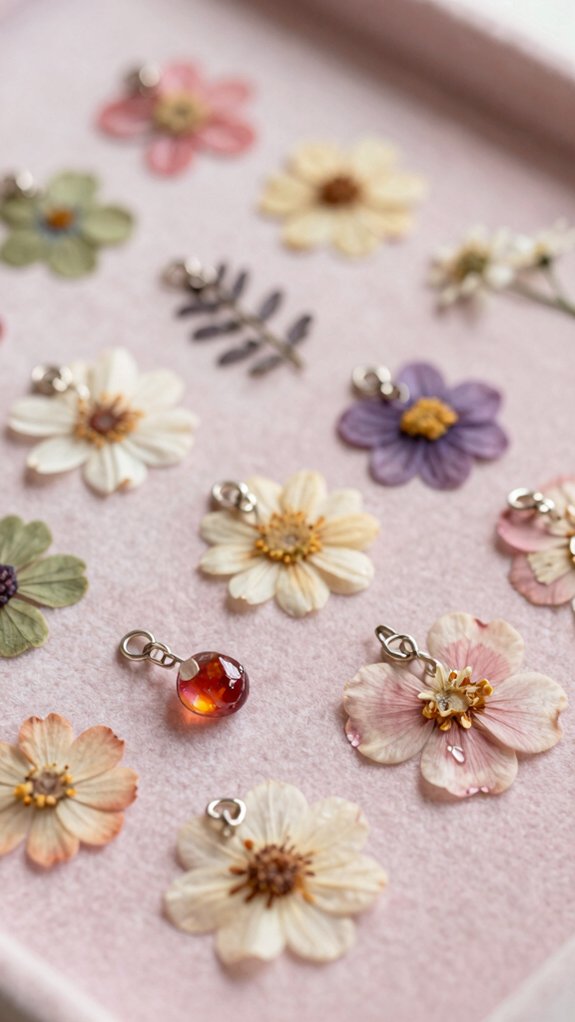
Tiny blooms can turn into lovely little keepsakes, and pressed flower charms make that magic feel easy! You’ll love these Colorful starter methods for a project that feels friendly, affordable, and oh-so pretty.
- Pick tiny blooms for clear details.
- Press them until fully dry and flat.
- Seal them with clear resin or glaze, following Sealing safety basics.
- Add a jump ring or charm connector, then wear your flower win!
Use Flower selection tips like daisies, pansies, or baby’s breath, and don’t worry, this isn’t hard. You’ll get a crisp charm that looks handmade in the best way, like you belong in the craft club!
Layered Charm Necklaces
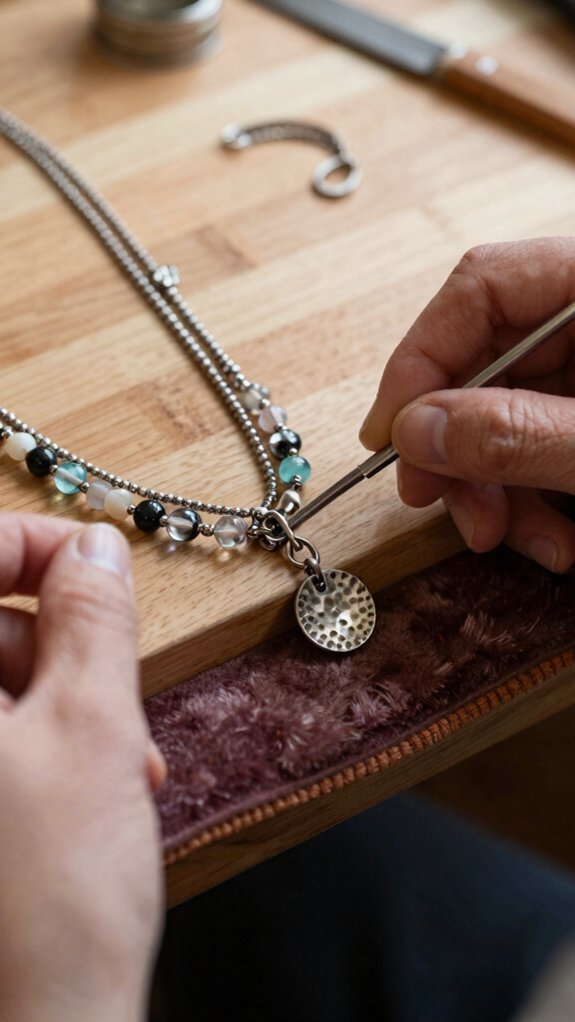
Pressed flowers bring a sweet, handmade feel, and layered charm necklaces keep that pretty vibe going in a way you can actually wear every day!
You’ll need slim pre-made chains, a few themed charms, and jump rings basics, so this project stays easy and cheap, usually under 30 minutes.
Try charm placement with initials, hearts, or tiny crystals, then space each one so it shines.
Use chain length styling with a choker, mid-length, and longer strand to stop tangles and flatter your neckline.
Want extra wow? Make one hero charm bold, and let the others play backup—cute squad energy!
Beaded Rings
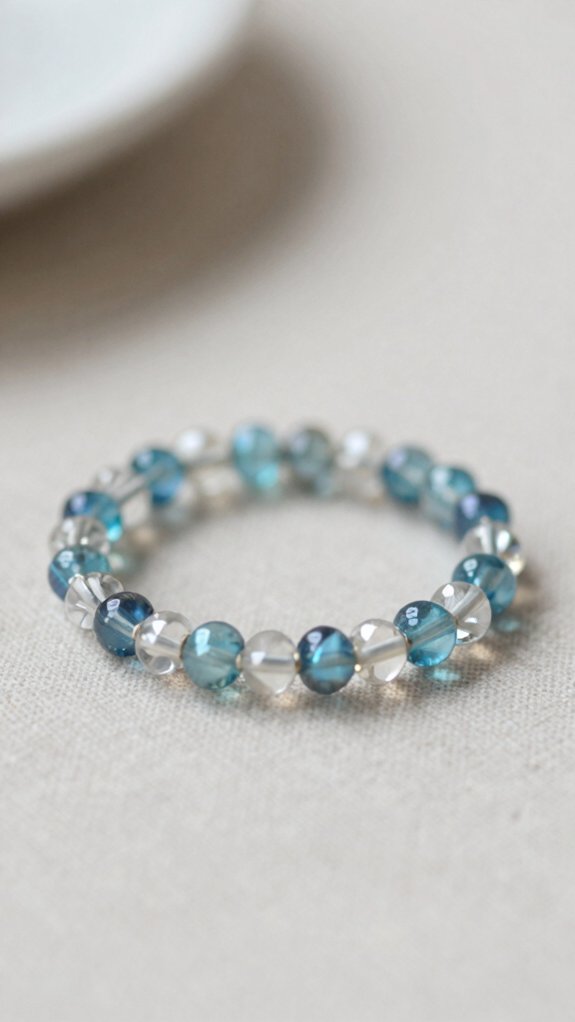
Beaded rings are such a fun little win, because you can make them with just a few simple supplies and still end up with something that looks store-bought!
Start on a ring mandrel, or grab a marker if that’s what you’ve got. Try these beginner steps:
- Pick wire selection that feels sturdy.
- Thread tiny beads for a dainty stack.
- Test the fit before bead finishing.
- Trim, secure, and smile!
You’ll learn fast, and your hands’ll feel like part of the club.
With pliers and cutters, you can make cute rings for almost nothing, and the best part? They’re comfy enough to wear all day.
Leather Cord Bracelets
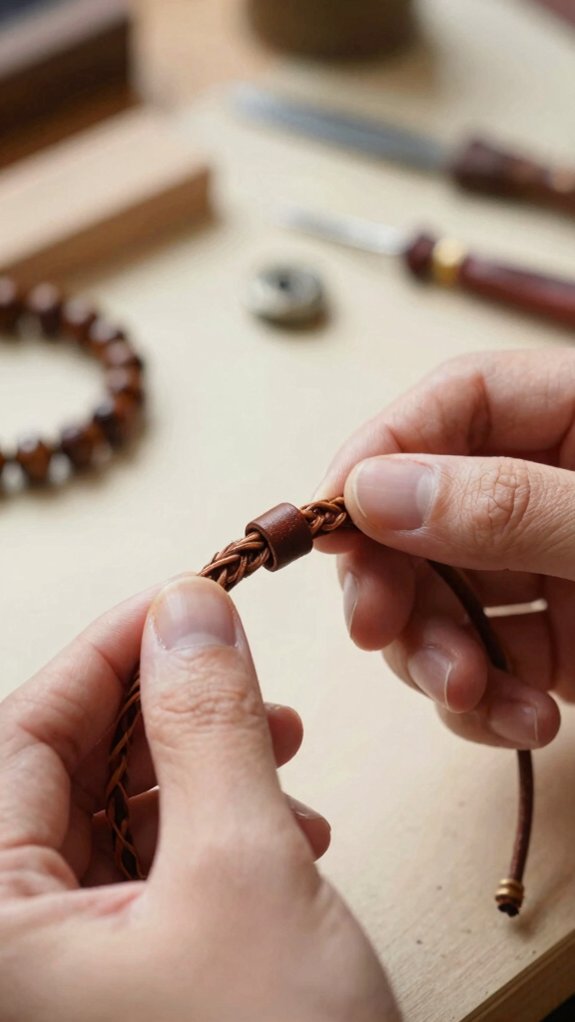
If beaded rings gave you a quick confidence boost, leather cord bracelets are your next easy win! You can make one fast, with no stylish tools—just cord, beads, and a friendly knot tutorial.
| Tip | Why it helps |
|---|---|
| Pick matching cord | Stops slipping |
| Try clasp alternatives | Fits daily wear |
| Use leather dye | Adds style |
| Trim ends neatly | Feels comfy |
Start with soft leather cord, then add lightweight charms or beads. Slide in adjustable knots, so it fits lots of wrists. Finish by securing the ends. You’ll get a polished bracelet in under 30 minutes—pretty cool, right?
Tassel Earrings
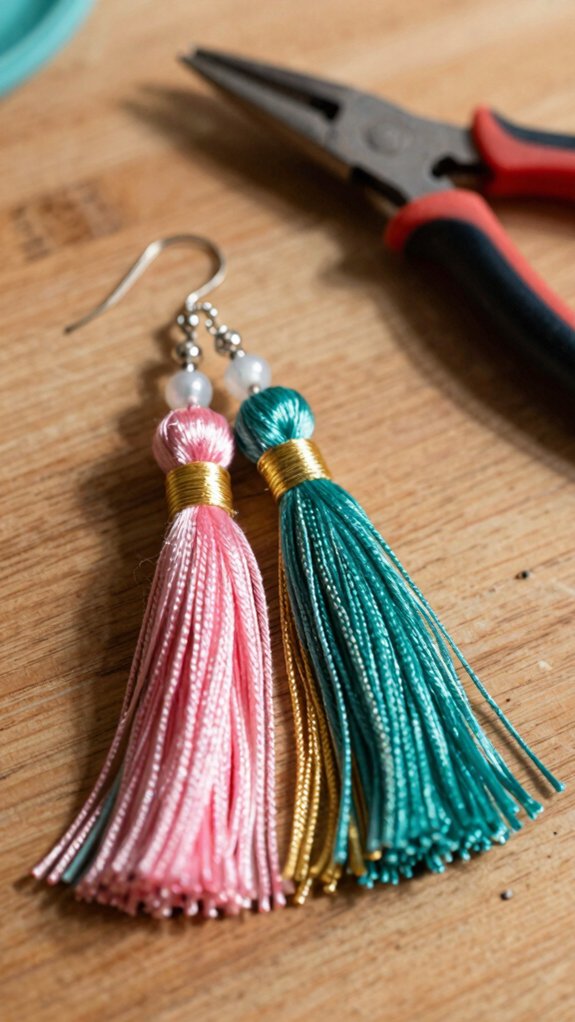
Boho tassel earrings are such a fun way to shake up a plain hoop, and honestly, they bring instant “next vacation” energy without a big craft headache! You can fit right in with this easy project, even if you’re brand-new.
- Grab your beginner tool checklist: thread, scissors, hooks, and glue.
- Follow a simple tassel video, then trim the ends.
- Attach the tassels to earring hooks, and keep them even.
- Try lightweight styling tips so they stay comfy all day.
With good tassel earring care, your pair stays fluffy, neat, and ready for compliments!
Personalized Anklets
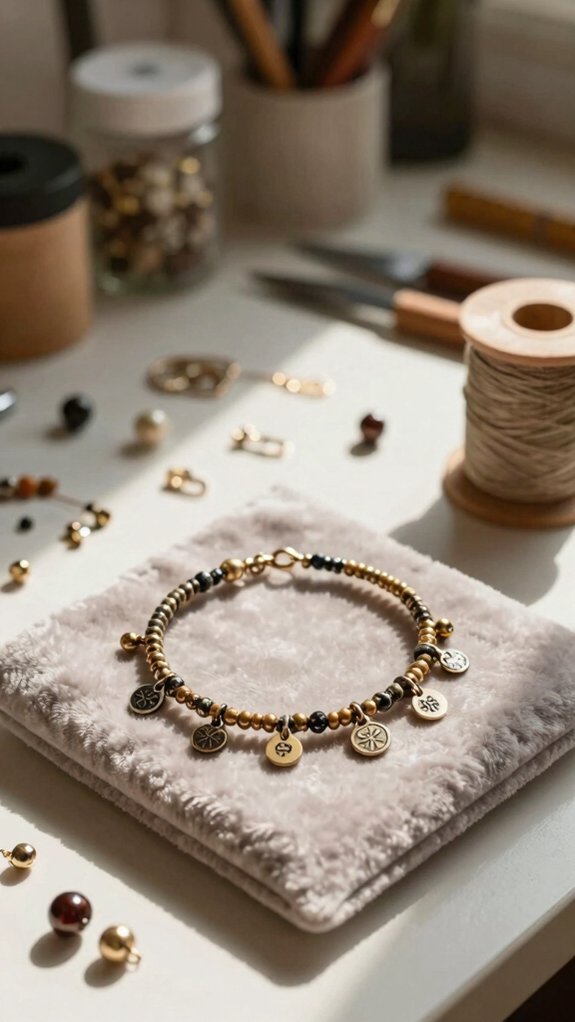
For a quick DIY, grab elastic cord or thin fishing line, plus beads, a charm, and a simple closure like a knot or extender chain.
You can make a cute anklet in minutes, and yes, it feels like secret club jewelry!
Pick bead sizing that fits your style, then thread colors that match your favorite outfit.
Add a tiny heart, star, or letter bead for charm stacking, and finish with elastic closures or a snug knot.
For comfort, keep it flexible and test the fit around your ankle.
Use crimp beads or good findings, and you’ll get a neat, durable look.
Birthstone Gift Jewelry
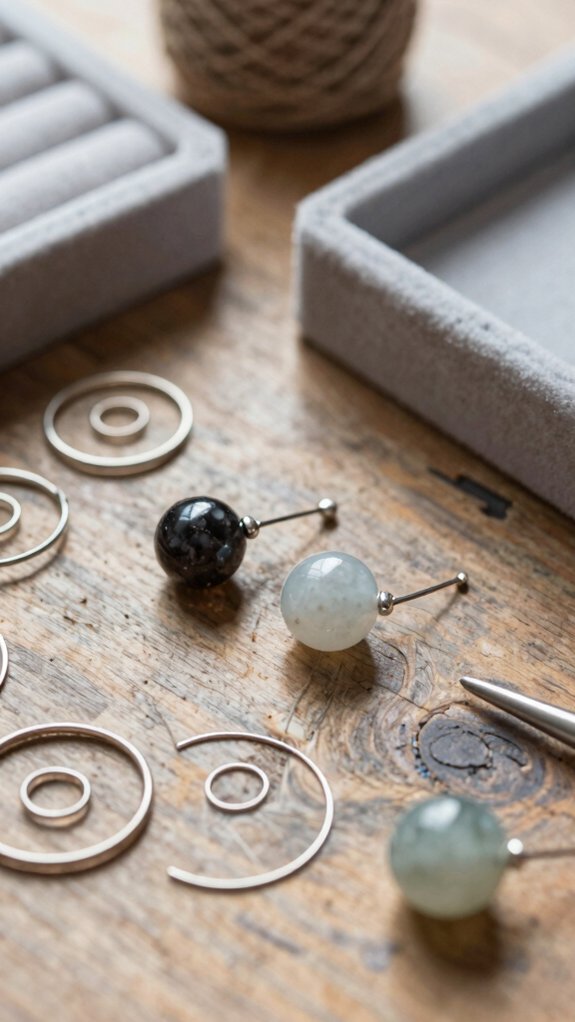
A birthstone gift can feel extra personal, especially when you match the gem color to a DIY project that actually looks store-bought! You can use birthstone colorways, beginner friendly tools, and simple stringing to make a sweet piece that fits their vibe.
Try this:
- Pick a crystal mala necklace for calm, cozy style.
- Make an elastic bracelet for fast, comfy wear.
- Choose wire rings for minimal friends.
- Add proper hooks or posts for durability.
Use gift wrapping tips, and finish in under 30 minutes. Your handmade present says, “You belong here!”


