
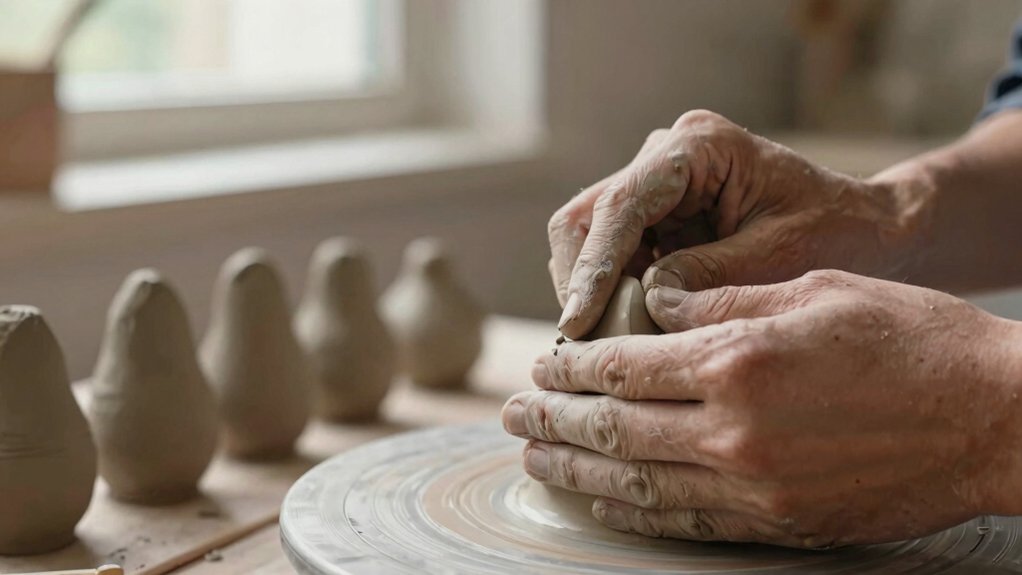

You can build confidence with 14 easy clay ideas like pinch bowls, scalloped trinket dishes, tiny mushroom sculptures, candle holders, botanical wall tiles, incense holders, village houses, and name tags. Use air-dry clay, a sponge, and a toothpick, then shape, texture, dry 24–48 hours, paint, and seal. Want extra polish? Make a matching handmade gift set with one color theme, because nothing says “I planned this” like cute clay that turns out surprisingly gift-ready!
Key Takeaways
- Start with simple beginner projects like pinch bowls, candle holders, incense holders, and name tags.
- Use shape-first methods such as pinch, coil, and spiral building to make clay easier to control.
- Add quick charm with textures like lace, leaves, stamps, sponge marks, or toothpick details.
- Keep pieces small, thick enough to dry evenly, and finished with smooth edges to reduce cracking.
- Dry fully, then sand, paint, and seal for gift-ready results that build confidence fast.
Organic Pinch Bowls
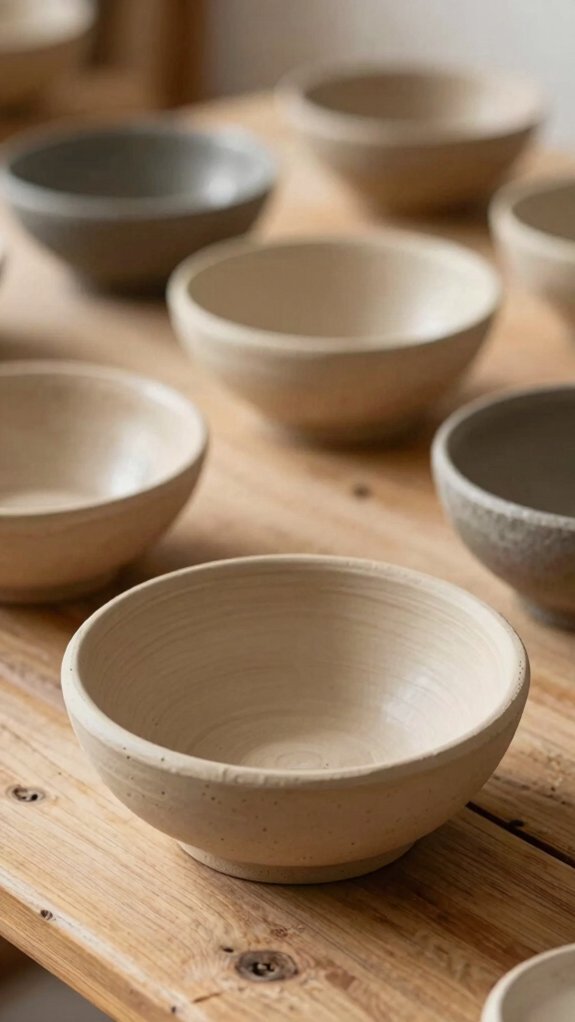
If you want a clay project that feels playful instead of fussy, organic pinch bowls are a perfect place to start! You can shape air-dry clay by flattening a thick disk, then pinching the edges up with your fingers as you slowly rotate it.
Keep the base sturdy, about 1 to 1.5 cm, so your bowl stays steady, and smooth it with a damp sponge.
Try simple clay project ideas like toothpick dots or leaf veins for texture. Let it dry flat, flip it once, and sand lightly if needed.
You’ll get a charming, handmade bowl that feels like yours—yay!
Scalloped Trinket Dishes
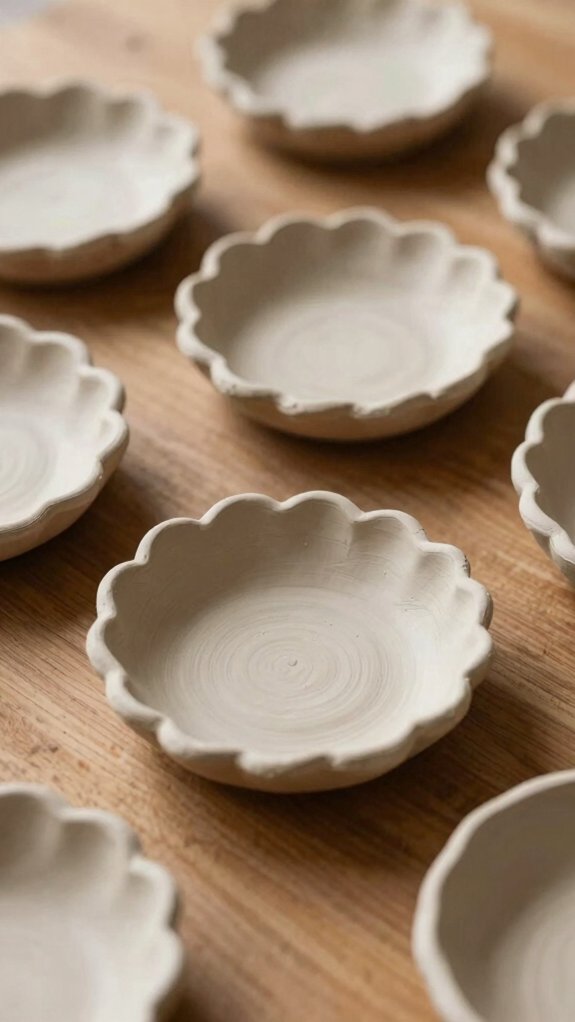
Next up, let’s make scalloped trinket dishes, and honestly, they’re the kind of tiny project that makes you feel way more elegant than you are!
Roll air dry clay into a 1/4-inch slab, cut a circle or oval, and shape the rim.
- Pinch tiny C-shapes around the edge.
- Smooth the top and inside with a damp sponge.
- Let trinket dishes dry flat for 24–48 hours, then sand, paint, and seal.
You’ll get sweet little dishes for rings or studs, and they’re cheap, beginner-friendly, and perfect when you want to belong to the “I made this!” club.
Tiny Mushroom Sculptures
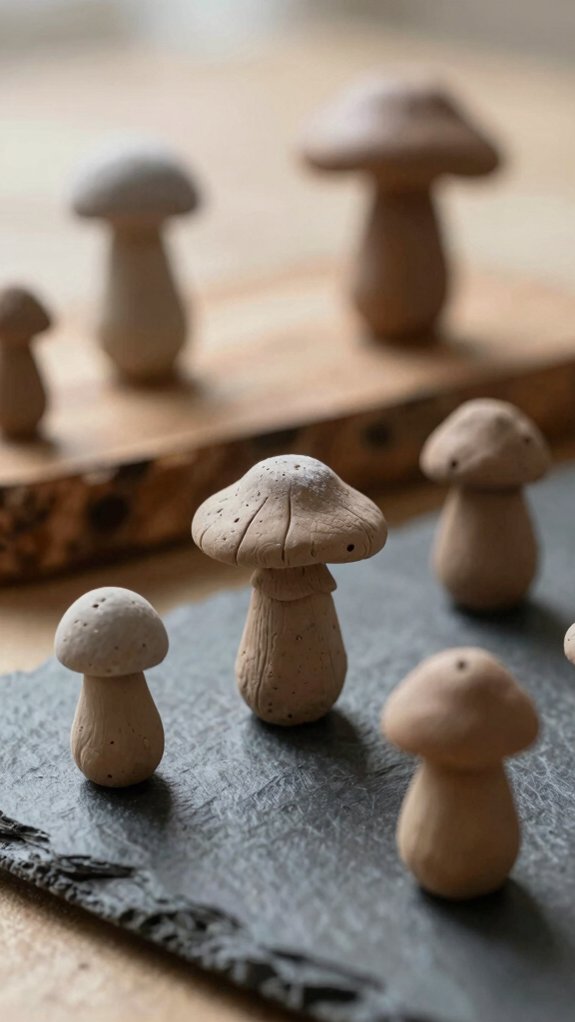
Tiny mushroom sculptures are such a cute little win, and they’re way easier than they look! Using air dry clay, you’ll feel right at home with this one. Start with thumb-sized balls for the cap and stem, then press them together with a little water.
| Step | Tool | Result |
|---|---|---|
| Shape | Fingers | Simple form |
| Texture | Toothpick | Tiny gills |
| Detail | Pinch dots | Unique spots |
Add little ridges, then space each piece out while it dries 24–48 hours. After that, sand rough edges, paint them, and seal them. These Air Dry Clay Ideas really build confidence!
Minimal Candle Holders
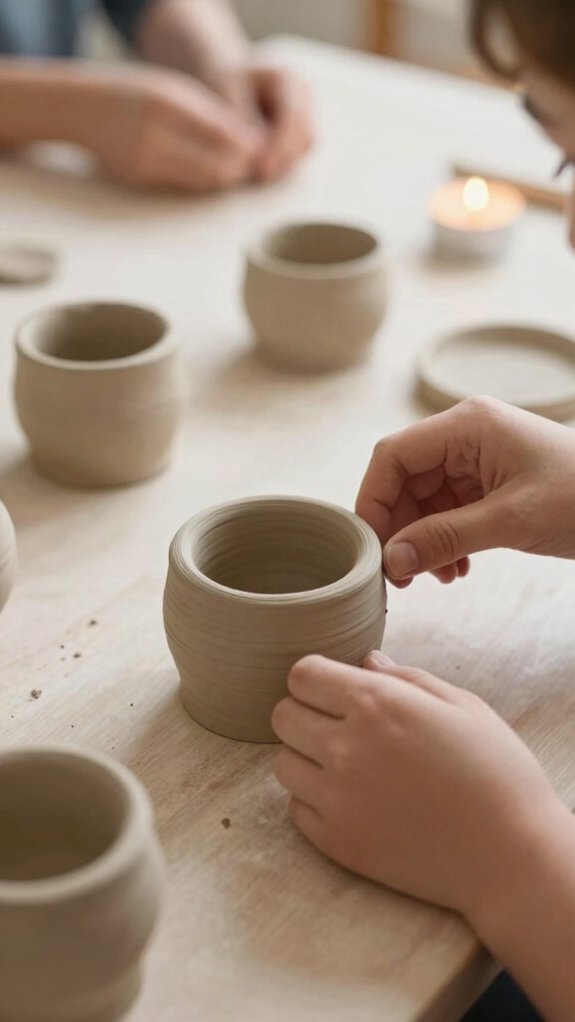
With just a little air dry clay, you can make minimal candle holders that look clean, modern, and way fancier than the effort you put in!
You’ll fit right in making these little beauties, and they’re great as personalized gifts too.
- Shape a small cup, then pinch the base flat and slightly wider.
- Keep walls 1–2 cm thick, so it dries evenly and won’t warp.
- Before it sets, add tiny ridges or dots with a toothpick, then dry 24–48 hours and seal if you want extra shine.
Just use an adult with candles, and don’t rush the drying—your holder’ll thank you!
Botanical Wall Tiles
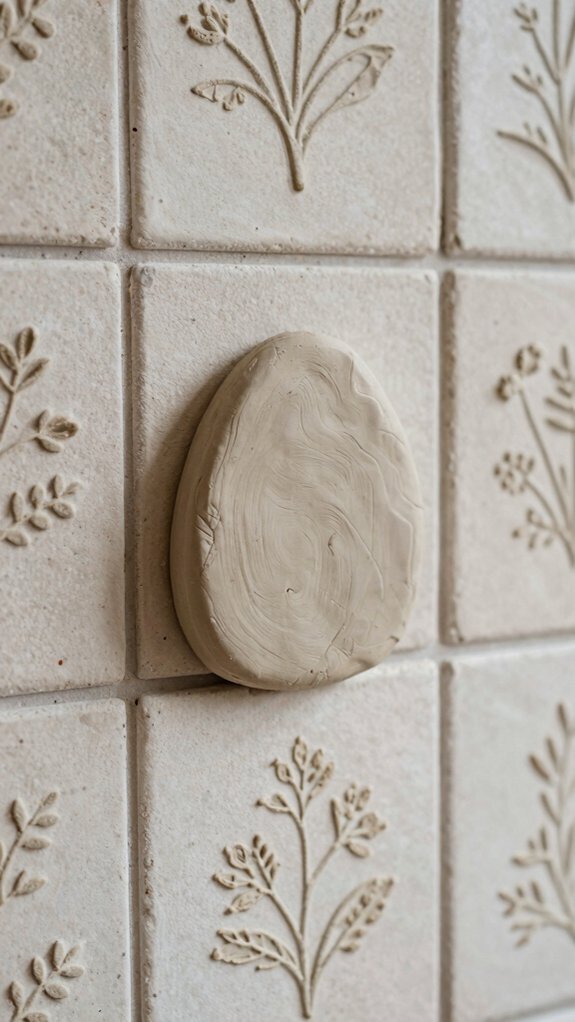
If you’re craving a project that looks artsy without feeling fussy, botanical wall tiles are such a fun win! You can make them from air dry clay, and they’re budget-friendly, too. Roll the clay to 1/4 inch, cut 4×4-inch squares, then press in real leaves, lace, or plant stamps for crisp patterns.
Next, add a few veins with a toothpick, keeping the shapes bold and simple. Let your botanical wall tiles dry flat in airy shade for 24–48 hours.
After that, paint them, seal them, and hang a little garden wall that feels totally yours—minus the muddy shoes!
Ring Cones
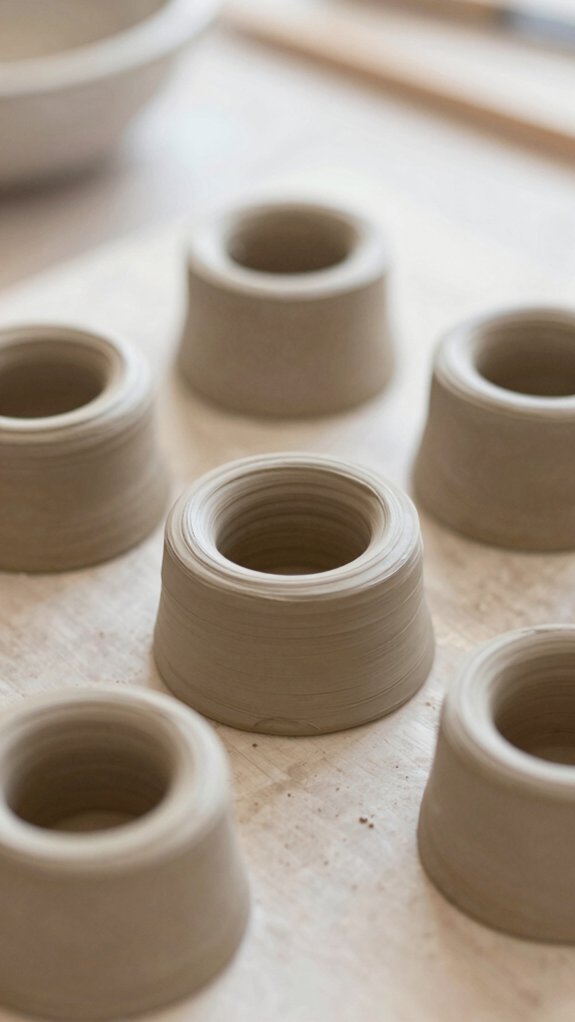
When you want a simple project that still looks super stylish, ring cones are a total beginner win! You roll air dry clay into a long coil, spiral it into a cone, and suddenly your rings have a tiny throne.
- Use wet fingers to pinch and smooth the tip, so it won’t crack.
- Lightly score each ring, then add a thin layer of clay and water paste where the turns meet.
- Let it dry 24–48 hours in a shady, airy spot, rotating it now and then.
After that, paint it, and seal it if you’ll handle it lots.
Mini Succulent Pots
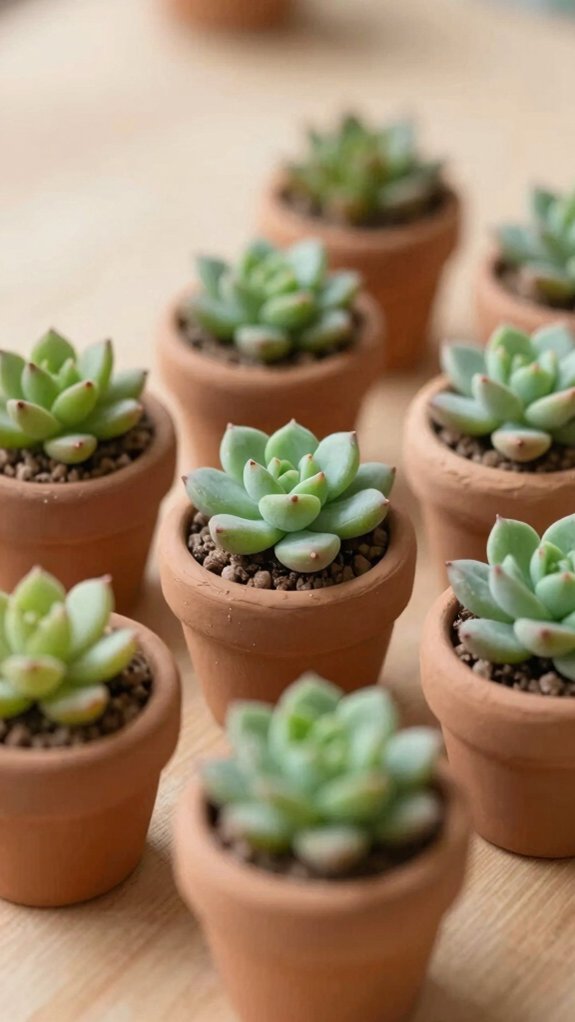
A tiny succulent pot can be your next big confidence boost, because it’s fundamentally a thumb-sized project with major charm! You’ll roll air dry clay into a pinch pot, or build a tiny coil wall, then pinch the sides into a shallow cup.
Add a few drainage holes with a toothpick, smooth the rim with a damp sponge, and let it dry 24–48 hours.
Next, press in leaf textures or carve simple patterns for that desert vibe. Paint it after drying, and seal it if you’ll add a tiny plant insert.
These clay projects feel easy, affordable, and proudly yours—yay!
Leaf-Imprinted Plates
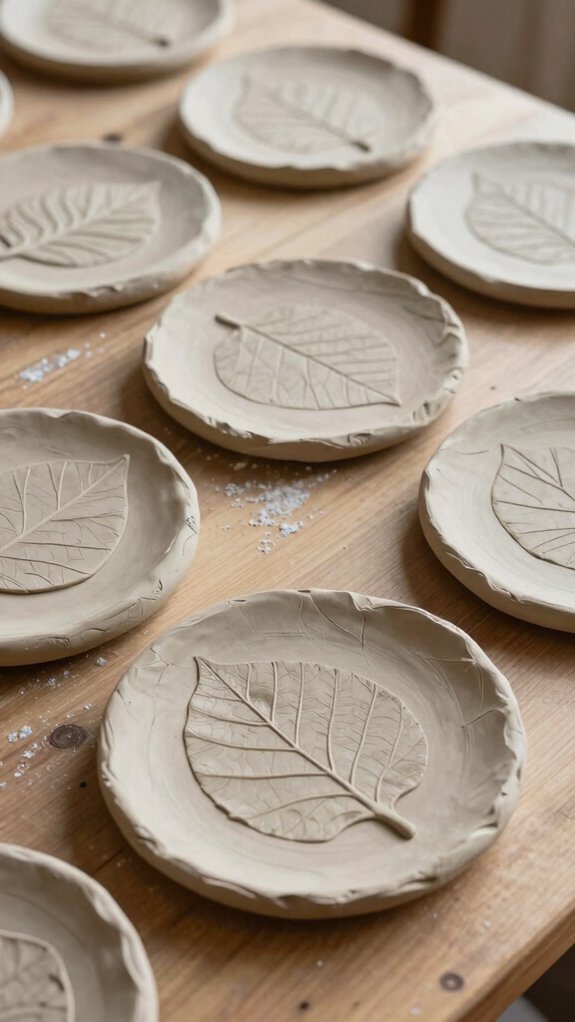
Leaf-imprinted plates are a super pretty way to make clay feel a little magical without making things complicated! With air dry clay, you can join the crafty crew fast.
- Roll a 1/4-inch slab, then cut round plates with a bowl or plate edge.
- Press basil or mint leaves in gently, peel them off, and smooth the rim with a soft brush and water.
- Let them dry 24–48 hours, then paint the veins and edges, and seal if you want.
They’re cheap, easy, and honestly look gallery-worthy. Try one beside a picture frame for cozy charm!
Decorative Magnets
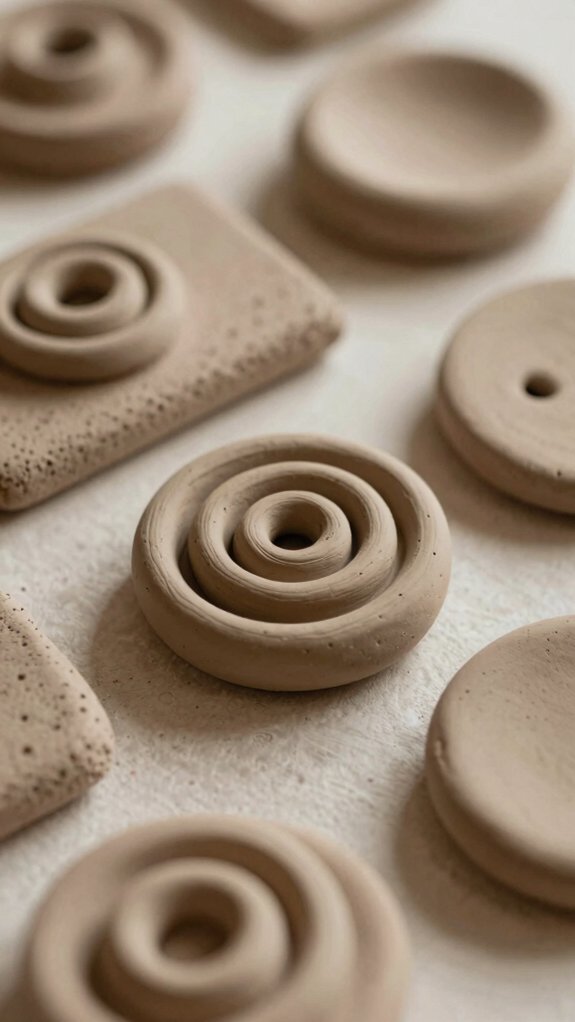
Even better, decorative clay magnets turn tiny scraps of air-dry clay into cheerful little art pieces that stick right on your fridge!
When you use air dry clay, roll simple shapes, press in leaves, lace, or toothpick marks, and let them dry 24–48 hours.
Trim smooth edges with a damp sponge so they sit flat, not wobbly.
Then paint your air dry clay magnets with acrylic or water-based colors, and add a clear top coat for extra hold.
Glue a small magnet backing to the back with clay paste, and you’ve got cute, low-cost gifts that feel like yours!
Hanging Clay Ornaments
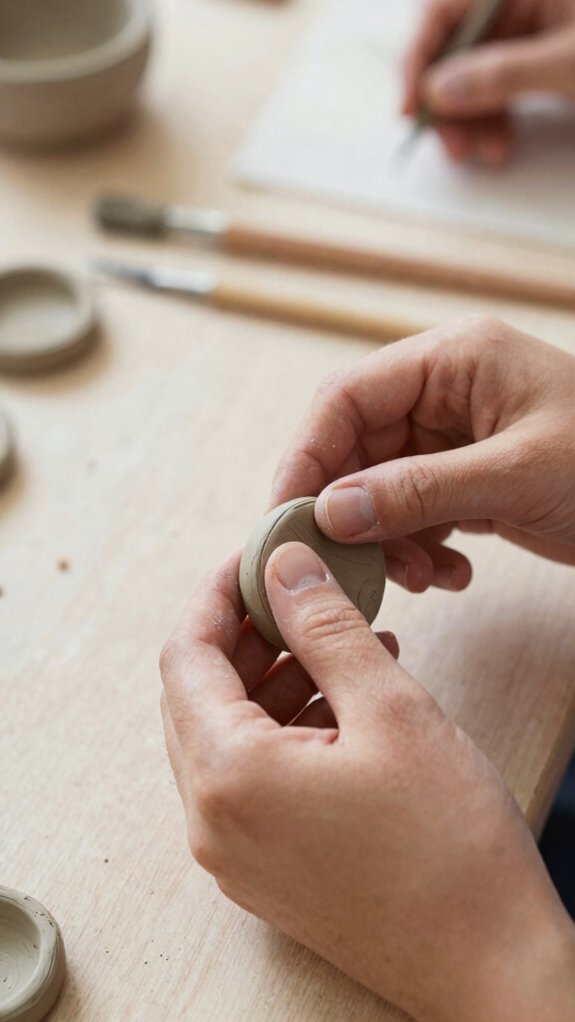
What better way to make your space feel festive than with hanging clay ornaments you made yourself? You can join the fun with air-dry clay, and you don’t need expert skills—just roll, pinch, and smile!
- Cut small slabs or tiny shapes, then smooth edges with a damp sponge for a polished look.
- Press lace, leaves, or a toothpick pattern before they dry, and add a hole with a pencil tip.
- Let them air dry, sand lightly, paint, and seal; if you prefer oven bake clay, follow the package directions.
You’ll end up with sweet, sturdy charms!
Incense Holders
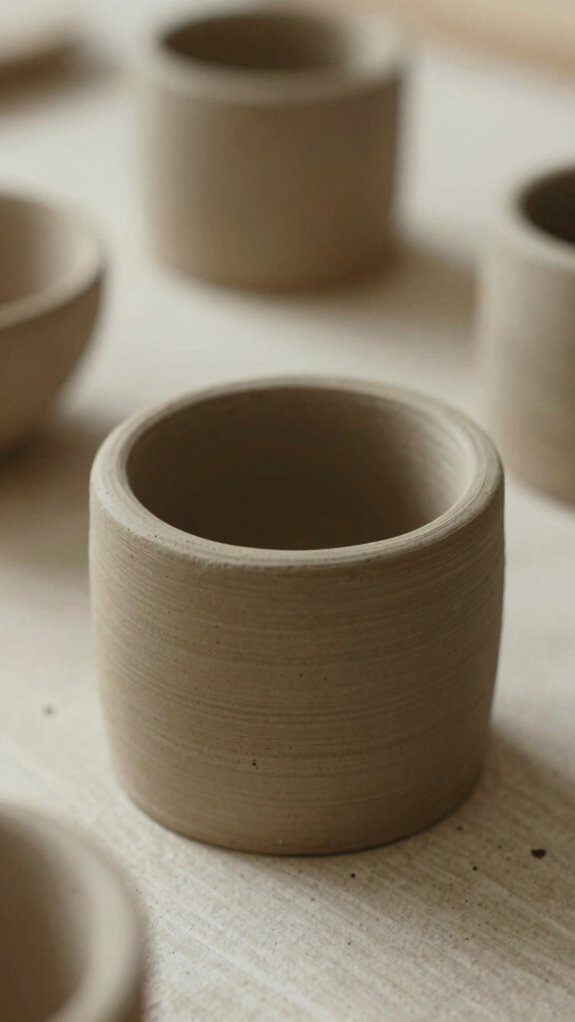
In a pinch, you can make a simple incense holder from air-dry clay, and it’s way easier than it sounds! You’ll fit right in with these cozy incense holders. Roll coils or pinch a base, smooth it with water and a sponge, then carve a straight channel or poke a hole before it dries.
| Step | What to do | Tip |
|---|---|---|
| 1 | Shape air-dry clay | Keep it simple |
| 2 | Add incense channel | Make it straight |
| 3 | Dry 24–48 hours | Avoid sun |
| 4 | Paint and seal | Use clear coat |
| 5 | Finish safely | Keep openings clean |
Your result? Cute, sturdy, low-cost calm!
Tiny Village Houses
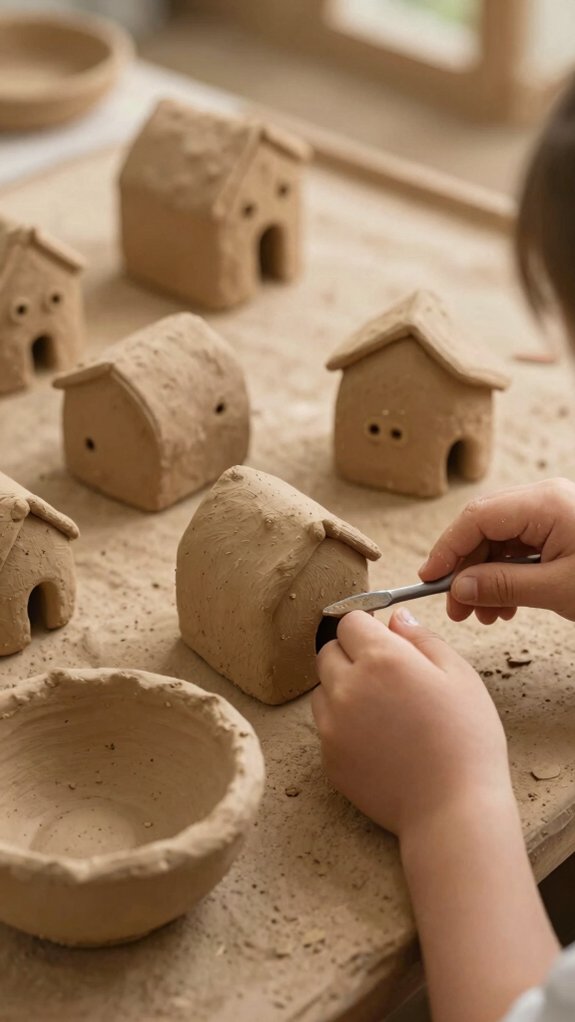
If you want to make a tiny village that feels straight out of a storybook, start with air-dry clay and keep it charmingly simple! You’ll fit right in, and yes, polymer clay works too for sturdier details.
- Roll small balls, pinch them into house shapes, and smooth seams with a damp sponge.
- Press in a doorway and window rectangles, then stamp brick lines or wood grain with cardboard or a toothpick.
- Add a roof, vary house sizes, dry 24–48 hours, then paint and seal.
A little village magic, minus the drama!
Personalized Name Tags
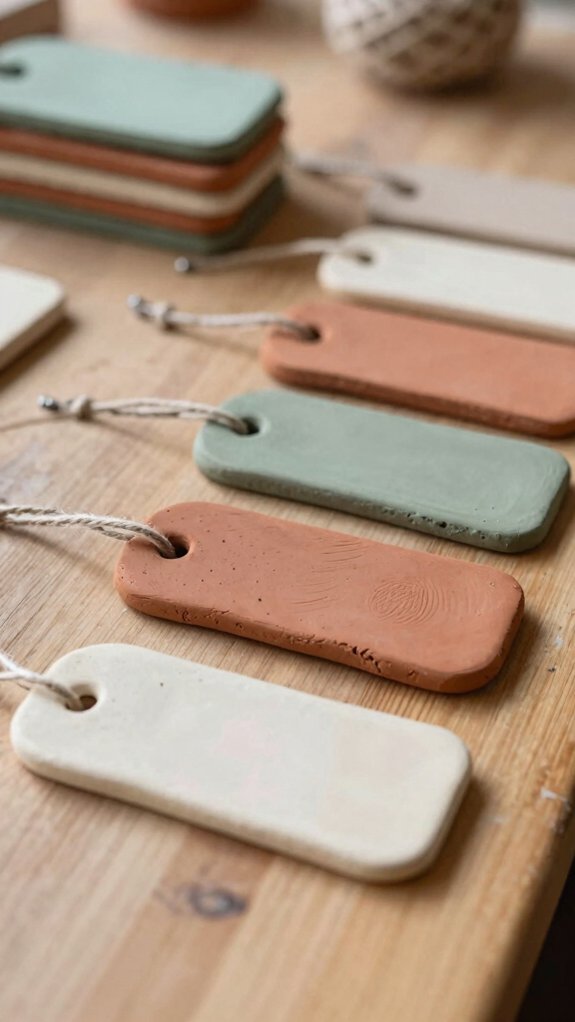
With a tiny slab of air-dry clay and a little imagination, you can make personalized name tags that look cute, feel useful, and don’t demand skilled skills at all!
Roll easy clay flat, cut a 3–5 inch tag, and press your name in with a pencil or skewer, then smooth the edges so it reads unmistakably.
Add stars, hearts, or paw prints for extra charm, because hey, names deserve flair!
Punch a hole before drying, then let your personalized name tags rest 24–48 hours.
Sand, paint, and seal them for a sturdy finish that feels totally yours.
Handmade Gift Sets
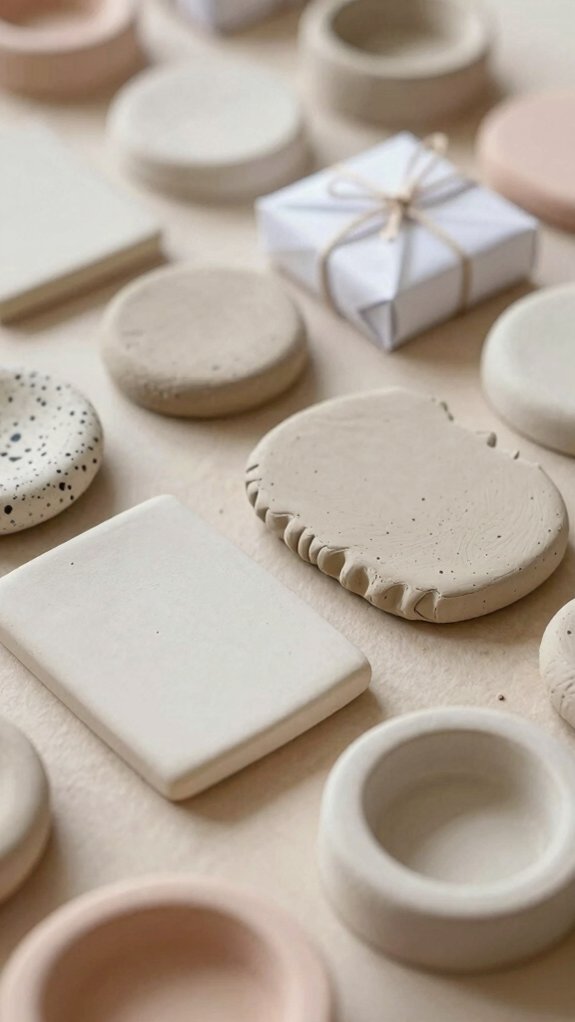
A handmade gift set feels extra special because you’re not just making one cute clay piece, you’re creating a tiny collection that actually goes together! With air-dry clay, your handmade gift sets can feel polished, friendly, and totally doable.
- Make three matching pieces, like a magnet vase, ring holder, and wavy bowl, in one color theme.
- Use a plastic knife, sponge, and water, then add lace, fabric, or stamp textures for instant charm.
- Build everything first, dry 24–48 hours, then paint, seal, and sand any rough spots.
A practical set, like an organizer, stirrer, and candle holder, feels gift-ready fast—yay, you’ve got this!


