
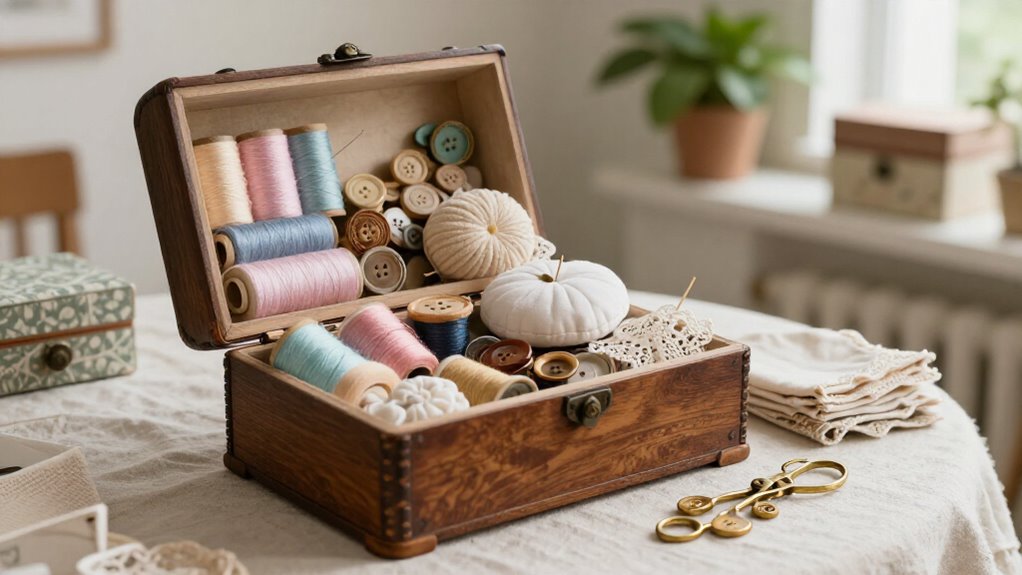

You can turn a thrifted jewelry chest into a charming sewing box with paint, pretty paper, and spool knobs—easy, cheap, and wonderfully imperfect! Try floral decoupage with Mod Podge, a farmhouse white finish, or a linen-lined basket with pockets for tidy notions. Add labels, dividers, or a monogram for instant polish. Best of all, a glass-top box turns colorful thread and buttons into display-worthy decor. Keep going for more clever storage transformations!
Key Takeaways
- Upcycle thrifted jewelry boxes with layered paint, distressed edges, and decorative drawer liners for charming cottage-style sewing storage.
- Add floral decoupage using Mod Podge, smooth carefully with a brayer, and seal with clear lacquer for a durable decorative finish.
- Turn wooden thread spools into inexpensive drawer knobs for handmade character and an instantly more custom look.
- Organize interiors with toile paper, fabric linings, labeled compartments, and spool dividers to keep notions tidy and visible.
- Repurpose suitcases, hatboxes, fabric-covered boxes, or rattan baskets into portable sewing stations that double as beautiful home decor.
Vintage Wooden Sewing Chest
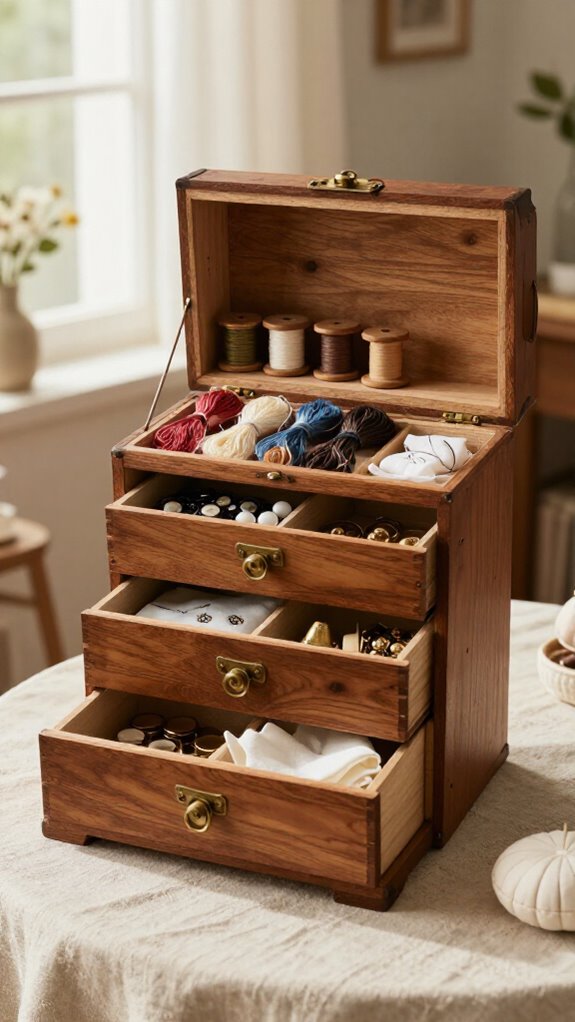
A beat-up wooden jewelry box can become a charming vintage sewing chest with just a little paint, patience, and thrift-store luck! Grab a $3 find, remove its pulls, scrape out the old lining, then fill, sand, and wipe the holes.
Dust on flat black, add pink chalk paint, then finish with black again. Gently sand edges for that shared, well-loved look—no perfection required!
For thread storage and needle organization, line the drawer with decorative paper and Mod Podge. Here’s the clever finish: saw wooden thread spools in half, glue them on as knobs with E6000, then seal everything with spray lacquer.
Floral Decoupage Sewing Box
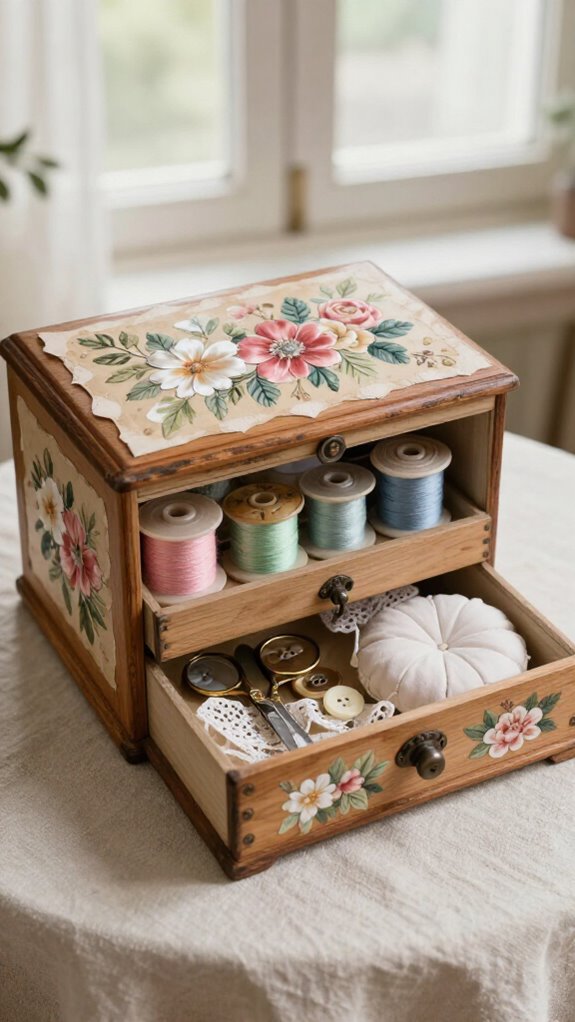
Turn a plain wood or MDF sewing box into a blooming little treasure with floral decoupage—it’s an easy weekend DIY that looks far fancier than it costs!
Grab Mod Podge, floral paper or napkins, a brayer, and clear spray.
Brush on a thin, even glue coat, then lay slightly oversized flowers flat, smoothing corners before bubbles crash the party.
Let it dry, trim edges neatly, and add smooth topcoats so the design survives daily crafting.
Keep interior drawers plain or lined for tidy notions.
For floral decoupage longevity, lightly sand rough spots after drying.
The finishing flourish? Sealing for durability with clear lacquer gives your box a polished, share-worthy glow!
Cottagecore Sewing Box
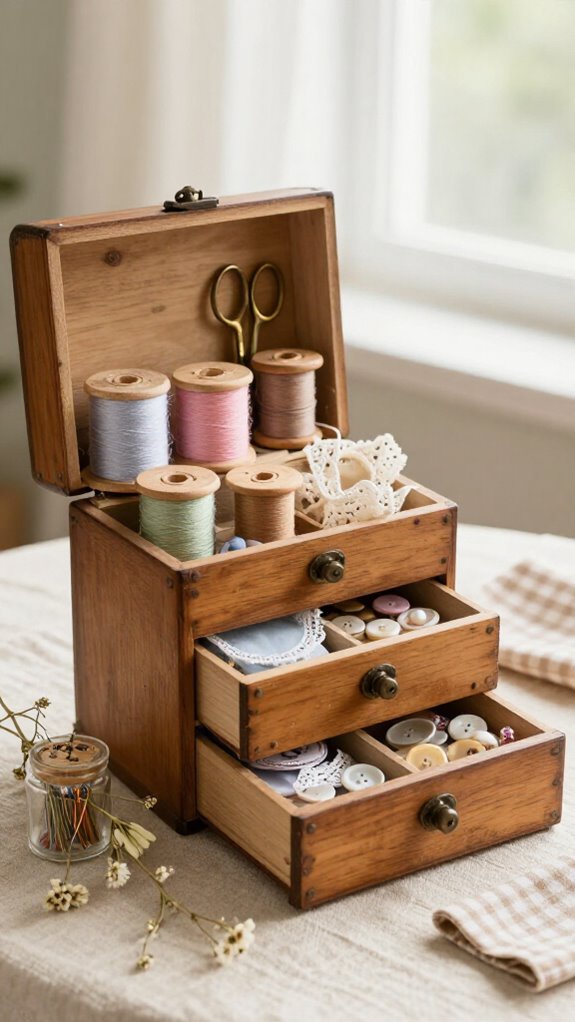
Rescue that ugly, beat-up thrifted jewelry box and give it a cozy cottagecore second life! For a few dollars, you’ll create a little treasure that feels right at home with your crafty crowd.
Spackle old pull holes, then mist black, add a chalky pink wash, and finish with flat black. Sand edges lightly to reveal rosy wear, then seal with spray lacquer.
Next, add black toile fabric lining with Mod Podge; let it dry 20 minutes before the top coat.
Here’s the charming surprise: cut wooden thread spools in half and glue them on as handmade hardware. Your drawers gain easy-grip knobs—and serious storybook personality!
Farmhouse White Sewing Chest
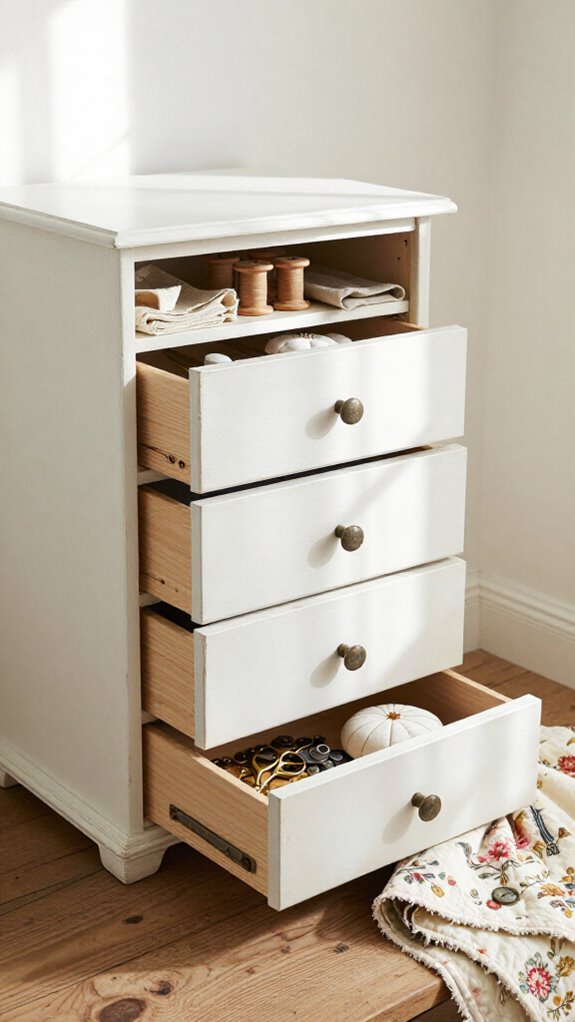
Give an old wooden sewing box a fresh farmhouse glow with flat white paint, softly sanded corners, and just enough “chippy” wear to look lovingly aged—not like it lost a fight with the garage! Clean, prep, paint, sand lightly, then add clear sealer for everyday durability.
You’ll create a welcoming spot for organizing notions: line the top drawer with fabric or pretty paper, add labels, and tuck in pins, needles, and scissors. Easy, affordable, and charming!
For thread storage, use spool-friendly dividers in the lift-top tray so bobbins won’t wander. Finish with antique-style knobs or painted metal pulls.
Suddenly, your sewing supplies look right at home with the family decor!
Painted Botanical Sewing Box
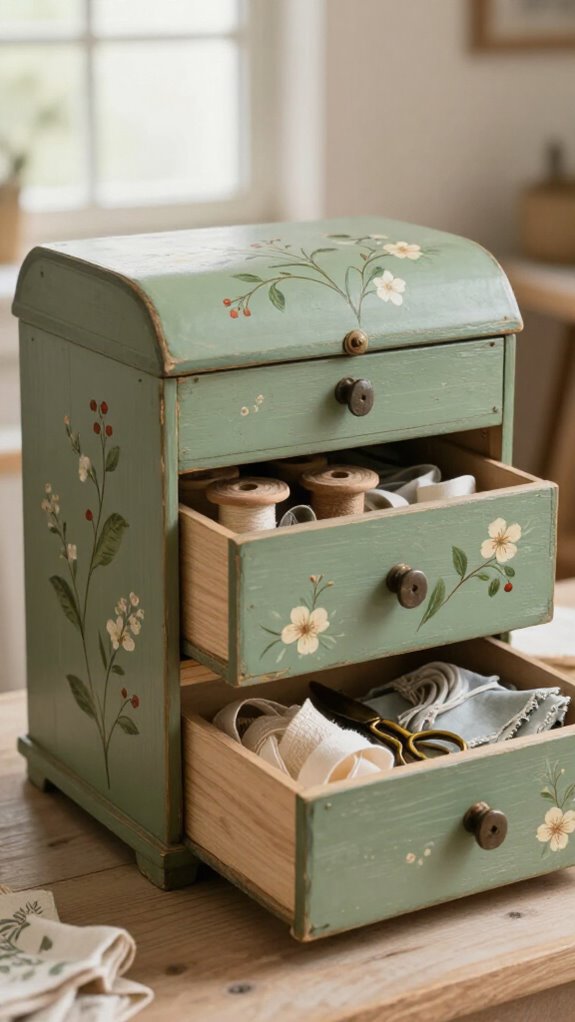
A painted botanical sewing box brings a little garden charm to your craft corner, and you don’t need skilled art skills to make it happen!
- Start with a sturdy wooden box, remove hardware and felt, spackle holes, then sand smooth.
- Layer botanical colorways: mist black, add chalky paint, and dust black again for depth.
- Sketch simple flowers, paint stems and veins with tiny brushes, then add stenciled leaf borders.
Dry-brush the edges for a soft, worn look—no museum skills required!
Finish with spray lacquer so your shared creative space stays pretty and practical for everyday stitching.
Antique Suitcase Sewing Kit
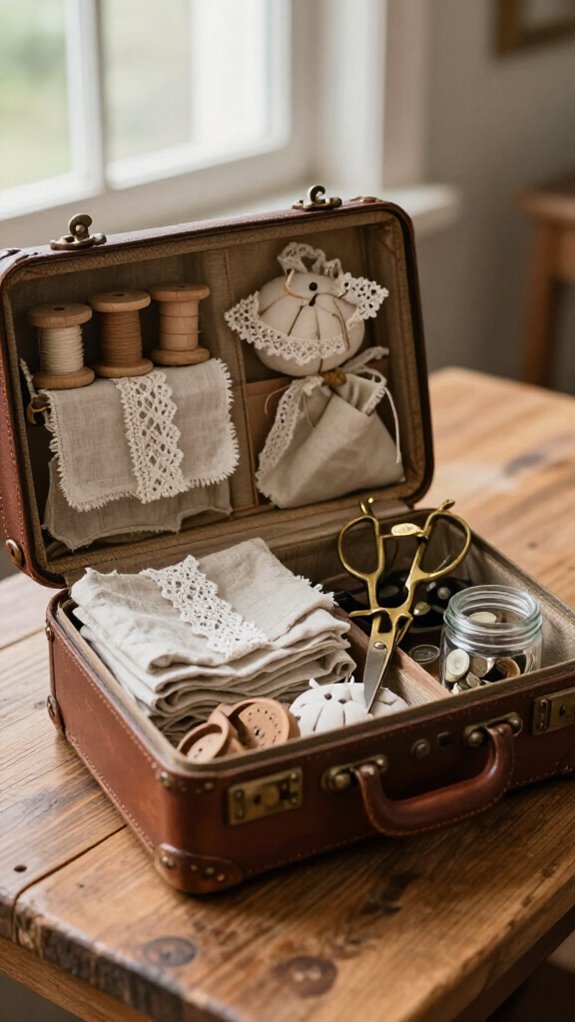
Turn a thrifted antique suitcase into a charming sewing kit, and you’ll have portable storage that looks far more exciting than a plastic tote—sorry, plastic tote!
Line it with toile fabric and Mod Podge, then sand and seal it. You’ll feel right at home crafting with friends!
| Area | Add | Benefit |
|---|---|---|
| Lid | Pin cushion | Handy workspace |
| Base | Labeled bins | Sorted notions |
| Pockets | Thread spools | Easy access |
Try vintage suitcase labeling for needles and scissors. Finally, repurpose hatbox hardware as pull handles—such a clever, easy upgrade!
Vintage Hatbox Sewing Storage
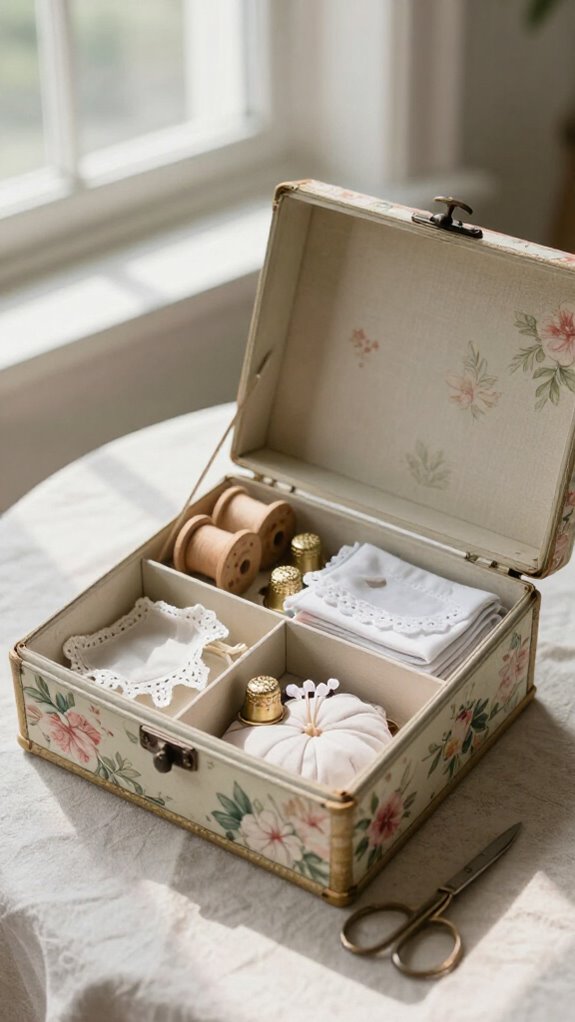
Vintage hatboxes make wonderfully sneaky sewing storage—they look like pretty room decor, yet they can hold a full stash of needles, thread, scissors, and tiny notions!
- Clean the exterior, remove old hardware, fill holes with spackle, then sand gently.
- Dust on flat-black spray paint and chalk finish for antique charm; seal it with clear lacquer.
- Add a fabric lining with Mod Podge, plus small inserts to stop supplies from wandering off!
Choose toile or black-and-white patterns so your box feels at home with your decor. For a sweet finishing touch, try monogram placement on the lid.
Glue cut thread spools inside as tiny knobs—surprise storage, no ornate skills required!
Fabric-Covered Sewing Box
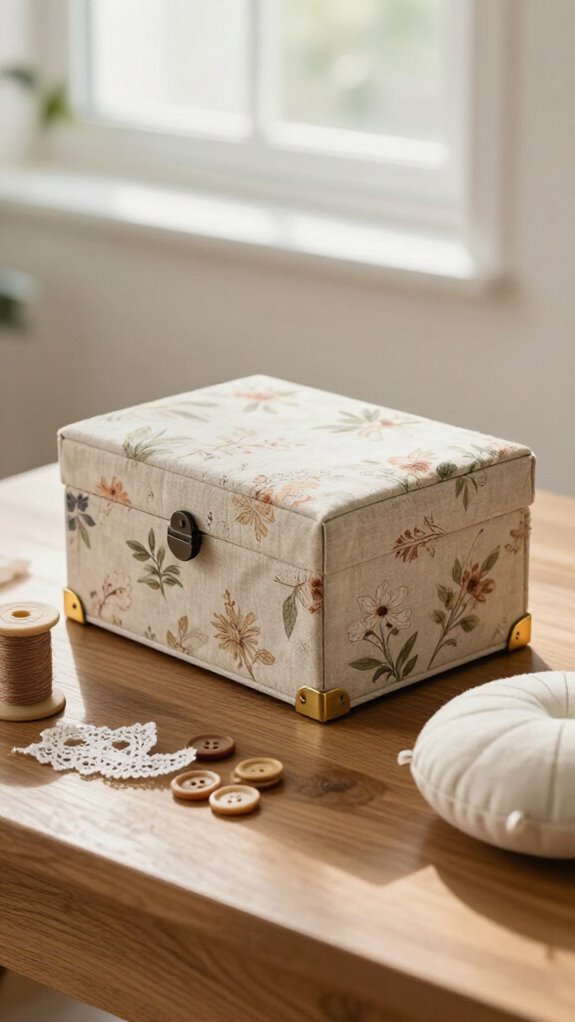
Because a plain cardboard box costs next to nothing, you can transform one into a cheerful fabric-covered sewing box that looks far pricier—no elaborate upholstery skills required!
Choose lightweight woven cotton, then spray adhesive, smooth bubbles, and fold fabric inside the 8½-by-9-by-16-inch box. Clip corners, trim edges, and tuck seams neatly.
| Quick step | Friendly result |
|---|---|
| Wrap exterior | Texture and contrast |
| Upholster lid | Polished inside |
| Add ric rac | Instant charm |
Finish with a chalkboard tag—one of those storage labeling tips your craft circle will love! It’s budget-friendly, beginner-easy, and looks wonderfully custom.
Rattan Sewing Basket
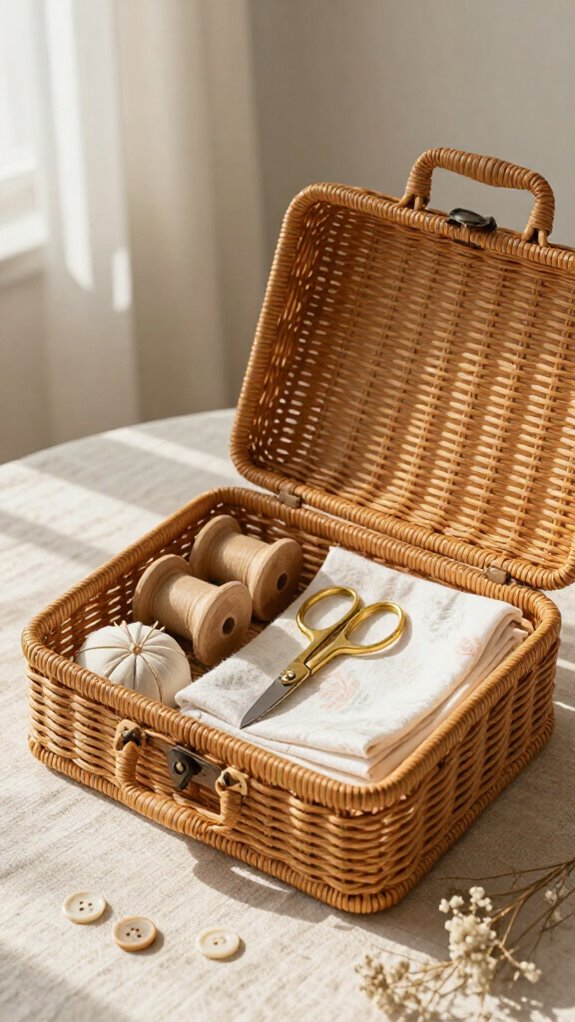
A rattan sewing basket brings instant warmth to your craft corner, and its natural handles make it wonderfully easy to grab when inspiration strikes!
- Choose a sturdy, tight-weave basket so spools and pins stay put—no runaway needle drama!
- Add washable cotton or canvas inside. Organizing Notions feels effortless when pockets hold needles, thimbles, and scissors, while Lining Dividers create tidy little homes.
- Pick neutral fabric or black toile for a polished, shared-maker-space look. Then add a removable lid or fitted cover to block dust.
Upcycling one? Clean it, apply a light clear coat, and enjoy a snag-resistant basket that looks beautifully intentional on open shelves.
Linen-Lined Sewing Chest
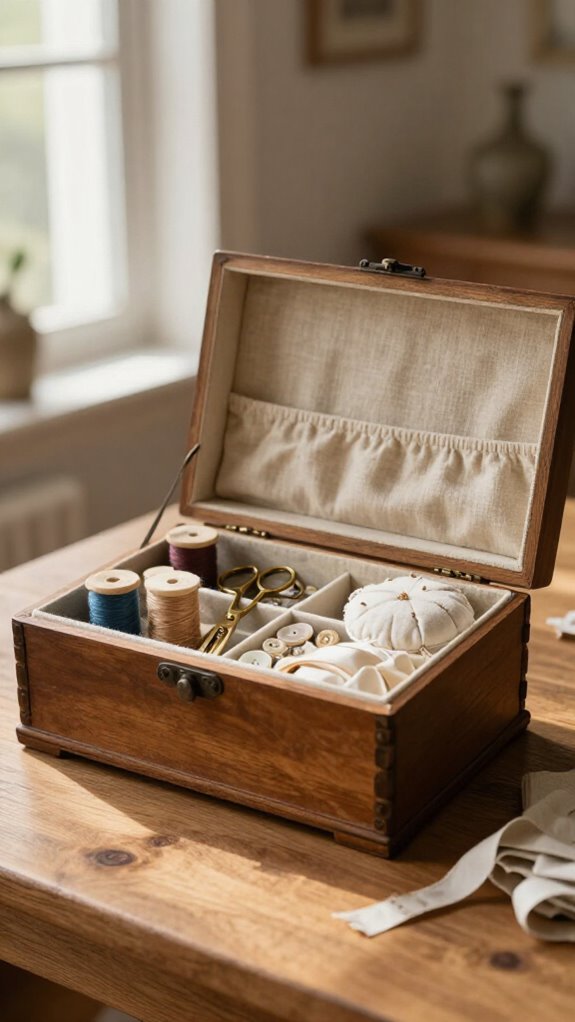
Turn an ordinary wood or fabric-covered chest into a soft, polished sewing station with a simple linen lining—such a small upgrade, yet it feels wonderfully elegant! Cut linen for each interior section, then use fabric-safe glue or Mod Podge to secure smooth, bubble-free edges.
Add compartment dividers first, stapling or gluing them firmly before covering each panel in linen. Your scissors and notions won’t slide around like they’re late for a meeting!
For thread organizing, tuck fitted welt or zip pockets along the sides. Wrap fabric over inner edges and anchor it behind the lid, hiding raw cuts for a finish that makes your sewing circle proud.
Color-Coordinated Sewing Box
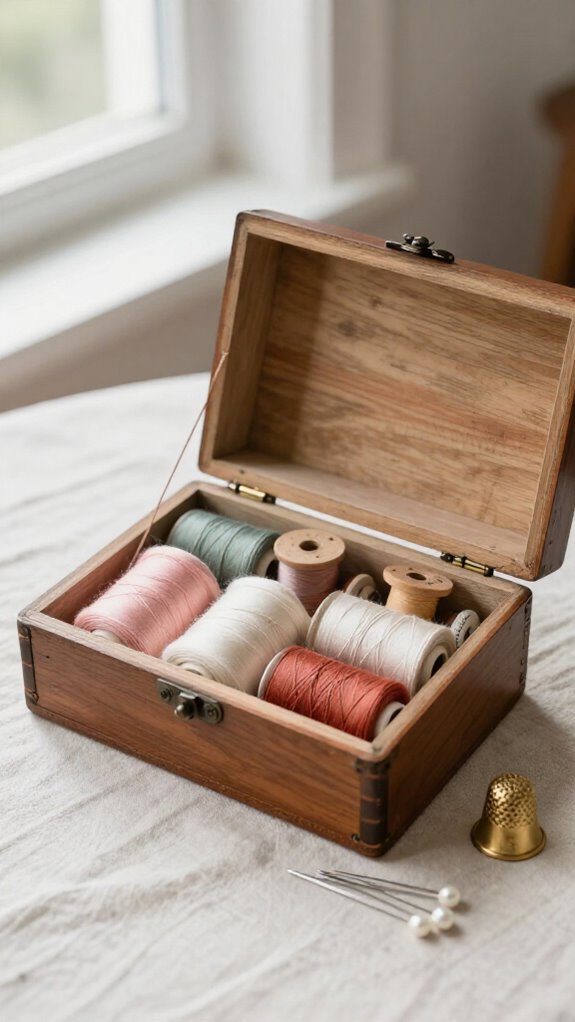
Give your sewing box a color story, and even a thrift-store find can look charmingly planned instead of “whatever paint was in the garage”! You’ll create a look that feels right at home with your favorite craft corner.
- Start with Layered paint: dust on flat black, brush in chalky pink, then mist black again. Easy and budget-friendly!
- Add vintage black toile drawer paper inside compartments, so every spool and button looks intentionally tucked in.
- Finish with matching spool-half knobs, then lightly sand edges to reveal pink peeking through. Seal it with clear lacquer, and voilà—your box looks collected, not chaotic!
Personalized Monogram Sewing Box
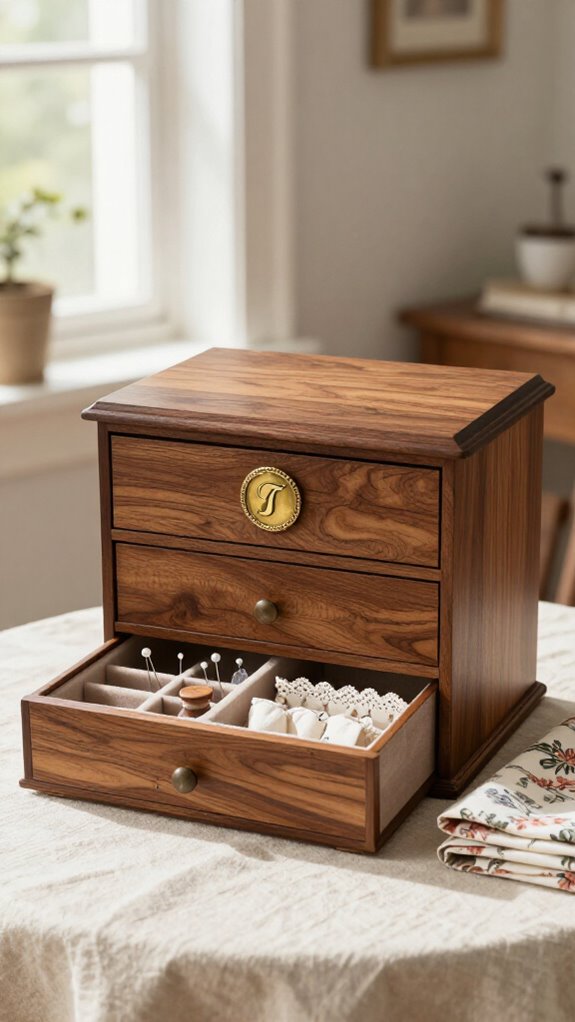
Personalize your sewing box with a monogram, and suddenly even a plain thrifted jewelry box feels like it belongs in your craft corner—stylish, but not “don’t touch it” ornate!
Cut your initials from vintage paper or adhesive vinyl, then choose monogram placement that echoes the hardware: centered on the lid or above a drawer.
Seal it with a clear top coat, so daily sewing sessions won’t scuff your handiwork.
Want extra character? Remove old pulls, fill the holes, sand, and layer dark paint beneath a chalky color for gentle distressing.
Finally, glue on a wood initial or plaque with E6000 and lacquer it.
Line drawers with patterned paper—your box looks collected, not cluttered!
Romantic French-Style Sewing Box
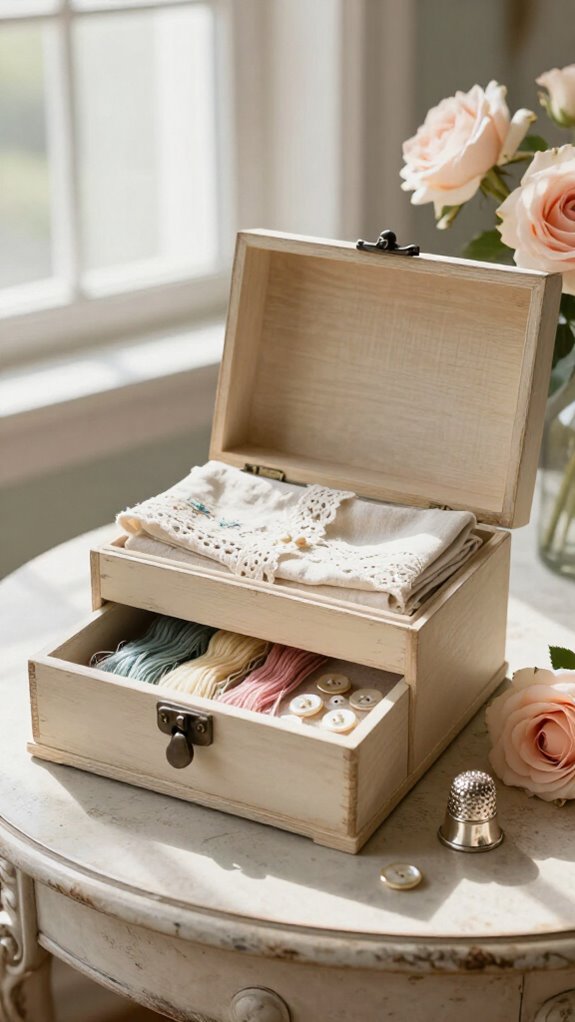
A thrifted wooden jewelry box can become a romantic French-style sewing home with a little paint, pretty paper, and zero skilled skills required—oui, even if your last DIY involved glue on your fingers!
- Dust it black, add pink chalk paint, then black again for layered charm.
- Line compartments with vintage black toile paper or a fabric liner, trim neatly, and seal with Mod Podge.
- For the sweet surprise, cut wooden spools in half and glue them on as knobs! After finish sanding the edges, pink peeks through beautifully. Spray lacquer protects your handiwork, while compartments welcome thread, notions, and tiny tools.
Dark Wood Traditional Sewing Chest
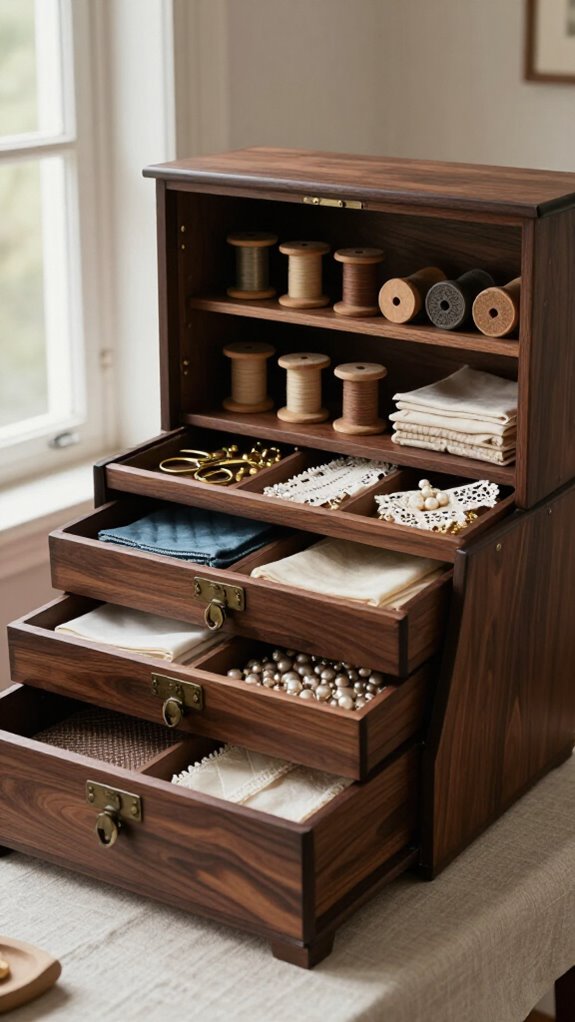
Because its deep walnut, mahogany, or cedar finish already feels wonderfully old-world, a traditional dark wood sewing chest can organize your supplies while looking right at home on a shelf or side table—no hiding it in a closet required!
Choose stacked drawers for stitching organization, plus a lift-top lid for larger tools. Line drawers with pretty fabric for gentle thread storage, and swap tired pulls for wooden-spool knobs—such a charming touch!
Found one secondhand? You can clean it, fill old holes, sand lightly, and repaint without needing expert skills. For the big finish, layer antique paint, distress the edges, then seal it with lacquer. Your chest will look like a treasured family piece!
Modern Minimalist Sewing Box
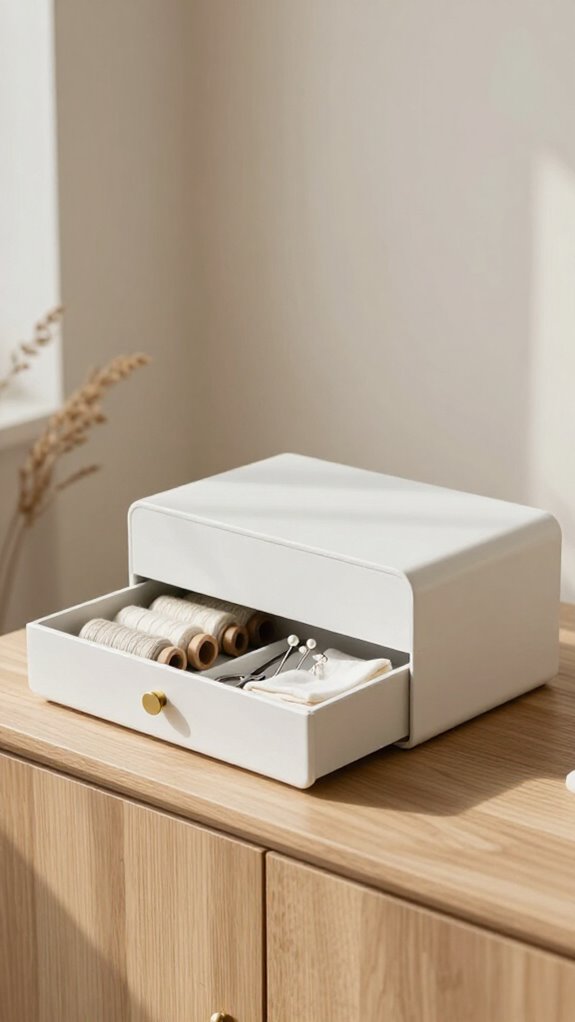
Turn a plain wooden jewelry or keepsake box into a sleek modern sewing station, and you’ll get tidy storage that looks more designer than craft-corner clutter—yes, even with rogue buttons involved!
- Remove pulls, fill holes with spackle, sand, then spray flat black. Add light-pink chalk paint only along edges—subtle, chic, and beginner-friendly!
- Line drawers with neutral or black toile paper. Add small inserts for space saving storage and planning accessories.
- Make matching spool pull knobs from cut thread spools. Seal paint with spray lacquer and paper with Mod Podge.
You’ll create a wipeable, cohesive box your craft-loving crew will admire!
Thrifted Sewing Box Makeover
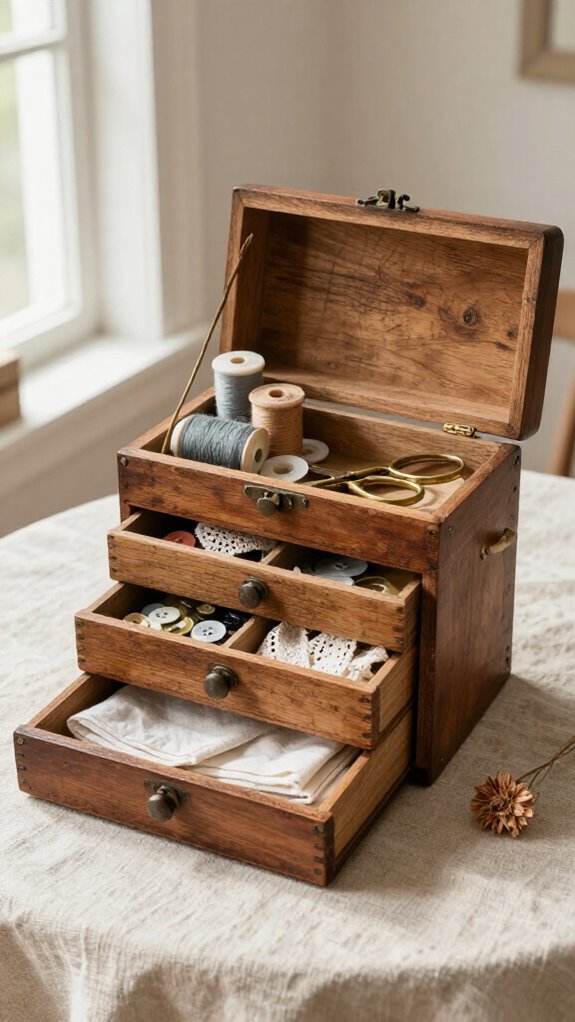
Don’t pass up that ugly, beat-up $3 jewelry box at the thrift store—it could become a charming little sewing station with plenty of vintage personality! Remove pulls and felt, fill holes, sand, then paint black, pink, and black again.
| Step | What you’ll use |
|---|---|
| Prep | Spackle, sandpaper |
| Finish | Chalk paint, spray lacquer |
For distressed finishing, gently sand edges until pink peeks through. Line drawers with vintage toile and Mod Podge—instant cozy-craft-club vibes! Finally, make upcycled hardware from half wooden spools and E6000. You’ll get a one-of-a-kind home for needles, thread, and tiny treasures, no special skills required!
Glass-Top Sewing Box
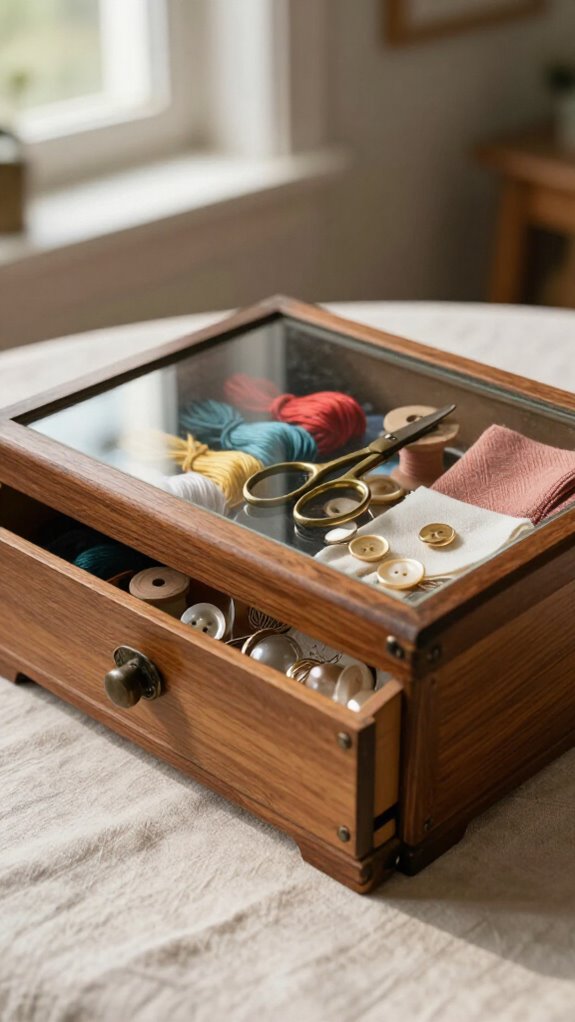
A glass-top sewing box gives your everyday supplies a neat little display case—like a tiny craft museum, only you’re allowed to use everything! Choose a wood or MDF box with a flat, supported top to protect your treasures from dust.
- Add smooth-edged glass with a slim frame or silicone glazing tape, so it sits snugly without wobbling.
- Coat the inside with a wipeable finish, such as polyurethane, for easy lint and spill cleanup.
- Tuck in foam or removable dividers to keep scissors, needles, and colorful spools from sliding.
The best part? You’ll see what you need instantly, and your sewing corner feels wonderfully yours!
Decorative Sewing Shelf Box
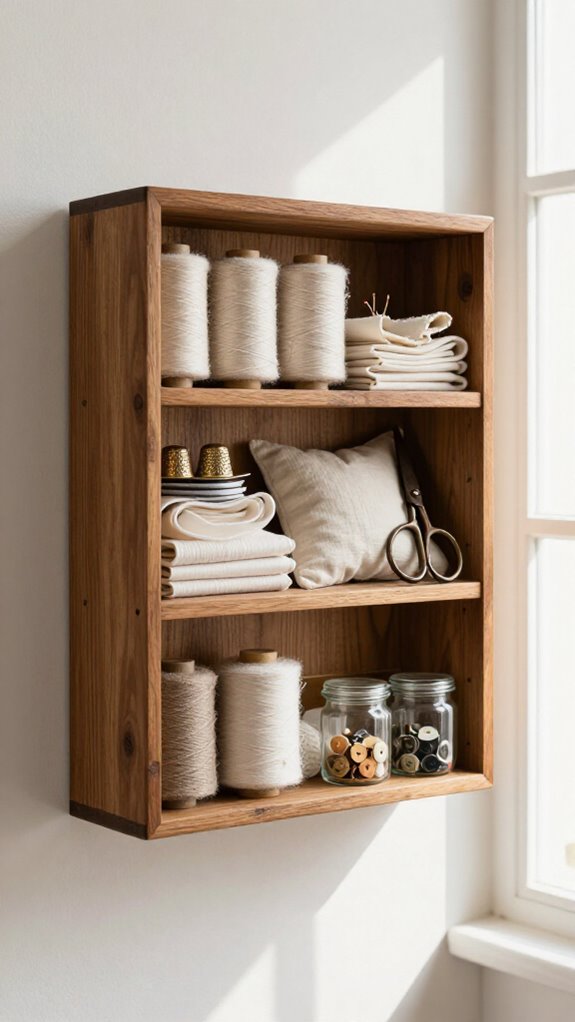
Give an old wooden jewelry box a new job as a decorative sewing shelf box, and you’ll get storage that looks charming enough to leave out in the open!
Spackle old pull holes, sand smooth, then layer flat black, chalk paint, and black again. Light sanding reveals vintage edges—easy, affordable, and delightfully imperfect!
Line drawers with vintage black toile paper, gluing and sealing it with Mod Podge. It adds fabric texture layering without a single fussy stitch.
Here’s the showstopper: cut wooden spools in half and glue them on as pulls for threaded spoolwork charm. Finish with spray lacquer, and your sewing supplies join the room like they belong.
Travel-Inspired Sewing Case
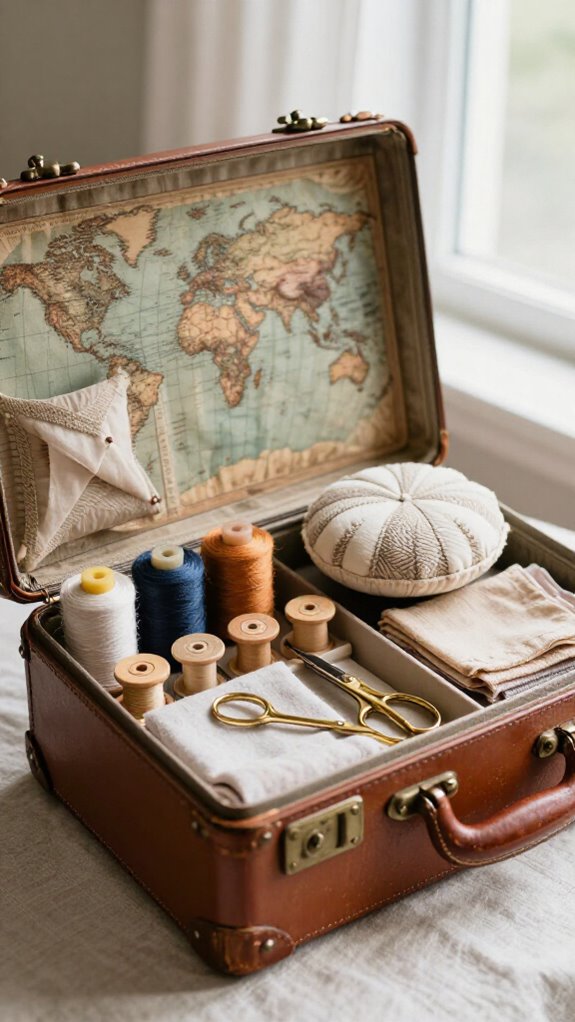
Whether you’re packing for a weekend trip or just taming a pile of loose buttons, a travel-themed keepsake case makes a charming portable sewing kit!
- Remove lining, fill holes with spackle, then add black paint using distressed paint techniques.
- Glue toile paper inside with Mod Podge, let it dry 20 minutes, then seal it for a wipeable finish.
- Create sections for organizing needle packets, scissors, pins, thread, and a seam ripper.
For the fun surprise, halve wooden spools and glue them on as pull knobs—they’re cute, useful, and glove-friendly!
Sand edges, spray lacquer, and you’ll have vintage decor that travels with your creative crew.
Cottage Floral Storage Basket
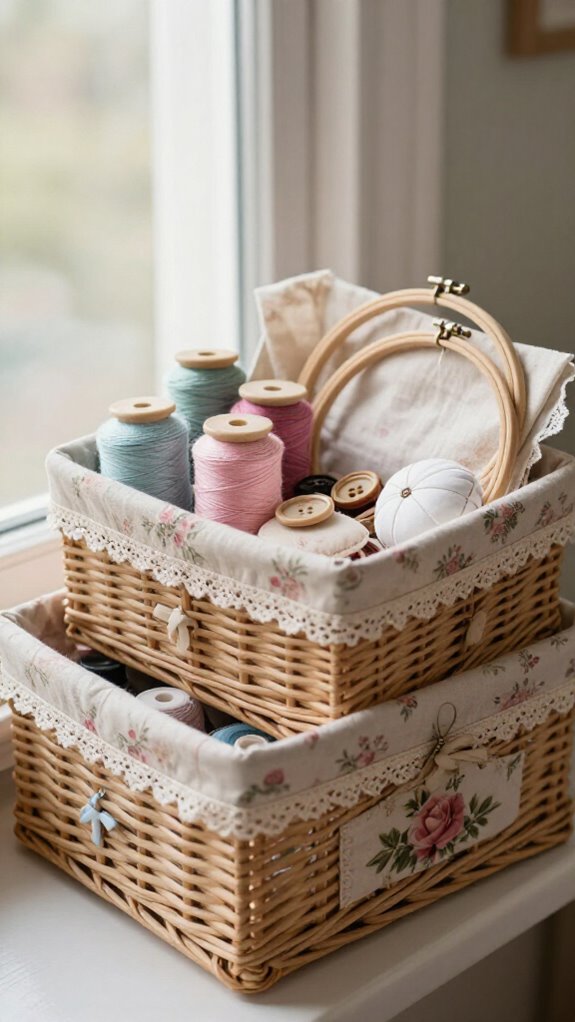
Turn an ordinary wicker basket into a sweet cottage-style sewing helper with a floral fabric lining—easy, affordable, and far prettier than a plastic bin!
Choose toile or floral cotton, then tuck in cardboard or stiffener beneath it so thread, scissors, and tape measures won’t warp the shape.
Add a ribbon tie or Velcro strap to keep supplies from making a great escape!
For Organizing notions, attach farmhouse labels made from kraft cardstock, fabric, or tiny chalkboard tags.
Want it to feel like it belongs in your cozy craft corner?
Finish the rim with lace and stitch on a few appliqué flowers.
Suddenly, your humble basket looks delightfully heirloom-worthy!
Vintage Button Display Sewing Box
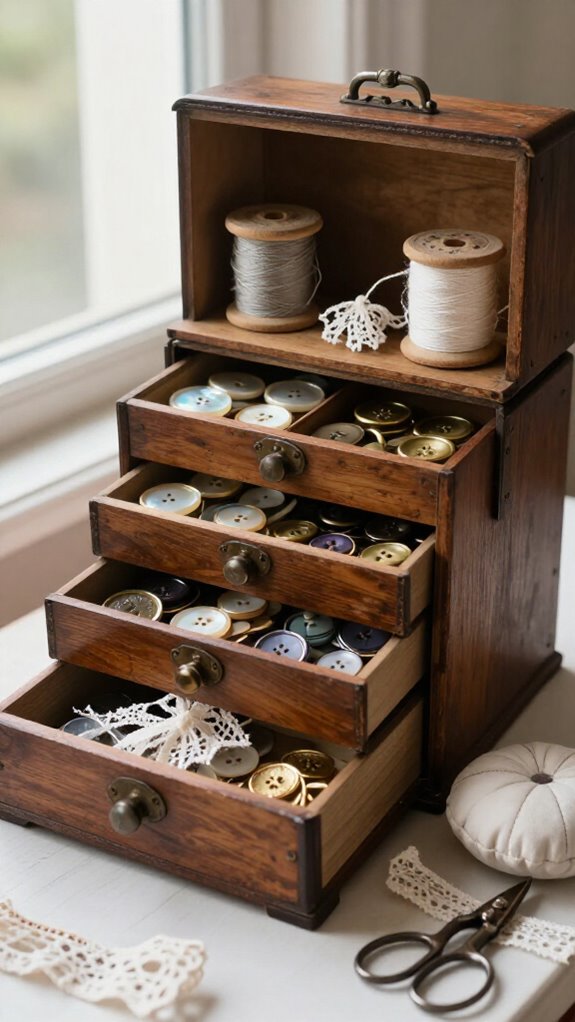
A vintage button display sewing box brings instant charm to your craft corner, and it’s easier to make than you’d think—no elaborate restoration skills required!
- Measure, cut, and test-fit toile paper, then seal it with Mod Podge for a smooth, durable lining.
- Add fitted trays for button organization, sorting colors and sizes so everyone in your crafting circle can find what they need—no button avalanche!
- Give it personality with spool knobs, plus a ribbon storage section. For an antique finish, layer black and chalky paint, sand edges lightly, and seal. Your box becomes a useful little treasure, ready for shared sewing days!
How to Style Sewing Storage in a Room
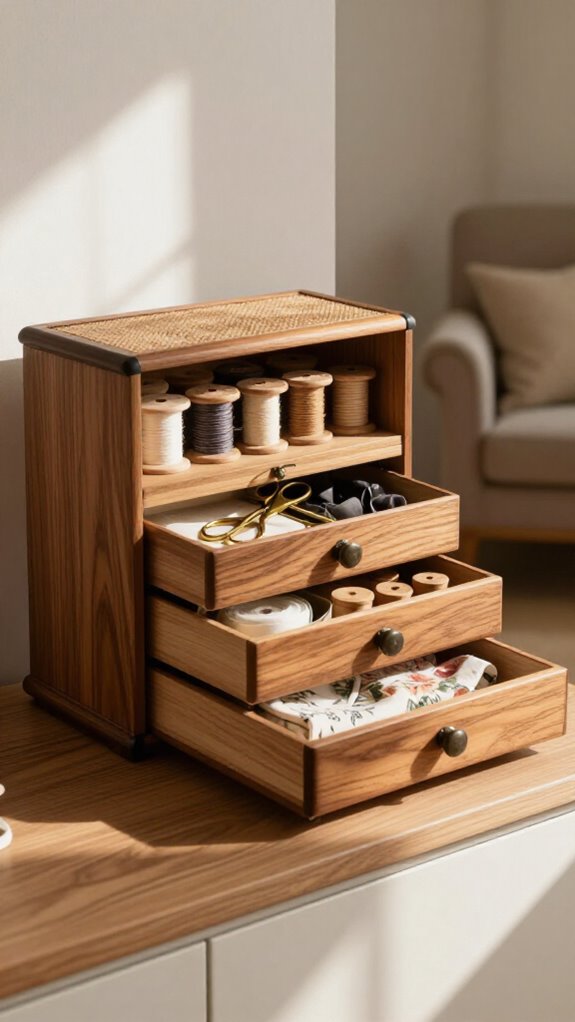
Once your vintage button box looks charming, let it join the rest of the room instead of hiding in a closet! Place everyday supplies in an easy-to-reach cluster near your work spot, and keep bulk fabric along a back wall so the space feels calm.
Add Color matched labels to drawers or bins using printable paper or iron-on vinyl—cheap, beginner-friendly, and wonderfully tidy!
Create simple thread, cutting, and WIP zones with hooks, baskets, and drawers.
For visible thread access, hang spools on a pegboard beside your table.
Then try the fun finish: line a thrifted jewelry box with toile paper, paint it in layered black and pink, and seal it. Instant craft-room character!
Choosing Storage That Looks Decorative
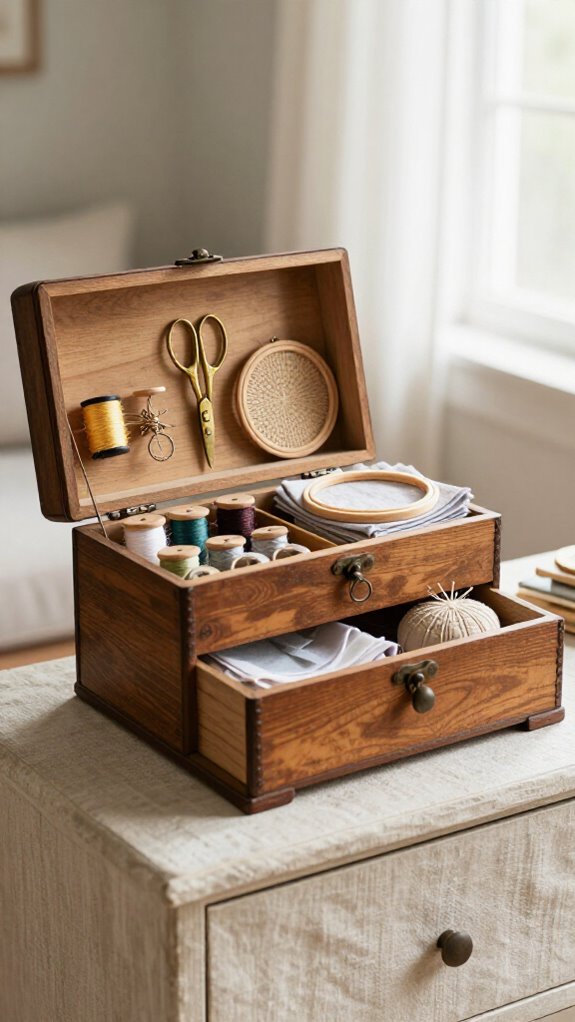
Choose sewing storage that works hard but still earns a spot in the room’s décor, because plain plastic bins don’t have to run the whole show!
- Add Decorative hardware: swap basic pulls for wooden thread-spool knobs. It’s cheap, easy, and instantly makes drawers feel custom.
- Try finish pairing: dust boxes with black spray paint, add pink chalk paint, then sand lightly. Seal with lacquer for a vintage, furniture-like shine!
- Create an interior lining with vintage black toile paper, Mod Podge, and a brush. Add replaceable printed labels and pretty dividers.
Use matching colors across boxes so your sewing corner feels like it belongs. Open a drawer, and voilà—beautiful inside too!


