
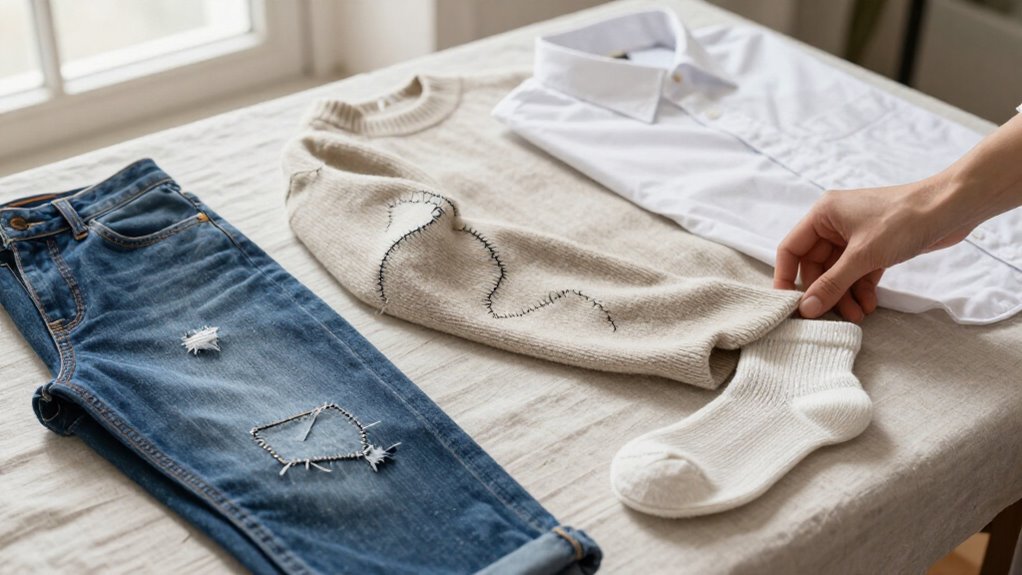

You can hide tiny tears with a ladder stitch, matching thread, and a sharp needle—press first, then use small, snug stitches without puckering. For thin or fraying spots, fuse interfacing inside before sewing. Try a rounded fabric patch, denim patch, darning grid, embroidery, lace, or a relaxed ballpoint-needle fix for sweaters. Choose patches when fabric feels weak, and stitch their edges for strength. Best surprise: visible sashiko lines can make damage look intentional. Keep going for smart, beginner-proof steps!
Key Takeaways
- Match thread color, weight, and fiber to the garment, and test stitches on a scrap before repairing the hole.
- Press the area flat, trim loose fibers, and use tiny ladder stitches close to seams for nearly invisible repairs.
- Choose a sharp needle for woven fabric or a ballpoint needle with elastic thread for knits and stretch fabrics.
- Fuse lightweight interfacing behind thin or fraying fabric before stitching to prevent puckering and future tearing.
- Use a rounded patch extending 1/4 to 1/2 inch beyond larger holes, then secure its edges with fine stitching.
Invisible Hand Stitch
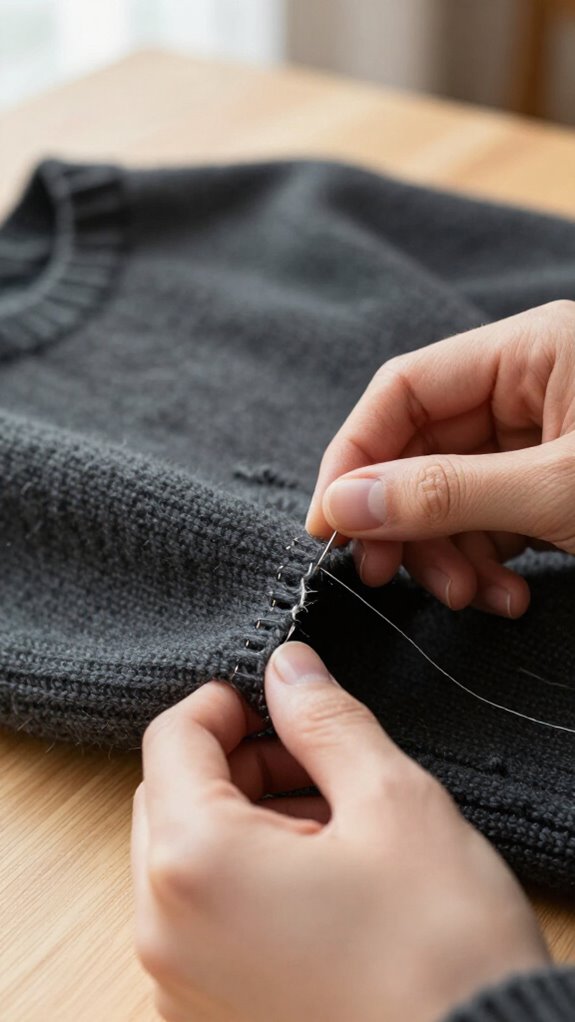
For a nearly hidden fix, start with an invisible hand stitch, a beginner-friendly method that costs almost nothing and works beautifully on small tears near seams. You’ll need a suitable needle, thread, scissors, and an iron—welcome to the repair club!
Press both sides flat, trim loose fibers, and reinforce fraying fabric from inside with interfacing. Use a sharp general-repair needle for wovens or a ballpoint for stretchy knits.
Pull edges together and sew tiny ladder stitches inside, close to the seam. Practice stitch tension control; snug is great, puckered is not!
Before wearing, do thread colorfast testing. Your repair can stay quietly strong—even after laundry day!
Matching Thread Repair
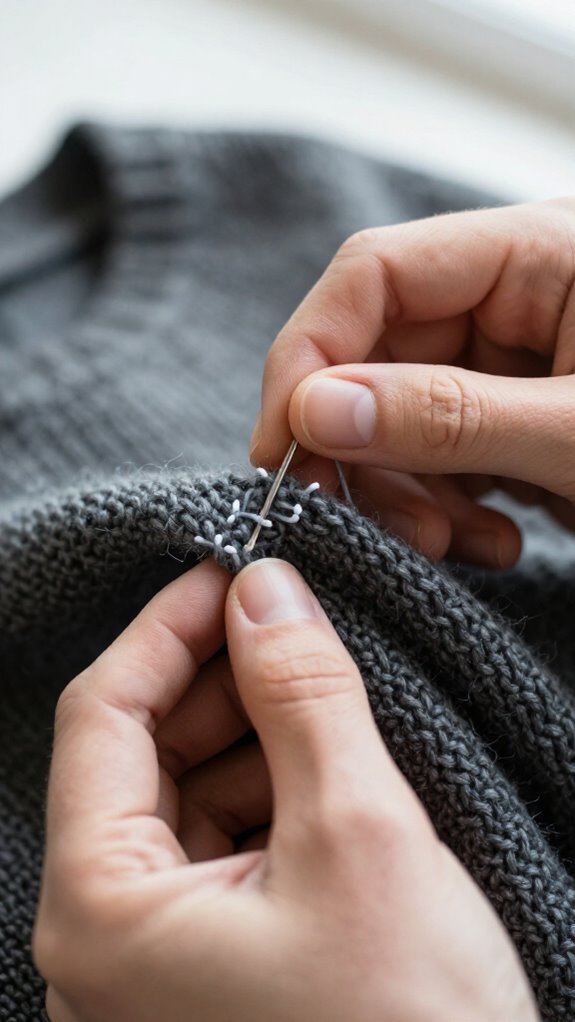
Matching thread can make a tiny hole fade into the background—almost like it was never there! Choose cotton for cotton, polyester for blends, and nylon for stretch. You’re joining a savvy repair club!
| Fabric | Best thread | Quick move |
|---|---|---|
| Cotton | Cotton | Ladder stitch |
| Blend | Polyester | Fine running stitch |
| Stretch | Nylon | Ease tension |
| Frayed knee | Matching | Add interfacing |
Try Colorfast Testing on a scrap first; a slightly darker shade often disappears better. Make a Thread Tension Adjustment, then stitch small, even lines and knot underneath. For worn spots, fuse interfacing inside—your repair stays flat, strong, and quietly impressive!
Decorative Patch
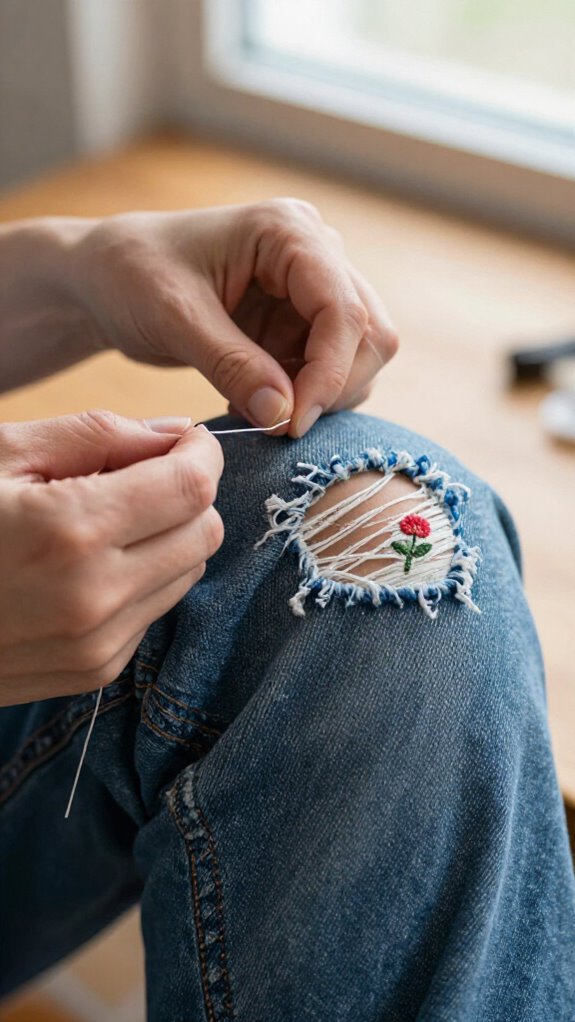
A decorative patch turns a annoying hole into a tiny style moment—no sewing wizardry required!
Choose fabric with similar weight and care needs, then try colorfast testing first, especially with bright prints.
Cut it 1/4 to 1/2 inch beyond the hole, rounding corners so laundry won’t nibble at them.
On the garment’s wrong side, trace the hole onto fusible web, leaving a 1/4-inch border.
Place your patch right-side up, cover with a press cloth, and iron firmly for 10 seconds.
Easy!
For the polished, “you meant to do that” finish, add stitch reinforcement around the edge with a running or blanket stitch.
Denim Repair Patch
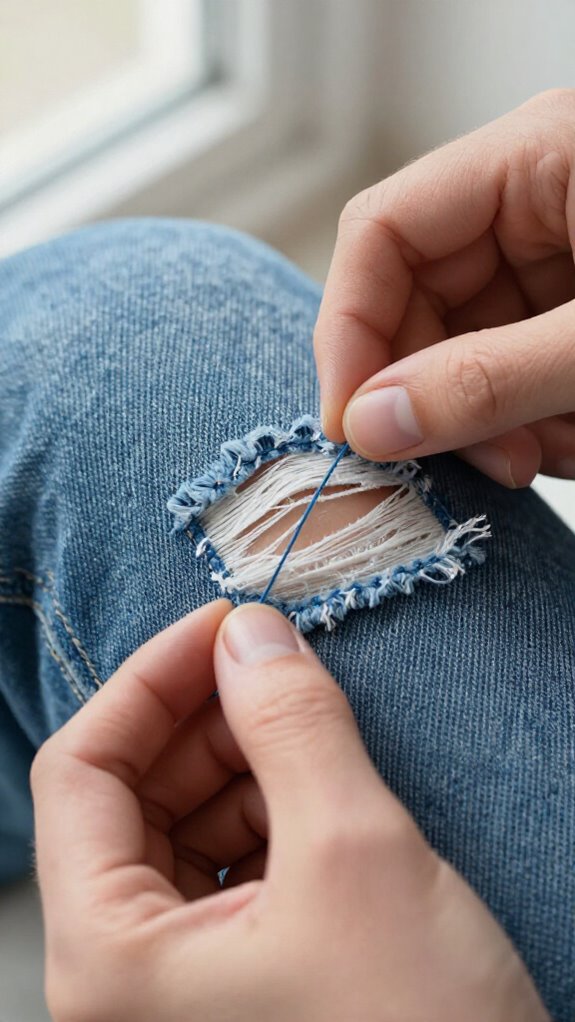
Give worn jeans a tough little comeback with a denim repair patch—it’s an easy, low-cost fix that can blend in so well people may never spot it!
Choose denim with similar care needs; fabric weight matching helps your repair feel like it belongs.
Cut it 1/2 inch bigger than the hole, rounding corners.
Use color blending techniques to pick a close shade—your jeans won’t feel like they joined a patchwork circus!
Trace fusible web, place it inside over the hole, then line up the patch on top.
Press through a cloth for 10 seconds.
Re-press loose spots, and use pinking shears or stitches if edges fray.
Inside-Out Fabric Patch
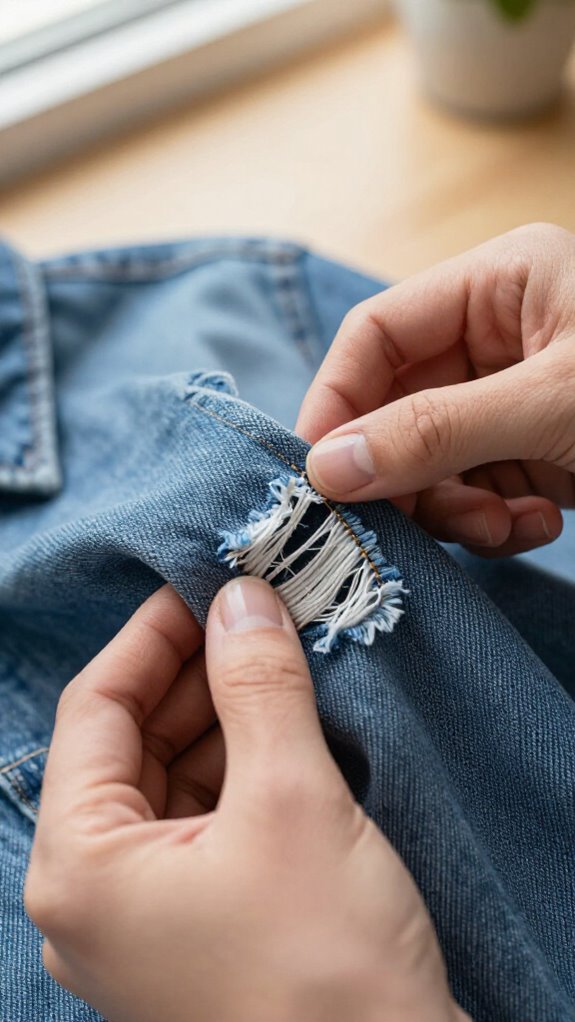
For a nearly invisible fix, try an inside-out fabric patch—it supports the hole from behind, so the garment’s original surface stays in the spotlight!
| Step | What you use | Quick win |
|---|---|---|
| Stitching prep | Rounded patch | Cut 1/4–1/2 inch wider |
| Fabric matching | Similar scrap | Blend in naturally |
| Fuse | Webbing | Keep it smaller than patch |
| Press | Press cloths | Iron hot, 10 seconds |
Trace the hole on fusible web, leaving 1/4 inch around it. Place it inside, add the patch right-side up, then press firmly. For edge finishing, pink the edges or add light inside stitches—your repair team will never suspect a thing!
Darning a Small Hole
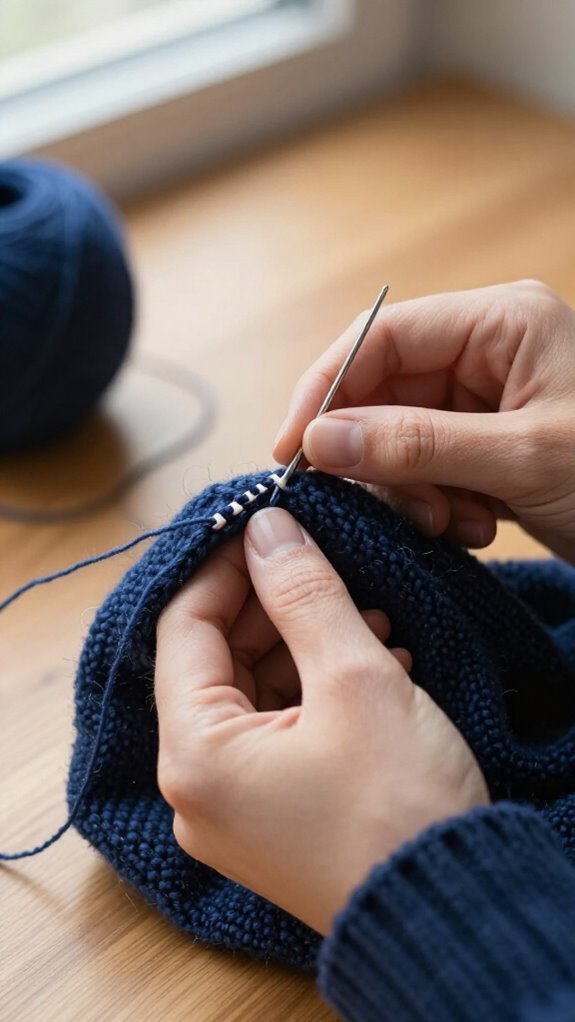
Darning turns a tiny hole into a neat, sturdy repair, and it’s much easier than it sounds—no wizard-level sewing skills required! Trim loose threads, match your thread to the fabric, and place the spot over a darning mushroom or smooth round object.
Use a blunt tapestry needle for wool or a sharp medium needle for woven cloth. From inside, use small running or ladder stitches, applying Stitch tension control so the fabric stays flat. Edge positioning tricks help you bring both sides together neatly—your garment will fit right in again!
For extra strength, make vertical warp stitches, then weave horizontal weft threads over and under. Knot underneath securely.
Visible Mending
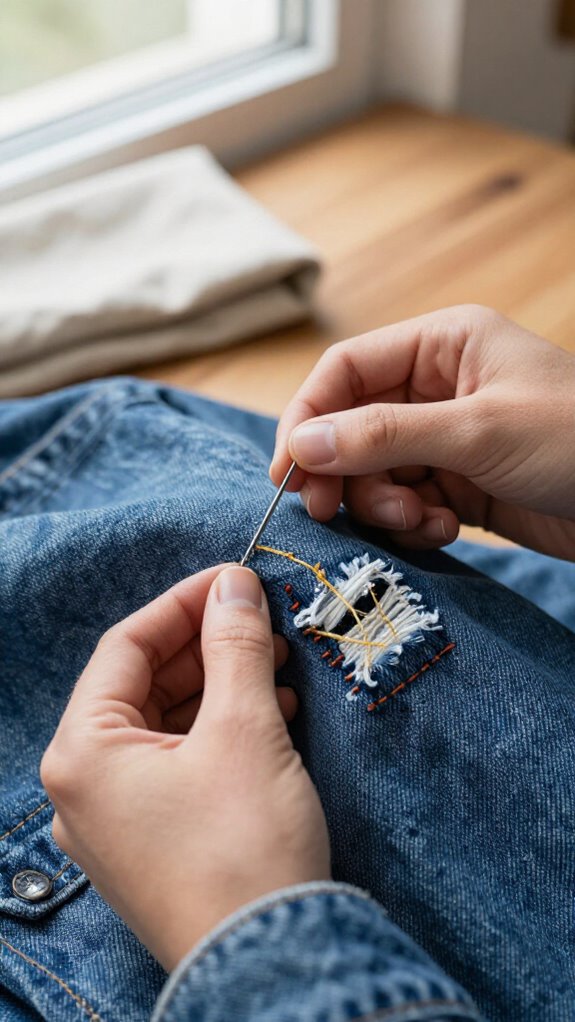
Visible mending lets you turn a rip, thin spot, or tiny hole into a design detail instead of trying to hide it—yes, your clothes can wear their repairs proudly!
Start with fabric prep: trim loose threads, then add black or white fusible interfacing inside if edges unravel.
For small holes, use a running or ladder stitch; color matching can keep the look coordinated without making it disappear.
For larger spots, cut a patch 1/4 to 1/2 inch wider, round its corners, and stitch it down slowly—stitch speed matters!
Add seam reinforcement where needed.
Want a cool community-crafted look? Re-weave a grid, warp first, weft over-under, then knot inside.
Embroidered Hole Repair
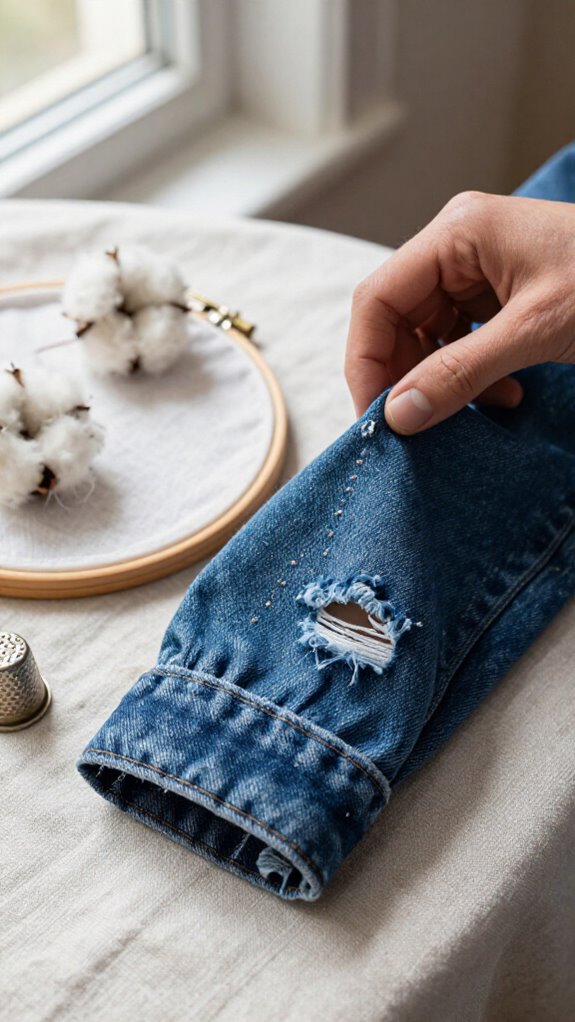
Embroidery gives a small hole a clever second life, turning weak fabric into a tidy detail that can blend right in—no elegant sewing diploma required!
- Snip loose threads, then tack edges inside for fabric fraying prevention.
- Grab floss and a darning needle; use a sharp small needle for fine weaves.
- Match thread color and weight, so your repair joins the garment’s original look.
- Stitch a tiny grid or sashiko-style lines over the spot—like buttonhole reinforcement, but prettier!
Finish with tight under-stitches or a knot underneath. You’ll strengthen the hole, hide the damage, and keep a favorite piece proudly in your everyday crew!
Lace Patch Repair
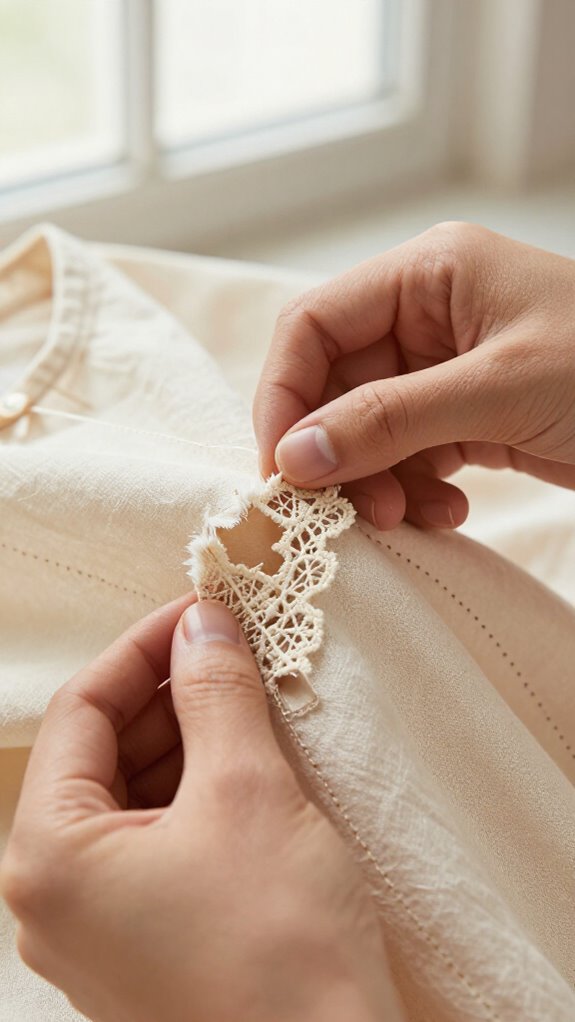
A lace patch can turn a tiny tear into a soft, pretty detail—seriously, it’s like giving your shirt a little wardrobe upgrade! Choose lace that matches the fabric’s weight and Lace Care needs, then cut it 1/4 to 1/2 inch wider than the hole.
If fraying starts, fuse webbing inside first. Trace with a residue-free pen, use a press cloth, and iron about 10 seconds per spot.
Next, stitch the patch with tiny running or blanket stitches. Seam Finishing stays neat when you round the corners, too. Here’s the sneaky trick: pick lace slightly darker than your garment, and it’ll blend in beautifully after laundry!
Kids Clothing Patch
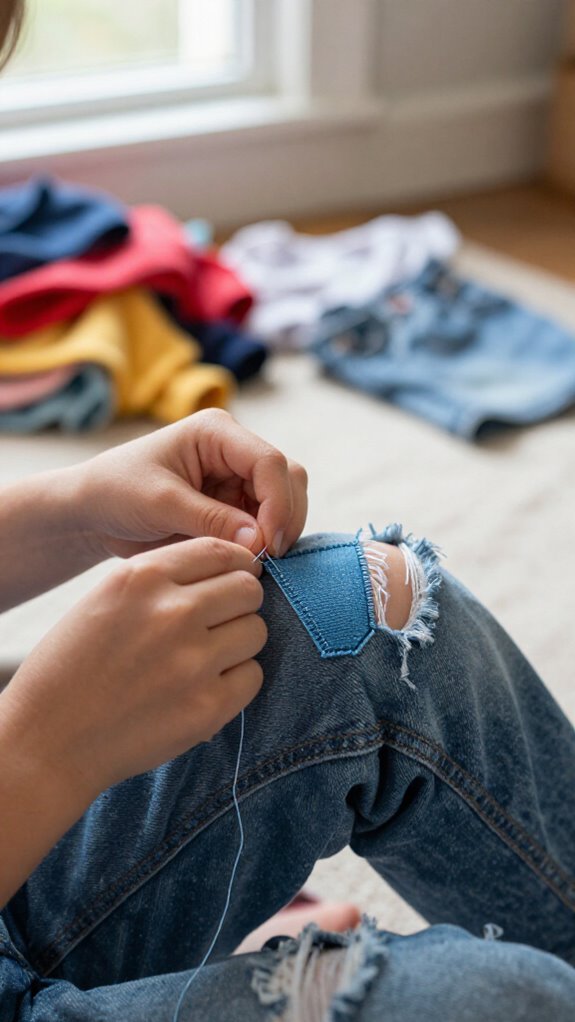
For a kid’s favorite jeans, hoodie, or play shirt, a fabric patch can save the day without looking like a last-minute rescue mission—win!
- Prewash fabric, then choose a similar-weight piece with matching care instructions.
- Cut it 1/4 to 1/2 inch larger than the hole, rounding corners to fight fraying.
- Fuse webbing on the wrong side, keeping it 1/4 inch inside patch edges.
- Finish with thread matching and a blanket or running stitch for playground-proof strength.
Pinking shears add extra protection, too. Your repair will look intentional, hold through washes, and help your kid keep wearing the clothes they love!
Sweater Hole Repair
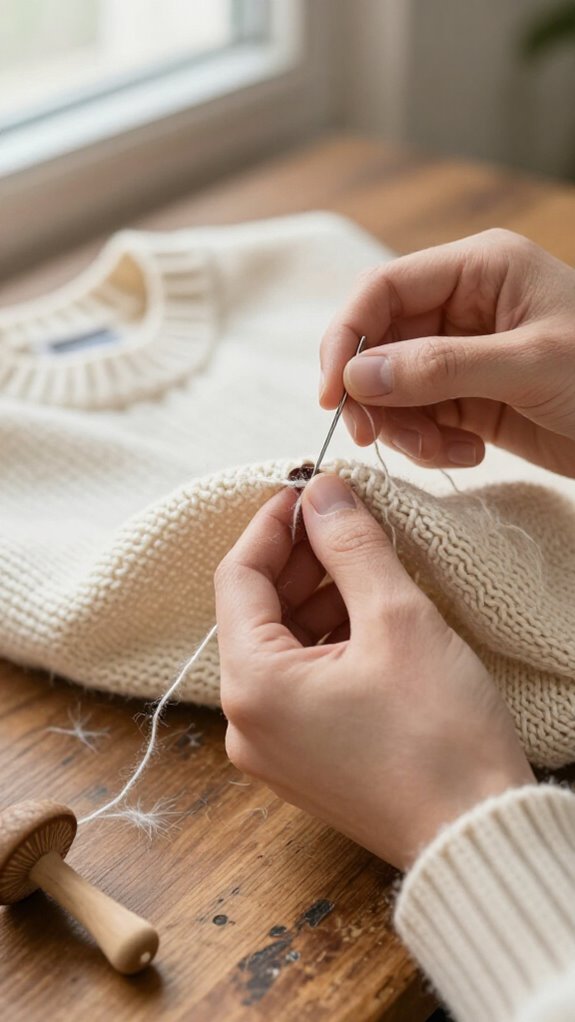
Sweaters need a gentler game plan than sturdy kids’ jeans, but you can still rescue a snag or small hole without turning it into a craft-store casualty—yay!
Start with Fiber prep techniques: trim loose bits, then edge-close the hole from inside with a quick ladder stitch. If the knit feels weak, add fusible interfacing behind it first.
Use a ballpoint needle and keep thread tension control relaxed, so stretchy stitches can move with you. For a bigger gap, stitch vertical warp lines beyond the fray, then weave horizontal rows over and under.
Still visible? Cover it with a softly blended patch or subtle sashiko-style grid. It’ll look intentional—like you’re in the repair club!
Choosing Thread for Repairs
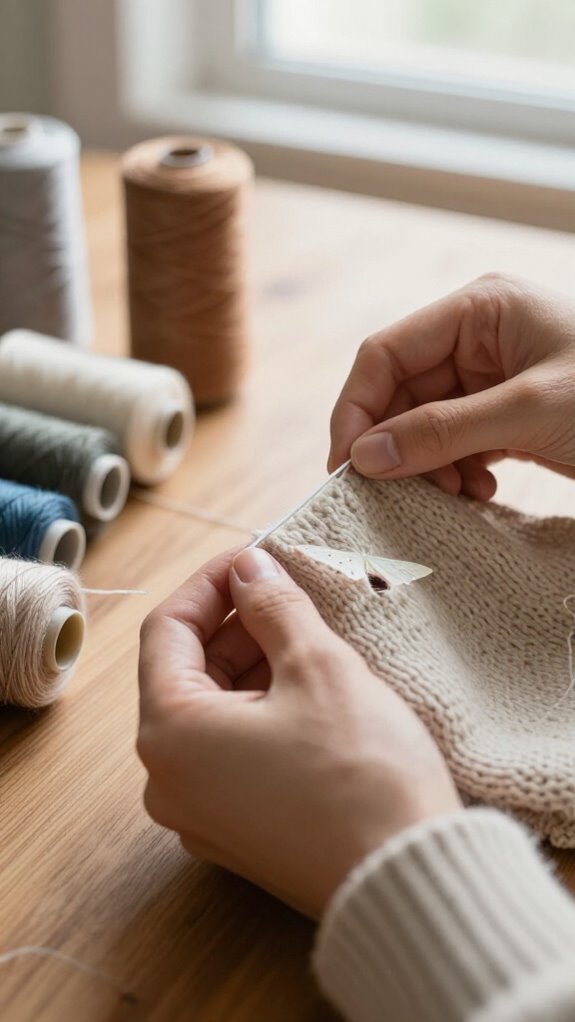
Thread choice can make a repair disappear—or make it wave hello from across the room!
- Match cotton thread to lightweight cotton or linen; choose polyester for blends and synthetics. You’ll get a finish that feels right at home.
- For tees, leggings, and activewear, use nylon or slightly elastic polyester. It moves with you, so stitches won’t snap during a stretch!
- Match thickness to weight: fine thread for thin fabric, heavy-duty polyester for denim or canvas. Check Needle size, too.
- Try pretesting color and stitch length on a scrap, including near the seam allowance. Use a blunt darning needle for knits, sharps for tiny holes. Small, even stitches blend best—especially on prints!
When to Use a Patch Instead of Stitching
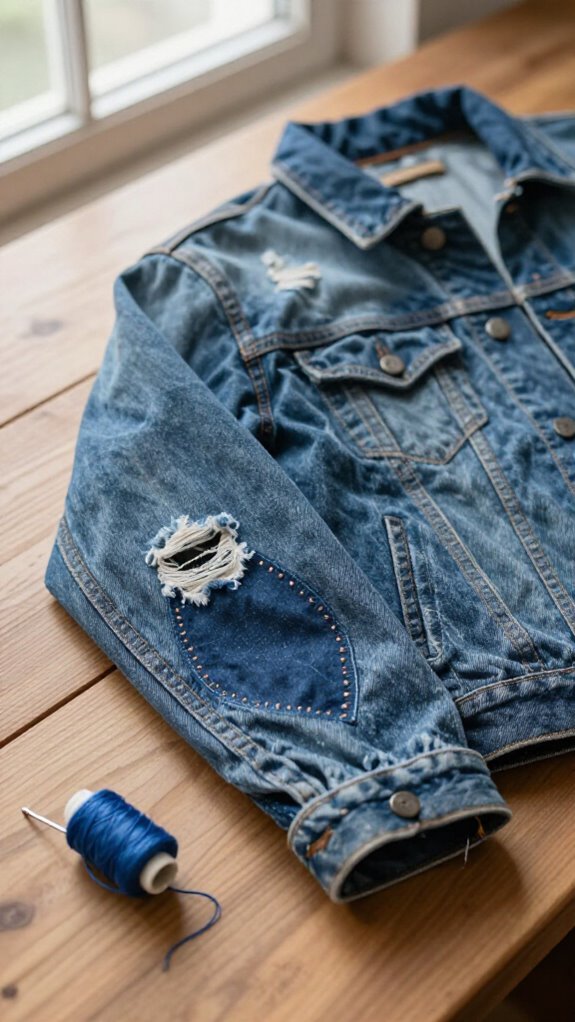
When the fabric around a hole feels thin, fuzzy, or ready to crumble, skip the tiny “invisible” stitches and use a patch instead. You’re not alone—well-loved clothes often need stronger backup!
For When to patch, choose a patch for large tears or visible holes where re-weaving would take forever and still look bumpy.
For hole size guidance, cut fabric 1/4 to 1/2 inch wider on every side, then round the corners.
Match the garment’s weight and wash needs. No exact match? A slightly darker, similar-toned patch usually fades into the background.
For a clean hold, add fusible webbing, press with a cloth for 10 seconds, and you’re set!
How to Make Repairs Look Intentional
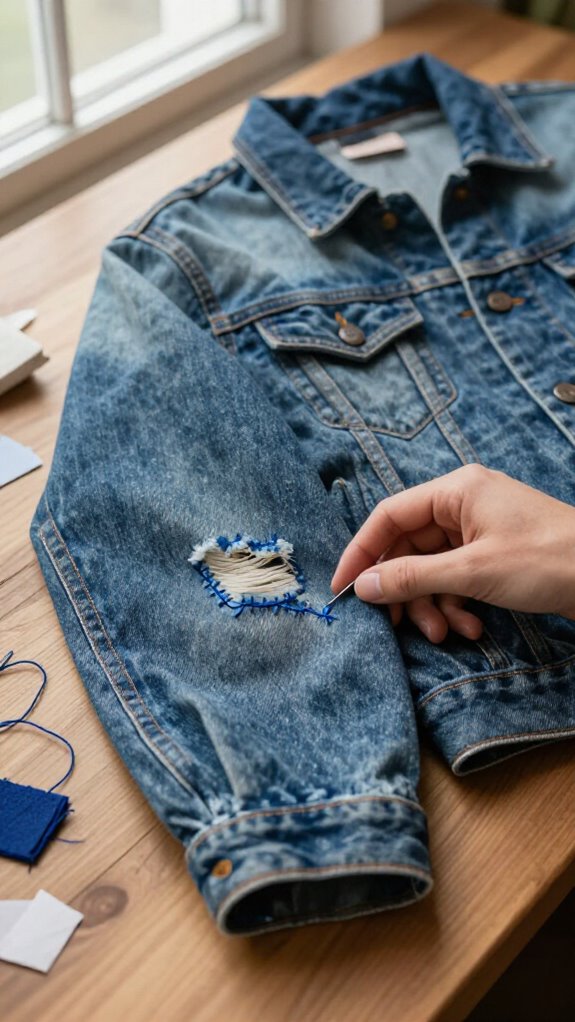
A repair looks polished, not accidental, if you prep the fabric before the needle ever goes in—tiny step, big difference!
- Start with fabric stabilization first: iron both sides, then add interfacing inside weak areas. It’s cheap, easy, and stops sneaky fraying.
- Use thread close in color and weight, then color matched baste before ladder stitching. Your stitches will blend in, like they belong there!
- For bigger holes, weave vertical and horizontal rows past the edges. The tight grid becomes a neat mended panel.
- Want a style upgrade? Add sashiko or a tonal patch, 1/4–1/2 inch wider, with rounded corners. Slightly darker patches recede beautifully—hello, intentional charm!


