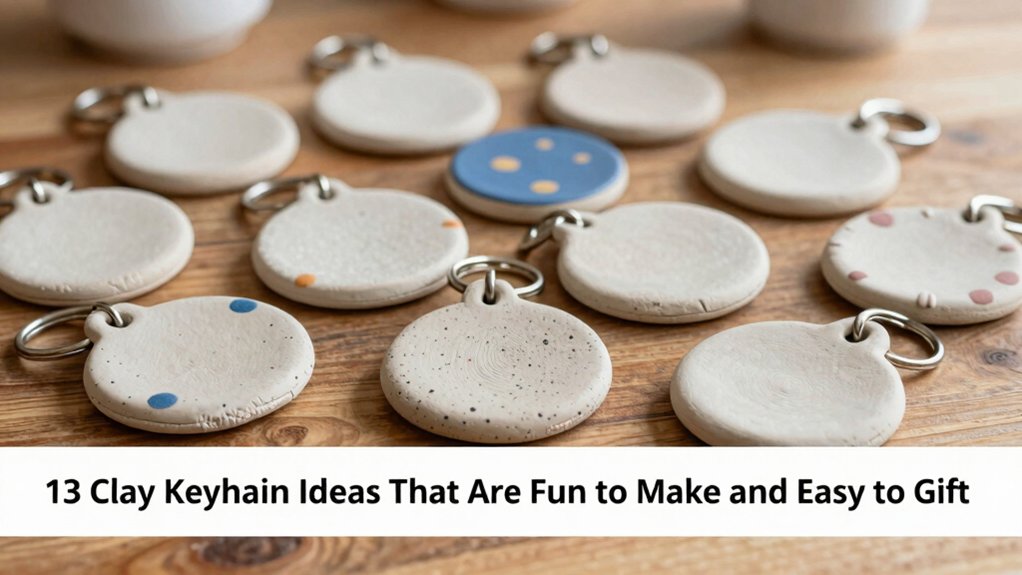

You can make 13 clay keychain ideas that are cute, cheap, and super giftable! Try tiny mushrooms, smiling clouds, fruit slices, frogs, flowers, daisies, cats, moons, butterflies, sea turtles, books, names, and seasonal mini charms. Just roll air-dry clay, cut simple shapes, poke holes, dry, paint, and seal. Each one turns out sweet with very little skill, and the last few ideas get extra charming, so keep going for the best surprises!
Key Takeaways
- Mushroom, cloud, fruit, and frog charms are beginner-friendly clay keychains that look cute and giftable.
- Floral initials, name charms, and tiny book tags make easy personalized gifts for keys or bags.
- Moon, butterfly, and sea turtle designs add a whimsical or ocean-themed touch with simple shaping.
- Daisy flowers and kawaii cat faces are quick to make, fun to paint, and appealing as handmade presents.
- For best results, roll clay thin, poke holes before drying, then paint, seal, and add jump rings after curing.
Tiny Mushroom Charms
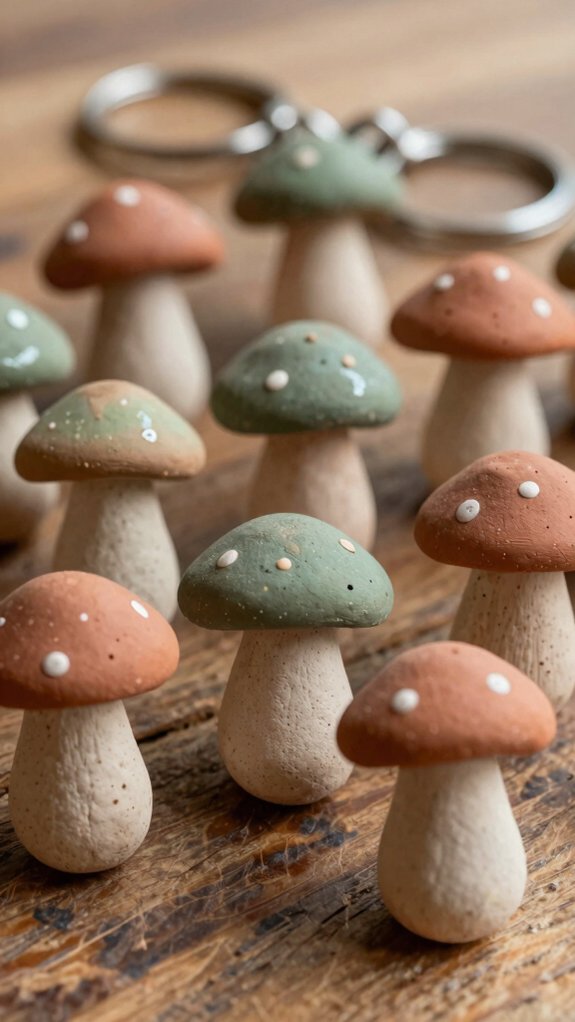
If you want a tiny charm that feels instantly cute and a little magical, mushroom keychains are such a fun place to start!
You can roll air dry clay to about 1/4 inch thick, shape a cap and stem, and poke a small hole near the top before drying.
Let it sit flat for about two days, then paint thin layers of acrylic, adding speckled dots, glitter accents, and simple white stems.
Need a sturdier option? Try polymer alternatives for a similar vibe.
Once dry, seal it lightly, add a jump ring, and clip it on.
Smiling Cloud Designs
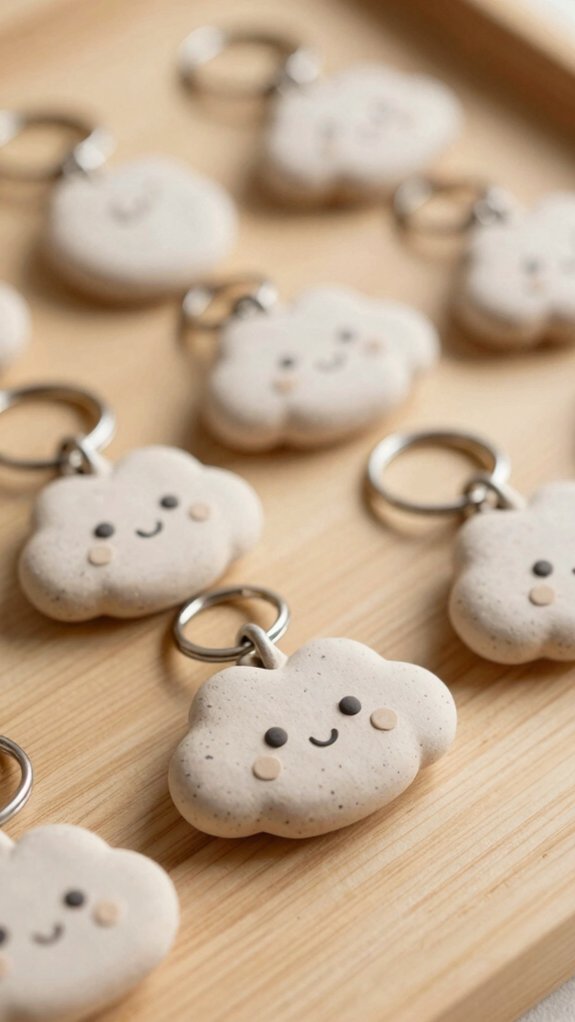
For a cloud charm that looks sweet, simple, and just a little cheerful, start by rolling out your air dry clay to about 1/4 inch thick and cutting out a soft cloud shape, or even a cloud outline for a lighter look.
Add textured cloud faces with a tiny smile, then round the edges so it feels bouncy, not flat.
- Poke tiny keyring holes near the top before drying.
- Let it dry 24–48 hours.
- Paint thin white and sunny yellow layers.
- Finish with shimmer, then add the jump ring!
Mini Fruit Slices
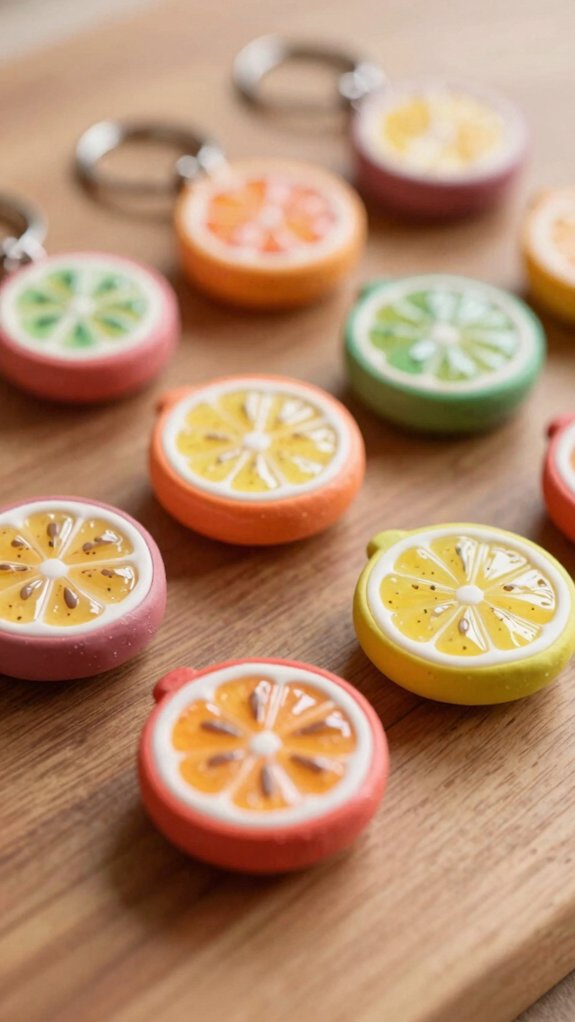
Mini fruit slices are such a cute way to make your keychain feel bright, playful, and a little delicious-looking too!
You can roll air-dry clay to 1/4-inch thickness, cut tiny citrus rounds, strawberries, or kiwi ovals, and press in polymer clay textures like seeds and grooves.
Next, try realistic fruit painting with thin acrylic layers after the clay dries for two days on a flat surface.
Add a glossy finish only when the paint’s dry, then attach jump rings with pliers.
It’s cheap, beginner-friendly, and totally giftable—your bag charm will look like a mini snack, minus the crumbs!
Cute Frog Charms
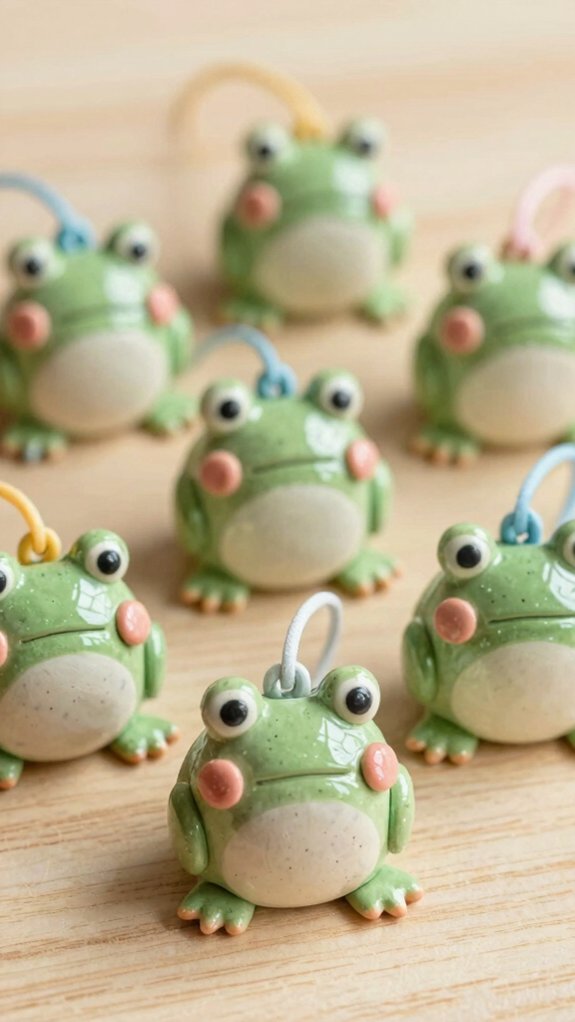
Cute frog charms are a fun follow-up to fruity keychains, and they bring a totally different kind of charm—squishy-looking, a little silly, and super giftable!
You can make one on a budget with air dry clay, and it’s easier than you think.
- Roll clay to 1/4 inch, then cut a frog shape.
- Smooth the clay edges so it won’t crack.
- Add eyes, a smile, and spots, then poke the hole.
- Dry flat for two days, paint, and finish with colorful charm finishes.
After curing, add the ring. Your tiny frog will feel like part of the crew!
Floral Initial Tags
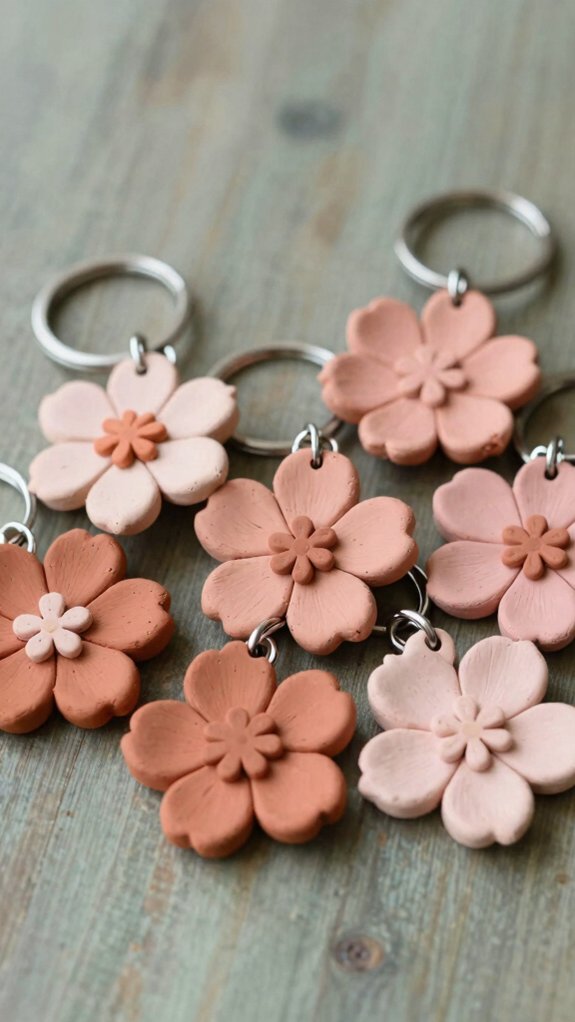
If you want a keychain that feels personal right away, floral initial tags are such a sweet choice!
You’ll roll air-dry clay to about 1/4-inch thick, then use cookie cutters or letter-embossing tools to shape your initial and press on tiny flowers.
Poke a hole near the top before it dries, because future-you will thank you.
Let it dry flat for 24–48 hours, flipping halfway, then paint it in thin layers.
These Air dry clay techniques keep it beginner-friendly and low-cost.
For sealing for durability, brush on 1–2 thin coats, let each cure, and finish with a jump ring.
Crescent Moon Keychains
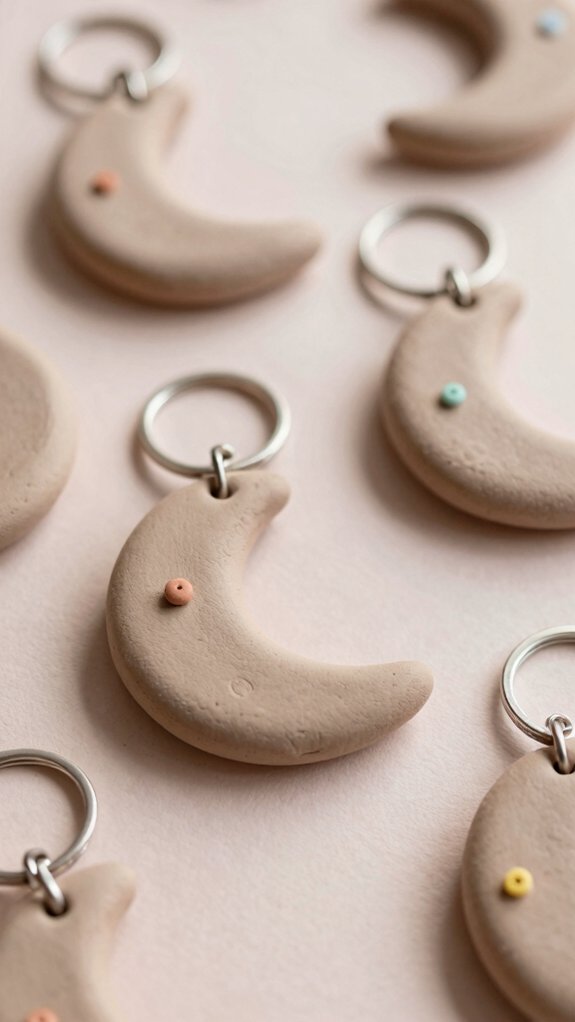
Sculpting a crescent moon keychain feels a little magical, and it’s actually super beginner-friendly! You’ll fit right in making one, even if your craft shelf is tiny.
- Roll air dry clay to 1/4 inch, then shape a smooth moon.
- Poke a hole near the top before drying, so you won’t have to fix it later.
- Dry it flat for 2 days, flipping once for even results.
- Paint with acrylics, then add a Glow in Dark touch or a Galaxy Accent for extra charm.
Seal it, add a jump ring, and boom, you’ve got a sweet little gift!
Tiny Book Charms
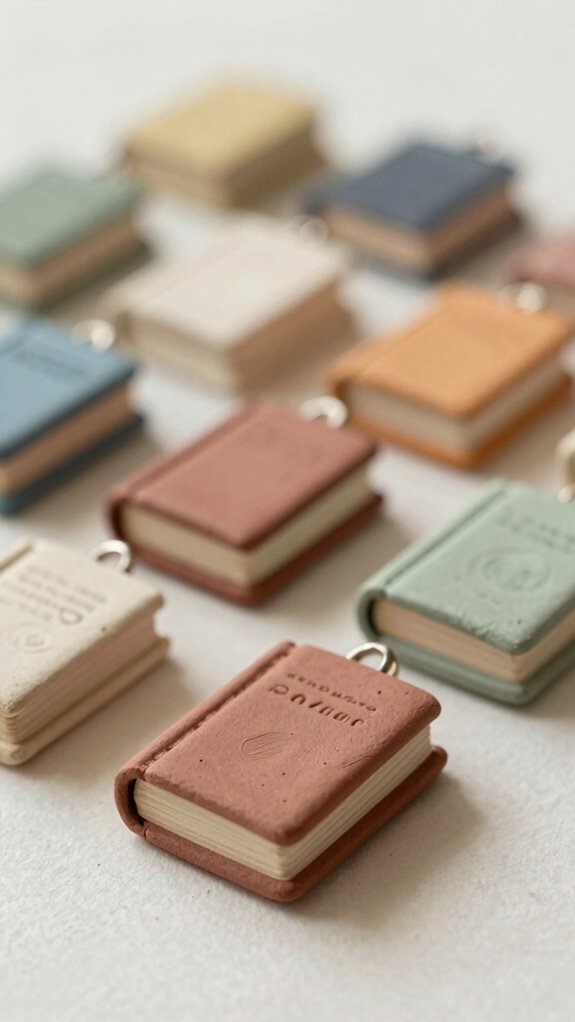
A tiny book charm is such a fun little project, and honestly, it’s the kind of craft that makes your backpack look smarter than it feels!
You’ll need air dry clay, a toothpick, paint, and a jump ring.
Roll the clay to about 1/4 inch, cut a tiny book shape, then try Clay texture techniques by pressing in letters or little hearts.
Poke a hole near the top before it dries, then let it harden for 24–48 hours, flipping once if you can.
Finish with acrylic, sealer, and bookmark styling tips for a cute, gift-ready charm!
Butterfly Designs
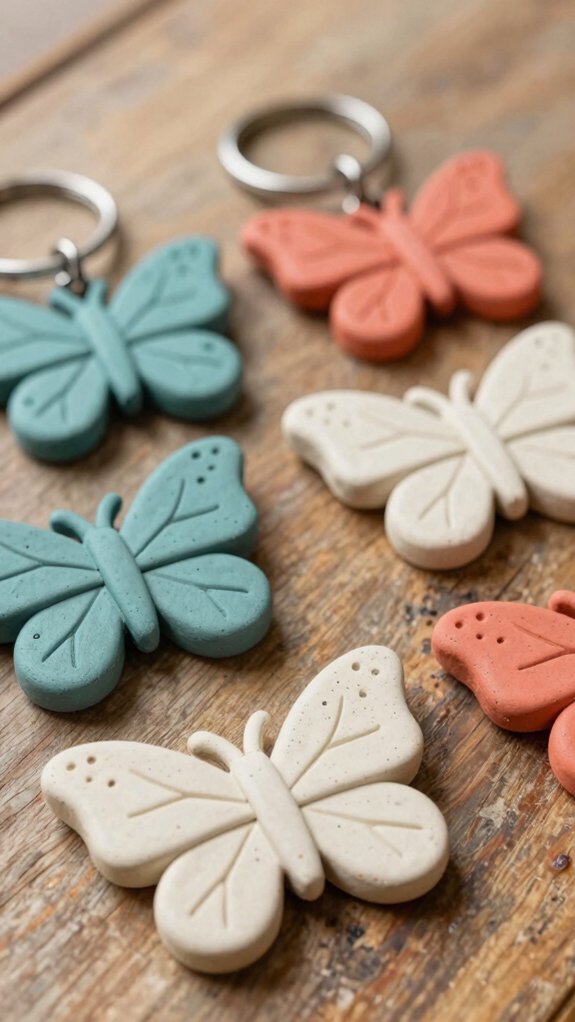
Butterfly keychains are a sweet next project after those tiny book charms, and they look way fancier than the effort they take! You can join the crafty crew with these cute clay wings.
- Roll air-dry clay to 1/4 inch, cut matching wings, and keep the shapes simple.
- Press light veins or minimalist wing textures for charm.
- Poke a hole near the body before drying.
- Paint Butteryflies in gradients, then seal them for a smooth shine.
Let them dry flat 24–48 hours, flipping once.
Add keyring hardware after sealing, and you’ve got a gift that feels personal, bright, and totally shareable.
Baby Sea Turtle Charms
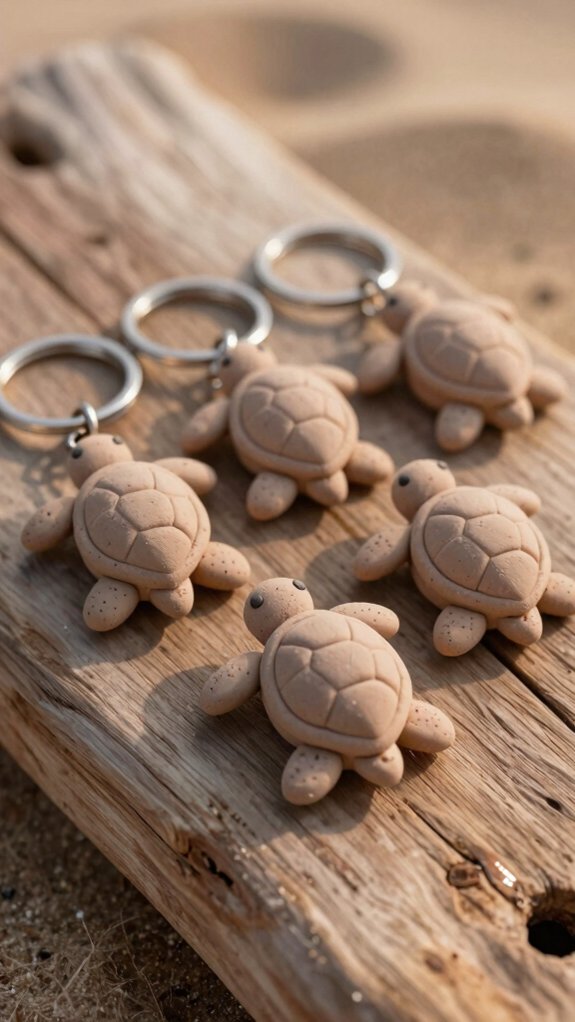
Tiny baby sea turtle charms are such a sweet little project, and they’re easier than they look!
You can roll air dry clay into a flat base about 1/4 inch thick, then shape the shell and flippers with your fingers or a small cutter.
Add tiny shell lines and bumps with a textured tool, and smooth the edges so they don’t crack.
Poke a hole near the top before drying, then let it sit flat for 24–48 hours.
After that, paint it, seal it, and hang your cute sea glass charm on a jump ring, like a tiny ocean wind treasure!
Daisy Flower Keychains
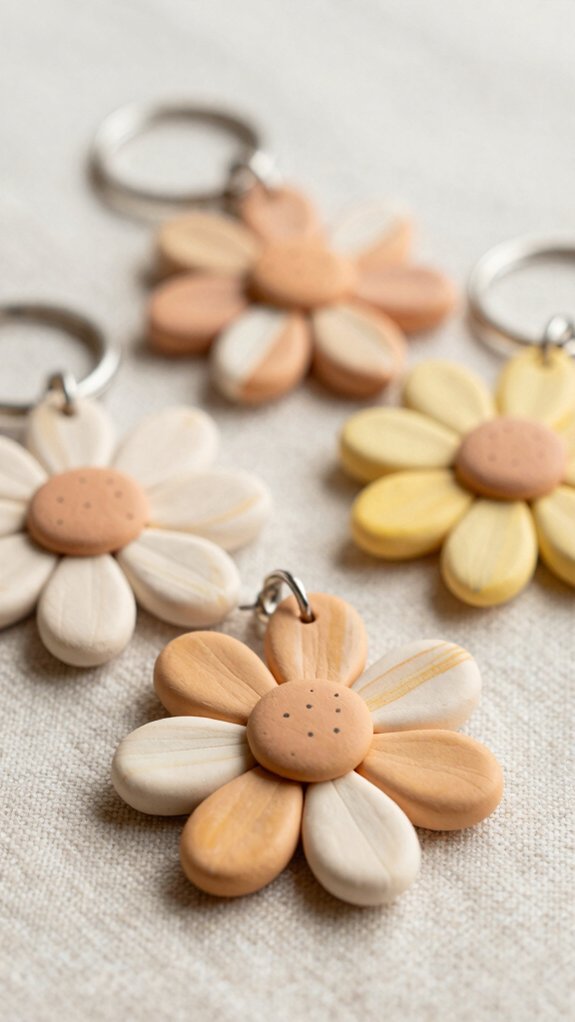
If you’re craving a cheerful little project, daisy flower keychains are a total win—they’re beginner-friendly, low-cost, and honestly just plain adorable! You can shape a flat clay base about 1/4 inch thick, cut simple petals, and suddenly you’ve got a tiny flower buddy for your keys.
- Use light embossing for petal texture.
- Stamp a tiny center dot for a crisp look.
- Try Colorful acrylic techniques with white, yellow, or gold.
- Finish with Sealing for durability, then add the jump ring.
If you’re using air-dry clay, poke the hole first and let it dry flat. Your squad will love these!
Kawaii Cat Faces
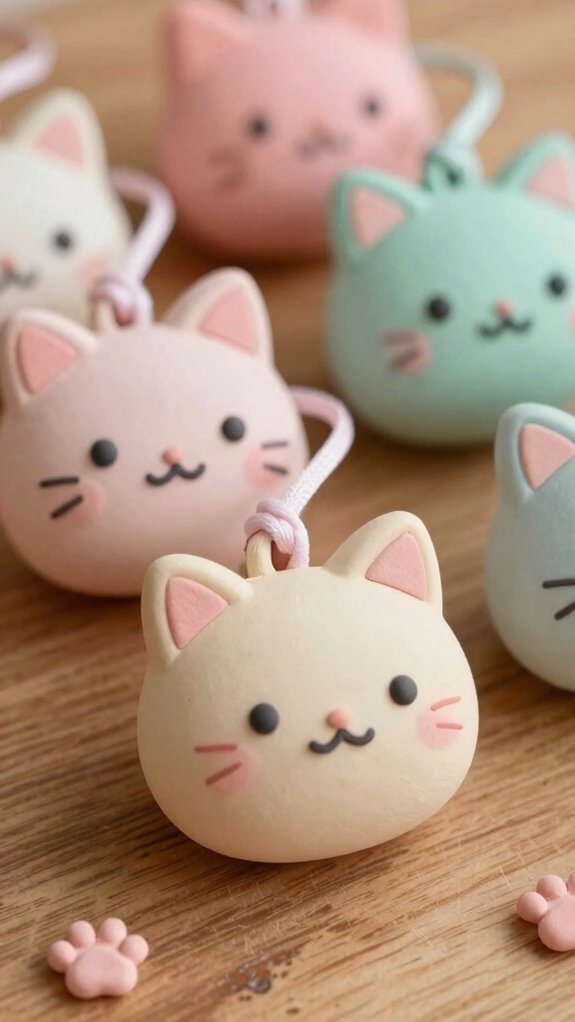
After those cheerful daisy keychains, kawaii cat faces are the next super-cute project you’ll want to make ASAP! Roll Air dry clay to about 1/4 inch, then cut a tiny oval or circle. Add triangle ears, a dot nose, and sweet eyes with shallow detailing, preventing cracks as it dries.
Poke a hole near the top with a toothpick, and let it cure 24–48 hours. Paint on thin acrylic layers, adding blush cheeks last for that tiny-meow charm.
For better keychain durability, seal it with 1–2 thin coats, then attach the ring only after everything’s fully dry. Cute, cheap, and totally giftable!
Personalized Name Charms
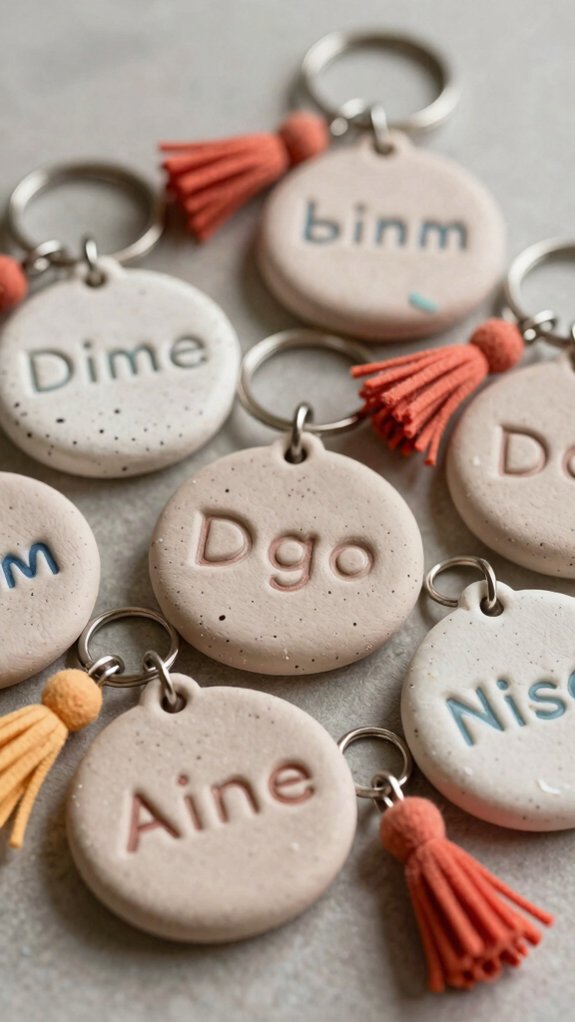
Name charms are such a sweet way to make your keychain feel truly yours! Roll air dry clay to 1/4 inch, cut or emboss your letters, and poke a hole near the top before it dries.
- Paint with thin acrylic layers for clean color.
- Let it dry fully, then check for troubleshooting paint cracks.
- Learn how to seal durability with 1–2 thin coats.
- Slip in the jump ring, then clip it to keys or a bag.
It’s cheap, beginner-friendly, and wow, the result feels like your little squad tag!
Seasonal Mini Collections
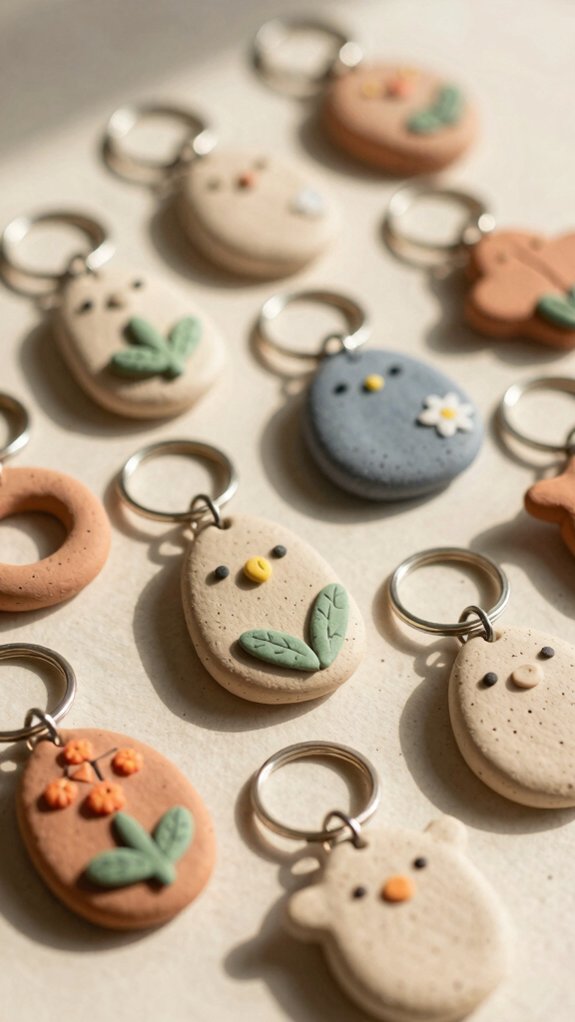
Personalized name charms are adorable, but seasonal mini collections might be even more fun because you can make a whole little squad of keychains for different times of year!
You can cut simple hearts, flowers, stars, or tiny ornaments from 1/4-inch air-dry clay, and they’ll dry evenly in about two days.
Poke each hole before it hardens, then paint thin acrylic layers after 24–48 hours, flipping halfway.
Add a little metallic shimmer for holiday gifting themes or seasonal ornament sets, wow!
Seal with 1–2 thin coats, cure fully, then attach jump rings with glue for a neat, sturdy finish.