
You can make teen-friendly DIYs that feel cool, not kiddie, with simple supplies and big style. Try custom phone charms, painted tote bags, clay jewelry dishes, wall collages, mirror frames, resin keychains, photo displays, fabric scrap organizers, and gifts for friends. Use beads, Mod Podge, clay, scraps, or printed pics, then add easy finishes like varnish or paint. They’re cheap, beginner-friendly, and surprisingly polished—plus, the best surprise idea shows up just ahead!
Key Takeaways
- Choose modern, color-cohesive projects like wall collages, photo magnets, and pressed flower art for a more grown-up look.
- Make wearable crafts such as custom phone charms, clay keychains, and beaded accessories using clean shapes and polished finishes.
- Use practical décor projects like decorated organizers, Altoid tin storage, and trinket dishes that feel stylish and useful.
- Try texture-rich crafts such as macramé wall hangings, resin pieces, and fabric-scrap accessories for a trendy, personalized vibe.
- Finish projects neatly with varnish, Mod Podge, glue sealing, and careful curing so they look intentional, not childish.
Custom Phone Charms
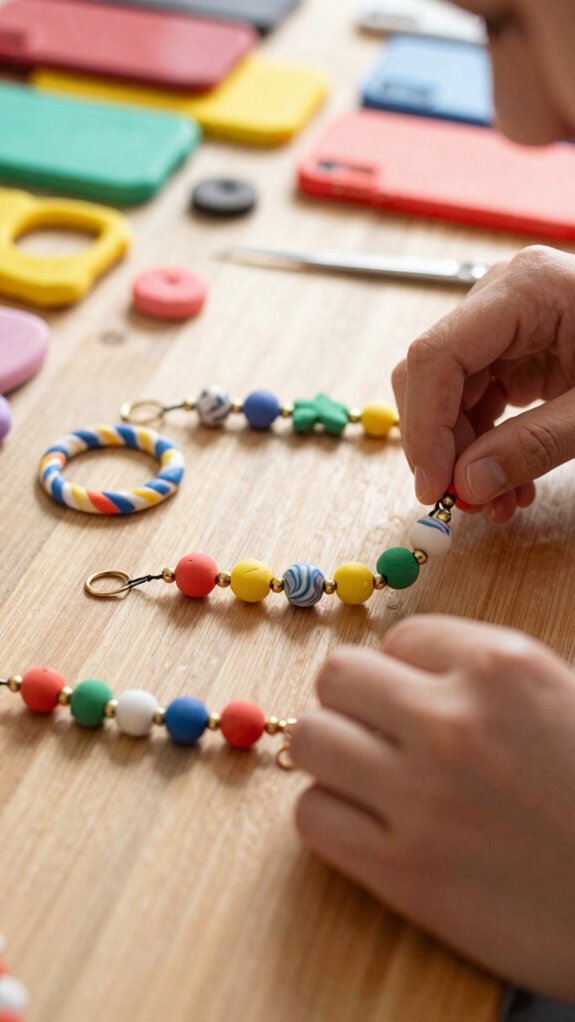
Stringing up a custom phone charm is such a fun way to make your phone feel more like *you*! You can start with a keychain clasp or split ring, then snap on a handmade charm piece, like clay hearts, bead patterns, or tiny resin inserts. Easy, right?
For phone charm safety, choose strong thread or cord, and add seed beads or pony beads, then tie a tight knot and seal it with a dab of glue.
Want a cleaner look? Try air-dry clay or polymer clay, let it cure fully, and finish with varnish.
Follow charm attachment tips, and your phone’ll look polished, personal, and totally yours!
Painted Tote Bags
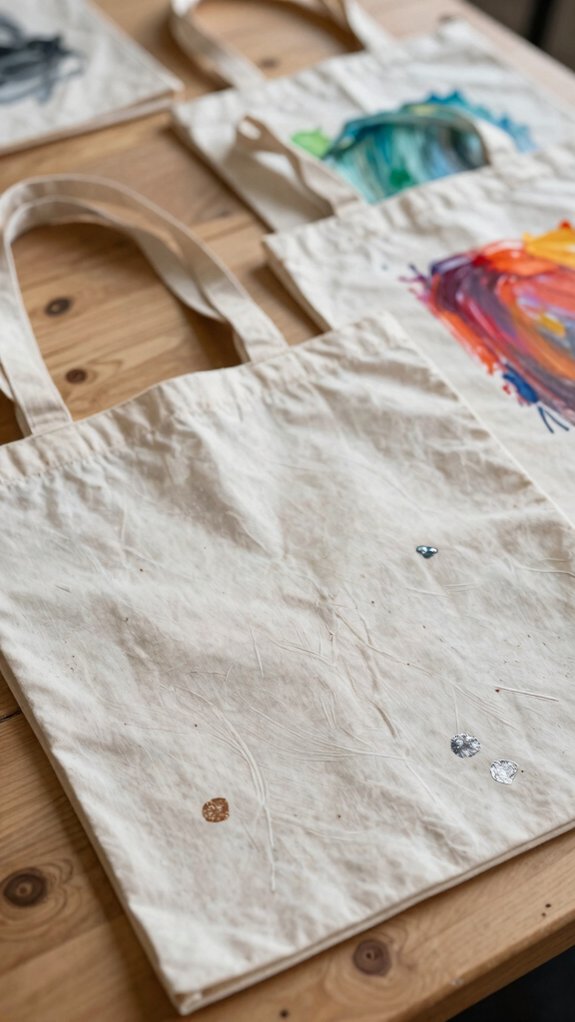
If you loved making your phone feel more personal with a custom charm, a painted tote bag is the next super-fun project to try!
Grab a plain cotton tote, acrylic fabric paint, and a pencil, then sketch bold shapes, doodles, or a marbled look.
Slip cardboard inside so colors don’t bleed through, and paint with Watercolor fabric vibes or textile stenciling for clean edges.
Let it dry fully, then heat-set it if the label says to.
Finish with tiny marker details or a fabric gloss, and you’ll have a bag that looks cool, lasts through school days, and feels totally yours!
Air Dry Clay Jewelry Dishes
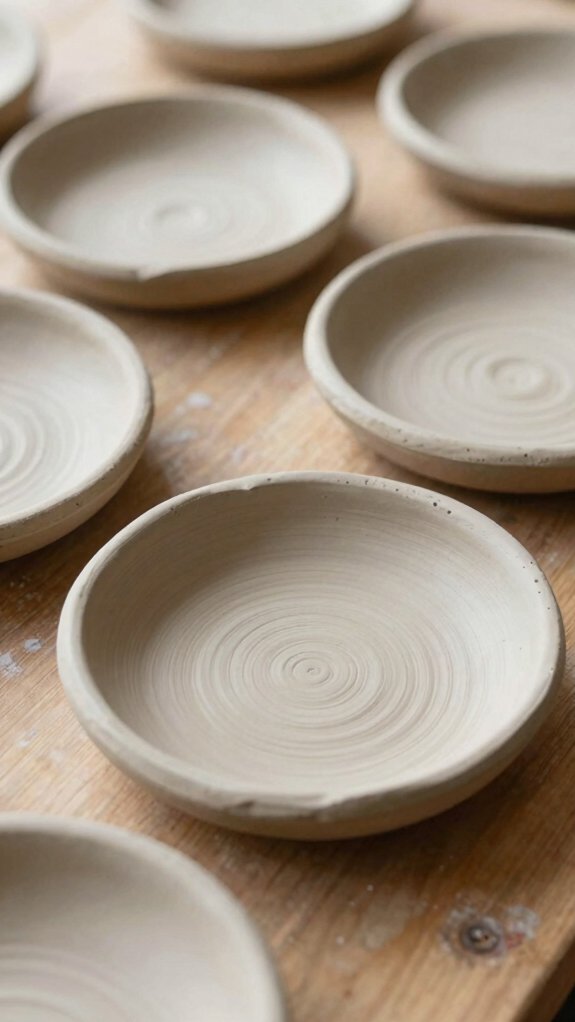
Ready for a tiny project that’s cute, useful, and way less messy than it sounds? Grab beginner-friendly air-dry clay, pinch off a small piece, and shape a shallow bowl for rings, earrings, or bracelets. Smooth the edges with a damp finger or clay tool so it looks polished, not lumpy.
Set it on a non-stick surface and follow drying tips: thicker dishes need more time, so be patient or you’ll invite cracks.
Once it’s dry, try decorating styles like marble swirls, bold paint, or varnish. You’ll end up with a little drop-off tray for keys and clips—actually useful, actually keepable!
Aesthetic Wall Collages
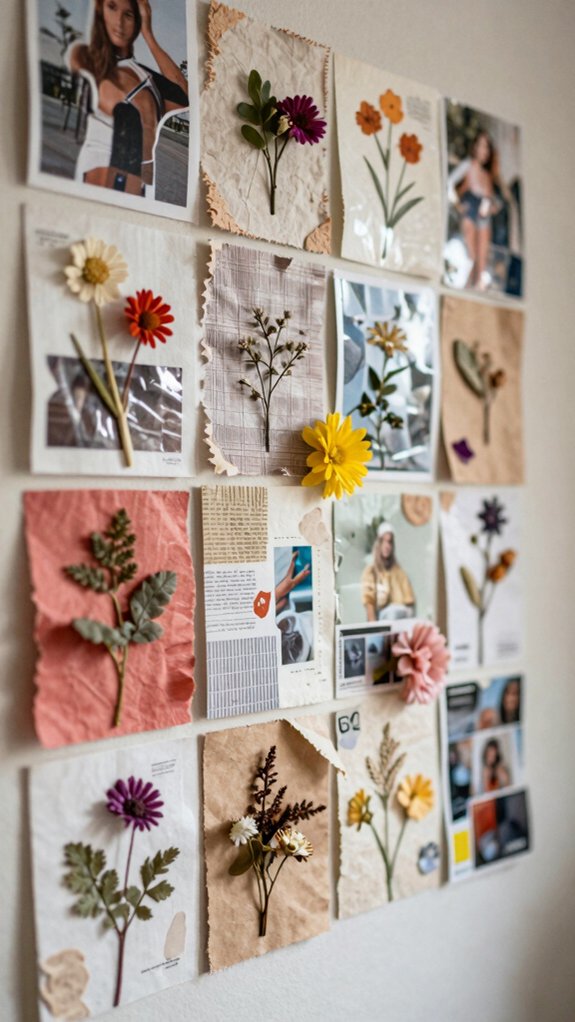
Tiny projects can make a big splash, and wall collages are proof! You can mix photos, magazine cutouts, ticket stubs, scrapbook paper, and simple shapes for a look that feels totally you, not random junk on a wall.
Pick 2–4 colors first, because color palette cohesion keeps everything polished and easy to pull together. Then try grid layout planning on the floor, so you can shift pieces until the spacing feels right.
Add repeated hearts, triangles, or the same tiny font for visual anchors, then seal paper layers with Mod Podge.
The result? A clean, glossy collage that looks cool fast!
Personalized Mirror Frames
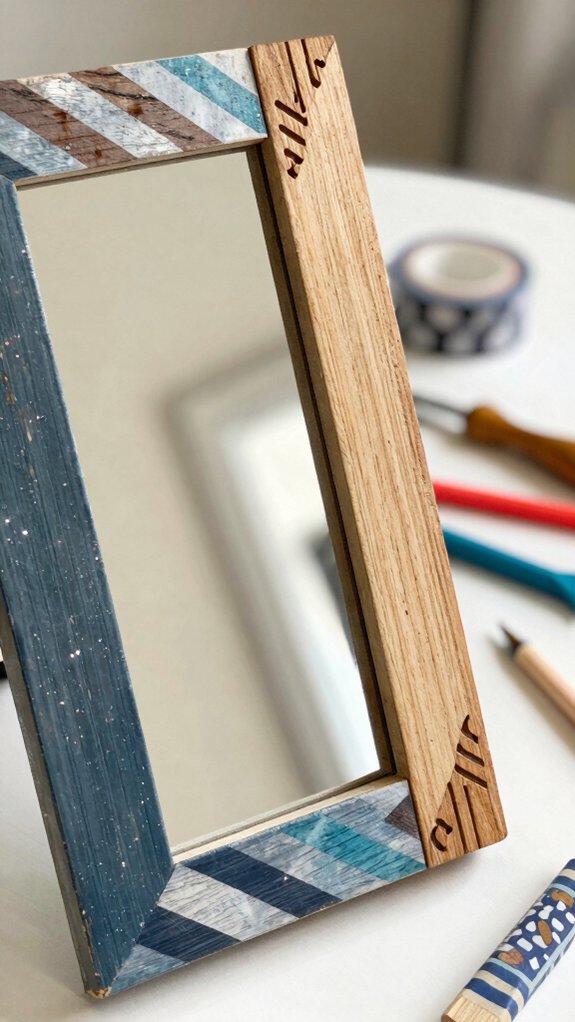
A plain mirror can turn into a total room glow-up with just a few craft supplies! Start with a thrifted or plain mirror, then build a lightweight frame from cardboard, wood strips, or foam board. Seal your recycled frame redesign with Mod Podge so it lasts.
Next, make it yours with yarn-wrapped letters, collage cutouts, or painted geometric shapes. Add fabric trim or tiny glitter accents, then let it dry fully. For the cleanest vibe, try stencil lettering on the edges. Finish with a sturdy backing and hanging wire, and boom, your room feels polished and totally you!
Beaded Bracelets
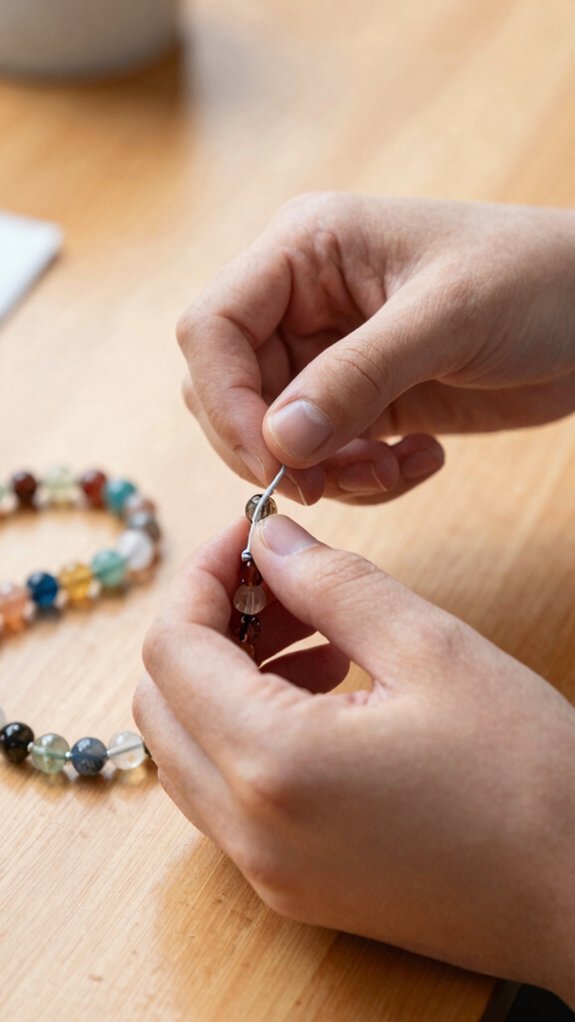
If you want a DIY that looks cute, costs very little, and doesn’t require a giant craft mess, beaded bracelets are a total win! You just need sturdy string, tiny beads, and maybe a needle if the holes are stubborn.
Pick a pattern, like an alternating stripe, and play with Bead color theory so your bracelet matches your outfits.
Thread slowly, then tie a tight knot or add a small clasp for a clean finish.
Want bestie vibes? Make matching sets, then use charm placement tips to add one accent bead.
Look for patterns with animal or icon options, and you can level up fast!
Decorative Desk Organizers
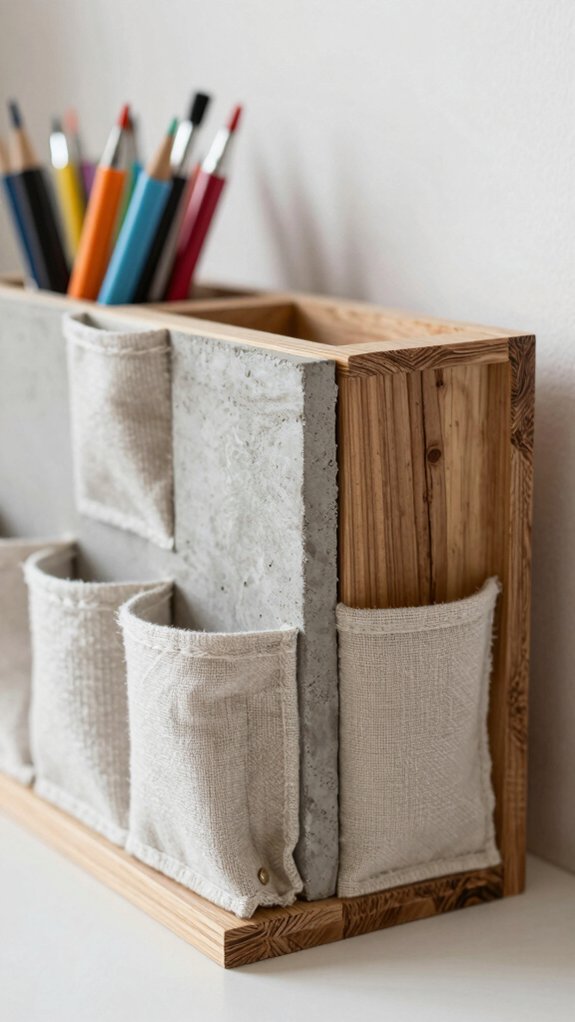
Your desk can look way more fun without buying elaborate storage, because a few cheap supplies can turn plain containers into cute organizers! Try a magazine holder or cardboard bin for scrapbook storage, covered in scrapbook paper and sealed with Mod Podge. For tiny stuff, decorate an Altoid tin for pens and clips. A painted terracotta dish keeps rings handy.
| Idea | Supplies | Result |
|---|---|---|
| Tin tray | tin, paper, paint | mini organizer |
| Cord tube | tube, scraps, glue | tidy cords |
| Labels | paper, marker, glue | desk labeling |
Finish with paperclip toppers—instant aesthetic, wow!
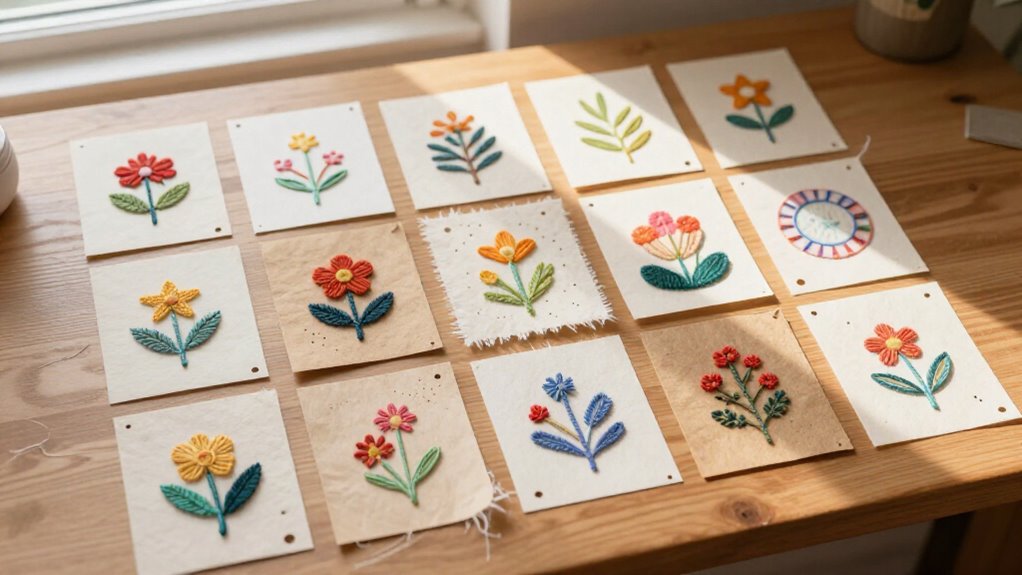
Pressed Flower Art
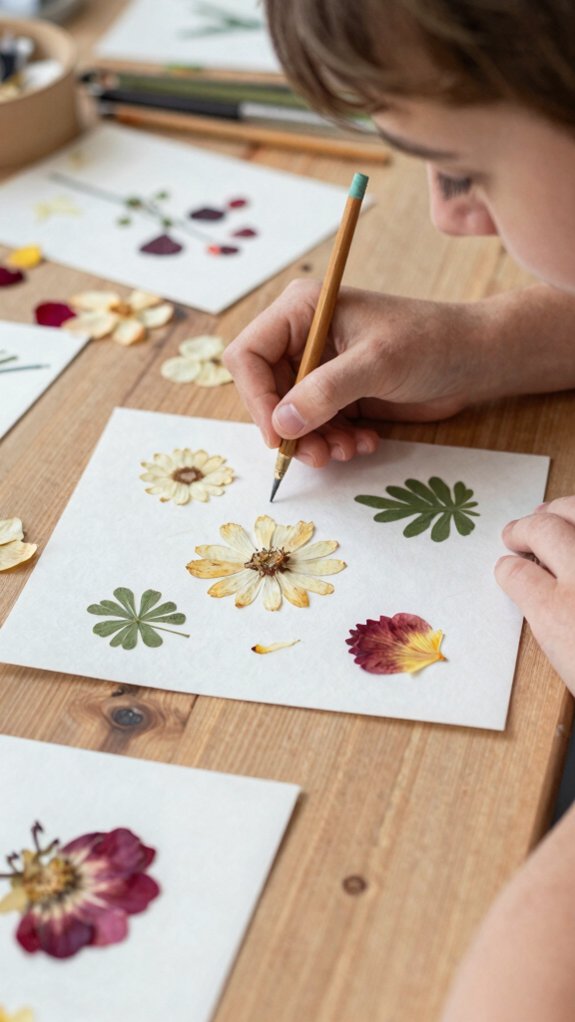
Pressed flowers can turn a plain piece of cardstock into something that looks straight-up magical, and the best part is that you don’t need elaborate art skills to make it happen!
Gather dried blooms, cardstock, clear-drying glue, and a waterproof top coat for Pressed Flower Safety and lasting shine.
Use Flower Preservation Tips: press them in books for 1–2 weeks, then wait until they’re fully dry so they stay bright and don’t crumble.
Arrange your flowers first, trim the edges, and smooth them from the center outward.
Seal it all up, and boom, your wall-worthy art feels totally you!
Clay Keychains
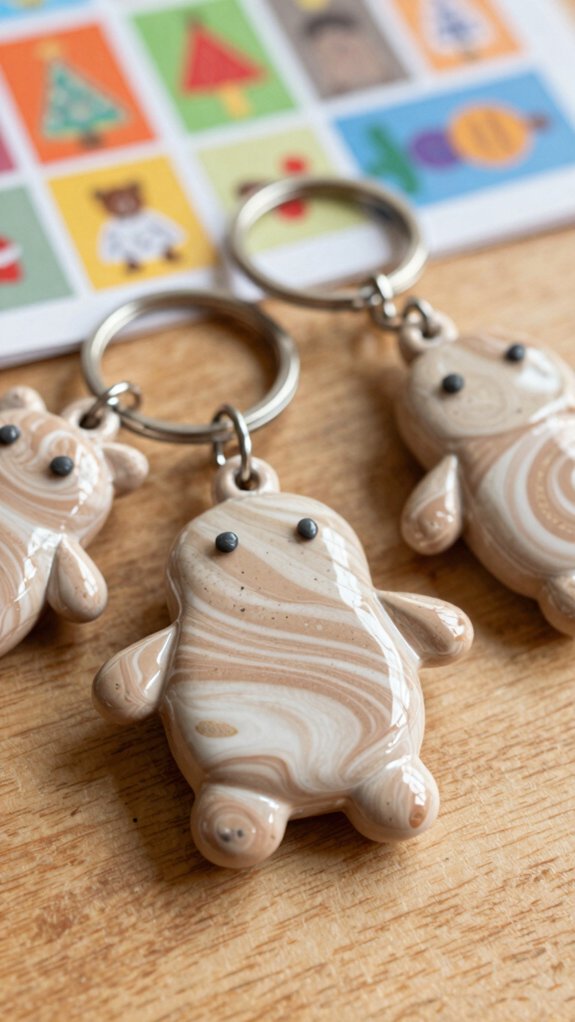
Clay keychains are one of those crafts that look way fancier than they actually are, which is always a win! Grab air-dry or polymer clay, roll it thin, then cut circles, stars, or initials for a lightweight finish.
You can add clay texture tips with toothpicks, tiny beads, or even personalized charm lettering while it’s soft, so your piece feels totally yours.
Let it cure fully, or bake it as directed, then seal it with clear varnish for a smooth shine.
Punch a hole first, add the ring, and you’ve got a cool little key buddy!
LED Room Decor Projects
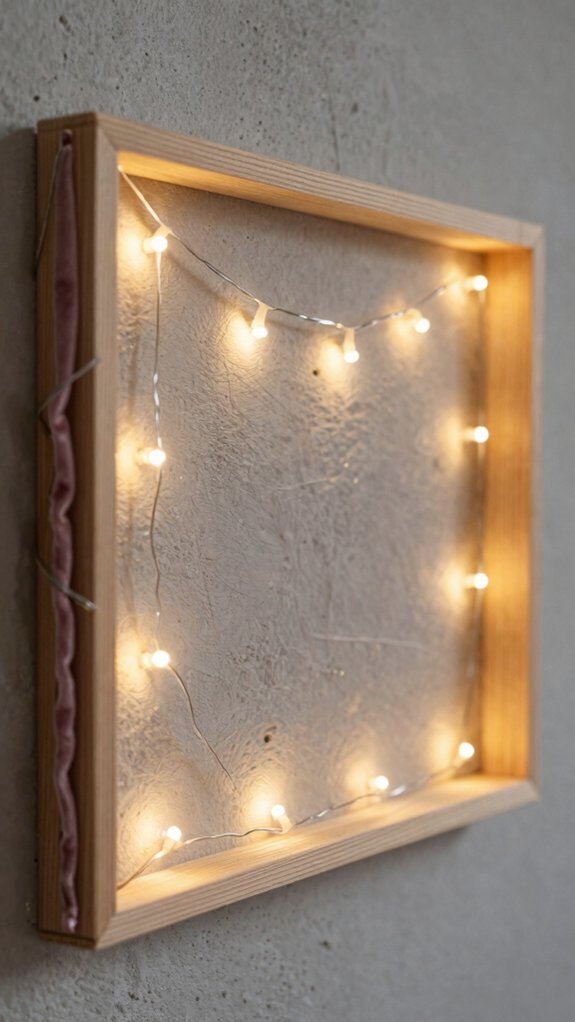
When you want your room to feel instantly cooler, LED decor is such a fun place to start! Hang battery fairy lights behind photos with adhesive hooks for a warm photo-collage glow, and keep the pack easy to reach.
Want something cleaner? Cut holes in ping pong balls, slide in tiny LEDs, then add a light coat of paint for soft, diffused orbs that look way fancier than they cost.
For a desk win, seal magazine cutouts onto a clear jar with mod podge, fill it with fairy lights, and boom—your own lantern! Finish with colorful LED signage or cozy corner lighting, and keep wires untangled.
Macramé Wall Hangings
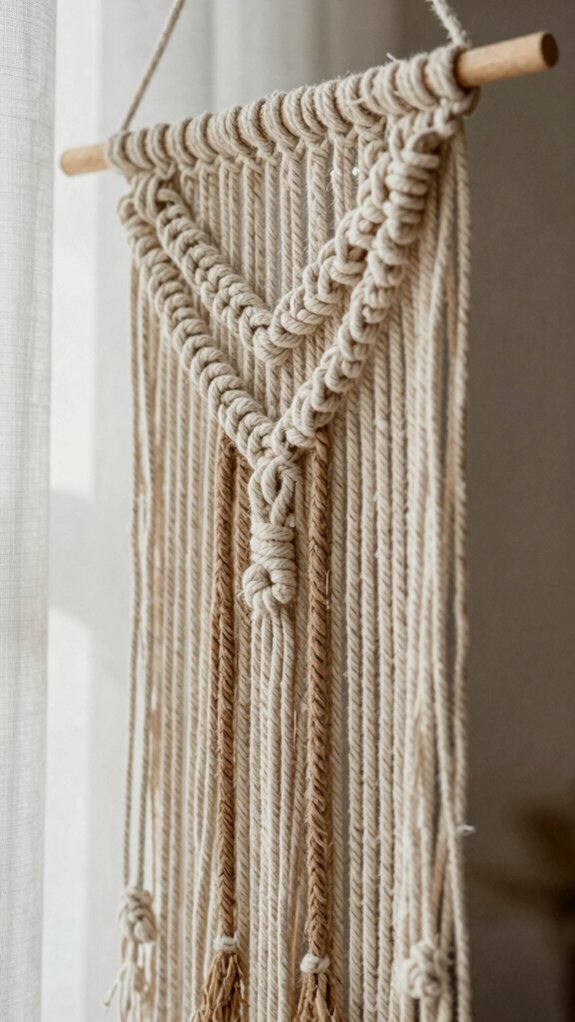
Macramé wall hangings are way easier to start than they look, and once you learn a few basic knots, you can build a whole design without feeling like you need wizard-level craft skills!
You’ve got this, seriously.
- Try Beginner knot practice with a short cord set.
- Sketch your layout before you tie anything.
- Match cords to teen room color themes.
- Use a simple dowel or ring for support.
- Trim the ends even for a clean look.
Keep the first piece simple, with repeated knots and even spacing, so it feels quick and finished.
Then add a tiny knot cluster or fringe near the center, and boom, it looks intentional, not random!
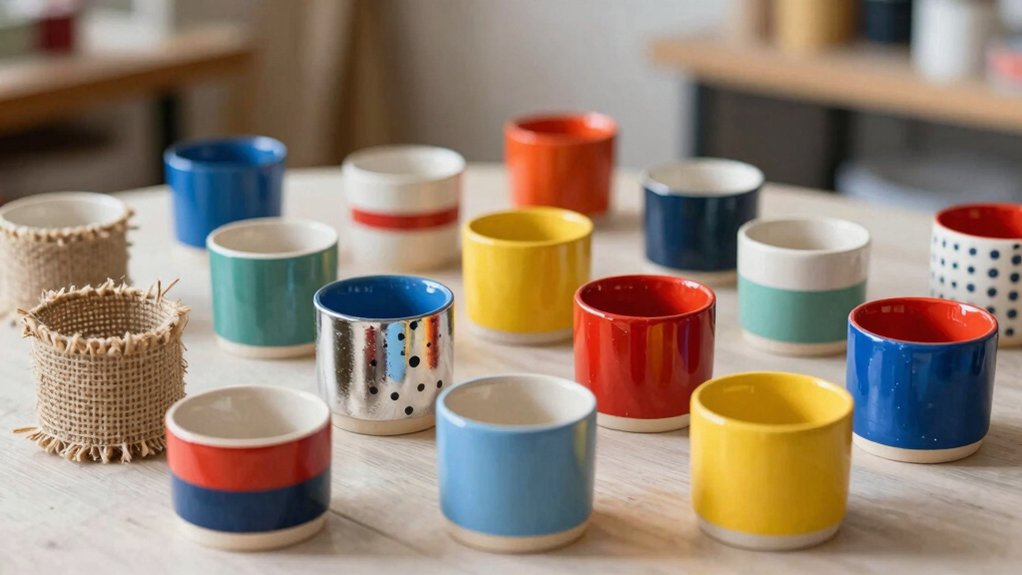
Painted Plant Pots
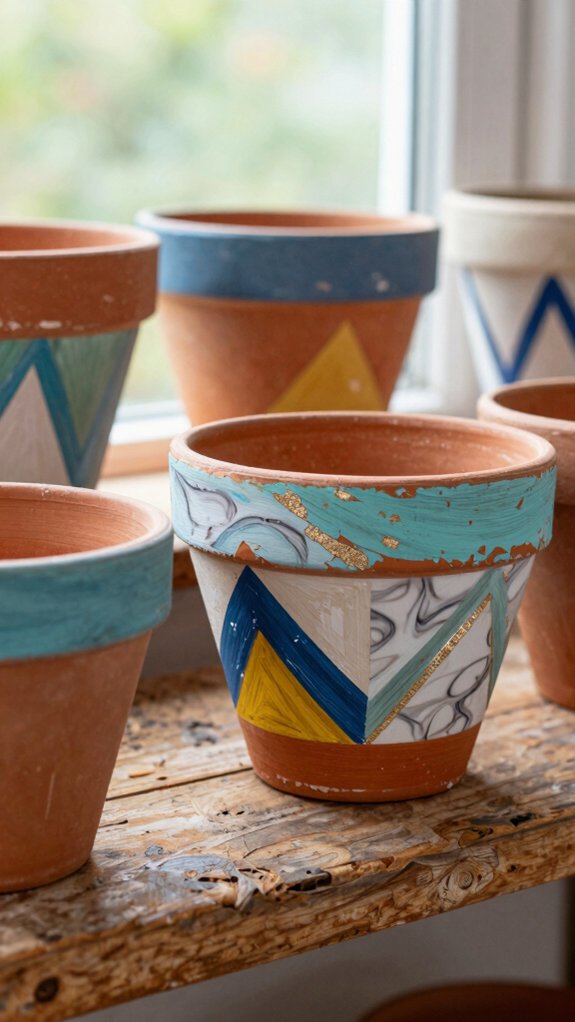
If you’re loving the handmade vibe from macramé, painted plant pots are a super fun next project, and they look way fancier than they really are!
Start with clean tin cans or small pots, acrylic paint, and a small brush.
Use your color tip sheet to pick a modern palette, then paint smooth coats so the finish looks store-bought, not streaky.
Add dots, stripes, butterflies, or geometric shapes, letting each layer dry first.
Punch drainage holes in cans, then seal everything with beginner varnish.
Want extra flair? Try an ombré fade or a tiny motivational label—hello, desk glow-up!
Resin Accessories
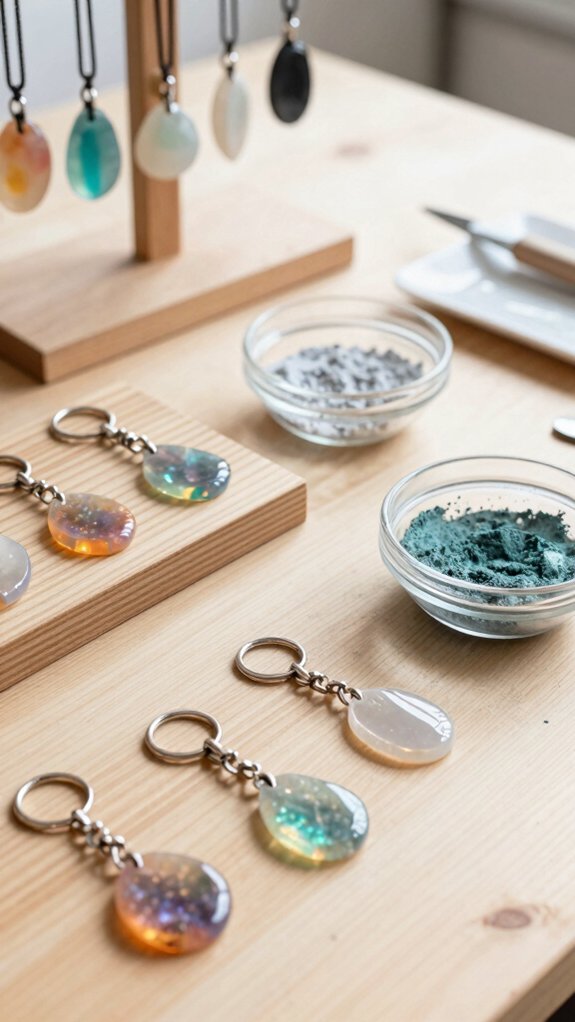
With a little patience and a good mold, resin accessories can turn into glossy little showstoppers!
Start with resin safety basics and adult supervision, because this craft isn’t as simple as paper glue.
Use molds for coasters, keychains, or tray-style charms, then mix slowly for bubble free pouring.
- Pressed flowers add a soft vibe.
- Shells give beachy energy.
- Glitter makes things pop.
Wait for full curing, not “almost.”
Unmold carefully, then smooth sharp edges.
Yeah, it can get a little messy, but that’s part of the fun!
When you add chains or hardware, you’ll have something that feels totally yours and seriously polished.
DIY Photo Displays
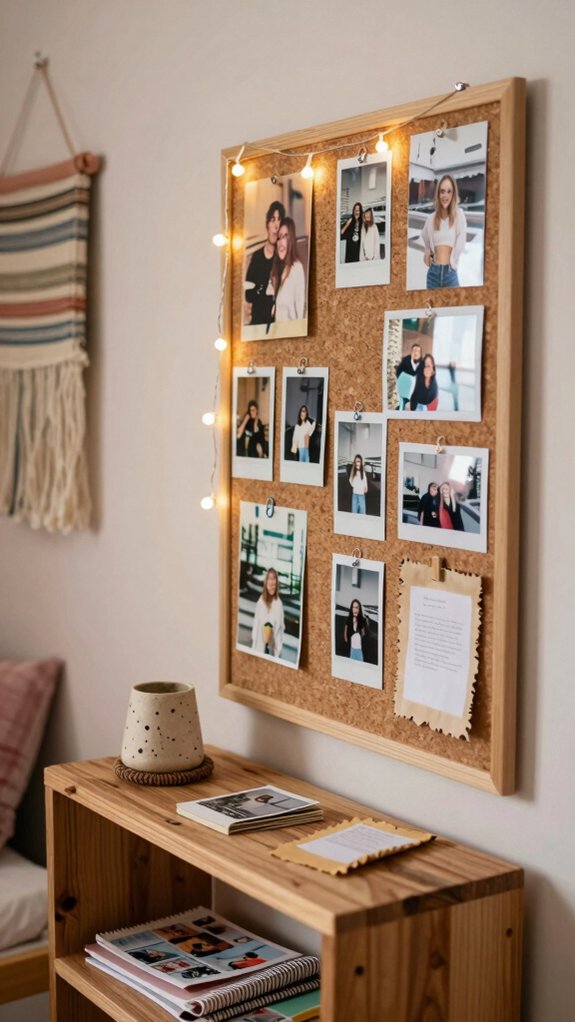
Ever notice how a few photos can instantly make your room feel more *you*?
Start with a wall collage: print favorites, grab Colorful scrapbook paper, and follow modern layout tips so the whole thing looks clean, not cluttered.
Cheap, easy, and very “I’ve got taste,” right?
Want something smaller?
Make photo magnets with cardstock, seal the pics, and add strong magnets for lockers or fridges.
For your desk, try air-dry clay holders, then paint them.
Finish with Mod Podge for a glossy, sturdy look, or tuck mini prints into decorated jars.
Cute, tidy, totally you!
Fabric Scrap Creations
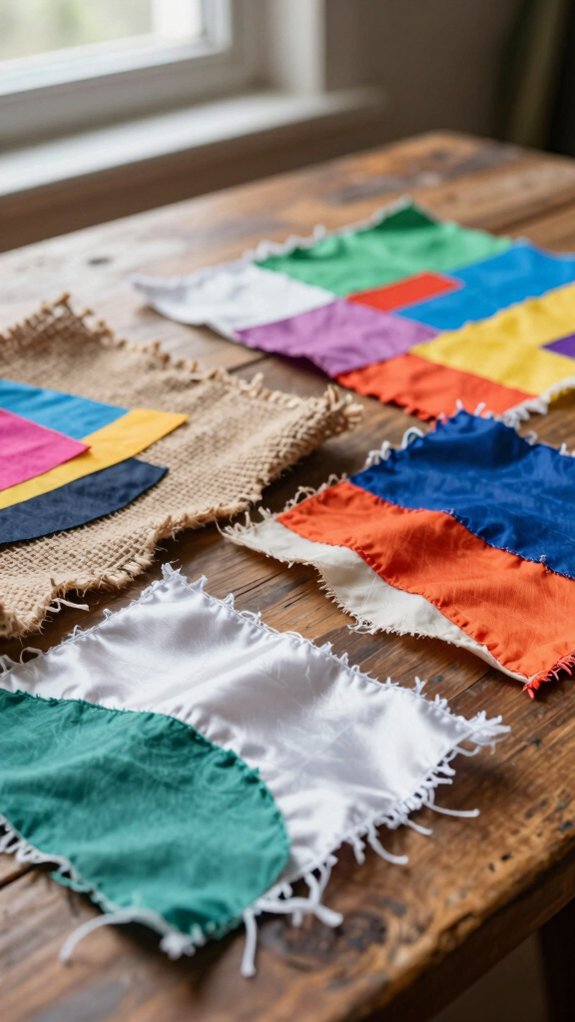
Fabric scraps are essentially tiny treasure piles, so don’t toss those old T-shirts, leftover quilting bits, or even mismatched socks just yet!
- Sort scraps by color for easy mixing.
- Wrap strips over cardboard for a bin.
- Add glue, then lace or ribbon.
- Cut thin ribbons for upcycled accessories.
- Stitch beads on shapes for flair.
You can make budget friendly decor fast, like a rag wreath or a fabric organizer bin, with almost no sewing.
For a cooler twist, stuff tiny pieces into a pouch for a keychain pull.
Finish edges neatly, and your room starts looking styled, not childish.
Save, cut, glue, repeat—your crew will ask where you got that look!
Handmade Gifts for Friends
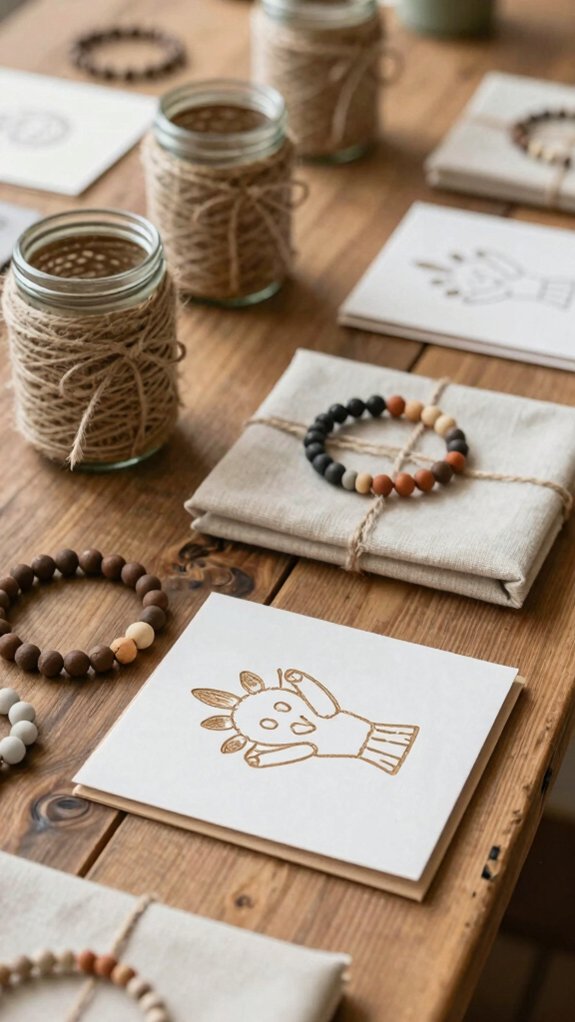
Handmade gifts for friends don’t have to look “crafty” in the old-school way, because you can make stuff that feels cool, useful, and totally share-worthy!
Try photo magnets or a mini album with printed pics, Mod Podge, and a sturdy backing—easy, cheap, and super personal.
For quick wins, make glitter mugs or confetti coasters with scraps and sealer, then wrap them in Sustainable wrapping.
Want more wow? Decorate an Altoid tin as a tiny organizer, or shape air-dry clay jewelry dishes.
Finish with friendship bracelets or beaded keychains and teen friendly branding for a polished, crew-approved gift!