
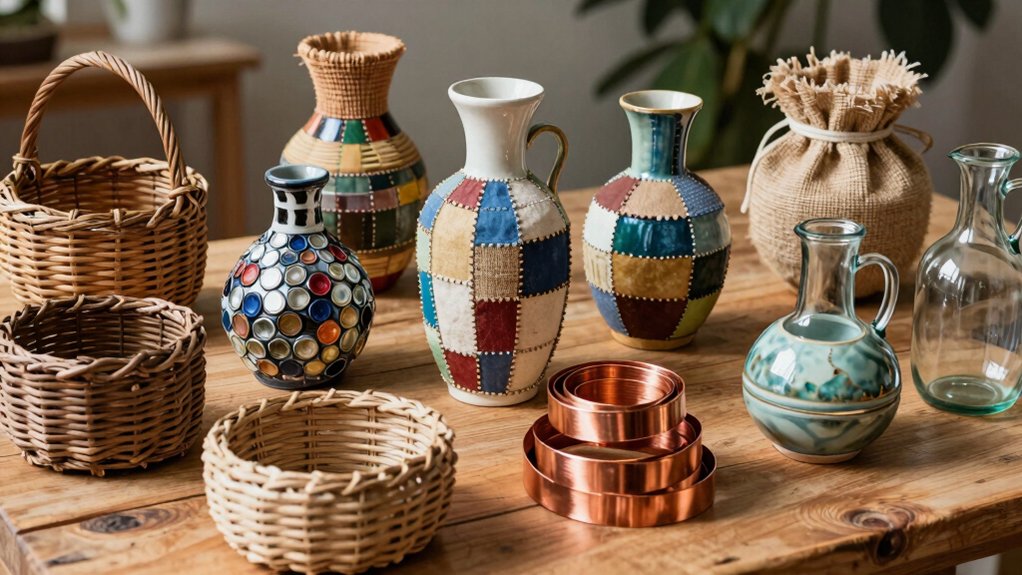

You can turn trash into charm with easy recycled crafts! Clean glass jars store pantry staples, cardboard boxes become desk dividers, and tin cans make sunny herb planters. Plastic bags weave into baskets, corks can form a handy trivet, and a wooden crate turns into a cute side table. Then try a bottle bird feeder, a T-shirt tote, or a CD mosaic tray for a shiny wow finish—pretty clever, right? Stick around for more simple ideas!
Key Takeaways
- Recycled crafts can turn common waste like jars, cans, bottles, cardboard, and CDs into attractive, useful household items.
- Glass jars make sturdy pantry storage for dry goods when cleaned, labeled, and sealed tightly.
- Cardboard boxes can become custom desk organizers with dividers, reinforcing tape, and decorative covering.
- Tin cans and plastic bottles can be reused as herb planters or bird feeders with drainage holes and proper finishing.
- Old shirts, plastic bags, bottle caps, and CDs can become tote bags, baskets, magnets, and mosaic trays.
Glass Jar Pantry Storage
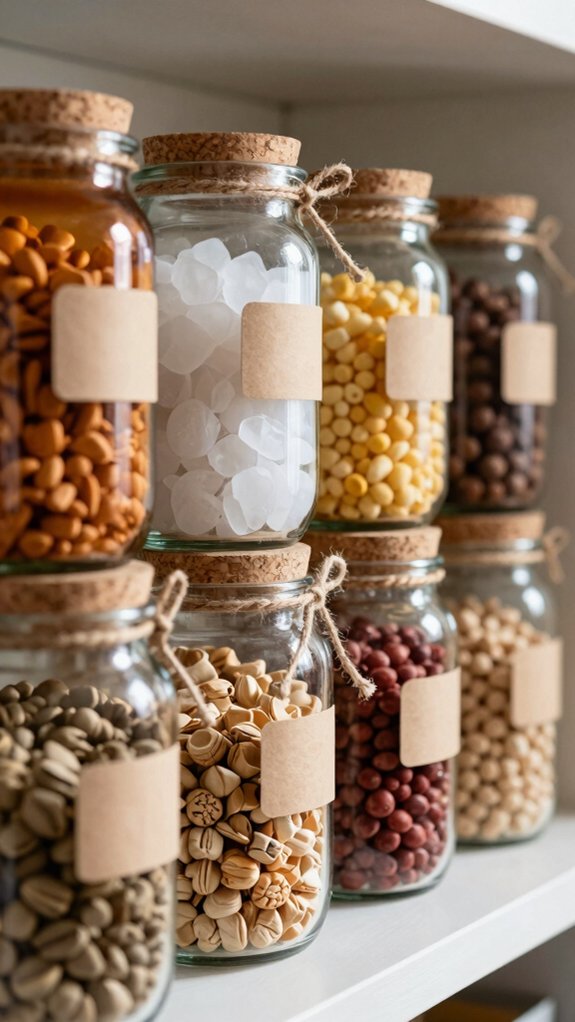
Give those empty glass jars a second life in your pantry, and they’ll quickly go from “takeout leftovers” to “tiny food heroes” in no time!
Wash and dry them well, lids included, so old crumbs don’t crash the party.
Then fill them with rice, pasta, flour, sugar, or dried beans, and enjoy smell-free, sturdy storage that beats flimsy cardboard.
For smarter labeling, grab a label maker or painter’s tape and a marker, then add the name and date, like “rice 08/01/26.”
Want extra help with clumpy foods?
Swap in tight lids for airtight storage, and you’ll keep moisture out, freshness in, and your shelves looking happily organized!
Cardboard Desktop Organizer
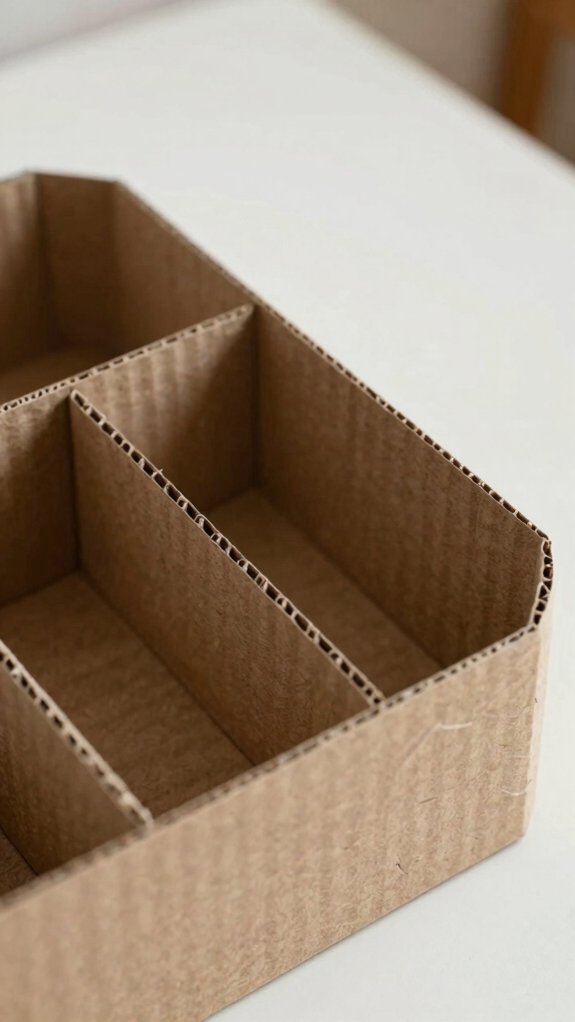
Those empty cardboard boxes you’d normally toss after breakfast or a delivery can pull double duty on your desk! Grab one, measure your space, and cut it into a base and dividers for a corrugated organizer that fits your stuff just right.
Cover the pieces with decorative paper or fabric scraps, then brush on Mod Podge or strong craft adhesive so it holds up.
Glue shorter strips inside for pens, markers, scissors, and sticky notes, and add craft reinforcement with extra cardboard or tape on the corners.
Let it dry fully, then paint or seal it for a clean, bought-from-the-store look—wow!
Tin Can Herb Planters
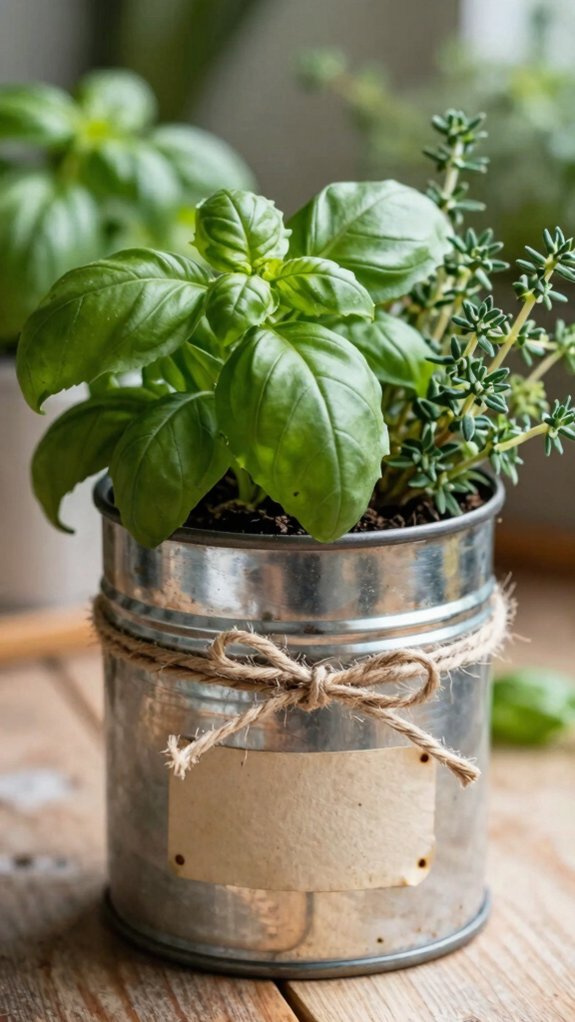
If you’ve got a few empty tin cans sitting around, don’t send them to the recycling bin just yet—turn them into cheerful little herb planters instead!
Clean the cans, poke drainage holes in the bottom, and let the fun begin.
Add a well-draining potting mix, not garden soil, then tuck in seeds or small seedlings and cover them lightly.
Place your planters on a bright windowsill or outdoors, since herbs love at least 6 hours of sun.
Paint or decoupage them, let them dry, then label each one.
For indoor winter care, water lightly, and try companion planting for a tiny, happy kitchen garden!
Woven Plastic Bag Basket
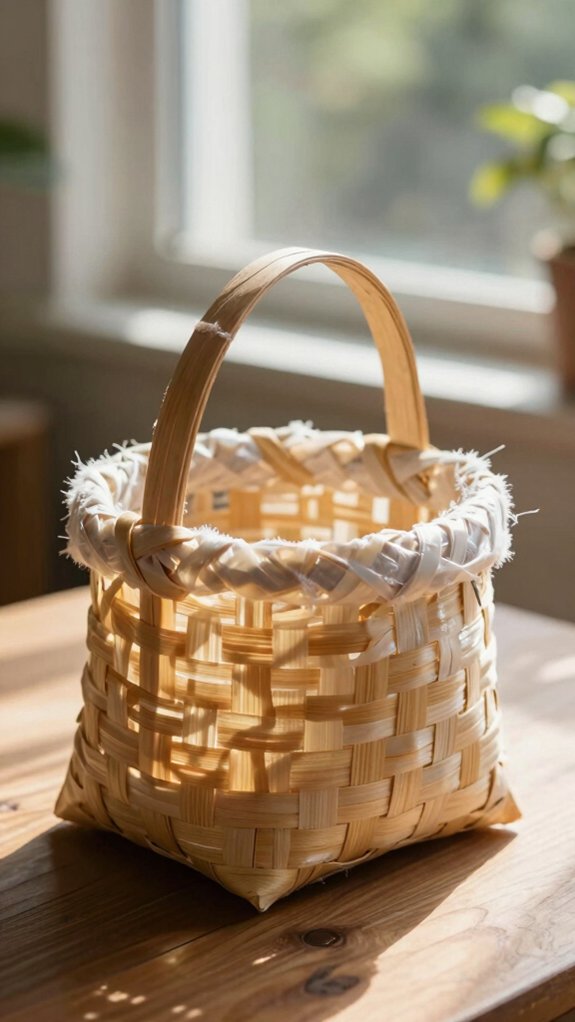
With a few humble plastic shopping bags, you can make a basket that looks way fancier than the materials sound—pretty neat, right? Cut them into 1–2 cm strips, then braid or spiral them into one long plarn strand.
Use a recycled lid, cardboard circle, or thick ring for a sturdy base, and weave the plarn in tight rows around it. Keep the pattern circular so your basket rises neatly, then tuck in knots and reinforce the rim.
This quick project turns textile waste into cheerful upcycled home decor, and the finished basket feels sturdy, useful, and totally belonging-worthy!
Wine Cork Trivet

Wine corks are another recycled treasure that can turn into something super useful, and this project is a fun one!
You’ll need clean corks, strong craft glue, sandpaper, and a knife for even slices.
Cut them into neat pieces, then arrange them tightly in a square or circle, tops and bottoms lined up like a tiny team.
Glue everything together, trim the edges, and sand them smooth so your trivet sits flat.
For extra protection, try Cork sealing tips: add a thin waterproof sealer.
Finish with Trivet finishing options like felt pads underneath, and you’ve got a sturdy, low-cost kitchen helper!
Fabric Scrap Coasters
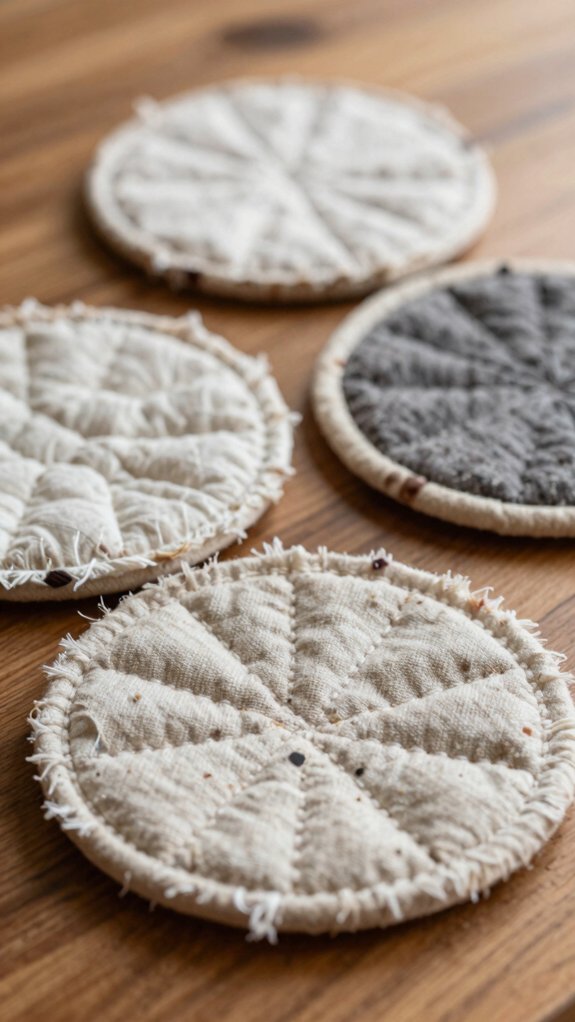
Even tiny fabric scraps can become something surprisingly cute, and these coasters are a perfect way to give leftover cloth a second life!
Gather cotton, denim, or knit bits, then use Color Coding to sort them by shade for a happy, balanced look.
Cut the scraps into small squares or strips, and glue them onto cardboard or cork with craft adhesive or Mod Podge.
Want extra comfort? Slip felt or batting underneath before sealing with thin coats of decoupage medium.
Let each coaster dry flat for 24 hours, trim the edges, and add Care Labeling so your set stays neat, reusable, and proudly yours!
Denim Storage Pocket
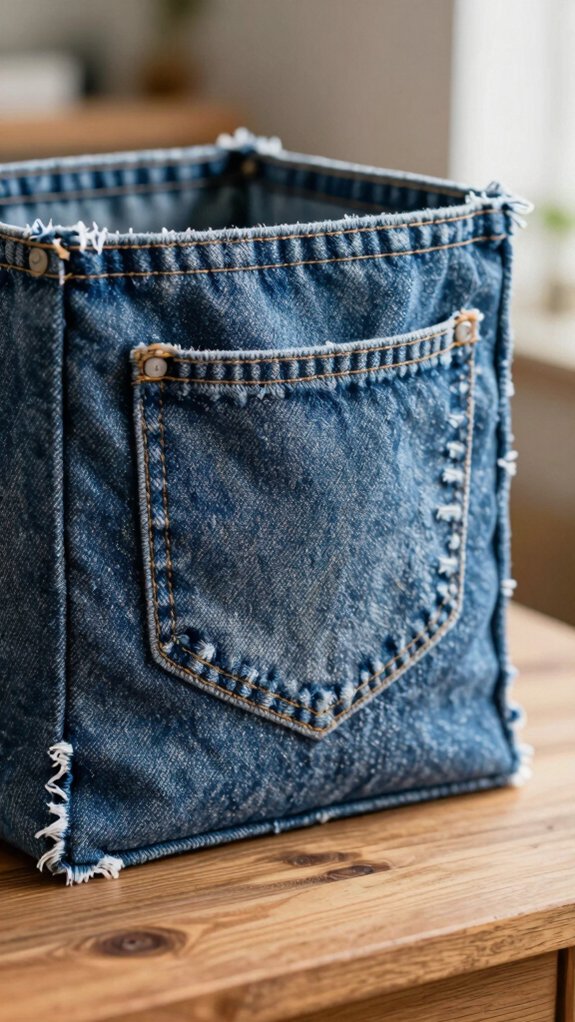
An old pair of jeans can turn into a super handy denim storage pocket, and it’s way easier than it sounds! In your next Upcycling workshop, cut out the pocket area, then stitch or glue the edges so they won’t fray.
This easy sewing denim makeover gives you tough wall storage for craft supplies, sewing notions, or tiny kitchen tools.
Add a denim strip or bias tape across the top, so nothing slips out, and trim loose threads for a neat finish. Want it hung up? Attach a back strip with buttons or a rod, then wash it.
Your new pocket’s ready!
Newspaper Gift Bags
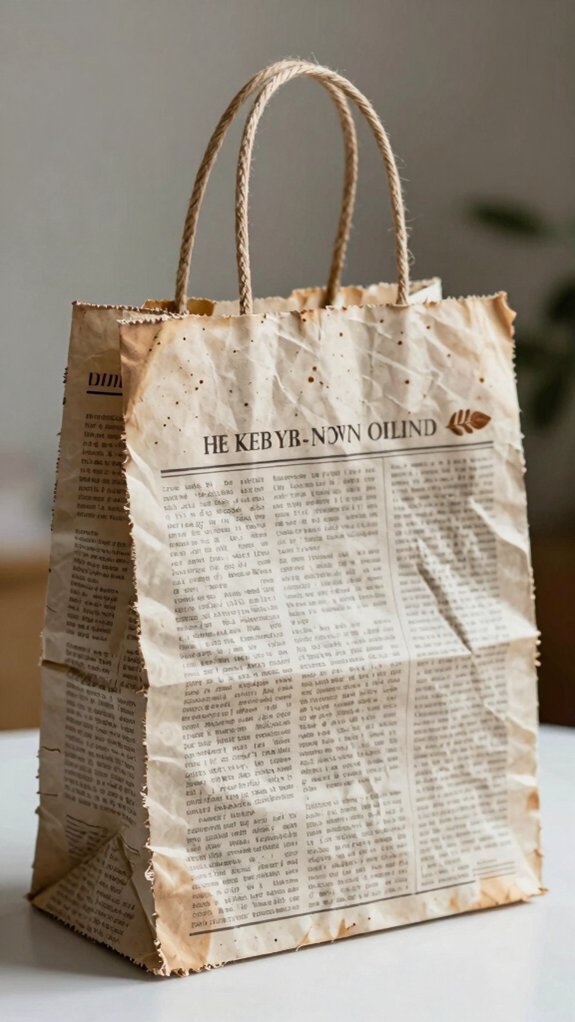
If you’ve got scraps, leftovers, and “maybe I can make something from this” energy, old newspaper is ready for its close-up! You can make Upcycled Wrapping that feels like a little club for clever gifters.
| Step | Tip |
|---|---|
| Wrap | Use clean newspaper around your gift |
| Reinforce | Fold the bottom twice for strength |
| Decorate | Paint, découpage, or add contact paper |
For a Budget Friendly Craft, tape the seam, punch top holes, and add ribbon or twine for a Simple Handle Design. You’ll love this Sustainable Gifting move, because it’s cheap, sturdy, and surprisingly cute! Finish with a tag, and boom—gift-ready goodness.
Bottle Cap Magnets
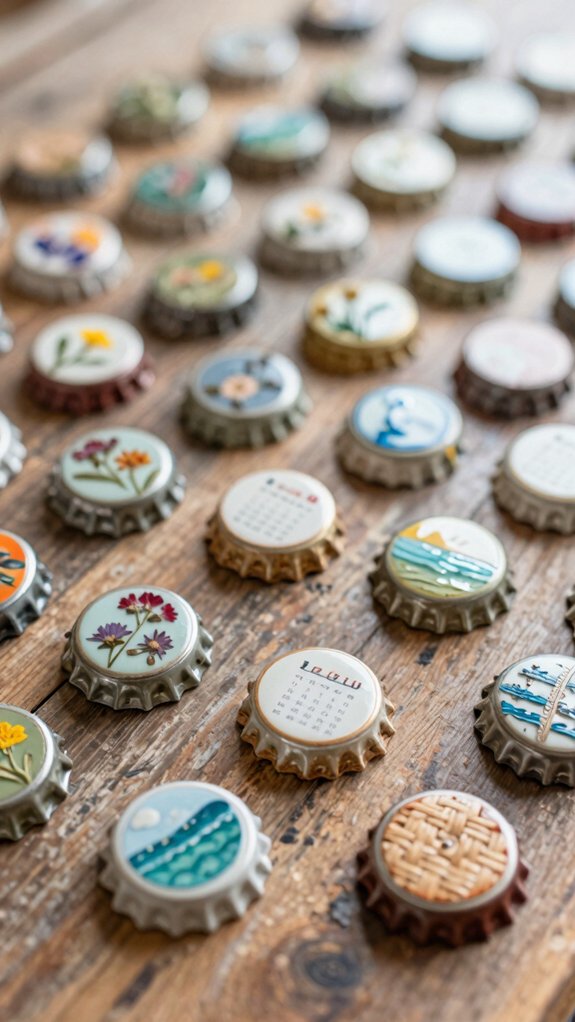
Got a stash of bottle caps hanging around? You can turn them into cute bottle cap magnets in minutes!
Start by saving clean caps, then glue a strong craft magnet to the flat inside with hot glue or industrial adhesive. Center it so it sticks evenly, and let it cure overnight for the best grip.
Next, get creative: paint, decoupage, or add tiny printed designs. Seal them with clear varnish for lasting shine.
These little gems are perfect for fridge organization, and they make cheerful gifts, too.
Check out Upcycling tutorials, then label sets or add felt backing for extra protection.
Egg Carton Seed Starters

Before you toss that egg carton, turn it into a tiny seed-starting tray—it’s cheap, easy, and honestly kind of clever!
Use a paper or cardboard carton, fill each cup with seed-starting mix, and tuck in seeds at the right depth.
Keep soil moisture steady, and set the tray in a warm, bright spot with strong light requirements, or under grow lights.
Label every cup so you don’t mix up your sprouts.
When seedlings are ready, check transplant timing, then move the whole cup into the garden.
That helps cut root disturbance, and paper cups may even break down in the soil.
Old Ladder Blanket Rack
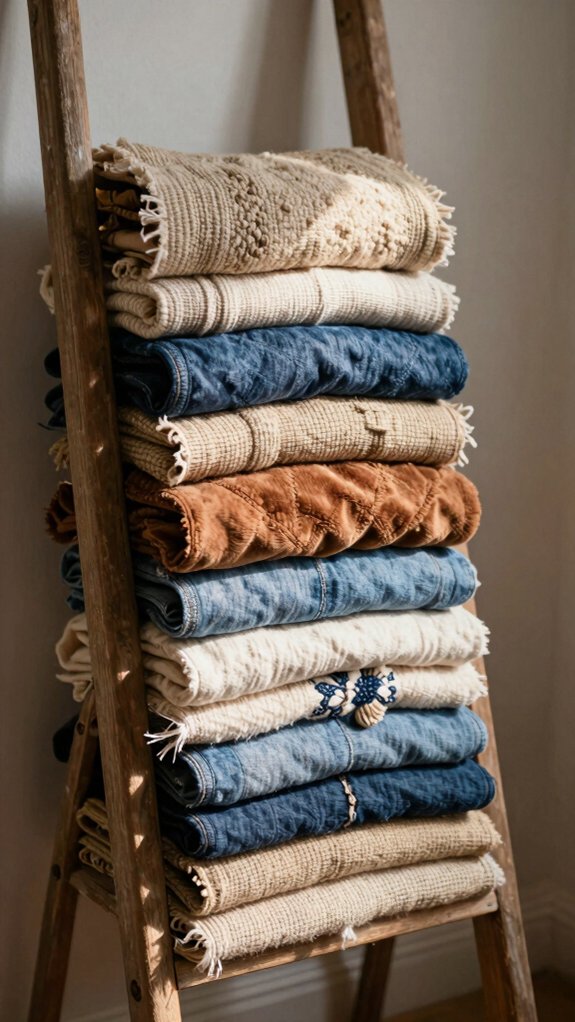
An old ladder can turn into a charming blanket rack in no time, and it’s a lot easier than building a whole new storage piece!
With Safety first ladder prep, you’ll clean it, sand rough spots, and seal or paint it for daily use.
- Add anti-slip pads and brace the back for steady support.
- Drape blankets across the rungs, then use clips or hooks so heavy throws stay put.
- For extra storage, hang small baskets between rungs for scarves or folded linens.
You’ll save money, cut waste, and nail that rustic decor styling vibe your space deserves, friends!
Mason Jar Soap Dispenser
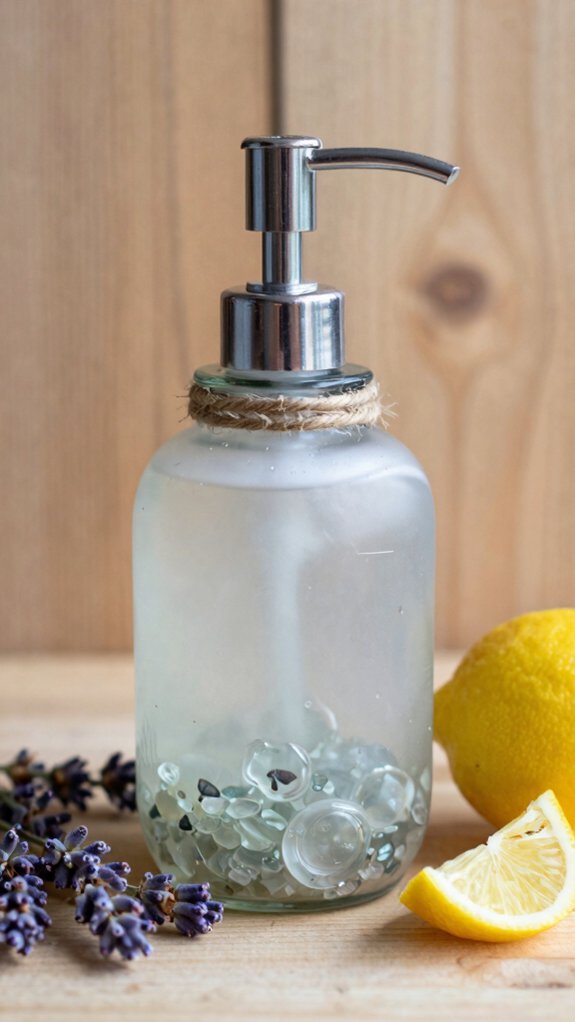
A mason jar soap dispenser is one of those tiny upgrades that makes your sink look instantly put together, and it’s surprisingly easy to make! You just grab a clean jar, remove the lid insert, and pick a pump that screws on snugly. Fill it with hand soap, dish soap, or diluted castile soap, then pump a few times to prime it.
Want it prettier? Paint or decoupage the jar, then seal it so drips won’t smudge your design.
For scented soap hacks, add a favorite scent, and use refillable dispenser tips to keep it going. Cute, cheap, and very you!
Wooden Crate Side Table
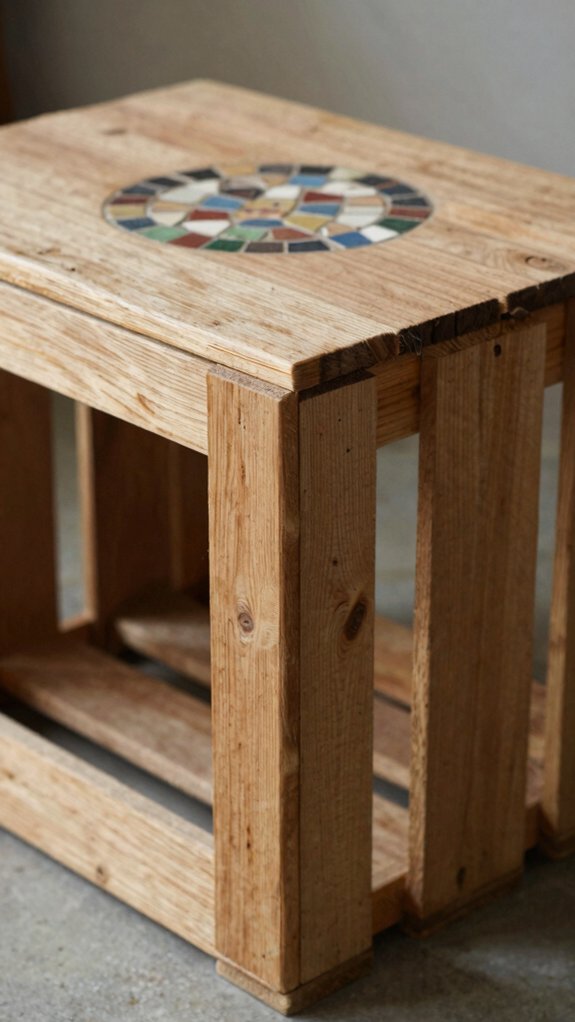
If you’ve got a lonely wooden crate sitting around, you can turn it into a cute side table without much fuss!
Start by picking one crate for a snug nightstand or two for a wider table, then sand every edge and tighten any loose slats.
- Use Reclaimed wood finishes, stain, or paint for charm.
- Add legs, feet, or caster wheels, and try wheel stability tips.
- Screw a plywood top underneath for a flat, strong surface.
Seal it well, and you’ll get a sturdy little table that feels handmade, welcoming, and totally you.
Plastic Bottle Bird Feeder
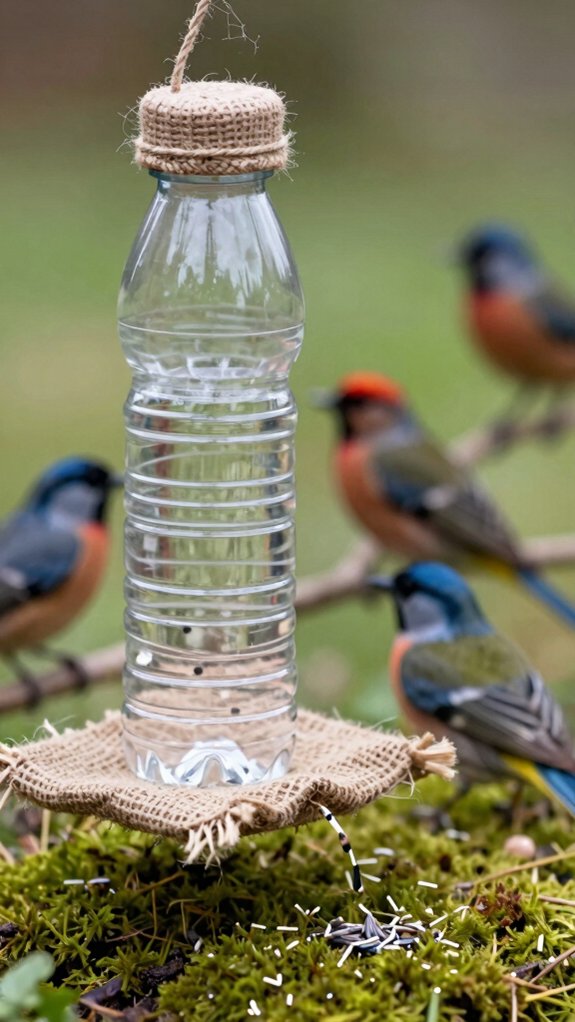
That cozy wooden-crate side table shows how one old item can get a brand-new job, and a plastic bottle can do the same thing for your feathered visitors!
You’ll need a clean bottle, twine, a perch, and bird seed.
Cut small openings in the sides, then poke drainage holes in the bottom so rain won’t turn lunch into soup.
Add a wooden dowel or skewer for easy landing, and thread twine through two top holes to hang it securely.
Fill it with mixed seed, then check weekly.
Bird safety matters, and cleanup tips keep pests away—easy, friendly, and fun!
Old T-Shirt Tote Bag
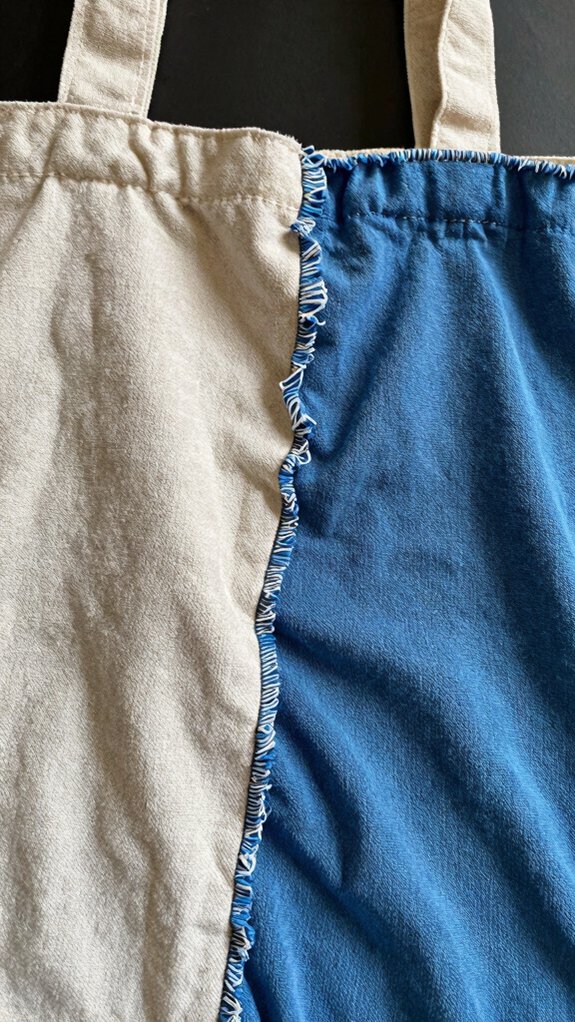
Turn an old T-shirt into a handy tote bag, and suddenly your favorite comfy shirt gets a second life!
You’ll need scissors, thread, and a sturdy shirt, maybe thicker cotton for extra strength.
Cut two matching rectangles, then stitch or tie the sides and bottom, using the shirt’s hem and shoulder seams for support.
- Keep the neckline as your easy grab-and-go opening.
- Turn sleeves into handles, then knot or stitch them tight.
- Try Sewing thrift tips and Upcycling shortcuts hacks for neat results.
Trim threads, wash it once, and your bag’ll feel like part of the crew!
CD Mosaic Serving Tray
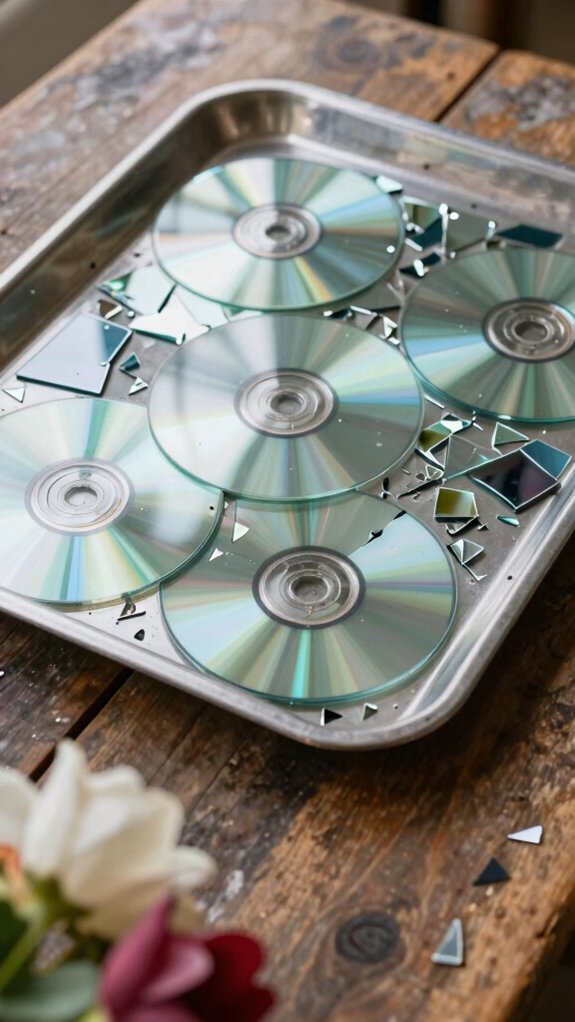
With a few old CDs and a plain serving tray, you can make a shiny mosaic piece that looks way fancier than it sounds—bonus, it’s a great way to save a sad stack of scratched-up discs from the junk pile!
You’ll snap the discs into small shards with gloves on, then lay them out on your tray in a border, center medallion, or your own cool pattern. Use strong clear-drying glue or epoxy, and let it set.
Try these Recycling Techniques, then fill gaps with grout and seal for easy-clean sparkle. Nice, right?
That Mosaic Finishing really pops!


