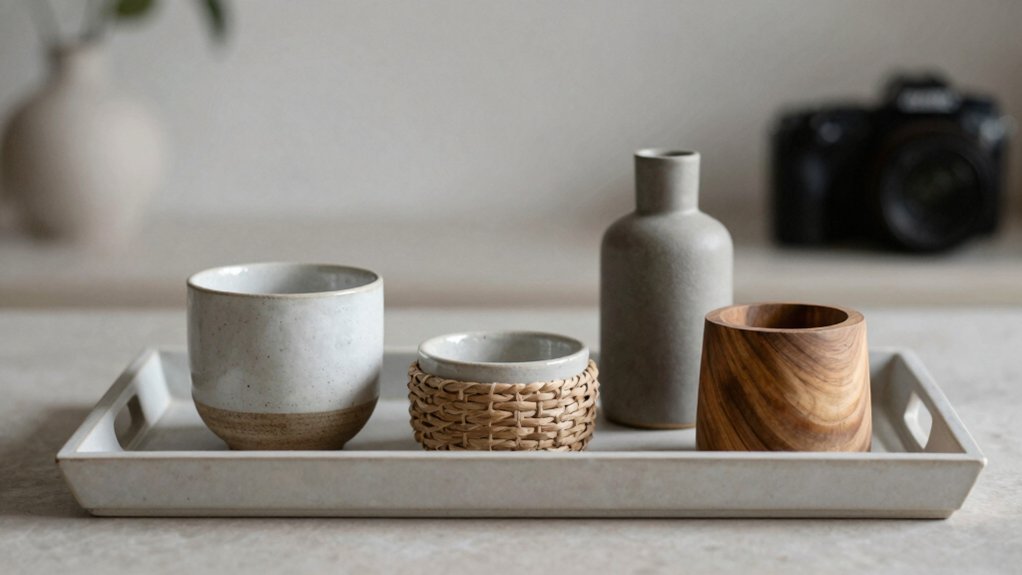

Minimal tray styling helps you corral clutter and make a surface feel calm, balanced, and put-together—nice, right? Start with a tray that fits the space, then use just 2–3 pieces: one tall item, one filler, and one personal touch. Mix materials like wood, metal, or glass, and keep colors neutral. For a fresh look, swap in seasonal accents now and then. The best trick comes next, and it’s easier than you think!
Key Takeaways
- Use the 3-item rule: one height piece, one filler, and one personal touch for a balanced, uncluttered tray.
- Keep trays to 2–3 intentional pieces so the display feels calm, curated, and not crowded.
- Choose the right tray size and material first; wood, metal, marble, or woven finishes each set a different mood.
- Stick to 1–2 main colors and add one soft accent to create harmony without visual noise.
- Refresh the tray seasonally by swapping only 2–3 small items while keeping the base layout the same.
Why Minimal Tray Styling Works
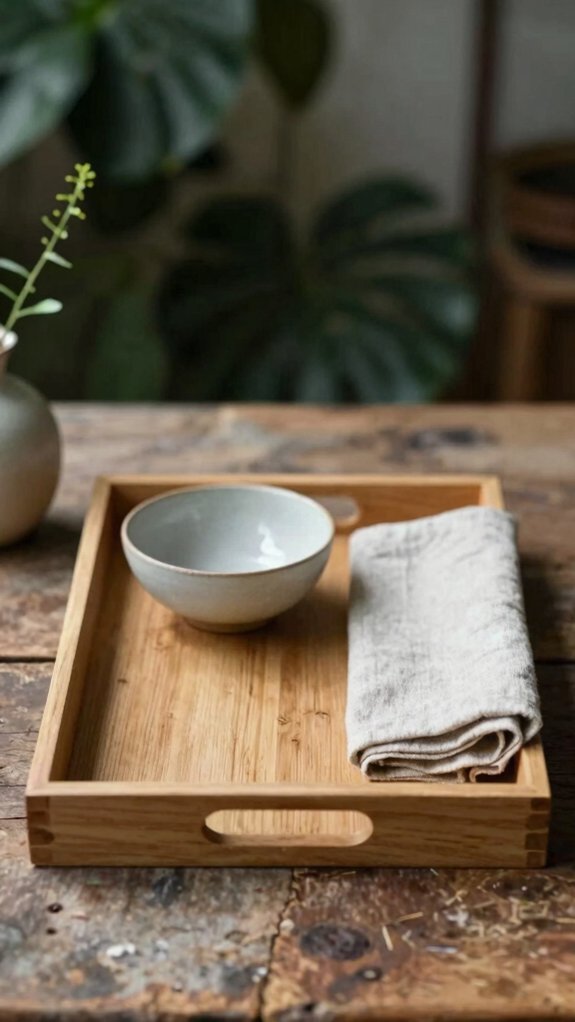
When you want a space to feel calm instead of chaotic, a tray is a tiny game-changer! It helps you declutter surfaces by gathering loose bits into one neat zone, so your coffee table, vanity, or bedside spot feels like it belongs together.
You only need 2–3 intentional pieces, like a candle, a small bowl, and a photo, to maintain balance without crowding. That little mix adds height, depth, and personality, while leaving airy negative space.
Best of all, you can swap one item seasonally, and boom, your setup stays fresh without a full redo. Easy, right?
Choose the Right Tray Size
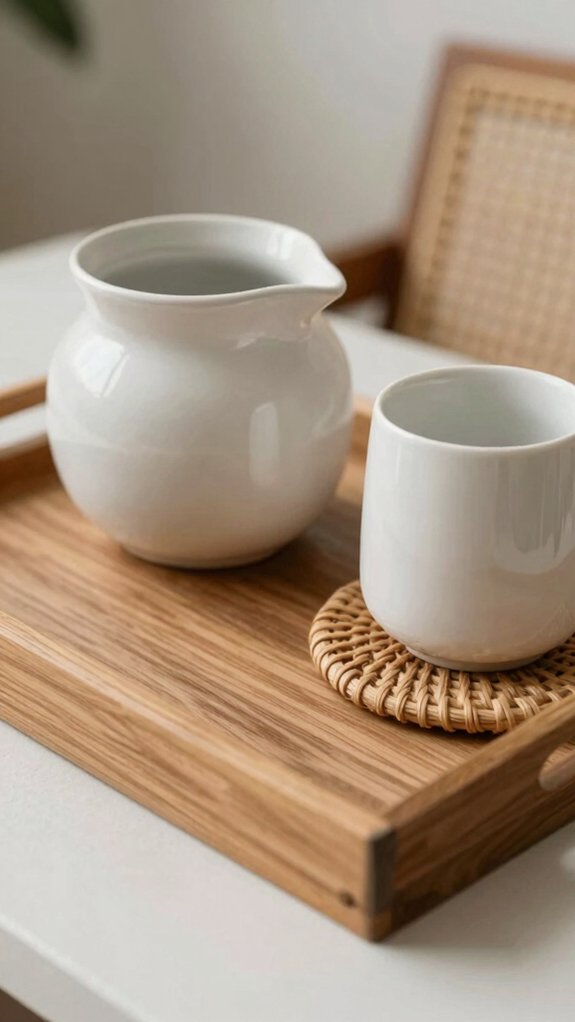
Start with the tray itself, because size makes all the difference! You want a piece that fits your surface, follows tray placement rules, and keeps styling height balance easy.
Too big, and it crowds the room; too small, and things wander like they’re late for dinner.
- Measure first, always
- Match shape to table style
- Use a larger tray for grouped items
- Pick a smaller one for single-zone basics
- Leave breathing room for neat coverage
Choose a tray that holds everything, yet leaves most of the tabletop visible. That sweet spot feels calm, collected, and totally welcoming!
Pick Balanced Tray Materials
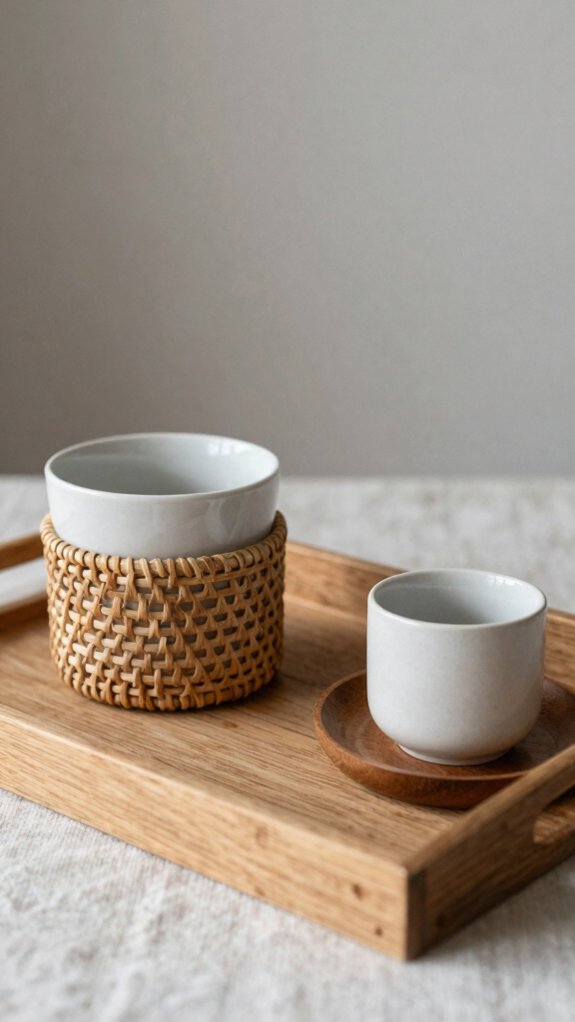
You can shape the whole mood of your tray just by picking the right materials—metal feels crisp and modern, wood brings a cozy, grounded vibe, and woven or rattan adds that easy, textured charm.
Mix textures in small, smart ways, like a wood base with a glass vase or a metal candle holder, and keep your setting in mind so the tray feels right on a vanity, bedside table, or coffee table.
Want a more polished look? Try marble, mother-of-pearl, or even leather, and stick to just 2 or 3 finishes so everything looks balanced, not busy!
Material Textures And Tone
- Wood + metal gives easy Lighting contrast.
- Marble + leather feels soft, luxe, and steady.
- Woven + brass adds warmth without noise.
- Keep Color coordination to 1–2 main colors.
- Try mirrored or mother-of-pearl for a sneaky glow.
Choose one bold touch near the end, and suddenly your tray looks curated, not crowded—nice!
Match Tray To Setting
When your tray fits the room like it was meant to be there, the whole setup feels calmer right away!
You can match the tray to your color palette by choosing solid wood or metal for easy styling cohesion, since both keep visual rhythm without stealing the show.
In a cozy living room, woven rattan adds warmth; for a cleaner look, try marble or leather.
Keep material restraint in busy spots like entryways or coffee tables, where sturdy wood or metal handles daily use.
And here’s the fun twist: a bone inlay tray can add subtle shine, as long as you keep the rest simple.
Start With a Neutral Tray Palette
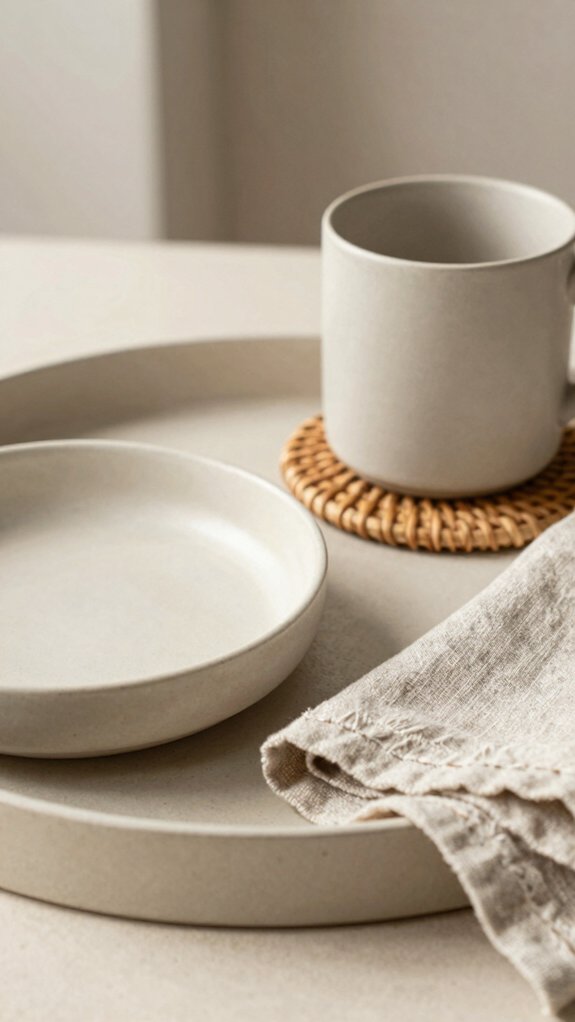
A neutral tray palette makes decorating feel easy, calm, and a little bit magical! You can build Balanced decor harmony with wood, marble, leather, or brass and silver tones, and your space will feel welcoming fast.
Neutral palette cohesion helps everything mingle בלי fuss.
- Pick one quiet tray finish.
- Add a small bowl or stacked books.
- Bring in faux greenery.
- Use one soft accent, like cream or muted sage.
- Leave open space so the tray can breathe.
That little gap matters most; it keeps your display light, intentional, and friendly, like your home’s best low-key wink.
Use the 3-Item Styling Rule
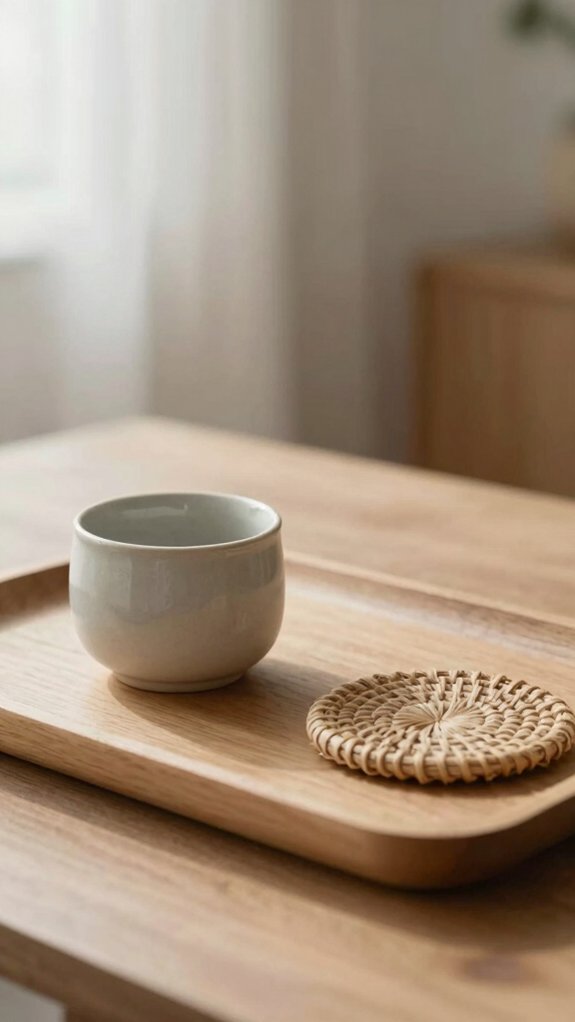
Using the 3-item styling rule makes tray decor feel instantly polished, and it’s surprisingly easy to pull off!
Pick one height piece, one filler, and one personal touch, then keep them corralled on the tray so you create a neat little organized zone.
Try a tall candle, a low book stack, and Personal Keepsakes that make you smile, plus a bit of Color Contrast for pop.
Stick to just three items, and let the empty space do some of the work, because that’s what makes your tray feel curated, not crowded.
Want a fast refresh? Swap one piece, and voilà, new vibe!
Add Texture Without Clutter
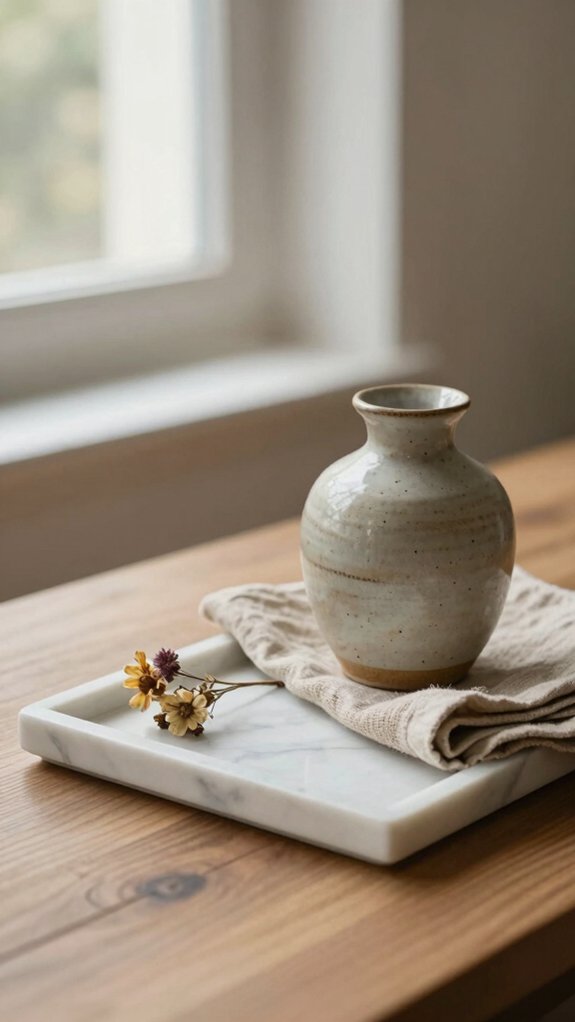
Texture is where a simple tray starts looking designer-made, even if you only style it with two or three pieces! You’ll feel right at home when you mix cozy surfaces and keep the look airy.
- Pick a woven or wood tray for warmth.
- Add a ceramic bowl, linen candle, or faux greenery.
- Follow the 3-element rule: height, filler, personal touch.
- Try Color contrast ideas with wood, glass, metal, or marble.
- Swap one piece seasonally for fresh tactile layering.
That’s it—easy, affordable, and never fussy. Your tray stays calm, inviting, and a little wow-worthy, without the clutter parade.
Style a Coffee Table Tray
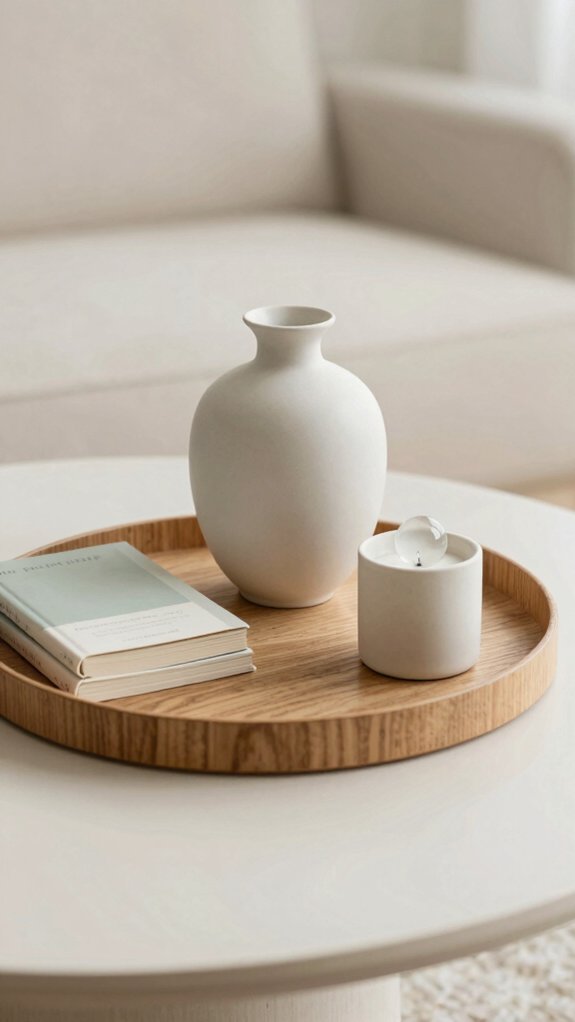
Start with your coffee table tray as a little “calm zone,” because it keeps candles, remotes, and tiny plants from taking over the whole surface—so much better than the wild item migration we all know too well!
Choose a tray that’s just right, then build a simple trio: one tall piece, one filler, and one personal touch.
Mix wood, glass, or metal for depth, and keep cohesive colorways so everything feels friendly, not fussy.
Set a declutter timer, edit down to 2–3 pieces, and leave breathing room.
You’ll get a tidy, welcoming look that says, “Come on in!”
Create a Calm Kitchen Tray
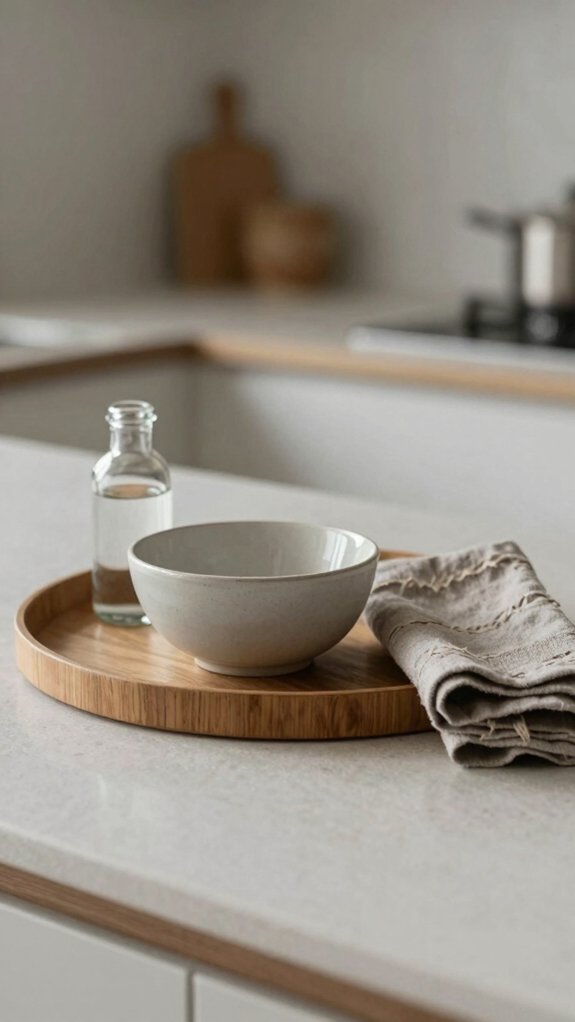
When your kitchen counter feels like it’s collecting every little bottle and sponge in sight, a calm tray can bring it all back together in a snap!
Choose wood, marble, or metal, then keep it to 2–3 pieces so the vibe stays easy and welcoming.
- Set it near the sink or stove
- Use one amber bottle and a small sponge cup
- Add an anchor piece, like a tiny vase
- Mix in a flat filler, such as salt
- Swap in Seasonal Citrus for a fresh Scent Station
You’ll get less visual noise, more calm, and a counter that feels like it belongs to you.
Organize a Vanity Tray
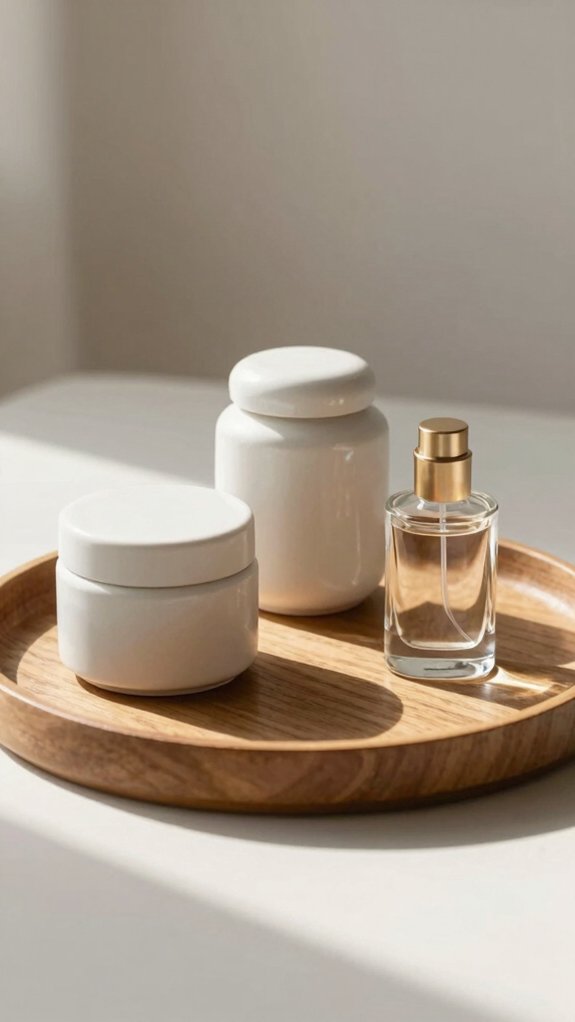
A vanity tray can do a lot of heavy lifting in a small space, especially if your counter loves to collect skincare, cotton rounds, and mystery hair ties like it’s running a little side hustle!
Pick wood, marble, or leather, and choose one that fits your sink area without crowding it.
Use Declutter must-haves and try skincare grouping: cleanser and toner at one end, makeup tools in a lidded container, and lip balm in a small insert.
Add the 3-element rule, then stack a few items for height.
Finish with a seasonal swap, and your tray’ll feel fresh, balanced, and totally you!
Set Up an Entryway Drop Zone
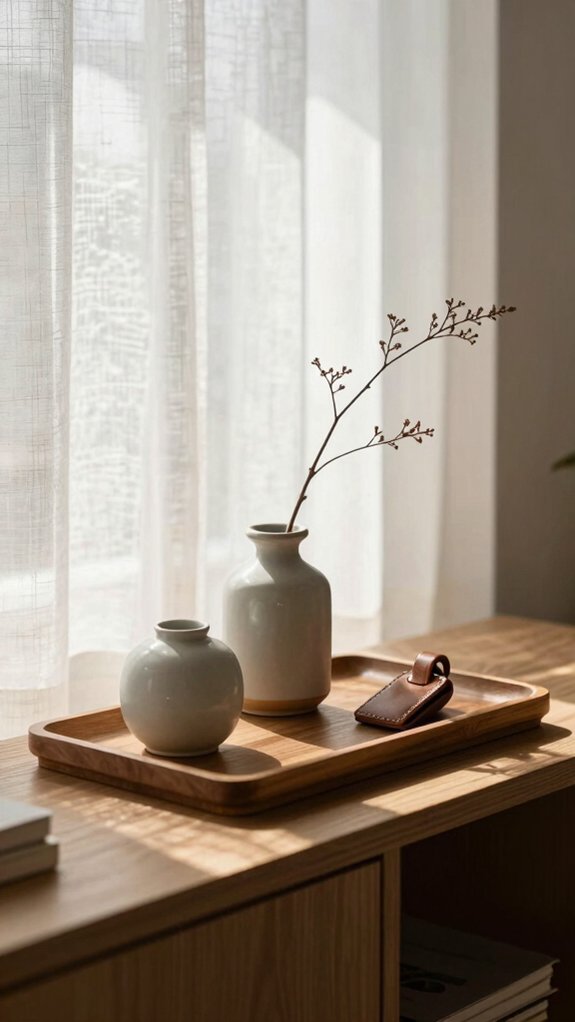
A key catch-all tray by your front door can work like a tiny hero, corralling your keys, wallet, sunglasses, and mail before they start roaming the house like little troublemakers.
Choose a neutral tray in wood, brass, or marble, then give it two simple spots, one for daily grab-and-go items and one for mail or extras, so everything feels neat fast!
If you want a smarter setup, try layering a larger tray for mail with a smaller one for keys or sunglasses, and your entryway suddenly looks calm, intentional, and ready for real life.
Key Catch-All Tray
If your entryway keeps turning into a tiny chaos zone, a key catch-all tray can save the day! Place one by the door, and you’ll create a friendly drop zone where daily necessities land together, not all over the place. Choose marble, brass, or wood for a finish that feels like it belongs.
- keys
- sunglasses
- remote control storage
- charging cord corral
- small seasonal accents
Keep it roomy enough for easy grabs, but not so big it hogs space. Want extra charm? Layer a second tray for depth, then add a tiny vase or candle. Nice and tidy, right?
Wallet And Mail Zone
Your entryway can do more than just catch keys, and a wallet and mail zone makes that tiny landing spot feel calm and organized in a snap!
Place a decorative tray there, and your daily stuff stops roaming the console like it pays rent.
Choose marble or brass for a polished vibe, or wood for a softer welcome.
How to label zones?
Keep wallet and keys in one corner, mail in another, and use entryway clutter habits to spot what piles up fast.
Pick a tray that fits, then refresh it seasonally with a mini candle or catch-all.
Keep a Nightstand Tray Minimal
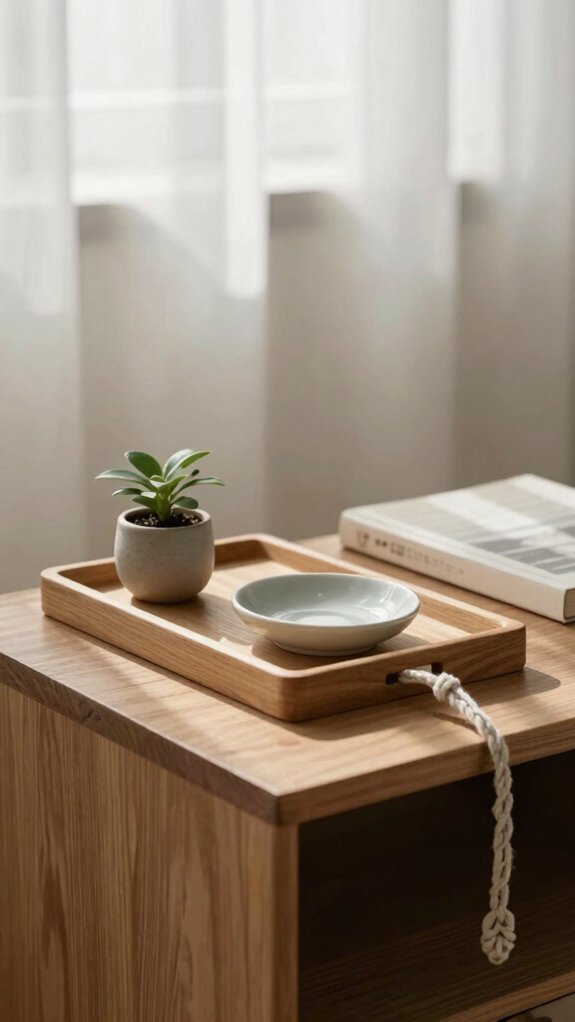
When you keep a nightstand tray minimal, it suddenly feels calm instead of crowded, and that’s a pretty nice bedtime upgrade!
You’ll love how a small tray supports nightstand lighting and ambient ambience while protecting your bedside routine from stray lip balm and glasses.
Start with clutter prevention in mind, then pick just a few pieces:
- one tray hero
- one useful item
- one tiny accent
- one height lift
- one seasonal swap
Choose wood, marble, or metal so it blends in.
Keep the look balanced, cozy, and easy to reset, and you’ll feel right at home every night!
Style a Scent Station
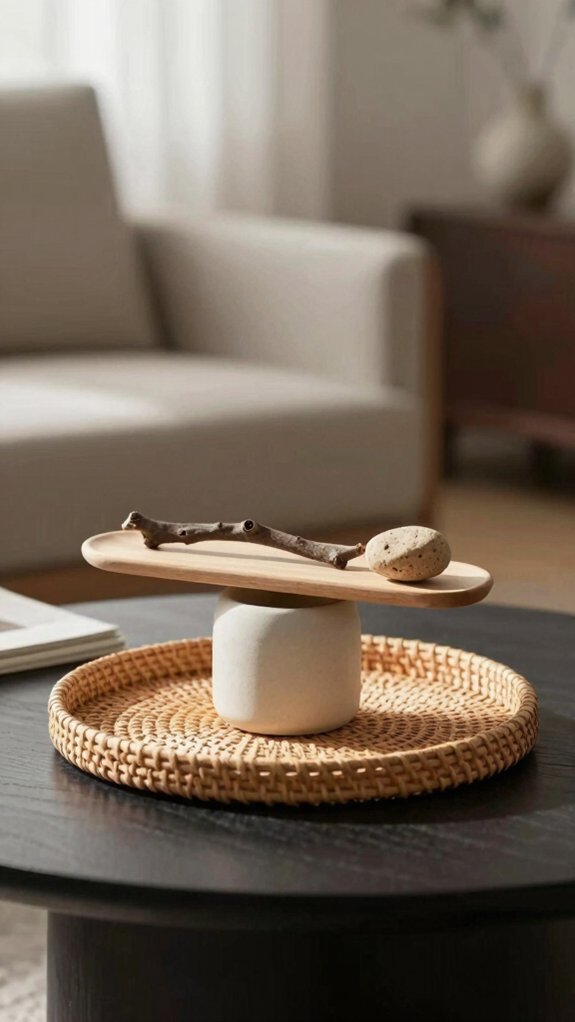
A minimal tray doesn’t have to stop at the nightstand—it can also set the mood for your whole room, and a scent station is such a fun little upgrade!
Choose a neutral tray, maybe mother-of-pearl for that luxe wink, then place a candle, an oil bottle, and a diffuser on top. Keep them in a tidy trio so the setup feels calm, not crowded.
Set it on your entryway table or coffee table, where subtle background lighting can make the glow feel extra cozy.
Then try seasonal scent swaps, and you’ll refresh the vibe fast. Easy, pretty, and very “you”!
Create a Mini Bar Tray
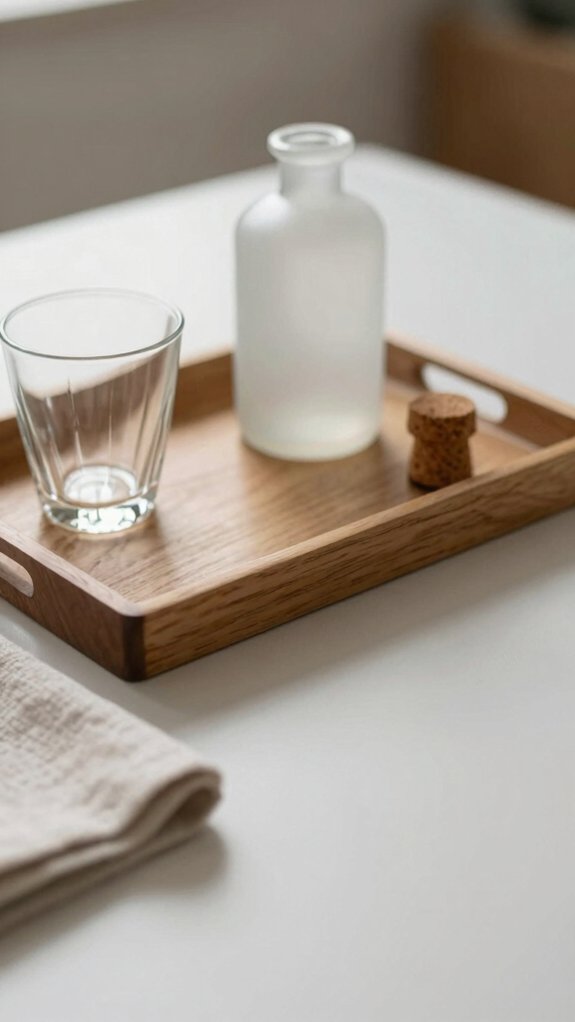
A mini bar tray makes hosting feel easy and polished, especially when you group your favorite bottle, 2 matching glasses, and a small decanter on one stylish tray.
Try wood or metal for a neat, upscale look, then set it near your console or bar cart so drinks are ready without the cabinet hunt.
Keep it simple with just the basics, and if you want a little extra charm, add one tiny accent—because hey, even a mini bar likes to look dressed up!
Tray And Glassware
Give your glassware a tiny stage, and it can instantly make your space feel polished and fun! Choose a compact tray in metal, wood, or marble, and you’ll keep everything corralled without crowding the counter.
- Place one bottle or decanter at the back
- Set 1–2 glasses in front
- Mix wood, glass, and metal for texture
- Measure the tray so nothing spills over
- Skip extra decor, keep it tidy
Need How to clean? Wipe the tray, then dry glasses well. For a seasonal tray refresh, swap in new colors or shapes, and your mini bar still feels like your crew’s favorite hangout!
Bottle And Decanter
If your glassware tray already feels like a tiny spotlight, it’s time to bring in the bottle and decanter for the full mini bar effect!
Pick a compact metal or wood tray, then gather one favorite bottle, a matching decanter, and 2–3 glasses.
Group them in one curated pocket, so your console or coffee table feels tidy, not crowded.
For Layered Pouring and better Serving Flow, set the decanter slightly forward and use a small stand so nothing looks flat.
Keep Cork Placement and tools like a opener inside the tray, and let Glass Clarity shine with a neutral palette.
Nice, right!
Stylish Hosting Display
When you want your space to feel ready for company, a mini bar tray is such a fun little trick!
Place a compact tray on a console or coffee table, then tuck in one favorite bottle, 2–4 glasses, and a tiny extra, like a candle.
- Choose metallic or wood, kept neutral
- Use glassware grouping at the front
- Set the bottle along the back edge
- Add menu lighting nearby for glow
- Keep only one support piece, like a jigger
That’s it! Your tray feels polished, easy, and welcoming, with no clutter crash.
Layer Books and Plants
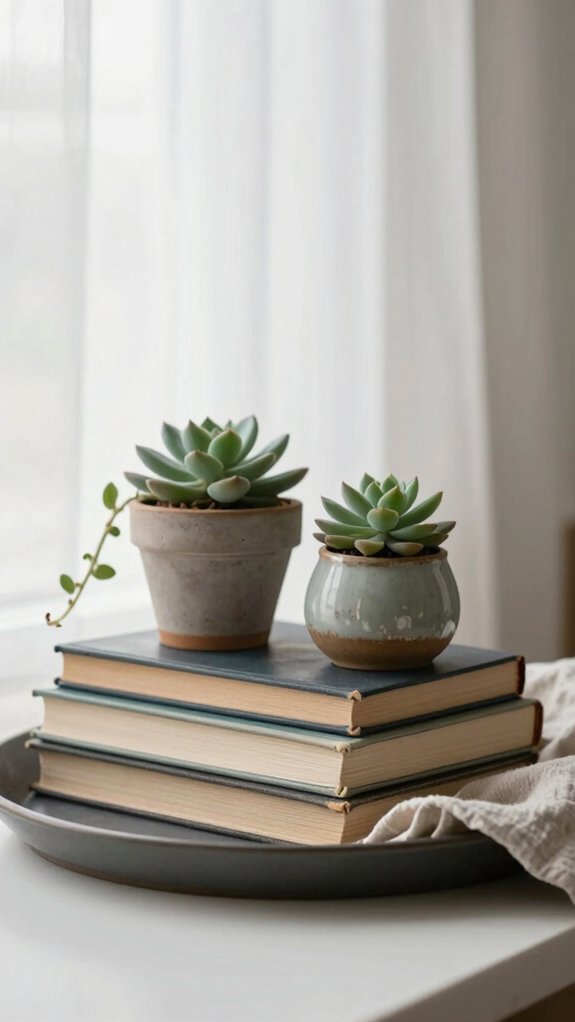
Books and plants can make a tray feel polished fast, and the best part is that it’s super easy to pull off! Start with tray styling tips: pick a tray big enough for 2–3 books, then stack them as your base so nothing tumbles off. Choose neutral spines for calm, or mix in seasonal decor swaps when you want a fresh vibe.
Next, slide a small potted succulent beside or just behind the books. It adds texture without crowding, and the height mix feels balanced and welcoming. Keep the plant compact, and your tray looks styled, not stuffed. Nice, right!
Make a Floral Tray Centerpiece
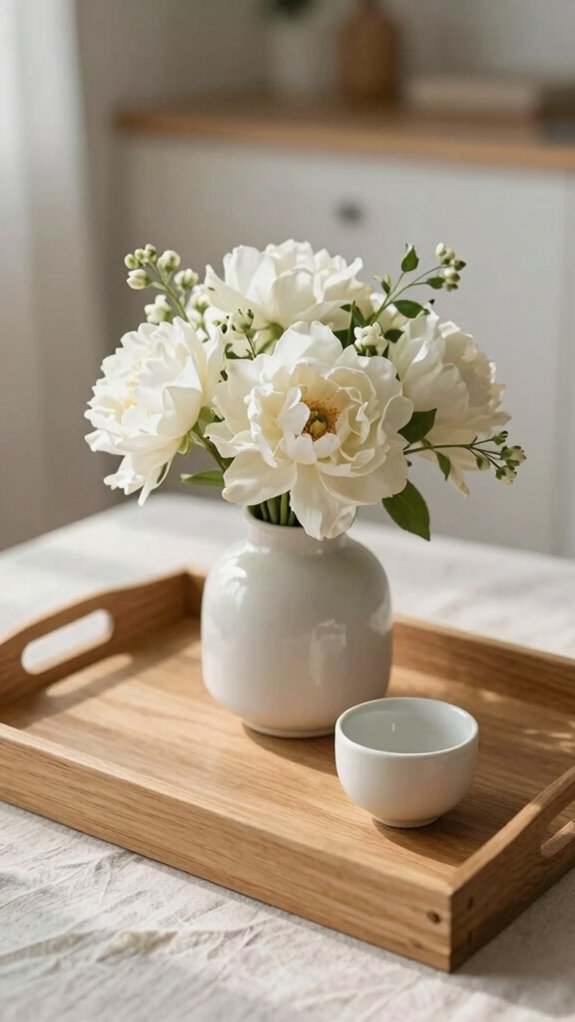
A floral tray centerpiece can make even a plain table feel instantly polished, and honestly, it’s one of the easiest ways to fake “I totally have my home together” energy!
Start with a tray that grounds everything, then center a clear vase or bud vase so your blooms stay neat, not wild.
- Pick color harmony choices first.
- Add one taller stem cluster.
- Tuck in baby’s breath or eucalyptus.
- Mix glass with rattan or wood.
- Try scent pairing tips with fresh herbs.
Keep a tiny photo or object on the tray, then swap seasonal stems fast. Your space feels calm, warm, and welcoming!
Display Art and Crystals
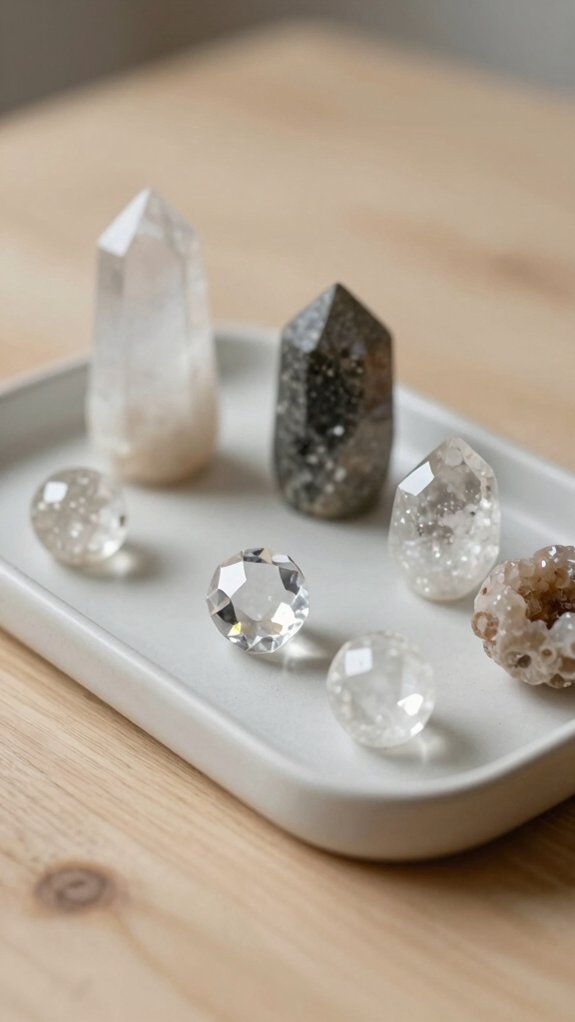
Tucked onto a console or coffee table, a decorative tray can turn a tiny art-and-crystal moment into something that feels polished right away!
Start with a framed tray base, then add one mini print or crystal-inspired card, plus a single statement crystal or small cluster.
Choose bone-inlay or mother-of-pearl, and you’ll get gorgeous light reflection without trying too hard.
Keep crystals grouped by size so they look curated, not dropped there by accident.
Leave some open space, too, because breathing room is chic.
This setup makes a seasonal reset easy, and it gives you one tidy zone that feels welcoming and calm!
Tame Remote and Tech Clutter
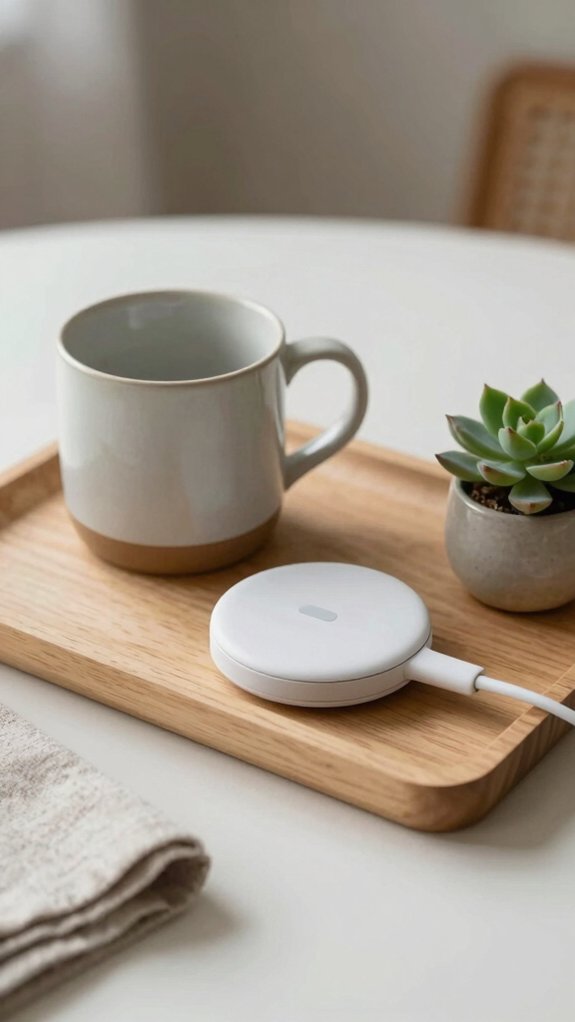
You can tame that little tech chaos with a deep wooden tray or a compartmented one, turning it into a neat remote control corral right on your coffee table—finally, no more scavenger-hunt moments for the TV remote!
Keep your daily chargers and headphones in the same charging accessory tray, and make sure it’s big enough that nothing spills over the sides.
For the cleanest look, try a compartmentalized tech zone with just a few everyday items inside, maybe a remote on one side, a charger in the middle, and a tiny audio accessory on the other, so it stays tidy, balanced, and easy to grab.
Remote Control Corral
On the coffee table, a deep wooden tray can work a little magic, corralling TV remotes, your phone charger, and even those sneaky headphones that love to wander off!
- Pick a tray with compartments or a raised lip.
- Keep buttons facing up, so grabbing feels easy.
- Add a small lidded container for batteries or SD cards.
- Use Bluetooth pairing tips and label system hacks to keep devices neat.
- Style it with one candle or coaster, not a crowd.
You’ll feel right at home fast, because everything has a place. Swap in movie-night items seasonally, and your tray stays the calm center of the room!
Charging Accessory Tray
A charging accessory tray can save your sanity fast, because tech clutter has a sneaky way of spreading like tiny weeds! You can place a deep wooden or marble-style tray on your coffee table, console, or nightstand, then gather remotes, chargers, and headphones in one calm spot.
For easy cable management, tuck the power brick and loose cords inside, so nothing spills across the table.
Choose a neutral finish, and your setup looks intentional, not messy. Put your most-used remote up front for quick remote organization, then slide secondary pieces back.
Add one tiny candle, and boom, your tech corner feels tidy, warm, and totally yours!
Compartmentalized Tech Zone
When remote chaos starts creeping across the coffee table, a deep wooden tray with built-in compartments can snap your tech zone back into shape, fast!
- Pick a tray a bit bigger than you expect.
- Set remotes in one slot for remote organization.
- Park chargers, earbuds, and a USB cable in separate spots.
- Use a small lidded box for battery packs and extra cords.
- Keep finishes matching, so it feels like decor, not storage.
With simple charging cable management, you’ll grab what you need without the hunt.
Your living room stays tidy, intentional, and totally guest-ready, without the usual tech pileup.
Refresh Trays for the Season
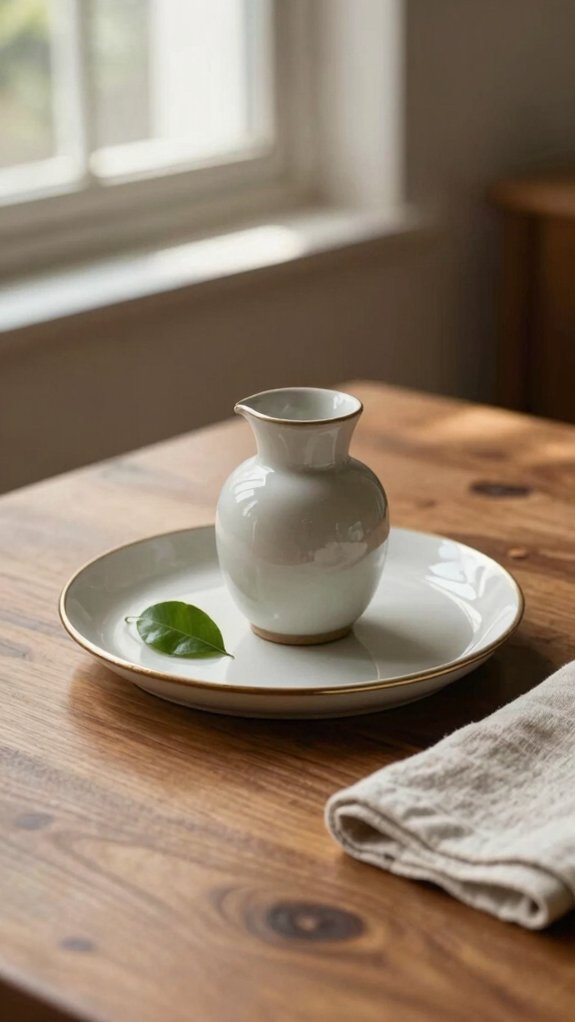
As the seasons shift, your tray can shift right along with them, and that’s the fun part!
| Season | Swap |
|---|---|
| Spring | bud vases, pastel tones |
| Summer | citrus touches, woven texture |
| Fall | mini pumpkins, warm candles |
| Winter | pine sprigs, gold accents |
| Anytime | neutral base, scent rotation tips |
Keep your tray base steady, then change the filler pieces, candle scent, and stems for easy seasonal color themes. Try faux florals, pinecones, or ceramic accents, depending on the mood. You’ll spend little, keep clutter calm, and still feel fresh. That’s a cozy win!
Style a Tray for Vintage Spaces
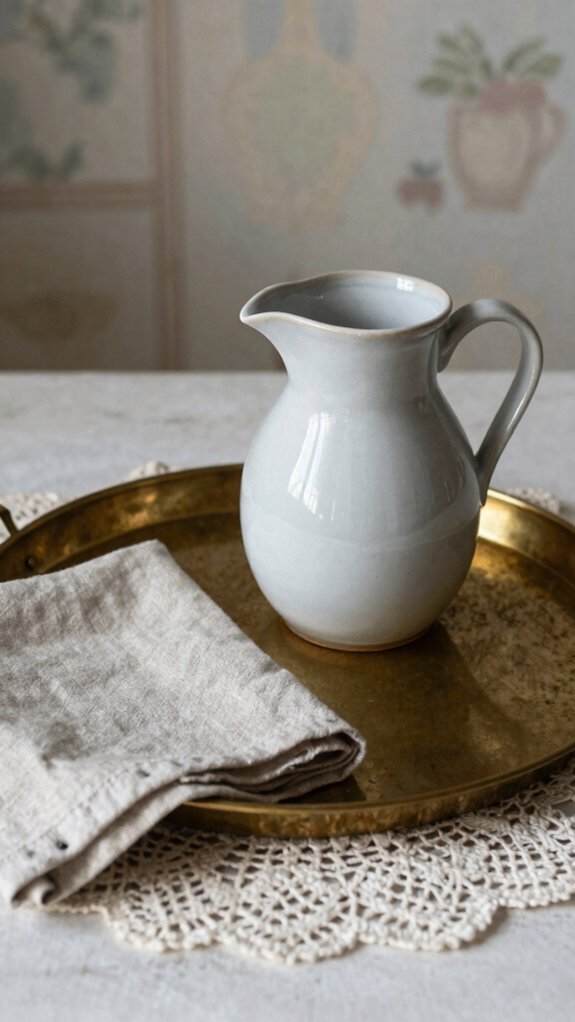
Vintage trays look best when you keep them simple and let a few special pieces do the talking—think a woven or wood tray, one or two keepsakes, and just enough room for the eye to breathe.
You can stack a couple of small books or glasses beside a candle holder for that easy, layered look, and yes, even your grandma’s tiny vase can finally feel like a star!
If your tray starts to look like a magazine pile exploded, trim it back, then add one meaningful piece at the end for that sweet, lived-in charm.
Curate Vintage Keepsakes
On a tray, a few old treasures can feel instantly charming instead of cluttered! Choose wood, rattan, or metal, then keep your personal keepsakes to 3–5 pieces.
- Start with one heirloom focal.
- Add a small vase or candle holder.
- Use a stacked book or shallow bowl as filler.
- Leave breathing room on mirrored trays.
- Try seasonal swaps for one tiny accent.
This simple mix feels collected, not messy, and it’s easy on your wallet.
You’ll get a warm, welcoming look that says you belong here, with just enough history to spark a smile every day.
Layer Books And Glasses
Keep it simple: choose books that are close in height, place a pair of reading glasses on top or beside the stack, and make sure the tray is big enough that nothing hangs awkwardly over the edges. You’ll build a cozy little scene with vintage materials, using 2–3 coffee table books as filler and one clear glass cup for curated contrast.
Nudge one book forward, then tuck the glasses on a corner so the lines feel relaxed, not stiff. Nice!
This setup gives you lighting balance, keeps the tray grounded, and makes your space feel collected, not crowded.
Purge Magazine Stacks
If your tray already has books and glasses looking neat and cozy, the next move is to tame those magazine piles before they take over the room—because a stack can go from “curated reading corner” to “paper mountain” fast!
- Pick only issues you’ll actually read.
- Use a long tray for easy stacking.
- Try a round tray to soften edges.
- Add one tall piece, like a candle.
- Rotate issues seasonally for fresh charm.
This declutter habit keeps your tray feeling like curated keepsakes, not storage. Limit it to 2–3 items, and your vintage space stays polished, welcoming, and easy to love!
Add Depth With Layered Trays
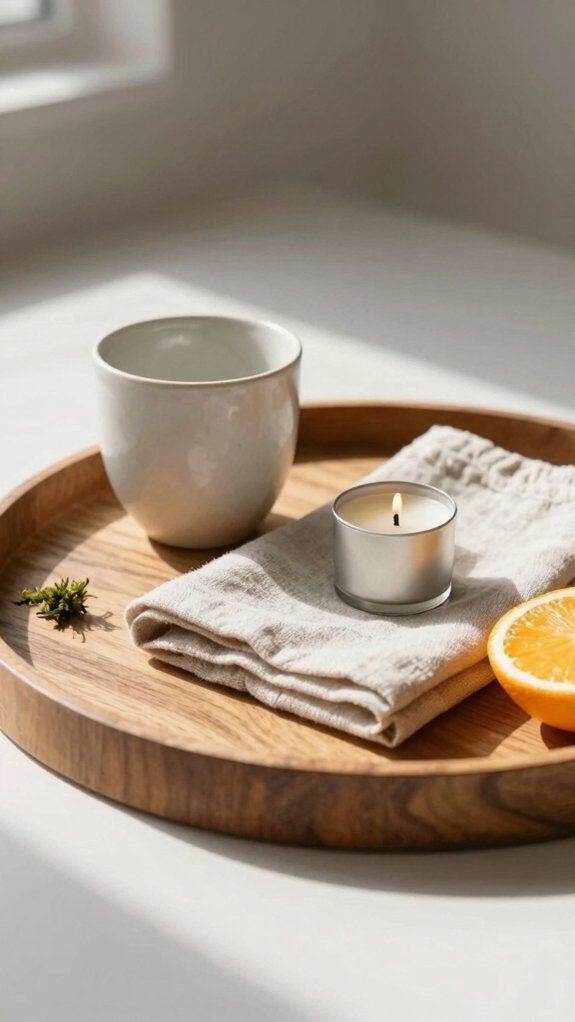
When you want a tray to feel a little more styled and a lot less flat, layering is your secret weapon! Start with a larger base tray, then place a smaller one on top to contrast height and focus focal points.
Add a bowl, book stack, or candlestick upstairs, and keep the bottom tray simple, so the visual weight stays balanced and the tidy negative space still shines.
Choose a wood base with metal or woven layers for easy texture, not clutter.
Best part? Swap the top tray seasonally, and your setup stays fresh, friendly, and ready for company!
Match the Tray to the Room
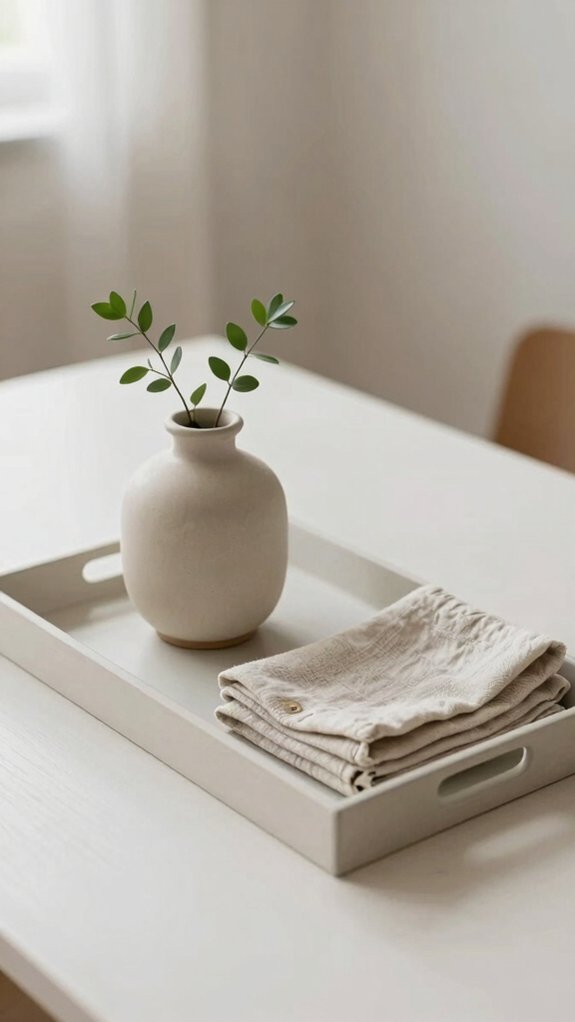
You’ll get the best results when you match your tray to the room’s job, so pick a size and material that fit the space, not just your favorite look—easy win!
In a living room, a tray can ground a little candle-and-book moment without crowding the coffee table, while in an entryway, a tougher tray in marble, brass, or wood can catch keys, mail, and those mystery sunglasses that always disappear.
And in kitchens, bathrooms, or beside the bed, the right tray keeps small things in one neat spot, so your counters and nightstand stay calm, tidy, and just a little stylish.
Room-Ready Tray Materials
The right tray material can make a room feel polished in a snap! You’ll fit in faster when the tray matches the vibe, and each one brings its own charm.
- Metal trays shine in entryways and bar carts, pairing with glass and brass.
- Woven trays soften living rooms with cozy texture.
- Solid wood trays keep kitchens neat and grounded.
- Marble trays turn bathrooms into spa-like spots.
- Leather trays add sleek warmth to desks and nightstands.
Try one, then Mix seasonal scents or Arrange small candles for an easy win. Tiny change, big hello!
Purpose-Driven Tray Placement
Because a tray works best as a little helper, not just a pretty prop, place it where life already lands, and let it catch the everyday stuff with style!
In your entryway, use marble or brass for keys and wallets; on a coffee table, a low tray gives books and remotes a home.
In the kitchen, try wood for oils and spices, and in the bath, keep a neutral tray for spa-like calm.
Size it right, so nothing spills over—too small feels messy, too big hogs the stage.
That’s functional clutter control with layered visual rhythm, and it feels like you belong.
Avoid Tray Styling Mistakes
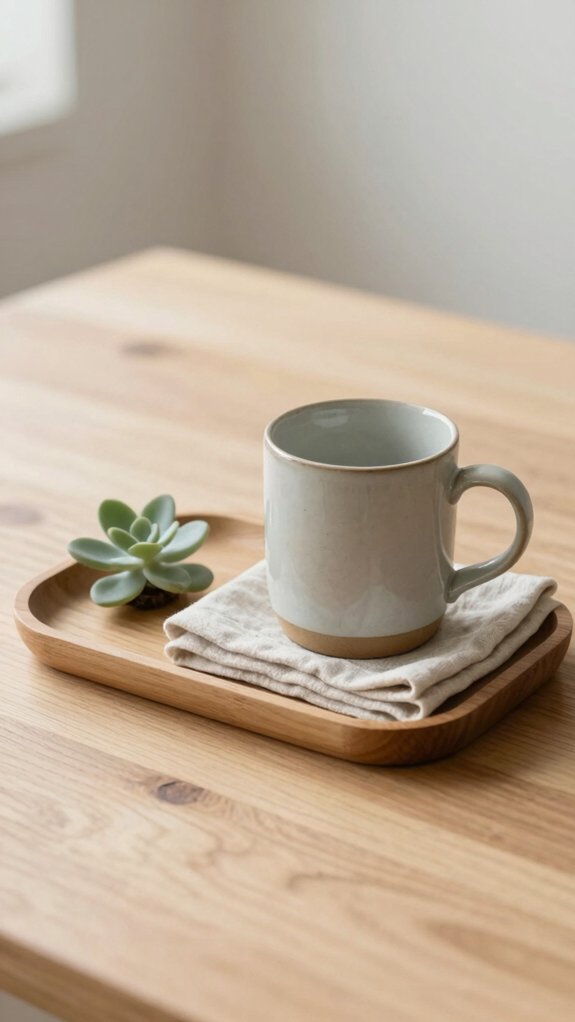
Even a pretty tray can go sideways fast if it starts looking like a tiny garage sale, so keep your styling simple and intentional!
- Use over style caution, with clutter control and tray breathing room.
- Aim for 2–3 pieces, so the tray feels collected, not stuffed.
- Mix a tall candle or stacked books with lower items for lift.
- Choose quality over quantity; wood, glass, and metal look best when they can breathe.
- Check tray size, and leave space for coasters or a remote, so balance restraint keeps things practical.
That’s the sweet spot, where your tray feels calm, polished, and totally welcome!
Rotate Tray Items to Keep It Fresh
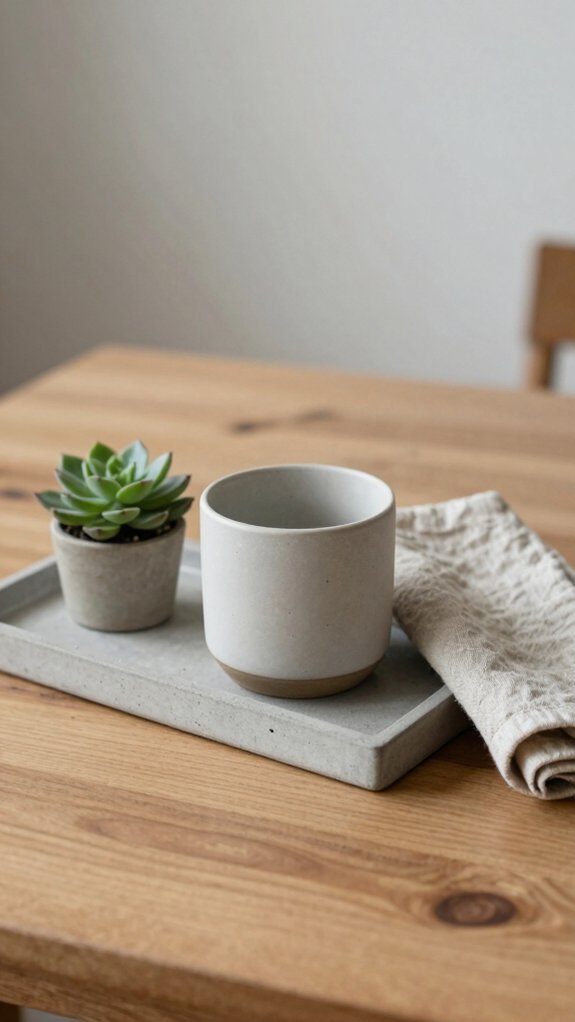
Every season, give your tray a tiny little makeover, and it’ll feel brand-new without any big effort! You don’t need a full reset, just rotate 2–3 small items, like spring bud vases, summer woven accents, fall mini pumpkins, or winter pine sprigs.
Start with one anchor piece, such as a candle or greenery stem, then keep the tray and layout the same. Nice, right?
Try Seasonal scent swaps with candles or diffusers, and add subtle color rotation through flowers, ceramics, or ribbons.
Keep your tall piece, filler, and personal touch, and your tray stays balanced, fresh, and totally you!