
Match your machine cover to your room with neutral linen, floral cotton, gingham, or soft ruffles—easy, affordable choices that hide dust beautifully! Cut simple panels, add a lining, then finish edges with hem tape or cheerful bias binding. A front pocket keeps scissors handy, while a centered handle slit makes lifting easy. For the showstopper, quilt colorful scraps over batting for cozy texture and real protection. Keep going for more simple ways to make it look beautifully intentional.
Key Takeaways
- Choose neutral linen, canvas, or oatmeal fabrics for a calm, minimalist cover that blends easily with most home décor.
- Add contrasting bias binding or neat topstitching to give a simple cover a polished, intentional finish.
- Include a coordinated front pocket to store scissors, needles, clips, and small notions while adding visual interest.
- Use floral, gingham, patchwork, or seasonal prints to turn your sewing machine into a decorative craft-room accent.
- Create a structured boxy shape with a centered handle slit for easy carrying, dust protection, and a tailored appearance.
Neutral Linen Sewing Machine Cover
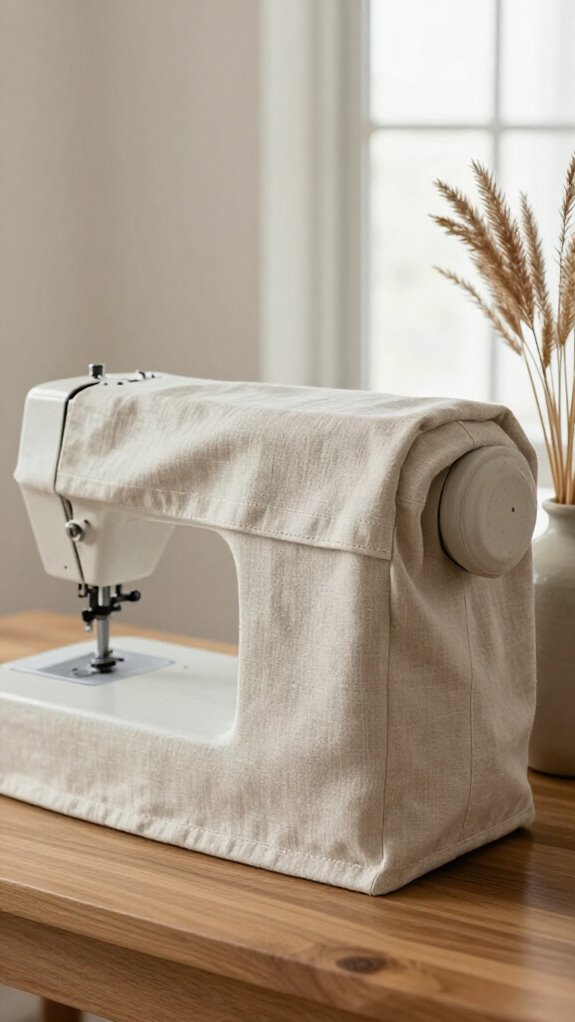
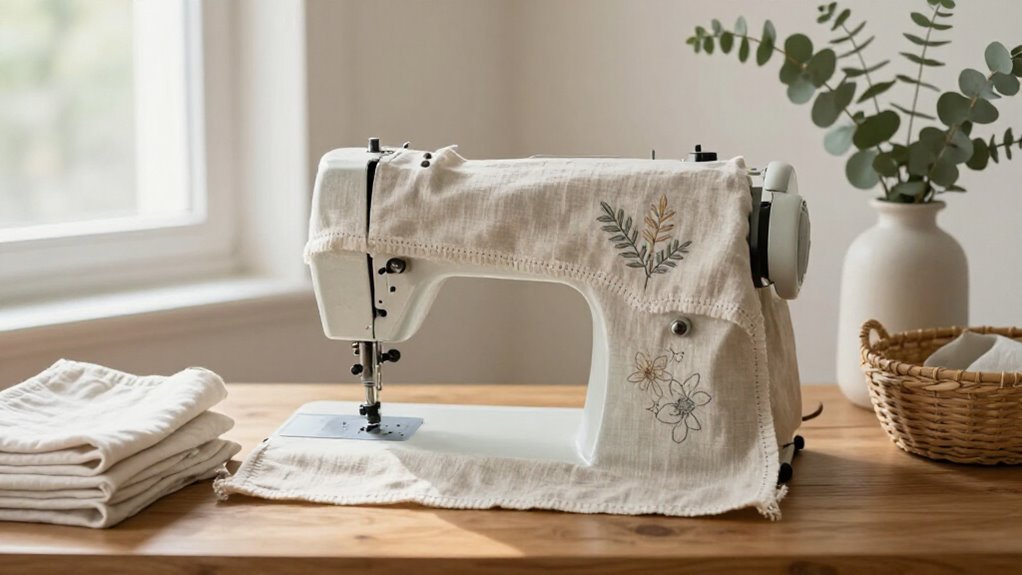
A neutral linen sewing machine cover brings that calm, put-together home-decor look to your craft corner, even if the rest of the room is having a tiny thread-and-scrap-fabric crisis! Choose oatmeal, sand, or natural linen; its matte finish disguises little marks beautifully.
For easy dust protection, sew a boxy, full-coverage shape with linen, lining, and soft Pellon Flex Foam. You’ll get Fabric breathability plus a smooth, tidy silhouette—no plastic sheet needed!
Serge the edges, add a half-inch hem, or use contrasting bias tape for a friendly finished touch. Want the clever upgrade? Add a matching front pocket for scissors and notions, so your sewing station feels like part of the home you love.
Vintage Floral Sewing Machine Cover
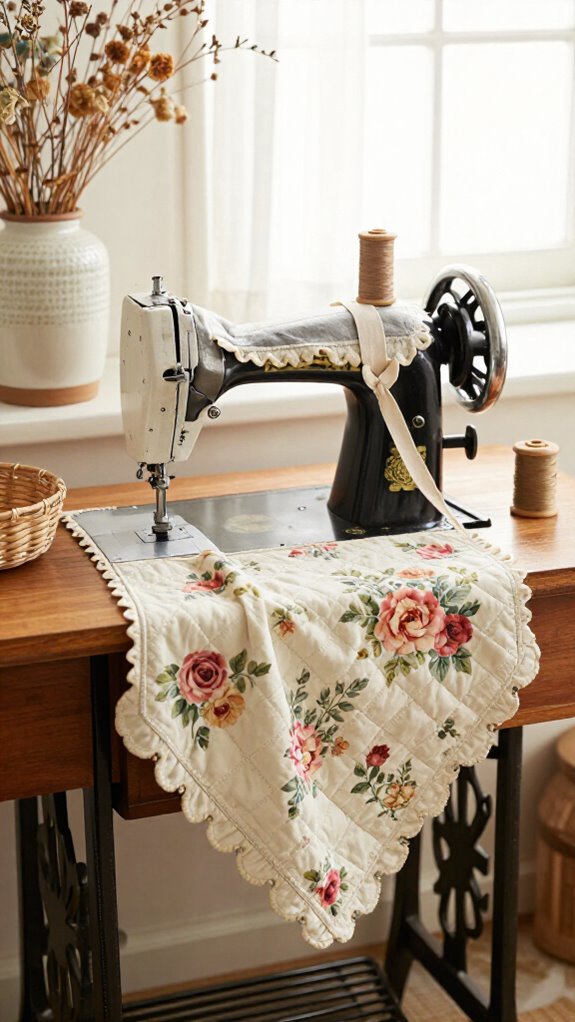
Vintage floral fabric can turn your sewing machine into a charming little piece of décor—yes, even while it’s keeping dust away! Choose blooms on a solid background, then match Thread colorways, like ivory and teal.
| Quick choice | Why it works |
|---|---|
| Angled fitted shape | Hugs machine contours |
| Front floral pocket | Holds notions nearby |
Cut a transport-style cover, add the pocket, and finish the handle gap with a folded, topstitched edge for a handle friendly design. You’ll feel right at home in your creative corner! For a polished surprise, fuse flexible foam to the outer fabric and add cotton lining—your cover stands proud, not floppy.
Farmhouse Gingham Cover
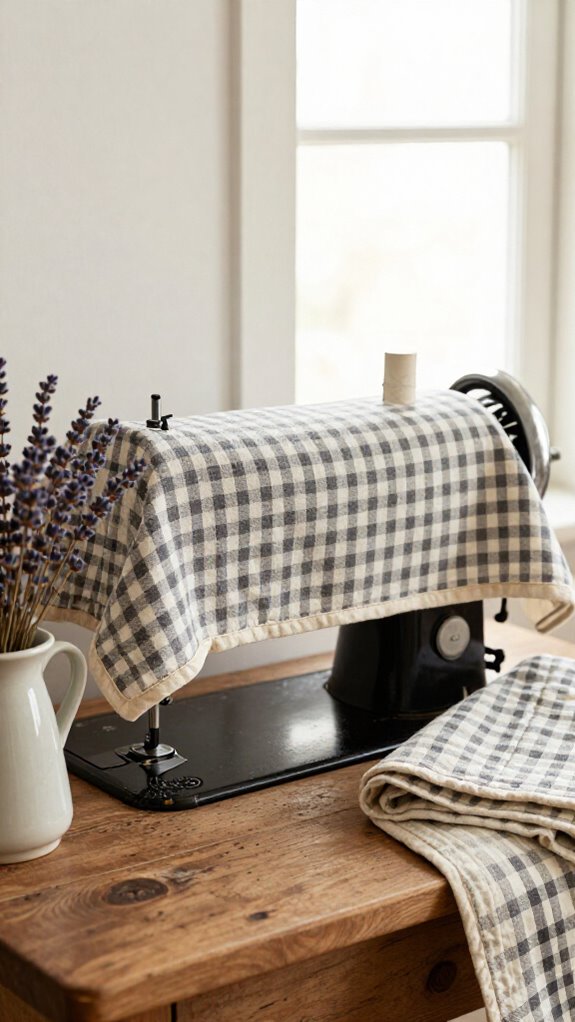
Bring cozy farmhouse charm to your sewing nook with a gingham cover—it’s an easy beginner project that looks wonderfully put together!
Start by Choosing fabric scale: small checks feel subtle, while large gingham makes a bold, friendly statement. You’ll need at least 1/2 yard of cotton gingham, plus a solid or tiny-print lining.
Measure your machine’s height and width, then add 1 inch for seams. Sew a simple boxy cover with a handle gap, so it slips on easily—no wrestling match required!
For hemming handle slit, zigzag or serge the edge, fold it 1/2 inch, and topstitch. Add batting between layers for a crisp, welcoming shape.
Cottagecore Ruffle Cover
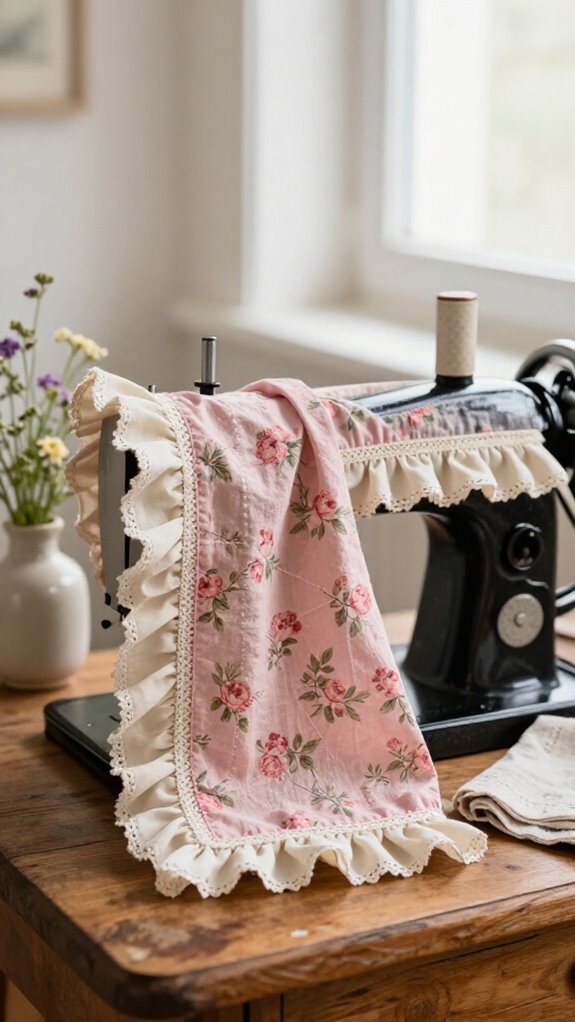
Soft cotton lawn, breezy voile, or pretty eyelet can turn a basic sewing machine cover into a sweet cottagecore accent—ruffles included, of course!
Measure your machine, including knobs, then add seam room and extra height to roll neatly over the top. Cut front, back, and side panels, and finish the handle opening before assembly.
- Sunlit eyelet with soft ruched trim
- Tiny pockets for scissors and clips
- A crisp hem that keeps dust out
Gather ruffle strips with basting stitches, then sew them onto panels before joining everything.
Thoughtful pocket placement makes it feel made for your sewing circle—practical, charming, and absolutely not fussy!
Quilted Patchwork Machine Cover
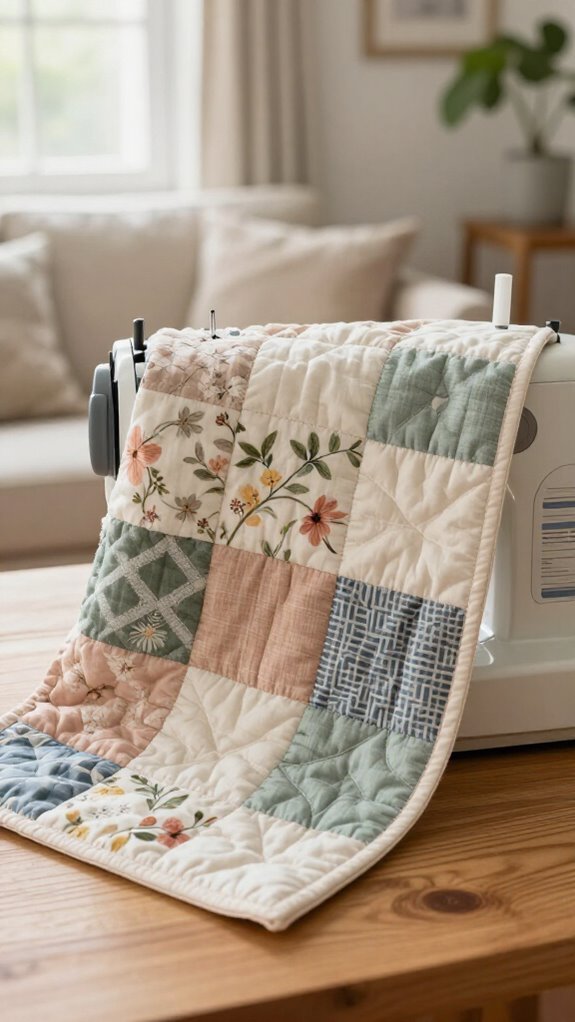
If ruffles feel a little too dainty for your space, a quilted patchwork machine cover adds color, texture, and cozy handmade charm—like a tiny quilt with a very important job!
Choose scraps that echo your room’s colors, then use quilt panel planning to arrange squares in tidy rows.
Stitch two front-and-back panels and two side panels, keeping consistent seams and precise seam matching.
Layer each panel with batting and muslin backing, then quilt it to prevent puckers.
Bind the bottom opening with thin bias tape before assembling—an easy detail that keeps edges neat and dust out.
Your machine gets a snug, welcoming home, and your sewing corner feels even more yours!
Modern Black and White Cover
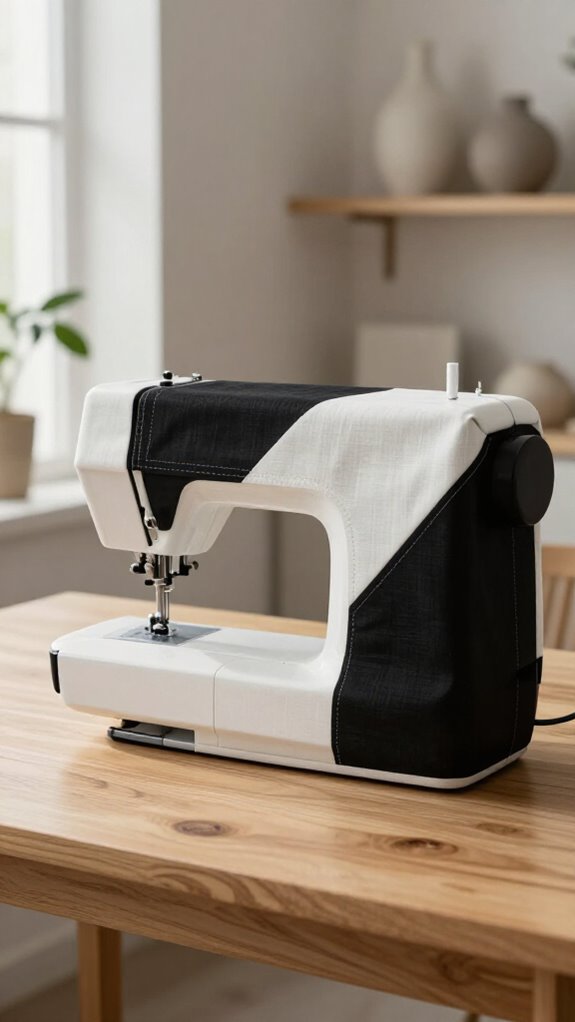
A modern black-and-white cover gives your sewing machine a sharp, tailored look, especially when your room already has bold, high-contrast decor. You’ll feel right at home with this polished DIY!
- Crisp canvas or denim, soft foam, and cotton lining create a boxy silhouette.
- Colorblocking techniques repeat black and white across sides, handle, and a slim front pocket.
- Straight seams and graphic piping details frame every edge like a tiny designer suit.
Measure your machine’s widest points, add seam allowance and roll-over height, then test-fit before stitching. Use matching thread and modest pocket space for scissors and needles.
The surprise? Half-inch piping makes your cover look store-bought—without the premium price!
Sage Green Botanical Cover
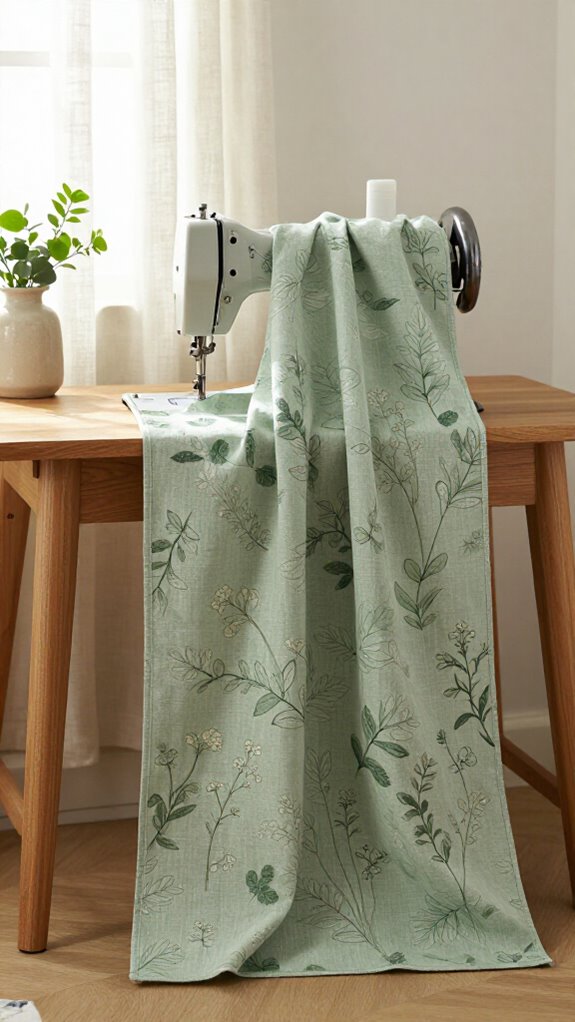
Botanical charm makes a sewing machine cover feel like part of the room instead of a bulky appliance hiding on the table! Choose medium-scale sage leaves, centering the motif for cozy botanical decor styling.
| Need | Easy choice | Result |
|---|---|---|
| Measure | Add 1 inch | Tidy fit |
| Structure | Flex foam | Soft box shape |
| Handle slit | Fold, stitch | Durable opening |
| Finish | Neutral piping | Sage stays focal |
For Sewing machine organization, measure knobs and height first. Layer sage fabric, lining, and foam, then sew simply. Finish the handle edge with zigzag stitching, fold 1/2 inch, and topstitch. Off-white or charcoal binding makes it look wonderfully at home!
Denim Patchwork Cover
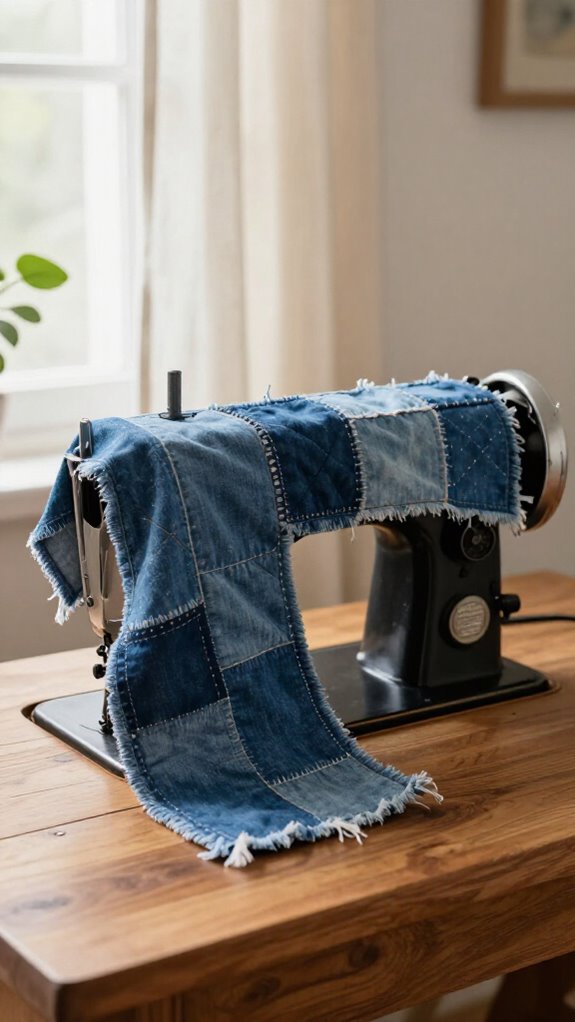
With sturdy denim and a few mismatched washes, you can turn sewing scraps into a cover that looks relaxed, useful, and seriously cool!
Try using denim scraps in a quilt-like panel, then cut roomy front, back, and side pieces with extra seam allowance. It’s beginner-friendly, budget-smart, and fits right into a creative sewing corner.
- Faded blue squares like favorite old jeans
- Golden topstitching that feels warmly handmade
- A snug handle slit for easy lifting
Add a matching lining, turn through a bottom gap, and topstitch closed. Finish the top edges neatly, then try reinforced seam finishing with interfacing—your patchwork stays crisp and resists fraying!
Soft French Country Cover
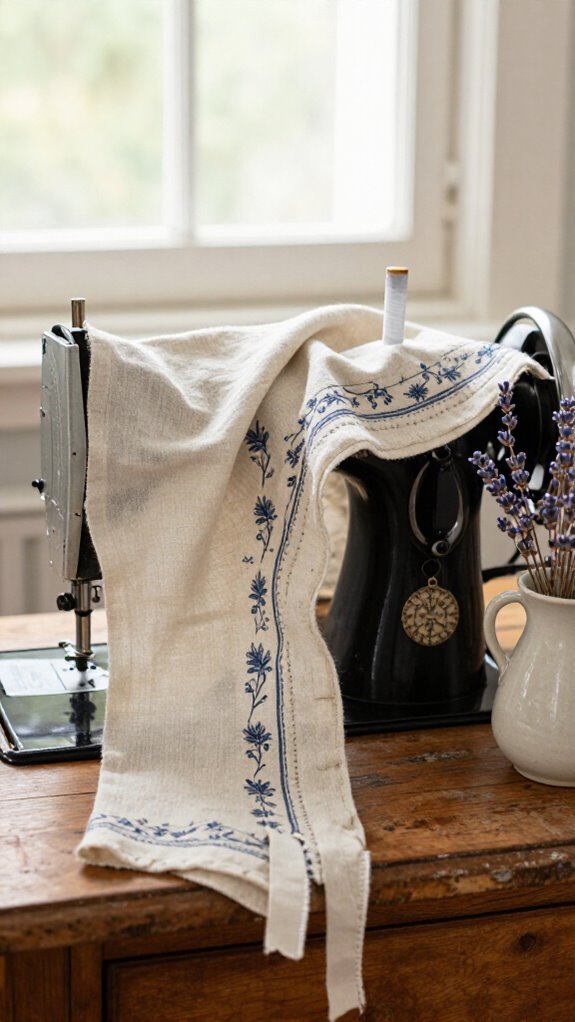
For a softer look after rugged denim, dress your sewing machine in French-country charm! Choose cotton toile, tiny florals, or stripes against cream fabric for a welcoming, collected feel.
| Detail | Easy touch |
|---|---|
| Shape | Quilt thin batting |
| Handle | Topstitch a neat gap |
| Storage | Add a shallow pocket |
Line it, then bind edges or add coordinating piping. It slips on easily, no wrestling required!
Finish with handmade tassels and heirloom buttons near the pocket. You’ll create a sweet, useful piece that looks right at home with the rest of your cozy sewing corner.
Monogrammed Sewing Machine Cover
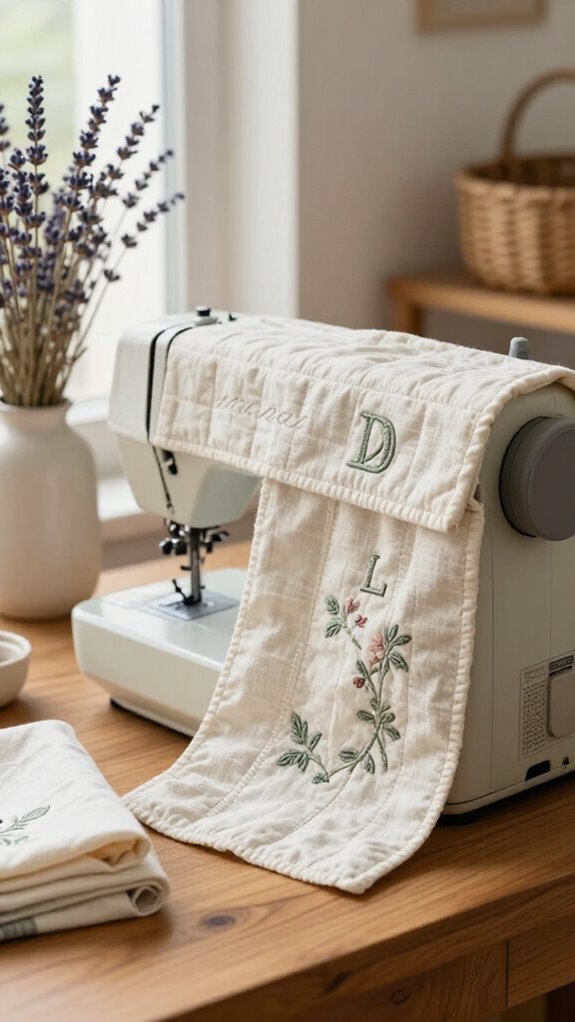
A monogram turns a basic sewing machine cover into something that feels truly yours—like a tiny custom label for your favorite creative tool!
Start with a 3–5-inch letter, stabilizer, and coordinating thread. These monogram placement tips help: center it on the flat front panel, then pin-baste before stitching.
- Ivory letters against charcoal fabric
- Minty aqua initials on a neutral cover
- Crisp satin stitches that say, “This is my spot!”
For Thread color contrast, choose solids that echo your room’s accents. Use tear-away or fusible stabilizer to stop puckering, then topstitch after assembly. You’ll get a polished cover that feels right at home among your fellow makers!
Embroidered Floral Cover
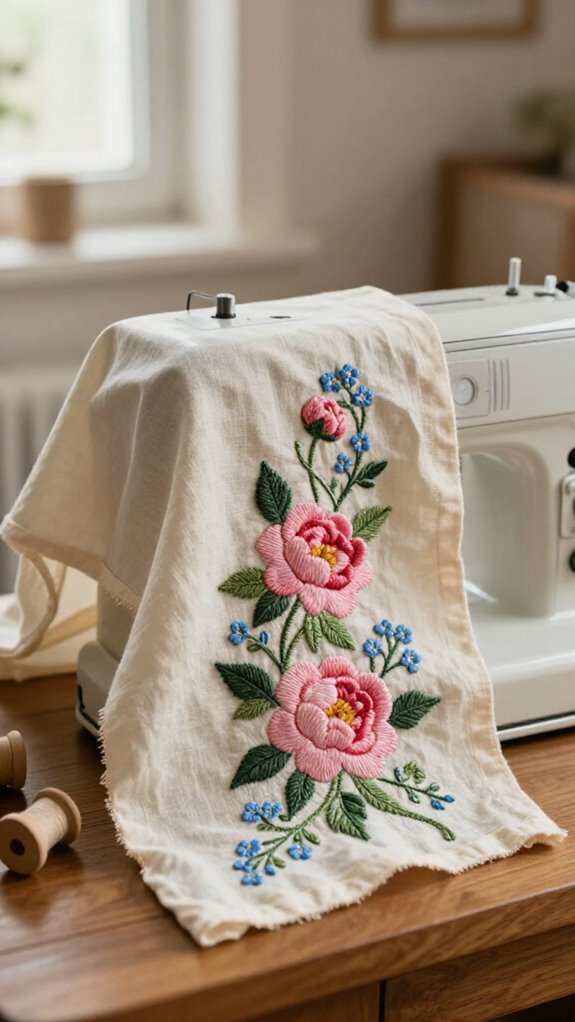
Your monogram can share the spotlight with a garden of stitched blooms—how fun is that? Choose floral fabric with a matching solid background, then embroider one centered flower or a top-edge repeat.
Use tear-away stabilizer beneath cotton, denim, or canvas, and try straight decorative stitches or dense satin stitching. Color thread coordination with your lining, piping, or binding makes the cover feel right at home with the rest of your creative crew.
For decorative border placement, mark lightly before stitching—no guessing games! Want extra structure? Add flexible foam between the outer fabric and lining. Finish the top edge neatly, and you’ll have a durable, display-worthy cover.
Christmas Sewing Machine Cover
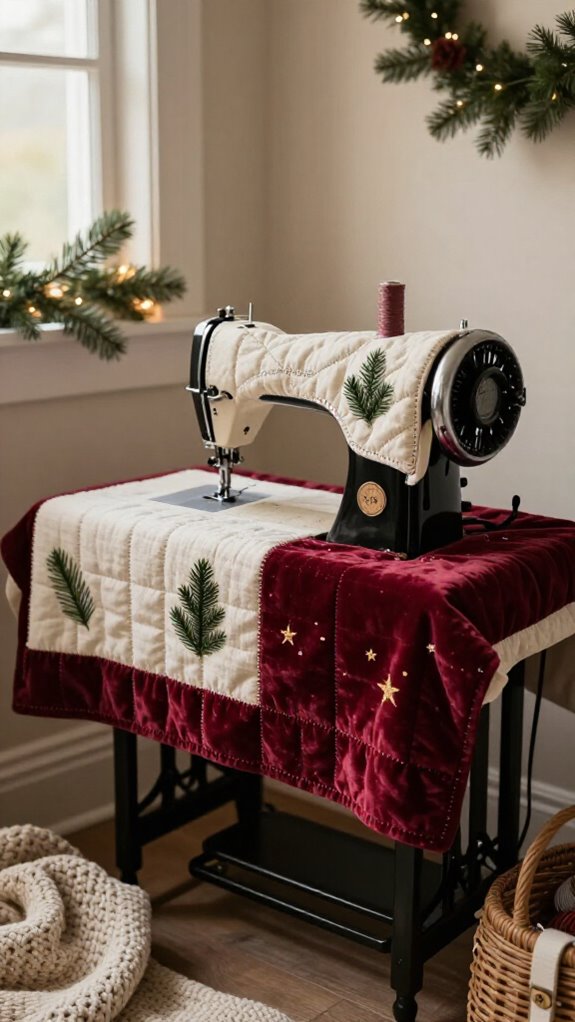
Nothing says holiday sewing room quite like a cheerful Christmas cover, and you can make one that keeps dust off your machine while adding a little December sparkle!
Choose holiday fabric choices like red-and-green cotton, velvet, or snowy prints. Measure your machine, then add seam allowance and extra height for a snug boxy fit.
- Candy-cane binding along the bottom
- Ivory stitching with a bright red accent
- A snowy pocket for scissors and needles
Serge a handle slit at the top, fold, and topstitch. Add batting for structure. Best of all, pocket friendly storage keeps your sewing crew’s necessities nearby—no scavenger hunt required!
Spring Garden Print Cover
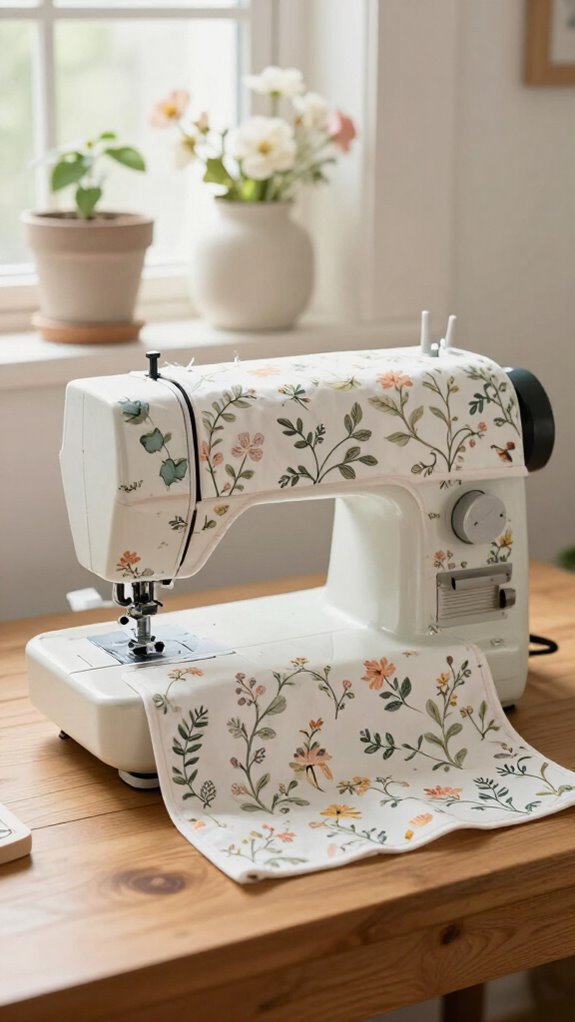
Bring spring right to your sewing table with a garden-print cover that feels fresh, bright, and wonderfully useful! Choose 1/2 yard of floral cotton or canvas plus matching lining for a polished, dust-blocking finish.
Measure your machine’s widest width and height, including knobs, then add 3 inches. Cut two front/back panels and two mirrored trapezoid sides. Serge or zigzag the top edges, fold them down 1/2 inch, and topstitch to create an easy handle slit.
Try it on before hemming the bottom, then fold and stitch. A seasonal fabric swap keeps your sewing corner feeling shared and cheerful; button closure options add a cute custom touch!
Minimalist Canvas Cover
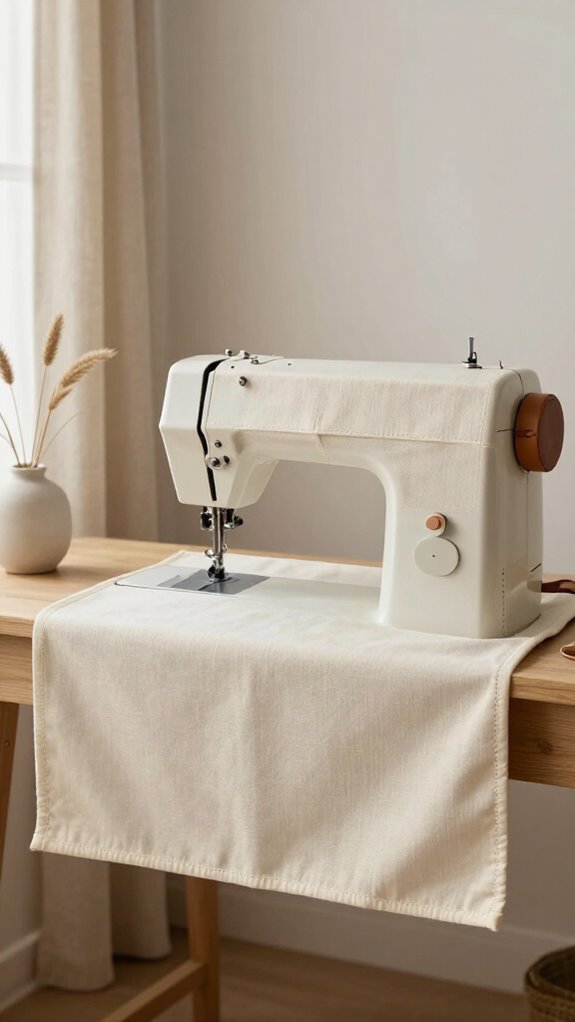
A minimalist canvas cover gives your sewing machine a calm, tailored look, and it’s surprisingly beginner-friendly—no elaborate trim parade required!
For Fabric selection, choose sturdy canvas, matching thread, and optional lightweight foam interfacing. Cut two rectangles and two mirrored sides, then sew with a consistent 1/2-inch seam allowance.
- Warm oatmeal canvas beside a wood table
- Crisp charcoal stitching against white walls
- A neat handle slot, ready for sew-day gatherings
Finish the bottom with a folded hem or plain bias tape, and zigzag the handle edges before topstitching. Want the polished secret? Add foam between canvas and lining—it holds its shape beautifully, without looking bulky!
Vintage Quilt Cover
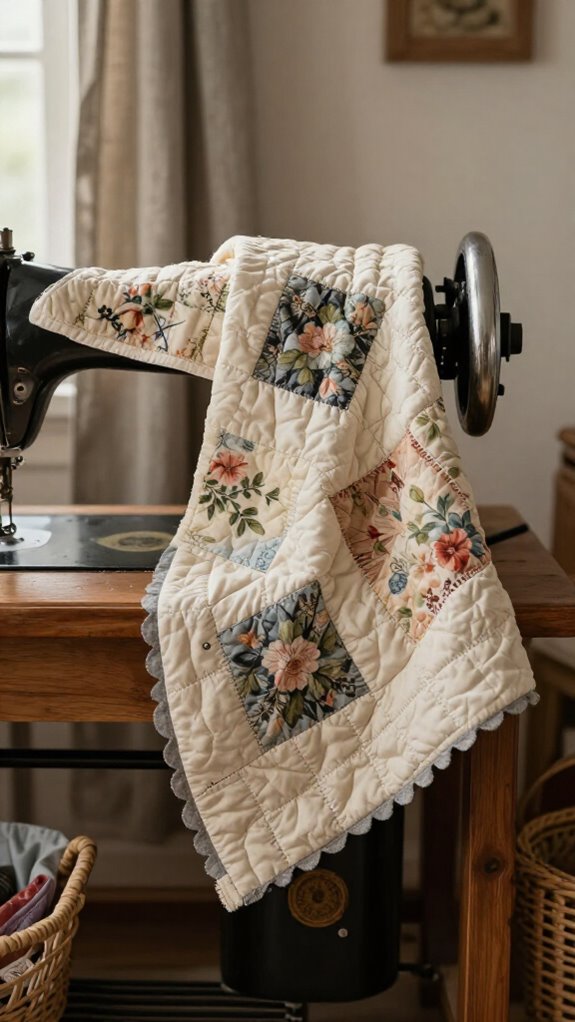
If your sewing corner could use a little old-fashioned charm, a vintage quilt cover delivers it with color, texture, and plenty of personality!
| You’ll need | Friendly result |
|---|---|
| Coordinated scraps | Cozy patchwork panels |
| Batting and muslin | Soft, sturdy shape |
| Straight quilting | Easy antique texture |
Measure your machine, including knobs, then add one inch for seams and two inches for a snug roll-over top. Quilt the outer fabric to batting, sew mirrored boxy sides, and let your patchwork placement tell a shared story.
Finish the bottom with contrasting bias binding—your secret wow detail! It keeps dust out, looks polished, and makes your machine feel right at home.
Scalloped Edge Machine Cover
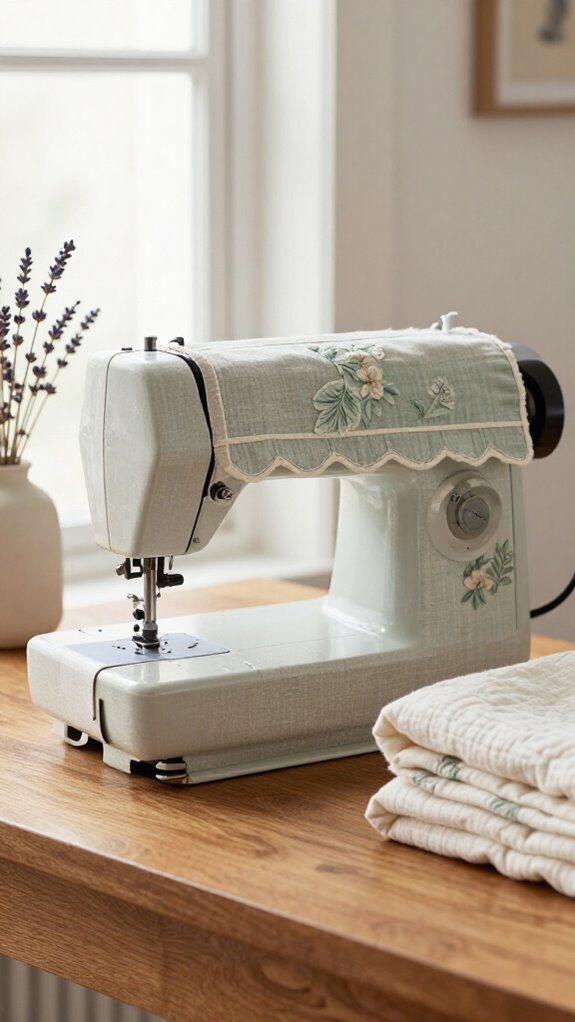
Swap the patchwork charm for a playful wave of trim, and your sewing machine cover gets a sweet, polished edge—no stylish sewing skills required!
Choose bias tape, ribbon, or scalloped lace, then baste it evenly along the front panel before stitching.
- Cream lace against soft blue cotton
- Cherry-red ribbon framing a cheerful floral print
- Tiny scallops that echo your cozy craft-room style
For tidy trim finishing, use a narrow zigzag or serged edge underneath.
Leave trim off any handle opening, so it stays flat, not lumpy—because your machine deserves better than a fabric traffic jam!
For extra-firm curves, fuse thin interfacing along the border.
Button-Detail Sewing Machine Cover
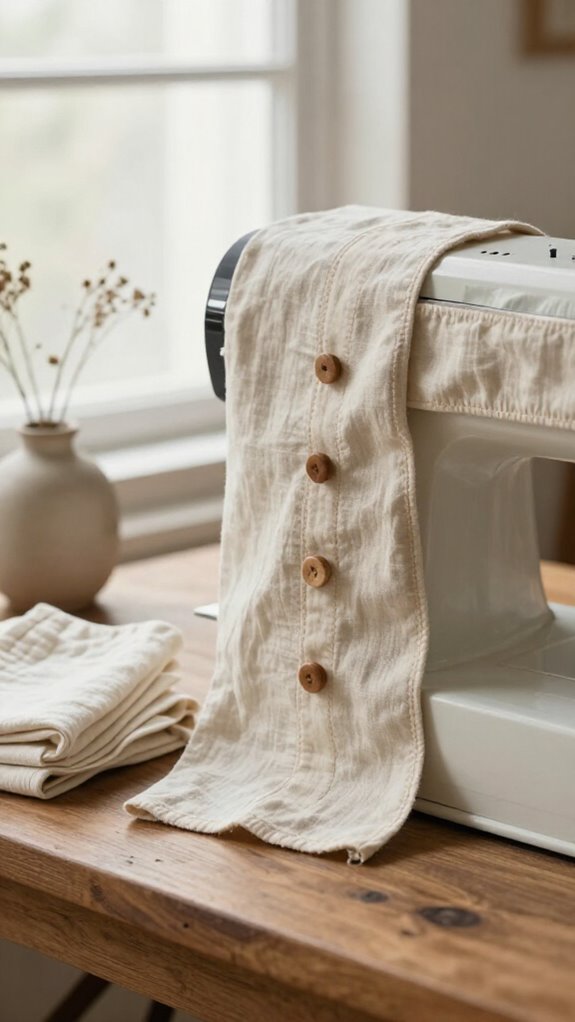
Button details turn a simple sewing machine cover into a cheerful little piece of home décor—no buttonholes, ornate tools, or sewing-room wizardry required!
Choose one solid fabric and two friendly prints, then add 10–12 similarly sized buttons in a cohesive shade, such as white. Straight decorative lines in ivory, charcoal, dark red, or minty aqua create a polished focal point.
Before sewing, check your thread placement and stitch spacing on a scrap. If you stitch near buttons, fuse medium-weight interfacing underneath and use tear-away stabilizer for crisp lines. Finally, hand-stitch buttons onto the finished cover.
You’ll get a custom-looking accent that feels right at home with your creative crew!
Striped Linen Cover
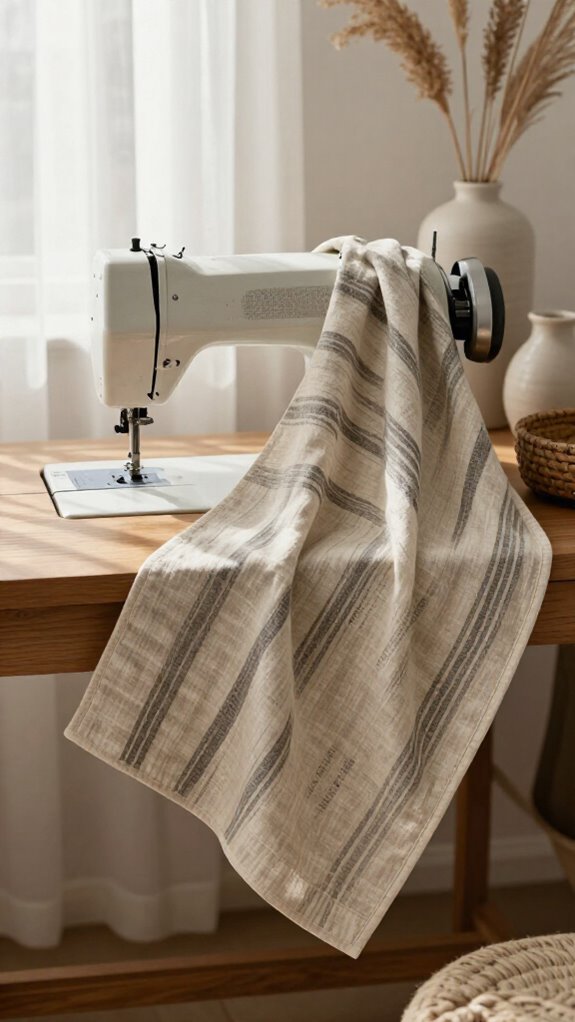
A striped linen cover brings calm, tailored charm to your sewing table, and it’s much easier to make than it looks—hooray for fabric that does half the decorating for you!
Choose linen-blend fabric, cotton backing, and simple thread; it’s beginner-friendly and budget-smart. Measure knobs and height, add seam room, then cut rectangles and mirrored side panels.
- Crisp navy stripes marching neatly over the top
- Soft canvas lining that prevents puckers
- A clean hem that slips on smoothly
Use stripe alignment tips: pin every seam before stitching. Make fitting adjustments by easing side curves, then finish the bottom with binding for a polished, room-ready surprise!
Romantic Cottage Floral Cover
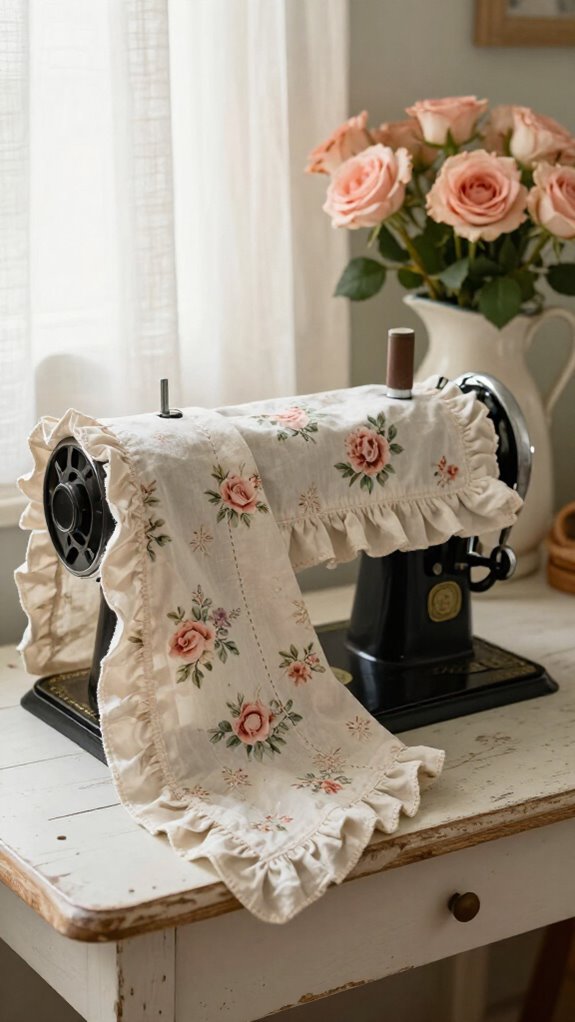
For a softer, storybook look, let a romantic cottage floral cover bring blooming charm to your sewing corner—no actual garden watering required!
Choose ½ yard of floral fabric, then add a solid lining and soft fusible foam for gentle shape.
It’s beginner-friendly, cozy, and far less costly than redecorating!
Finish the bottom and handle slot with contrasting bias binding, then zigzag or serge seams for everyday strength.
A small front pocket adds threading organization and stitch marker storage, so your favorite tools feel right at home.
For the sweetest surprise, match the floral pattern across the pocket and handle area.
Topstitch neatly, and your machine gets a polished little cottage companion!
Choosing a Fabric That Complements Your Craft Room
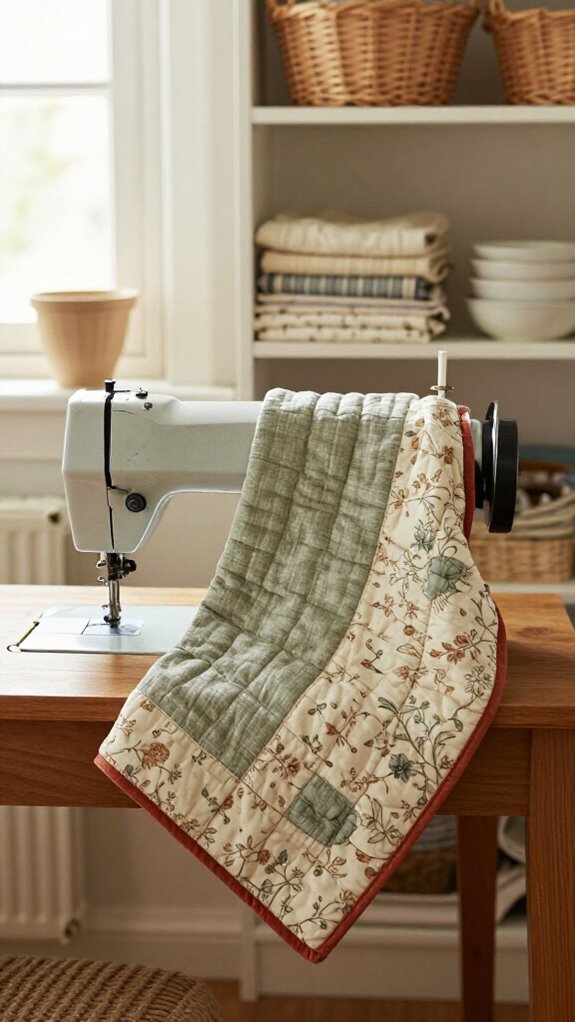
Start by looking around your craft room, because your sewing machine cover can echo the colors already making the space feel like yours!
Use this fabric weight guide: quilting cotton or denim drapes softly, while canvas or vinyl adds sturdy dust protection.
- Soft florals beside a cream solid, like your favorite cushion
- Navy piping that matches storage bins and wall art
- Smooth cotton/poly lining that feels neat inside
Try lining color tips by choosing a shade that supports your exterior fabric, not competes with it. Coordinate thread for a pulled-together look!
For extra shape, add flexible foam between layers—your cover will stand proudly, like it belongs there.
Adding Details Without Making the Cover Look Busy
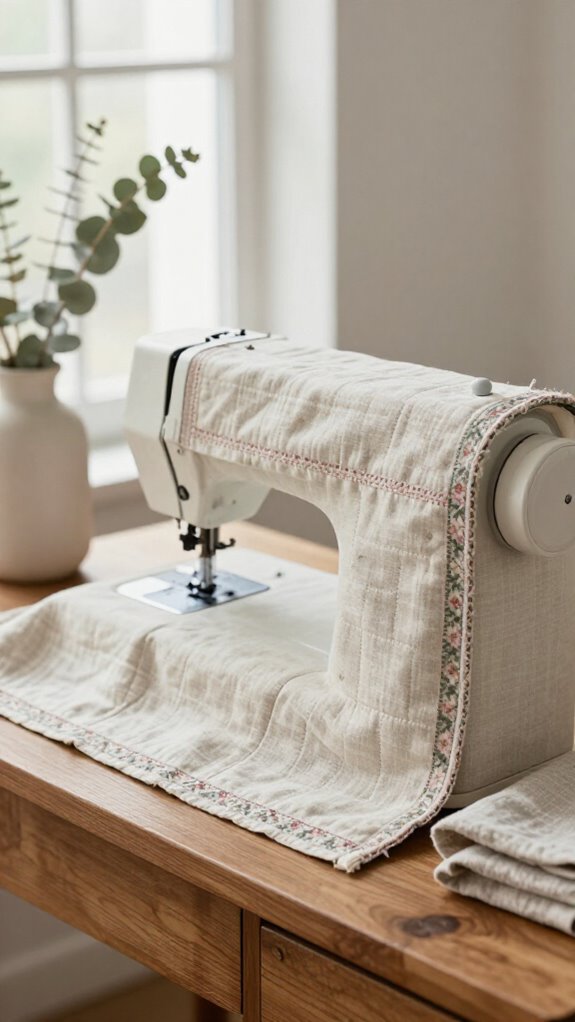
Keep the look calm by choosing one main fabric, then let just a few details do the talking—your cover should feel polished, not like it raided the button bin!
Practice Color control with two to four matching thread shades, and stitch simple repeated lines over tear-away stabilizer for crisp results.
Next, use piping only along side panels or pocket tops. It adds neat structure without shouting, and it’s beginner-friendly!
For pocket placement, choose one functional zone: a small front pocket or shallow split pocket. Use matching buttons if desired.
The winning touch? Pair two small prints with a solid background, so your cover feels coordinated, welcoming, and happily at home.
Styling Your Sewing Machine When It Is Not in Use
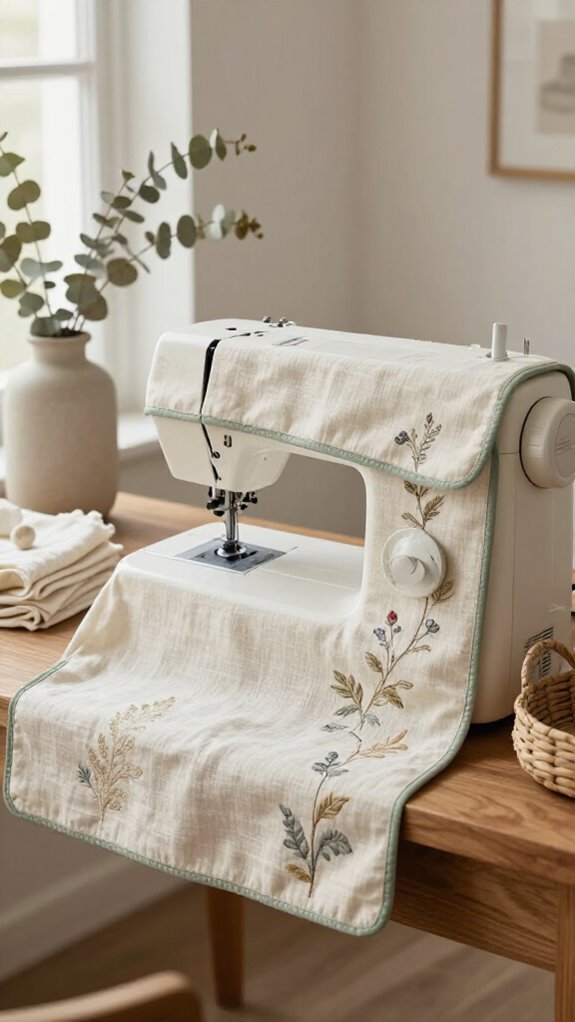
When your sewing machine clocks out for the day, slip its finished cover on right away—fabric dust and loose thread love sneaking into feed dogs and moving parts!
Make your sewing nook feel like part of the room, not a craft-store explosion!
- Choose cotton, canvas, denim, or vinyl in colors that echo your curtains or rug; seasonal color swaps keep it fresh!
- Use Stitching placement tips like contrasting bias binding or neat straight lines for a polished, welcoming look.
- Add a centered handle slit and a front pocket for scissors and needles—then try boxy corners or angled panels for travel-ready protection.
You’ll keep tools tidy, prevent scratches, and create a cheerful spot your creative crew will admire.