Start by picking indoors or outdoors, then match your waterfall size to the pump so the flow stays smooth, not sputtery. Use a lined basin, tubing, rocks, and a simple spillway, then test the water before you lock everything in. Shape the falls with uneven stones and small drops for that natural look, not a backyard lava lamp. A little tilt, careful splash control, and a good pump make it easy—then the fun tricks come next!
Key Takeaways
- Choose the location first, preferably outdoors or a well-ventilated indoor spot with easy pump access and no soggy low spots.
- Match waterfall size, spillway width, and reservoir volume to pump flow rate and head height for steady, non-sputtering flow.
- Use a submersible pump, waterproof liner or sealed basin, and correctly sized tubing to keep water recirculating smoothly.
- Build a natural look with uneven rocks, hidden tubing, and multiple small drops instead of one flat, obvious fall.
- Test flow before final rock placement, then adjust angles, spillway width, and plumbing to reduce splashing and clogs.
Planning the Right Waterfall for Your Space
Start by choosing whether your waterfall belongs indoors or outdoors, because noise, humidity, and space can change the whole game, and nobody wants a living room that feels like a jungle gym!
Next, size it to match your pump strength and water volume so the water flows smoothly instead of sputtering like an old garden hose!
Then pick a style that fits your space, whether it’s natural rock, a simple container, or a wall feature, and save the best surprise for last—making it look like it’s always belonged there.
Choose indoor vs outdoor based on noise, humidity, and space
Outside, you get easier outdoor noise control and less humidity worry, plus more room to work.
Just avoid soggy low spots, leave space for pump access, and line it up with a window view—nice!
Decide size based on pump strength and water volume
Because your pump does the heavy lifting, your waterfall’s size should match what it can actually push, not what looks dramatic on paper. Start by checking flow rate and Hydraulic head, then choose waterfall sizing that fits. If the stream looks skinny, shrink the spillway; if it threatens to overflow the trough, widen your plan a bit.
Next, size your Reservoir volume so the pump stays covered and recirculation stability stays steady—nice and smooth! For a multi-tier build, keep each branch fed evenly with simple plumbing, then test with temporary tubing before you pour. That little dry run saves money, headaches, and soggy shoes!
Pick a style: natural rock, container, or wall feature
Now that you’ve matched the waterfall’s size to your pump, it’s time to pick the look that fits your space and your sanity!
- Choose natural rock for an organic vibe; use Natural rock placement over a sloped 1-inch concrete trough for smooth trough runoff.
- Pick a container style when space is tight; it gives you container basin access and hidden reservoir recirculation with less fuss.
- Go wall feature for a bold, tidy statement; framed boxes keep the lip level and the spill even.
- Face it toward your favorite window or bedroom view, and skip low spots so water doesn’t turn into a soggy surprise.
Materials You Actually Need (No Overbuying)
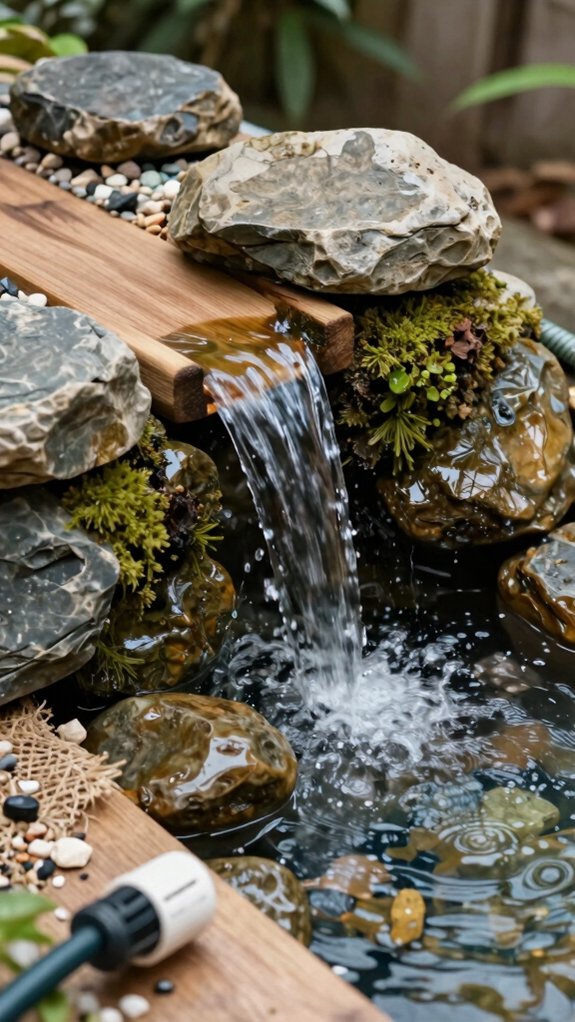
You only need a few smart basics to get your waterfall moving: a submersible pump sized for the height you’re lifting water, a waterproof liner or sealed basin, and tubing that matches the pump so the flow doesn’t turn into a sad little trickle.
Then add stones or sturdy structure materials to shape the water path, and if you want cleaner water with less gunk drama, a filter sponge can help too!
Keep it simple, because buying the right parts once beats piling up extras you’ll never use.
Submersible pump sized correctly for height (head height matters)
A submersible pump can make or break your waterfall, so don’t just grab one that “sounds strong” and hope for the best! You need to match flow to head height, because the higher you lift water, the harder the pump works.
- Check pump head charts before buying.
- Do a quick variable head calculation.
- Keep tubing straight and smooth.
- Choose enough flow for steady spillway action.
That way, your recirculating loop stays calm, not sputtery, and your waterfall feels like it belongs there.
A smart fit saves money, avoids overbuying, and keeps the whole crew of water-loving DIYers happy!
Waterproof liner or sealed container
With the pump sorted, the next big decision is where that water’s actually going to live, and this is where a good liner or sealed container saves the day!
If you’re digging, use an EPDM pond liner with underlay; for a small build, a rigid basin can be your neat little splash zone.
Level it with sand or gravel, then tuck sand around the edges so the footprint stays put and water recirculates, not sneaks away.
Smart Liner thickness choice matters, and puncture prevention methods like underlay, smooth soil, and careful rock placement keep your waterfall happy and leak-free!
Tubing that matches pump output
Since the pump is doing the heavy lifting, the tubing has to match it, or your waterfall may sputter, hiss, or just act grumpy for no good reason!
Choose the same diameter as the pump outlet, like 1″ PVC, and keep pressure matching in mind so flow stays smooth.
- Pre-cut and dry-fit every run first.
- Use rigid PVC in the core, flex only where needed.
- Glue and prime each joint before burial.
- Do Waterproof testing after curing, then adjust.
You’ll know you’re on the right team when the water sheets out clean, not in choppy little surprises!
Stones or structure materials for water flow
For the waterfall face, you don’t need a mountain of stone, just the right pieces in the right places! Start with a level, boxed base, then add a few PVC sections and fittings, a lip, and enough rocks to break the water path.
Your stone placement should guide the flow, not fight it, so build flat slate-like sections instead of one giant chunk.
Mix cement color well, form a thin cover layer, and plan waterproof sealing where water hits the edges.
For a natural look, use found rock last, and let your faux rocks do the heavy lifting.
Optional filter sponge to reduce debris
If your waterfall pump starts acting a little dramatic, an optional filter sponge can save the day! You can tuck it at the intake to catch leaves and fine bits before they clog the diffuser. Choose big pores, not tight foam, so your flow stays strong and your crew stays happy.
- Cut just enough to cover the intake.
- Keep it easy to reach for cleanouts.
- Use pond safe rinsing, not tap water.
- Stick to simple filter sponge maintenance.
When you’re shaping DIY rocks or a concrete lip, don’t bury the sponge. Easy access means less mess, less stress, and smoother recirculation.
How Water Circulation Works (Simple but Critical)
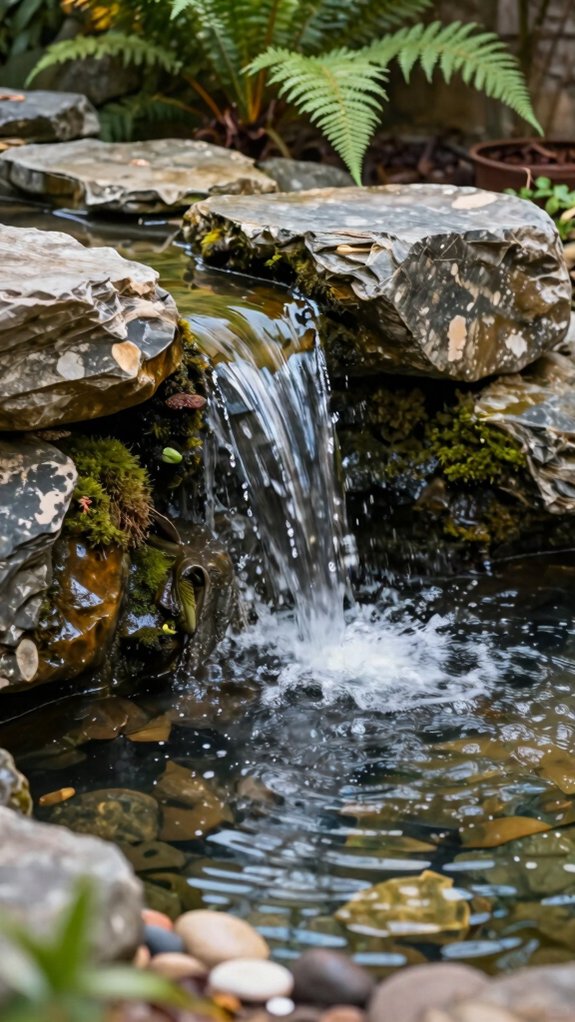
Your pump sends water up through the tubing, and then gravity takes over, pulling it down the rocks in that nice, natural waterfall curtain.
The water lands in the hidden reservoir below, so it can get picked up and sent right back up again—pretty neat, right?
The trick is balancing flow and splash, because too much water can make a mess fast, while the right setup keeps everything smooth, steady, and looking like it belongs there.
Pump pushes water upward through tubing
As soon as the submersible pump starts humming in the underground reservoir, it pushes water up through the tubing and sends it to the waterfall’s fountain head, where the water spills over the top of the rocks instead of blasting straight at them—much prettier, and way less splashy!
Keep your flow path simple, and use a multi stream design with 1″ T-fittings and elbows so the water fans out naturally.
For smart tubing routing, keep the fountain head placement centered and submerged, so the output stays steady and friendly to your hidden trough.
- Pre-cut PVC
- Pre-prime joints
- Match pump height
- Add tubing if needed
Gravity creates the waterfall effect
Now that the pump is sending water up through the tubing, gravity takes over and does the fun part, letting that water fill the waterfall tray or trough, spill cleanly over the lip, and tumble down the rocks before it gathers in the sealed reservoir below.
You keep the spill path smooth and continuous by sloping the concrete runoff up to the 1×4 lip, so water doesn’t pool or wander.
Nice, right? For better splash control and algae prevention, aim the flow into the channels, not out on top.
That simple move helps your waterfall look natural, run quietly, and feel like yours.
Water collects and recirculates
Inside a pondless waterfall, the water doesn’t just disappear like magic—it gets scooped up and sent right back to work! You’ll see it fall into the underground reservoir, where the liner basin catches every drop, then the pump sends it back up for another smooth run.
- Keep debris management simple with a skimmer net.
- Watch water clarity, so your falls stay bright and fresh.
- Do pump intake maintenance often, and clear leaves fast.
- Use air gap prevention when you seal the plumbing.
A well-sized reservoir helps you belong to the “it just works” club, and your water keeps circling with style!
Balance between flow rate and splash control
A smooth waterfall isn’t just about sending water uphill and hoping for the best, because the real magic happens when you balance flow rate with splash control!
You’ll want Pump sizing that matches your spillway geometry, so the water spreads evenly instead of blasting one spot.
Split the 1-inch line with T-fittings and elbows, then prime every PVC run for steady flow and fewer leaks.
Keep fountain head tips about 1/4 inch above the cured concrete, and bury lines cleanly for better runoff control.
That’s smart splash tuning, and it makes your waterfall feel natural, calm, and downright welcoming!
Step-by-Step Build Process
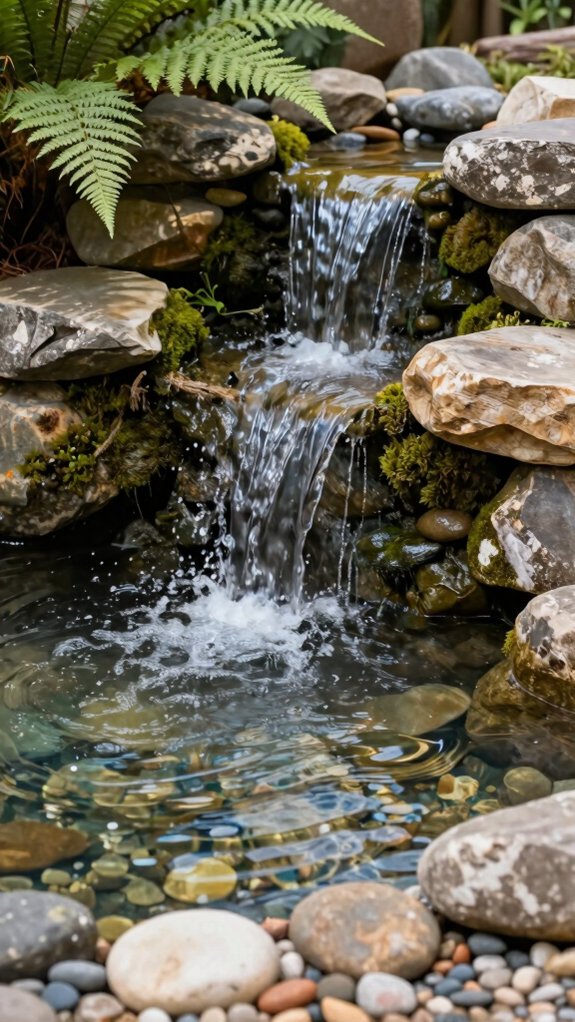
First, you’ll get your base area ready, level it out, and set the liner so it can hold water without sneaky leaks, which is way less dramatic than a surprise flood!
Next, place the pump at the lowest point and hide the tubing as you route it through the structure, then stack your stones or shape the surface so the water has a clear path to follow.
Prepare base container or ground area
Before you stack a single rock, clear and shape the exact spot where your waterfall will live, because water loves to wander if you give it an excuse! Trim plants, level the ground, and mark the footprint so your flow stays where you want it.
If you’re using a pond liner, set it in place, then do liner leveling with a sand base underneath and sand tucked around the edges.
- Keep pump access open for easy setup.
- Leave maintenance access for future fixes.
- Check the head location before framing.
- Let foam or concrete shape stay workable, then dry.
Install liner and secure edges
Now that your base is ready, lay the pond liner on the leveled sand or gravel and let it settle into the waterfall footprint like it belongs there.
Clear any saplings or roots first, then smooth the liner so it doesn’t stretch or bridge.
Use sand to fill edge gaps, and tuck the edges under firm framing so water can’t sneak underneath.
Nice and snug, right?
Wrap it into the shape you want, keeping tension even for liner wrinkle fixes and smooth spill alignment.
Do edge sealing checks, then try Water flow testing before rock work.
You’ll get a clean, natural spill!
Position pump at lowest point
Set your pump right at the lowest point in the reservoir basin so it stays fully flooded and can push water up without straining—this little move makes a big difference!
- Check the lowest intake first for pump priming and flood reliability.
- Keep the pump level on a flat stone or brick.
- Make sure water covers it fully for a consistent draw.
- Wait until the concrete’s cured, then test it per the manual.
You’ll get steadier flow, less gulping, and fewer hiccups, which means your waterfall feels calmer and more natural. Tiny placement tweak, big backyard bragging rights!
Route tubing invisibly through structure
As you map out the waterfall, hide the tubing route in plain sight so the finished spillway looks clean, not like a science project gone rogue! Start with concealment planning: place the underwater fountain head in the top box, mark the exact path, and dry-fit your PVC pieces. Use drilled or punched foam holes to guide the line upward, and let foam impressions show you where the head belongs.
Prime every joint, then assemble the 1-inch T-fitting, male connectors, and elbows before you lock anything in.
After concrete slopes to the lip, do leak testing, and bury every joint fully.
Stack stones or build surface for water path
With the tubing tucked out of sight, you can start giving your waterfall its actual shape, and this is where the magic starts to look real!
Stack stones or spread a 1-inch skim coat of concrete, then slope it up toward the lip so water heads back to the fall, not over the edge.
Keep things simple, friendly, and solid.
- Add a shallow 1×4 lip to catch runoff.
- Press in homemade rocks for Stone texture variation.
- Shape the surface for Natural water shaping.
- Smooth the path, but leave tiny bumps.
Let the concrete cure, and your crew of rocks will help the flow feel natural!
Test flow before final placement
Now’s the fun part—before you lock everything in for good, do a test run!
Wait until the concrete’s fully dry, usually 24 to 48 hours, so you don’t bump the shape.
Place the fountain head in the top opening, route the water so it spills off the rock edge, not straight up, and switch on the pump for a quick look.
Do your Even flow testing across the 4-way PVC layout, and watch the water path adjustment at the foam-to-concrete spot if it puddles.
Trim the extensions, then test again.
Nice and smooth? You’re close to waterfall victory!
Adjust angles to avoid splashing outside system
Great, your test run showed where the water wants to travel, and that means it’s time to tame those splashy little rebels!
Keep your Water outlet aimed so the stream drops right into the trough, not from the top like it’s jumping ship.
During flow testing, nudge the angled returns a little at a time, and use splash guards where mist tries to escape.
- Trim PVC so it sits just above the concrete.
- Slope the spill area toward the reservoir.
- Let the concrete cure before testing again.
- Use elbows and T-fittings to guide flow.
You’ll get smoother sheets, less mess, and a waterfall that feels like it belongs there!
How to Make It Look Natural (Design Principles)
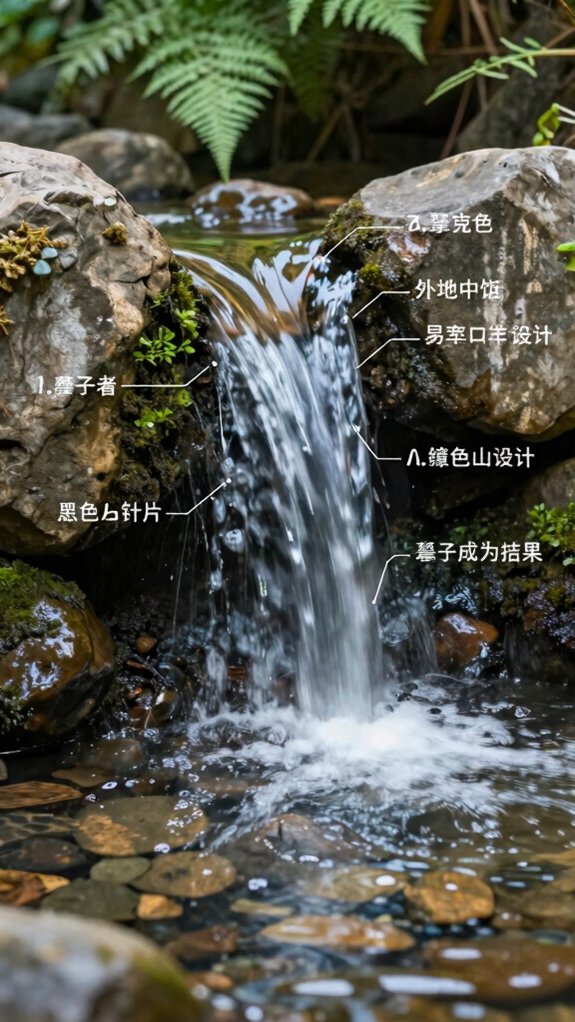
To make your waterfall look like it belongs in nature, you’ll want uneven stone sizes, a hidden tube, and a path that feels a little wild, not too perfect—because real streams never line up like a ruler, right?
Try creating a few small drops instead of one big flat fall, and give the whole flow a slight tilt so the water moves smoothly without looking forced.
Save the best trick for last: tuck the plumbing completely out of sight, then let the rocks do the talking, and your backyard will feel a lot less “DIY project” and a lot more “mini mountain magic”!
Use uneven stone sizes for realism
When you want your waterfall to look like it was carved by nature instead of built in a backyard, start with uneven stone sizes, because that’s where the magic happens! Mix big boulders, small fillers, and odd shapes for Texture variation and visual realism.
- Test-fit rocks inside and outside the trough first.
- Leave uneven gaps so water breaks, not sheets.
- Use flat pieces where flow should spread, and rounded ones where it should split.
- Keep the biggest stones a bit off-center for natural dispersion.
That little wobble? It makes the whole scene feel like your crew built it, not a machine!
Hide visible tubing completely
Even better, you can hide the ugly tubing before anyone ever spots it, and that’s what makes the waterfall feel like a real little stream!
Start with camouflage routing: set the frame, run the supply line behind and under it, then bury the pipe from the main view.
Use foam shaping inside the boxes, cutting tight holes so the PVC rises cleanly while the bulk stays tucked away.
Next, seal penetrations where lines pass through, and leave hidden access for later fixes.
Finish with a thin concrete skim, sloping it toward the lip, then press rocks into wet mortar.
Nice and sneaky!
Create multiple small drops instead of one flat fall
A waterfall looks a lot more natural when you break that big drop into a few small ones, like little stone steps instead of one flat curtain of water!
You’ll get better flow distribution, gentler splash control, and way more cascade realism.
- Build three staggered boxes, so each spill starts where the last one spreads.
- Route water out of the ledge, not straight from the top, for smoother flow.
- Shape the trough with a slight rise to the lip, then water gathers fast.
- Press homemade rocks into wet mortar to create landing irregularities and kill that “goofy hose” look.
Cheap, easy, and wow-worthy!
Slight tilt for controlled flow instead of straight drop
To make your waterfall look natural, give the water a slight tilt instead of letting it drop straight down like it’s jumping off a sidewalk! Shape the trough and concrete lip so the runoff carries into a controlled sheet, not a splashy plunge.
Use your 1×4 form, wet concrete, and a few rocks, then test the pump before you hide everything. You’ll see the flow direction right away, and you can nudge the slope until it feels smooth.
Add bigger stones where water lands, smaller ones along the sides, and your natural rockwork will help reduce splashing. Sneaky little slope, big difference!
Preventing Common Problems From Day One
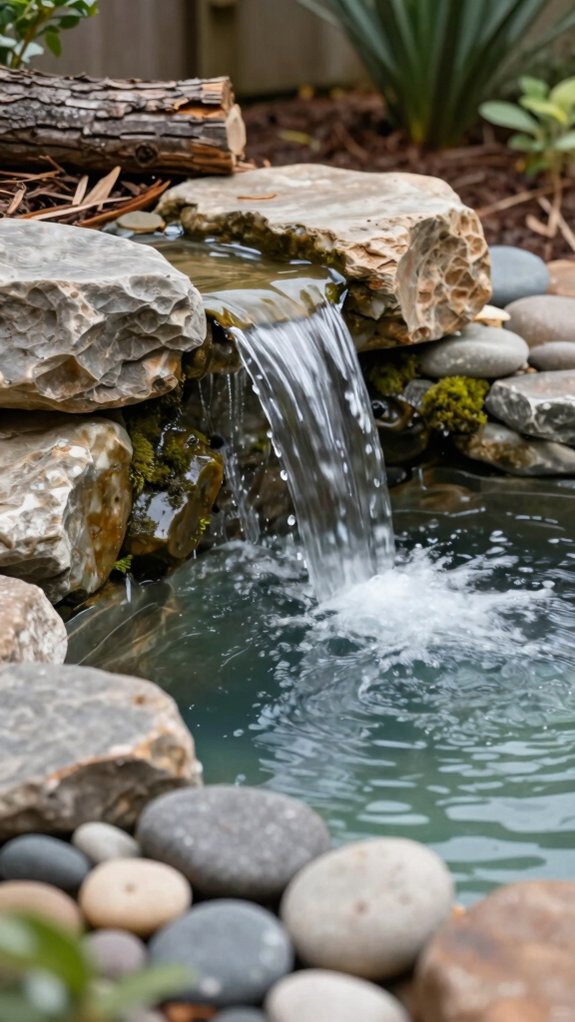
You’ll save yourself a lot of headaches if you keep the water moving over angled, uneven surfaces, because flat spots can make it spread out, puddle, and act like it’s on vacation.
Don’t go wild with the pump on a small build, either, since too much flow can turn a pretty waterfall into a splashy prank, and you’ll want those stones locked in tight so nothing shifts after the first run.
Oh, and leave yourself easy access to the pump, because future-you will be very happy when cleanup or repairs don’t mean a full backyard excavation!
Avoid flat surfaces that cause water spread
Because flat spots turn water into a wandering puddle party, start by giving your spill path a gentle slope right from day one. Natural drainage planning helps you keep the flow tight and friendly, not fanned out.
- Set a 1×4 lip before testing.
- Shape the skim coat about 1 inch thick.
- Use a scrap of wood for Uneven slope finishes.
- Press in rocks to break up slab-like spots.
Let the concrete cure for 24 to 48 hours, so it stays solid. The payoff? Water hugs the channel, looks natural, and your waterfall feels like it belongs there—no sideways splash drama!
Don’t oversize pump for small builds
When the water feature is small, a pump that’s too big can turn a calm little cascade into a wild splash fest! You want flow that matches your 1″ path, not a fire hose in a teacup. If you split the line with T-fittings and elbows, an oversized pump can overfill every channel and make the spill look uneven.
Start with the manufacturer’s test, then dial it down until water slips off the rock, not blasts over it. That keeps the concrete trough happy, helps Pump noise control, and means fewer “oops” fixes than waiting for filter media upgrades.
Secure stones to prevent shifting
Once your waterfall shape starts to take form, it’s smart to lock those stones in before they decide to go on a little adventure of their own! Use a wet mortar layer on the outside faces, and only where the next coat will cover it fast, so the rocks grab as the skim coat cures.
- Pack stones tight, but keep smart stone spacing.
- Press pieces into fresh concrete in the runoff zone.
- Build a firm lip with 1x4s first.
- Trim fountain heads low, about 1/4 inch.
That little bit of mortar bonding helps stop wobbles, and after 24–48 hours, your falls should stay put.
Leave access to pump for maintenance
A smart waterfall starts with a smart hiding spot for the pump! Keep Maintenance access open by tucking the pump beside a reachable pocket in the rocks or mulch, not behind a wall of “forever” stone.
Use a rigid basin under it, level it with sand or gravel, and route tubing with slack.
Add quick disconnects on the hose and electrical line, so filter cleaning and an intake strainer check take minutes, not a dig-fest.
After the concrete cures, test flow, listen for cavitation, and make sure you can lift the pump fast.
Future-you will cheer!
Indoor vs Outdoor Waterfall Differences
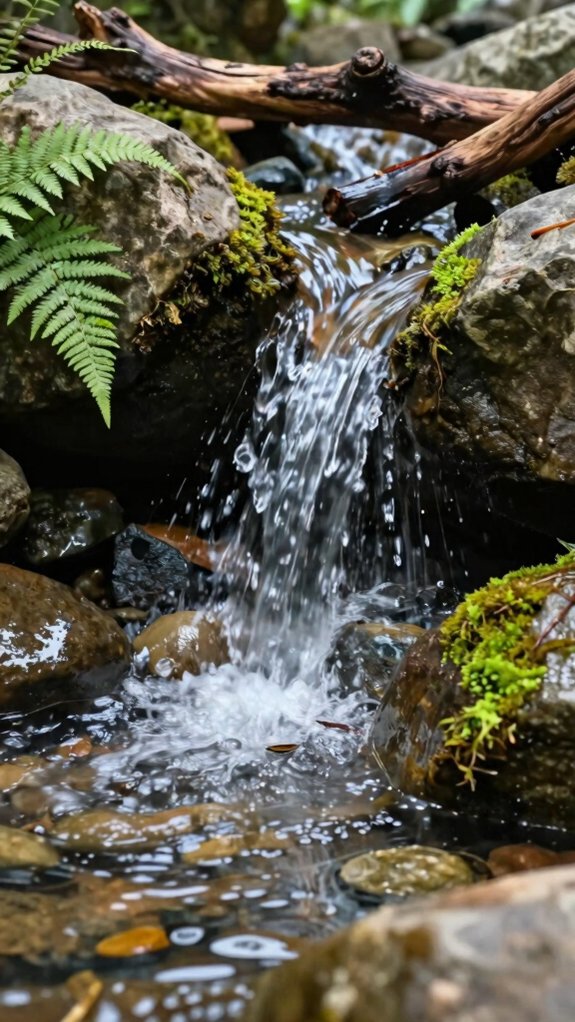
Indoor waterfalls are all about a quiet pump, a gentle flow, and keeping splash under control, so your room doesn’t turn into a tiny rainforest!
Outdoor waterfalls, on the other hand, need tougher weather-resistant materials, good algae control, and smart placement so sun exposure doesn’t make the water murky or evaporate too fast.
As you plan yours, you’ll want to match the setup to the space, because what works by the sofa can get messy fast in the backyard.
Indoor: focus on quiet pump and minimal splash
If you’re building a waterfall inside your home, keep the sound soft and the splash under control, because nobody wants a tiny indoor geyser on the rug! Choose a submersible recirculating pump that runs quietly, and use sound dampening mats to reduce vibration. Then adjust flow rate and splash pattern so the water glides, not blasts.
- Split flow with 1″ T-fittings and elbows.
- Trim fountain heads so they sit 1/4″ above the surface.
- Aim water to fall from rock into the basin.
- Add a sloped lip to guide runoff back.
That’s calm, cozy magic!
Outdoor: weather resistance and algae control
Outdoors, your waterfall has to fight sun, rain, freezing nights, and sneaky debris, so weatherproofing comes first—otherwise that pretty stream can turn into a cracked, clogged mess! Use EPDM liner over underlayment, level it, and secure fittings for Freeze–thaw durability. | Step | Materials | Result |
| — | — | — |
|---|---|---|
| 1 | liner | sealed reservoir |
| 2 | buried line | fewer breaks |
| 3 | sloped trough | less algae |
| 4 | dark rock | cleaner look |
| 5 | cured coat | smoother flow |
Follow a winterization checklist, keep debris flowpaths clear, and give concrete cures time. Your algae prevention strategies will feel easy, and your crew gets a waterfall that actually belongs outside.
Sun exposure affects water clarity and evaporation
Sunlight can change your waterfall fast, and that’s especially true outside, where direct UV and warm air make water evaporate quicker than you might expect! Your evaporation rate climbs, so check levels often.
Indoor builds stay steadier, but outdoor sunlight can warm water, dim clarity, and invite slime.
- Add lilies or shrubs for surface shading.
- Use gentle falls over the rock lip.
- Watch for clearer water with better Algae prevention.
- Top off more often in hot weather.
A shaded edge and calm flow help you keep that fresh, natural look without turning your oasis into a puddle-chasing joke!
How to Maintain a Clean and Smooth-Running Waterfall
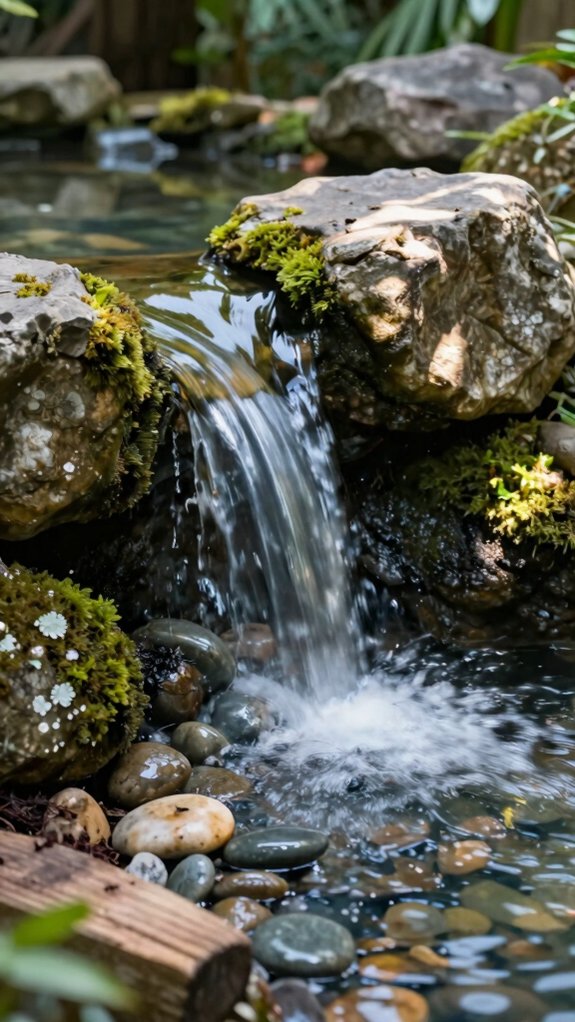
Keeping your waterfall clean is easier than it sounds, and a little routine care goes a long way!
You’ll want to top off the water as it evaporates, rinse the pump intake every week or two, and knock out algae early before it gets bossy.
If you’re running an indoor feature, using distilled or filtered water can help cut down on residue, so your water keeps looking smooth instead of looking like it had a muddy day.
Refill water regularly due to evaporation
Every few days, take a quick look at your waterfall’s water level and top it off if it’s dropped, because evaporation can sneak up fast, especially after hot or windy weather.
A simple weekly inspection helps you spot water loss before the pump starts gulping air, and that keeps the flow steady and friendly.
- Watch for droplet gaps and weaker spray.
- Add clean, dechlorinated water slowly.
- Check your evaporation rate as the season changes.
- Listen for a smoother pump tone, then smile—your falls stay silky!
Early on, fresh concrete or foam may shift runoff, so stay alert.
Clean pump intake every 1–2 weeks
Twice a month, give your pump intake a quick check so your waterfall doesn’t turn into a sleepy trickle! Unplug the pump, lift out the screen, and brush off leaves, fuzz, and grit so water can slip through easily.
A garden hose works great for rinsing, and it’s cheap, easy, and beginner-friendly. Keep the reservoir edge clear too, because fine sediment can sneak in and clog the line.
If flow still feels weak, inspect the short intake path, then restart the pump and watch for strong, smooth running. Smart Natural landscaping ideas and Pump placement tips help, but clean intake care keeps the whole crew happy!
Remove algae buildup early
Algae can sneak in fast, so catch it early before your pretty waterfall starts looking like a science project! Keep the water running nonstop, and let the pump move it evenly so nothing turns lazy and stale.
- Do Biweekly skimmer checks with a simple net.
- During seasonal algae scouting, peek at shady rocks and spillways.
- Clear pump clogs and narrow outlets fast.
- Rinse off muddy rocks and skip extra food nearby.
When algae first shows up, scrub lightly, flush the system, then test flow again. You’ll stay ahead of gunk, and your waterfall’ll feel fresh, smooth, and welcoming!
Use distilled or filtered water indoors to reduce residue
If your waterfall lives indoors or in a small reservoir, start with distilled or filtered water in the pump basin, because hard tap water can leave behind mineral buildup that clogs tubing and paints ugly white crust on your pretty setup. Hey, you’re not alone—this is a simple win!
| Water choice | Best use | Result |
|---|---|---|
| Distilled | Indoor basins | Clean flow |
| Filtered | Small reservoirs | Less grit |
| Top-offs | Evaporation days | Steady level |
| Soft brush | Edges and head | Smooth sheet |
| Checkups | Every few weeks | Less drama |
These distilled water benefits help with mineral residue control, indoor scale prevention, and foam formation reduction.
Simple Upgrades That Make a Big Difference
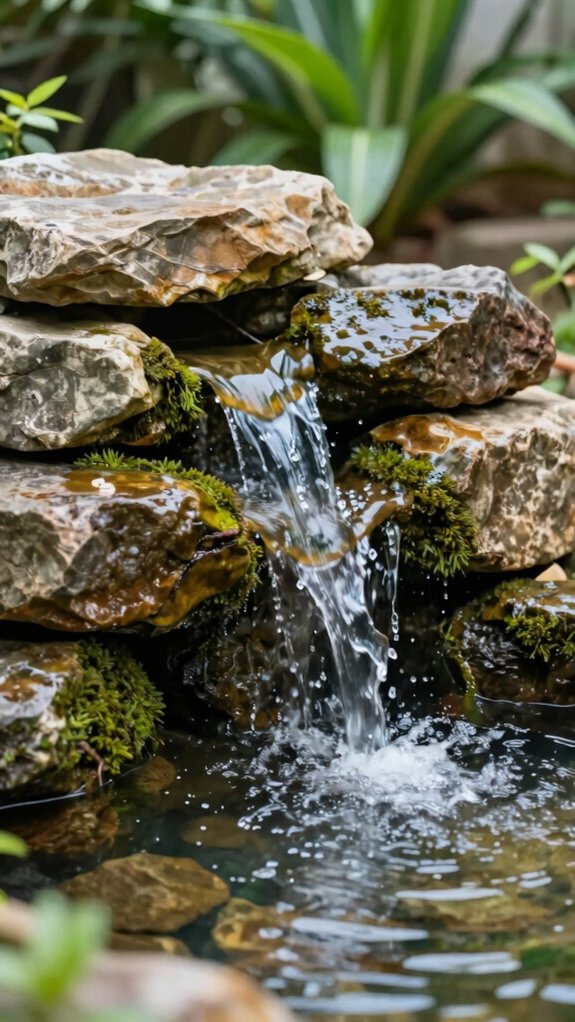
A few simple upgrades can make your waterfall feel way more polished, and yep, they’re easier than they sound!
You can start with a small pre-filter to catch stray debris, then add LED lights under the water for a glow that looks amazing at night, with dark stones helping the flow stand out even more.
If you want the most natural finish, tuck in a few mossy patches or small plants around the edges, because that little green touch can turn “nice pond thing” into “wow, did you build that?!”
Add LED lighting under water flow
Under the waterfall lip, a little LED magic can turn a nice build into a jaw-dropper! You’ll feel right at home when the glow catches falling water, not just the top rocks.
- Use pond-rated LEDs for safe, wet spots.
- Keep waterproof wiring and cable routing neat, with transformer placement above the reservoir.
- Seal joints with heat resistant sealing and UV-safe conduit as you build.
- Test the angle with the pump on, then tweak for even light.
Warm white feels natural; color-changing adds fun. Keep it soft, or your waterfall may look like a disco joke!
Install a small pre-filter for debris
Once your waterfall starts running, tiny bits of grit, leaves, and rock dust can sneak into the pump and mess with that smooth, glassy flow, so a small pre-filter is a smart little upgrade!
Mount it on the intake line, use a removable basket or pad, and pick mesh selection that catches debris without choking the water.
Keep filter access easy, because quick rinses save you from surprise gunk parties.
Match it to your pump’s flow rate, then check it after the first few days, when fresh rocks can shed extra dust.
That simple clog prevention keeps your waterfall happy and steady!
Use darker stones to highlight water movement
If you want your waterfall to really pop, start with darker stones like slate, charcoal rock, or deep brown flagstone in the spillway and along the runoff path—because that moving water turns into a gorgeous, high-contrast “silk” effect against a dark backdrop!
- Put the darkest rocks where the water first spills.
- Mix bigger base stones with small chinking pieces.
- Hide straight concrete lips with dark edges.
- Use contrast lighting ideas and Algae prevention tips for extra wow.
If you cast homemade concrete, tint it first, then set dark pieces tight around the wet trough. You’ll get a natural look, smoother flow, and a waterfall that feels like yours!
Add moss or plants for natural integration
For a waterfall that feels like it’s always belonged there, start soft with a few water-loving plants around the reservoir edge and in the calmer “splash zones” near the falls—think lilies, low groundcovers, or even a little fringe of greenery that makes the whole setup look less like a project and more like a hidden pond!
Choose plants that love damp feet, tuck moss into wet rock crevices, and keep them just outside the pump path for easy Algae prevention. This smart plant selection helps with waterline concealment, supports natural-looking layers, and trims landscaping maintenance.
After a pump test, add mulch to lock in moisture—tiny change, big magic!
Cost Breakdown and Budget Planning
You can build a small homemade waterfall for a few hundred bucks, or scale up to a bigger garden feature if you’ve got more room, more rock, and a little more patience—your wallet will notice the difference fast!
The smart move is to save on things you can fake or find, like homemade concrete rocks and donated “found rocks,” but don’t go bargain-bin on the pump, because that’s the little engine that keeps the whole show running.
With a simple plan, you can keep costs tight, avoid surprise rework, and still end up with a waterfall that looks way fancier than it cost.
Basic small setup vs larger garden feature
Steady your budget before you start stacking stones, because a small homemade waterfall can be surprisingly affordable!
You can build a cozy feature for about $303, using DIY rocks, a rigid liner, and found stone, and still keep Seasonal waterkeeping, algae prevention, moisture control, and winterizing planning in check.
Bigger garden displays feel grand, but they need more liner, plumbing, and time, so costs climb fast.
- Small build: compact, weekend-friendly
- DIY rocks: cheap and natural-looking
- Larger feature: wow factor, bigger bill
- Plan ahead: curing can take 24–48 hours
That’s the sweet spot, friend—simple, friendly, and ready to splash!
Where to save vs where to invest (pump = don’t cheap out)
Save your cash on the pretty stuff by making it yourself: homemade concrete rocks with foam forms, molded cement, and a simple PVC layout can look surprisingly natural without the price tag of retail stone.
| Buy | Save | Why |
|---|---|---|
| Pump | $64 | Reliability |
| Foam | $38 | Shape |
| PVC | $40 | Flow |
| Cement | $39 | Finish |
| Kits | $600+ | Skip |
Your budget tradeoffs should favor DIY materials and skimp on the flashy stuff, but not on pump durability. Use primer and PVC cement, then keep maintenance access open so you can reach every joint. Reuse found rock, mix mortar, and hide the liner. That’s the smart, neighbor-approved move!