A cramped kids’ bedroom can turn calm fast with the right room divider. I usually start by taping bed spots, then I try a low IKEA cube shelf or a track curtain with Dollar Tree bins and a glue gun for quick, cheap zones. Bookcases work best when anchored, and they can hold toys on one side and books on the other. I like divider ideas that move, shift, or vanish as kids grow—and there’s a smarter trick next.
Key Takeaways
- Use a room divider to split one bedroom into two zones for sleep, play, or homework.
- Choose flexible options like curtains, folding screens, or modular shelves that can change as kids grow.
- Double-sided bookcases or cube units add storage while separating the room without blocking light.
- Keep the space kid-friendly with rounded edges, neutral finishes, and low-profile pieces for shared sightlines.
- Measure bed placement and traffic paths first, leaving about 30–36 inches for safe movement and easy access.
What Is a Room Divider for Kids?
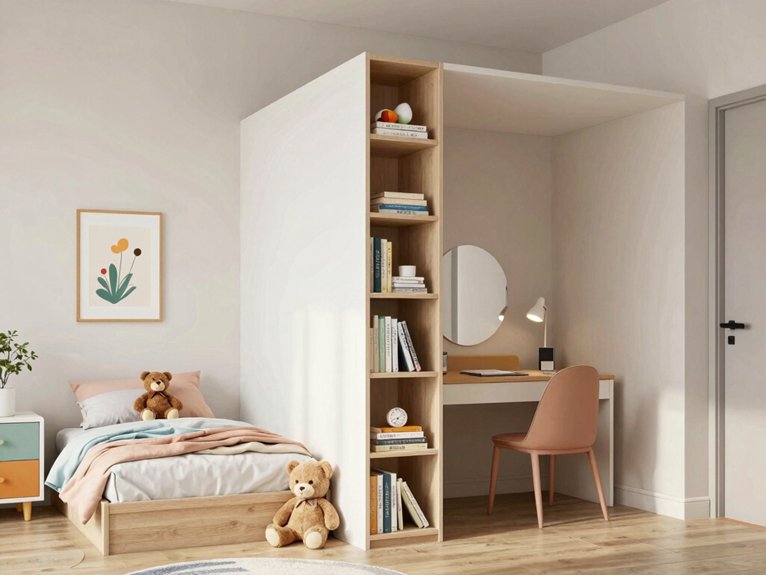
A room divider is just a physical barrier that helps split one room into two useful zones—think privacy, quieter naps, or a corner for toys that doesn’t take over the whole floor.
I’ve used IKEA frames, Dollar Tree hooks, and a glue gun to make one feel friendly, not fussy.
Some dividers are bookcases, folding screens, or curtains; others are portable tents or sensory corners.
I like soft panels for easy changes and heavier ones when I want less noise.
I always anchor furniture, because wobbles aren’t cute.
Tiny room, big calm—yep, that win feels amazing.
Why Split a Shared Kids’ Bedroom?
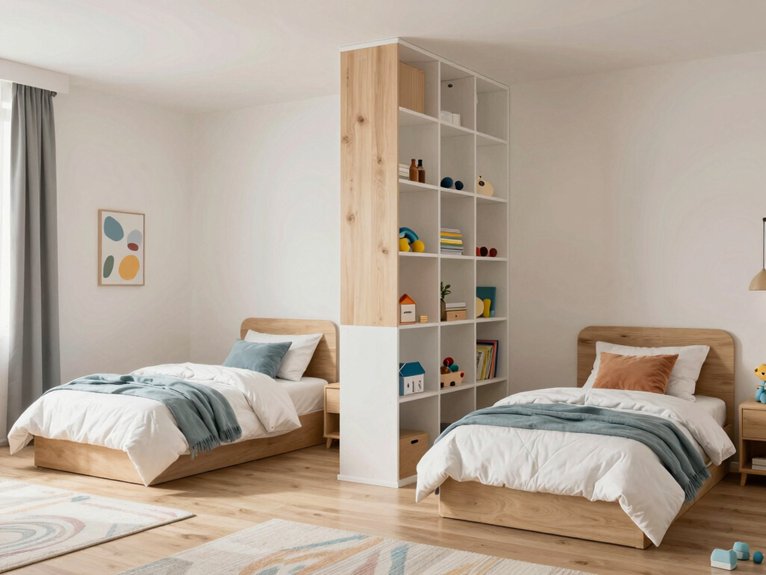
Shared bedrooms can turn into tiny battle zones fast—one kid wants quiet, the other wants to build a train city at 7 a.m., and somehow both think the floor is their personal storage unit. I split ours to protect sleep routines and build boundary rituals that felt fair, not fussy.
| Benefit | DIY idea | Result |
|---|---|---|
| Less fighting | IKEA frame + clips | calmer nights |
| Better zones | Dollar Tree bins | less clutter |
| Quick privacy | folding screen | easier mornings |
I used a glue gun, a curtain rod, and a little patience. The biggest win? Each child finally felt seen, and I stopped playing referee.
Start With Bed Placement
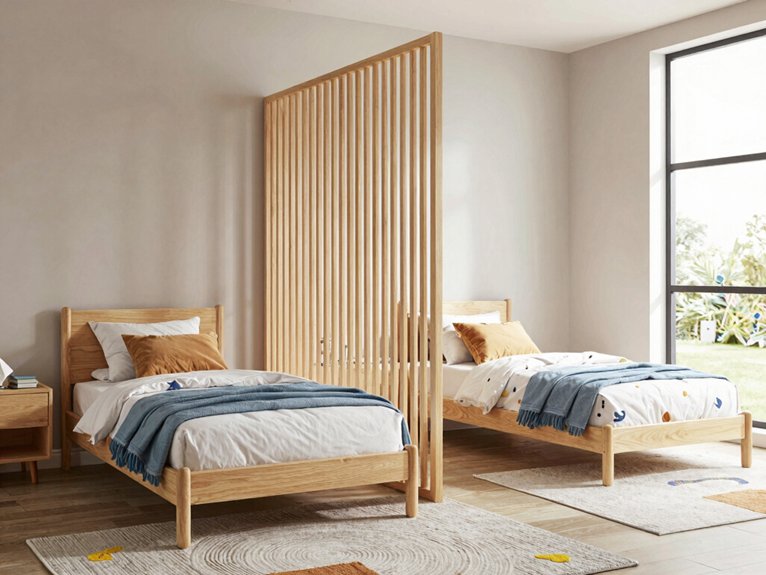
Placement made all the difference in my kids bedroom split, because once the beds landed in the right spots, the rest of the room finally stopped arguing with me.
I Measure mattresses first, then I tape out the room with painter’s tape and a cheap ruler. Twin frames from IKEA fit best, but I still left 30–36 inches for sneaky hallway traffic.
I put one bed on each wall, then Stagger heads a bit so a curtain or shelf could slide between them later. A glue gun, Dollar Tree bins, and a little patience turned chaos into fair, cozy zones.
Choose the Safest Divider Style
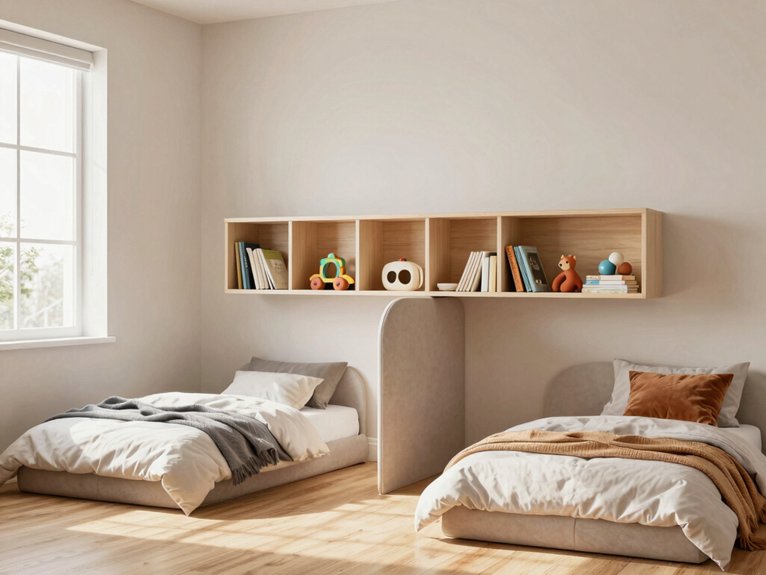
If you want to use a bookcase or cube shelf as the divider, keep it simple and sturdy, then anchor it to the wall right away. I’ve learned that a safe room split starts with low material toxicity, soft fabrics, and edge protection, not ornate looks.
I once tried a Dollar Tree curtain and a glue gun on IKEA frames; it worked, but the curtain felt flimsy, so I swapped in a padded panel. Better, right?
For extra privacy, I’d choose lightweight freestanding panels or track curtains. They’re easier to move, and nobody trips over drama. Check codes first; renters, I see you.
Use a Bookcase as a Divider
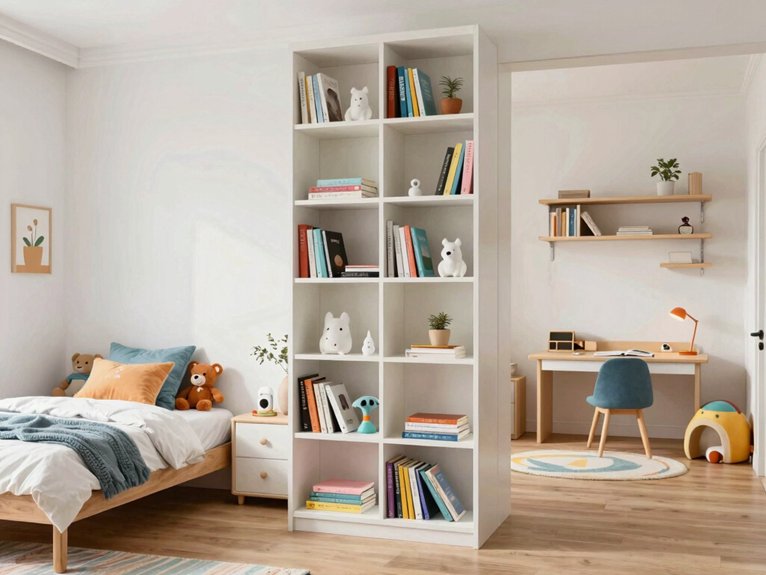
A bookcase divider can turn a wobbly, noisy kids’ room into two calmer little zones fast. I’ve used bookcase placement to split play and sleep space, and it felt like magic after one messy afternoon.
I pick a sturdy, double-sided cube shelf, anchor it to studs, and add anti-tip straps—my main child proofing tips. Then I load one side with bins, books, and toys, and the other with more of the same, so each kid feels seen. I measure bed and play footprints first, and yes, my tape measure and I finally got along.
Try a Double-Sided Storage Unit
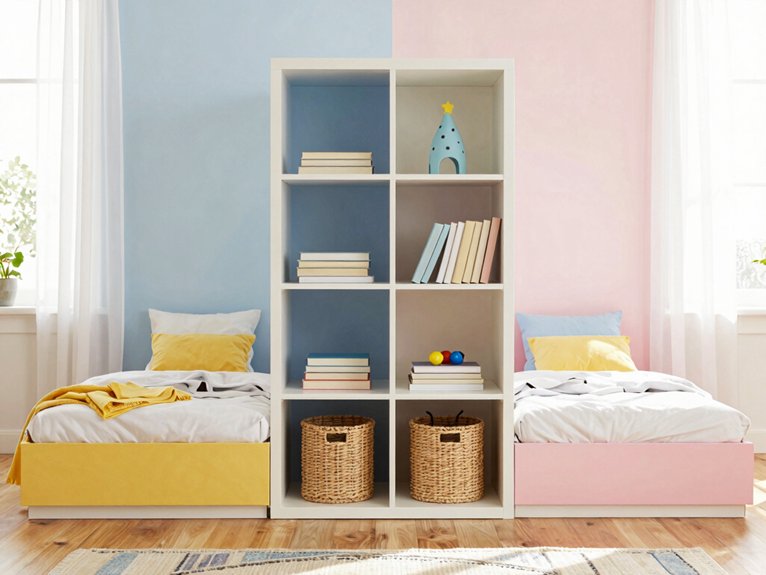
I turned one wild kids’ room into two calmer corners with a double-sided storage unit, and honestly, it was the closest thing to instant peace I’ve had in a while. I used an IKEA cube frame, Dollar Tree bins, and a glue gun for labels.
I set it in the center, then added safety anchoring so it wouldn’t wobble when tiny hands climbed it like a jungle gym. At 4 cubes high, it gave us privacy without stealing light or my sightline.
Open cubbies face play; closed bins face sleep. That split gave both kids shared autonomy, and the room finally felt fair.
Add a Ceiling-Mounted Curtain
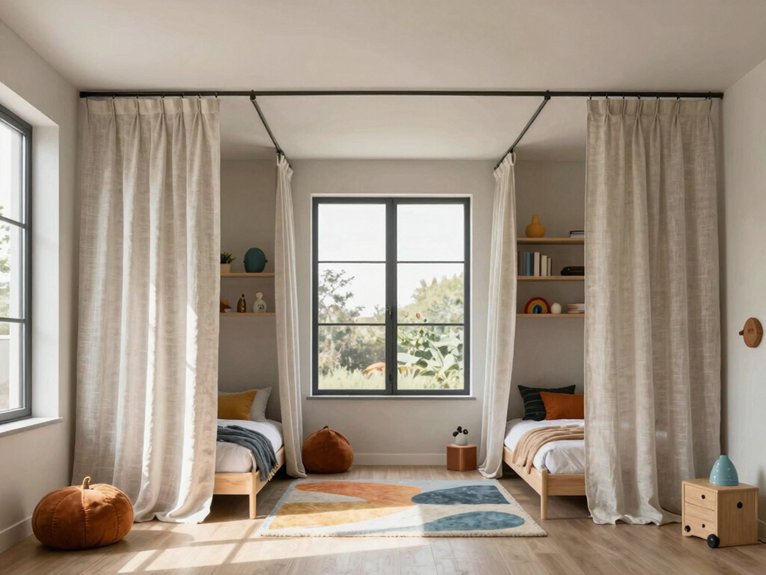
The room felt calmer once the double-sided storage unit went in, but bedtime still had one big problem: the kids could see, hear, and distract each other from across the whole space. I fixed that with soundproof curtains hung from magnetic tracks on the ceiling.
I used a drill, joist screws, and a cheap IKEA rod, then added thick cotton canvas panels from Dollar Tree and a washable liner. It wasn’t elaborate, but it worked. The curtain slides like magic, softens noise, and gives both kids their own little nook. Bonus: no more curtain tug-of-war, just peace and pajamas.
Use Track-Mounted Room Dividers
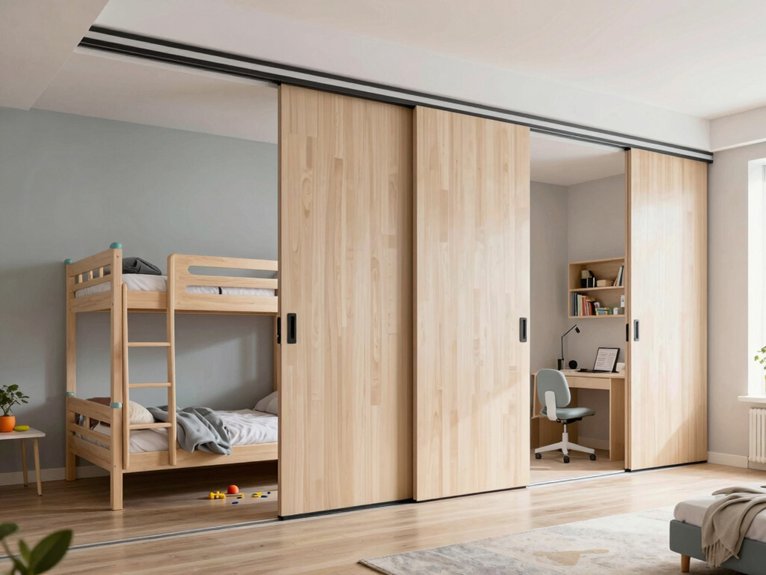
Track-mounted room dividers saved me from the daily “my side is touching your side” bedtime drama. I hung ceiling hardware with a drill, stud finder, and a little courage, then slid panels like a mini stage curtain.
For a budget fix, I used IKEA frames with fabric and a glue gun; for quieter nights, I chose acoustic upgrades with thicker panels. The track opens fast for playtime, so the room still feels shared, not split. If you’ve got a busy bedroom, bi-parting panels keep both kids feeling equal. Bonus: no floor clutter, which my shins deeply appreciate.
Pick Folding Screens for Flexibility
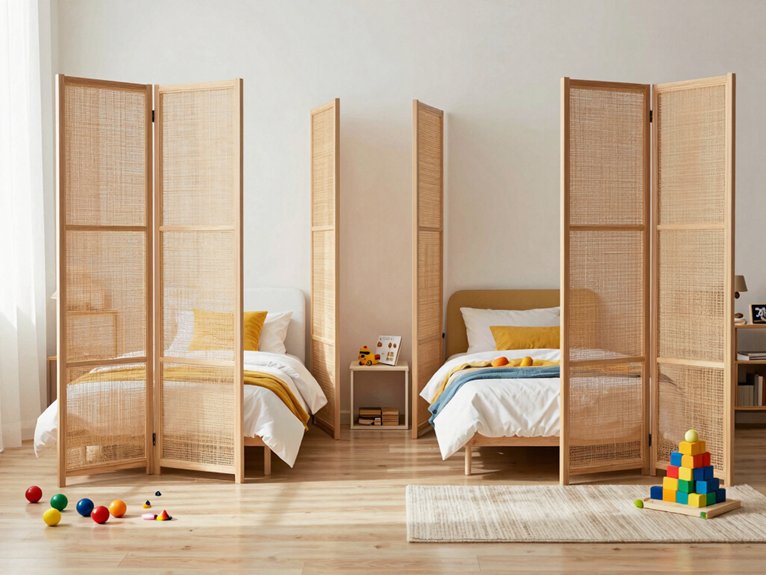
My easiest win was a lightweight bamboo screen from a discount store, but I’ve also used an old shoji-style panel I found secondhand and freshened up with a wipeable vinyl cover.
When my kids needed separate zones, I wanted lightweight mobility, not a weekend project. Folding screens gave me instant calm, and no drills.
- I measure 60–72 inches for privacy.
- I pick washable panels with vinyl or coated cotton.
- I add Dollar Tree hooks for books and toys.
- I fold, move, and grin when bedtime feels easier.
It’s simple, cheap, and oddly comforting for all of us.
Set Up a Shoji Screen Divider
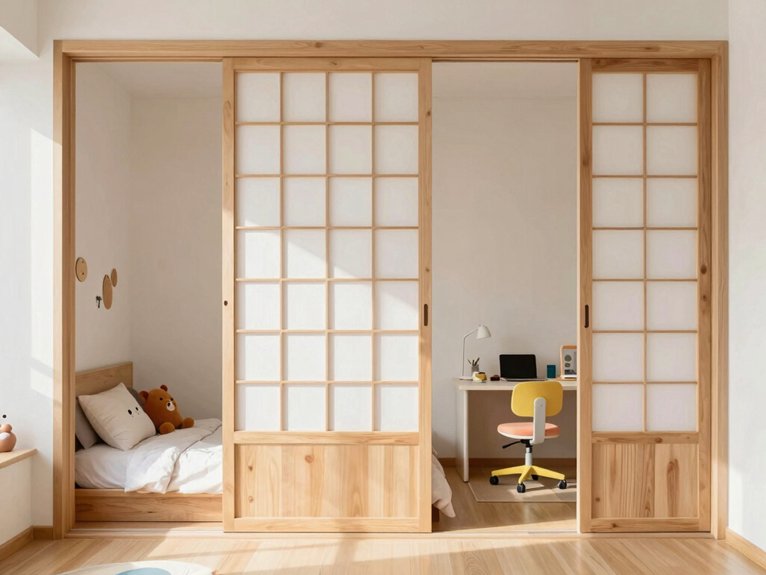
A shoji screen divider solved one of my biggest kid-room headaches: how do you split play from sleep without making the room feel like a tiny maze?
I set mine up with 4 lightweight panels, each from an IKEA frame and shatterproof fabric, then added a little glue gun trim.
It kept room lighting soft, so bedtime still felt calm. I loved that I could fold it back for supervision or tuck it beside the bunk bed when the floor needed opening up.
For safety, I anchored the base with a tiny bracket.
Honestly, it works like a quiet sensory divider—no drama, just peace.
Use Rattan Panels for a Softer Look
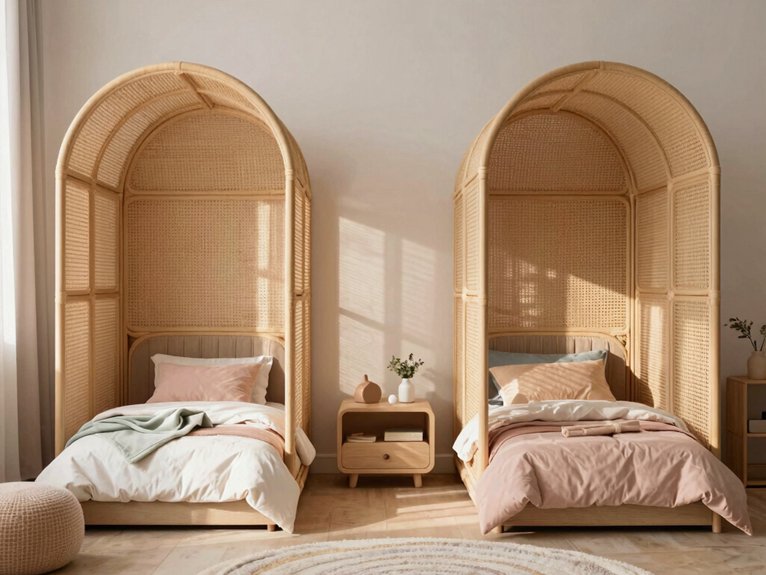
If the shoji screen kept things calm, I found that rattan panels gave the room an even softer, cozier feel. When my kids started swapping toys and bedtime zones, I wanted textured warmth without a heavy wall.
- I used portable panels from a folding screen and two IKEA frames.
- I brushed on a sealed finish with a glue gun for tiny fixes.
- I tucked Dollar Tree hooks on one side for art.
- I placed the tallest panel in a corner so it stayed steady.
It’s easy, budget-friendly, and the room finally feels like ours.
Split the Room With Open Shelves
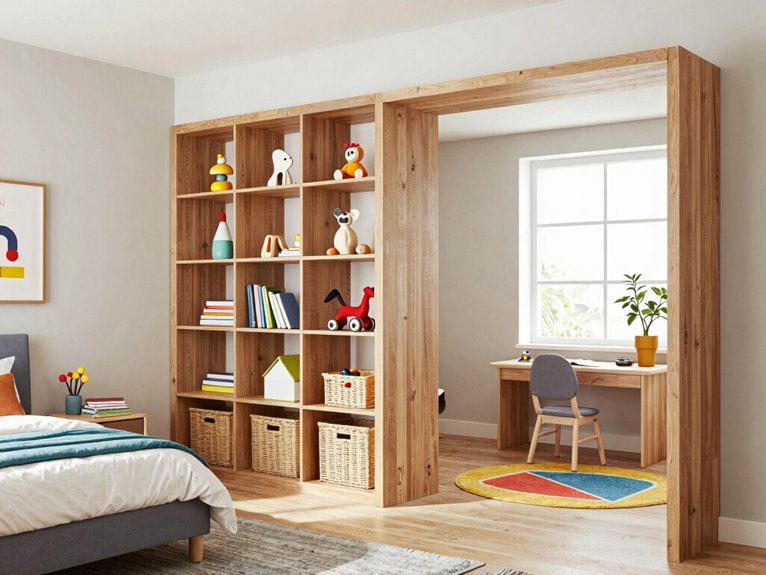
I placed the shelf between the sleep zone and the play zone, then anchored it to the wall and floor because kids climb on everything, even furniture that clearly did not sign up for that job. My open shelf turned into a calm, sturdy divider and a little win for playflow organization.
| Side | What I kept |
|---|---|
| Play | bins, toys |
| Sleep | clothes, books |
| Both | labels, baskets |
| Safety | corner guards |
I used an IKEA frame, a glue gun, and Dollar Tree bins. The best part? Each cubby gives accessible storage, and the room feels shared, not split.
Create a Train-Themed Kids’ Play Zone
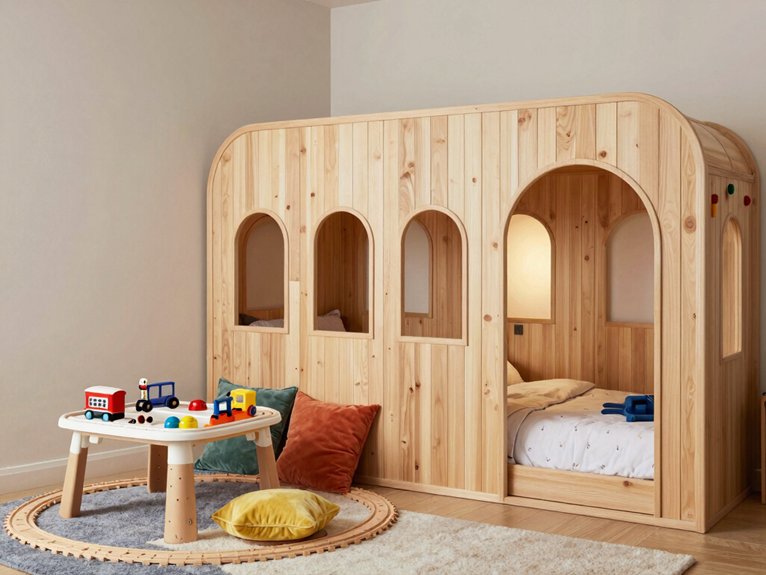
On the play-zone side, I kept the setup simple: a 4–6 ft plywood board, a glue gun for quick fixes, and a removable faux-grass rug on top so we could build a track layout without making the room look like a permanent toy storm.
I added a low, double-sided cube shelf in red and blue, then used pegboards for engines and cars.
- Wall-anchor everything.
- Add soft bumpers.
- Use acoustic panels.
- Leave space for train storytelling and track maintenance.
It felt cozy, safe, and ours.
The divider let me supervise while the kids played like they belonged there.
Zone the Kids’ Room by Color
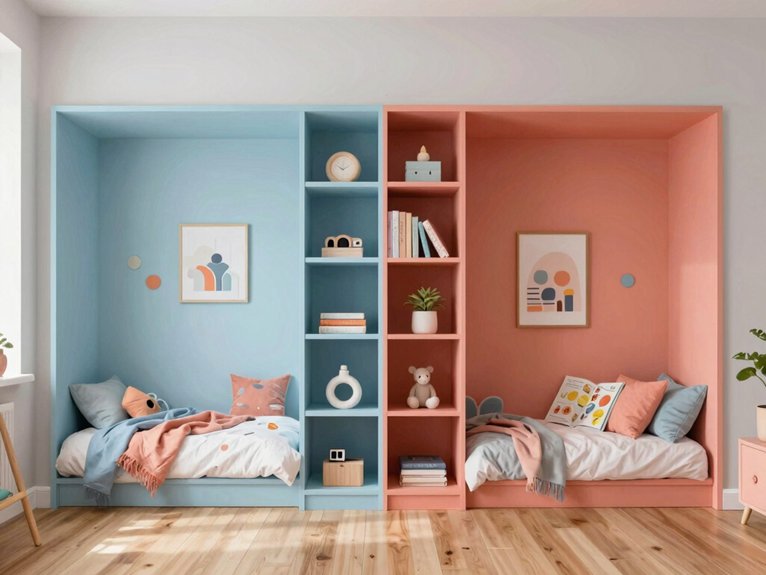
For the divider, I used a can of bright paint and a cheap foam roller, then gave each side its own personality: one side got a cool blue finish, while the other popped with orange so the boundary felt intentional, not random.
I’ve found color routines make mornings smoother; kids spot their zone fast. I added red bins for art and blue shelves for books, plus Dollar Tree decals on the wall.
Then I matched each side with its own rug and lamp. It took one Saturday, a glue gun, and patience.
The result? Clear visual boundaries, happy siblings, and fewer “That’s mine!” debates.
Build Privacy Without Blocking Light
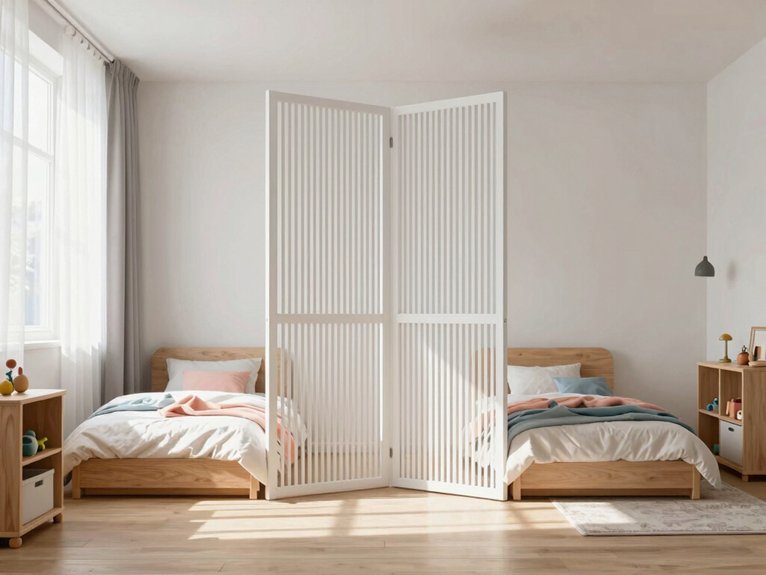
- Frosted acrylic sheets with a glue gun and IKEA frames; light still slid through.
- Open-backed cube shelves from Dollar Tree bins, pulled 1 foot from the wall.
- Rice-paper shoji screens on a track; they felt calm, not fussy.
- Frosted-glass barn doors for the big win—closed, but never gloomy.
I added a mirror, and the room finally felt shared, not split.
Improve Sound Control Between Beds
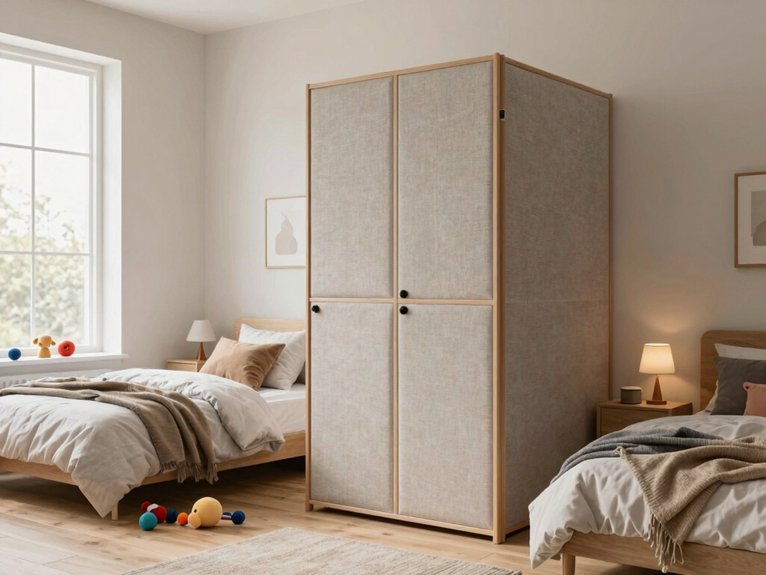
For extra hush, I added acoustic baffles above the beds and stuck felt panels behind the headboards. I even swapped in a solid-core sliding door with weatherstripping. Tiny room, big peace.
Two kids, fewer “he’s looking at me!” complaints.
Add Storage Along the Divider Line
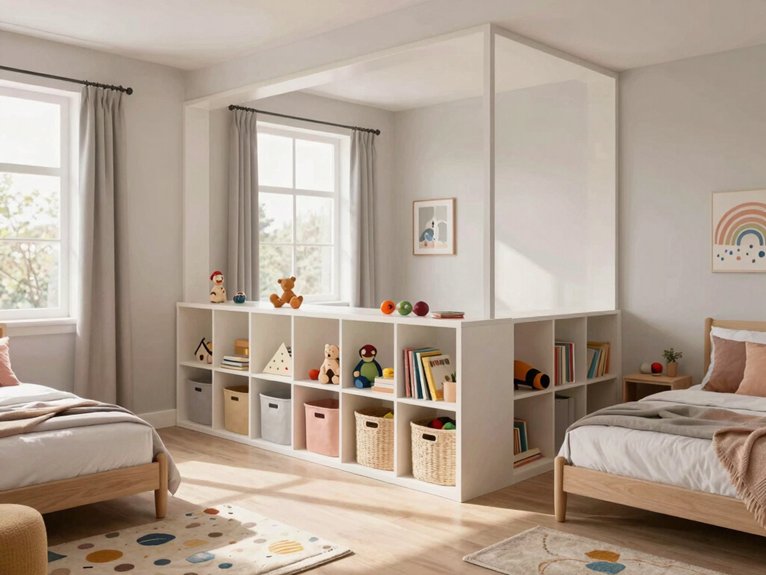
The divider line started out looking like a boring hallway in the middle of my kids’ room, but once I turned it into storage along the divider line, it suddenly worked overtime.
I used IKEA frames, Dollar Tree bins, and a glue gun. It wasn’t fancy, but it felt like our room finally belonged to us.
- I added double-sided cubbies for books and toys.
- I mixed open shelves with closed bins for toy rotation.
- I labeled 2 bins per kid.
- I saved a train recess shelf for little tracks.
The room feels calmer. We feel more at home.
Anchor Tall Furniture to the Wall
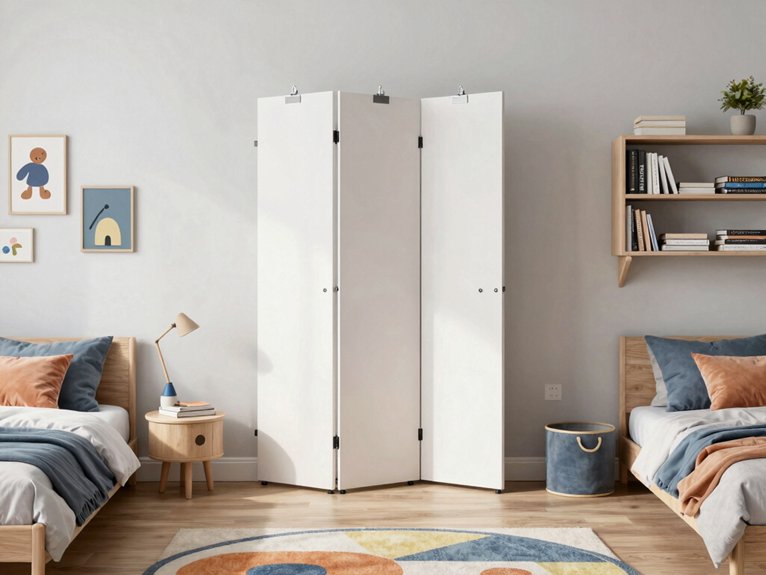
I used metal L-brackets, a drill, and the studs behind the drywall, because flimsy shortcuts just don’t cut it when kids climb like tiny mountain goats. I anchored our IKEA bookcase with stud anchoring and anti tip straps, and the wobble disappeared fast.
I put heavy-duty anchors at the top, then added one mid-height because the unit topped 6 feet. On a Dollar Tree divider shelf, I used toggle bolts where a stud missed.
It took me one calm afternoon, and the room felt safer right away. I kept cushions and climbable toys away, then checked the fasteners monthly. Cheap peace of mind? Yes, please.
Check Local Codes Before You Install
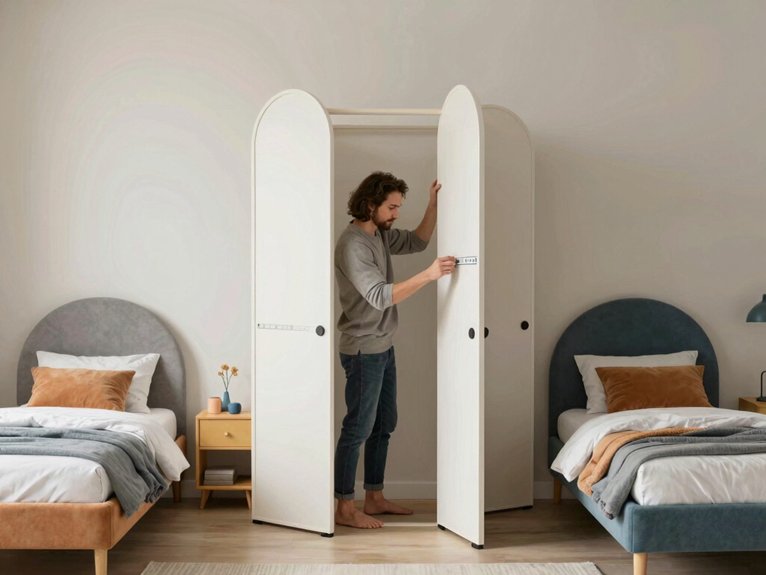
Before I drilled a single hole, I stopped and checked local codes, because a cute divider can turn into a big headache fast. In my small house, I wanted two cozy corners, not a surprise violation.
- I called local permitting and asked about fixed panels.
- I checked egress requirements so doors and windows stayed open.
- I asked my landlord before using IKEA frames and a glue gun.
- I watched for vents, outlets, and space rules.
That saved me from redoing a Dollar Tree setup. Tiny win, big sigh.
Avoid Tipping Hazards and Falls
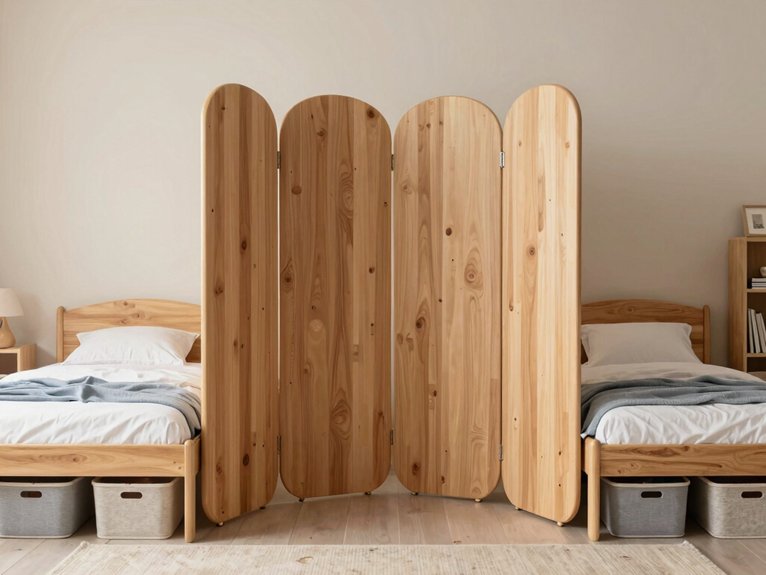
Even a cute divider can turn into a wobbly little drama, so when I started thinking about avoiding tipping hazards and falls, I treated every shelf like it had opinions. I used secure anchors on an IKEA bookcase, then added childproof edges with foam strips and a glue gun.
| Fix | Cost | Result |
|---|---|---|
| Metal brackets | Low | Great hold |
| Wide base panel | Low | Less wobble |
| Tempered acrylic | Med | Safer slip |
I kept toys off the surface, away from beds and windows. My Dollar Tree weights helped too. Tiny win, huge peace.
Make Dividers Easy for Kids to Use
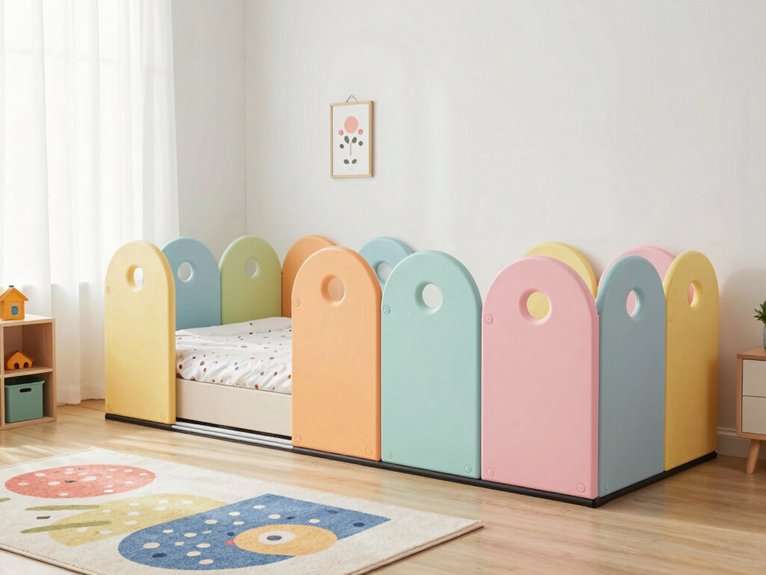
For a fast win, I tested a shoji-style screen and a fabric panel I picked up on the cheap, both under 30 pounds so little hands could open and close them safely.
I used kid friendly hardware, a glue gun, and IKEA frames.
- I added easy-grip rings.
- I taped on hands-on labels.
- I chose soft, rounded edges.
- I anchored a low bookcase divider with anti-tip straps.
The kids loved sliding, closing, and claiming their space.
I learned that if they can use it alone, they’ll actually keep the room tidy.
Small win, big peace.
Design Equal-Sized Bedroom Zones
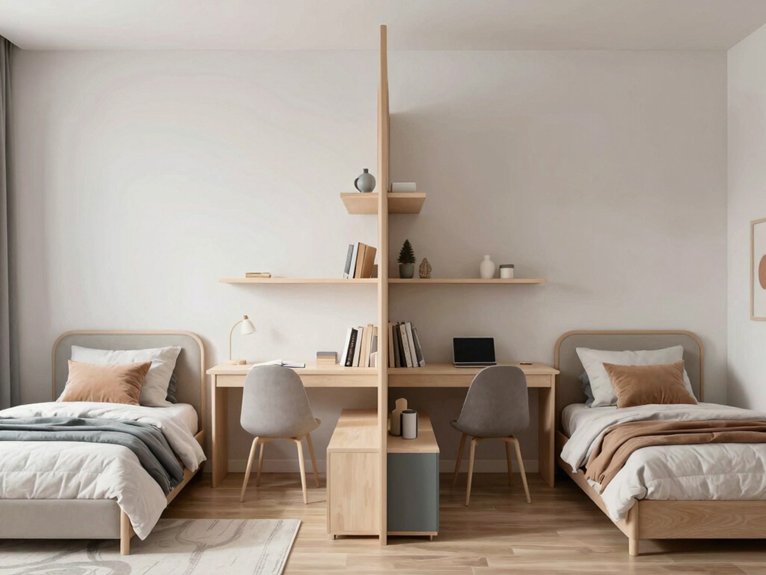
I keep it simple: I split the space into two matching halves, then I mirror the basics on each side. When I mapped a proportionate layout with painter’s tape, the room finally felt fair, not squished.
I used an IKEA shelf, two Dollar Tree bins, and a glue gun to keep the look balanced. Matching beds, rugs, and wall pops made mirror symmetry do the heavy lifting.
I also chose a half-height divider, so both kids got privacy and light. The surprise win? Symmetry made the tiny room feel calmer, like everyone belonged there.
Keep Access Clear for Daily Routines
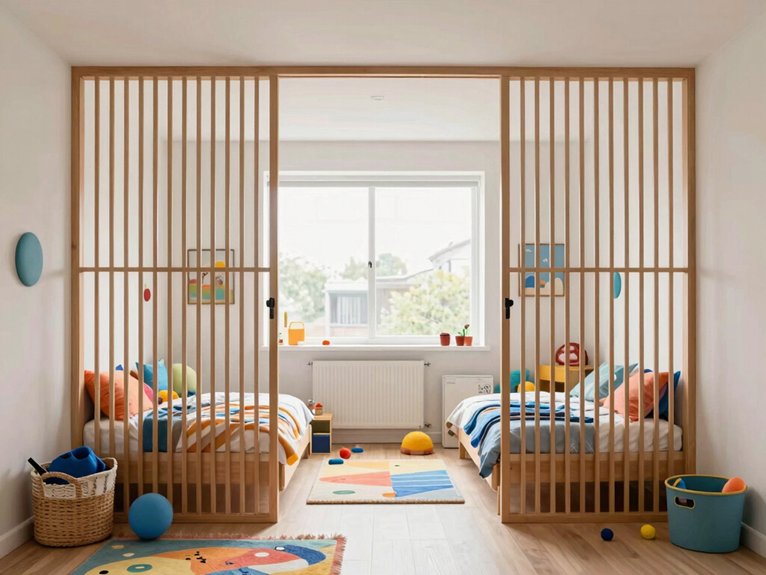
Morning chaos got better fast when I stopped letting the divider boss everybody around and started using it to keep access clear for daily routines.
- I left a 30-inch path from the door to closets and the bath, so morning routines don’t turn into a bumper car game.
- I anchored an IKEA frame divider to the wall, then added Dollar Tree bins for grab-and-go socks and toothbrushes.
- I kept one side open for stroller access and laundry carts; wow, that saved my back.
- I used a track curtain I can pull back fast for dressing, then close for naps.
Go Custom for a Better Fit
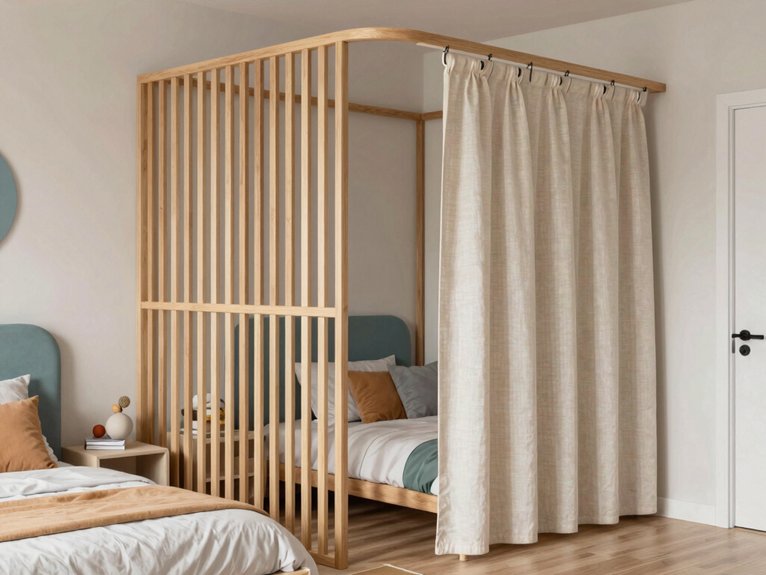
The cramped room finally clicked when I stopped trying to force a one-size-fits-all divider and decided to go custom for a better fit. I measured the walls, ceiling, and windows, then sketched custom fitment that hugged every inch. With IKEA frames, plywood, and a glue gun, I built built in storage that kept toys off the floor.
| Material | Best Use | Feeling |
|---|---|---|
| MDF | shelves | calm |
| Plexiglass | light | bright |
| Cubes | privacy | cozy |
I added matching alcoves so both kids felt equal. It took a weekend, but the room finally felt like ours.
Add a Temporary Divider on a Budget
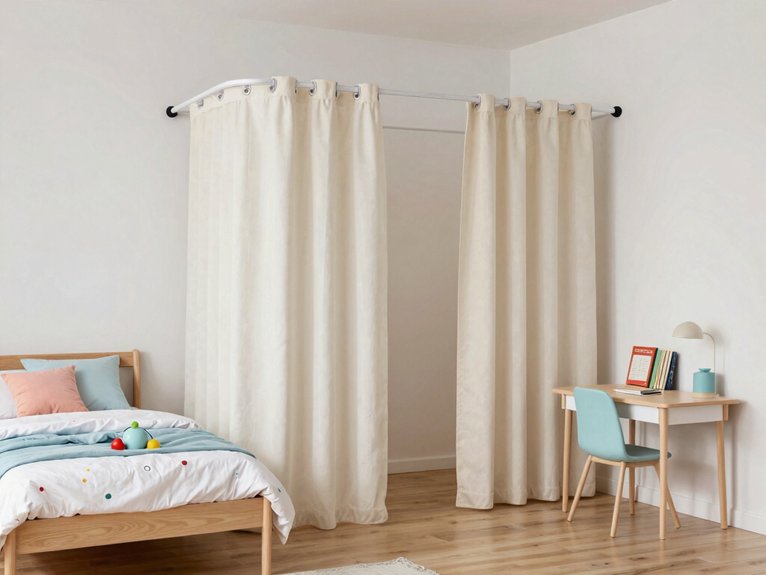
- I hung a ceiling track with blackout curtains; it cost me about $40, and the kids loved the cozy cave feel.
- I tried a tension rod with Dollar Tree curtains—easy, renter-friendly, and weirdly satisfying.
- A foldable screen gave me quick privacy and doubled as temporary art.
- My favorite surprise? Kallax-style cubes. They split the room, store toys, and make pop up play feel organized.
Plan for Tall Ceilings
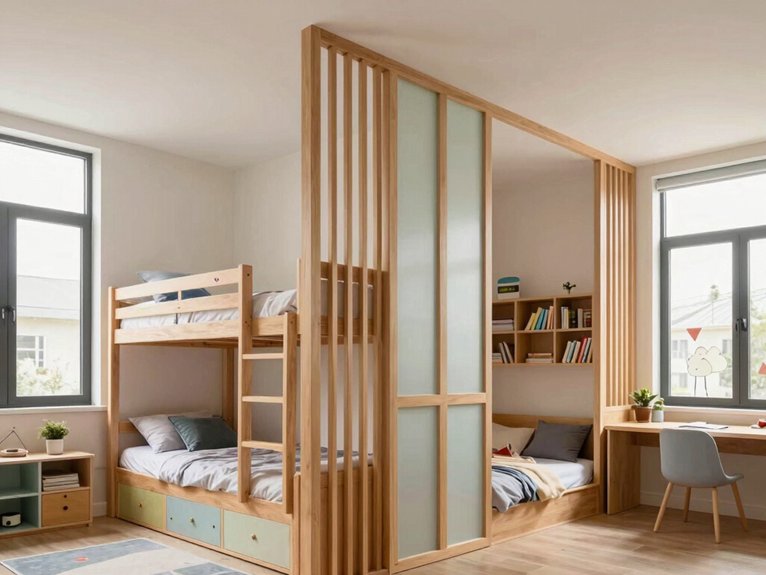
My easiest win was a ceiling-mounted curtain track with long panels I picked up on sale and hemmed myself. Tall ceilings can swallow a room, so I went full-height to keep my kids feeling cozy, not lost. I used a drill, IKEA frames, and Dollar Tree clips, then added a glue-gun strip for neat edges. The curtains gave me better acoustic treatment too, which meant fewer “Stop yelling!” moments.
Later, I tried vertical greenery on a lightweight panel; it looked fresh and saved wall space. If your room feels huge, go up, not out. It works, and it feels like home.
Match the Divider to the Kids’ Room Style
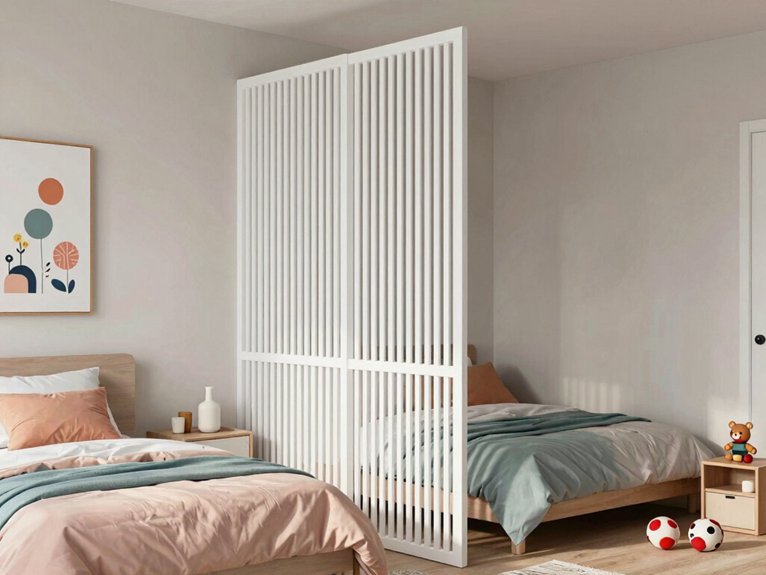
In my kids’ room, I played with a red-and-blue painted IKEA bookshelf first, because the room already had those bright primary colors everywhere. Color coordination made the divider feel like it belonged, not like a stranger.
I grabbed a glue gun, Dollar Tree bins, and a level, then tried these:
- Painted plywood for a train-themed wall.
- Rattan for a calmer, natural nook.
- Mirrored cubby units so both kids felt equal.
- Chalkboard-backed cubes for art and storage.
Material selection mattered too. Low shelves kept my eye on both kids, and the room finally felt shared, cozy, and fair.
Choose a Divider That Grows With Kids
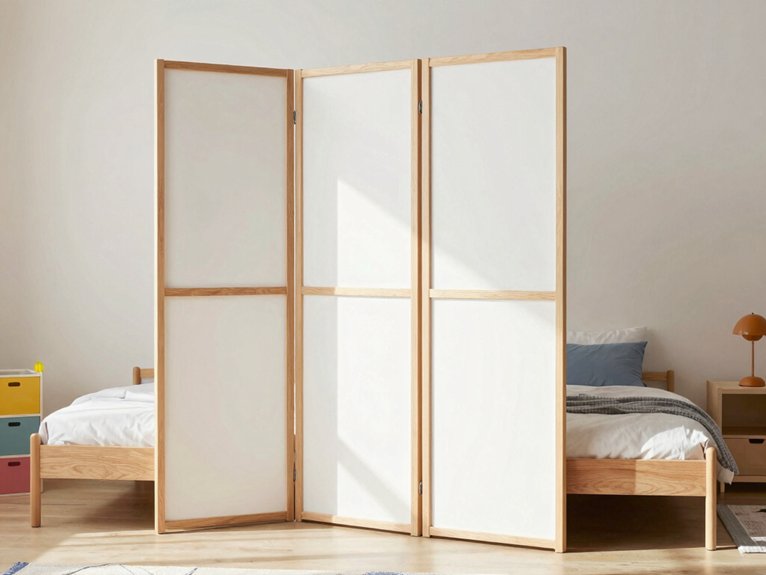
A good divider shouldn’t be a one-hit wonder, because kids grow fast and their room needs change even faster. I learned that after I hot-glued Dollar Tree bins onto IKEA frames and had to redo it twice—oops.
I now look for future proof materials, adjustable heights, and rounded edges, so the setup can grow from nap zone to homework corner without a full makeover. Track curtains, modular shelves, or cube bookcases with anchors all work well. I keep finishes neutral, like white or wood, so the room stays friendly. Best part? These dividers can move, shift, or vanish when life does.