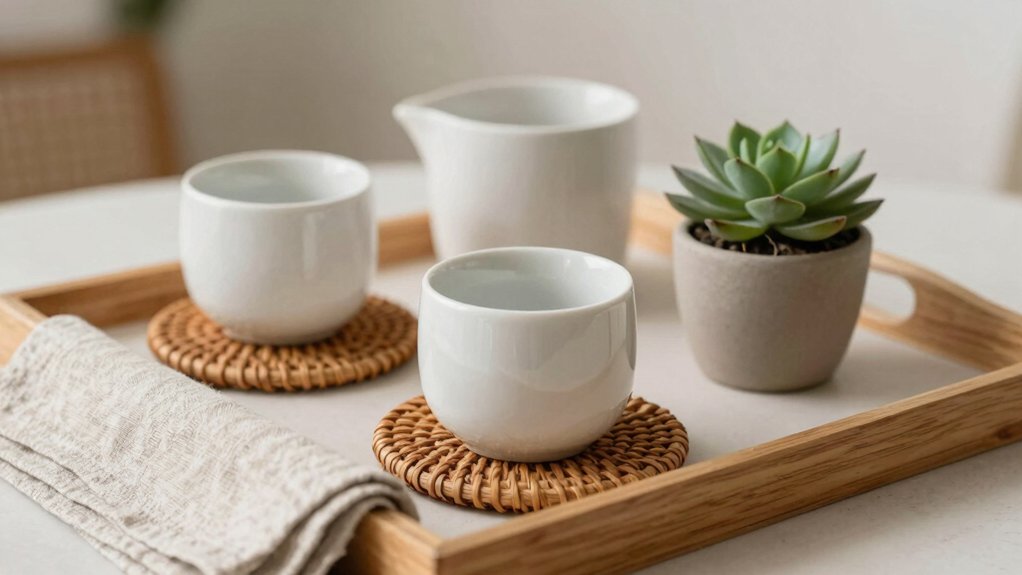

Use a tray to turn tiny messes into neat zones—so easy! Pick one that fits your spot, like a shallow tray for keys by the door or a small rectangular one for a coffee table with a candle and remotes. Add a medium tray for mail, then nest a little dish for lip balm or chargers. Match wood, metal, or ceramic to your style, wipe spills fast, and your space stays calm, not chaotic, with one smart move waiting nearby.
Key Takeaways
- Choose a tray size that fits the clutter zone without feeling cramped or empty.
- Use trays to create clear zones for keys, mail, remotes, and daily essentials.
- Nest smaller trays inside larger ones to separate items and reduce visual clutter.
- Style trays with one focal point and a few supporting pieces for a clean look.
- Match tray shape and material to the surface for a calm, cohesive space.
Choose the Right Tray Size
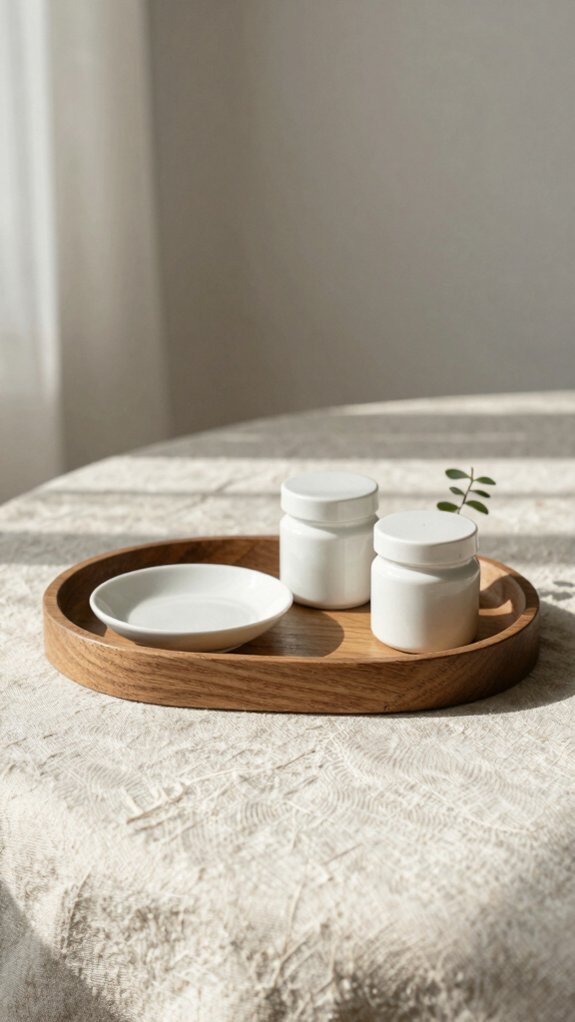
Start with a tray that feels just right—not so big that it turns into a little “drop zone” for every random thing in the room, and not so tiny that your items wobble off the edge like they’re escaping! Measure clutter zones, then test overflow capacity with a plate or box lid before you buy.
Choose a size that fits the job, like catching keys by the door, sorting mail, or grouping soaps on a vanity. If it feels crowded, go up a notch; if it looks empty, go smaller. You’ll probably tweak it again later, and that’s okay—small spaces love a little trial-and-error!
Style Your Coffee Table Tray
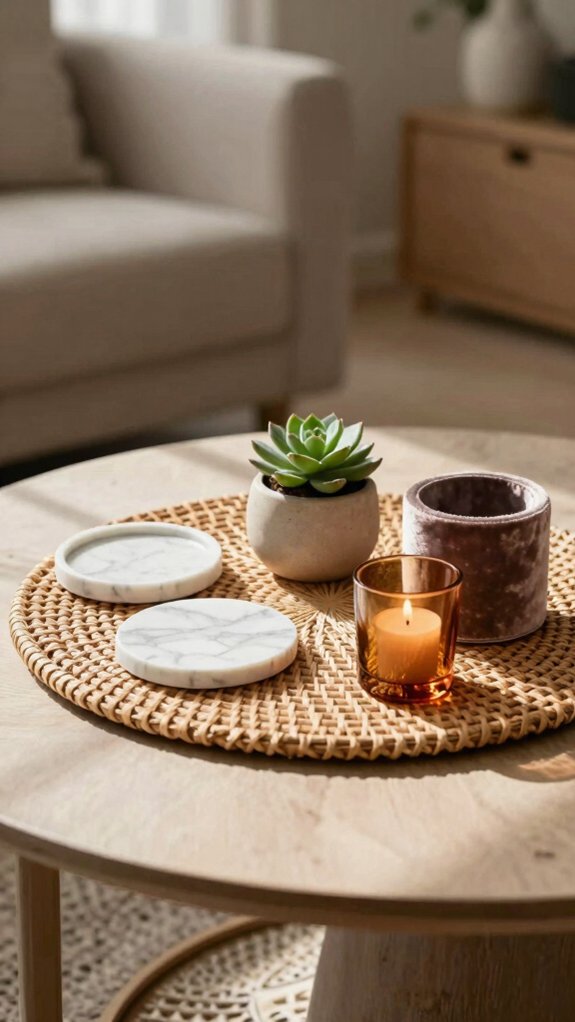
Start with one clear focal point on your coffee table tray, like a small candle, a neat stack of books, or a pretty bowl, and let everything else play backup.
Then layer in a couple of books and a simple decor piece, so the tray feels styled, not stuffed—because no one wants a mini jungle on the coffee table!
Best of all, keep it useful with remotes, coasters, or chargers tucked in place, and you’ve got a setup that looks polished and actually works.
Choose a Focal Point
What’s the quickest way to make a coffee table tray look polished instead of crowded? Pick one star and let it shine! Focal point candles, lanterns, or a tiny succulent give you a calm, welcoming look that feels like your spot, not a random pile. Keep taller pieces in back and smaller items up front, using a cohesive height grouping that reads *clearly*. | Item | Best Spot | Feel | |—|—|—| | Candle | Back | Warm | | Succulent | Center | Fresh | | Remotes | Front | Handy | | Coasters | Front | Ready | | Glass | Side | Light | This simple setup’s easy, affordable, and instantly friendly!
Layer Books and Decor
When you layer books and decor on a coffee table tray, you give all those little pieces a cozy “home” instead of letting them wander all over the table—because nobody wants a tray that looks like a tiny yard sale!
Pick a tray that fits your coffee table, not too small, not too large, and keep the color palette simple.
Stack 2–3 books, then add a candle, small bowl, or glasses for visual balance.
Mix materials, like wood and glass, for seasonal texture.
Match tray shapes to your table, and you’ll get an intentional look that feels warm and welcoming!
Keep It Functional
A tray can do more than look pretty—it can act like a little grounding base that keeps your everyday stuff from taking over the whole coffee table! You’ll feel right at home when you set up a small zone for remotes, glasses, and books, because it makes Declutter routines easier and your quick reset faster.
- Pick a tray that’s not too small or too big.
- Add mini trays for functional labeling.
- Pair magazines with a pen cup for easy access.
- Swap in candles or moss for a fresh look.
That’s it—cozy, tidy, and totally you!
Organize Your Entryway Tray
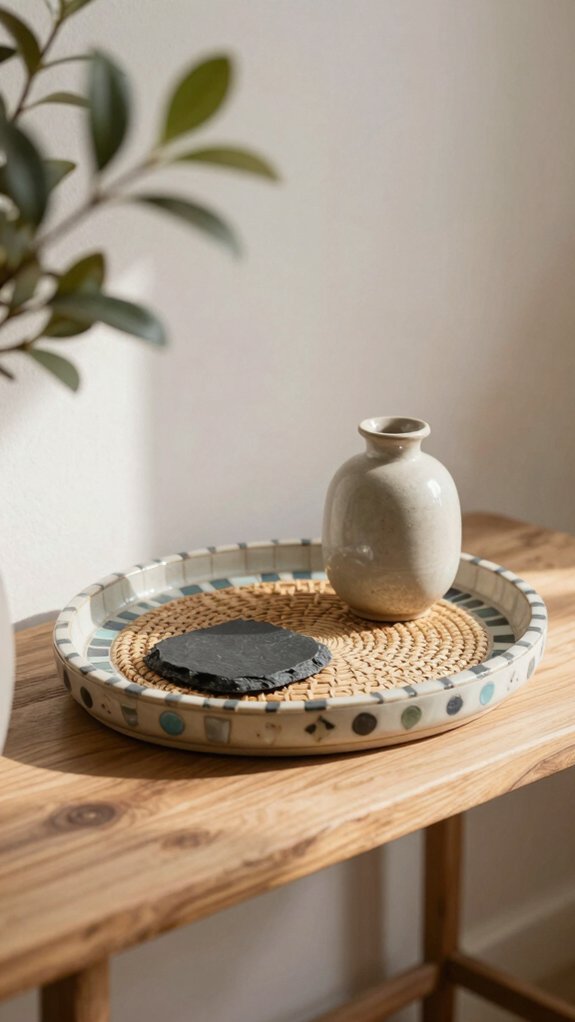
To keep your entryway from turning into a tiny chaos zone, start with a shallow tray by the front door where you can drop your keys, wallet, sunglasses, and chapstick in one easy-to-see spot.
Declutter first, then do a routine reset each night so your key habits stick, and mail triage stays quick.
Choose a tray with just enough room, not a splash zone for clutter!
Group items by side, like keys and shades here, wallet and lip balm there.
Keep a “remember” corner for items without a home, so loose papers don’t linger and you feel ready to head out.
Corral Daily Essentials on a Tray
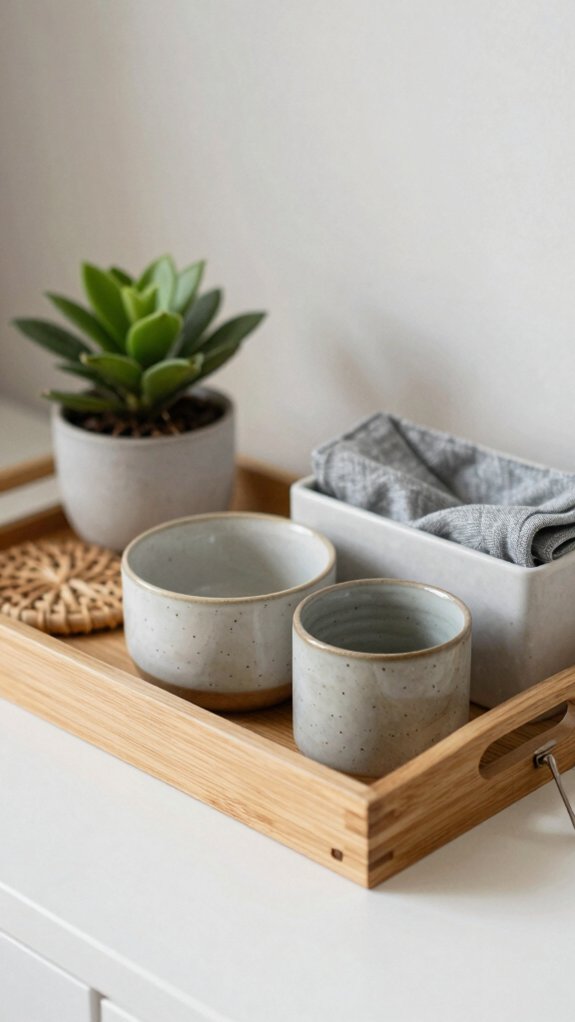
Now that your entryway tray is doing its job, let it work a little harder and corral the stuff you grab every single day! With smart tray organization, your daily routine feels calmer, and you feel right at home.
Try this grab-and-go setup:
- Keys and wallet
- Sunglasses and lip balm
- Phone and charger
- Soap or lotion on a second tray
Keep the tray shallow, so everything stays visible and won’t vanish under clutter.
If it starts overflowing, swap in a larger tray, or split the load. Tiny change, big relief—your people will notice!
Use a Tray for Mail and Papers
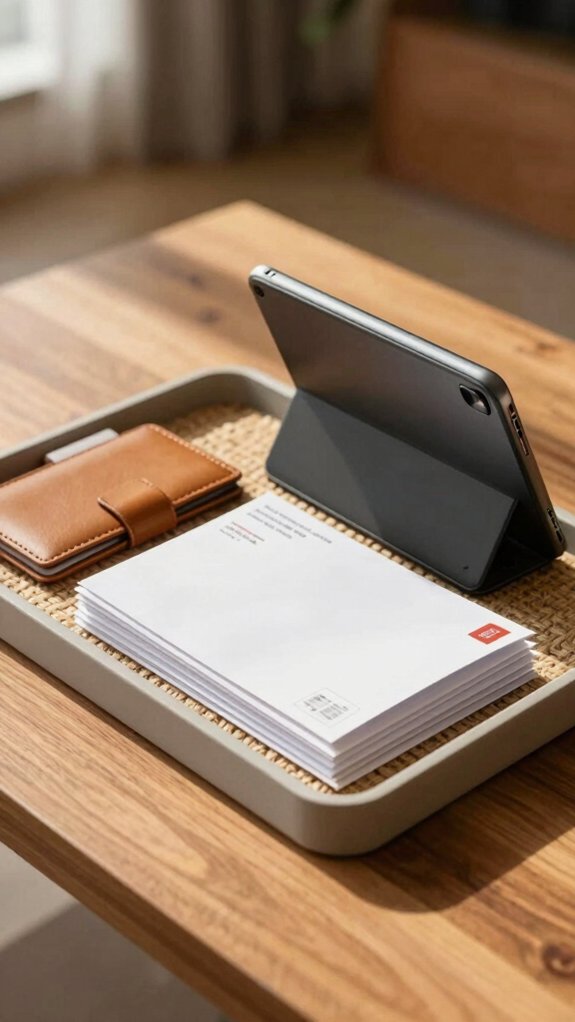
Mail has a sneaky way of turning into tiny paper avalanches, but a medium-to-large tray can stop that mess before it starts!
Use it as your Mail Sort spot, right by the door or desk, so your Document Inbox feels friendly, not frantic.
| Spot | Job | Win |
|---|---|---|
| Entryway | Drop mail | Less clutter |
| Desk | Review papers | Faster decisions |
| Tray | Hold bills | No piles |
| Divider | Sort items | Clear steps |
| Handles | Carry bundle | Easy moves |
A simple Zone System keeps papers together, and smaller dividers help you sort bills, files, and review items. Check it daily, and you’ll stay ahead—yay, that’s home harmony!
Keep Kitchen Counters Neat
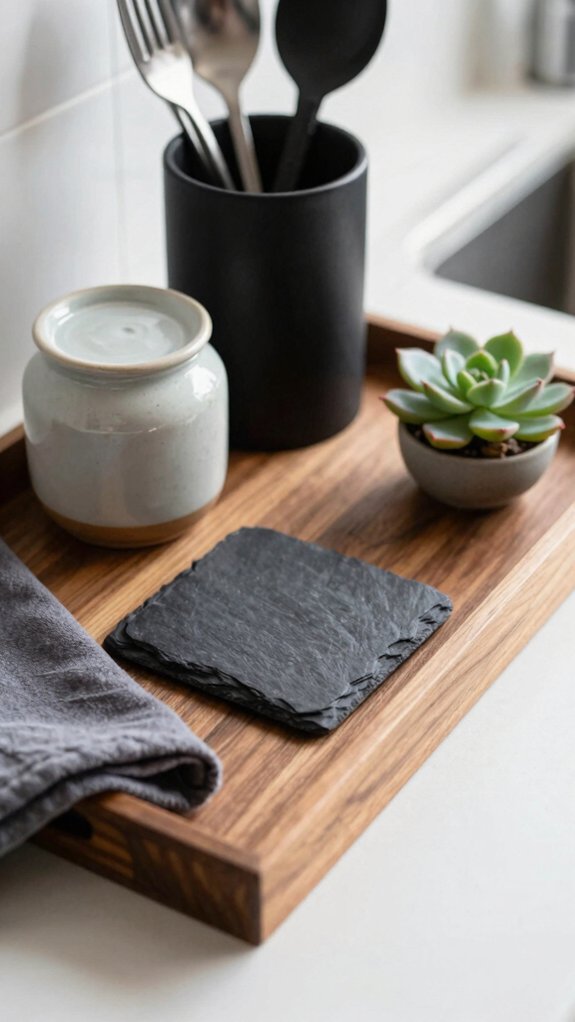
When your kitchen counter starts collecting “just for a second” stuff, a tray can step in and save the day! Try these surface organization tips:
- A small tray makes a dish soap station, so bottles stay put and cleanup stays easy.
- Use one tray for daily mail handling and paper sorting, creating clutter free zones fast.
- Set a larger tray as a for-later landing zone, one of those tidy transition setups that supports counter reset habits.
- Choose easy wipe trays near zoned prep areas, and group oils or spoons together for a calm, connected look.
That’s smart counter catchalls magic, friend!
Set Up a Vanity Tray
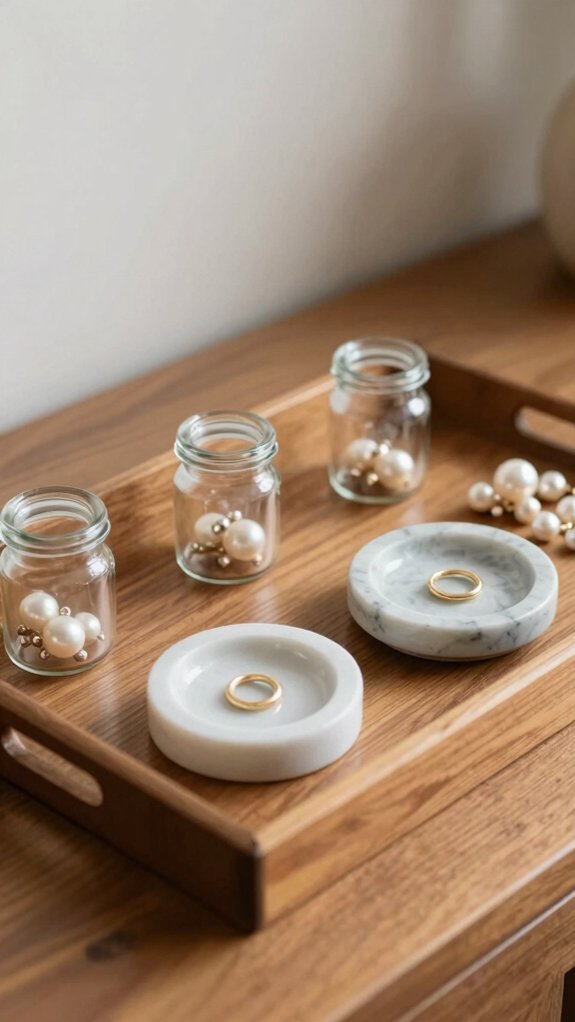
On your vanity, a tray can do way more than just look cute—it can keep your morning mess under control fast!
Pick one deep enough for lotion, perfume, and brushes, so bottles stay put on the Bathroom counter with better drip control.
Use Vanity tray placement to create clear zones: skincare, makeup, and fragrance.
That simple setup makes grab-and-go mornings feel easy, almost like you’ve got your own tiny beauty squad.
For spill prevention, tuck in mini cups or a small dish for clips and lip products.
Set the tray on a mirror or table, and enjoy a cleaner, calmer space.
Swap in seasonal touches later!
Tame Living Room Clutter With Trays
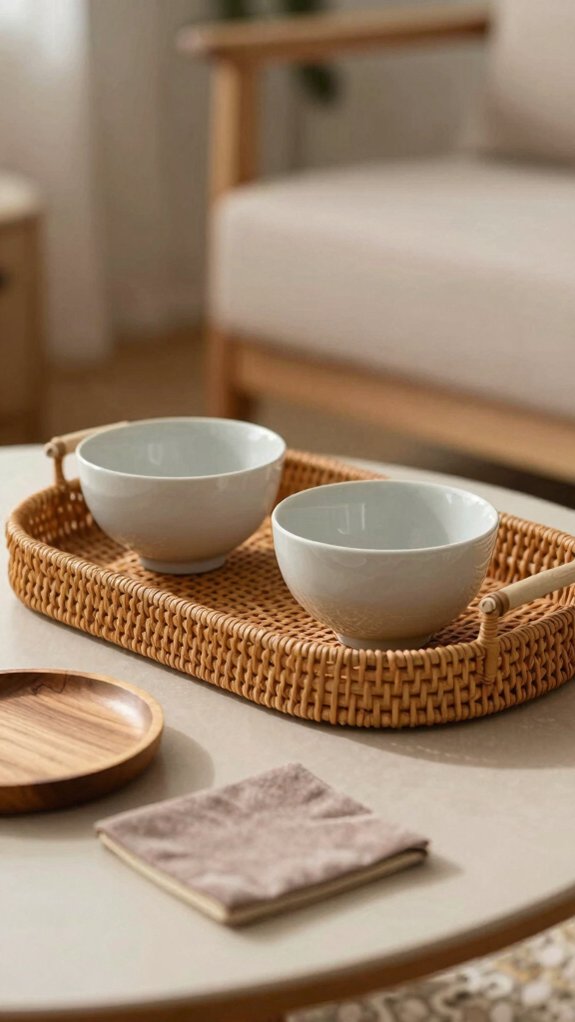
A tray on your coffee table can work little magic in a busy living room, and it’s one of the easiest fixes you’ll ever try!
You’ll feel instantly more at home when clutter gets a clear spot.
Use these Declutter quick fixes to build calm fast:
- A shallow tray for remotes and coasters creates neat Remote control zones.
- A bigger tray with small bowls keeps pens and batteries from vanishing.
- Pick a tray that fits, not floods, your table.
- Give games or magazines their own setup, so you can lift and tidy in seconds.
It’s simple, cheap, and weirdly satisfying!
Group Decorative Objects on Trays
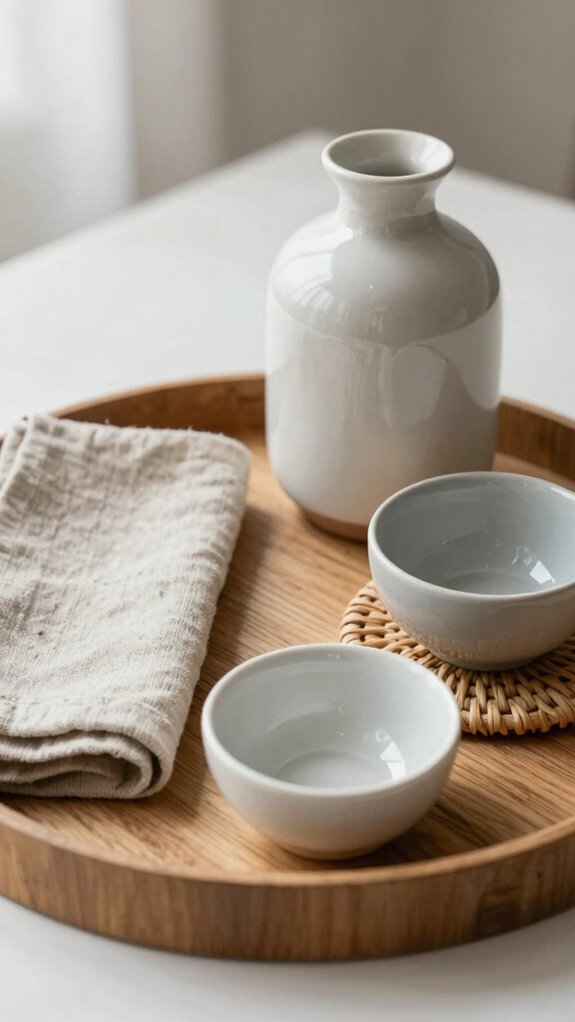
Tray styling gets even better when you use it like a little “grouping zone” for your favorite stuff! You can declutter surfaces, group necessities, and reduce visual mess fast. Try this simple mix:
| Item | Why it helps | Result |
|---|---|---|
| Remotes | Keeps them handy | Less searching |
| Coasters | Stays in one spot | Cleaner table |
| Pens | No desk scatter | More order |
Pick a tray that fits the spot, not a giant one, and let it add organization without feeling fussy. Want a cozy vibe? Group shells, candles, or little keepsakes together, and suddenly your space feels like it belongs to you!
Layer Small Trays in Larger Ones
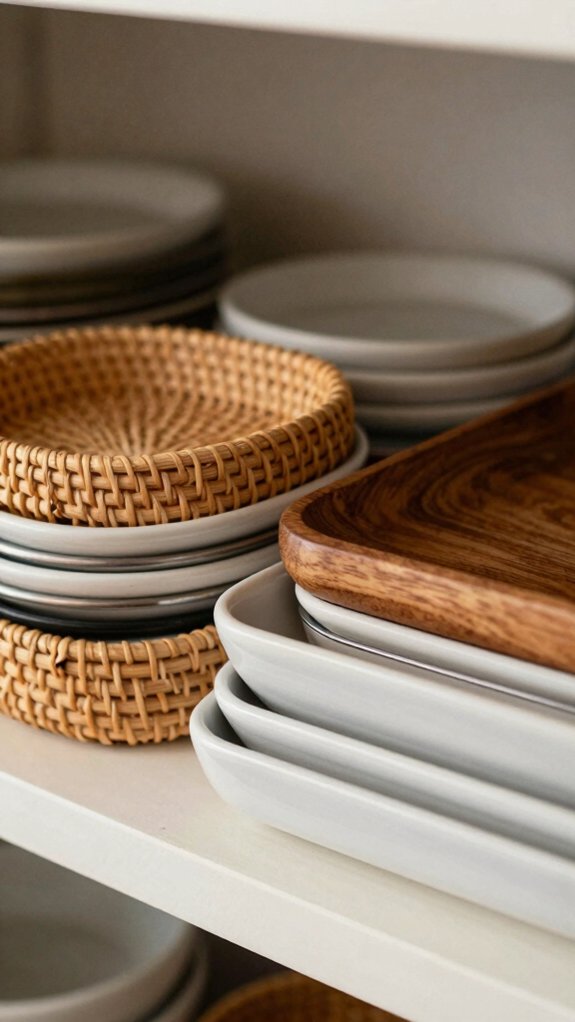
Try placing a small tray inside a bigger one, and suddenly your loose items have a home—remote controls, jewelry, or toiletries won’t wander off like tiny troublemakers!
The outer tray gives you a clean base, while the inner tray marks off a neat zone, so you can keep candles in one spot and little extras around them without creating a mess.
Match the shapes when you can, leave a little breathing room, and here’s the fun part: you can lift the inner tray alone when you want to switch things up fast.
Nesting Trays For Order
One of the easiest ways to tame a messy surface is to nest small trays inside a larger one, and wow, it works like a little organization magic trick!
- Pick a big base tray, then tuck in smaller trays for remotes, chargers, and keys.
- Keep Color coordination simple, so the setup feels like your style crew showed up.
- Try tray material pairing, like wood with wood or metal with metal, for a calm look.
- Don’t fill every inch; leave room to edit fast when life gets wild.
You’ll get easy zones, less sliding, and a surface that finally feels like it belongs to you.
Define Zones By Size
A smart tray setup starts with size, and that’s where the magic really kicks in! Start with one larger base tray, then add smaller trays to create cozy zones. You’ll optimize surface use and avoid visual clutter fast.
| Tray size | Job |
|---|---|
| Large base | Holds the whole group |
| Small tray | Tames one item set |
| Round inset | Softens sharp edges |
| Rectangular inset | Builds clean lines |
| Extra mini tray | Makes a backup lane |
Choose “not too small, not too big,” so nothing spills. Match shapes for a designed look, and let each lane do its job. Nice, right?
Style Inside, Style Out
Inside a larger tray, tuck a smaller tray and suddenly your surface looks calm, not crowded—pretty nice, right? You’ll Create cohesive zones and make your space feel like it belongs to you.
- Pick matching shapes, like oval in oval.
- Use the big tray for the base, then keep grab and go neat with remotes or keys.
- Mix tray heights to add interest, not chaos.
- Keep colors steady, so wood, ceramic, and glass balance textures smoothly.
This easy trick costs little, works on tables or dressers, and turns everyday clutter into a polished little scene.
Your room gets that “I’ve got this” vibe, no stress!
Match Tray Shape to Your Table
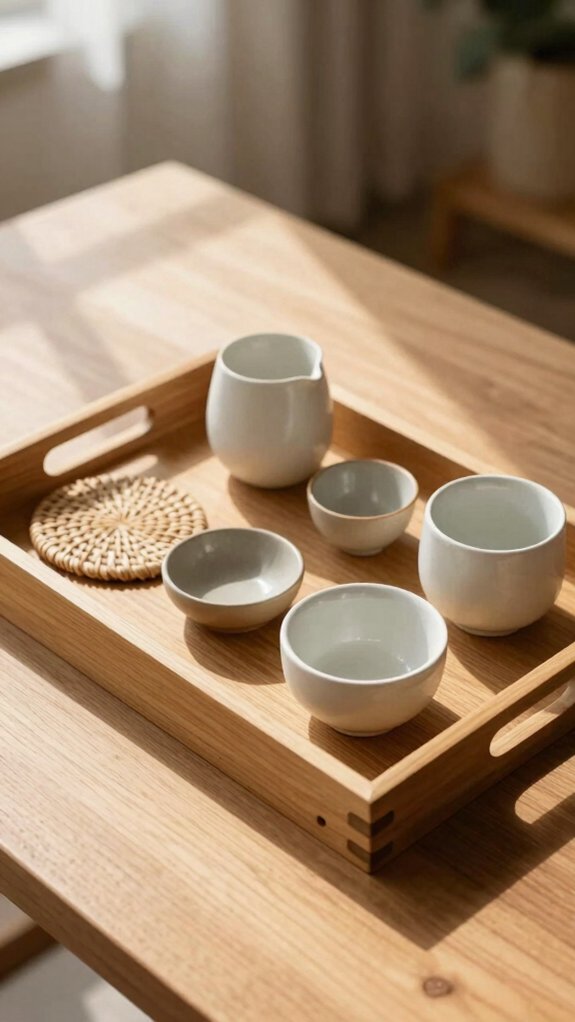
With tray styling, shape really does matter! You’ll feel right at home when your tray echoes your table—round on round, rectangular on rectangular—for that meant-for-each-other look.
To balance visual symmetry, create placement guidelines, prevent clutter creep, and improve zone clarity, keep the tray not too small and not too large.
On a coffee table, a smaller rectangular tray can define a drink-and-remote zone without crowding things.
If you need separate spots, tuck a smaller tray inside a larger one.
Center it, or nudge it slightly off-center, and suddenly your tabletop looks calm, collected, and a little polished!
Style Trays on Shelves
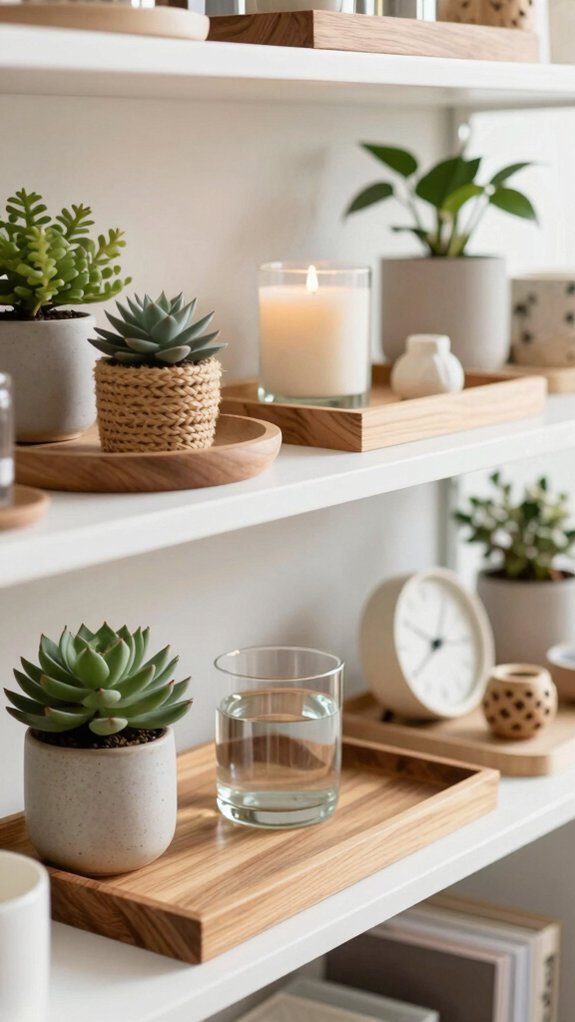
Shelf styling gets way easier when you treat a tray like a tiny stage for your favorite things! Pick a shallow tray that fits the shelf, then tuck it toward the back so everything feels calm and cozy.
- Try tray material pairing: wood with moss, stone, or plants.
- Use shelf zoning tips with smaller trays for candles, succulents, or keepsakes.
- Keep colors simple, like glass, metal, ceramic, and green.
- Switch the tray-fill seasonally, and your shelf stays fresh without a full redo.
Add books or lanterns for height, and suddenly your shelf looks like it belongs in your dream home!
Create a Serving Tray Station
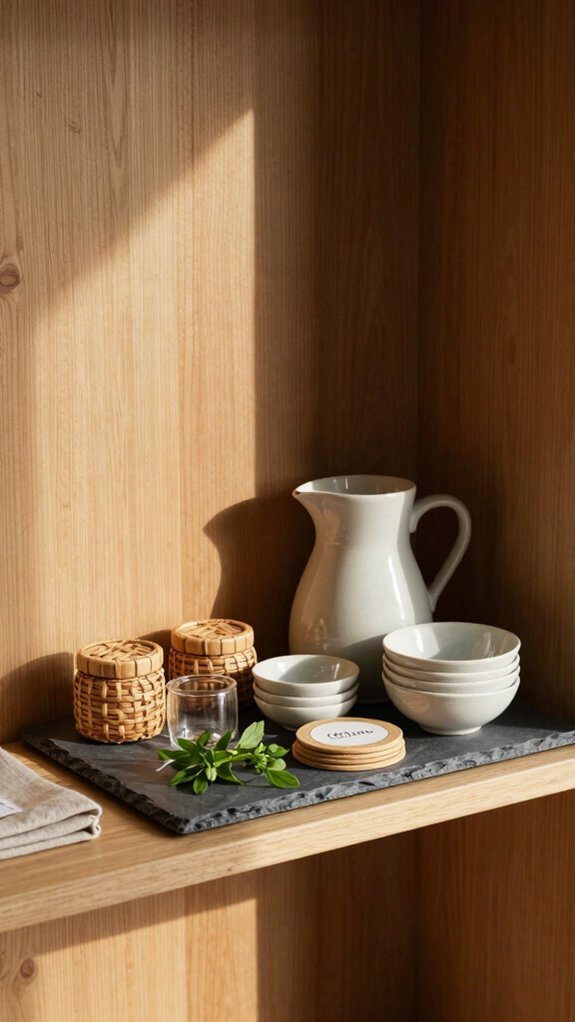
A serving tray station makes small-space hosting feel so much easier, and you can start with a tray that has handles and a shallow lip so drinks, snacks, and bar tools stay put while you move them around.
Add your daily necessarys, like coasters, napkins, and a bottle opener, in small cups or bins, then keep the whole setup on a kitchen counter, coffee table, or home bar so it’s always easy to grab—nice, right?
For a sneaky-smart trick, use a bigger wood or wicker tray as a catch-all when guests come over, so stray items have a home before they wander off like tiny party crashers!
Choose A Catch-All Tray
If your keys, sunglasses, and random “I’ll need this later” items keep wandering off, a catch-all tray can save the day! Place it by the entryway, kitchen, or coffee table, and you’ve got a cozy zone for keys, wallet catchall, and an easy entryway anchor design.
- Pick a shallow tray, not too big, not too small.
- Keep only the things you grab most.
- Use it as your quick “remember this” spot.
- When it gets crowded, layer a smaller tray inside.
That little landing spot makes you feel like you belong to an organized home—without the drama!
Add Daily Essentials
At your entryway, a shallow serving tray can become the easiest little “grab-and-go” zone ever! Slip in your keys, wallet, sunglasses, and chapstick, and you’ve got a tidy spot that feels like it knows your routine.
Pick a size that’s not too big, not too small, and think about Tray material choices like wood, metal, or woven styles for your vibe. Add small cups or Liner organization tips, then label a second tray “remember” for sunglasses or leave-home notes.
Want flexibility? Choose a tray with handles, so you can carry the whole setup to the kitchen or desk. Boom—organized, friendly, and low-stress!
Keep It Easy To Grab
Need to keep things moving? Create a serving tray station, and you’ll feel right at home! Choose a tray with handles, then make one simple spot for grab and go zones.
- Set out glassware and small bar tools.
- Add coasters, pens, or magazines in one neat bundle.
- Keep it shallow, so nothing hides in the back.
- Use quick carry ideas when you’re tidying or hosting.
These tray styling tips make style shift smooth, because you can lift everything in one trip.
Best part? Your clutter stays together until it’s ready to go home.
Easy, friendly, and honestly a little magical!
Display Candles on a Tray
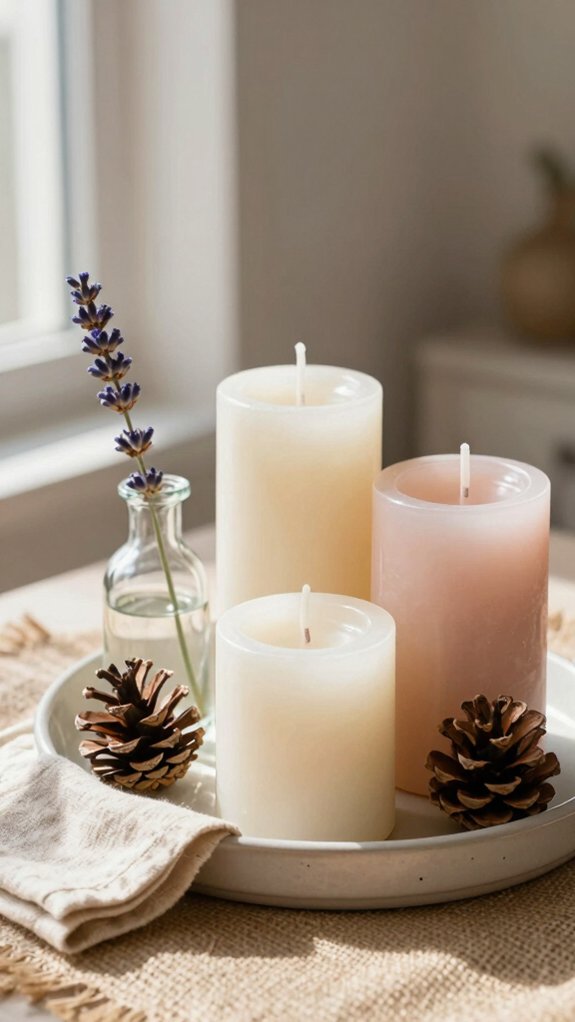
A trio of candles on a tray can look so polished with very little effort, and honestly, that’s the magic! Choose a tray that’s not too small, so your candles don’t crowd, and not too large, so it still feels tidy.
You can cluster 3–5 candles of similar height on wood or metal for a calm, grounded look. Add moss, stones, or preserved greenery for texture, then keep the tray on a stable, heat-safe spot.
With these candle safety tips and tray stability tricks, you’ll get a cozy centerpiece that feels collected, not cluttered—easy, stylish, and totally welcoming!
Decorate With Seasonal Tray Styling
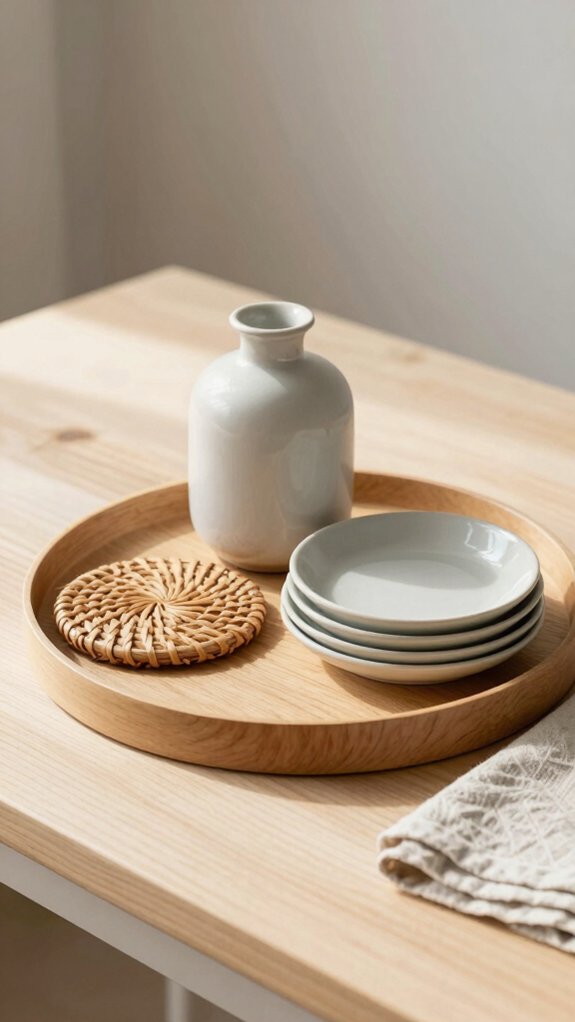
Seasonal tray swaps make your small space feel fresh fast, and you don’t need a giant setup to pull it off—just pick a tray that’s not too big, not too small, and start with a simple base like wood, metal, or woven.
Then you can swap in easy accents like candles, greenery, shells, or little potted plants, while keeping neutral containers in ceramic, glass, or metal so everything still looks neat and pulled together.
For a fun upgrade, layer a smaller tray or container inside the larger one, and keep your seasonal fill stored away so your next holiday refresh takes seconds, not a whole Saturday!
Seasonal Tray Swaps
When the seasons start changing, your tray doesn’t have to sit there looking confused—it can switch outfits right along with your home! Keep one color palette, use neutral containers, and make every quick swap feel like you belong in the style club.
- Try candles or lanterns for fall, and your table feels cozy fast.
- Add succulents or greenery in spring and summer for a fresh, easy lift.
- Use moss, stone, or other natural textures in winter-ready looks for calm charm.
- Pick a shallow tray, then move it to another room and restyle it. Simple, budget-friendly, and wow!
Layered Holiday Accents
Holiday tray styling gets even more fun when you start layering it up! Pick a just-right tray, so it feels cozy, not crowded, then build from there.
Slip a smaller tray inside a larger one for candles up top and greenery or moss below, and suddenly your shelf looks styled, not stuffed. For Trays for minimalists, keep the palette simple and use seasonal color coordination with warm wood, neutral ceramic, or metal pieces.
Swap in evergreens, stones, or grouped candles each season, and you’ll get layered holiday accents that feel festive, organized, and totally you—yay, no decor chaos!
Add a Tray to Your Nightstand
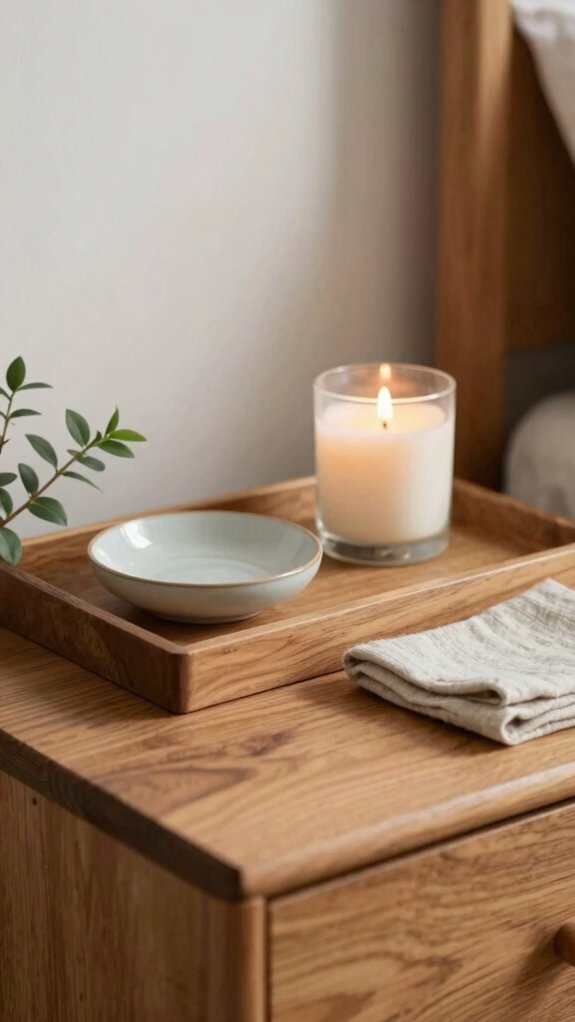
A tray can work wonders on a nightstand, especially if your surface seems to collect everything but the lamp! Try these tray placement tricks for clutter free surfaces and easy nighttime organization, while keeping your bedroom zone styling cozy and welcoming.
- Pick a tray that’s not too small, so items don’t spill.
- Keep it not too large, leaving room for your lamp and book.
- Use it as a home for water, lip balm, and your phone.
- Add a tiny tray on top for cords or meds.
In minutes, you’ll feel settled, and morning feels faster, too!
Organize Bathroom Counters With Trays
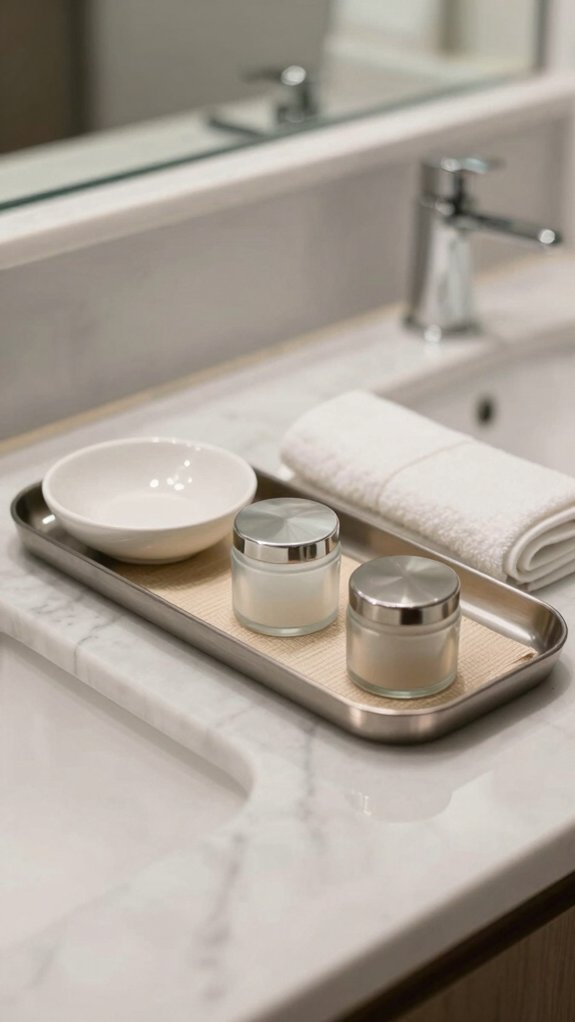
Even a tiny bathroom counter can look calm and pulled together with the right tray!
Start with a shallow rectangular tray for lotion, soap, and hand cream, and you’ll keep bottles from rolling into the abyss behind the faucet.
Need a fast reset?
Use one small tray for wet items, like hand soap and a sponge, so you can lift it and wipe under it in seconds.
Then create Clear Counter Zones for makeup, skincare, and perfume, and Enhance Vertical Storage by parking extra samples or hair ties on a medium tray until they’re sorted.
Pick a tray that fits, not crowds, and your counter feels like it finally belongs to you.
Pick Tray Materials That Match Your Style
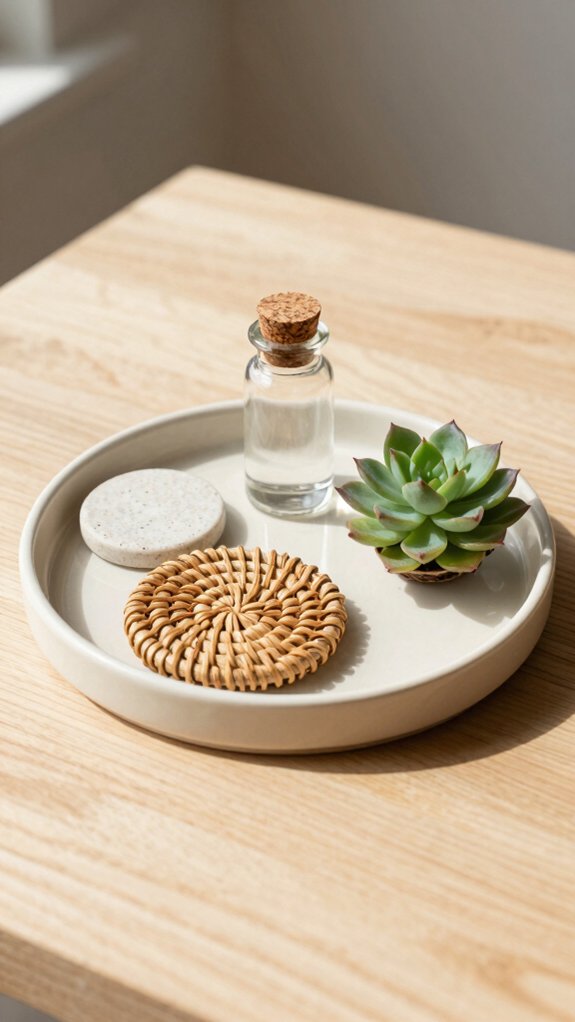
Once you’ve got your counter zones under control, the tray itself gets to do some style work too! Pick the material that feels like your home crew:
- Metal or marble for sleek, modern energy.
- Solid wood for warm, rustic comfort.
- Leather for a refined, cozy vibe.
- Rattan or wicker for texture and an inviting look.
When you’re weighing texture versus color, let finish lead the way. Natural wood looks great with greenery, moss, or succulents, and budget tray picks in wood or metal still create that tidy, grounded “zone” everyone notices, even in tiny spaces!
Clean and Care for Decorative Trays
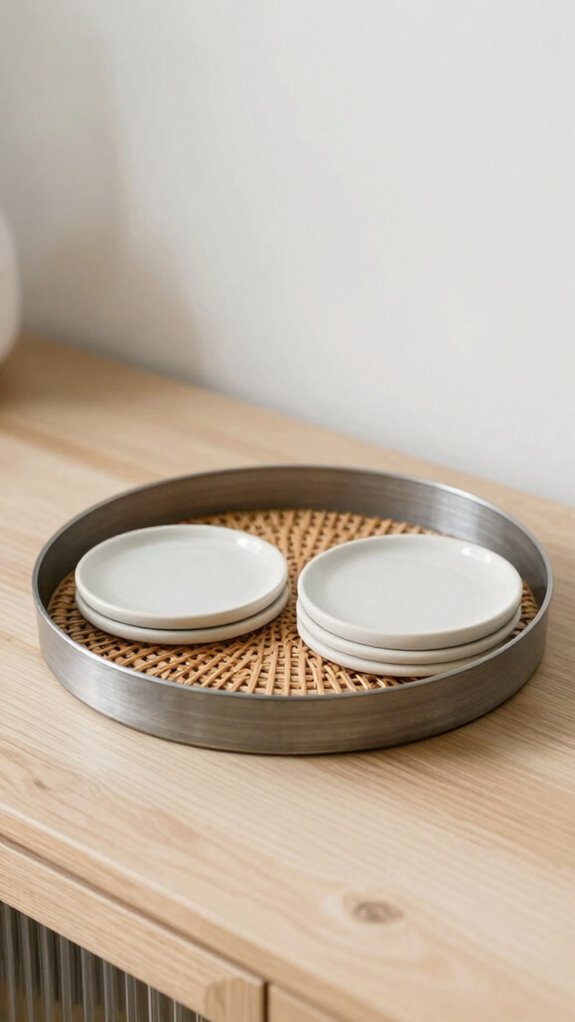
Keeping your decorative tray looking fresh is easier than you might think, and it starts with a simple wash—warm water, a little dish detergent, and a soft cloth usually do the trick!
| Task | What to Use | Why It Helps |
|---|---|---|
| Wipe spills | Soft cloth | Stops grime fast |
| Wash gently | Mild soap | Protects coatings |
| Dry fully | Pat towel | Prevents spots |
For vintage trays, skip abrasives and long soaks; they can hurt grout and finishes. If your tray has inserts, clean them separately, then air-dry everything before restyling. That easy routine supports material selection and stain prevention for tray care, so your tray stays pretty, polished, and ready for the crew to admire—no sad ring marks!
Shop for Trays That Work Anywhere
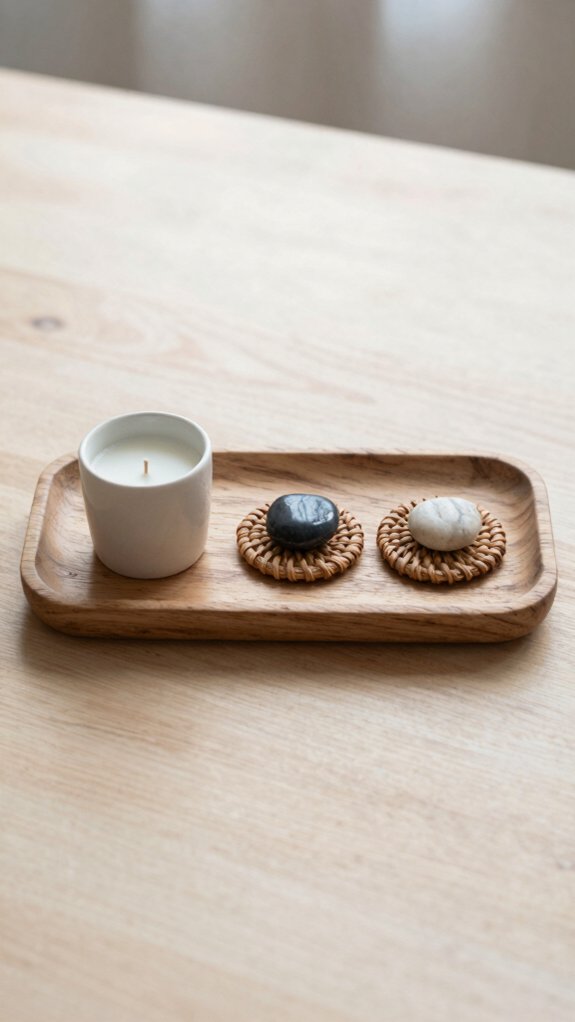
For a tray that works almost anywhere, start with a shape and material that can move with you—metal, woven rattan, solid wood, marble, or leather all play nicely with different décor styles and still pull their weight in real life!
Choose one that fits, not too small, not too large, so your stuff feels seen, not shoved. Then build your little home tribe:
- Entryway keys
- Coffee-table remotes
- Vanity lotions
- Kitchen carries
That’s smart Material versatility with easy Seasonal refreshes, and it keeps clutter from crashing the party! Handles help you gather and relocate in a snap—so handy, right?