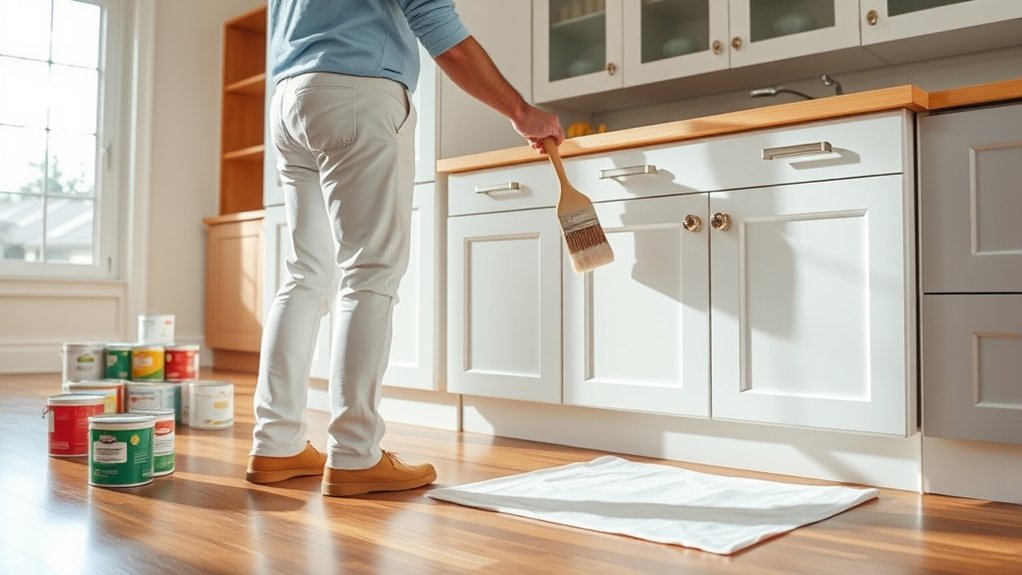
To paint cabinets like a pro, start by removing doors and hardware, labeling everything to stay organized. Clean all surfaces deeply, then fix any dents with wood filler and sand smoothly for great paint adhesion. Paint the backs of doors first, then the fronts, using a small foam roller for a sleek, drip-free finish. Make sure to wait at least 24 hours between coats for durability. Stick with these steps, and you’ll love how your cabinets change—there’s plenty more great tips ahead!
- Key Takeaways
- Remove Cabinet Doors and Hardware
- Create a Detailed Organization System
- Deep Clean All Surfaces
- Repair Damage and Fill Gaps
- Sand Surfaces for Better Adhesion
- Remove Dust With Tack Cloth
- Apply High-Quality Primer Coat
- Sand Lightly Between Coats
- Select Cabinet-Specific Paint
- Paint Frames and Interior Sections
- Paint Door Backs First
- Apply Paint to Door Fronts
- Use Foam Roller for Smooth Finish
- Allow Proper Drying Time Between Coats
Key Takeaways
- Remove all cabinet doors and hardware, label them, and organize your workspace before starting the painting process.
- Thoroughly clean, repair, and sand cabinet surfaces to ensure proper primer and paint adhesion.
- Apply a high-quality primer evenly, then use durable, semi-gloss cabinet paint for a smooth, lasting finish.
- Use a small high-density foam roller and brushes for edges to achieve a silky-smooth, drip-free professional look.
- Allow at least 24 hours drying time between coats, maintaining a dust-free workspace and checking for imperfections.
Remove Cabinet Doors and Hardware
Before you plunge into painting, the first step is to carefully remove your cabinet doors and hardware—trust me, this makes the whole process a lot smoother. Start by unscrewing all knobs, handles, and hinges using a screwdriver. Don’t forget to take off the drawer fronts too; it helps you paint evenly on every surface. Now, here’s a game-changer: set up a labeling system. Label each door and its cabinet hardware, then store the pieces in labeled bags. This little trick keeps everything organized and prevents any frustrating mix-ups when it’s time to reinstall. You’ve got this!
Create a Detailed Organization System
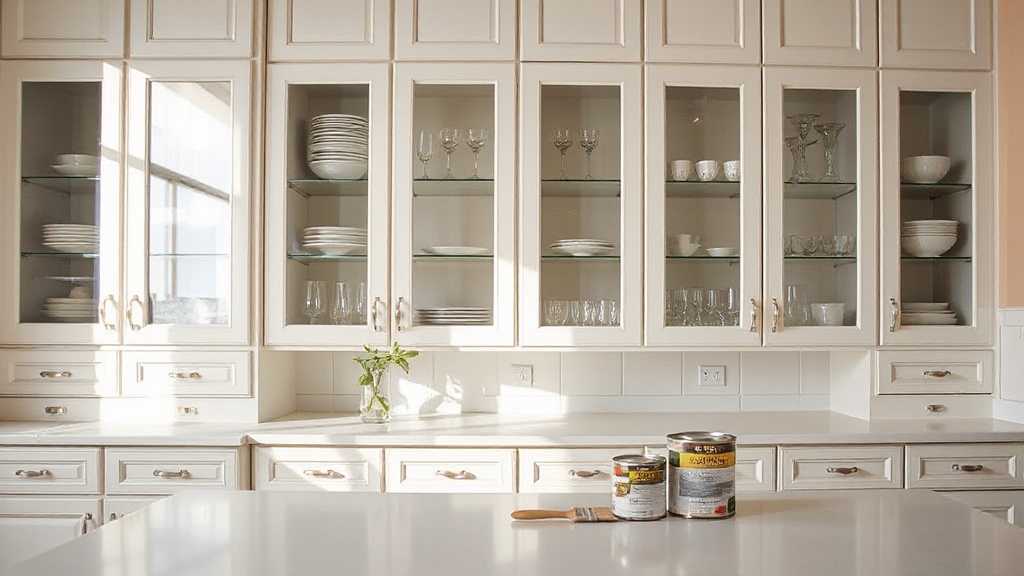
Once you’ve removed your cabinet doors and hardware, setting up a detailed organization system can make all the difference in how smoothly your painting project goes. I always start with an organization checklist to track every supply and step. Then, I create a workspace setup that keeps everything in order. Here’s what helps me stay on track:
- Label each door and drawer front for easy reassembly
- Separate cleaning supplies, paint, and tools into designated areas
- Use painter’s tape to mark painting zones and avoid mistakes
This system keeps me focused and confident throughout the process.
Deep Clean All Surfaces
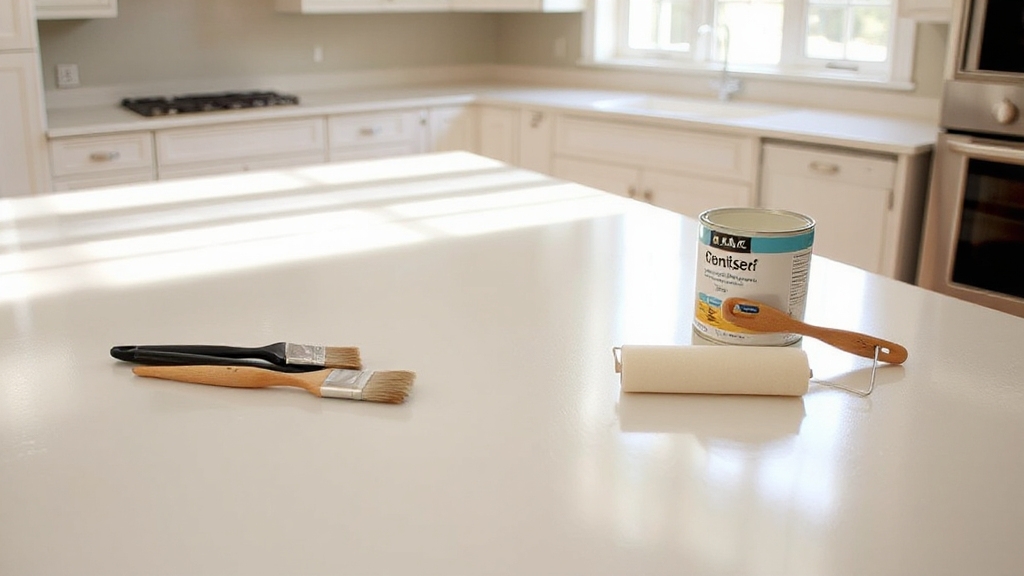
Three key steps will make your cabinet surfaces sparkle and set the stage for a flawless paint job. First, remove all hardware, doors, and drawers to access every nook. Next, apply cleaning techniques using a gentle grease remover or trisodium phosphate (TSP) mixed with water to cut through grime. Wipe down thoroughly with a damp sponge to avoid residue that could interfere with paint. For previously painted cabinets, consider a deglosser to improve paint adhesion. Finally, let everything dry completely—surface preparation like this guarantees your paint job sticks beautifully and lasts longer. You’ve got this!
Repair Damage and Fill Gaps
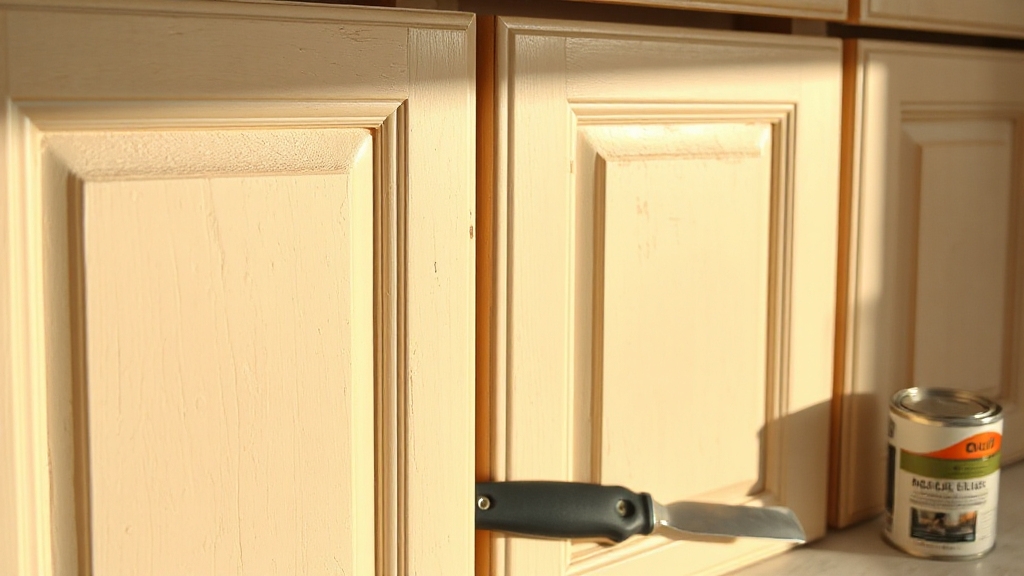
A crucial part of getting your cabinets ready for painting is repairing any damage and filling in gaps to create a smooth, flawless surface. I start by inspecting for scuffs, nicks, or scratches, then use wood filler to fix these imperfections. Here are my go-to repair techniques:
- Apply wood filler with a putty knife, ensuring it’s level with the surface
- Let the filler dry completely, usually a few hours
- Wipe down with a tack cloth to remove dust
Filling gaps well guarantees your paint job looks professional and lasts longer. Trust me, these steps make all the difference!
Sand Surfaces for Better Adhesion
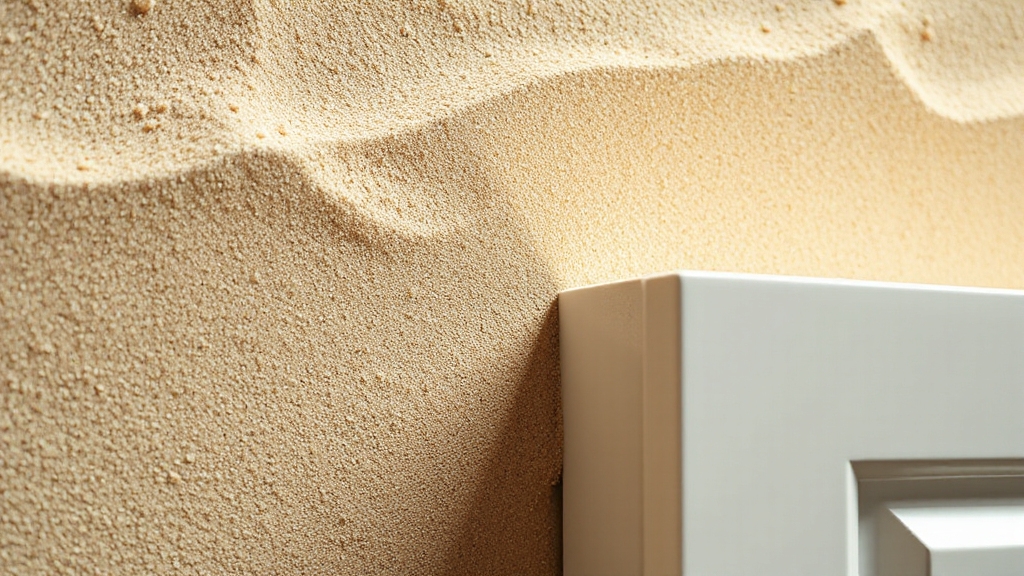
Because sanding creates a slightly rough surface, it helps paint and primer stick much better, which is key for a long-lasting finish. Using the right sanding techniques really makes surface preparation a breeze and guarantees your cabinets look flawless. Here’s a quick guide to sanding:
| Sandpaper Grit | Best For | Tips |
|---|---|---|
| 100-150 (medium) | Roughening surfaces | Use orbital sander for flats |
| 220 (fine) | Smooth finish | Hand sand details |
| Safety Gear | Lead paint suspected | Wear mask, contain dust |
This prep step sets you up for success.
Remove Dust With Tack Cloth
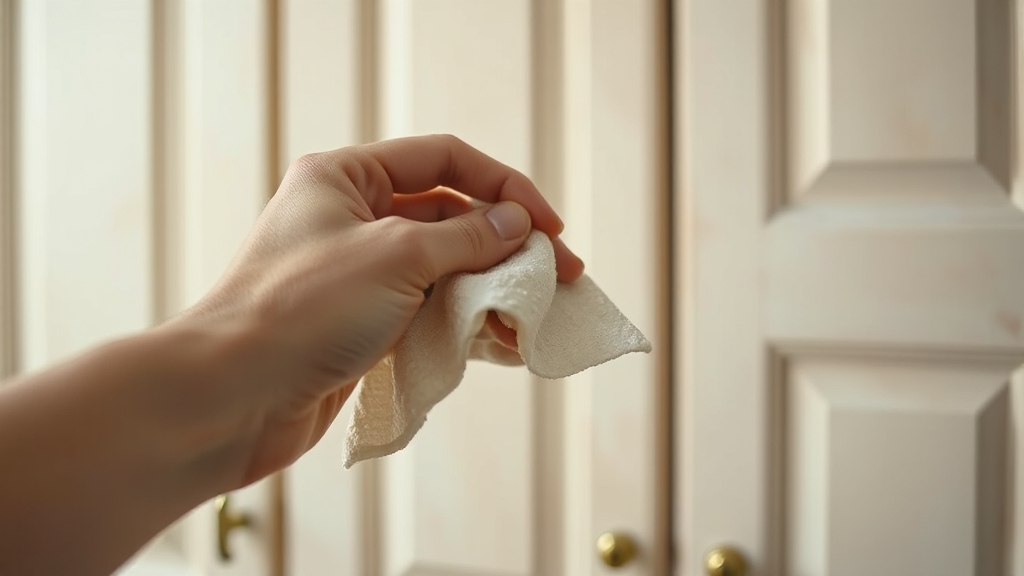
Once you’ve finished sanding, it’s crucial to remove every bit of dust before moving on to painting, and that’s where a tack cloth becomes your best friend. This sticky, lint-free cloth offers incredible tack cloth benefits, making effective cleaning a breeze. I gently wipe the cabinet surfaces without pressing too hard, folding the cloth often to keep it fresh. This simple step guarantees a spotless canvas for paint.
Here’s what I focus on when using a tack cloth:
- Lightly wiping to avoid residue
- Regularly folding for freshness
- Covering every nook and cranny
Together, we’ll get that perfect finish!
Apply High-Quality Primer Coat
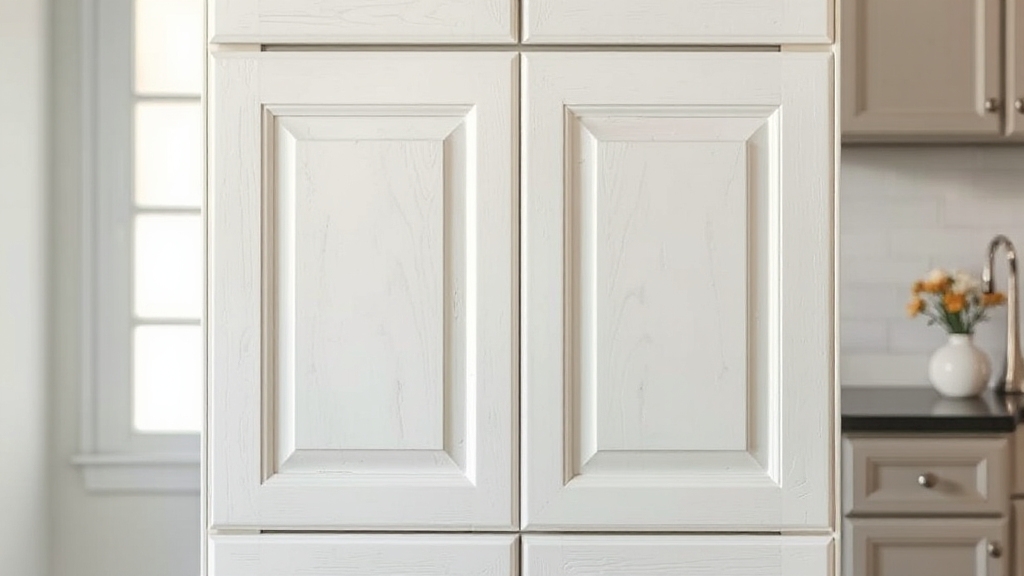
Although applying primer might seem like a simple step, choosing the right one and applying it correctly can make all the difference in how your cabinets turn out. I always pick a high-quality primer, like Benjamin Moore’s Fresh Start, because primer types matter—especially for wood surfaces. Avoid lacquer-based primers since they can stop paint from sticking properly. When applying, I use smooth application techniques with a brush or roller to cover every inch evenly. This solid foundation not only boosts adhesion but also helps the paint go on flawlessly. Trust me, this step sets you up for a professional finish!
Sand Lightly Between Coats
After laying down that smooth primer coat, the next step is to sand lightly between each layer of paint to keep everything looking flawless. This simple sanding technique is key for great paint adhesion, ensuring every coat sticks beautifully and lasts longer. Use fine 220-grit sandpaper once the paint is fully dry, then gently smooth out imperfections without stripping the layers. Don’t forget to wipe away dust with a tack cloth afterward! Here’s what to imagine:
- Soft sanding strokes that barely touch the surface
- Dust-free, silky cabinet panels ready for the next coat
- A perfectly even finish that feels like a dream to the touch
Trust me, this step makes a huge difference!
Select Cabinet-Specific Paint
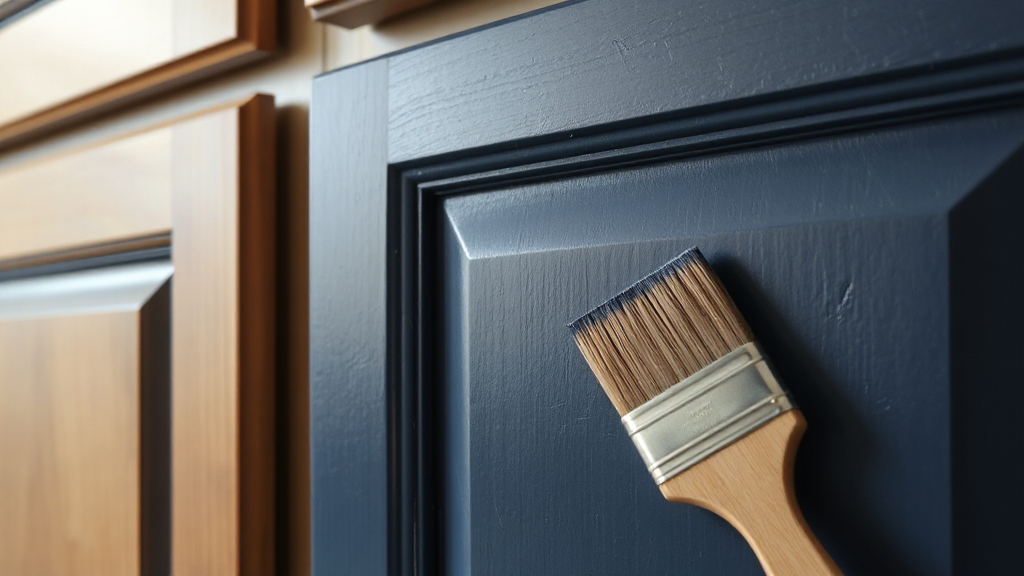
Choosing the right paint for your cabinets can make all the difference between a finish that lasts and one that quickly shows wear. When picking cabinet paint types, I always opt for durable options like Benjamin Moore’s Advance Interior Paint—it gives a smooth, furniture-like finish that professionals swear by. Semi-gloss is my go-to finish because it balances paint durability with easy cleaning, plus it adds a subtle shine. Remember, cabinet-specific paints are designed to handle daily wear and tear better than regular wall paints. Test samples first to see how colors look in your kitchen’s light!
Paint Frames and Interior Sections
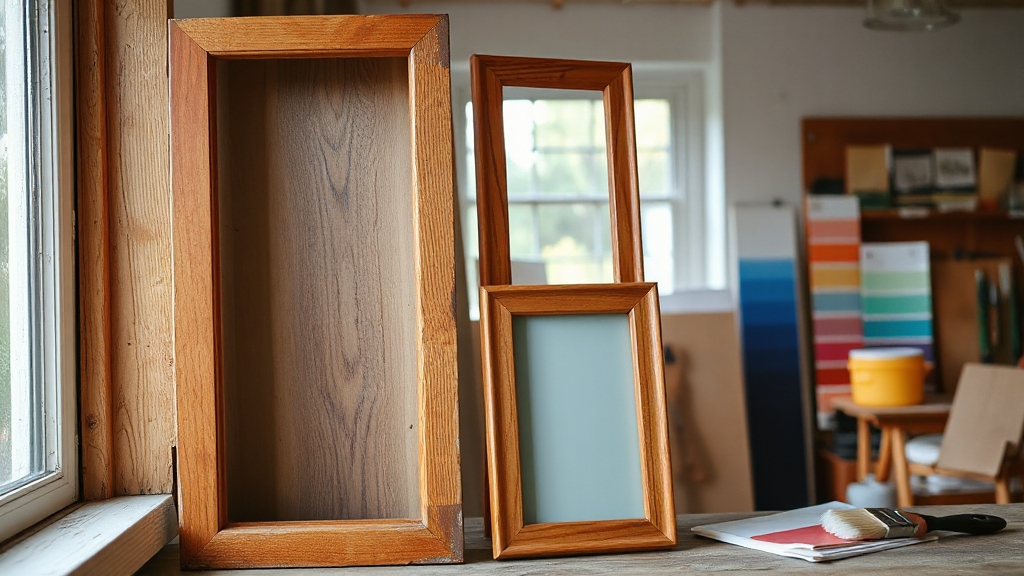
Painting your cabinet frames and interior sections is where the magic really begins to take shape. Start with a high-quality primer for strong adhesion and durability. I love using a nylon/polyester brush for edges and a microfiber roller for smooth, drip-free surfaces. After the primer dries, lightly sand before applying two coats of cabinet-specific paint—this guarantees an even, lasting finish. Your color selection sets the tone, so pick one that feels like home. Here’s a quick visual to guide you:
- Primer creating a smooth base
- Careful brushwork on corners
- Roller gliding over flat frames
These finishing techniques bring your cabinets to life!
Paint Door Backs First
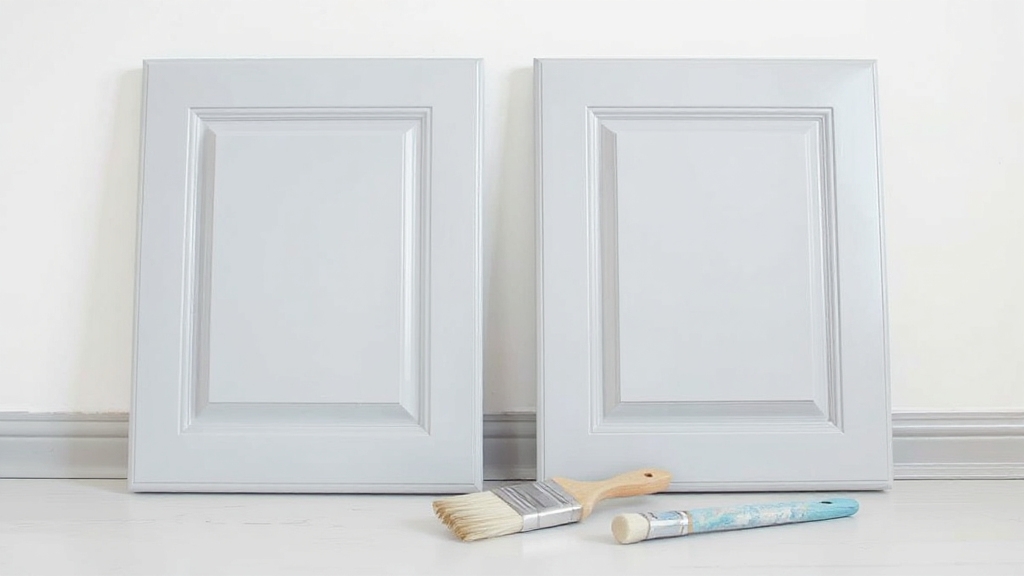
A smart way to kick off painting your cabinet doors is by starting with the backs. This step guarantees any drips stay hidden once hung. I like using a smooth mini roller—it spreads paint evenly and prevents brush marks. Let’s look at key door painting techniques and paint application methods side-by-side:
| Step | Tip |
|---|---|
| Paint backs first | Drips won’t show |
| Use mini roller | Smooth, even coverage |
| Dry fully | No smudges when flipping |
| Ventilate workspace | Faster drying, less fumes |
| Use painter’s tape | Clean edges, no seepage |
Ready to flip and tackle the fronts next?
Apply Paint to Door Fronts
Let’s plunge into painting the door fronts, where your careful work really starts to shine. With solid door front preparation behind you, mastering paint application techniques is key. Start by brushing edges and detailed areas gently to avoid drips. Then, use a smooth mini roller, always following the wood grain, to lay down light, even coats. Remember to let each layer dry completely before adding the next. Visualize it like this:
- Silky-smooth surfaces without brush marks
- Crisp, clean edges that pop
- A flawless, uniform finish that feels like home
Stick with this, and your cabinets will glow with pride.
Use Foam Roller for Smooth Finish
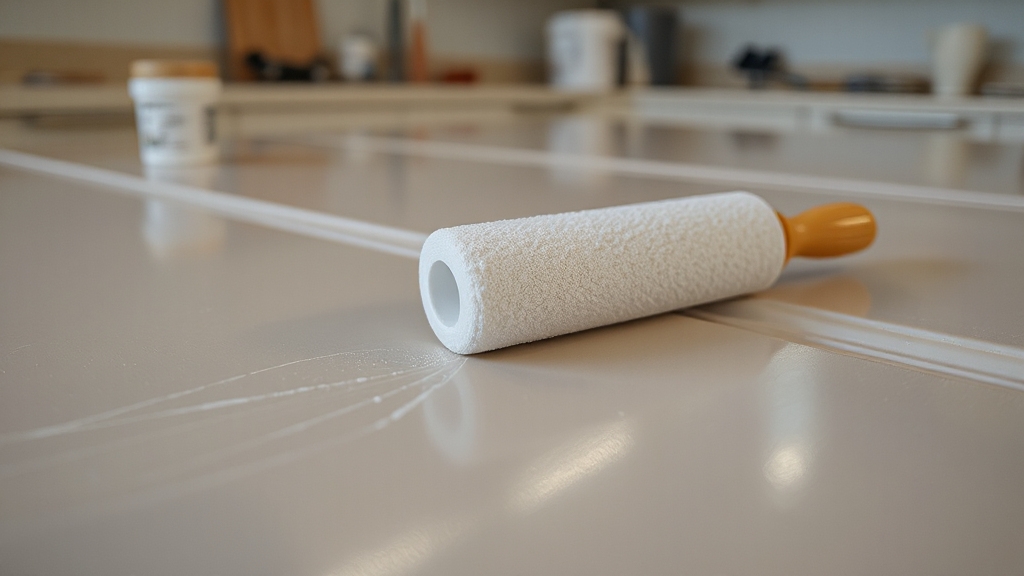
One of the best tools I’ve found for getting that perfectly smooth, professional look on cabinet surfaces is a foam roller. Using the right foam roller techniques can make all the difference in achieving smoothness without those pesky roller marks. I recommend a small, high-density foam roller—around 4 to 6 inches—for great control on doors and drawer fronts. Roll with light, even pressure in sections to avoid paint buildup or drips. This method spreads paint evenly and keeps lint off your cabinets. Trust me, mastering this step brings your cabinets closer to that flawless finish we all want!
Allow Proper Drying Time Between Coats
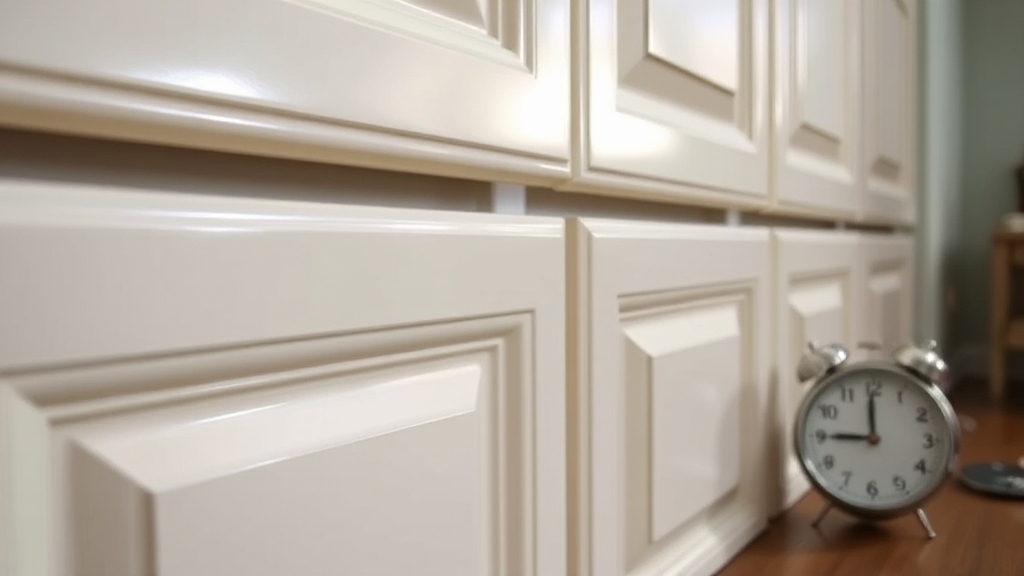
Although it’s tempting to rush through your cabinet painting project, giving each coat plenty of drying time is absolutely key to getting that durable, professional-looking finish. Proper drying techniques improve paint adhesion, preventing peeling and bubbling. I always wait at least 24 hours between coats, sometimes longer depending on the paint. Here’s what helps me:
- Visualize smooth, fully dried surfaces ready for the next coat
- Imagine softly touching cabinets without smudging paint
- Picture waiting patiently, knowing your work will last longer


