When painting cabinets for a professional finish, I start by removing and labeling all doors and hardware to keep things organized. Then, I clean and sand surfaces smooth, filling any holes before priming to make the paint stick well. I use multiple thin coats of quality paint with a mini roller or brush, sanding lightly between layers for smoothness. After fully curing, I add a clear topcoat for durable protection and reinstall everything carefully. Stick around and I’ll share the detailed steps to master each part!
- Key Takeaways
- Remove All Cabinet Doors and Hardware
- Label and Organize Each Piece
- Clean and Degrease Surfaces Thoroughly
- Fill Holes and Imperfections
- Sand All Surfaces Smooth
- Wipe Away Dust With Tack Cloth
- Apply Quality Wood Primer
- Lightly Sand After Primer Dries
- Choose Right Paint for Cabinets
- Paint Cabinet Frames First
- Paint Door Backs Then Fronts
- Use Foam Roller for Smooth Finish
- Apply Thin Even Coats
- Sand Between Each Coat
- Let Paint Cure Completely
- Add Protective Top Coat
- Reinstall Hardware and Doors
- Clean Up Your Workspace
Key Takeaways
- Remove all hardware and doors, label them, then clean and sand surfaces thoroughly for optimal paint adhesion.
- Apply a quality primer evenly using a mini roller and brush, allowing proper drying and light sanding before painting.
- Use high-quality water-based acrylic paint with satin or semi-gloss finish, applying multiple light coats for smooth coverage.
- Sand lightly between coats with fine-grit sandpaper to ensure a smooth finish and enhance paint durability.
- Finish with a clear polyurethane top coat and allow proper curing time before reinstalling hardware and regular use.
Remove All Cabinet Doors and Hardware
Start by removing all the cabinet doors and hardware—this is an essential first step that sets you up for a smooth painting process.
Grab your removal tools, like a screwdriver or drill, and carefully take off knobs, handles, and hinges.
Use a screwdriver or drill to gently remove knobs, handles, and hinges before painting.
Keep everything organized by using a dedicated hardware storage method, such as small plastic bags or containers, so screws and pieces don’t get lost or mixed up.
Store your doors and hardware in a clean, dry spot to protect them.
This careful prep helps you feel confident and ready, making the whole project easier and more enjoyable for us all.
Label and Organize Each Piece
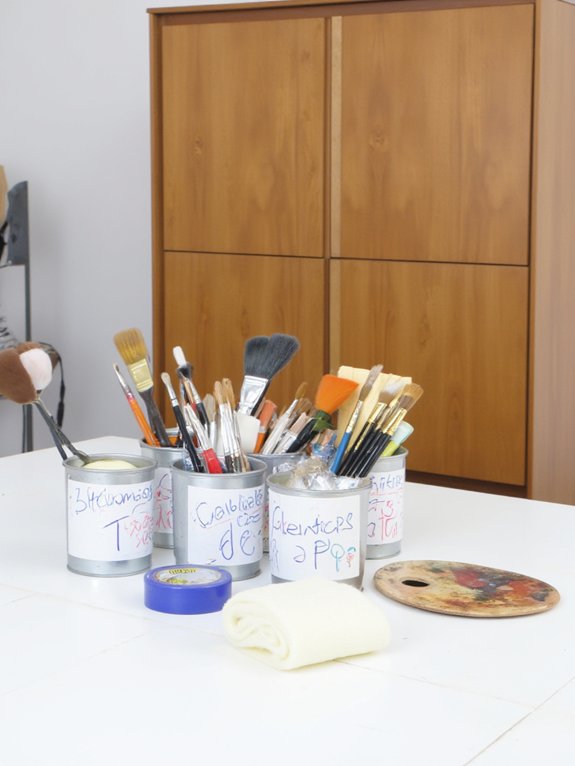
Once you’ve carefully removed all the cabinet doors and hardware, it’s time to label and organize each piece so nothing gets mixed up later.
I rely on simple labeling techniques, like numbering each door and drawer with painter’s tape, then marking the hinges and hardware too. This way, when it’s time to put everything back, I’m not guessing.
My organizing strategies include grouping similar parts in one spot and keeping a detailed inventory list with photos of the original layout.
These steps make the process smoother, and honestly, it feels great knowing I’ve got everything under control!
Clean and Degrease Surfaces Thoroughly
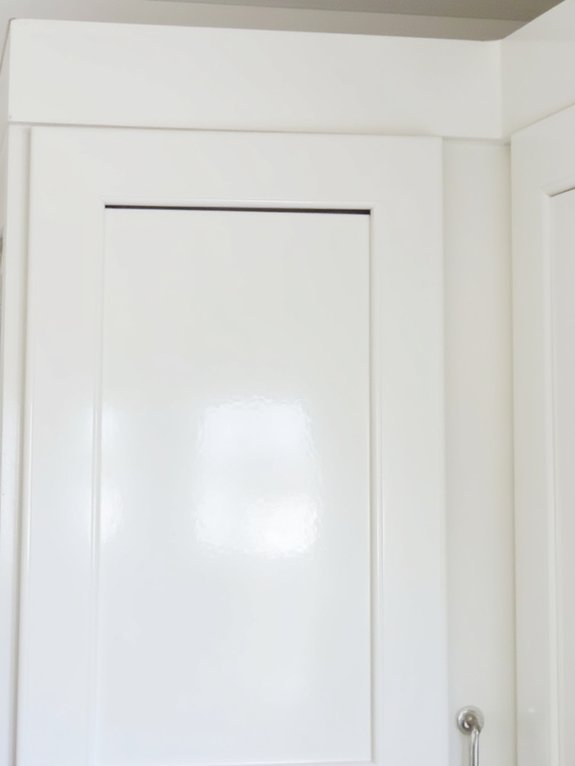
Cleaning and degreasing your cabinets thoroughly is one of the most important steps to get your paint job looking smooth and lasting longer.
To make this easier, I follow these simple steps with the right cleaning supplies and degreasing techniques:
- Remove all hardware, drawers, and doors for full access.
- Wash surfaces with warm water and mild dish soap to lift grease and grime.
- Rinse and dry completely with a lint-free cloth to avoid moisture.
- Apply a deglosser to help the new paint stick better.
Doing this in a well-ventilated spot speeds drying and keeps things safe.
Fill Holes and Imperfections
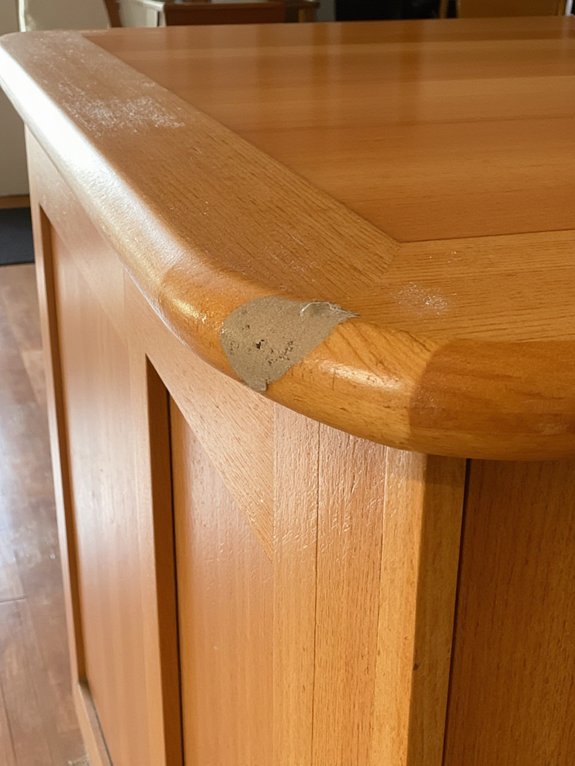
After making sure your cabinets are clean and grease-free, the next step is to tackle any holes or imperfections that might be hiding on the surface. Filling techniques are key for flawless surface preparation. I use a high-quality wood filler, applying it carefully to dents and holes, then let it dry fully. Here’s a quick guide:
| Step | Tip |
|---|---|
| Choose filler | Use wood filler or spackling |
| Apply filler | Smooth over holes and dents |
| Dry time | Follow manufacturer’s advice |
| Clean surface | Wipe dust before priming |
This sets the stage for a smooth, professional finish!
Sand All Surfaces Smooth
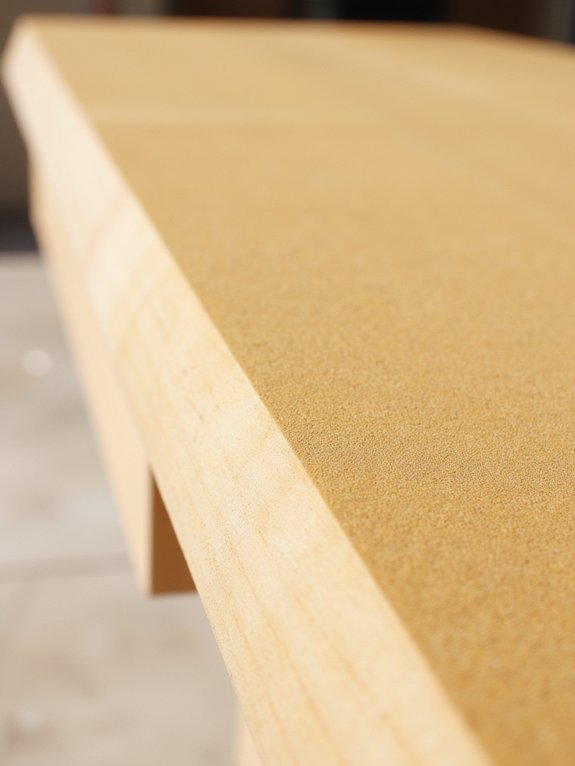
Grab a fine-grit sandpaper—around 220 grit works best—and gently sand all the cabinet surfaces to create a smooth, even base for your paint.
Mastering proper sanding techniques is key to great paint adhesion and a flawless finish. Here’s how I do it:
Proper sanding is essential for paint to stick well and achieve a smooth, flawless finish.
- Sand lightly in the direction of the wood grain to avoid visible scratches.
- Focus on smoothing any filled holes or imperfections.
- Wear a mask and guarantee good ventilation to protect yourself from dust.
After sanding, your cabinets will be perfectly prepped, setting the stage for that professional, lasting finish we all want.
Wipe Away Dust With Tack Cloth
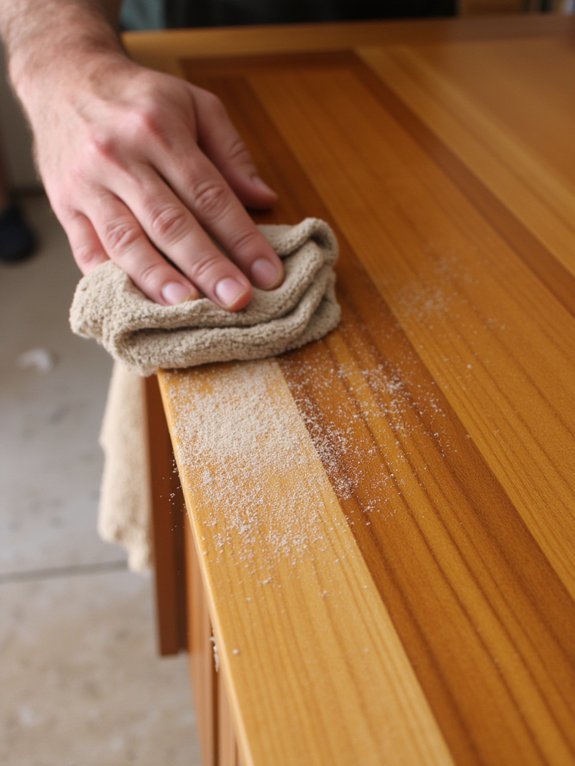
Even though sanding removes most of the roughness, tiny dust particles still cling to your cabinets, and that’s where a tack cloth becomes your best friend.
The tack cloth benefits are clear: it picks up every speck without damaging the surface. For proper usage, make certain your cabinets are clean and dry first.
Then, gently wipe the surface with the tack cloth, applying light pressure to trap dust and debris. Remember, tack cloths are reusable but toss them once they lose their stickiness.
Using one guarantees your paint goes on smooth and flawless—trust me, it’s a game-changer!
Apply Quality Wood Primer
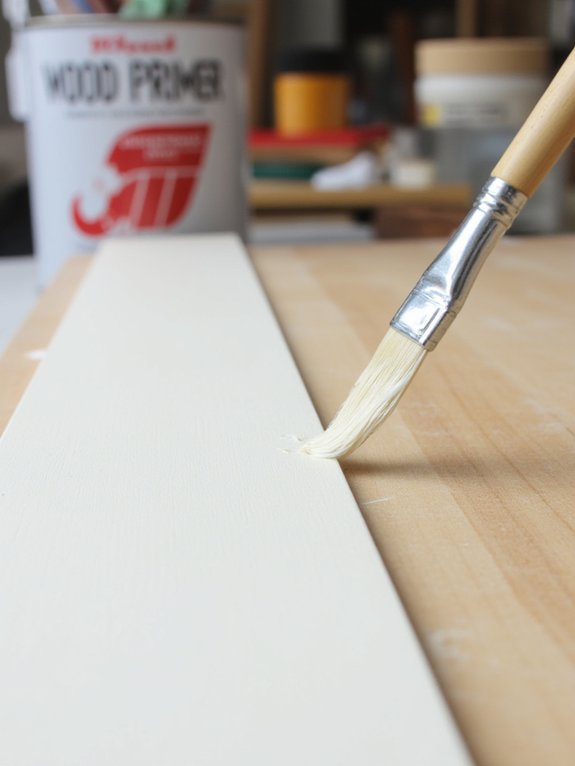
Now that we’ve wiped away all the dust with a tack cloth, it’s time to get your cabinets ready for paint by applying a quality wood primer.
Choosing the right primer types and mastering adhesion techniques guarantees your paint sticks beautifully. Here’s my go-to process:
- Clean cabinets with soapy water; dry completely.
- Use a deglosser to prep the surface for better primer bonding.
- Apply primer evenly—mini roller for flat areas, brush for details.
- Follow manufacturer’s dry times, usually allowing 16 hours before painting.
Trust me, these steps build a strong base for a flawless finish we all want.
Lightly Sand After Primer Dries
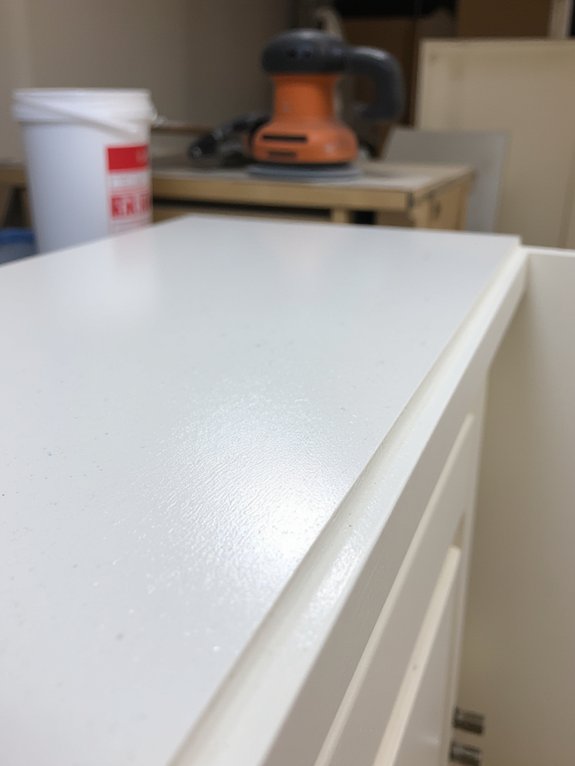
Once the primer has fully dried and cured—usually after about 24 hours—it’s time to lightly sand the surface to get it perfectly smooth.
Using fine-grit sandpaper, around 220-grit, helps avoid damaging your primer types while removing any bumps or imperfections.
I find gentle, even sanding techniques work best to prep every inch for the paint.
After sanding, don’t forget to wipe away all dust thoroughly; leftover particles can ruin your finish.
Taking this extra step guarantees your cabinets look professionally done, and you’ll feel proud of the flawless, smooth surface you’ve created together.
Choose Right Paint for Cabinets
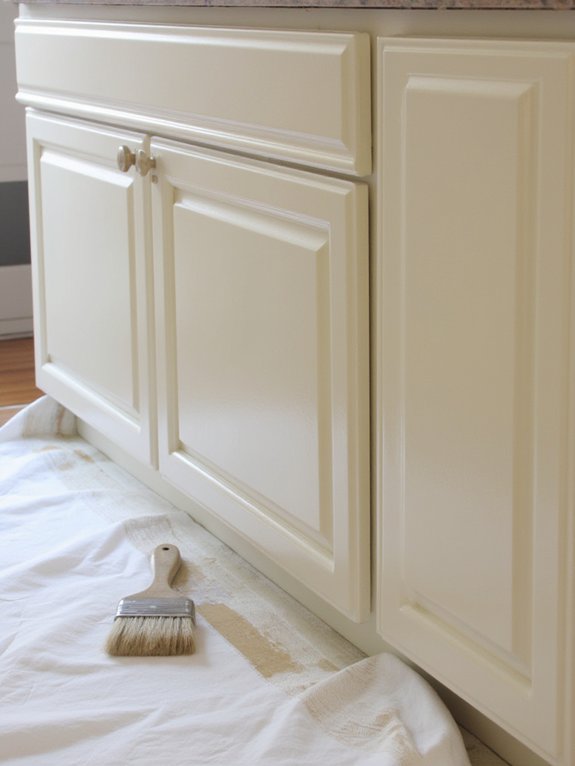
Choosing the right paint for your cabinets can make all the difference in achieving a beautiful, long-lasting finish.
Here’s how I approach paint finish and color selection to get it just right:
- I pick high-quality water-based acrylic or latex paint for durability and easy cleanup.
- A satin or semi-gloss paint finish is my go-to because it resists moisture and stains.
- I always use a high-adhesion primer designed for glossy surfaces to help paint stick well.
- Testing color samples under different lights helps me see how the shade truly looks throughout the day.
You’ll love the results!
Paint Cabinet Frames First
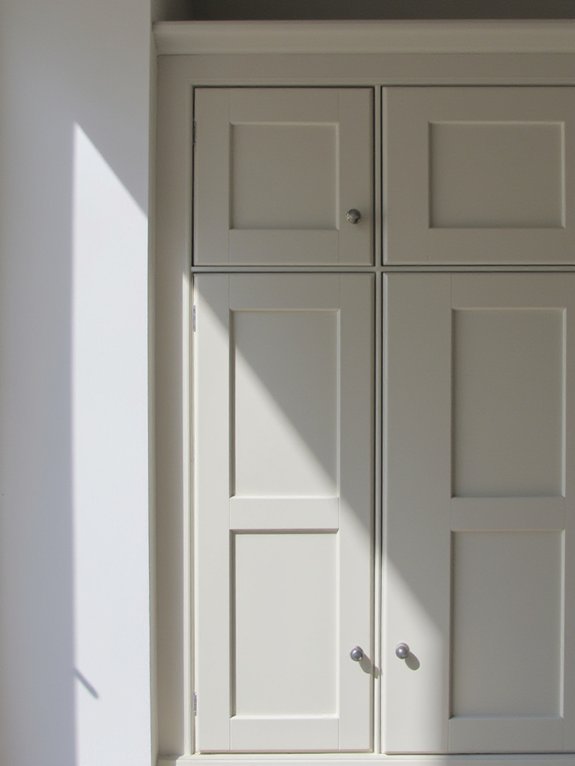
Start by taking off all the hardware, drawers, and doors from your cabinet frames—this gives you a clean, open space to work with and makes painting so much easier.
Frame preparation is key: clean thoroughly with soapy water, dry well, then use a deglosser to help the paint stick better.
Next comes primer application—choose a high adhesion primer to create a smooth surface for your paint.
I like using a mini roller for even coverage, finishing edges with a brush.
Taking these steps guarantees your cabinet frames look flawless and ready for the next painting stage.
Paint Door Backs Then Fronts
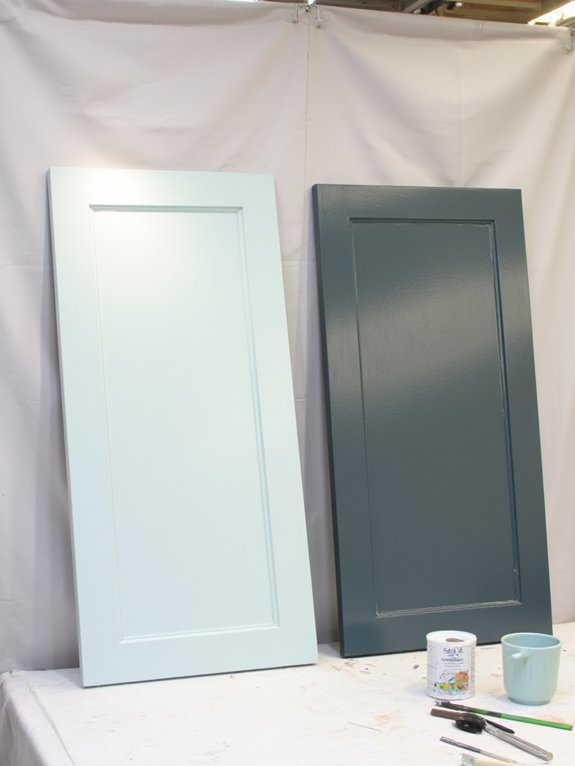
With your cabinet frames prepped and painted, it’s time to turn your attention to the doors.
Start by removing doors and hardware for full access. Here’s my go-to approach for paint techniques that work:
- Paint the backs first to avoid drips on the visible front.
- Use a smooth mini roller and apply light coats for even coverage.
- Follow drying times exactly before flipping doors to paint fronts.
- After painting fronts, let them cure fully before reinstalling hardware.
This method guarantees a professional finish and helps us feel confident in our handiwork!
Use Foam Roller for Smooth Finish
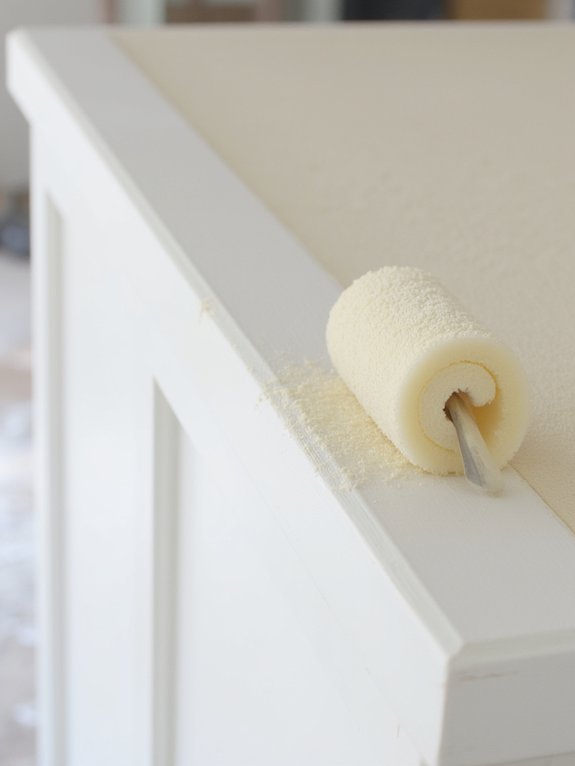
One of the best tools I’ve found for getting a smooth, professional-looking finish on cabinet surfaces is a foam roller, especially a high-density one.
Using the right foam roller techniques makes a huge difference—it helps avoid bubbles and creates an even paint coat. I like to roll gently on flat surfaces, then switch to a brush for edges and corners, ensuring every spot gets covered.
Here’s a paint application tip: keep your coats light to prevent drips.
Afterward, clean your foam roller well to keep it ready for your next project. You’ll love the sleek finish!
Apply Thin Even Coats
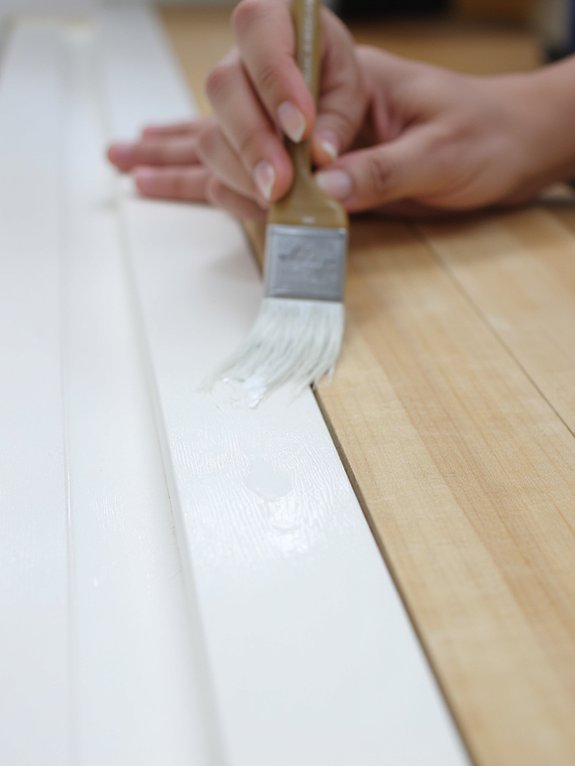
Applying thin, even coats of paint is the secret to achieving a flawless cabinet finish that looks professionally done.
Let me share some paint application techniques that work wonders:
- Use a mini roller for flat surfaces and a brush for detailed spots to keep coverage consistent.
- Apply multiple thin layers instead of one thick one to avoid drips and pooling.
- Manage drying time carefully; follow the manufacturer’s recommendations for the best results.
- Keep an eye on humidity and temperature—they affect how your paint dries and levels out.
These steps will help us create a beautiful, lasting finish together!
Sand Between Each Coat
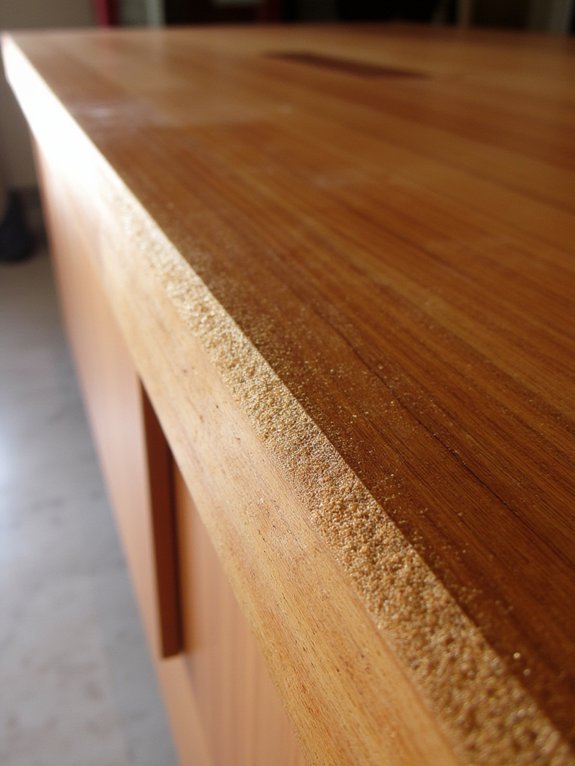
Sanding between each coat of paint is one of the most important steps to get a super smooth and professional finish on your cabinets.
I always use fine-grit sandpaper—220 grit or higher—to gently scuff the surface. This helps with paint adhesion by creating tiny grooves for the next layer to grab onto, without stripping the previous coat.
After sanding, I make sure to wipe away all dust, so nothing ruins the finish. Timing matters too: sand once the paint’s dry to the touch but not fully cured.
These sanding techniques really make your cabinets look flawless and last longer.
Let Paint Cure Completely
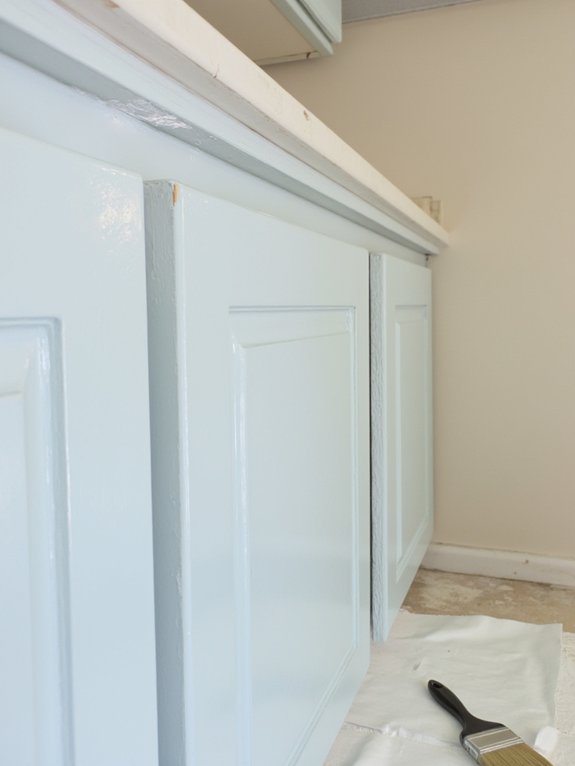
Although it might be tempting to start using your freshly painted cabinets right away, letting the paint cure completely is absolutely key to getting a finish that lasts.
Proper cure time, usually 5-7 days, boosts paint durability and prevents damage. Here’s what I recommend:
Allow paint to cure 5-7 days to enhance durability and avoid damage for a lasting finish.
- Stick to the manufacturer’s cure time guidelines closely.
- Avoid heavy use or pressing on cabinets during curing.
- Be patient—rushing can cause peeling or chipping.
- Remember, curing hardens the paint, making it scratch-resistant.
Trust me, waiting pays off with a professional, long-lasting finish we all want!
Add Protective Top Coat
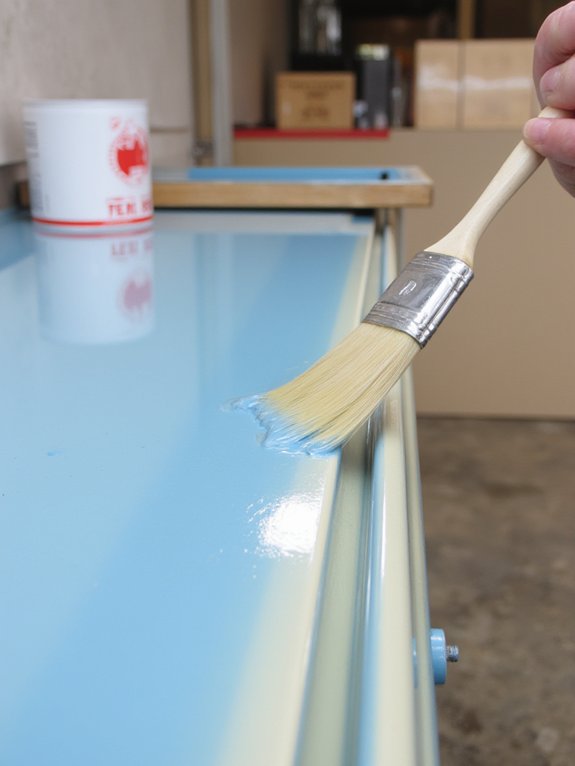
Seal in all your hard work by adding a protective top coat that boosts durability and keeps your cabinets looking fresh for years.
For top coat application, I recommend a clear polyurethane that matches your paint type—this prevents any unwanted reactions. Use a high-quality synthetic brush or foam applicator to spread it evenly, avoiding brush marks.
Choosing a satin or semi-gloss finish sheen adds just the right subtle shine while guarding against scratches and moisture.
Remember to follow drying times carefully—usually 24 hours before light use and a full week to cure completely. This final step really makes your cabinets shine!
Reinstall Hardware and Doors
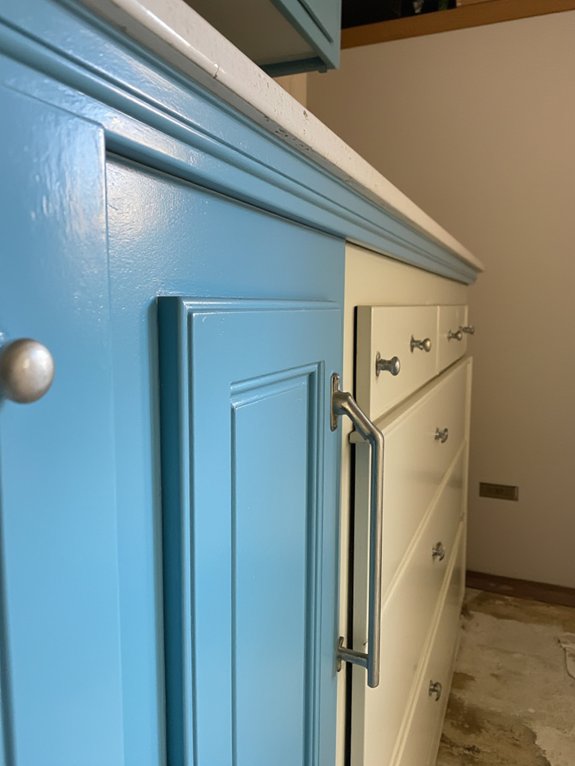
Now that your paint has fully cured, it’s time to bring your cabinets back to life by reinstalling the hardware and doors. This step is where your hardware selection really shines, so handle everything gently to protect your fresh paint.
Here’s how I tackle it:
- Use original screws or match new ones to avoid damage.
- Pre-drill holes if you’re using new hardware to verify accuracy.
- Carefully align the hinges for perfect door alignment.
- Use a level to confirm doors hang evenly and function smoothly.
Following these tips will make your cabinets look polished and professional!
Clean Up Your Workspace
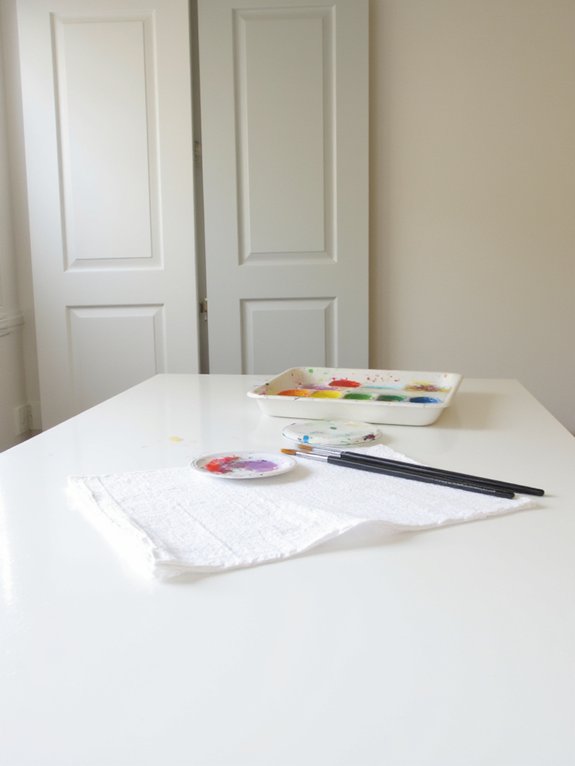
Before you plunge into painting, it’s a smart move to clean up your workspace thoroughly—this sets the stage for a smooth and stress-free project. Workspace organization not only makes painting easier but also boosts paint safety by reducing spills and accidents. I always clear countertops, lay drop cloths, and arrange tools neatly. Proper ventilation is key, too. Here’s a quick checklist to keep us on track:
| Task | Why It Matters |
|---|---|
| Clear surfaces | Avoid clutter, clear focus |
| Lay drop cloths | Protect floors, prevent stains |
| Organize tools | Optimize workflow |
| Ventilate workspace | Minimize fumes, speed drying |
| Dispose waste | Maintain safety, cleanliness |
Let’s keep that workspace clean and safe!


