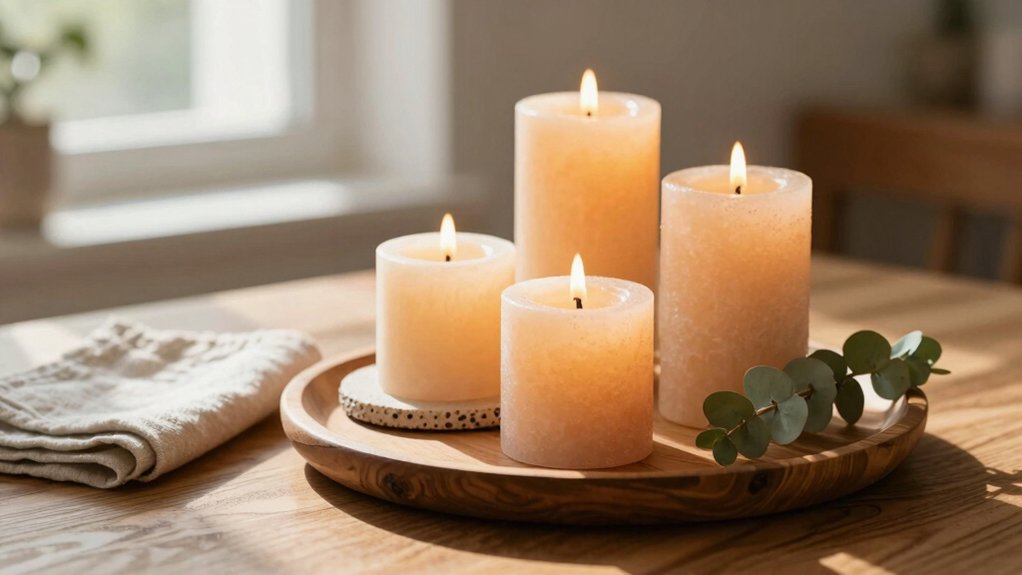

A candle tray can flip your room’s mood fast! Start with a sturdy rectangular tray, then pick one style story—rustic, coastal, or modern. Mix tea lights, votives, and one taller pillar for easy depth, and tuck in shells, pinecones, or marbles after the candles so everything feels snug. For busy spots, use battery candles. Put the tray on a mantel or mirrored table, add a cozy scent like vanilla, and the glow gets magical—wait till you see the trick.
Key Takeaways
- Start with a sturdy tray base and build around mixed candle heights for a balanced, glowing centerpiece.
- Choose one clear theme, like rustic, nautical, or modern, to keep the tray cohesive and intentional.
- Match tray shape and size to candle count, with rectangular trays giving a polished, organized look.
- Add theme-consistent fillers like shells, greenery, marbles, or pinecones to create stability and visual depth.
- Use mirrored or glass surfaces, plus layered candle placement, to multiply reflections and make the room feel warmer.
What Makes a Candle Tray Work
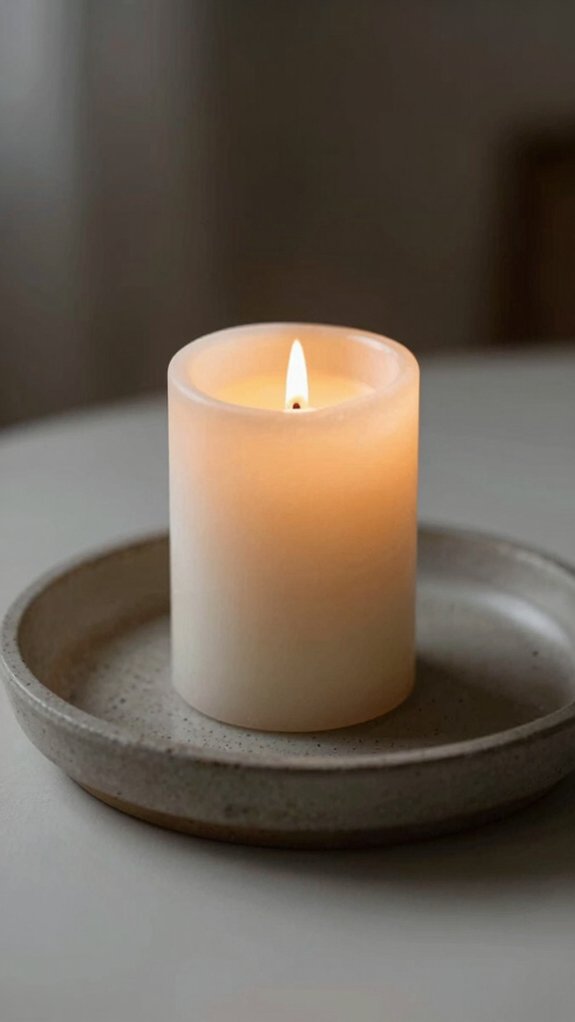
A candle tray works best when you give it a sturdy base first, then build around it like you’re styling a tiny scene, not just lining up candles!
Start with a tray, then add fillers like sand, marbles, shells, pine cones, or greenery so your candles sit steady and the setup feels like it belongs.
Mix tea lights, votives, and taller pillars for cozy shadows, better scent layering, and warmer room ambiance.
Keep one theme, like rustic or nautical, so it looks calm, not chaotic.
A mirrored tray or glass holders can make a few flames seem like a full, glowing crowd!
Choose the Right Candle Tray
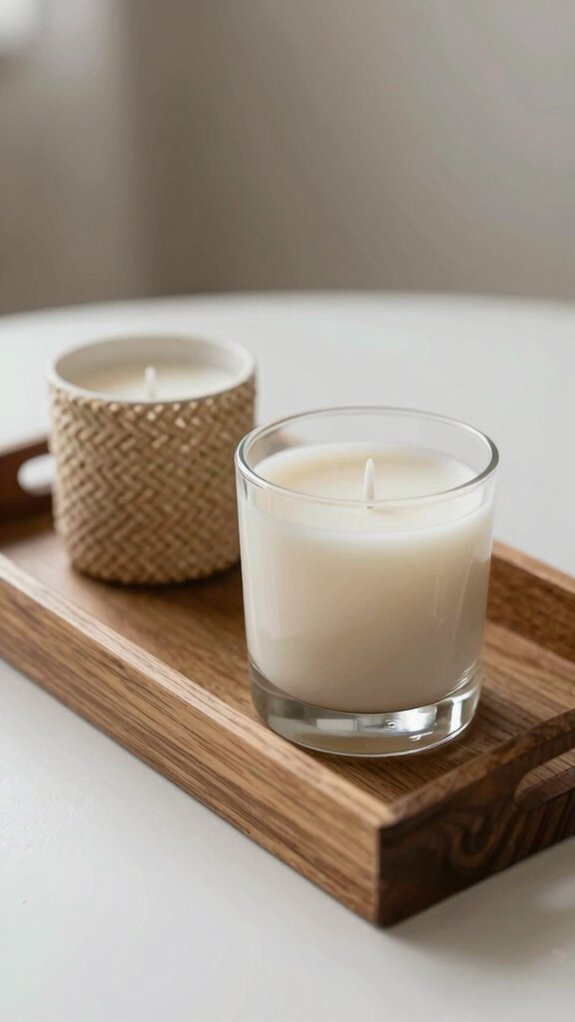
When you choose a candle tray, start with the shape—rectangular trays give you that neat, pulled-together look, and your candles seem to line up like they planned it!
Then think about size for balance, since a small tray works great for a little votive cluster, while a bigger one can handle tall pillars, tea lights, and a few fun fillers without looking crowded.
After that, match the tray to your style, like linen or jute for a beachy feel or wood for a cozy rustic vibe, and yes, a bit of texture can make the glow look extra magical.
Tray Shape Matters
Tray shape can make your candle setup look polished fast, and honestly, it’s doing more work than you might think!
A rectangular tray gives you that pretty-from-any-angle look, especially when you line candles in rows.
For cozy Coastal centerpiece ideas, try a long, flat tray with sand, shells, or driftwood.
Love a quick refresh? Seasonal tray swaps feel easy when the shape stays the same.
If you want a layered, collected vibe, place candles first, then add flat marbles around them.
In tight corners, pick a compact tray, and let the glow do the talking!
Size For Balance
Three candle holders can look just right on a rectangular tray, because they leave enough room for the glow to breathe instead of getting squished together!
You want the tray scale to fit your candle count, so the setup feels friendly, not fussy.
Give the tallest candle balance clearance on every side, and keep surface spacing open so candle clustering doesn’t look cramped.
If you add greenery, sand, or driftwood, choose a deeper tray so nothing tips after you place it.
In a tiny nook, go narrower, or skip the squeeze and use a vertical holder.
That little move feels smart, calm, and oh-so welcoming!
Match Your Style
If you want your candle tray to feel like it actually belongs in your home, start by matching the tray to your style, and let the whole scene do the talking!
For farmhouse charm, use weathered wood with pine cones and stacked candles.
Love the coast? Try a linen or jute tray, rope-wrapped jars, and soft-blue candles.
Modern spaces shine with sleek trays and crisp white pillars, while glam rooms glow best on mirrored bases.
For playful homes, pick a bold tray and quirky holders.
Seasonal theme updates stay easy, and scent selection tips help everything feel right.
Start With One Style Story
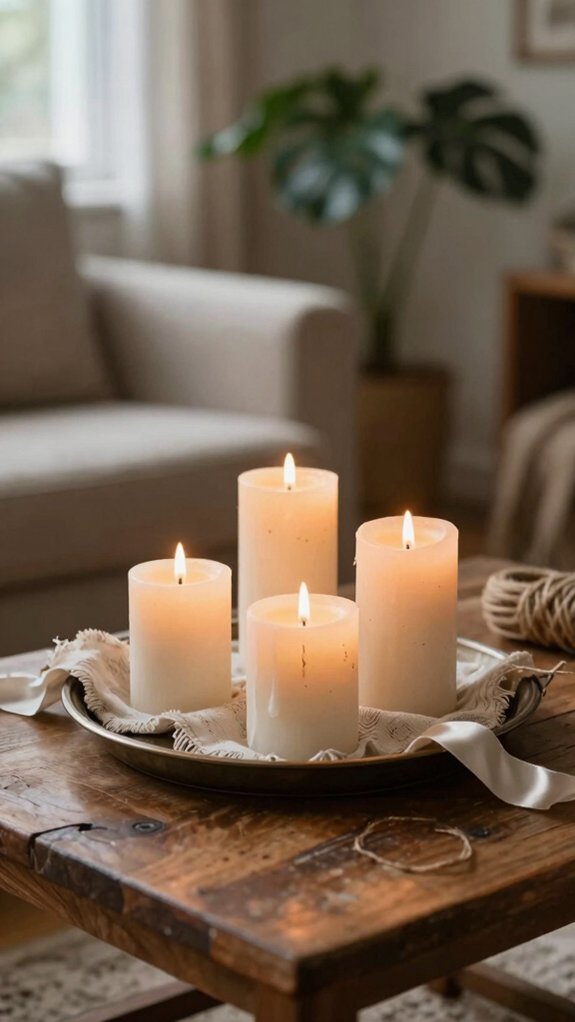
Start with one clear style story, and your candle tray will instantly feel intentional instead of random! Choose a cohesive theme, then keep color consistency so every piece feels like it belongs.
| Style | Materials | Result |
|---|---|---|
| Nautical | mason jars, rope | breezy charm |
| Rustic | driftwood, pinecones | cozy warmth |
| Modern | glass, vellum | clean glow |
| Farmhouse | woven tray, greenery | easy comfort |
| Winter | clear jars, cranberry | bold contrast |
Pick one lane, friend, and don’t let a random filler crash the party! Match the tray, holders, and accents, and your room gets that “you totally get us” feeling—simple, stylish, and welcoming.
Build Height With Mixed Candle Sizes
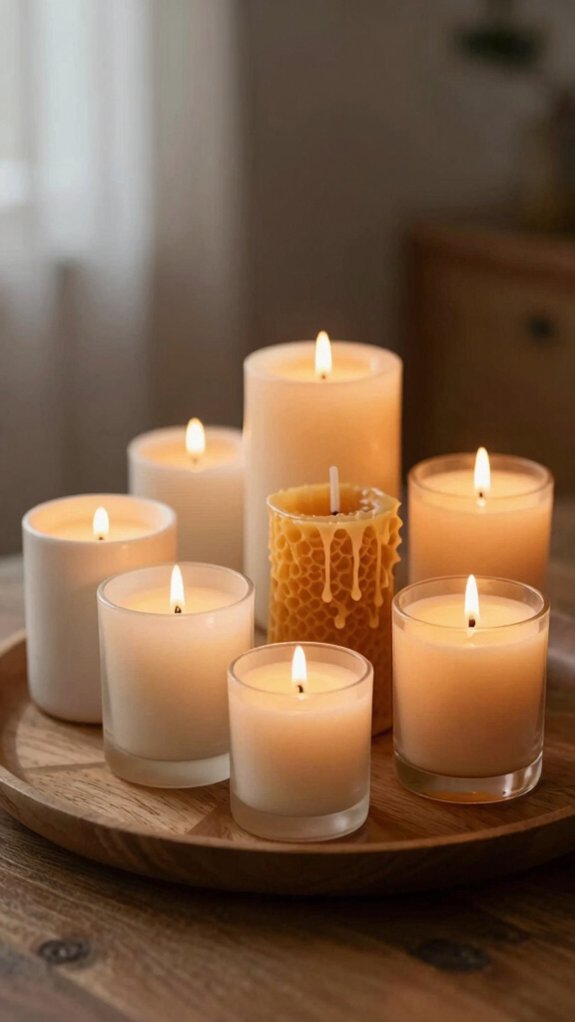
Once you’ve picked your style story, the next move is making the tray look alive, not flat, and mixed candle sizes do that beautifully!
Start with one tall anchor at the back or center, then step down to shorter lights in front.
This flame height contrast gives your color palette a cozy lift and makes seasonal styling feel intentional, not random.
Try a gentle arc with three candles, or add a medium one between big and small so no gap feels awkward.
Use one holder a little taller, and suddenly your centerpiece focal feels polished, warm, and ready for company!
Mix Pillars, Tapers, and Votives
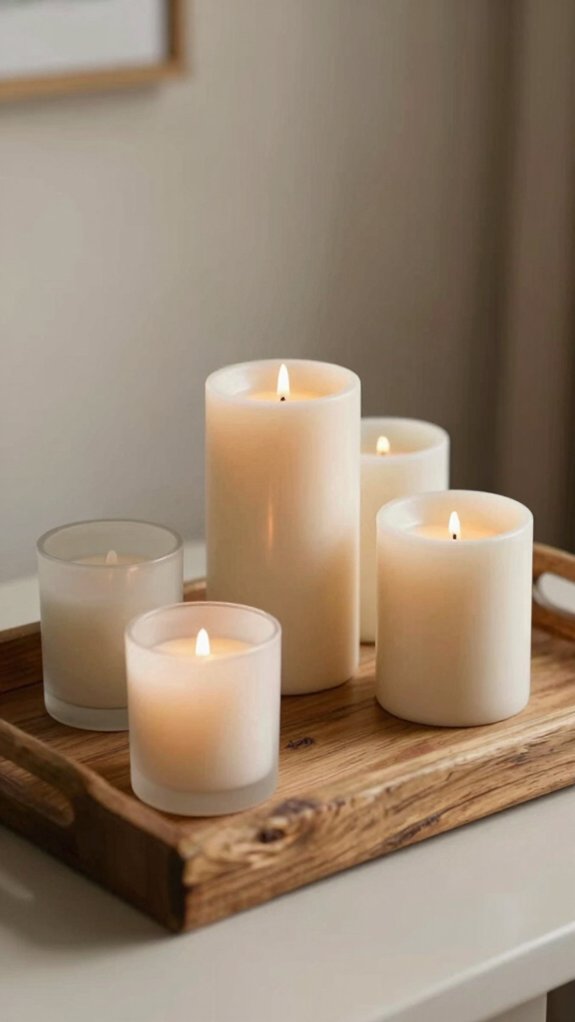
With pillars, tapers, and votives working together, your tray can go from “nice enough” to “wow, that looks styled!” in a snap. You get that cozy club feeling without trying too hard!
| Piece | Role | Tip |
|---|---|---|
| Pillars | Anchor | Place first |
| Tapers | Motion | Keep slim |
| Votives | Glow | Group low |
| Mix | Depth | Add marbles |
| Finish | Style | Use one color |
Start with ivory candles, then play with scent mood pairings that feel calm or bright. For seasonal styling swaps, change shapes, not colors. Put votives around the base, and if flames aren’t your thing, use flameless versions. Easy, polished, and friend-approved!
Layer Candles for Depth
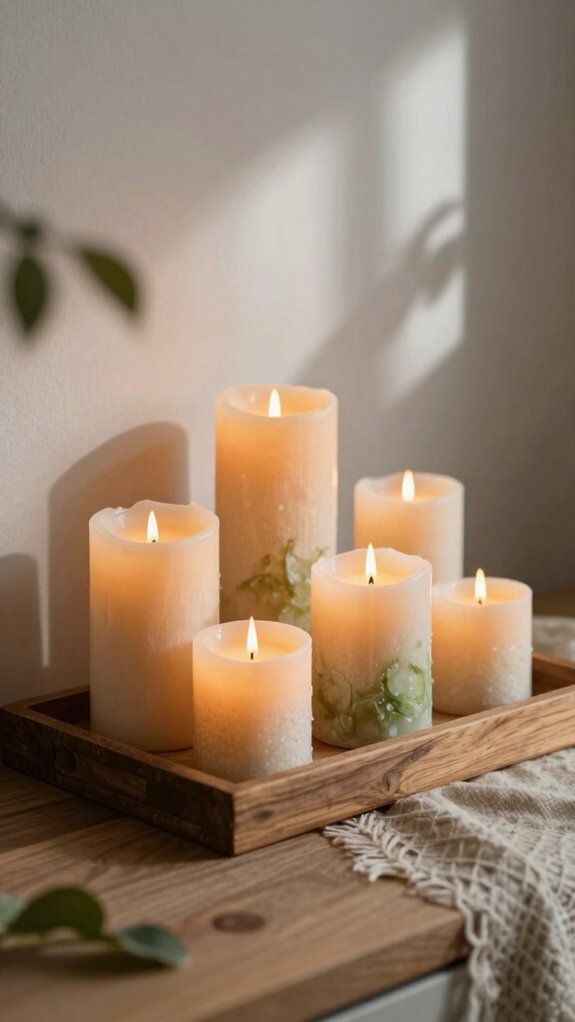
When you layer candles on a tray, you can turn a simple setup into something that looks full, cozy, and a little elegant—without needing a decorator’s budget!
Start with a rectangular platter, then mix tea lights, votives, and one taller pillar for instant depth.
- Try texture layering with marbles between the bases.
- Use contrast planning: swirl tapers up front, chunky holders behind.
- Keep visual balance by spacing pieces across the tray.
- Add a shallow ring of shells or acorns for a tiny “frame.”
That setup boosts depth perception, and honestly, it feels like your room got invited to the cool table!
Use a Mirrored Tray for Extra Glow
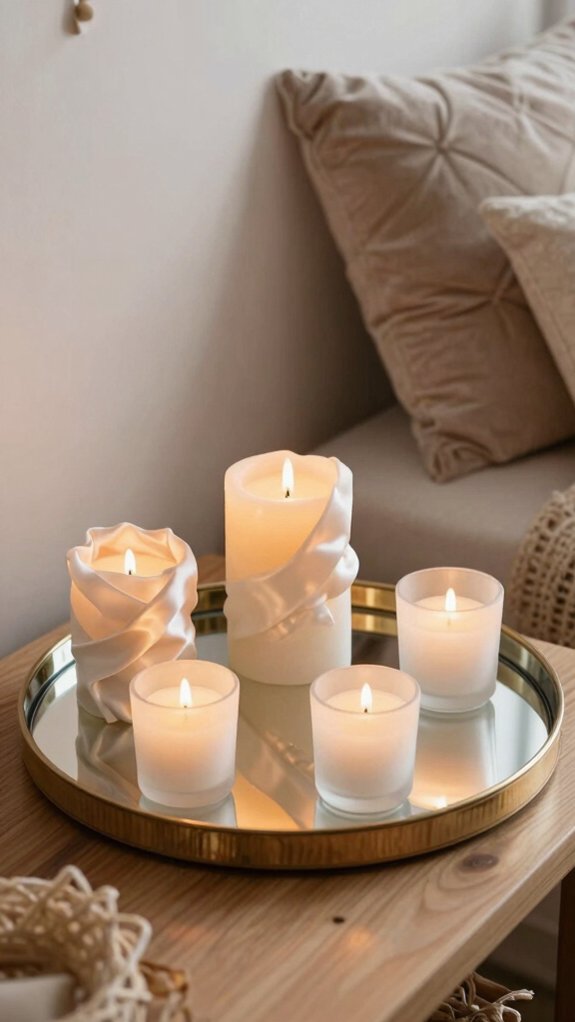
If your candle tray already has nice layers and texture, a mirrored tray is the easiest way to crank up the sparkle without adding much more stuff. You can place three votives, tea lights, or small holders in a ring, and the mirror will bounce light from every angle—hello, instant glow!
Start with a clean surface, then add simple greenery or a few crystals for ambience layering. Keep safety placement in mind, so each base stays steady and the reflections do the work. It’s cheap, easy, and suddenly your coffee table feels like the coolest spot in the room.
Try a Rectangular Candle Platter
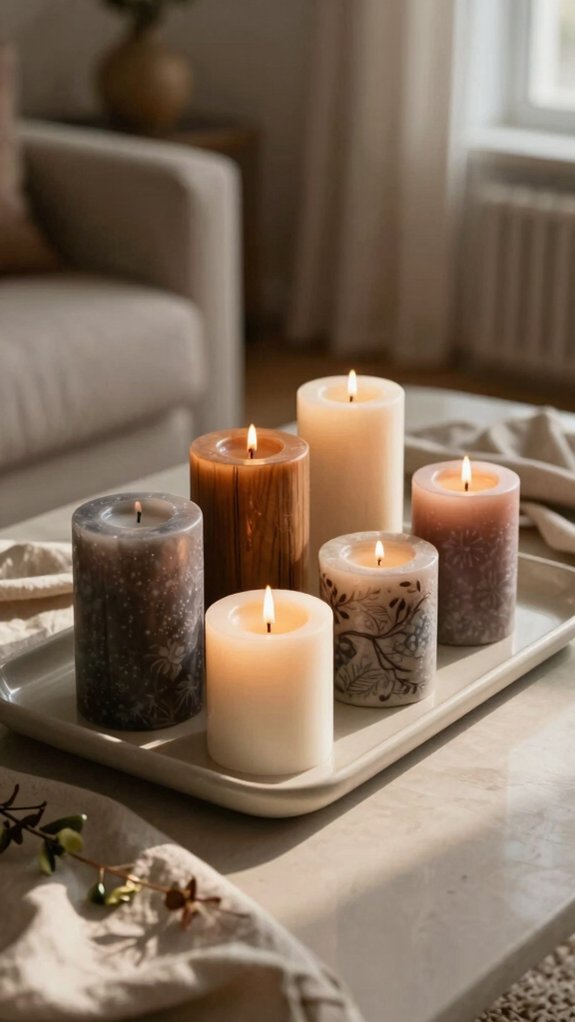
A rectangular candle platter instantly makes your setup look polished, and you can mix tapers, votives, and tea lights to create a fun little candle parade!
Start by placing the taller candles toward the back or one side, then tuck in shorter ones, so the whole display feels layered and full of cozy depth.
Finish with flat marbles or a few themed fillers, like seashells or winter bits, and you’ll have a styled tray that looks way fancier than it was to make.
Layer Candles For Depth
To give your candle tray some real depth, start with a rectangular platter, because it helps the whole arrangement read clearly from every angle and makes even a simple row of candles look extra polished.
Use monochrome styling, then try scent layering for a vibe that feels like your people are coming over any minute!
- Mix tall tapers with low votives.
- Space each piece evenly for cozy shadows.
- Keep one holder style so it feels unified.
- Place the tallest candles near the back.
You’ll get a clean, friendly look that feels intentional, not fussy.
Add flat marbles later, and the glow gets even better!
Add Fillers Around Candles
On a rectangular candle platter, your candles suddenly look more styled and steady, and that’s a tiny win that feels big! Start with a few candles, then tuck in flat marbles, shells, or pine cones around the bases. Keep safe filler placement by leaving a little space from the flame, so everything stays calm and cozy.
Pick theme consistent fillers that match your room, like seashells for beachy vibes or acorns for a rustic feel. Add them after the candles, not before, so you can nudge the spacing until it feels just right. That’s how your tray starts to feel like yours—easy, welcoming, and finished!
Mix Shapes And Heights
When you use a rectangular candle platter, the whole setup instantly feels more intentional, and that’s the magic! You’re not just placing candles, you’re building a little scene that feels like yours.
- Mix tall pillars with short votives for easy balance.
- Stagger them front-to-back for better shadow depth.
- Add flat marbles for texture and sparkle.
- Start tallest at one end, then taper down.
Grab a platter, three candles, and a few fillers, then line them up, adjusting each piece until it feels right. The result? A clean, warm glow that looks styled, not random, and you fit right in with the cozy crowd!
Arrange Candles in a Cozy Vignette
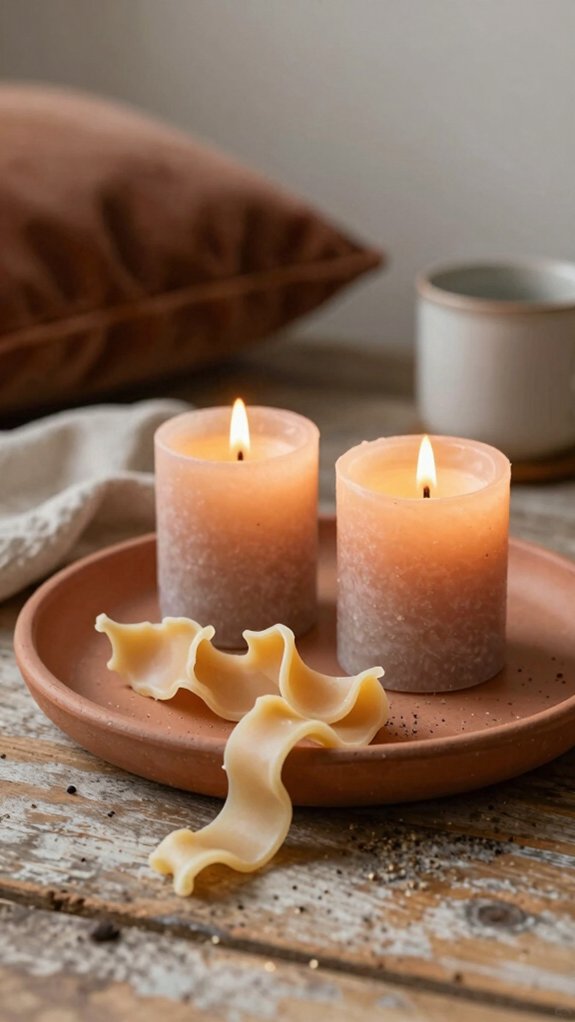
A cozy candle vignette can turn a plain tray into a little mood-magic moment! Start with a rectangular platter for pretty order, or choose rounded glass for a softer glow. Group votives, tealights, and one taller pillar in front-to-back layers, then tuck in small fillers so nothing looks lonely.
Add planters framing with greenery, or seashells if you want a breezy feel, and your tray suddenly reads like one of those welcoming table centerpieces that says, come sit with us! If flames aren’t ideal, swap in battery candles with remotes.
Easy, affordable, and delightfully calm—like a hug for your coffee table.
Add Flat Marbles for Texture
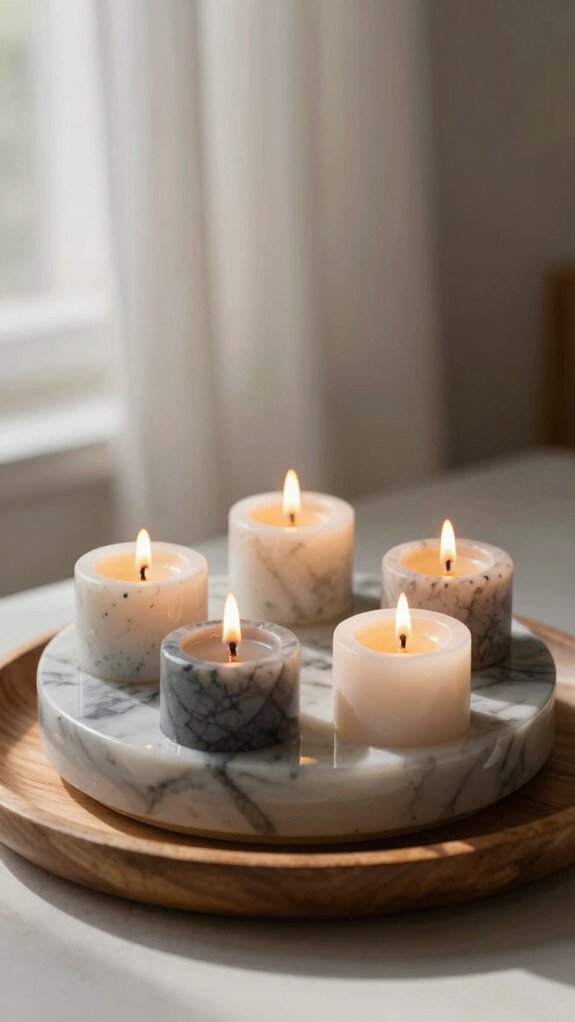
After your candles are in place, sprinkle in a few flat marbles to give the tray that tiny, twinkly “finished” look—nothing elaborate, just enough sparkle to make the whole setup feel styled instead of bare.
- Try textured marble placement in the open gaps, so each candle still stands out.
- Keep the marbles light and scattered, not clumped, for easy, airy balance.
- Match the color to your theme, and the whole tray feels like it belongs!
- Let candlelight shadowing highlights do the magic, with changing shine across the surface.
Place them only on the tray, and voilà—instant polish!
Surround Candles With Seashells
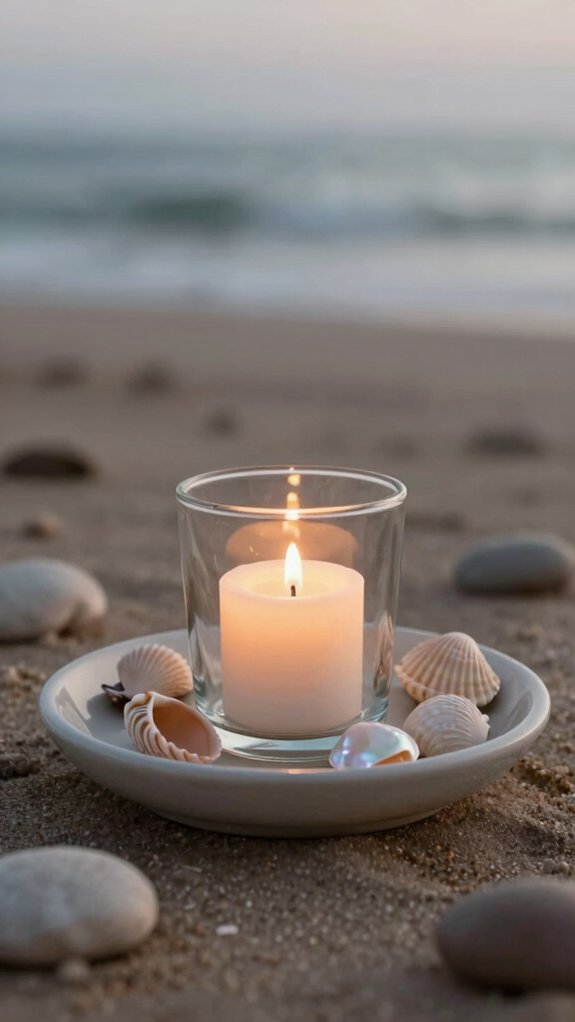
Those flat marbles already give your tray a little shimmer, and seashells can take that beachy vibe even beyond—hello, instant coastal charm!
Place real or LED tea lights on a rectangular tray, then tuck seashells around the bases so they feel settled and sparkling.
Pick shells in a coastal color palette, like ivory and white, so the look stays clean, not crowded.
Mix in layered shell textures for extra depth, and if you’ve got different candle heights, even better—those shadows feel cozy fast.
Bonus: no stylish holders needed, just your stash and a happy summer mood!
Style a Nautical Candle Tray
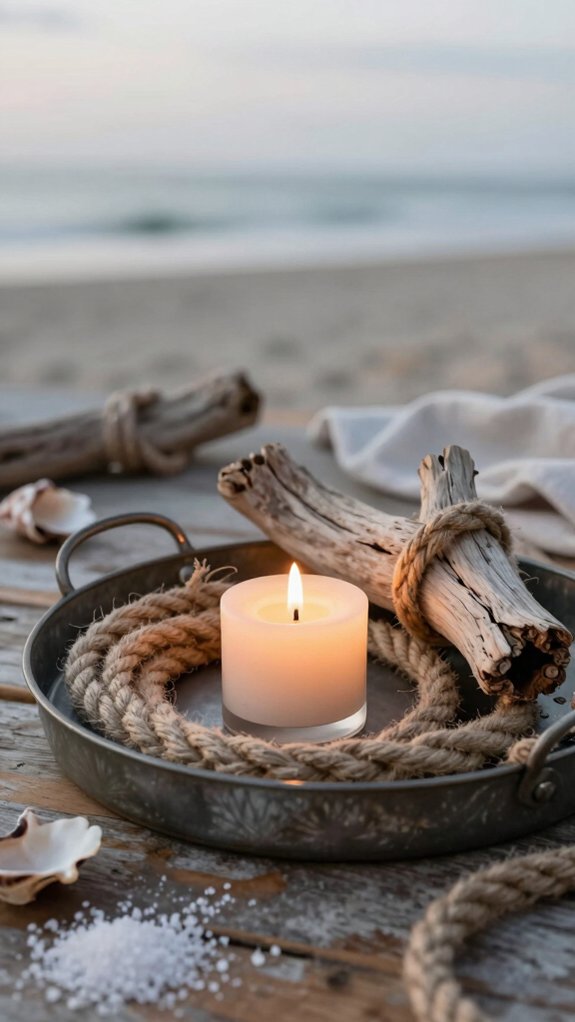
If you want your candle tray to feel like a tiny trip to the coast, start with clear glass mason jars wrapped in twine or nautical rope, then fill them with sand so your candles sit steady and look beachy at the same time. Add driftwood, pale glass candles, and flat shells on a linen-lined tray for a calm, gathered look.
- Mix white and soft blue candles for a breezy glow.
- Cluster votives at different heights for more shine.
- Keep the palette sand, wood, and glass.
- Try a Seasonal scent pairing with salt air or citrus.
You’ll love the charm, and tabletop candle safety stays simple!
Bring in Pine Cones and Acorns
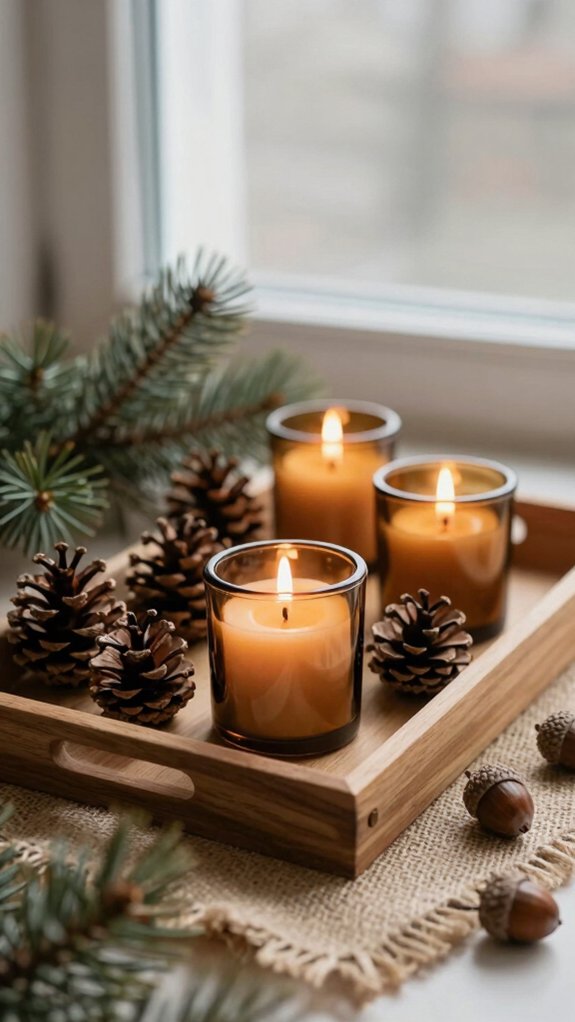
When the weather starts leaning cozy, pine cones and acorns can make your candle tray feel like a little woodland scene in seconds!
Start with a tray or rectangular platter, then add white, ivory, or soft-green candles in mixed heights. Scatter flat marbles or small fillers between them for stability and a neat finish.
Next, tuck pine cones and acorns around the edges, and try Scent pairing tips like cedar, vanilla, or apple for a warm vibe. For safety placement reminders, keep the glow clear, especially near larger pieces.
Want more charm? Add a few berries or greenery, and your tray instantly feels gathered-in and homey!
Use Birchwood for Soft Rustic Warmth
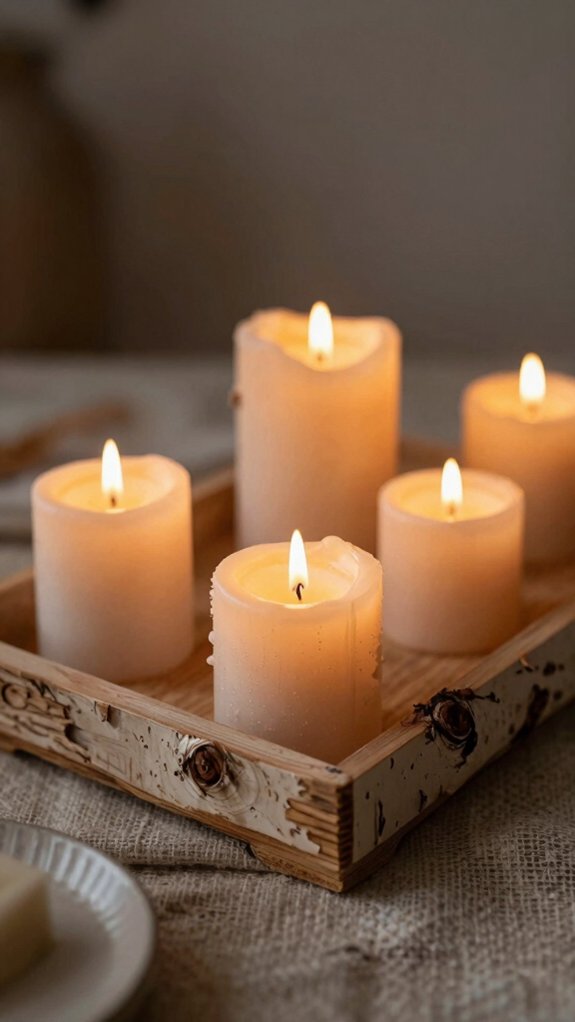
For a soft rustic glow, try birchwood candle holders on your tray—they bring in that pale, natural texture that feels cozy right away, especially in winter! You’ll love how they lift your tray styling without looking fussy, and they make your scent ambiance feel calm and welcoming.
- Start with ivory candles for a clean look.
- Add birchwood holders for easy, low-cost charm.
- Mix in greenery for a layered centerpiece.
- Try different candle shapes for better candle placement.
You can tuck them on neutral trays, and the wood grain does the styling work. It’s simple, warm, and feels like home—no craft degree required!
Create a Pine Cone Candle Display
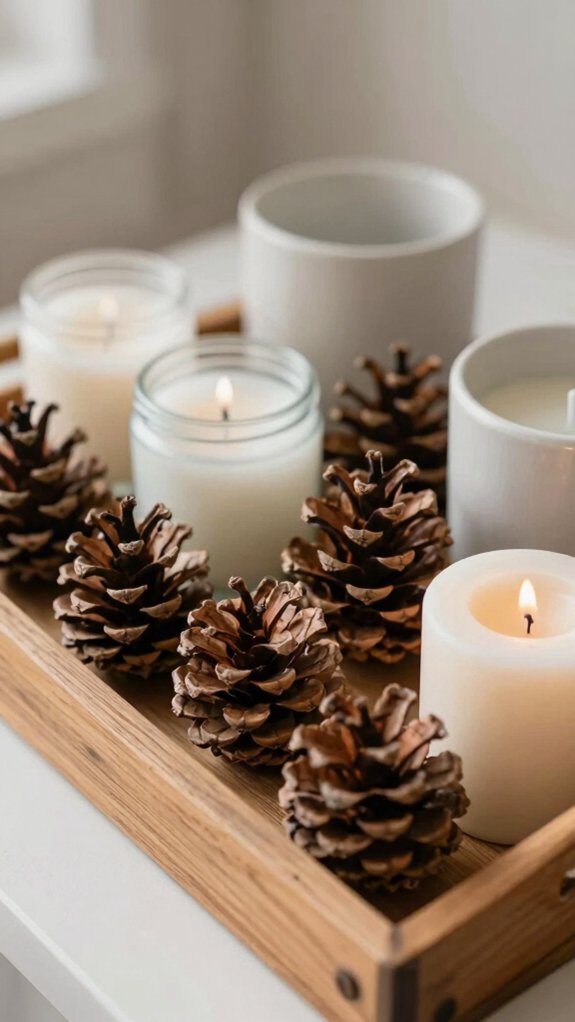
You can start with a rustic pine cone base on a neutral tray, like reclaimed wood, then tuck in a few candle holders for that cozy woodland feel—easy and budget-friendly!
Add greenery and a handful of berries around the edges for color, because a little texture goes a long way and keeps things from looking too bare.
For the best wow factor, layer in votive candles of different heights, then let the whole display feel full, warm, and a bit like a tiny forest party!
Rustic Pine Cone Base
- Start with a simple wood tray.
- Add pine cone holders and tea lights.
- Mix in one taper for height.
- Tuck in flat marbles after candles sit.
Place the pine cones first, then style around them for balance.
Keep flames clear of drafts, and don’t leave them burning alone—safety’s the real glow-up!
Add Greenery And Berries
Once you’ve got your candles in place, start weaving in greenery and berries to give the tray that cozy woodland vibe—suddenly it looks intentional, not like pine cones just wandered onto the scene! Use a rectangular tray, a mossy base, and a few sprigs of faux pine for easy greenery layering that feels welcoming and warm.
Then tuck in deep-red berries for bold berry contrast against ivory candles, and add evergreen accents around the gaps. You’ll get seasonal color fast, with a rich, homey look that feels festive without trying too hard.
Finish by scattering a few extra pine cones low and loose, and your tray will look full, balanced, and beautifully gathered.
Layer With Votive Candles
If you want a pine cone candle display that feels cozy instead of crowded, start with a tray as your base and layer in votive candles first—then let the pine cones do the supporting work. Choose a reclaimed wood or light neutral tray, and your warm glow will pop!
- Set votives at different heights for a fuller look.
- Tuck pine cones around them after the candles.
- Add tiny greenery only if the tray needs balance.
- For scent safety, keep flames away from fabric, or use LED votives.
This seasonal decor trick feels friendly, rustic, and easy to love!
Try Driftwood on a Linen Tray
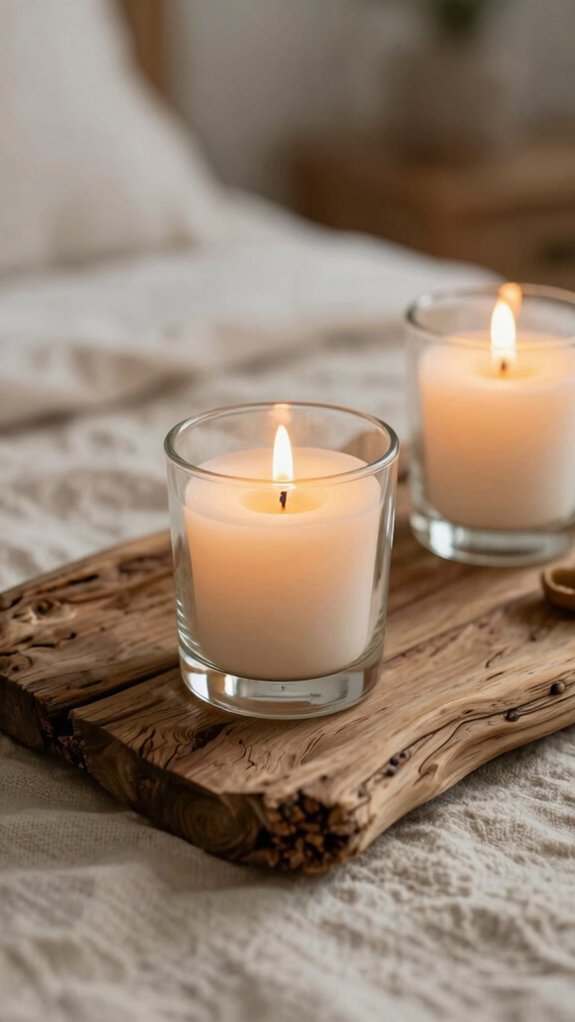
Driftwood can make a candle tray feel like a tiny beach vacation, and a linen-lined rectangular tray is the perfect place to start!
You’ll need upcycled driftwood, tea lights, soft white or light blue candles, a little sand, and a few small shells.
Lay the longest, flattest pieces first so everything feels steady and looks intentional.
Then tuck candles between the wood, and scatter shells for that easy coastal vibe.
Incorporate textured glass, contrast with greenery, if you want extra sparkle, but keep the linen tray neutral so the mood stays relaxed.
It’s cheap, beginner-friendly, and instantly welcoming—hello, cozy shore style!
Build a Farmhouse Look With Wood
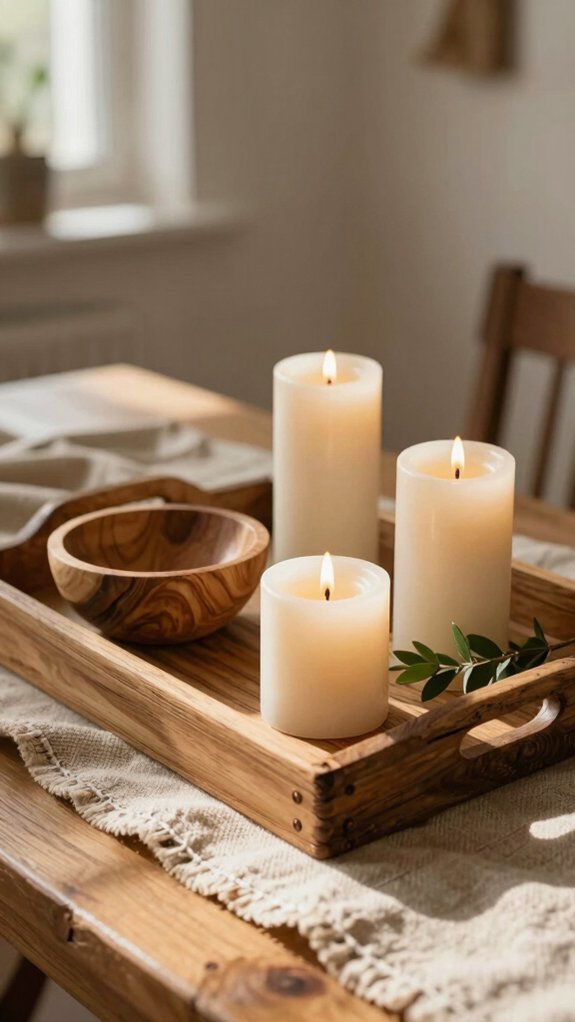
You can start with a rustic wood base for your farmhouse candle tray, then soften it with dried greenery, pine cones, or a few acorns for that cozy, woodsy feel.
Try stacking different candle heights on the same tray, because tea lights beside a couple of tall tapers instantly make the whole setup feel warmer and more lived-in.
And if you want a fun DIY twist, use a drilled log as a candle centerpiece—easy, budget-friendly, and a little bit cabin-chic!
Rustic Wood Bases
A rustic wood base can turn even the plainest candles into a cozy farmhouse moment, and honestly, it’s hard to mess this one up!
Start with a reclaimed tray or weathered wood slab, then add ivory candles for a bright, cozy ambience.
- Drill holes in a dried log for easy tea lights.
- Use a woven tray for soft texture.
- Tuck in dried florals or greenery.
- Mix candle heights for a styled look.
Keep scent pairing simple, like vanilla or linen, so your space feels welcoming.
You’ll get that lived-in, “come sit here” vibe without spending much—yay!
Log Candle Centerpieces
Turn a simple dried log into the star of your table by drilling evenly spaced holes for tea lights or votives, then letting that rough, weathered wood do all the cozy talking! It’s cheap, easy, and totally beginner-friendly.
| What you need | Why it works |
|---|---|
| Dried log | Gives rustic charm |
| Tea lights | Soft, easy glow |
Add a few short tapers if you want to try modern farmhouse style, then mix unexpected textures with greenery or dried florals. Set the finished piece on a woven or neutral tray, and suddenly your dining room feels like the kind of place everyone wants to gather.
Birchwood Farmhouse Warmth
With birchwood candle holders, farmhouse style gets that soft, cozy glow without feeling heavy or fussy! You can build a look that feels like home, and your tray doesn’t need a full makeover, just a few smart touches.
- Pair white candles with pale birch for a clean, classic finish.
- Set them on a reclaimed-wood or jute tray for extra rustic charm.
- Tuck in greenery, acorns, or dried berries for that collected feel.
- Mix heights, then use seasonal centerpiece swaps and shelf styling tricks to keep it fresh.
A little wood, a little light, and suddenly your room says, “come stay awhile!”
Fill a Tray With Holiday Votives
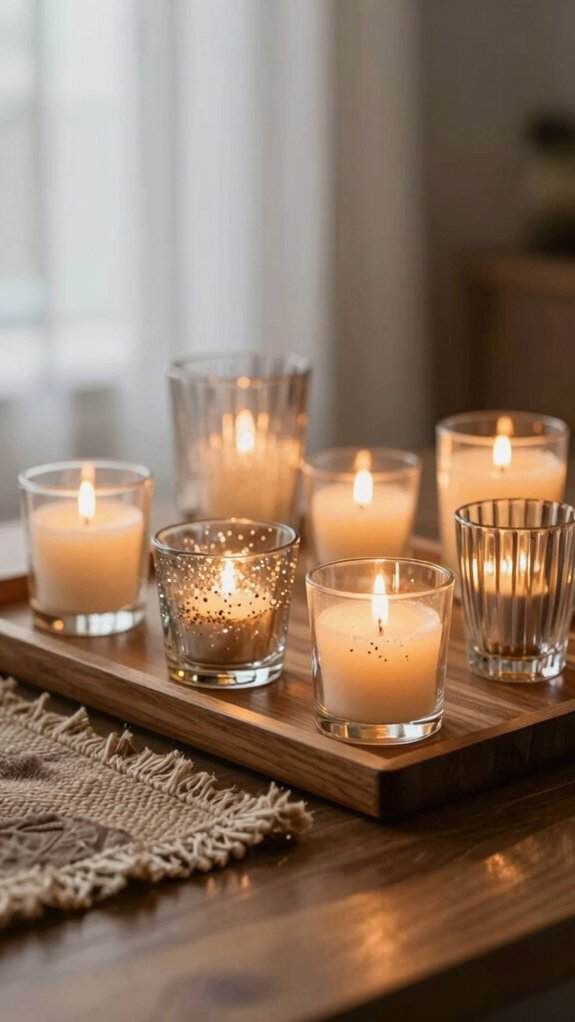
If you want an easy holiday wow-factor, start by choosing a theme and filling a rectangular tray with a mix of votive and tea light sizes, then tuck flat decorative marbles or other filler around them to keep everything snug and sparkly. Holiday shelf styling feels welcoming when you repeat clear glass, fresh cranberries, and a few pinecones or acorns.
| Idea | Result |
|---|---|
| Clear jars | Safe, bright glow |
| Cranberries | Red-and-ivory pop |
| Textures | Cozy shadows |
| Flameless votives | Pet-friendly ease |
For seasonal scent pairing, add cinnamon nearby. Arrange some candles forward, some back—boom, depth!
Use a Muffin Tin for Votives
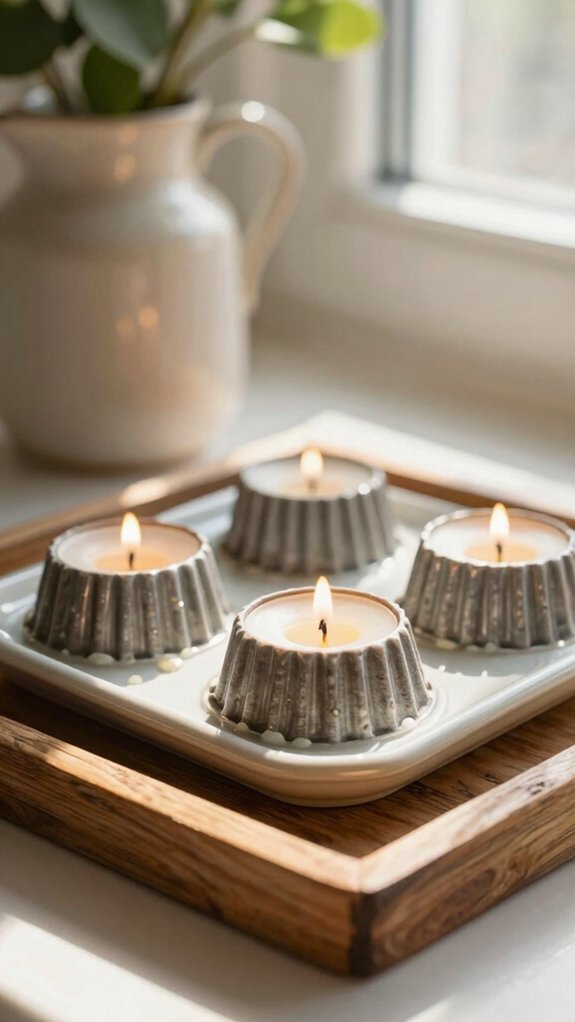
A muffin tin can look surprisingly cute for votives, and it keeps each candle snug and steady—no wobbly drama here!
You can use a vintage or modern tin, pop in just a few candles, and set it on a shelf or mantel for an easy holiday accent.
For extra charm, mix in tiny seasonal pieces around it, or switch to LED tea lights if you want the same tidy look with less fuss.
Cute Tin Display
Old-school charm, but make it cute! You can turn a vintage muffin tin into a tiny candle party that feels like home décor, not clutter. Choose one votive per cup, then mix sizes for playful heights and scents pairing.
- Add little hearts or holiday themes accents.
- Slip in tea lights for easy glow.
- Use seasonal glass holders for extra sparkle.
- Keep the tin with your stash for seasonal reuse.
If kids, pets, or drafts are around, swap in flameless votives. It’s cheap, simple, and honestly adorable—like your tray got invited to the fun table!
Holiday Shelf Accent
When you want your holiday shelf to feel cute and tidy fast, tuck red votive candles into a vintage muffin tin and let it do the grouping for you! Seasonal styling gets easier when you use one small piece for instant Candle groups and cozy Vintage charm.
| Idea | Result |
|---|---|
| Neat rows | Crisp look |
| Loose cluster | Relaxed vibe |
| Mini hearts | Extra sparkle |
| Flameless swap | Safer glow |
| Repurposed tin | Low cost |
Set it down, then add tiny metallic accents around it. Your Holiday shelf suddenly feels like the kind of spot where everyone belongs, and you didn’t need a big tray.
Show Off Candles in Vintage Graters
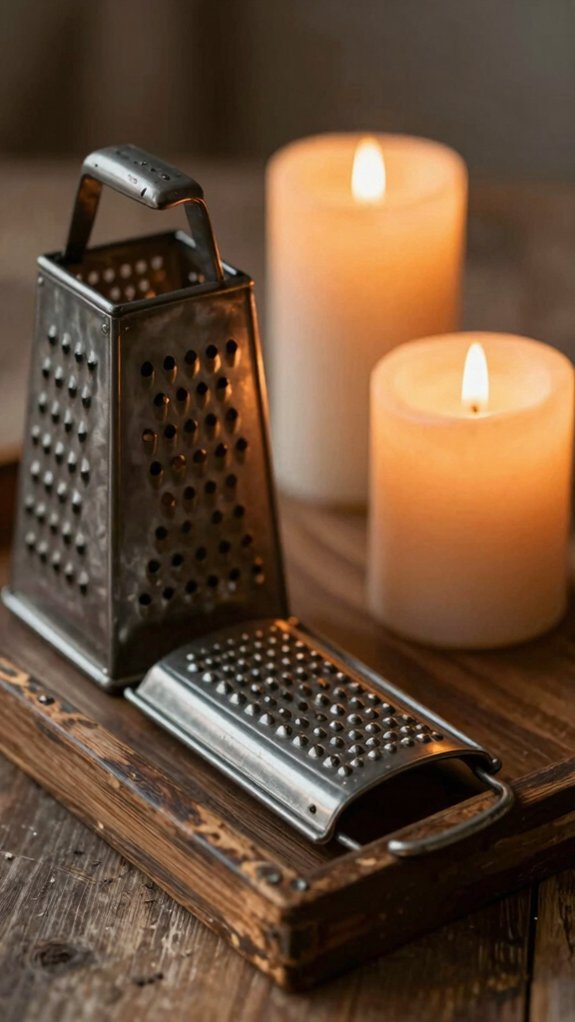
Slip a vintage grater into your candle tray and, wow, you’ve got instant charm! You’ll love the cozy glow, and the tiny holes make holiday shadow play feel magical.
Pick votives or tealights first, then rest the grater above or between them, so the light peeks through.
- Mix in a taper nearby for depth.
- Add flat marbles for a tidy base.
- Keep fillers simple so the grater shines.
- Try a fragrance pairing mood with one scent, one story.
It’s cheap, easy, and very welcoming.
Keep it away from drafts, pets, and kids, and never walk off while it burns.
Wrap Candle Displays With Garlands
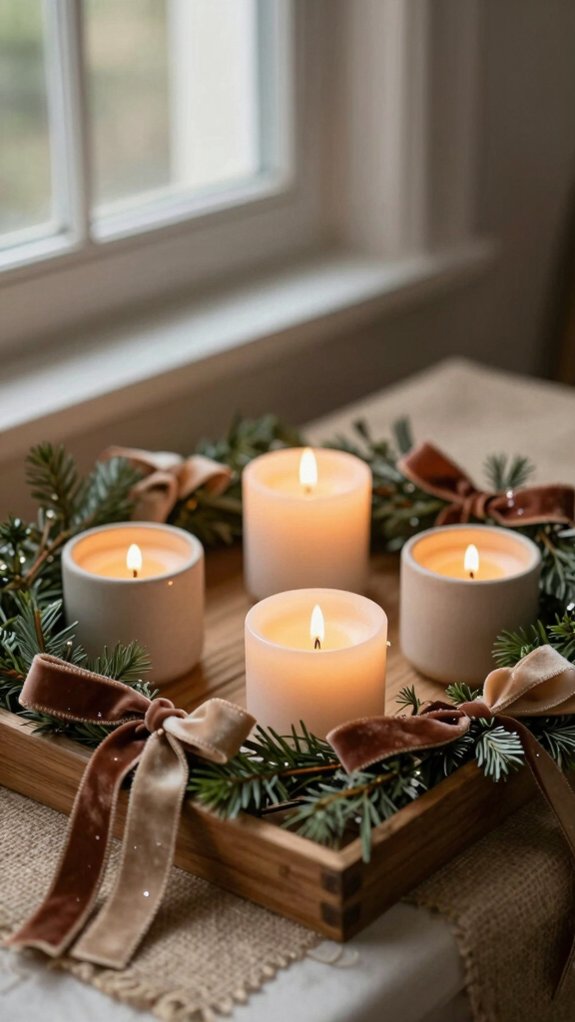
Garlands can give your candle tray a whole new look, and they don’t need to be ornate or expensive to do it! Wrap a leafy garland around the base of your candles, or tuck it into the tray corners like a cozy frame. Use simple greenery, berries, or pinecones, then mix in different candle heights for a fuller, friendlier feel.
Match the garland to your candle colors for Seasonal scent pairings that feel planned, not random. If you use real flames, do candle safety checks first, and keep the greenery clear of curtains. When the display feels crowded, swap in LEDs—easy, cute, and drama-free!
Style Tapers in a Swirling Jar
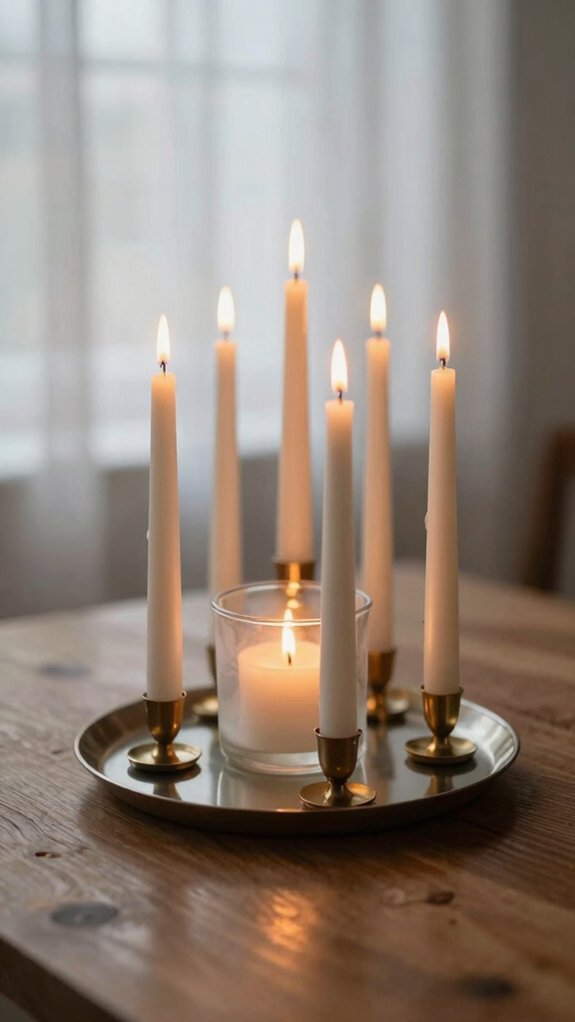
Oh, this one’s a little showstopper! You can set your tapers in a glass jar and curve them into a spiral, so the flame area feels like it’s moving instead of sitting in a boring straight line.
Keep the colors coordinated, tuck a bit of sand or pebbles at the base for support, and you’ll get that cozy shadowed glow that looks way fancier than it sounds.
Swirling Jar Layout
Ever wonder how to make a simple jar feel a little magical? You can build a swirl that feels warm and welcoming! For layered centerpiece styling, start with a deep jar, add sand or pebbles, then stand white tapers in a spiral.
Use a tray below for candle tray safety, and keep it steady on slick tables.
- Mix lengths for depth
- Choose soft neutrals for minimalist decor accents
- Try spring scent pairings nearby
- Keep bases snug and tidy
This look’s cheap, easy, and surprisingly polished, like your room joined the friend group.
Shadowed Candle Glow
When you want a candle setup that feels a little dreamy, start with a wide jar and a few style tapers, then let them swirl from one side, curve inward, and loop back out again. Add sand or small shells at the base, and mix in different heights so the glow feels cozy, not flat—hello, shadow magic!
Place the jar on a mirror or shiny tray, then choose white or ivory tapers for softer light. These ambiance lighting tips help the curves throw layered shadows across your space.
If you need safe flameless alternatives, use battery tapers and keep the same spiral layout.
Use Flameless Candles for Safety
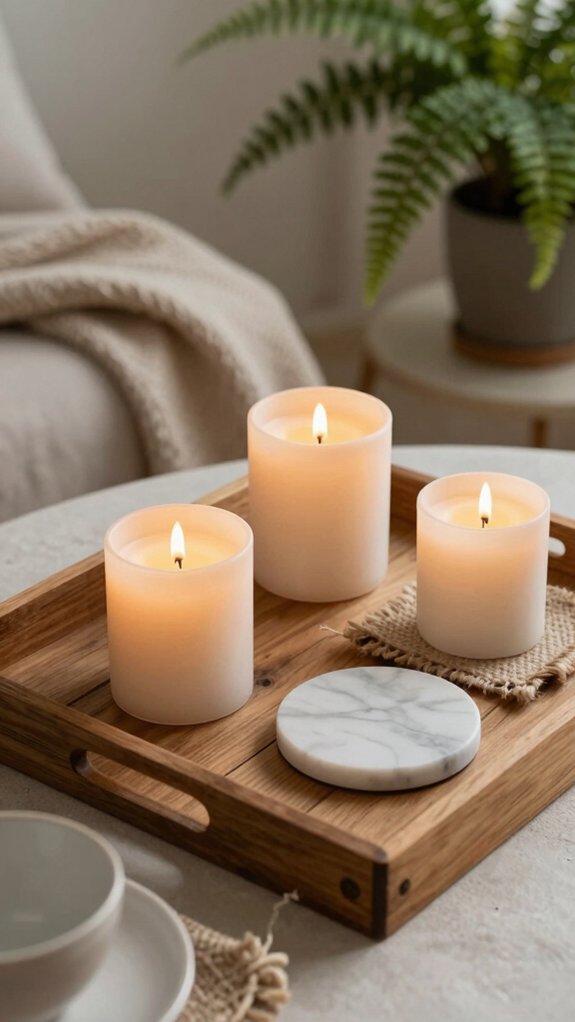
If you love the warm glow of candles but don’t want to worry about an open flame, flameless LED candles are a super easy win!
You can tuck them into your tray with pine cones, greenery, or shells, and they’ll still give you that cozy, glow-up look.
They’re great near curtains, kids, or pets, too.
- Mix heights for depth
- Use remotes for easy control
- Try rechargeable batteries
- Swap in LED for set-and-forget peace
They fit your Holiday scent layering and seasonal lighting ambiance vibe without the “oops” moments.
Your tray feels welcoming, safe, and totally you—yay!
Keep Candle Trays Away From Drafts
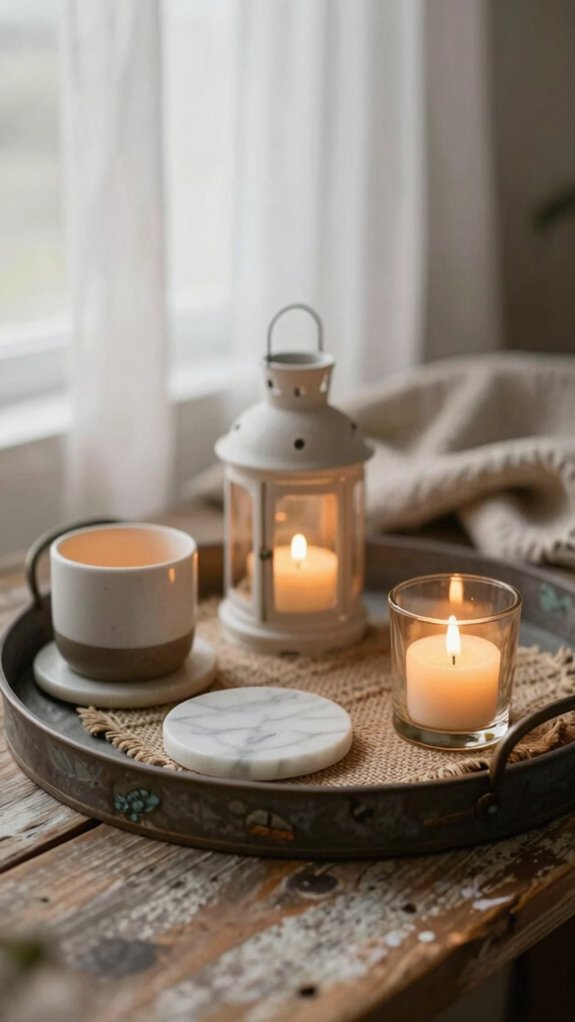
A pretty candle tray can lose its charm fast near a breezy window or a noisy vent, so it pays to keep it in a calmer spot! You’ll love how a steady nook lets flames glow evenly and keeps greenery, shells, or marbles from getting scorched.
Try a draft proof tray setup: pick a heavy platter, add your décor, then do quick Candle safety checks near curtains, vents, and open floor registers. If the air still swirls, move the tray deeper into the room.
That tiny shift can cut soot, tame flicker, and make your cozy corner feel like home.
Choose Battery Candles for Busy Spaces
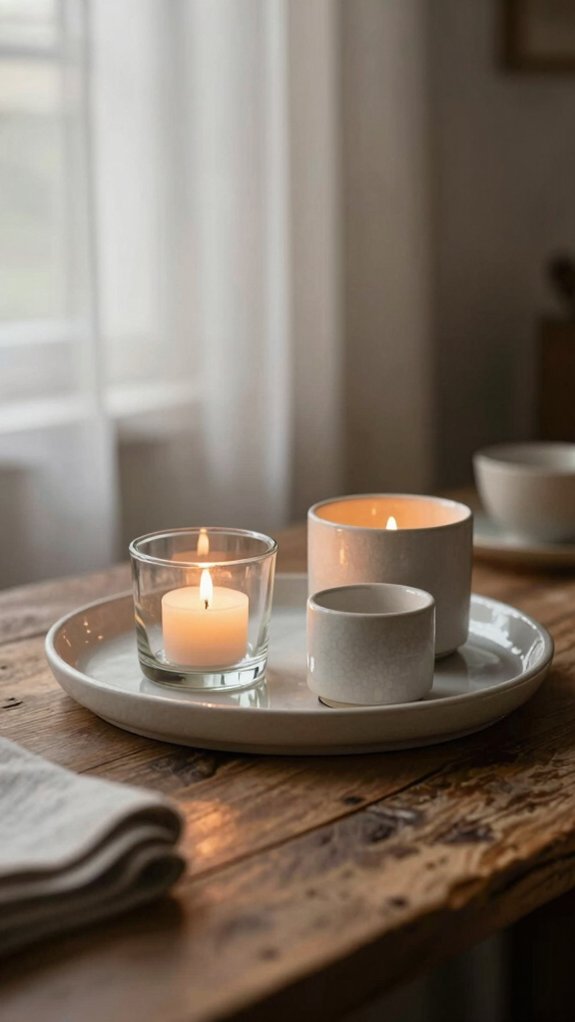
Busy rooms can be candle chaos, so battery-operated flameless LED candles are a smart swap! You’ll skip the fuss and still get that cozy, “come hang out” glow.
- Use a Remote timer for quick on-off control.
- Pick multi pack sets with mixed heights for a layered tray.
- Follow safety guidelines near curtains, pets, and busy paths.
- Do smart energy planning, since many use two batteries each.
Style them on a mirrored tray with marbles or seashells, and you’ll create an easy little glow-up. The best part? You keep the vibe, and your room still feels like yours!
Reuse Batteries With a Charger
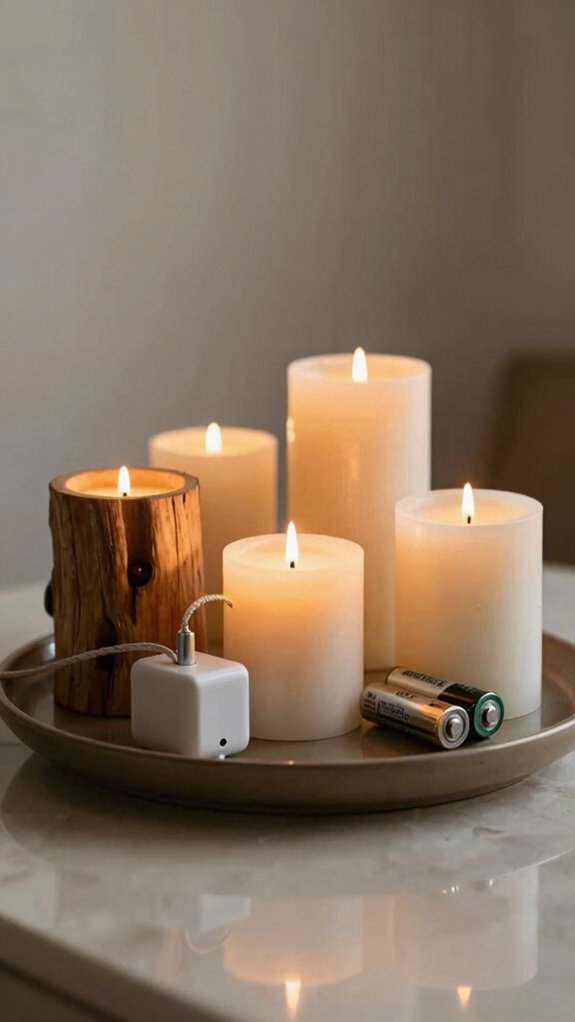
That cozy candle glow looks even better when you’re not constantly hunting for fresh batteries! You can build a smart, friendly setup with rechargeable cells and a charger, and it feels like joining the clever crowd.
| What to check | Why it matters |
|---|---|
| Charger compatibility | Keeps your batteries happy |
| Battery life | Supports longer evenings |
| Energy saving usage | Cuts waste and repeat buying |
| Display longevity | Helps your tray last |
Pick batteries that match your candle set, and remember some candles need two cells each. Keep one charged set ready, because recharge time can take a day. That little backup trick saves your display from going dark—almost like magic!
Place Candle Trays for Best Light
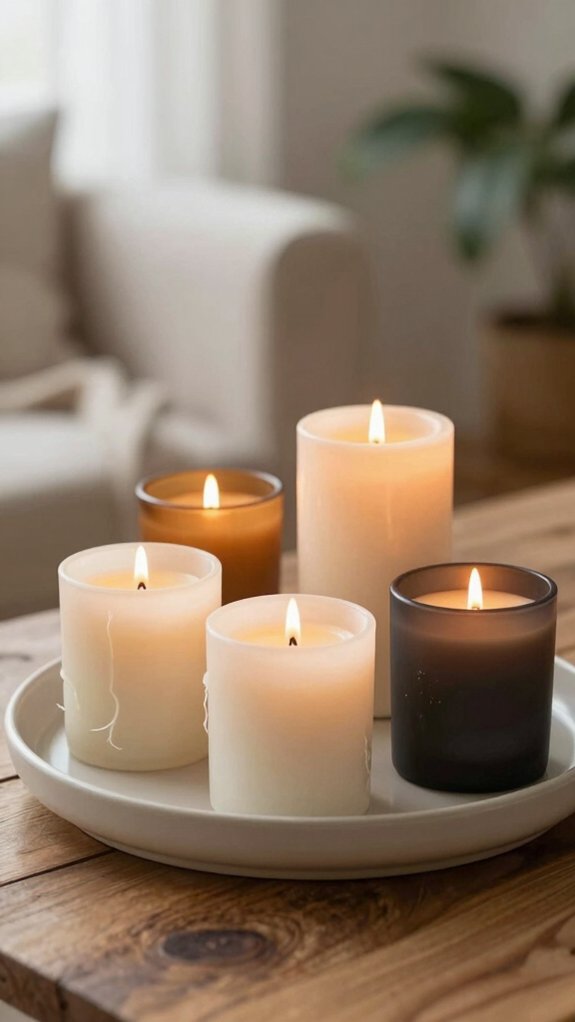
On a mirrored tray or glossy table, your candle glow can suddenly look twice as magical, and yes, it’s kind of a tiny interior-design cheat code!
Place it where people can see it from across the room, like a mantel or coffee table, so the light feels shared and cozy.
- Try layered candles on a raised tray for brighter bounce.
- Use glass holders for extra glam and softer shadows.
- Add battery flames in busy spots for easy, safe shine.
- Do a Seasonal tray refresh with scented candle options nearby.
Keep curtains and drafts away, and your room’ll feel warm, welcoming, and just a little chic.
Match Candle Scents to the Mood
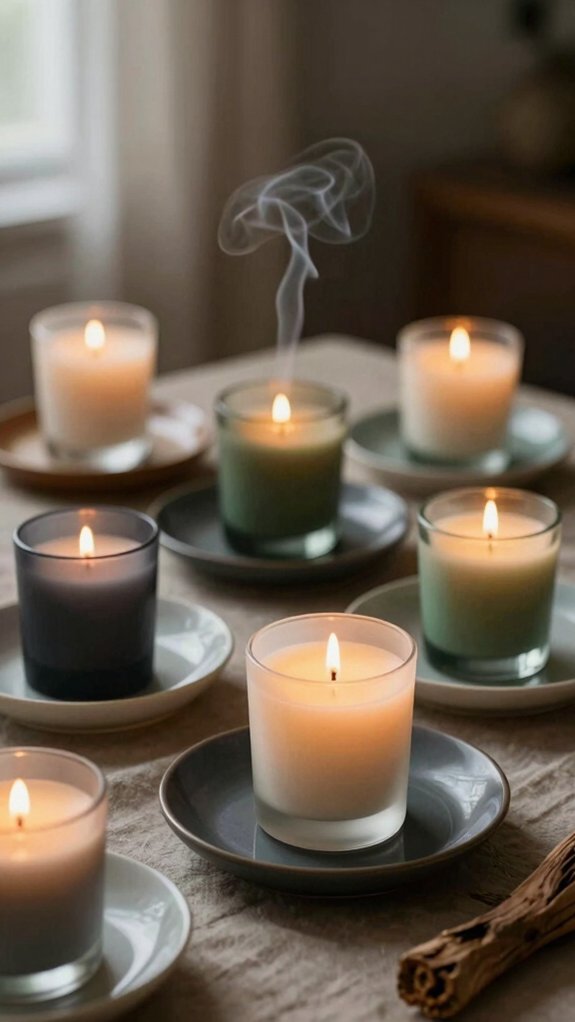
You can make your candle tray feel instantly more inviting by matching the scent to the mood—think vanilla or cinnamon for a cozy vibe, or linen and herbal notes when you want things to feel fresh and airy!
Try layering scents lightly, too, so the fragrance supports the scene without stealing the spotlight, especially on mantels and coffee tables.
And for a fun seasonal twist, lean into cranberry in winter or citrus in summer, and suddenly your tray feels like it got the memo!
Mood-Based Fragrance Pairings
When you match a candle scent to the mood, the whole tray suddenly feels more intentional—almost like your space is wearing the right outfit!
- Cozy nights love vanilla or cinnamon, plus Candle holder textures like wood, copper, driftwood, or pinecone trays.
- For a clean, airy vibe, pick herbal or floral scents with clear glass or marble holders.
- Want an inviting refresh? Try seasonal scents in a bold vessel, and let fragrance strength control the room.
- For romance, use rich scents with strong color contrast; one dominant scent per tray keeps things calm, not chaotic.
This way, you’ll feel at home, every time!
Scent Layers For Ambience
A candle tray feels even more pulled together when the scent does more than smell nice—it starts setting the whole mood!
You can match the room’s “job” with Seasonal fragrance moods, like vanilla or cinnamon for cozy nights, or citrus and linen when you want fresh, easy energy.
Then try a layered aroma strategy: pair one main candle with pine cones, greenery, or seashell-style décor so the vibe feels intentional, not random.
For calmer spaces, keep scents in the same family, and let one strong-vessel candle lead the tray.
Use mirrored trays or height layers, and voilà—your room smells like it belongs together!