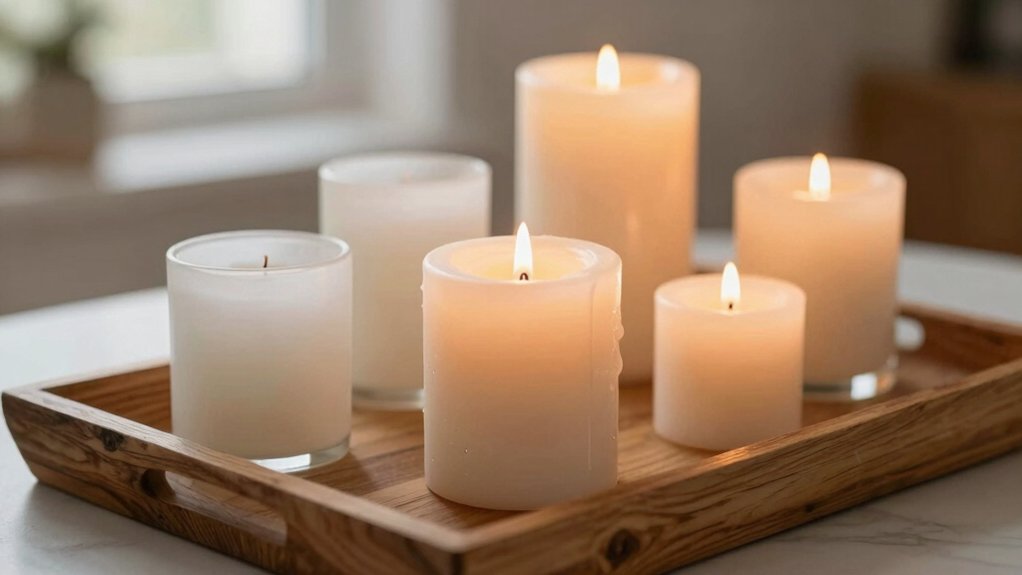

Pick a rectangular tray, then build a cozy base with three votives, jars, or drinking glasses, leaving room between each piece. Mix candle heights for instant depth, tuck in moss, marbles, pine cones, or shells, and you’ll get that warm, styled look fast! If you want extra sparkle, try a glass jar candle well or even a cute muffin tin for a playful twist. Easy, budget-friendly, and yes, the best little upgrades are still coming up.
Key Takeaways
- Use a rectangular tray to anchor the arrangement and keep candle styling calm, polished, and intentional.
- Mix candle heights, like tapers, votives, and jars, to add depth, shadow, and a more elevated look.
- Fill gaps with moss, marbles, greenery, or pine cones for a fuller, finished tray display.
- Group candles in odd numbers and cluster them tightly for a warmer, cozier glow.
- Choose flameless candles near pets, kids, or drafts to keep the setup stylish and safely warm.
Choose the Right Candle Tray
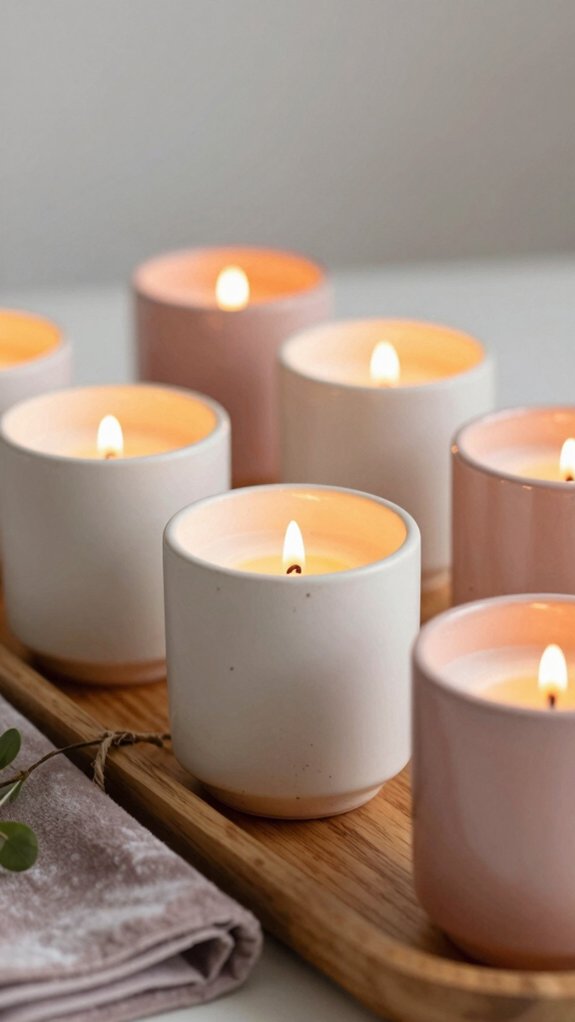
If you want your candle tray to look polished instead of случайly “I just set stuff down here,” start with a rectangular tray or platter. It gives your candles a clean home and keeps the look calm, not cluttered.
Tray size tips: choose one wide enough for mixed heights, so tapers, votives, and jars can layer nicely.
For candle holder placement, leave breathing room, then group pieces in odd numbers for a friendlier feel.
Match glass, metal, or wood to your vibe, and try an inset or sheet moss mat for extra grip.
Nice, right?
A tray made for grouped pieces keeps flames contained, too.
Start With a Simple Centerpiece Base
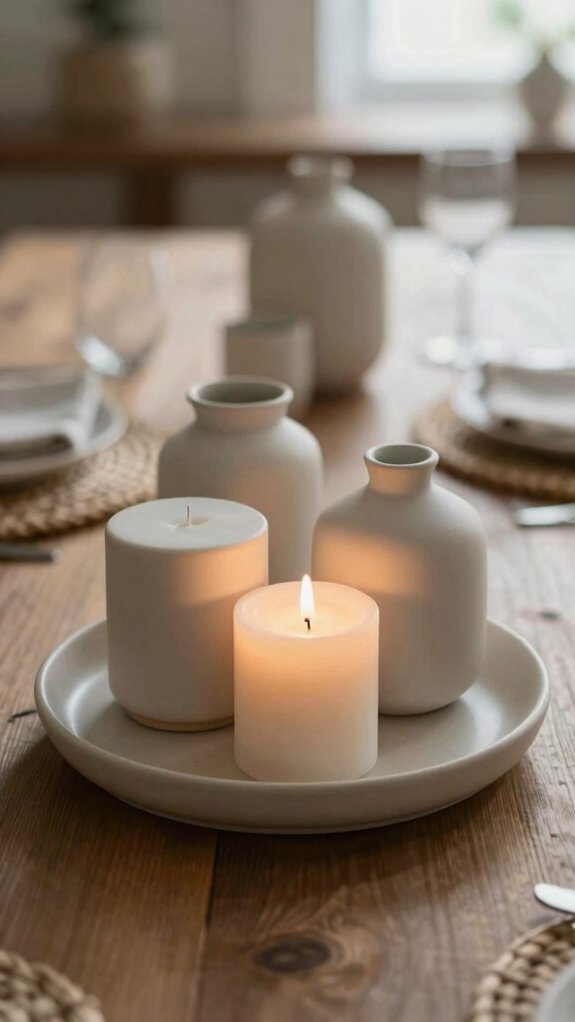
Anchor your candle tray with a simple centerpiece base so everything feels planned, not plunked down in a hurry—much nicer!
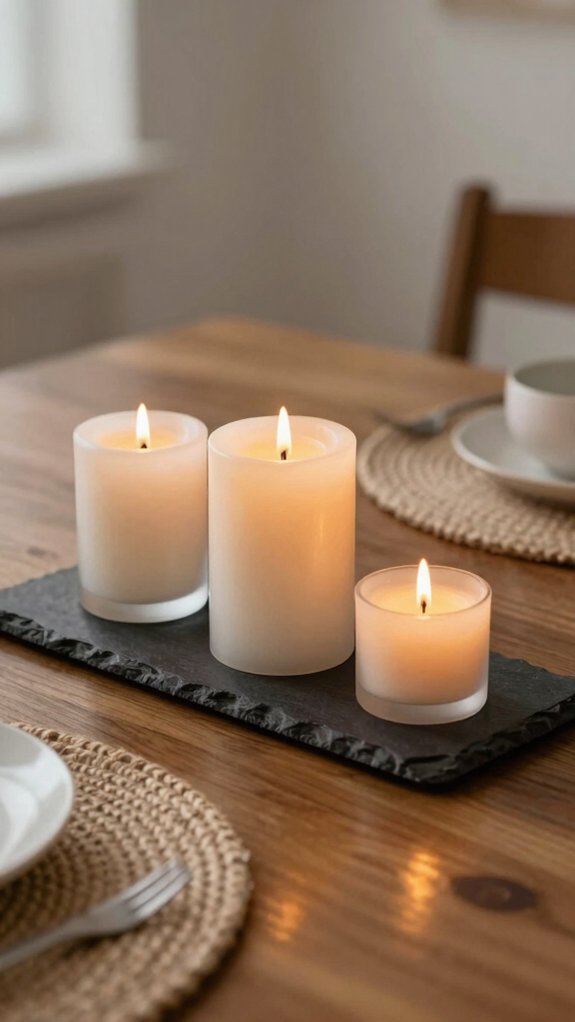
Start with a rectangular tray, then add three glasses or votives for a little lift.
Choose candles in one color story, like ivory, for easy color harmony, and mix shapes so it doesn’t look too matchy-matchy.
A sheet-moss mat cut to size adds cozy contrast, and it’s cheap, too.
Want more personality? Try Seasonal swaps with tiny marbles or natural bits around the candles.
The result feels warm, steady, and welcoming, like your tray knows all your best friends.
Build a Candle Tray Layer by Layer
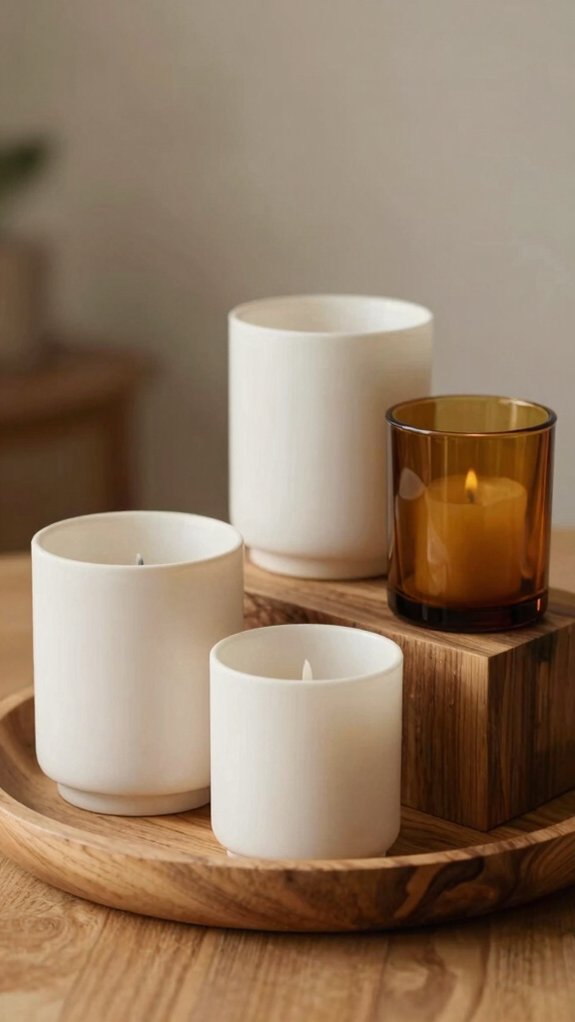
Now that you’ve got a simple base in place, it’s time to build some real depth, and wow, this is where a candle tray starts looking designed instead of just decorated!
Start with a rectangular tray, place your candles first, and mix tapers, votives, and tea lights for smart Layered Candle Placement.
Then tuck in a filler layer of flat marbles, greenery, or pine cones around and between them, so everything feels snug and rich.
For extra Depth Through Height, build a faux back layer with a thicker texture behind the candles.
Finish with one standout accent, and suddenly, you’ve got the cozy tray vibe everyone notices!
Mix Candle Heights for More Depth
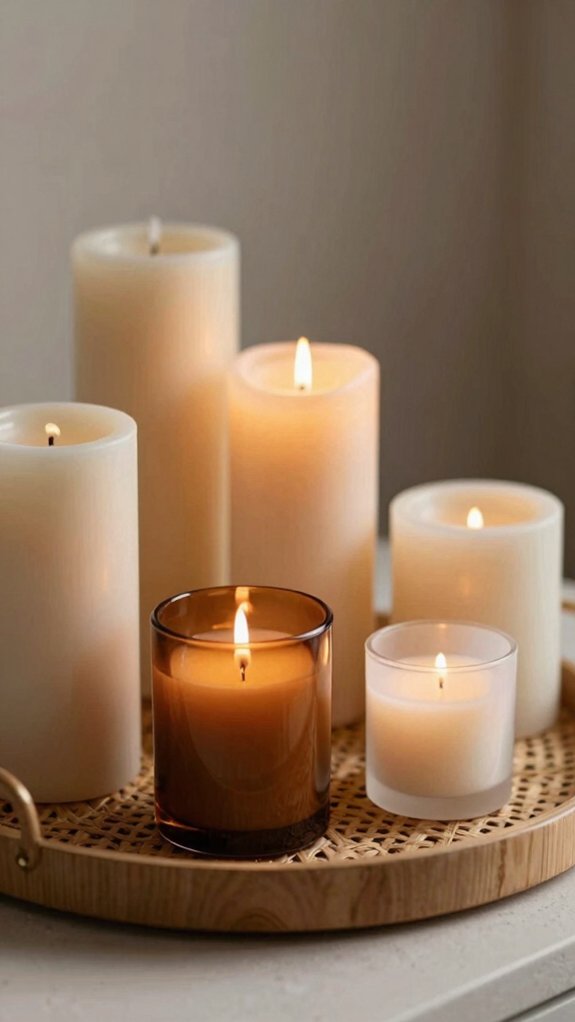
To give your tray real depth, mix candle heights instead of lining everything up like tiny soldiers!
- Start with one tall pillar or taper, then tuck in shorter votives for balance.
- Vary height levels by mixing pillars, tapers, and jar candles on a rectangular tray.
- Place the tallest candles at the back and sides, with the shortest near the front, so you Create shadow depth.
- Scatter a few small lights between bigger ones, and your setup feels cozy, warm, and totally welcome.
It’s cheap, easy, and honestly, your tray gets instant “wow” without trying too hard!
Add Fillers That Match Your Style
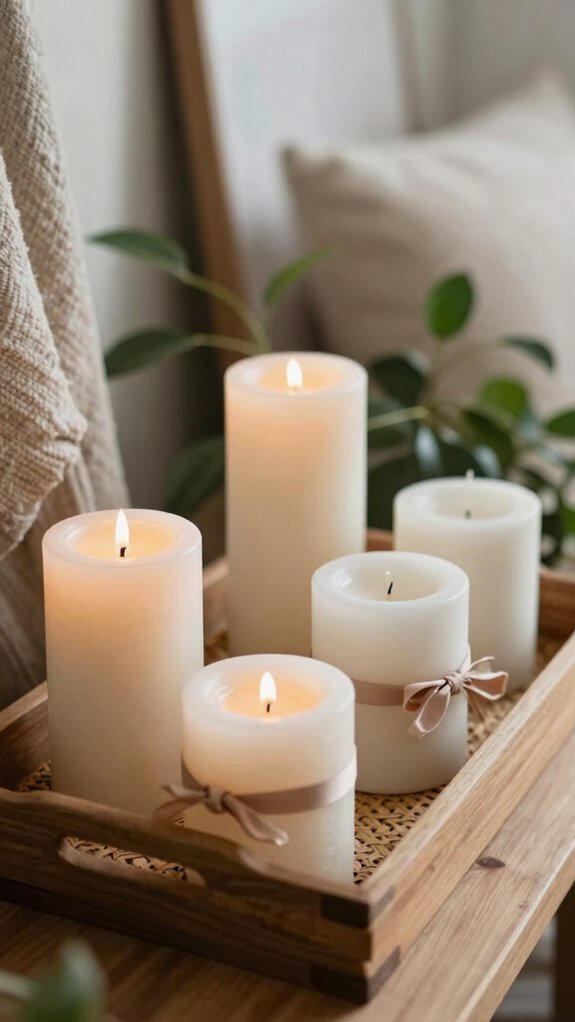
Once you’ve played with candle heights, the next trick is filling in the gaps so the tray feels polished, not lonely!
You can tuck in Color matched fillers that fit your vibe, like seashells for a coastal tray or pine cones and acorns for a rustic one. Add greenery, dried berries, or little shell bits to make the display feel fuller and more inviting.
Keep everything on stable candle bases, then nestle fillers around them so nothing shifts when you move the tray.
If you’re using moss, place it first for a clean setup.
A tiny tray can suddenly feel styled, cozy, and ready for company!
Use Flat Marbles for a Polished Look
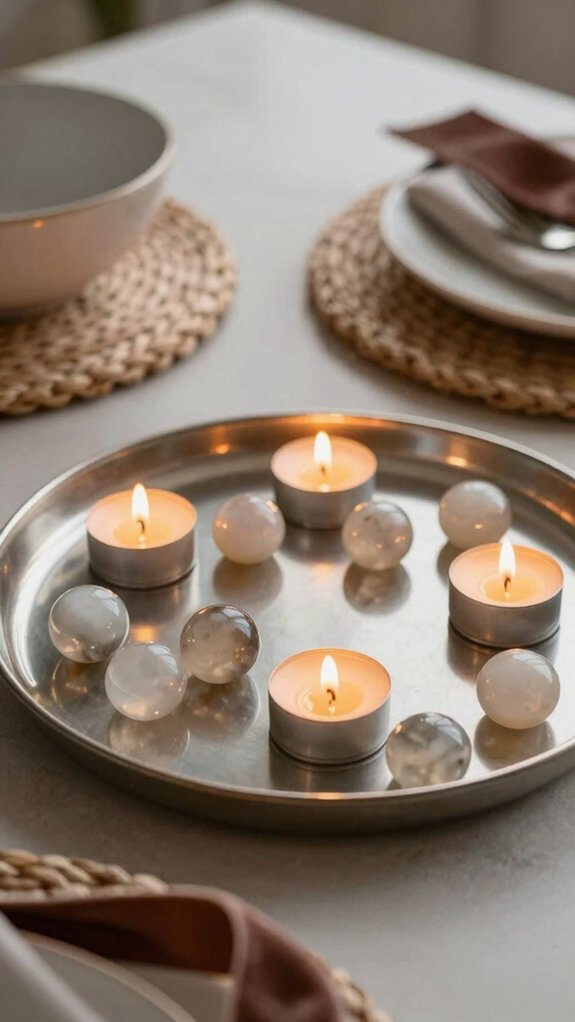
A handful of flat marbles can give your candle tray that neat, finished look without making it feel heavy or crowded!
- Start with candles, then tuck marbles around the bases so they stay steady and polished.
- Mix sizes and shapes on your tray styling, and let the smooth shine play against each flame.
- Use marbles as the main filler in a Seasonal tray, since they keep things airy, not bulky.
- Cluster them in little pockets for soft reflections—this last trick adds depth and feels wonderfully cozy, like your tray finally belongs.
Style Candle Trays With Seashells
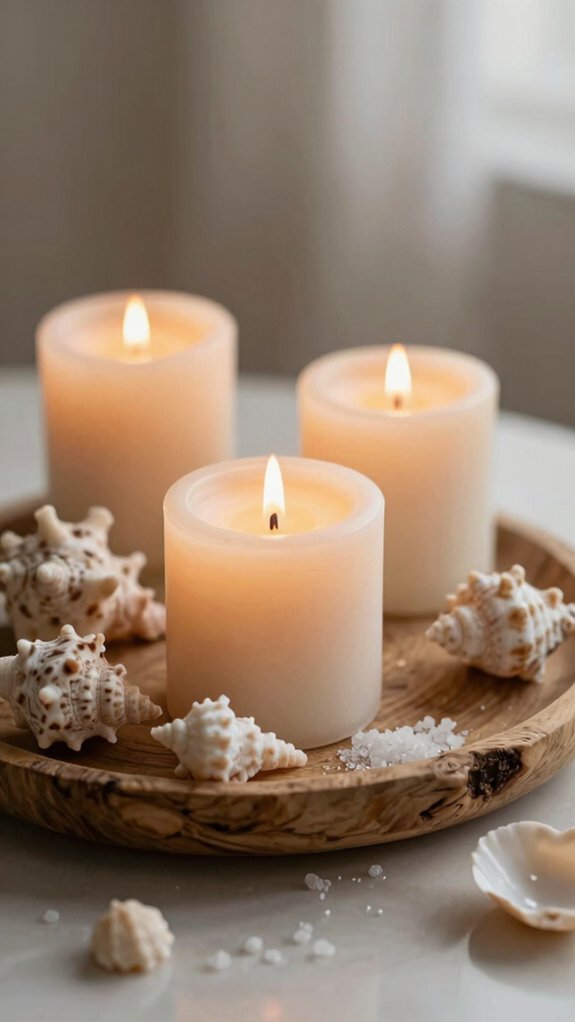
If you’re craving a breezy coastal vibe, seashells can make your candle tray feel like a tiny beach getaway in seconds! Start with a rectangular tray, then place 3–5 candles in mixed sizes, leaving room for shell fillers. Use your decor stash, or grab a few shell bags cheaply, and tuck them around jar or votive candles for a neat, stable look.
Want extra sparkle? Add flat marbles between the candles. Layer heights front to back, and keep clutter low so the shells shine.
For Scented candle tips and Seasonal scent swaps, try fresh linen, sea salt, or coconut.
Add Pine Cones for Rustic Warmth
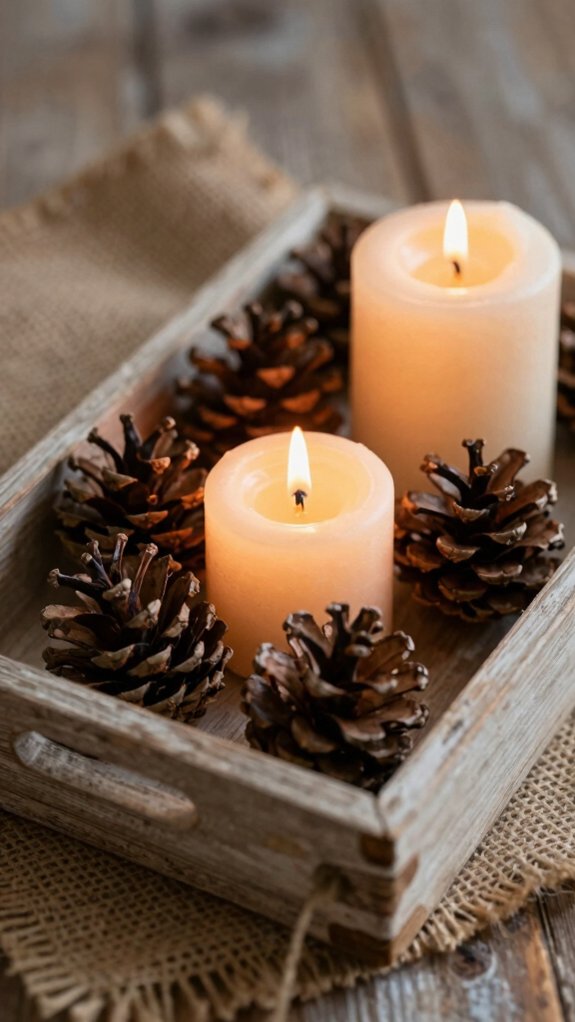
Pine cones bring instant rustic warmth to your candle tray, and their rough texture looks amazing beside smooth glass or wax—hello, cozy woodland vibes!
You can scatter them around tea lights or tapered candles on a neutral tray, like reclaimed wood, to create a simple layered look that feels pulled from a cabin daydream.
For an extra pretty finish, tuck in a few pine cones at different heights with ivory candles, and you’ll get a soft, glowing display that looks way fancier than the effort it takes.
Pine Cone Texture
When you want your candle tray to feel cozy fast, start adding pine cone texture for that warm, rustic look—yes, it’s virtually instant cabin charm!
You can build a friendly, gathered feel with pine cone candle holders, ivory candles, and a neutral tray base. Try these cozy scent tips and pine cone colorways for extra mood.
- Pick a wood or neutral tray.
- Mix tea lights, votives, and one taper.
- Tuck pine cones around the cluster, not randomly.
- Add a little greenery or acorns, then step back and smile—your tray’ll look intentional, warm, and totally welcoming!
Woodland Tray Layering
That cozy pine cone look can get even better with a little layering magic, and it’s easier than it sounds! Start with a reclaimed wood or neutral tray, then add ivory candles in mixed heights for a soft glow.
| Item | Use | Result |
|---|---|---|
| Pine cones | Circle candles | Rustic warmth |
| Acorns | Fill gaps | Fuller look |
| Greenery | Add texture | Woodland feel |
| Marbles | Scatter last | Deeper shadows |
Seasonal swapping keeps it fresh, and candle scent pairing makes the whole setup feel welcoming. Space everything loosely, so your tray feels collected, not crowded. Tiny effort, big cozy payoff!
Use Birchwood Candle Holders
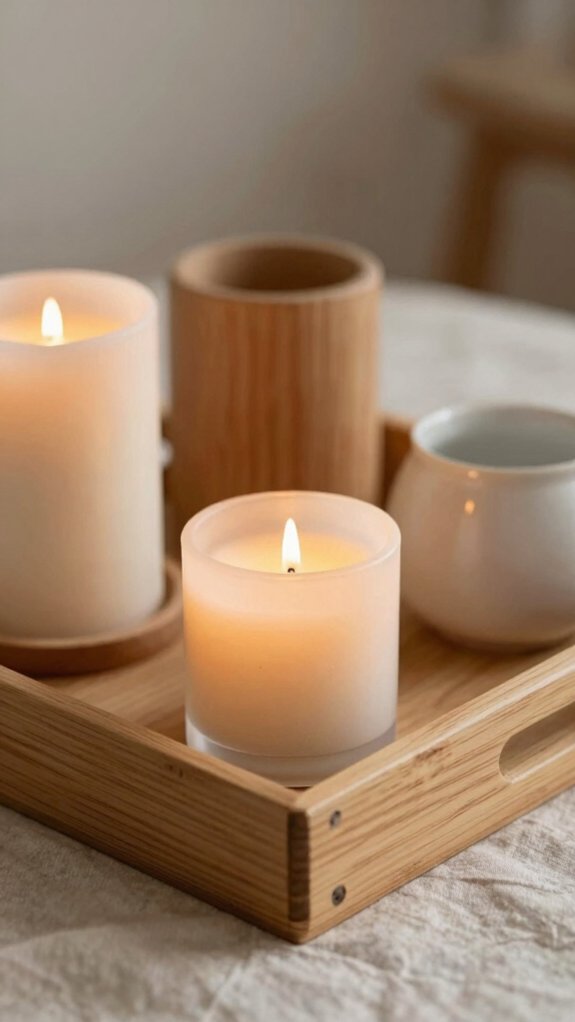
Birchwood candle holders bring such a soft, rustic look, and they make your tray feel cozy without trying too hard—nice, right?
Pair them with white or ivory candles, then add a little greenery or faux flowers around the base so the whole setup feels full and polished.
For an easy wow factor, place a few different heights on a simple tray, because the wood grain and candlelight together create those warm, dreamy shadows you’ll love!
Birchwood’s Soft Rustic Look
If you want your candle tray to feel cozy without looking cluttered, birchwood candle holders are such a sweet choice! Their pale, rustic grain adds warmth that feels friendly and upbeat, like a winter hug.
- Start with white or ivory candles for a clean glow.
- Follow indoor lighting cues so the tray feels soft, not harsh.
- Mix one tall taper with a little votive for easy charm.
- Add seasonal scent pairings nearby, then tuck in greenery or acorns.
You’ll get a fuller, polished look fast, and honestly, your mantel may start acting chic!
Styling Birchwood On Trays
A birchwood candle tray can look extra charming when you style it with simple, natural layers, and the best part is that it’s easy to keep it looking calm instead of crowded! Use birchwood candle holders on a rectangular tray, then tuck in ivory candles for gentle color contrast that feels fresh, not fussy.
Start with tray symmetry, then add one taller holder, one shorter, and a few sprigs of greenery or faux florals around the bases. Want more texture? Slip in acorns, pine cones, or dried berries, plus a weathered wood piece.
You’ll get a cozy, layered glow that feels welcoming!
Build a Spring Tray With Moss
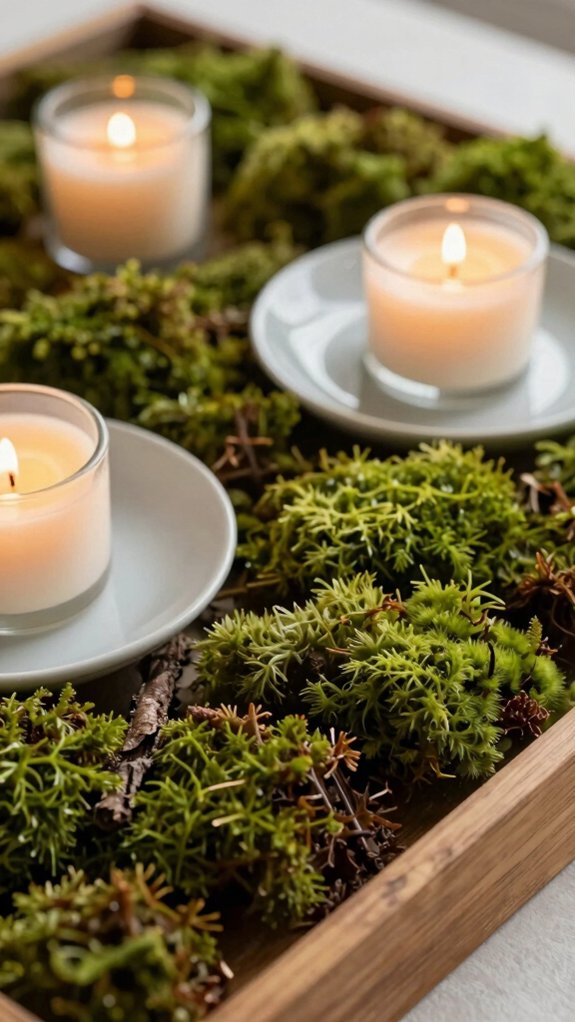
To build a spring tray with moss, start with a rectangular tray and cut a sheet moss mat so it fits the inset nicely, like it was made for that spot! Your tray ingredient basics are simple, and the vibe feels instantly friendly.
- Lay the moss flat.
- Set three glasses across it.
- Add votives or tea lights.
- Mix glass styles for height variety tips.
If your mat has sticky backing, peel it slowly, or keep the paper on for a safer, reusable setup.
That way, you can rebuild the tray anytime, and it still looks fresh, warm, and totally inviting!
Make a Candle Tray With Drinking Glasses
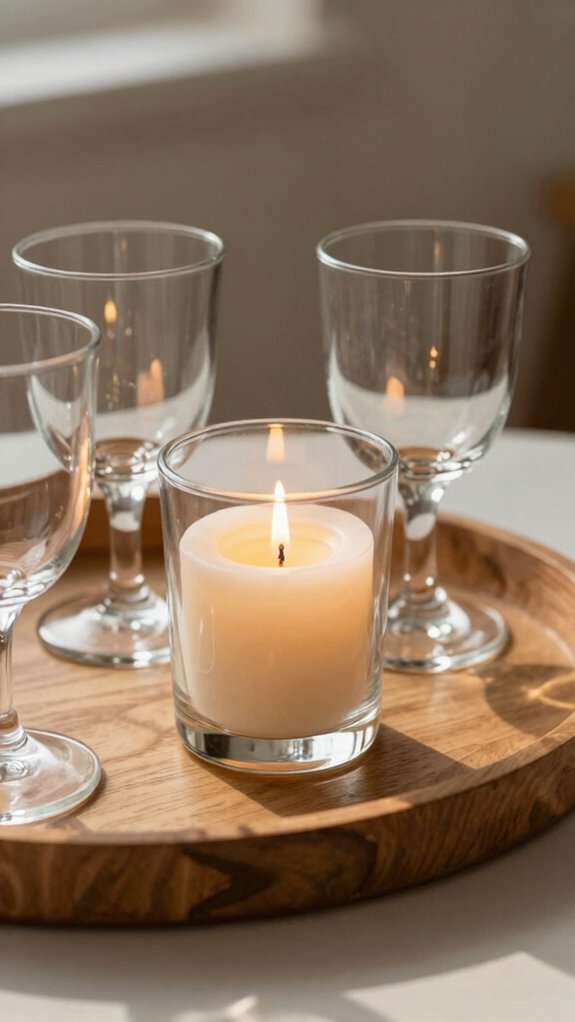
Drinking glasses can turn that mossy spring tray into something extra cute and a little posh-looking, and you don’t need any special candle holder skills to pull it off! Grab a rectangular tray, three double old-fashioned glasses, sheet moss, and votives. | Item | Why it helps |
| — | — |
|---|---|
| Tray | Keeps it neat |
| Glasses | Make candle wells |
| Moss | Adds cozy texture |
Set the glasses first, then tuck in cut moss, and drop in the candles. If your moss is sticky, keep the backing on until you’re ready. It takes minutes, costs little, and feels perfect for a winter holiday or scent pairing moment—hello, instant friend-group glow!
Style Candles in a Cozy Vignette
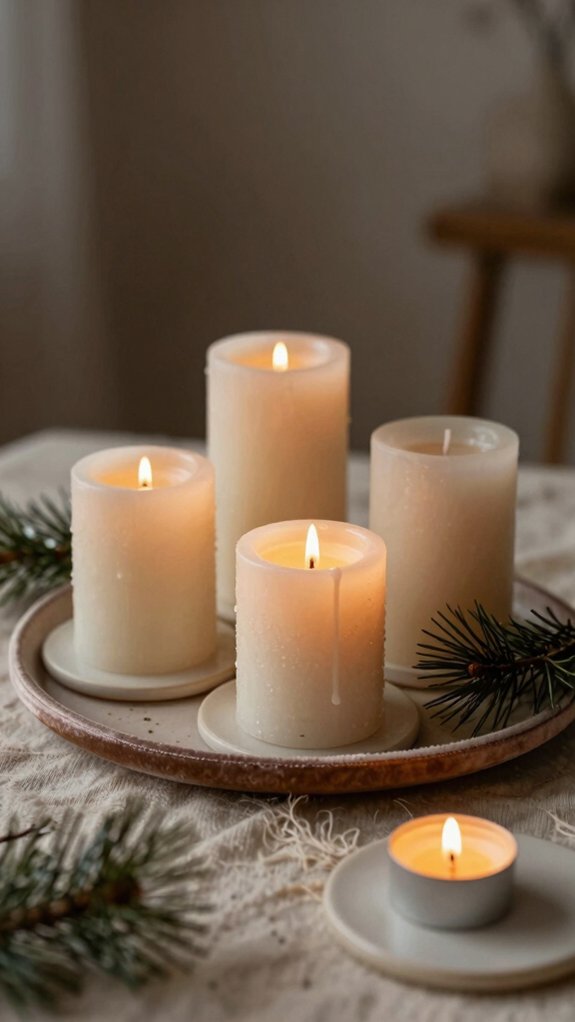
When you want your candles to feel extra inviting, group them into a small cozy vignette instead of spacing them out alone, because that little cluster throws warmer light and deeper shadows—so much prettier!
You’ll get instant candle-tray charm and a softer scented candle mood, too.
For easy winter tabletop styling, try this:
- Mix jar candles and votives.
- Add one taller taper for height.
- Frame the glow with flat marbles or natural textures.
- Swap in flameless candles if safety matters.
Keep real flames away from drafts, pets, and kids, and don’t leave them alone.
Cozy but safe? Yes, please!
Use Votive Candles in a Muffin Tin
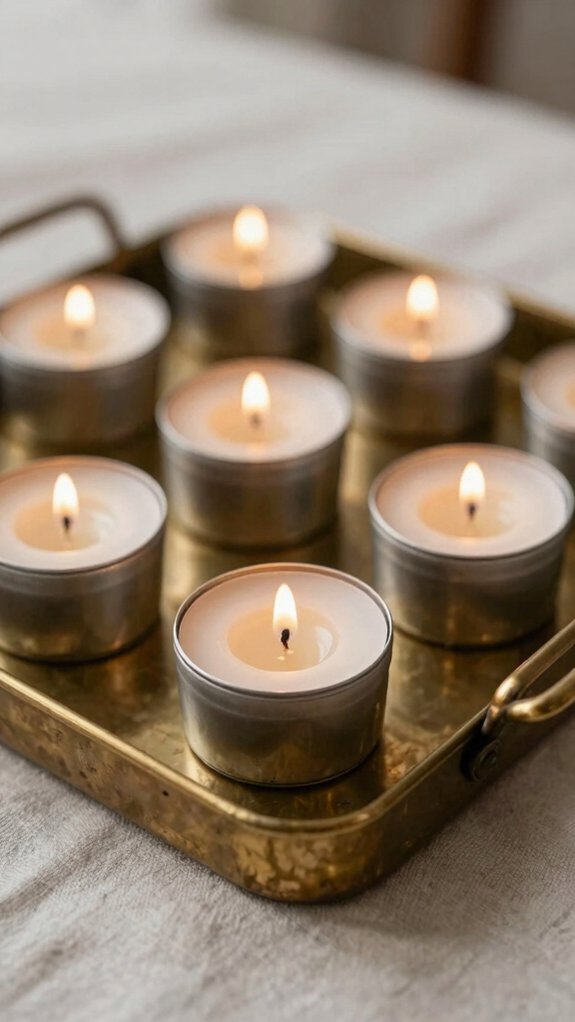
You can turn a vintage or modern muffin tin into a super cute candle accent, and it’s such an easy way to keep your tabletop neat and stylish!
Drop in a few coordinating votives, like bold red ones for a holiday pop, then tuck in little seasonal bits around the tin so the glow feels festive without getting crowded.
Best part? You can reuse the same tin year after year, just swap the candle colors and decor for a fresh look each time—easy peasy!
Muffin Tin Candle Accent
Tucked inside a vintage muffin tin, votive candles turn into an instant little showstopper! You get a cute, curated look fast, and it feels like you belong in the coziest room. Try these tabletop styling tips:
- Group three or four votives so the tray reads as one piece.
- Set it on a shelf, mantel, or coffee table for easy charm.
- Add seasonal centerpiece swaps, like red holders, when you want a fresh mood.
- Tuck in small accents nearby, then switch to flameless candles for a safe, set-and-forget glow.
Tiny tray, big wow—no stylish budget needed!
Holiday Votive Display Ideas
Holiday sparkle doesn’t have to take over the whole table—in a muffin tin, a few votive candles can look full, cozy, and totally intentional!
You’ll get cozy lighting with cheap basics: a tin, votives, and maybe a sprinkle of silver hearts or a tiny garland.
Set the tin on a mantel, shelf, or coffee table for neat, contained charm and flameless safety if you choose LED votives.
Want extra cheer? Try red candles in a vintage tin or snowflake holder, packed snugly so it feels like the center of the room.
It’s easy, polished, and so welcoming!
Try Vintage Graters for Holiday Glow
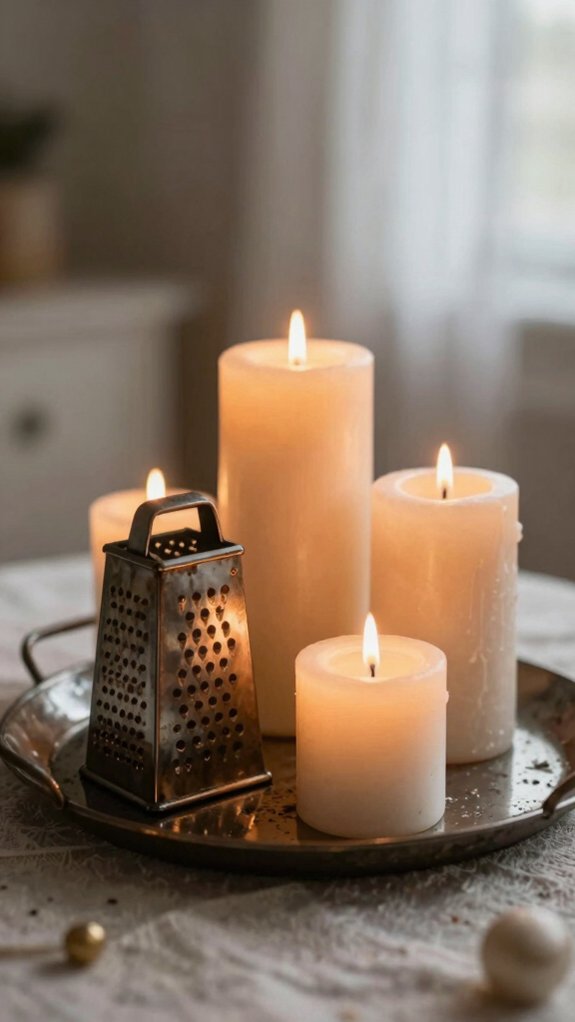
For a quick, clever holiday glow, try setting a vintage grater right over or around a votive candle so the light can peek through all those tiny holes and cast a cozy sparkle across your tray—pretty magical, right?
- Grab one grater, one votive, and a tray; that’s it, no elaborate craft bin needed.
- Center the candle so the glow spreads evenly, then add pine cones or acorns for sweet holiday centerpieces.
- Choose a grater with tiny openings for the softest pattern.
- For Safety swaps, use flameless LED tea lights, and you’ll still get that warm, friendly vibe!
Arrange Candles Inside a Glass Jar
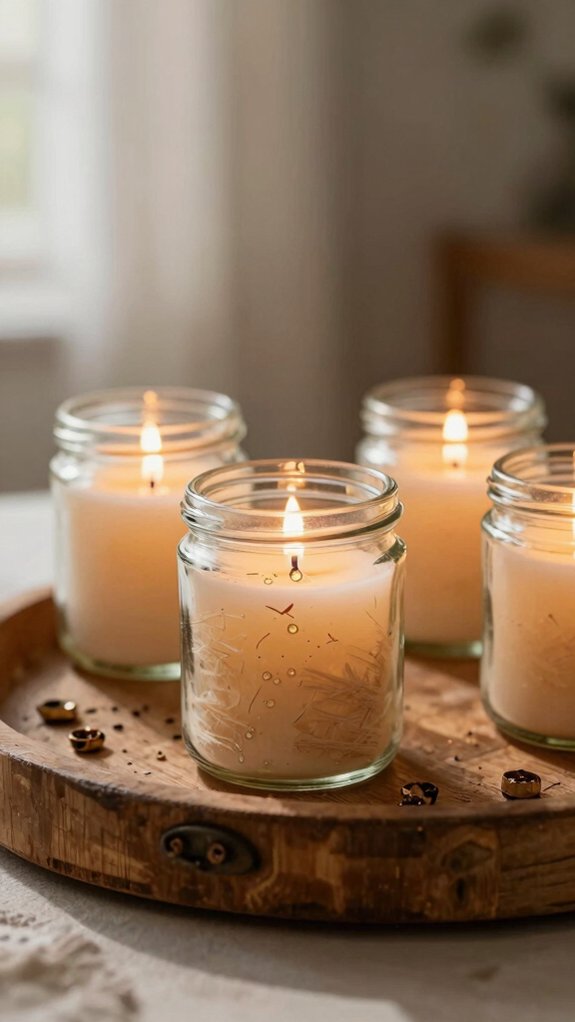
A glass jar can turn even the simplest candle setup into something that feels polished and a little magical! You just need a clear jar, a few pebbles or sand, and tea lights or tapers. Set them inside, and the layers give your tray a cozy, collected look without much effort.
Want more personality? Wrap the jar with nautical rope and add shells for a coastal vibe, or use neutral stones for a modern feel.
Try a swirling pattern with tapers for extra depth, and swap scents with seasonal scent changes like an aroma diffuser for a fresh, happy home.
Choose Flameless Candles for Safer Spaces
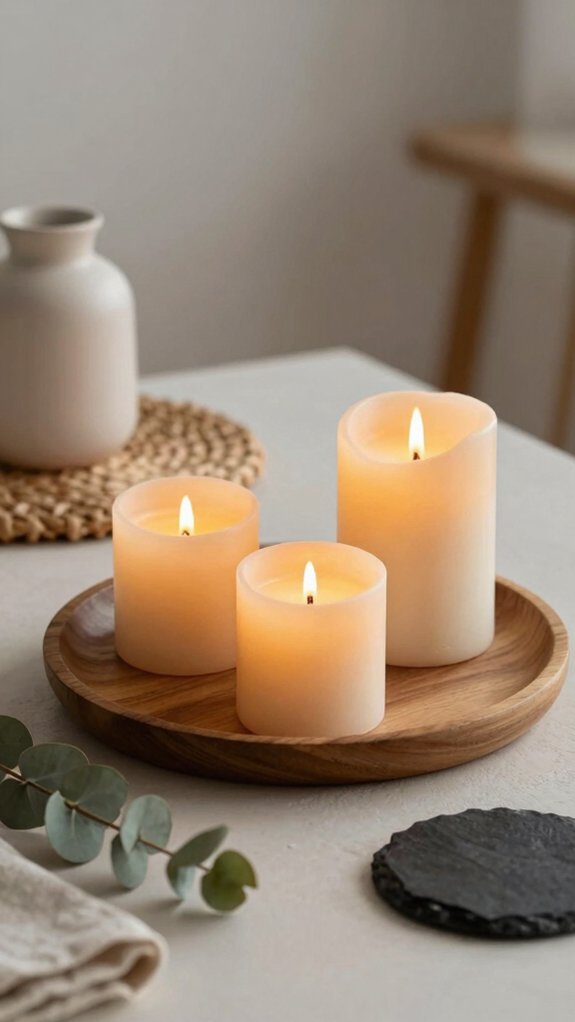
When you want that cozy candle-tray glow without the worry, flameless LED candles are such a smart swap! They give you indoor safety and still keep that warm, shadowy charm everyone loves.
- Mix tall and short battery-operated candles for a layered look.
- Tuck them beside flat marbles or fillers for depth.
- Try pet safe placement near curious noses, and a children proof display for busy homes.
- Use remote-controlled sets and reusable batteries, so your LED lighting stays easy, affordable, and fuss-free.
You’ll get a welcoming tray that feels stylish, calm, and totally room-ready!
Keep Open Flames Away From Hazards
Keep your open flames far from curtains, breezy drafts, and any spot where a tail, paw, or tiny hand could bump them—because nobody wants a candle doing an unplanned gymnastics routine!
If a room feels busy or a little too lively, switch to flameless candles for that cozy glow without the fire drama.
And yes, even the prettiest candle tray needs a safe home, so tuck it away from anything flammable and give the flame room to breathe.
Clear Curtains And Drafts
Because clear curtains can flutter like they’ve got a mind of their own, it’s smart to treat them as a no-go zone for open flames! For a cozy crowd, try these quick wins:
- Fireproof placement: Set real candles on a sturdy tray, far from billowing sheers and drafty windows.
- Flameless LED tips: Use battery candles in windy spots, near doors or HVAC vents.
- Simple setup: Keep the tray low, stable, and clear of drifting fabric.
- Best result: You’ll get that warm glow, minus the worry, and your space still feels welcoming and stylish!
Keep Away From Pets
Around curious pets, candle trays need a little extra strategy, since a wagging tail or a sneaky paw can turn a pretty setup into a mess fast! For pet proof placement, keep trays high, steady, and far from jump spots. Use this quick guide:
| Spot | Move |
|---|---|
| Lower shelf | Skip it |
| Busy path | Relocate it |
| Wobbly table | Choose a sturdier base |
| Pet zone | Add Flameless safety |
Fill the tray with flat marbles or pine cones so pieces stay put. And don’t leave the room while an open flame burns—your cozy vibe should feel safe, not like a squirrel circus!
Use Flameless Alternatives
If you want that cozy candle-tray glow without the worry, battery-operated flameless LED candles are a total win! They’re perfect near curtains, drafts, kids, and curious pets, and they still look pretty in layered vignettes.
- Pick mixed heights: Grab a few faux-flame candles, a tray, and simple fillers.
- Style it: Group them, then add beads or greenery for depth.
- Plan batteries: Some need two batteries each, so use chargers or rechargeables.
- Refresh the look: Try Seasonal color swaps for fall, winter, or spring.
Battery planning tips keep you glowing, not scrambling. Sweet, safe, and stylish!
Swap Candle Tray Decor by Season
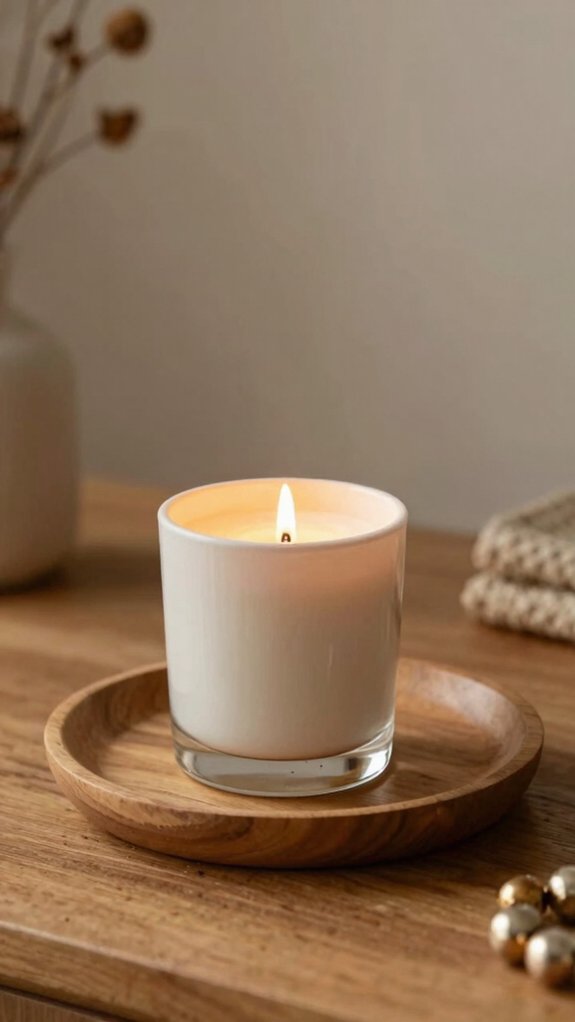
One of the easiest ways to keep your candle tray decor feeling fresh is to swap it by season without starting from scratch—just keep the same rectangular tray and glass or votive holders, then change out the filler layer for a whole new vibe!
In spring, lay in sheet moss, add three old-fashioned drinking glasses, and update with greenery for a soft, garden feel.
For summer, choose seashells, sand, and rope-wrapped jars, then choose seasonal scent for extra beachy charm.
In fall and winter, use pine cones, birchwood, and ivory candles.
Holiday time? Try cranberry rings or muffin tins—so festive!